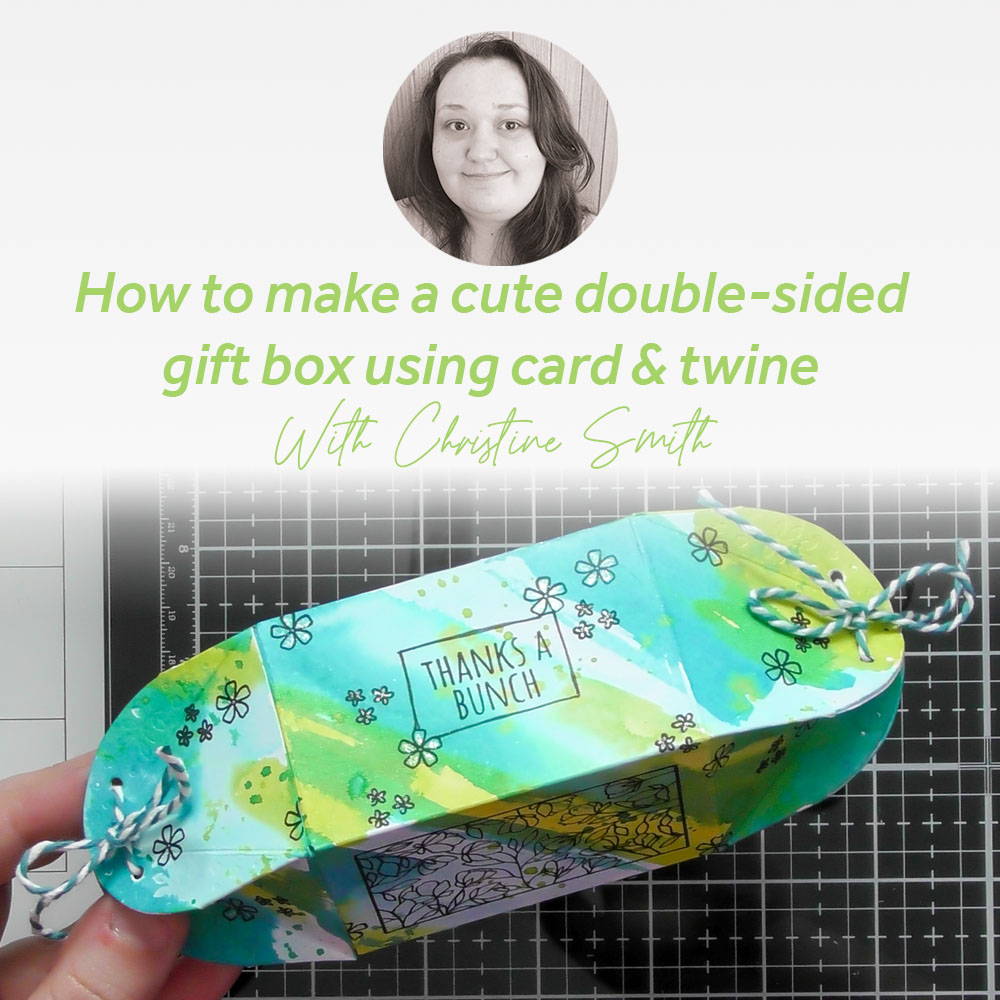

I LOVE the way Tonic have been bringing out a few box die sets that have coordinating stamps! A this was the first set I got to work with :D There are technically 4 different boxes you can make with this set. There’s 2 different side types, and you can use a square or hexagonal base for them too, however I wanted to show you something a little different, so I chose to do a step by step for a 4 sided double ended box. I reckon you could easily adapt this to be 6 sided, or even use the other sides to create another variation too, so this is a nice versatile set, and having the stamp designs that coordinate amplifies the possibilities for different boxes too, as there’s already tonnes of panels to choose from in the die set too :D Hope you like this different take on the box! I also went a little arty by using Aqua Flows to add colour to my panels too
Step 1

Die-cut 2 of the larger side pieces (3 for the hexagonal box) from white card, these dies have a gorgeous debossed detail that impressing into the card as you cut it too.
Step 2
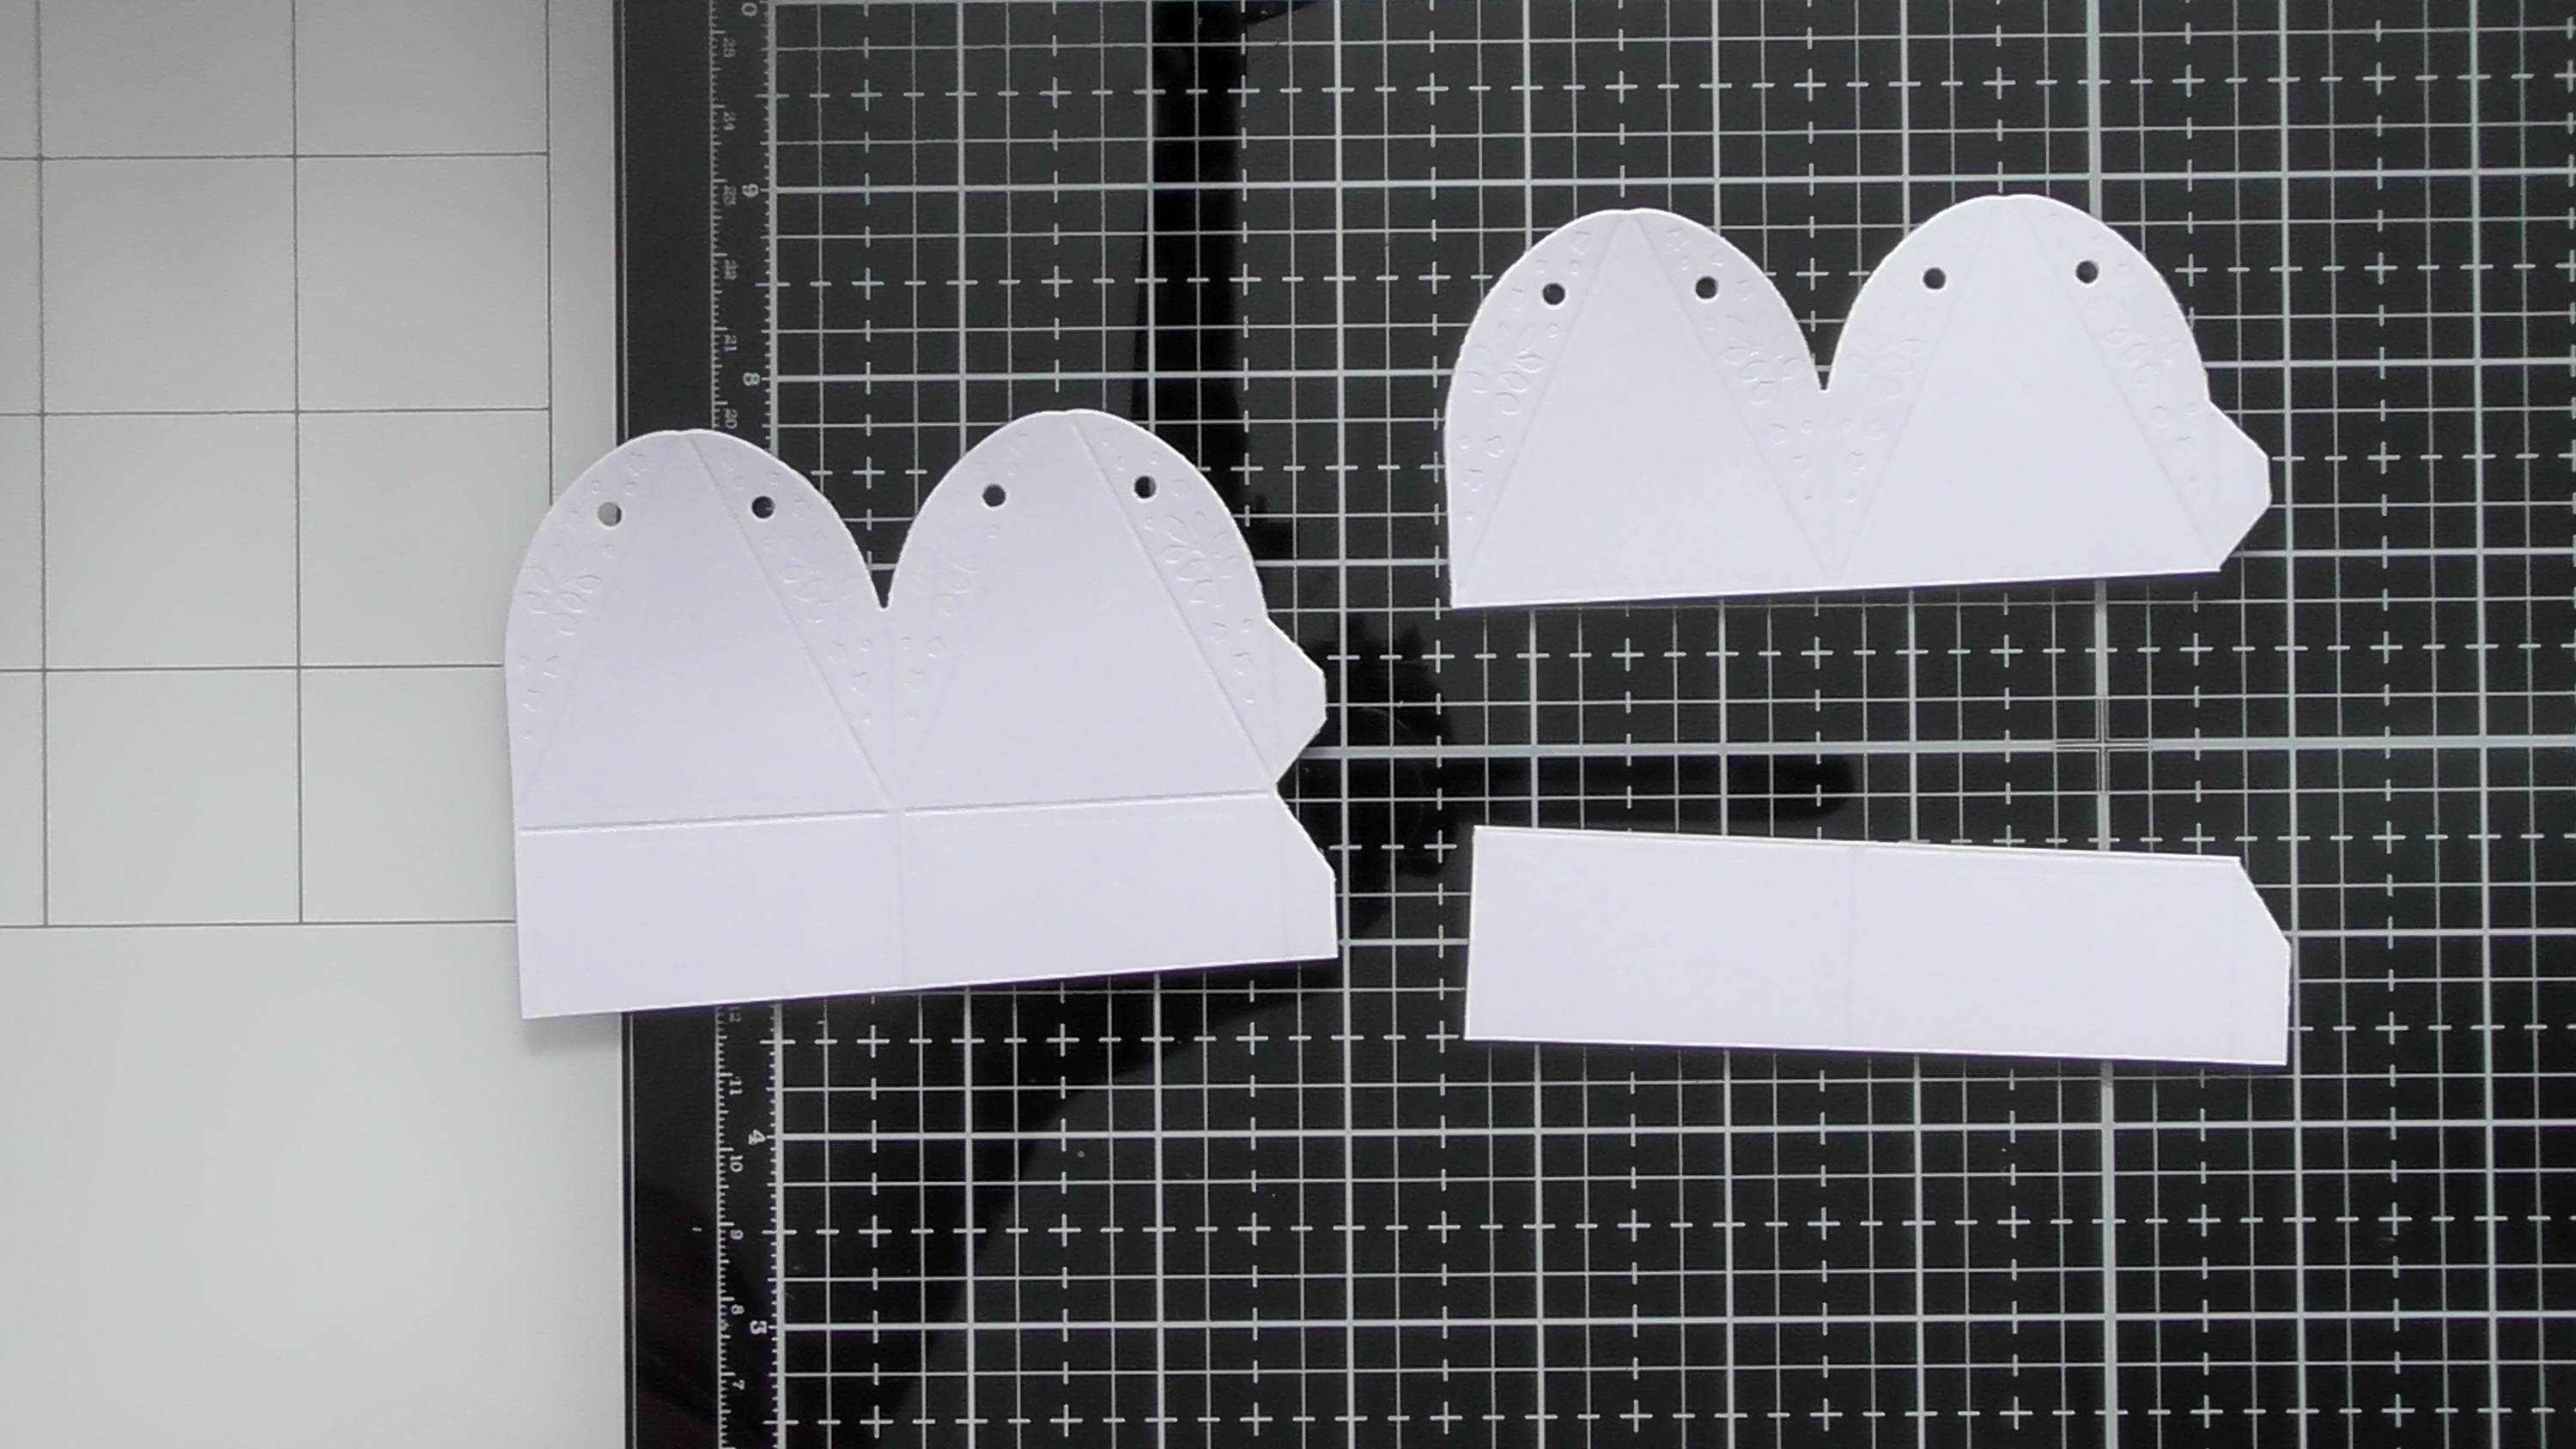
Die-cut another 2 of these pieces from white card again, but this time we only need that top portion, as we’ll join this to the glue tabs at the bottom of the piece in step 1
Step 3
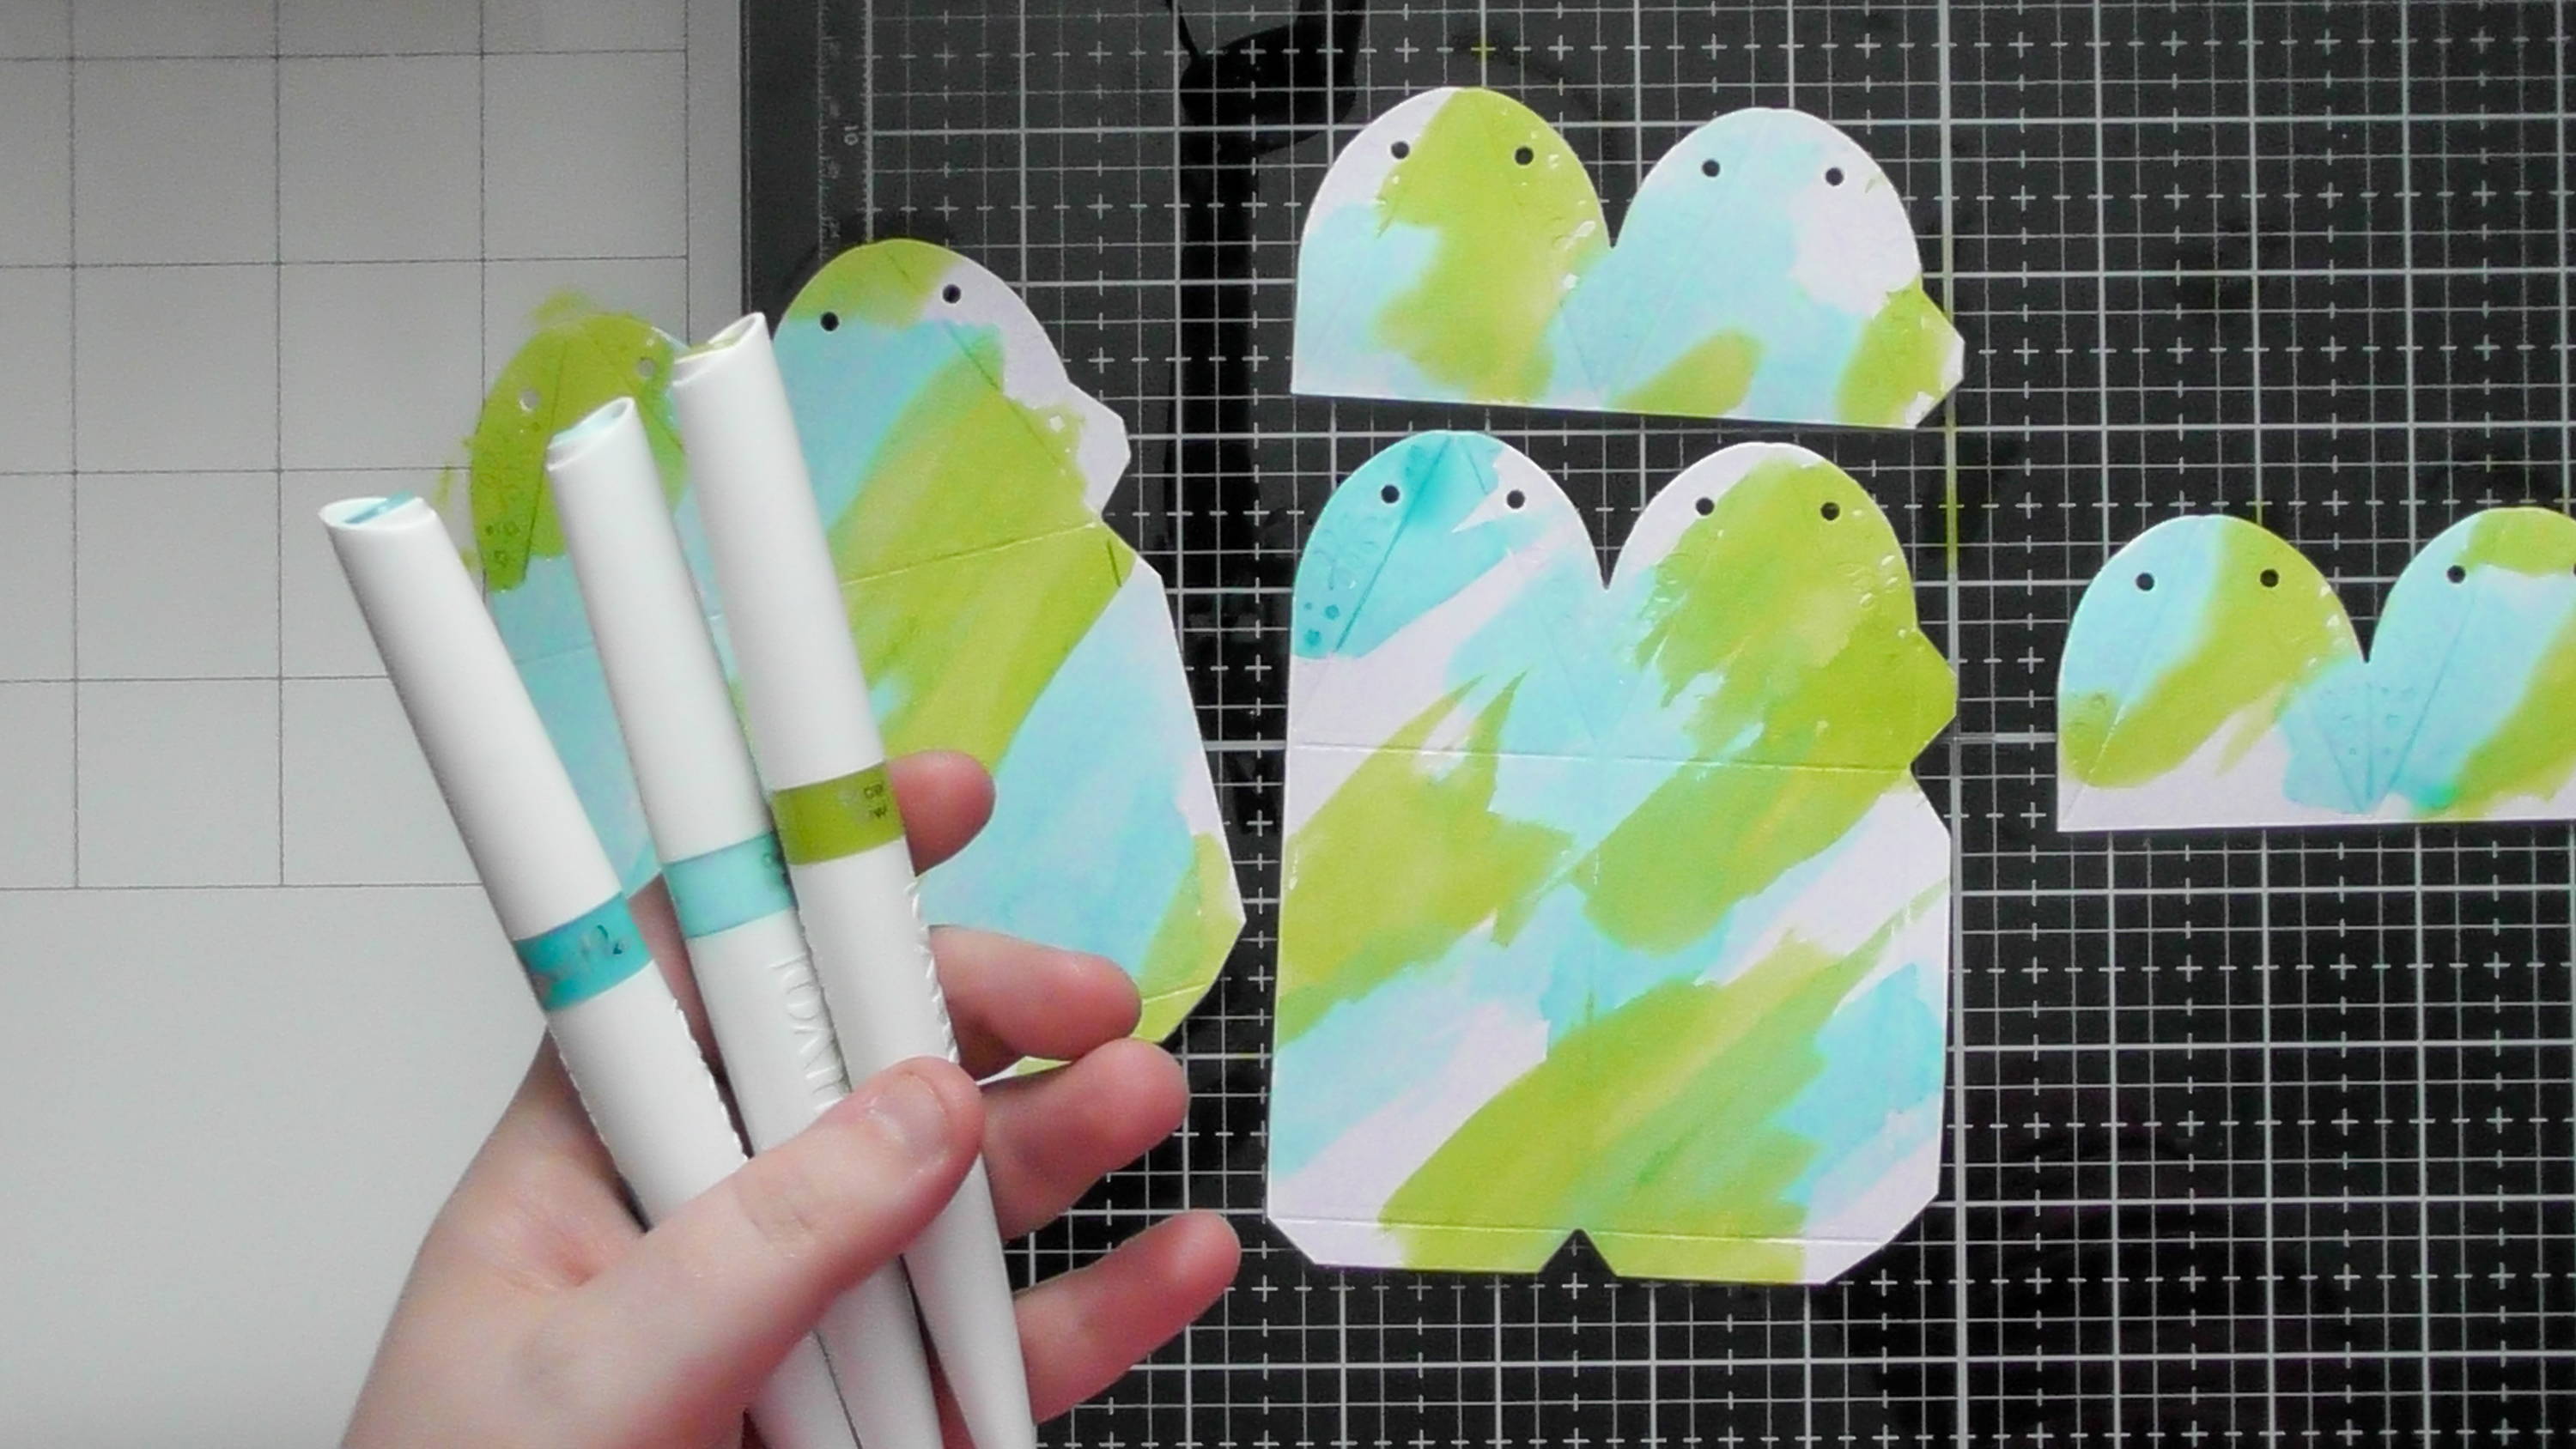
Add some colour to your pieces; I decided to use a selection of blue and green Aqua Flows.
Step 4
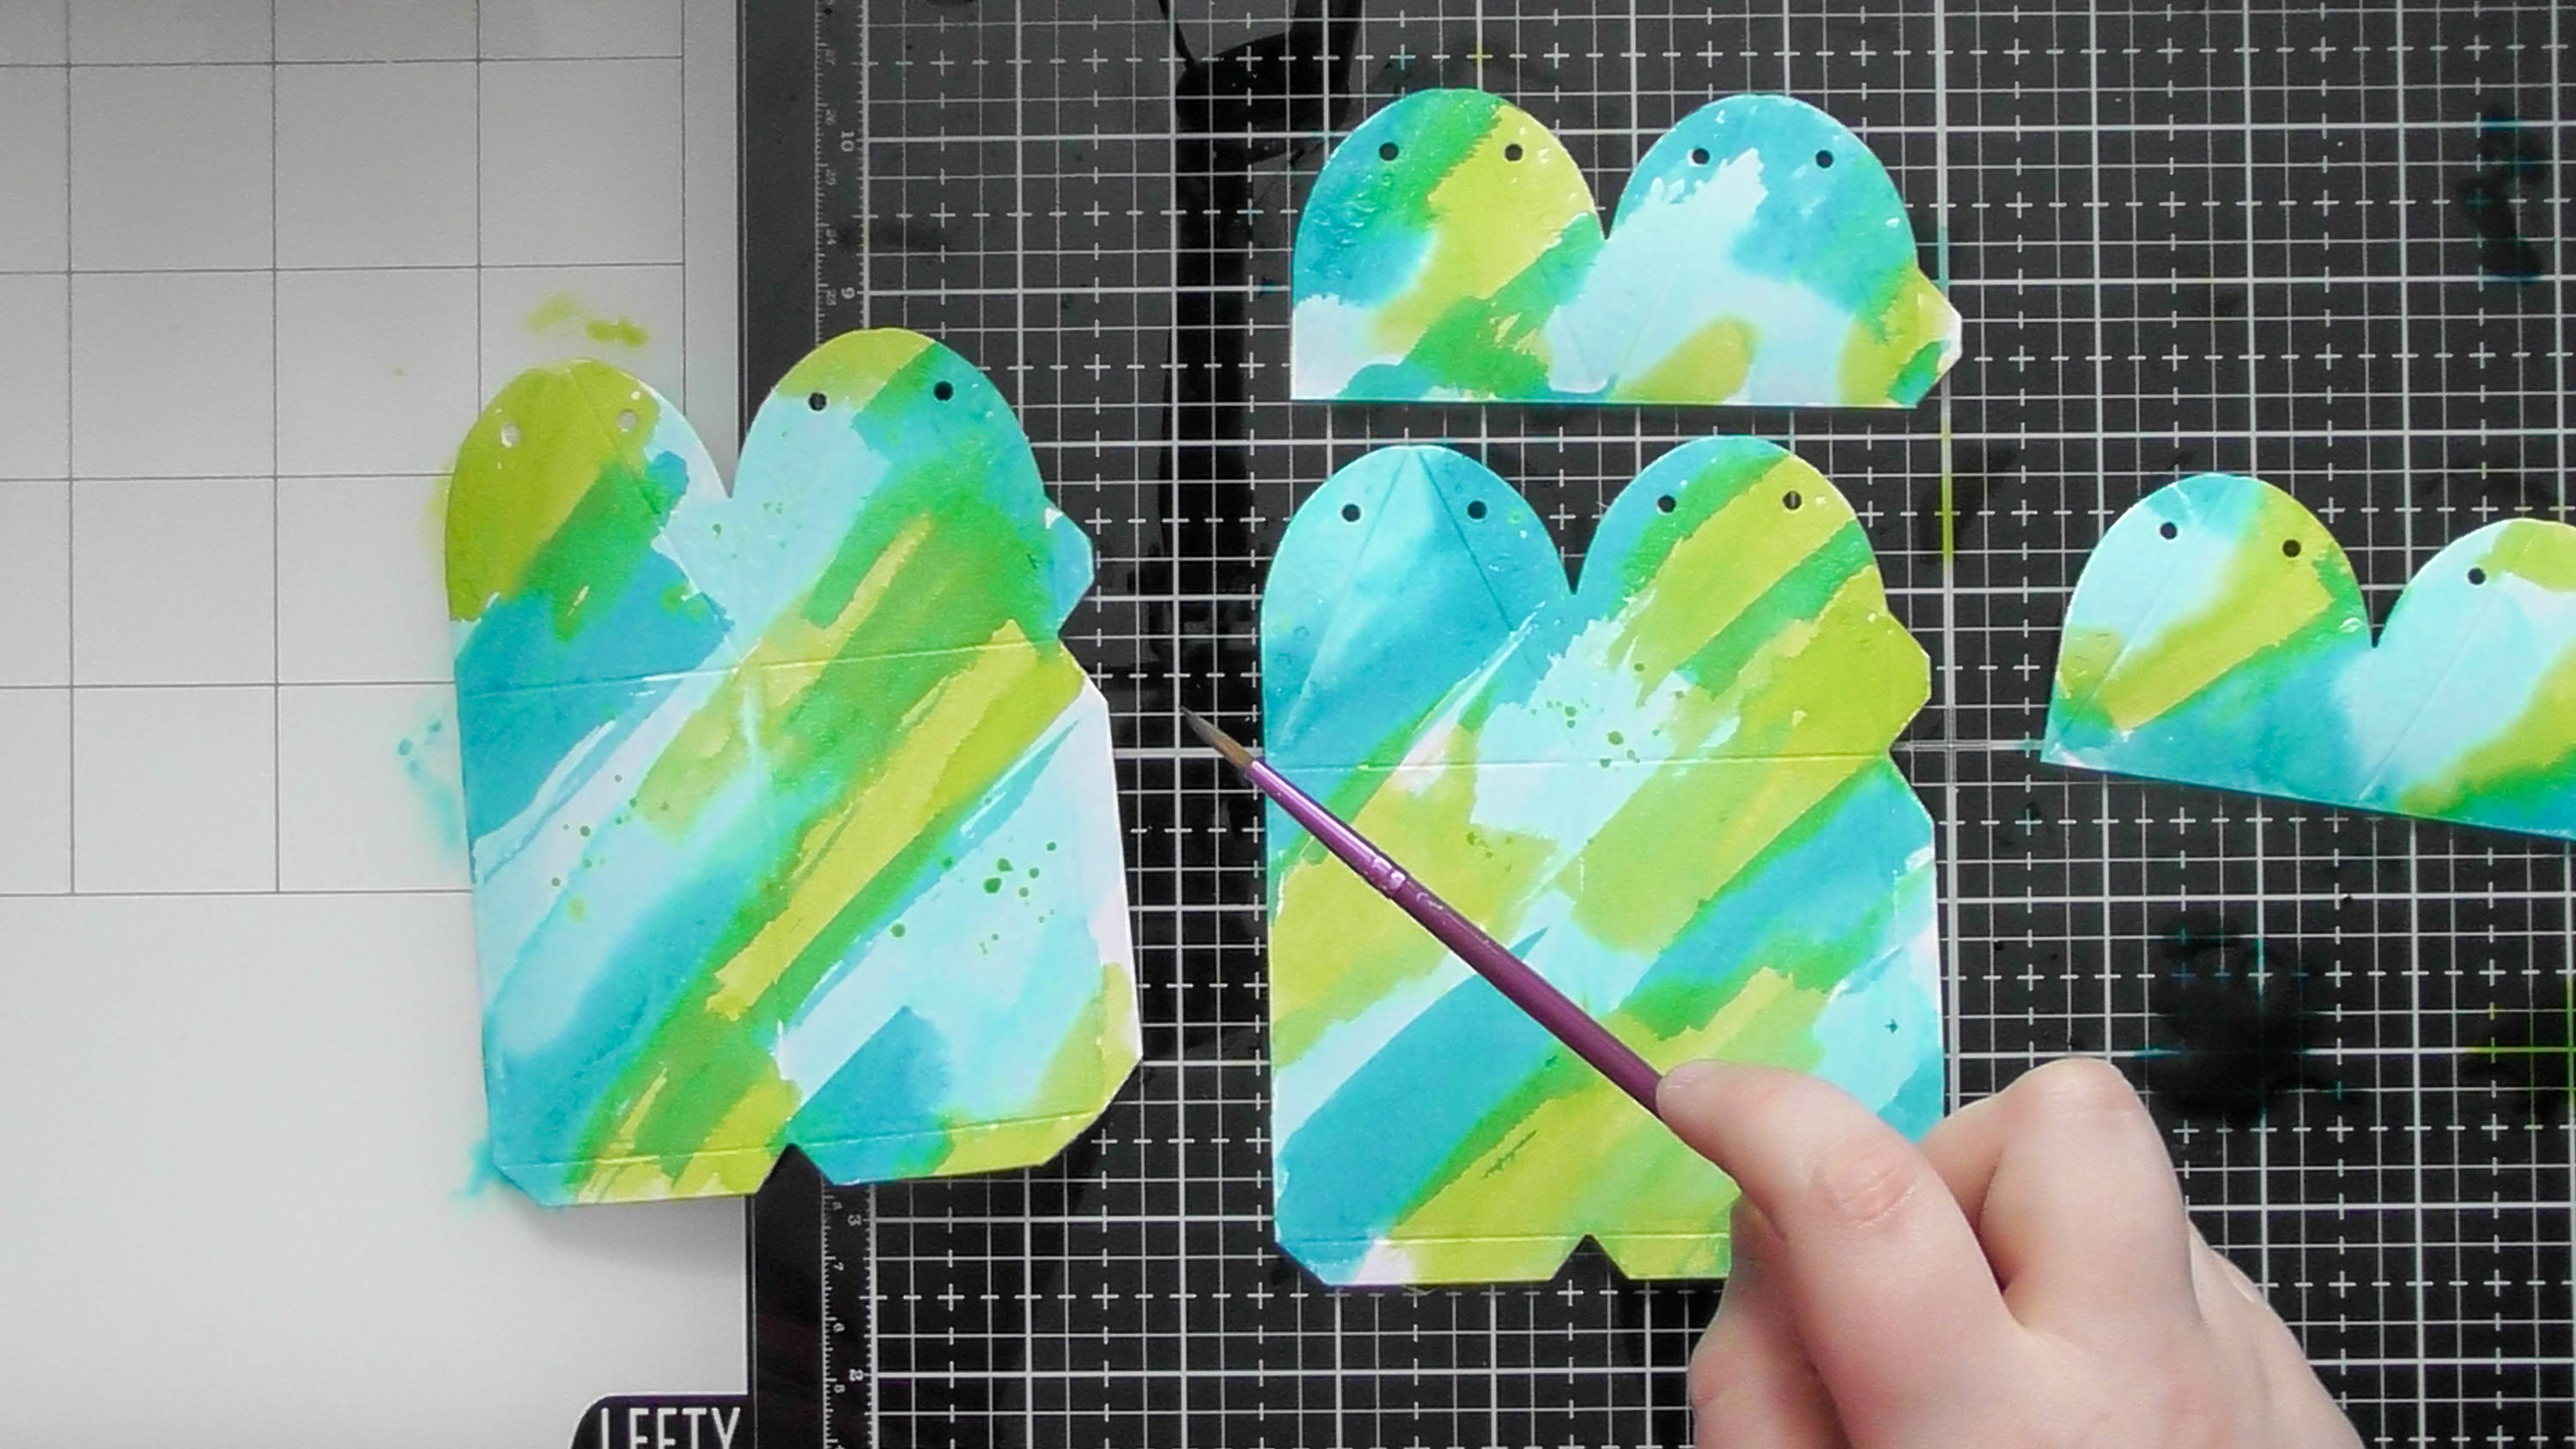
Add a bit of splatter too, you can do this with the Aqua Flow itself, or squeeze some onto your glass matt and splatter with a regular paint brush.
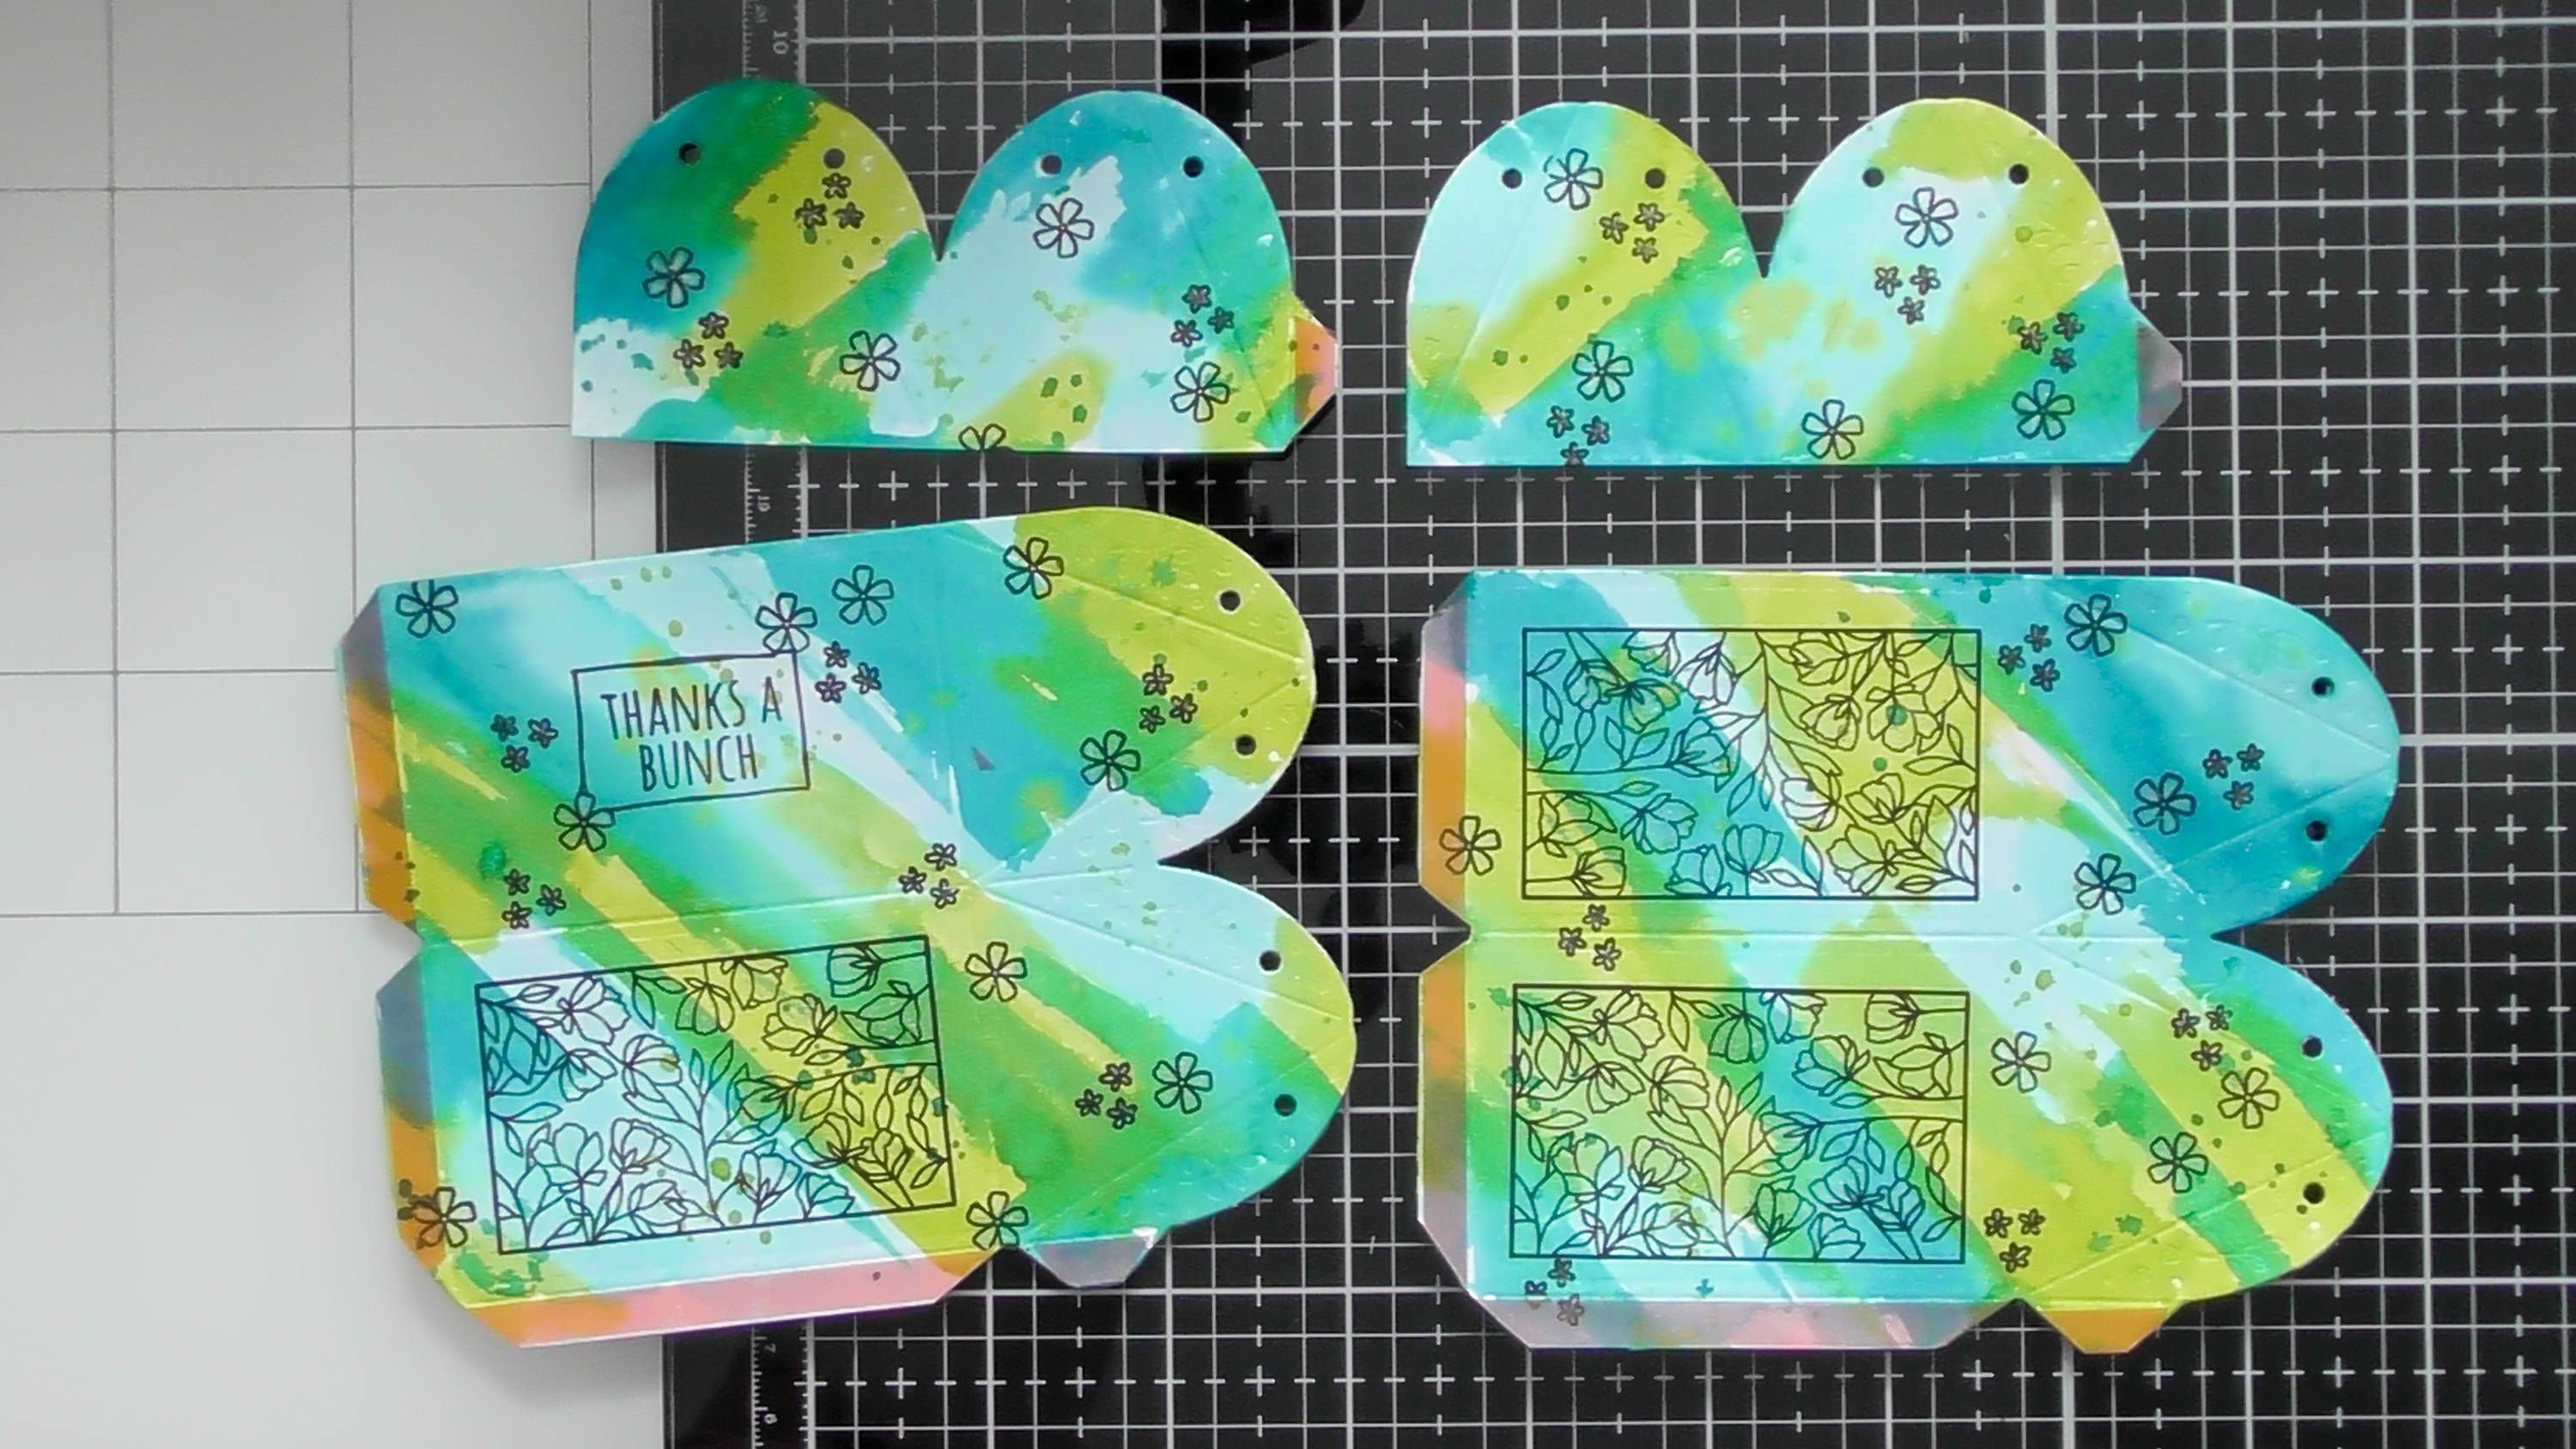
Step 5
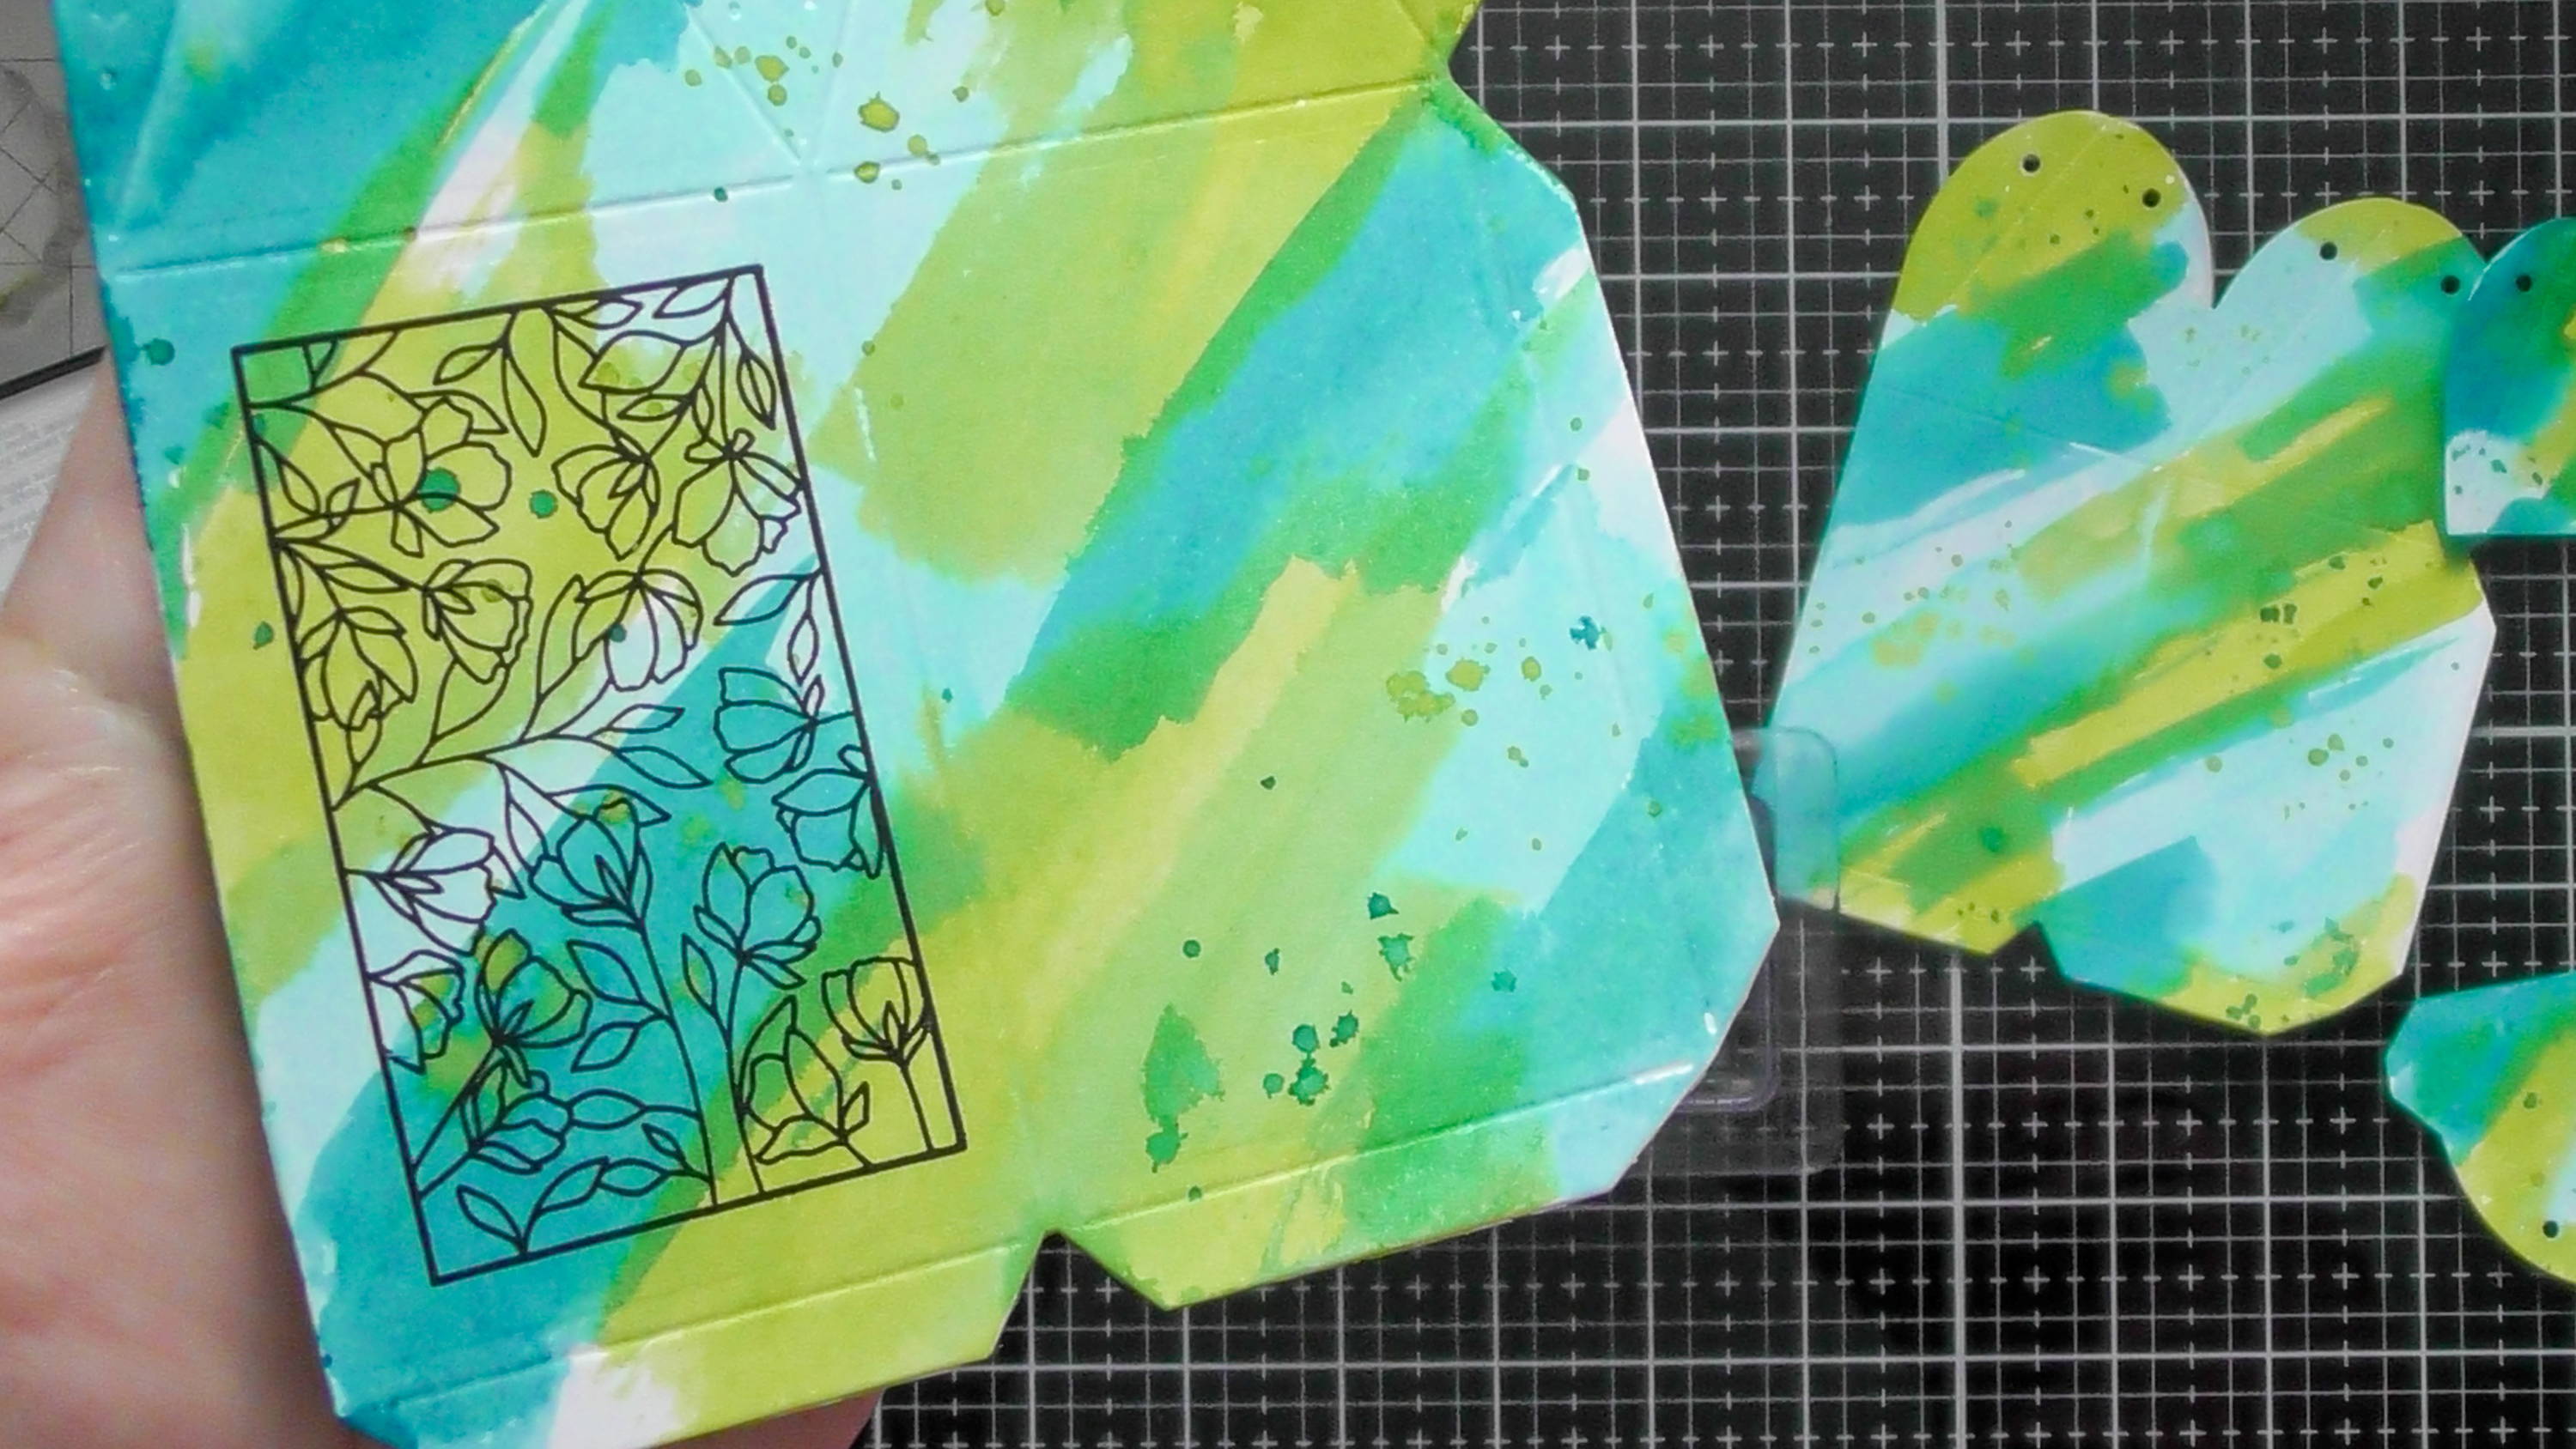
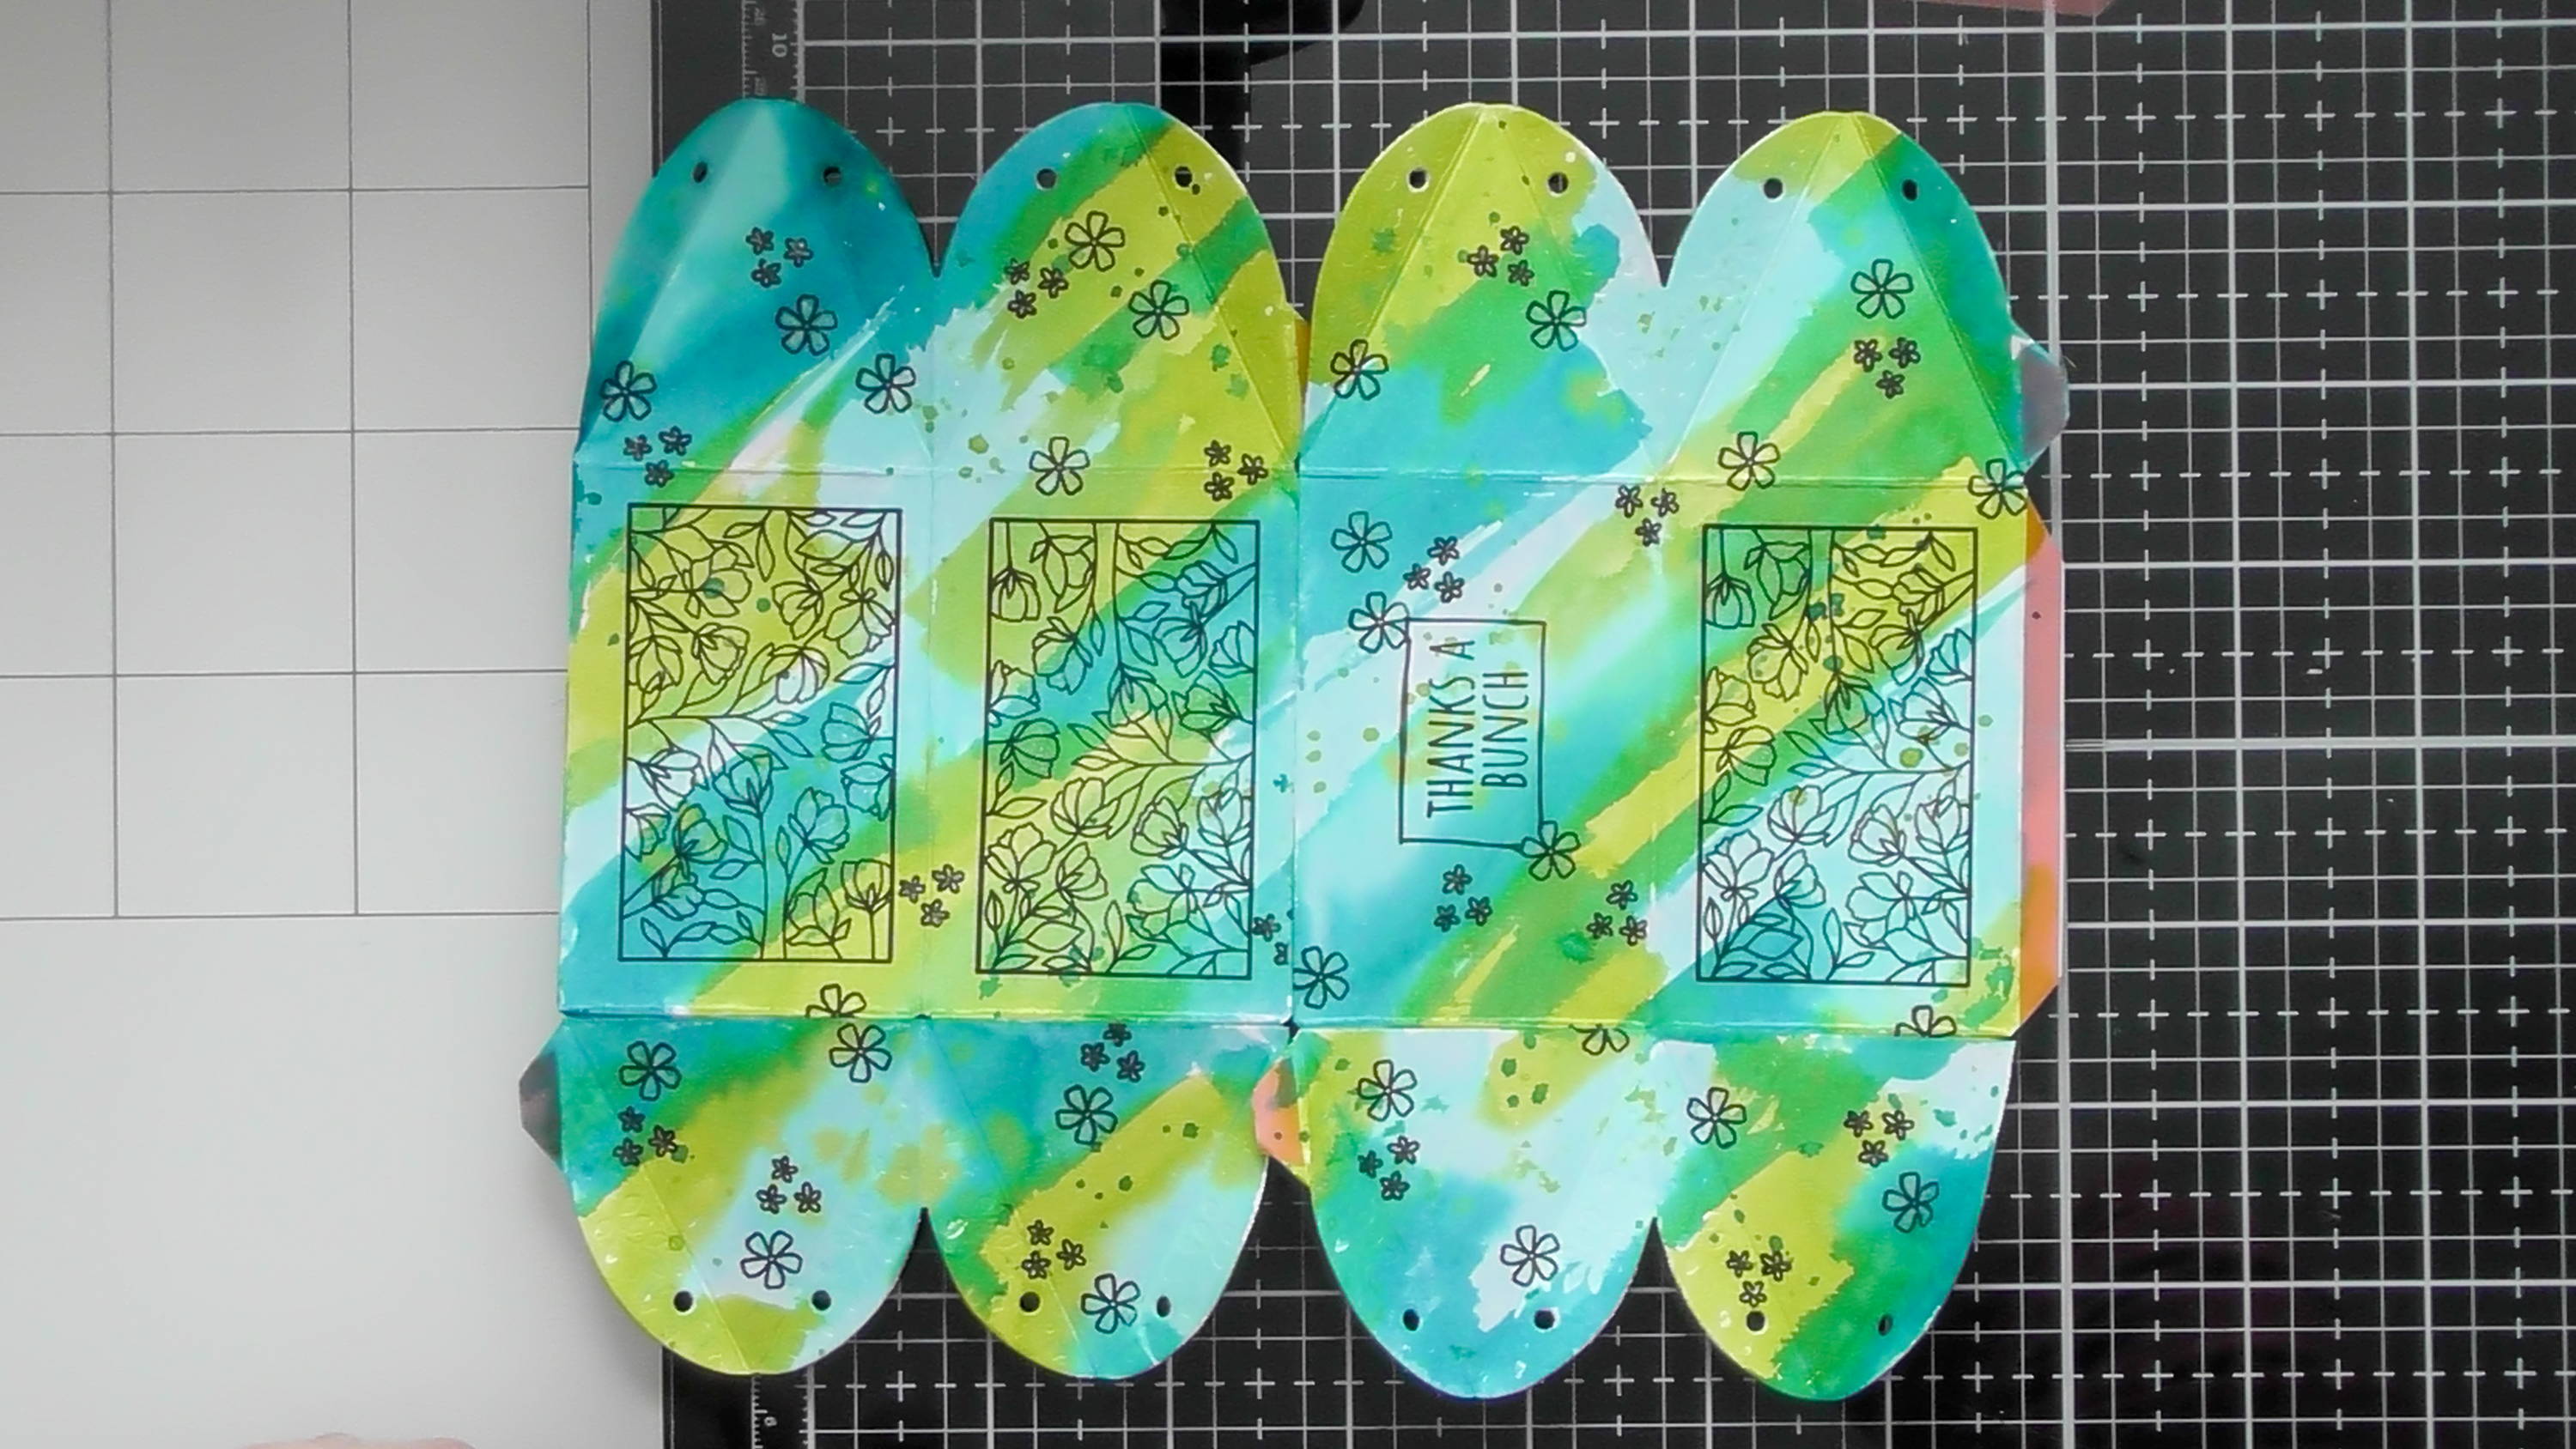
Once everything is dry, add your stamping, I used one of the main rectangle patterns on 3 of the sides
Step 6

then because I’m making this box double ended, I want the orientation to be landscape, so when decorating the 4th side with the sentiment I’m making sure the orientation will work.
Step 7

I also decided not to use the triangle designs, but to use a couple of the smaller floral designs to decorate any remaining areas.
Step 8

And I wanted the sentiment to stand out a little so I used a fine black pen to add a border around it to emulate the one on the main rectangle stamped design.
Step 9
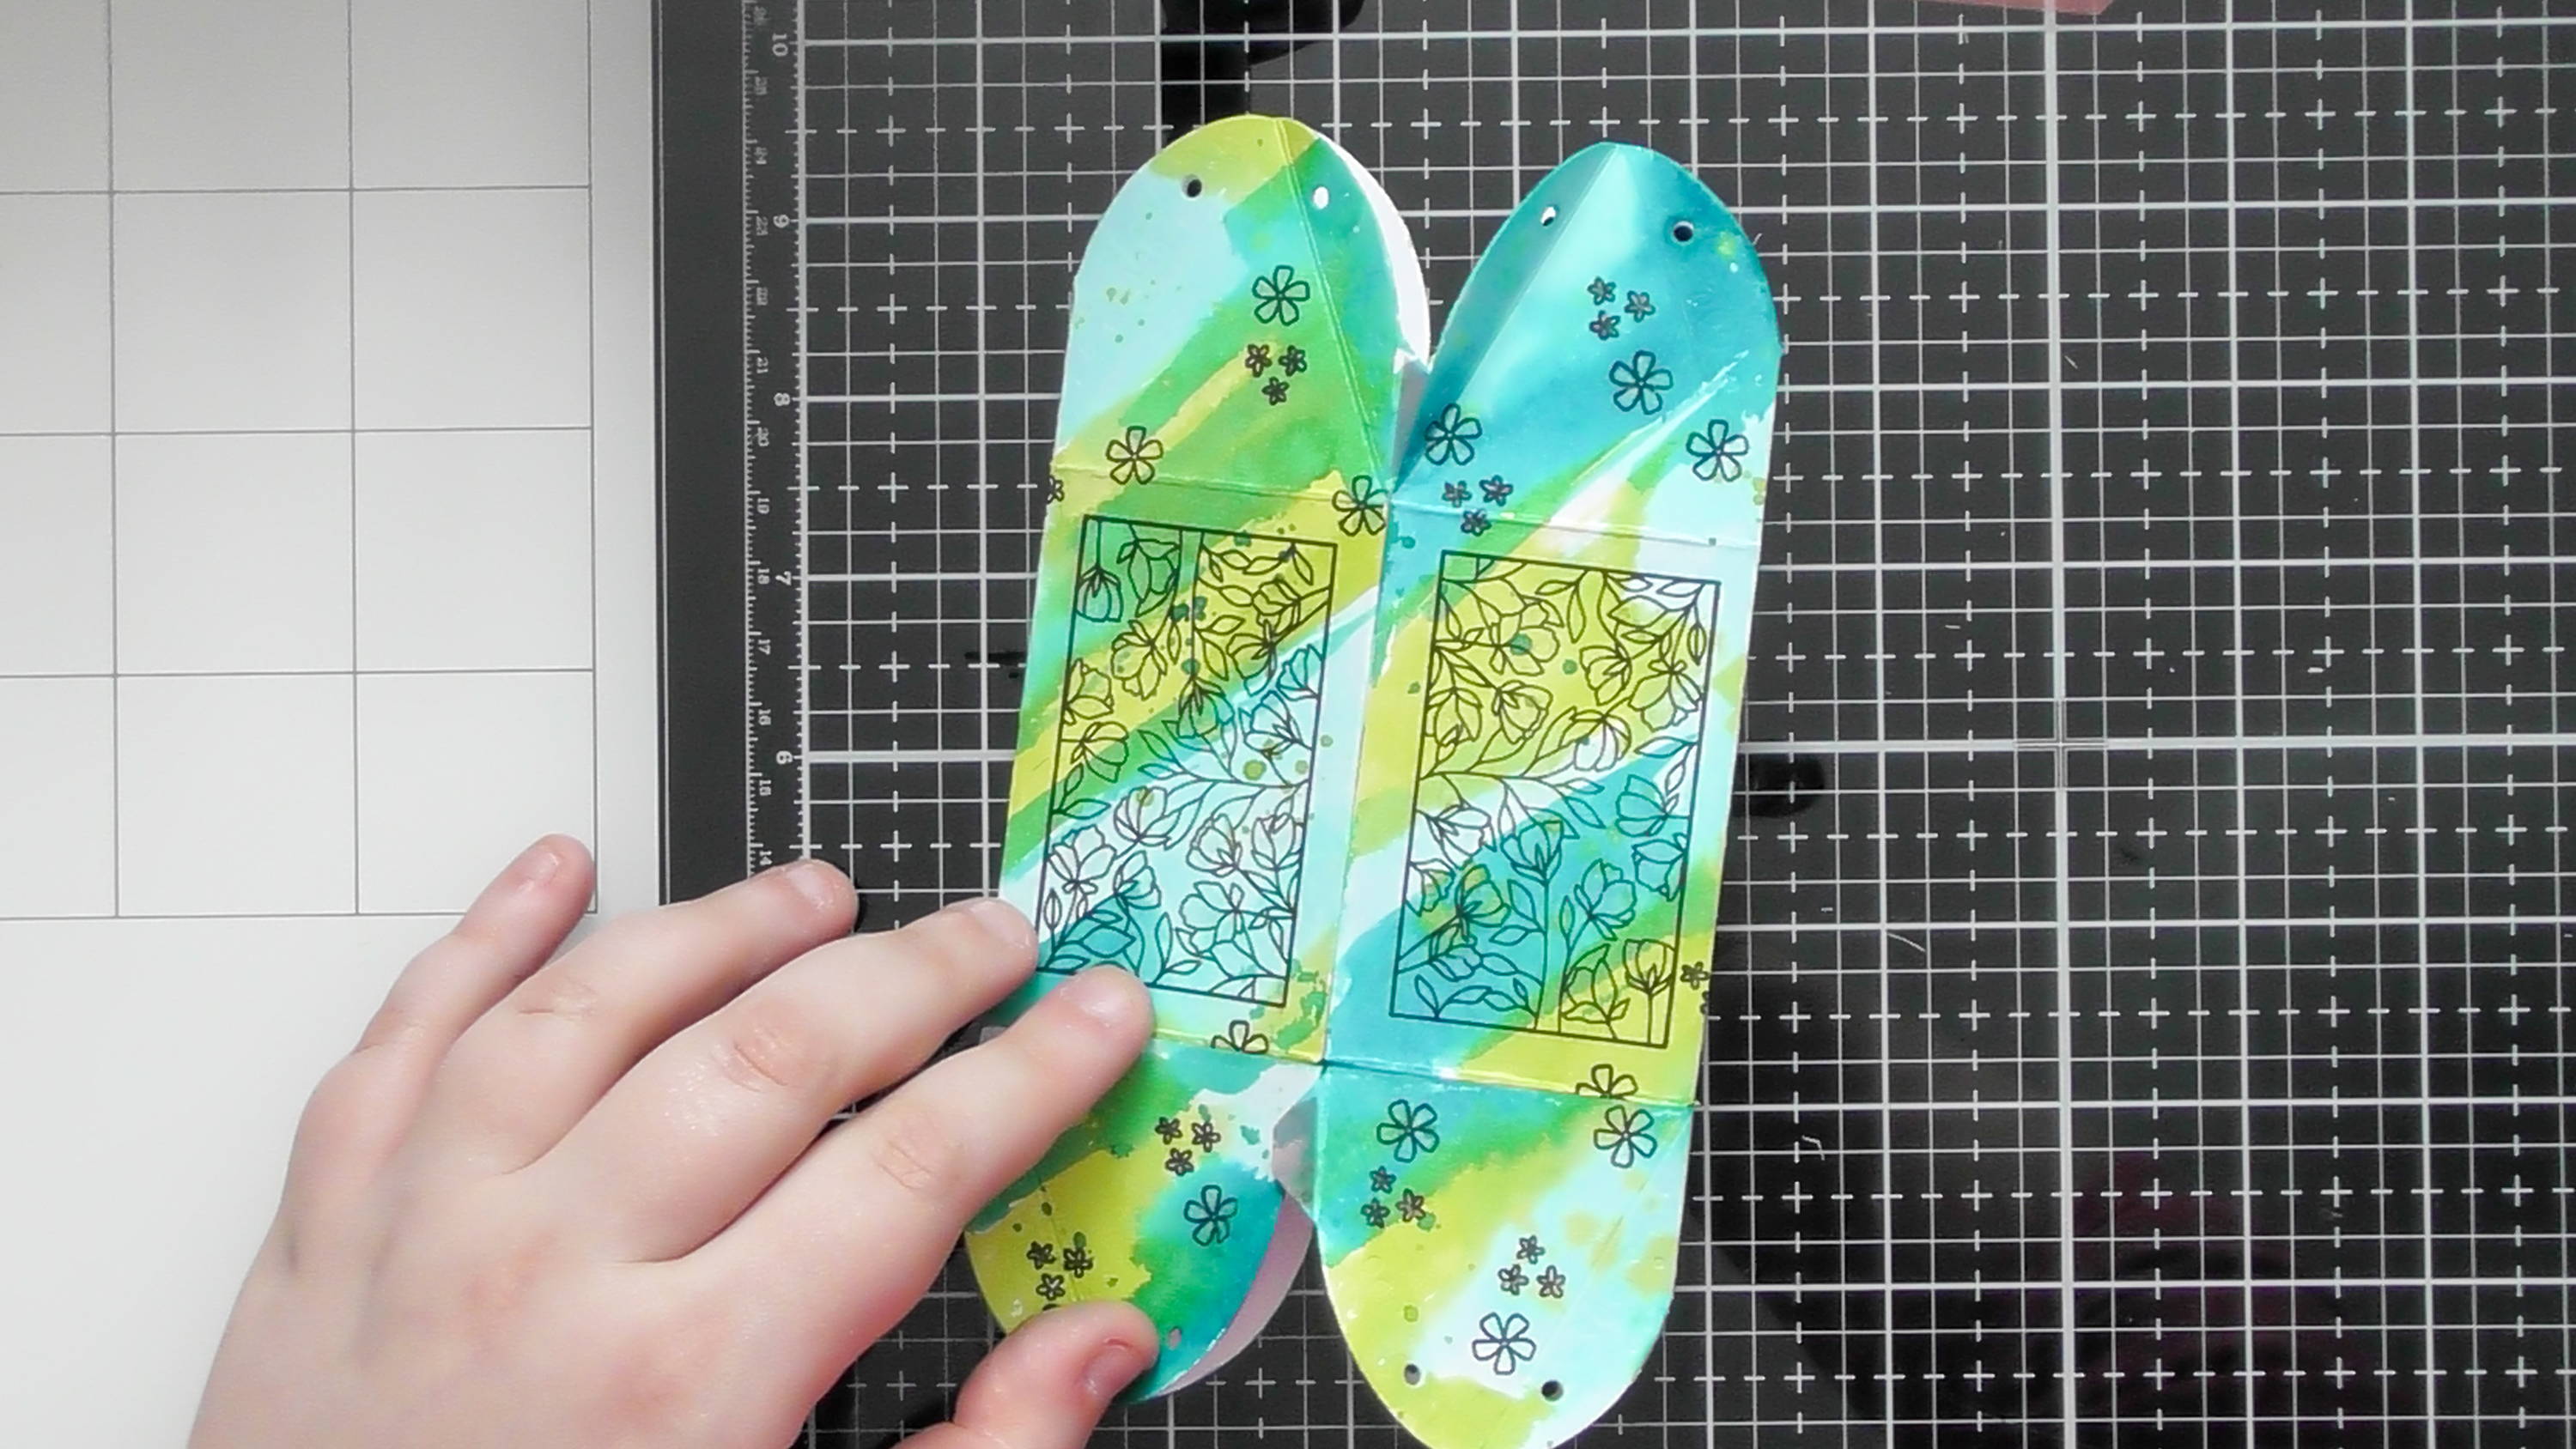
Next step is to add your adhesive, and you can see in the photo above where I’ve added my red liner tape, I recommend adding the tape over the whole glue tab and snipping off the excess, this way it’ll go right to the points of glue tabs for a secure bond.
Step 10
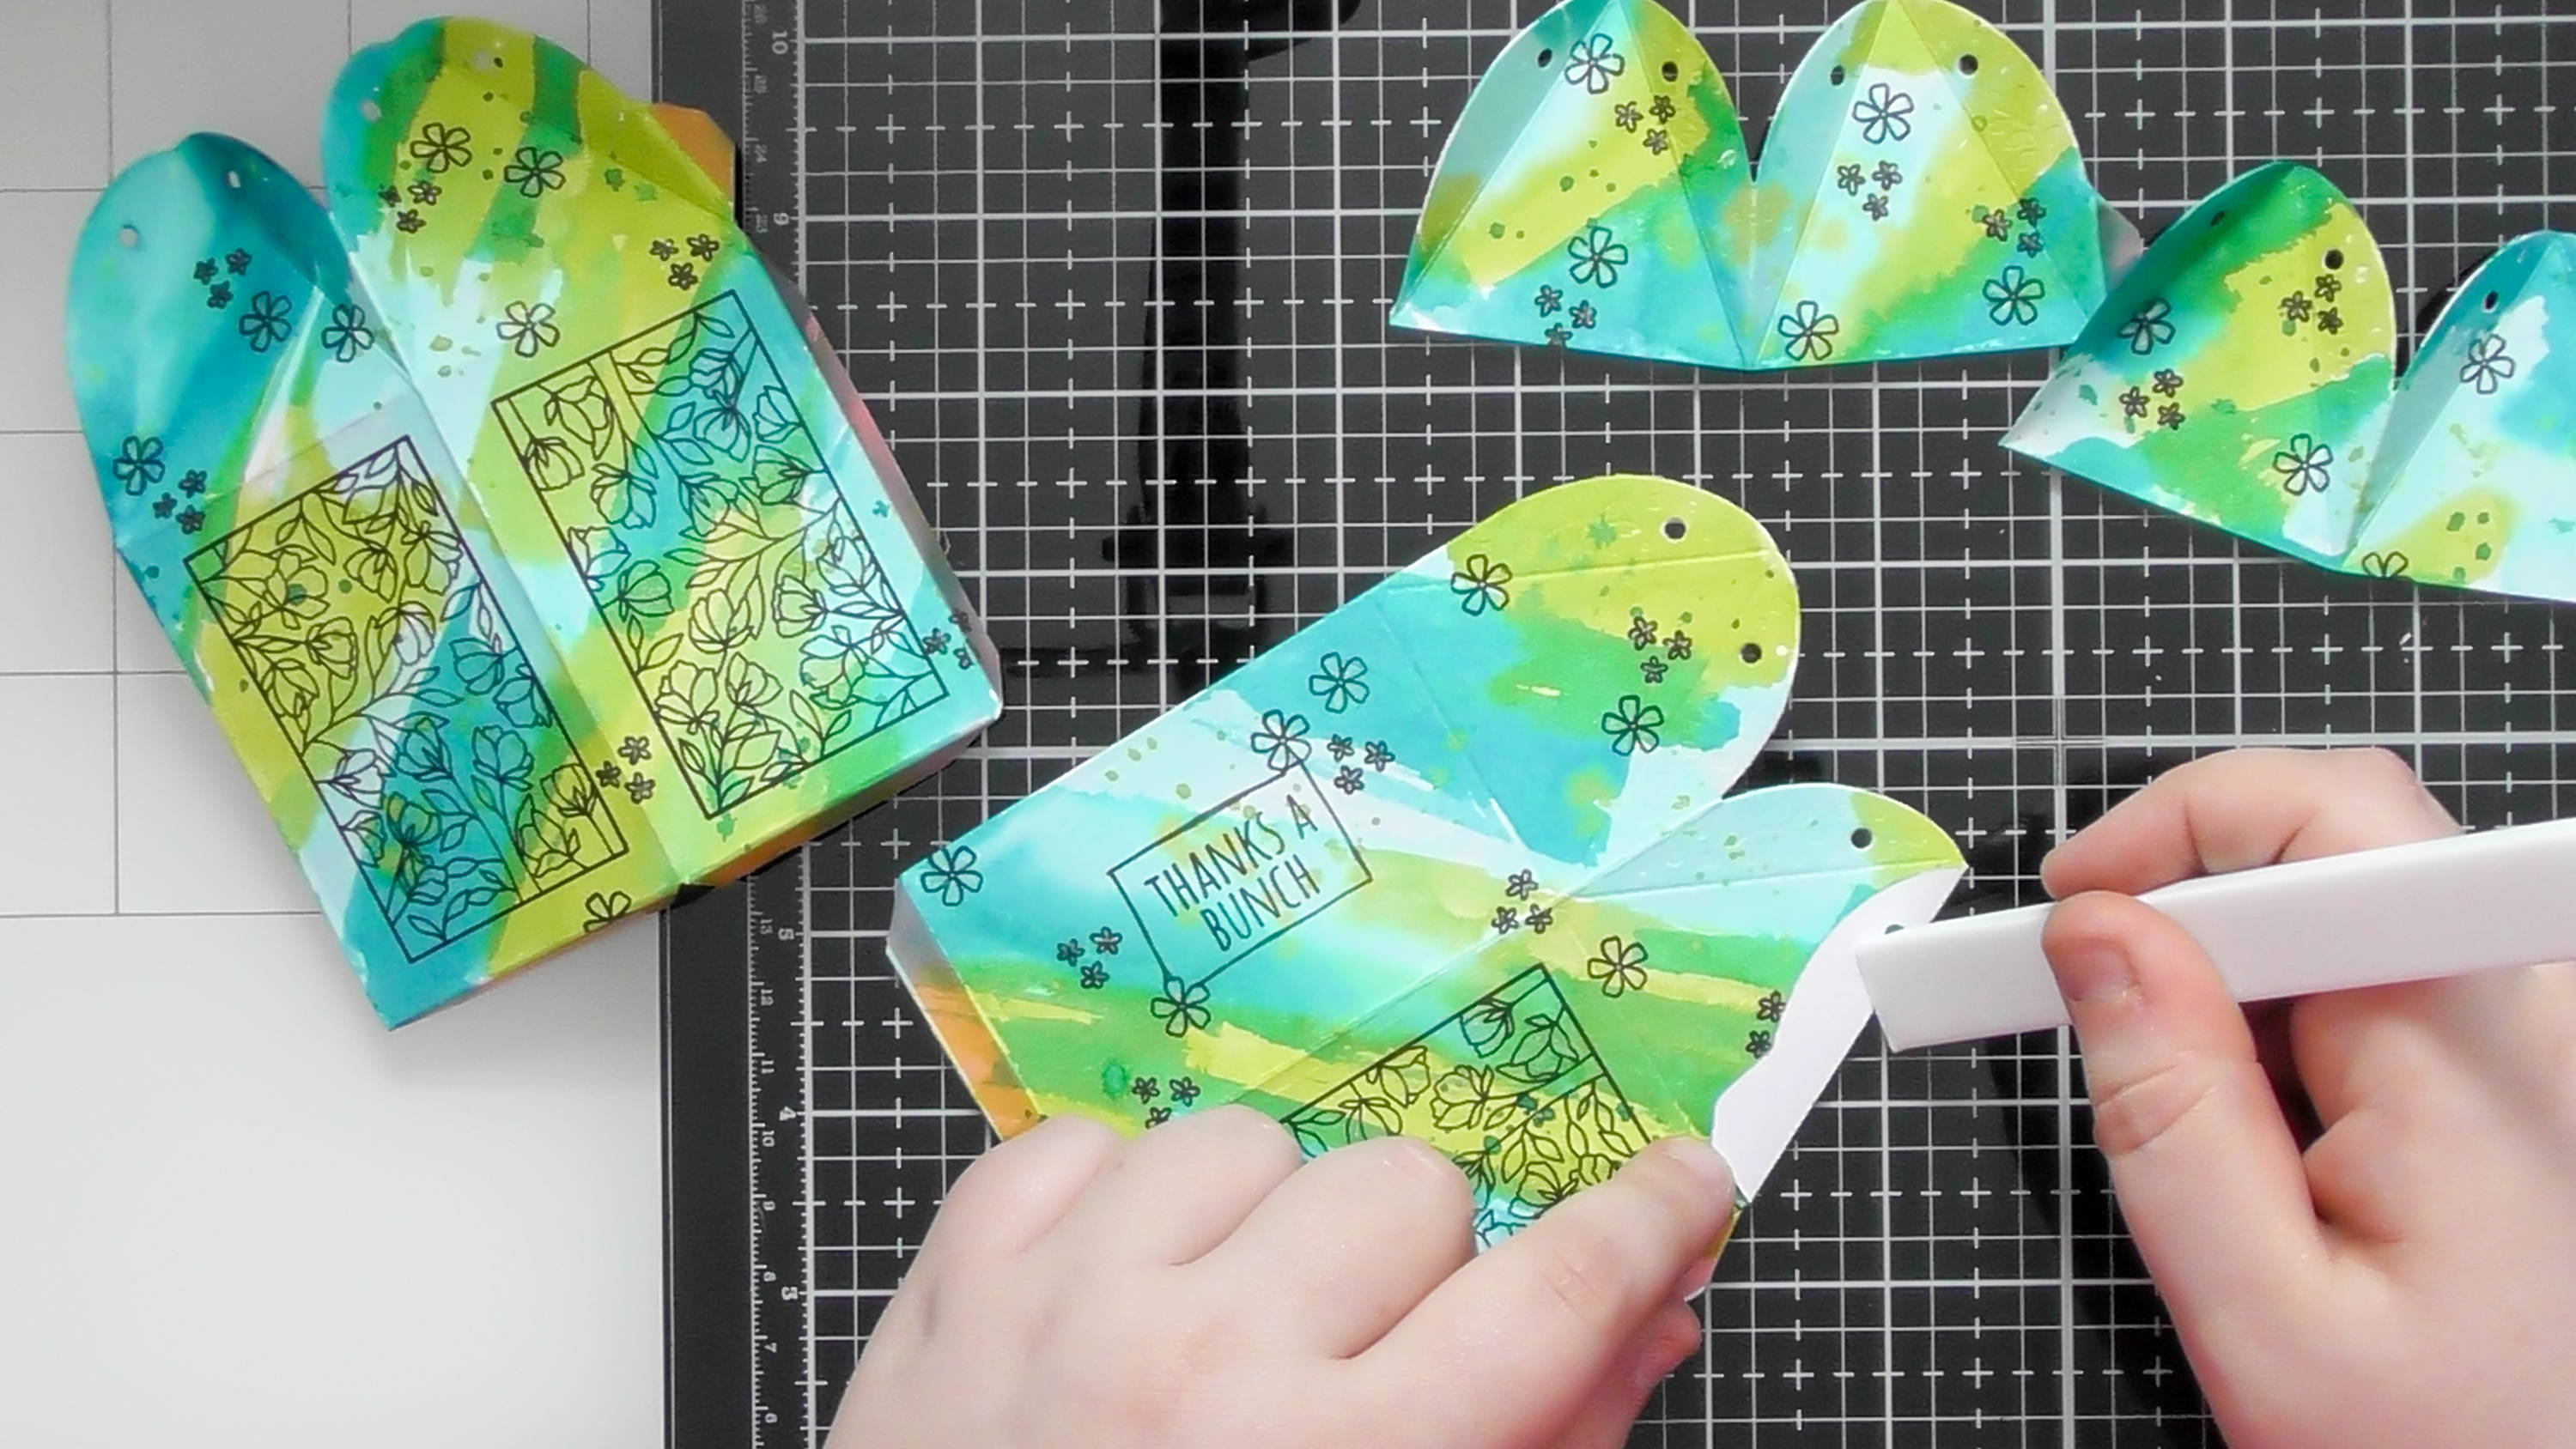
Now before we assemble, we need to pre-fold everything, the majority of the folds are mountain folds, but you can see in the photo that the curved pieces are a valley fold.
Step 11
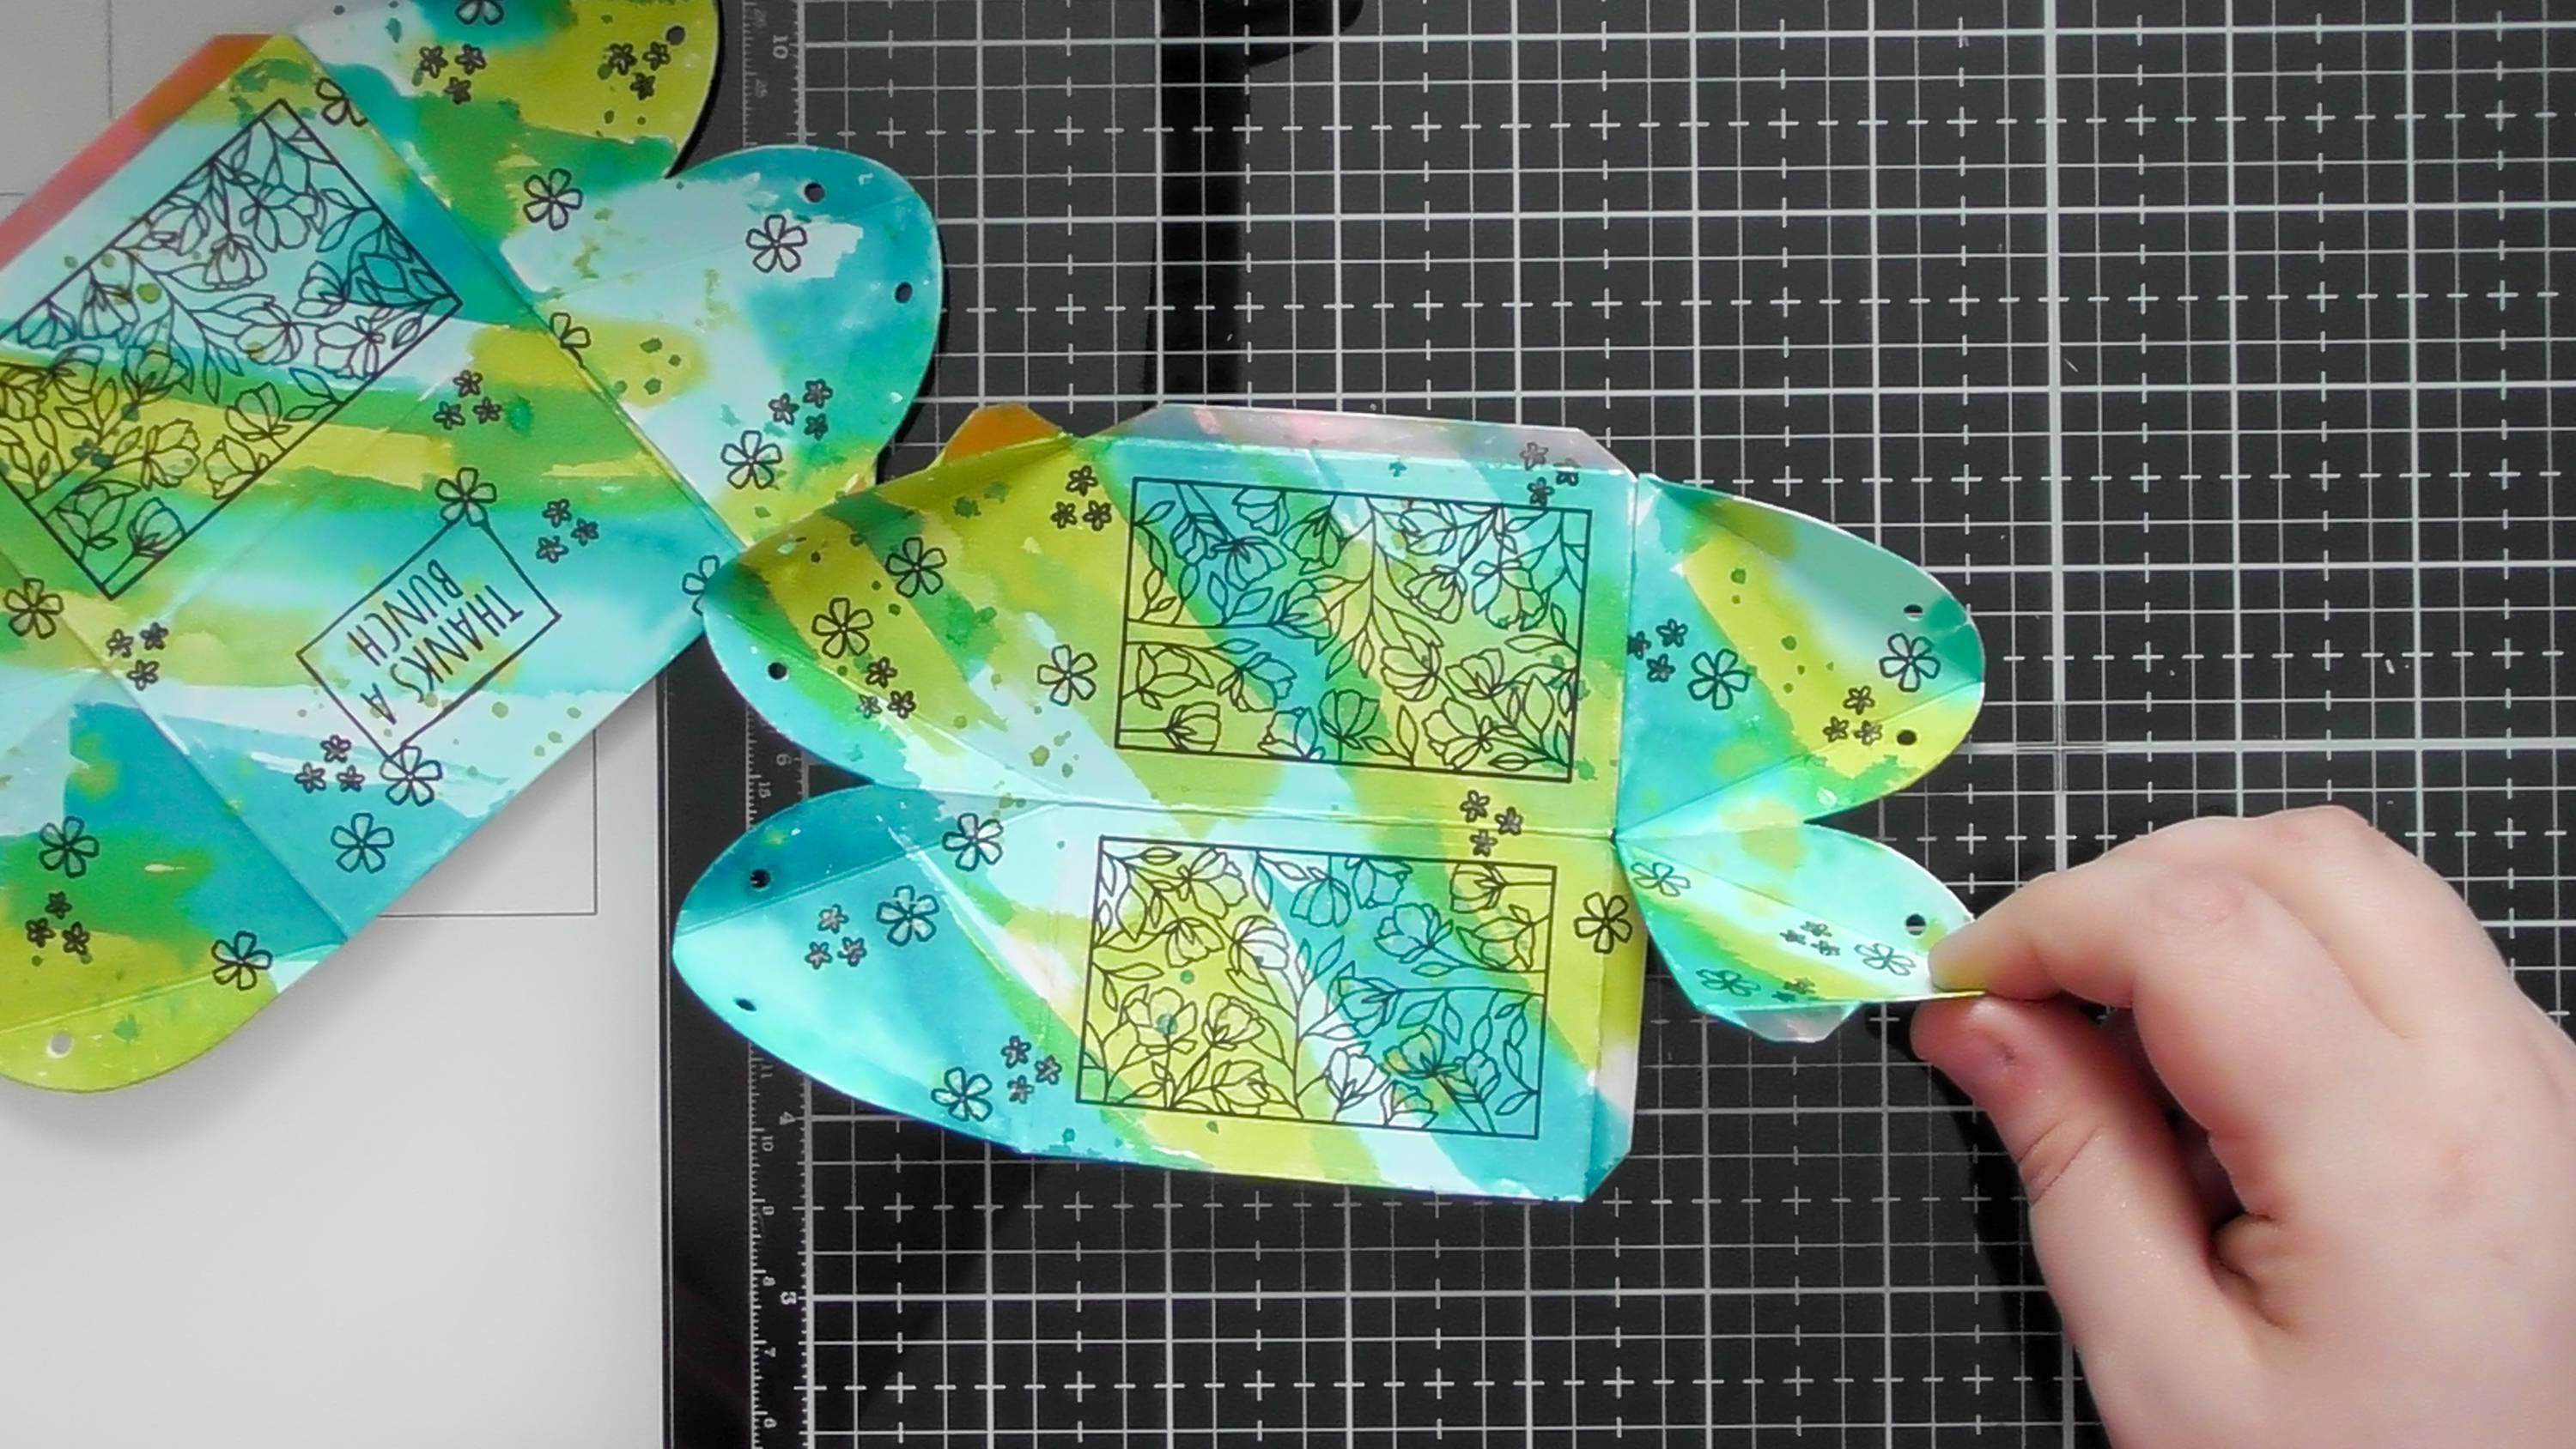
We now need to add the curved aspect to the other end of the box, simply use the existing glue tabs (that would usually be for the base) to add these sections.
Step 12
The adhere these 2 pieces together using the long glue tabs
Step 13
and finally the last long side too, and as these boxes have an even number of sides, you can fold the box flat to really get a nice bond.
Step 14

And here we have the double ended box
Step 15
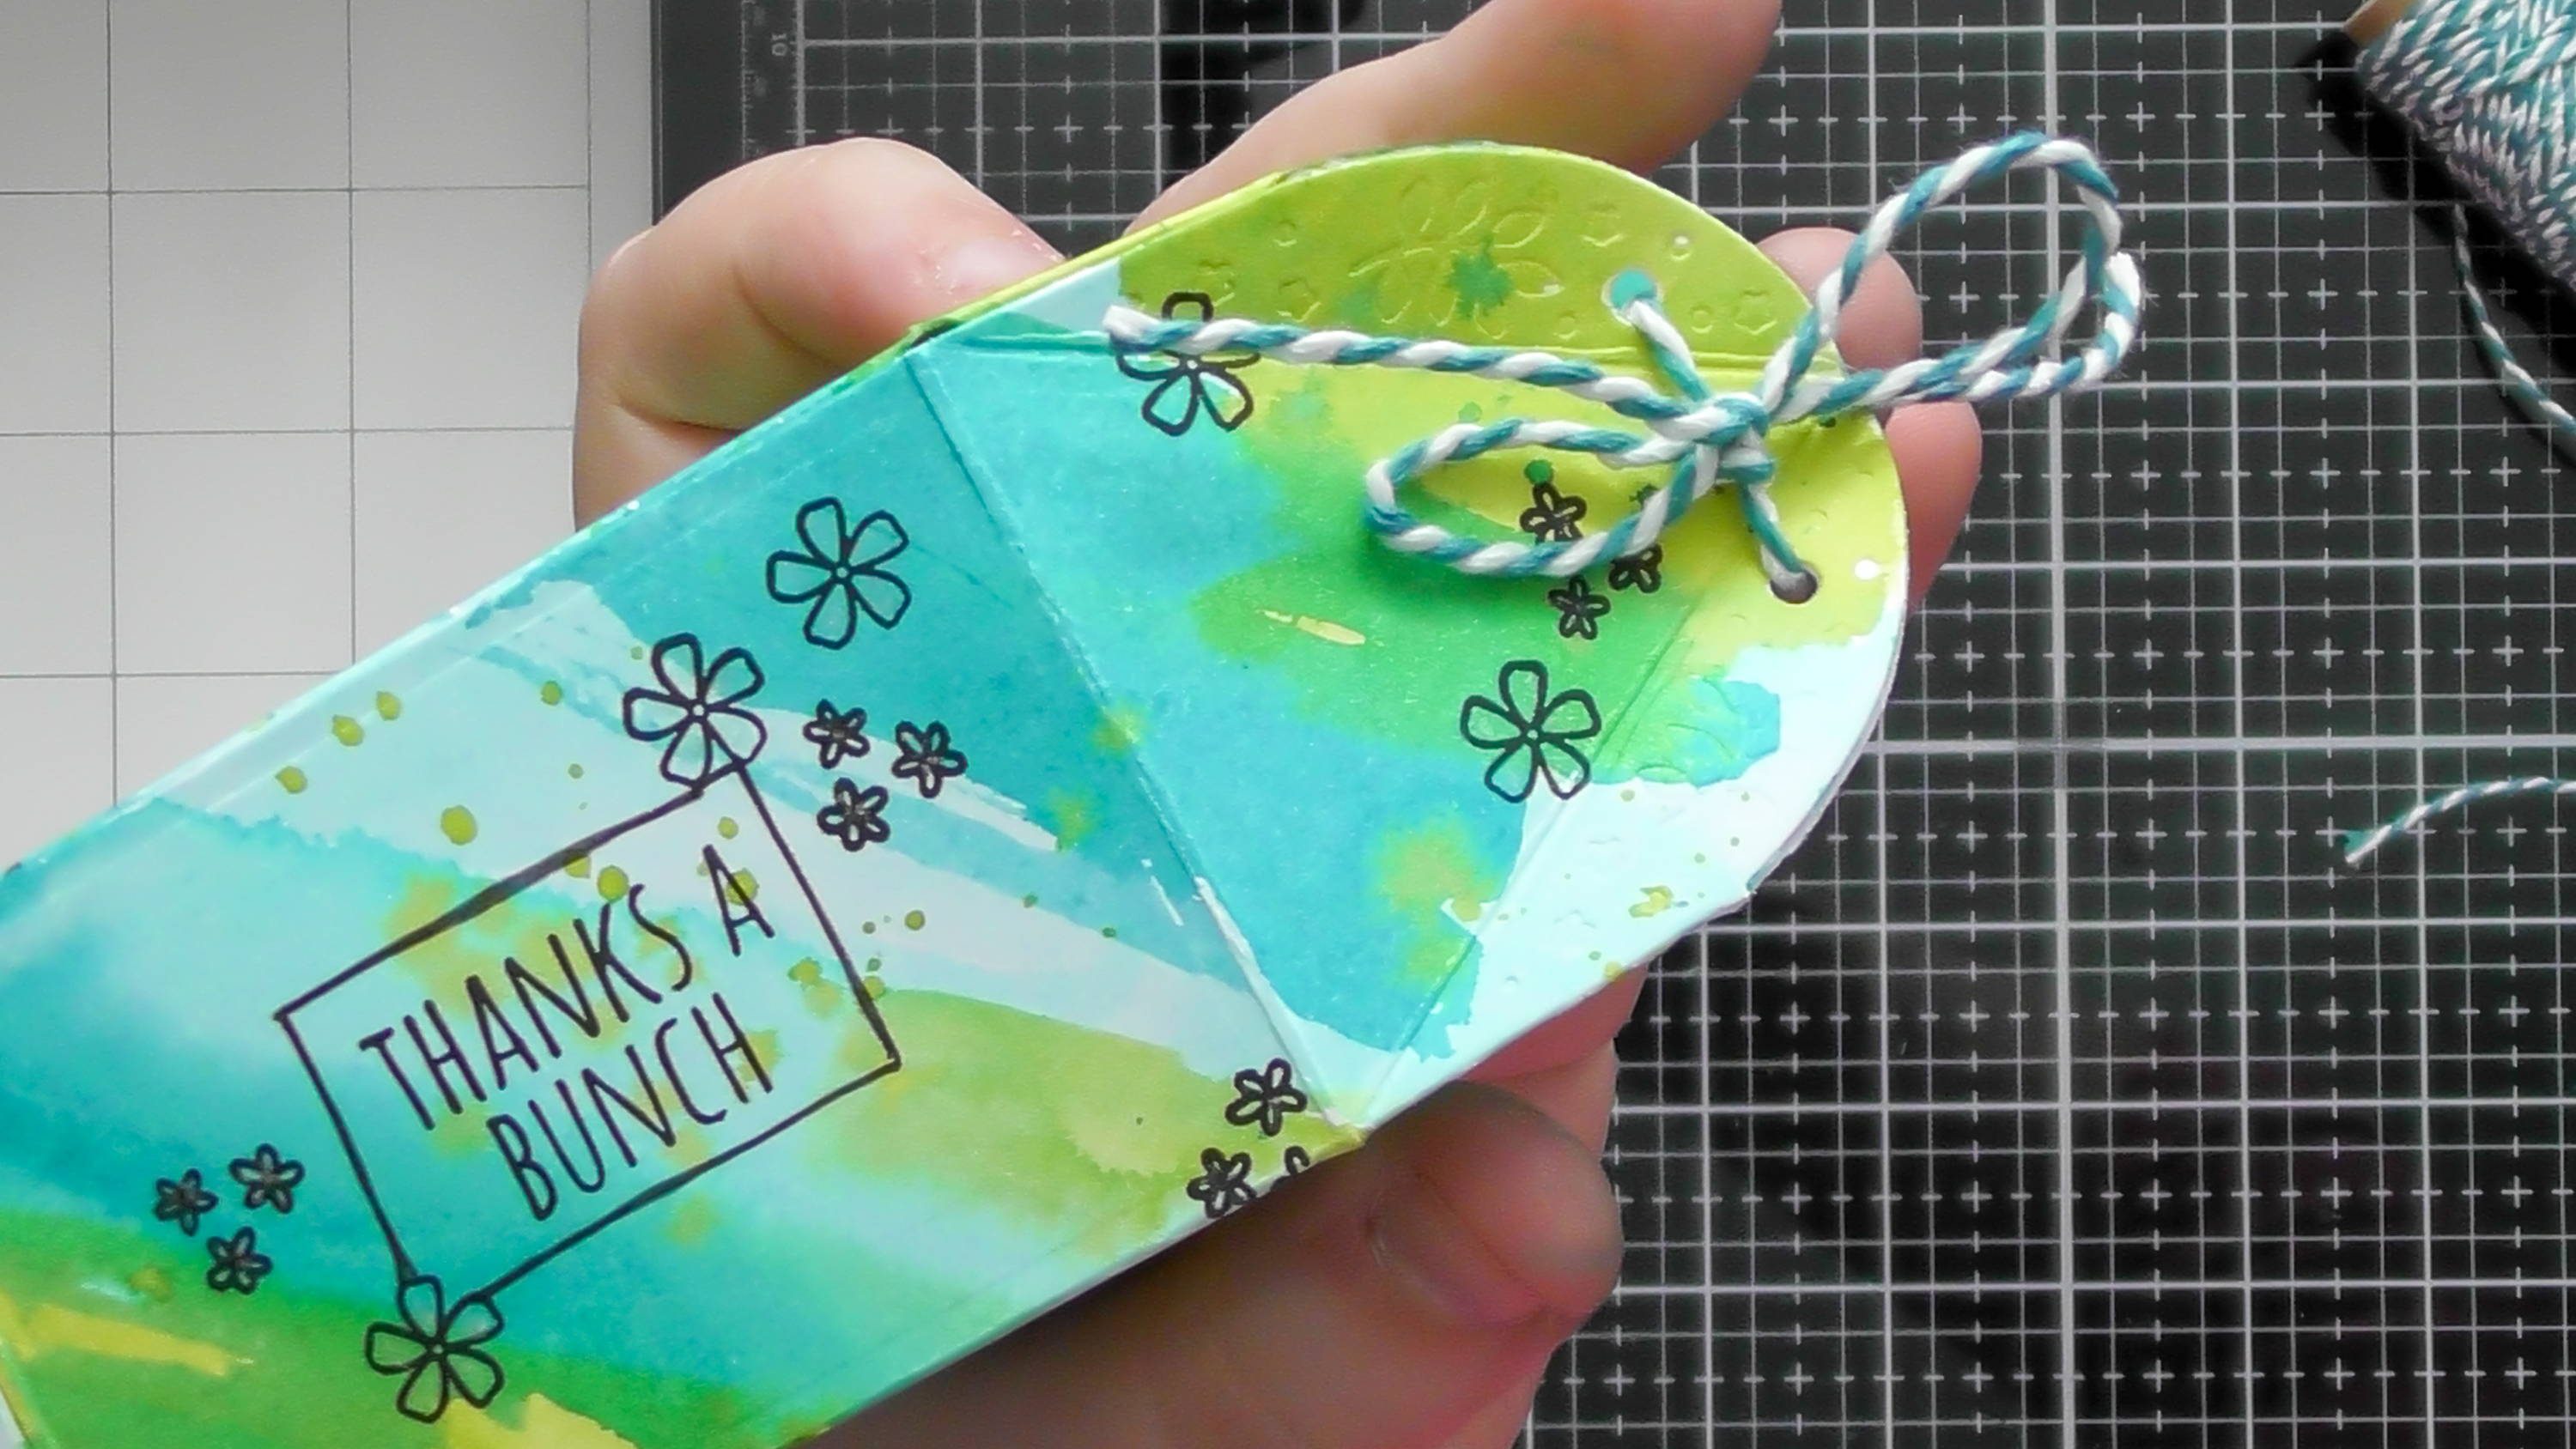
And for a finishing touch, we can add ribbon or bakers twine to hold the box together like so.
Step 16

And there we have our double ended box with bakers twine on both ends
Hope you liked this different take on the box, I often forget to do this kind of box, but I’m sure it’s possible with a lot of different Tonic box dies, so have a look at your stash too and see what you can create :D Christine xxx
Buy The Craft Project


