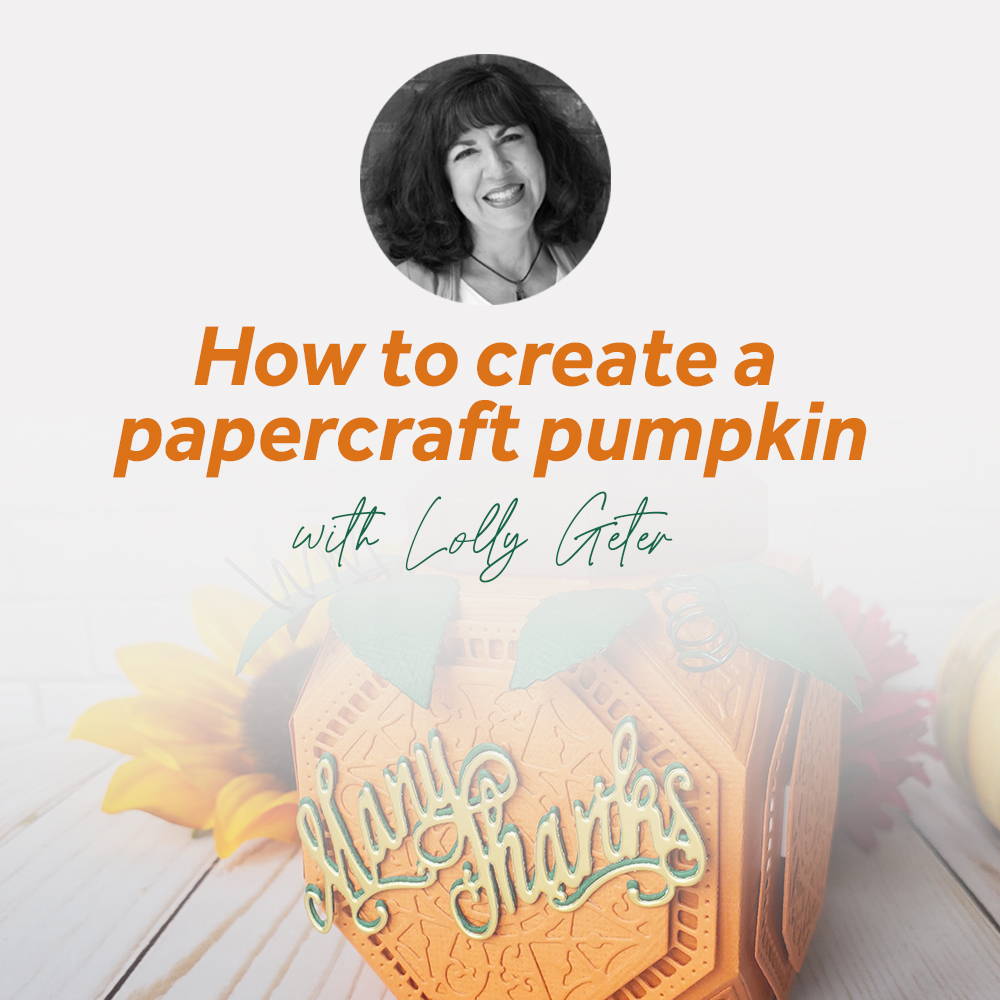

To make this cute pumpkin treat box, you will need the following:
- Timeless Tea Jar die set
- Perfect Petals Roses Die Set
- Many Thanks Mini Sentiment Die
- Nuvo Ink, Parkeet Green
- Classic Card, Pumpkin Orange
- Classic Card, Chocolate Brown
- Classic Card, Avocado Green
- Mirror Card, Gold Pearl
- 20 gauge florist wire, two 6” segments
- Craft Perfect foam squares
- Nuvo Deluxe Adhesive
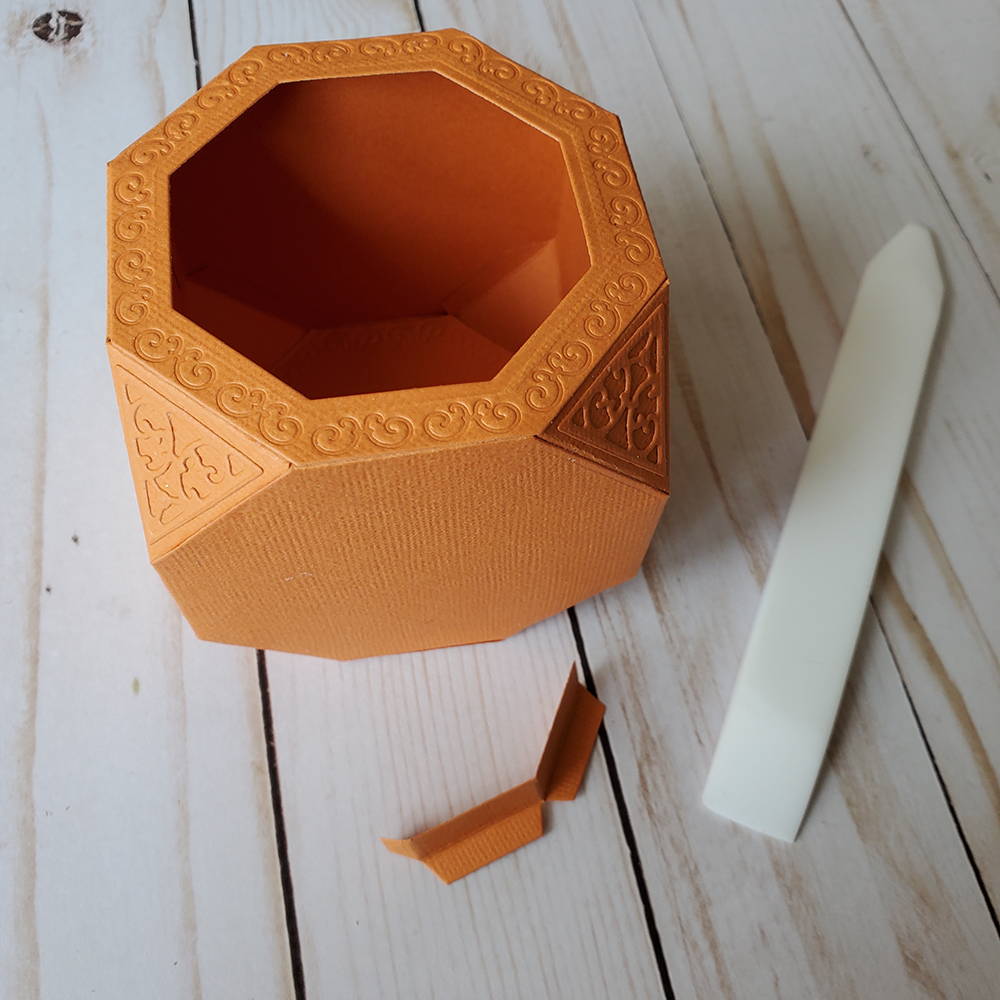
Step 1
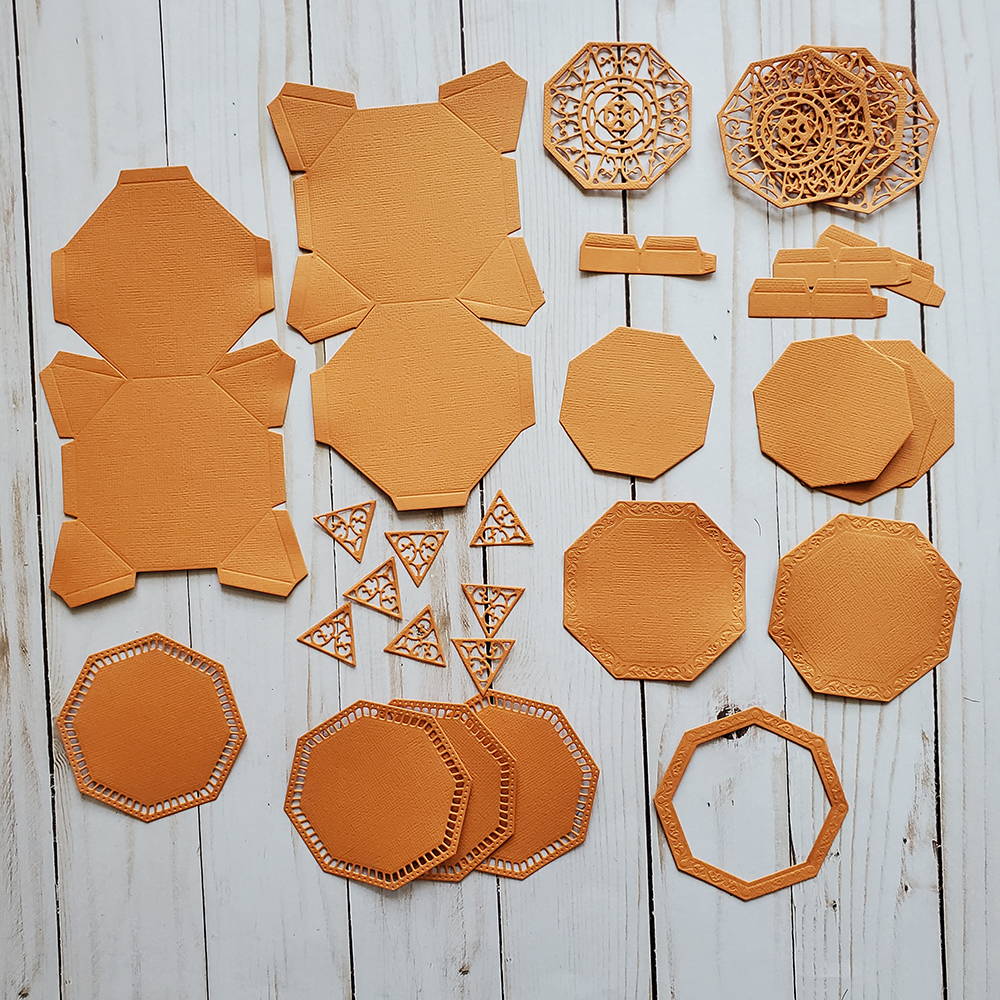
With the Pumpkin Orange card stock, cut out two of the short base pieces, four decorative solid octagon panels, two of the largest solid octagons (for the bottom), the largest octagon with a smaller octagon cut out of it (for the rim), four lip pieces, four intricate smaller octagons, four smaller solid octagons, and eight intricate triangles.
Step 2

Glue the intricate octagons to matching octagons and the intricate triangles to their corresponding places on the base pieces.
Step 3
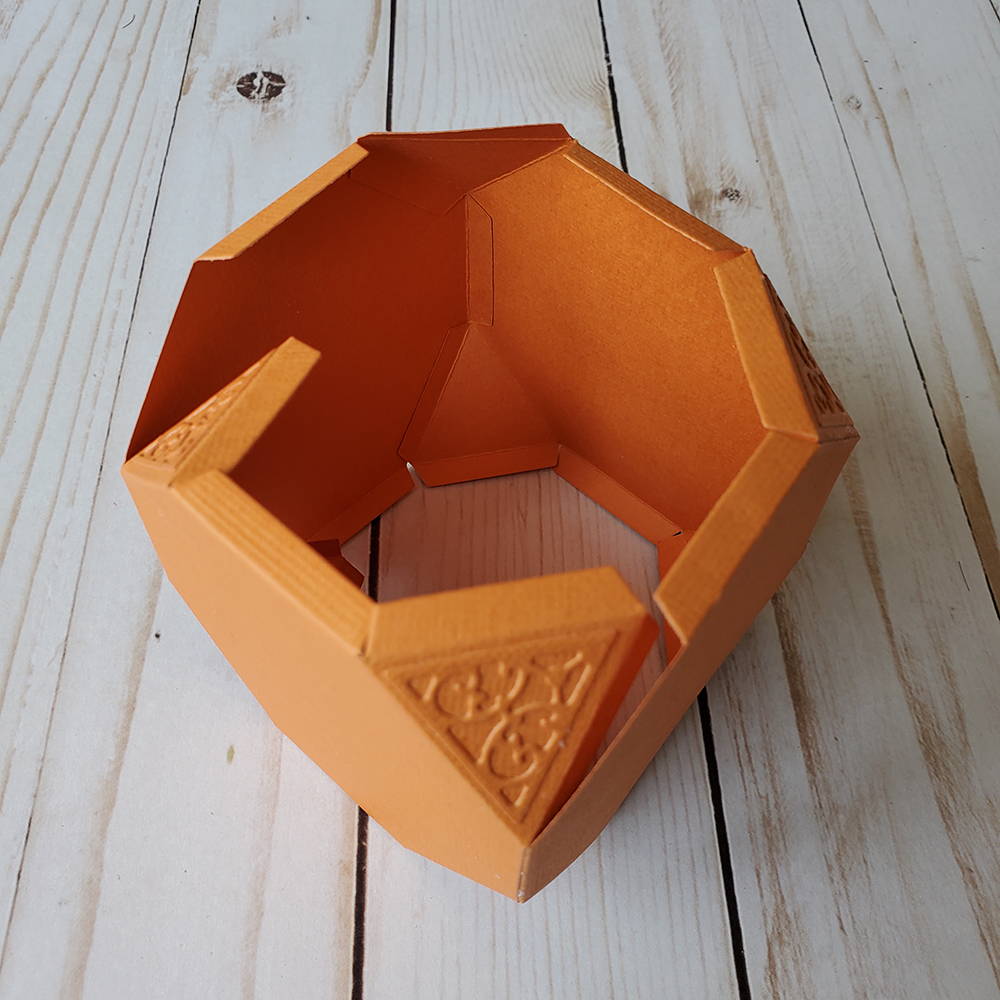
Begin assembling the base by attaching the sides.
Step 4
Attach the two bottom octagons, one inside and one outside the jar. Attach the rim on the top of the flaps. Score the lip pieces and attach under the rim, one at a time, connecting each to the last one.
Step 5
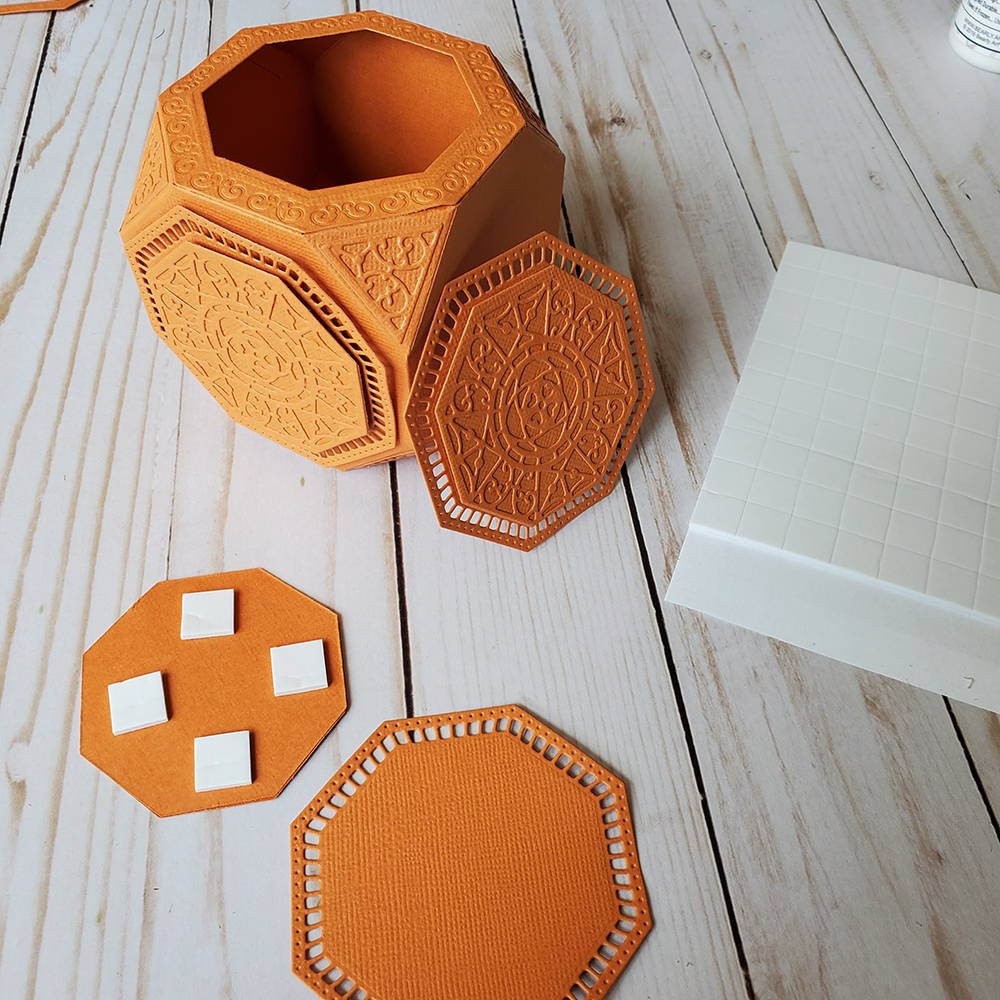
Using four foam squares, attach the smaller octagons to the larger solid octagons. Using five foam squares, attach the large octagons to the flat surfaces of the tea jar.
Step 6
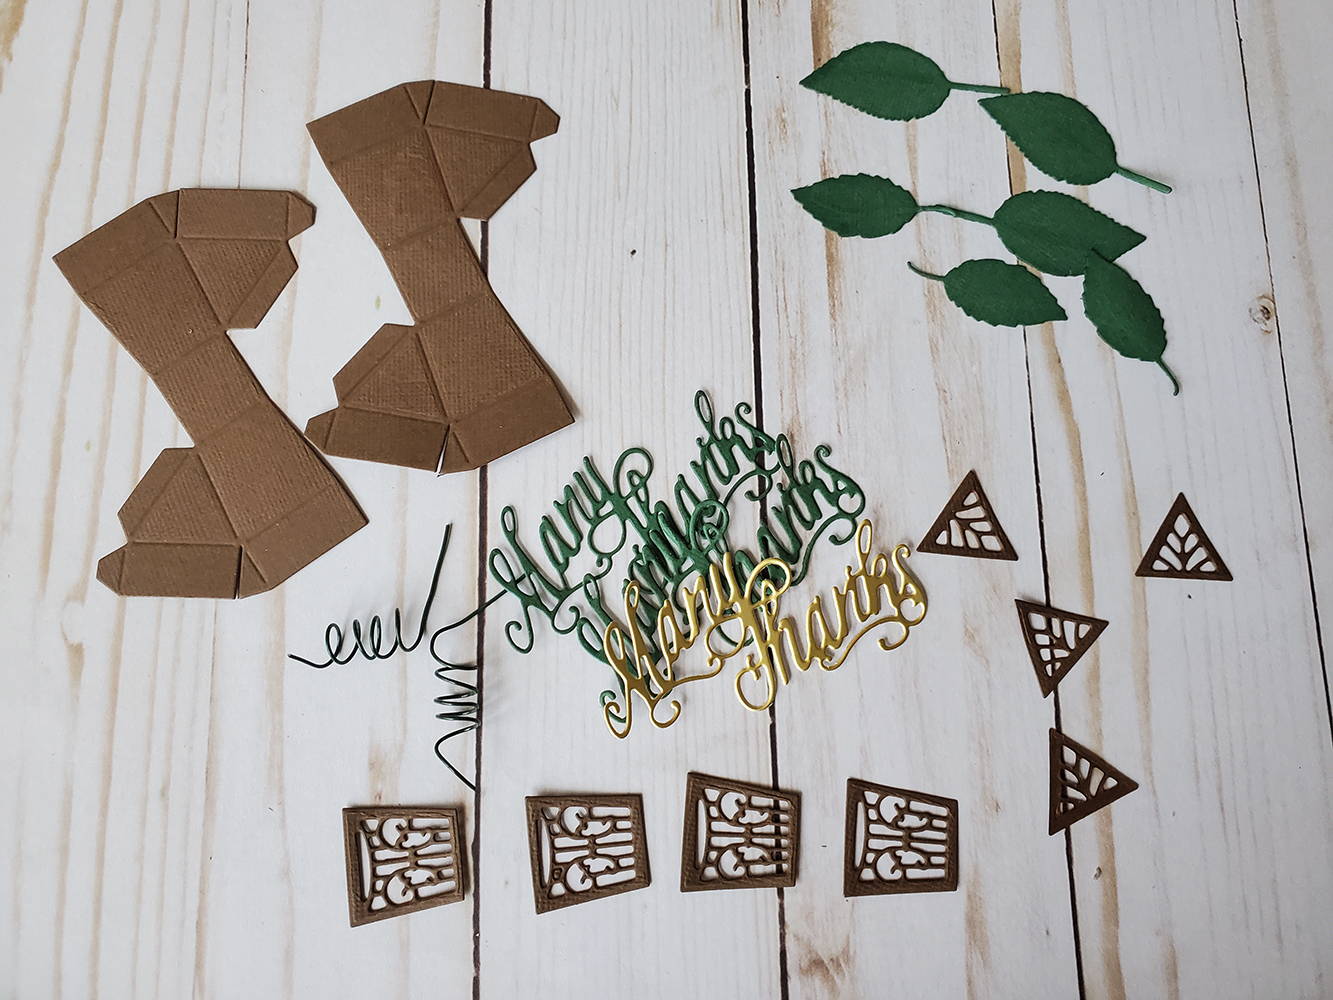
With the Chocolate Brown card stock, cut out two lid panels, four intricate trapezoid shapes, and eight intricate triangle shapes. With the Avocado card stock, cut out about six leaves from the perfect Petals Roses Die Set or die set of your choice. Gently ink the edges of the leaves with Parkeet Green ink. Coil each florist wire around a smooth barrel pencil, leaving one end straight for gluing. Cut out two “Many Thanks” sentiments using Avocado Green card stock and one with Gold Pearl mirror card.
Step 7
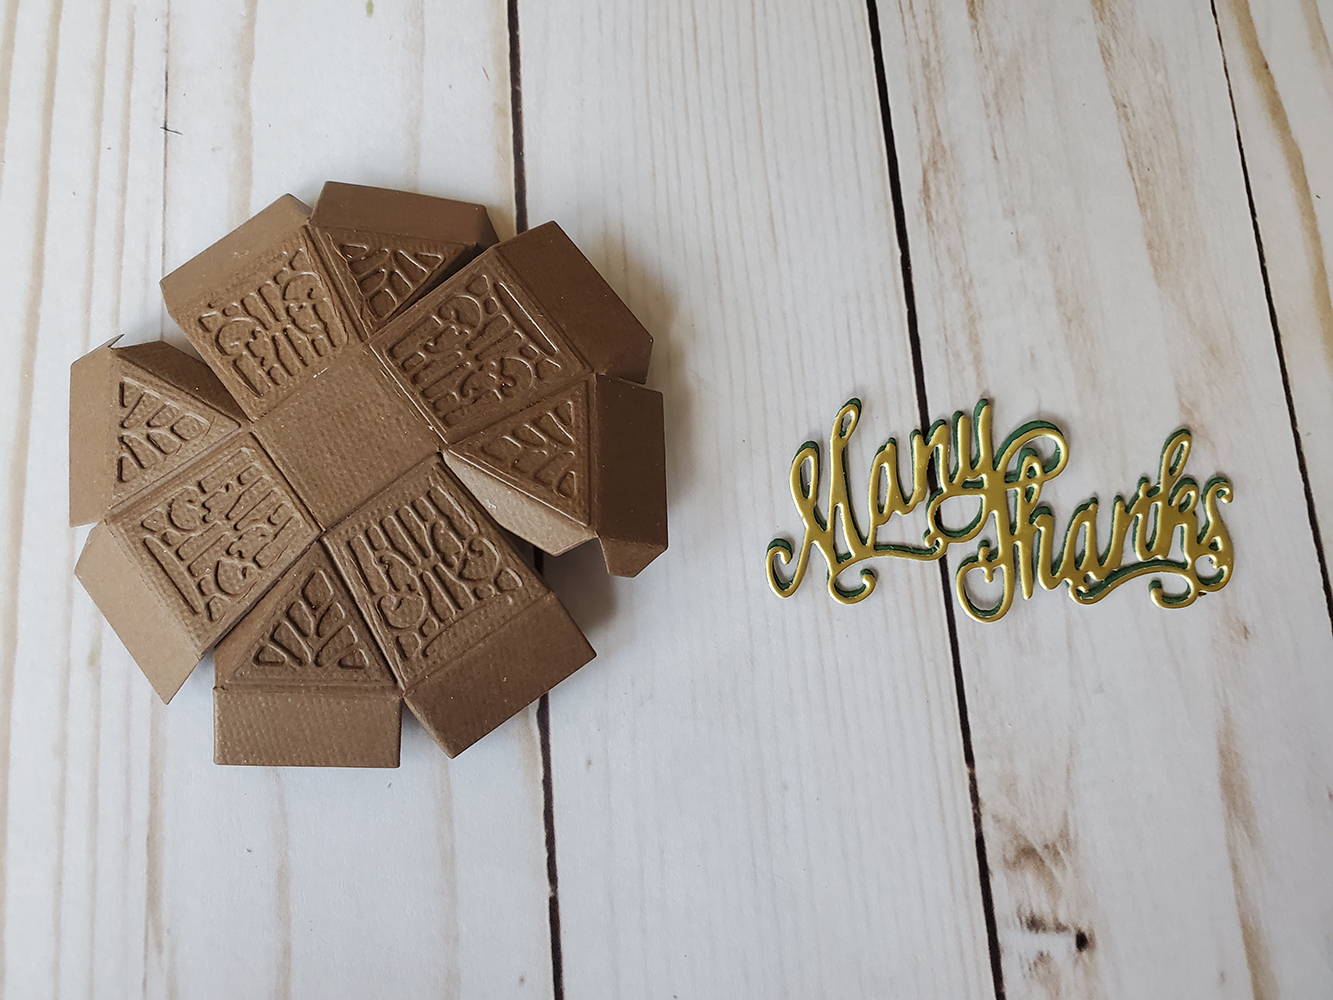
Glue the two green sentiments together, aligning well. Glue the gold sentiment on top, offsetting it so the green shows as a shadow around the gold. Glue the intricate brown pieces to the lid, and glue the two lid bases together, crossed in the center.
Step 8
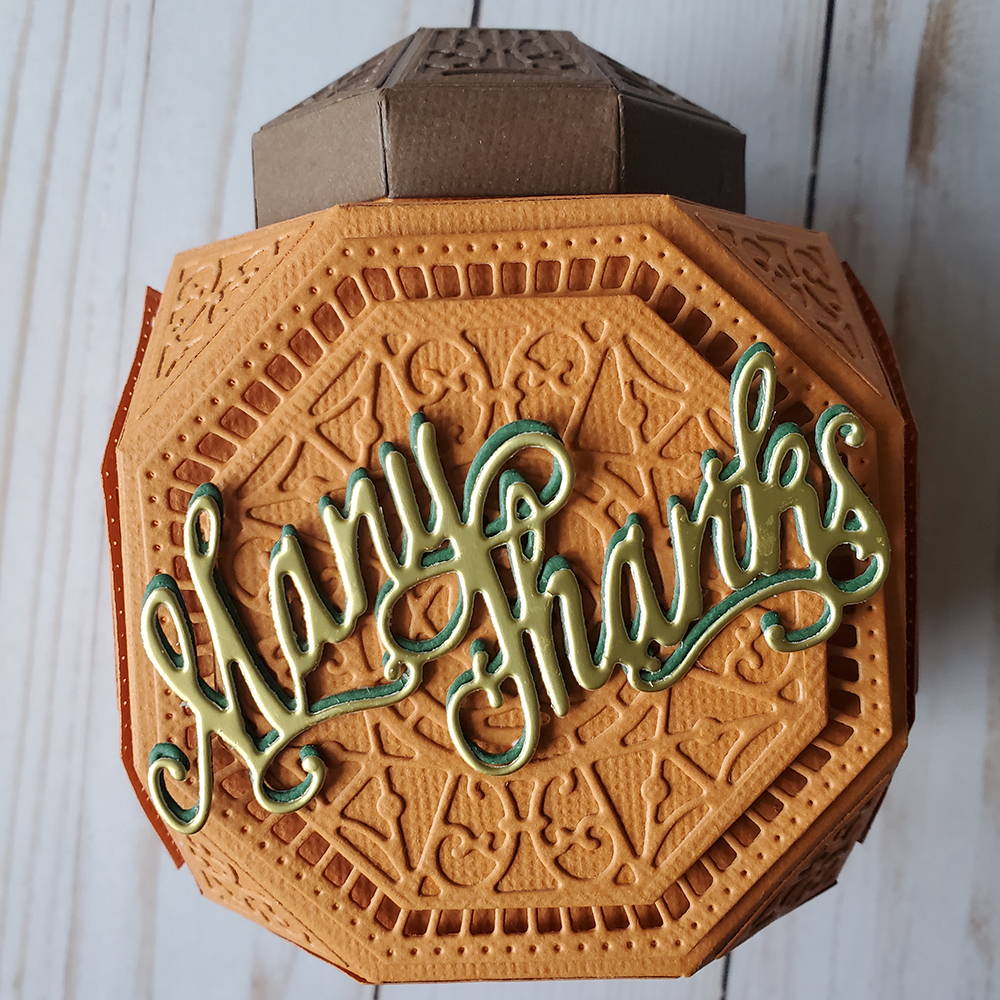
Attach the sentiment to the front panel on the tea jar.
Step 9
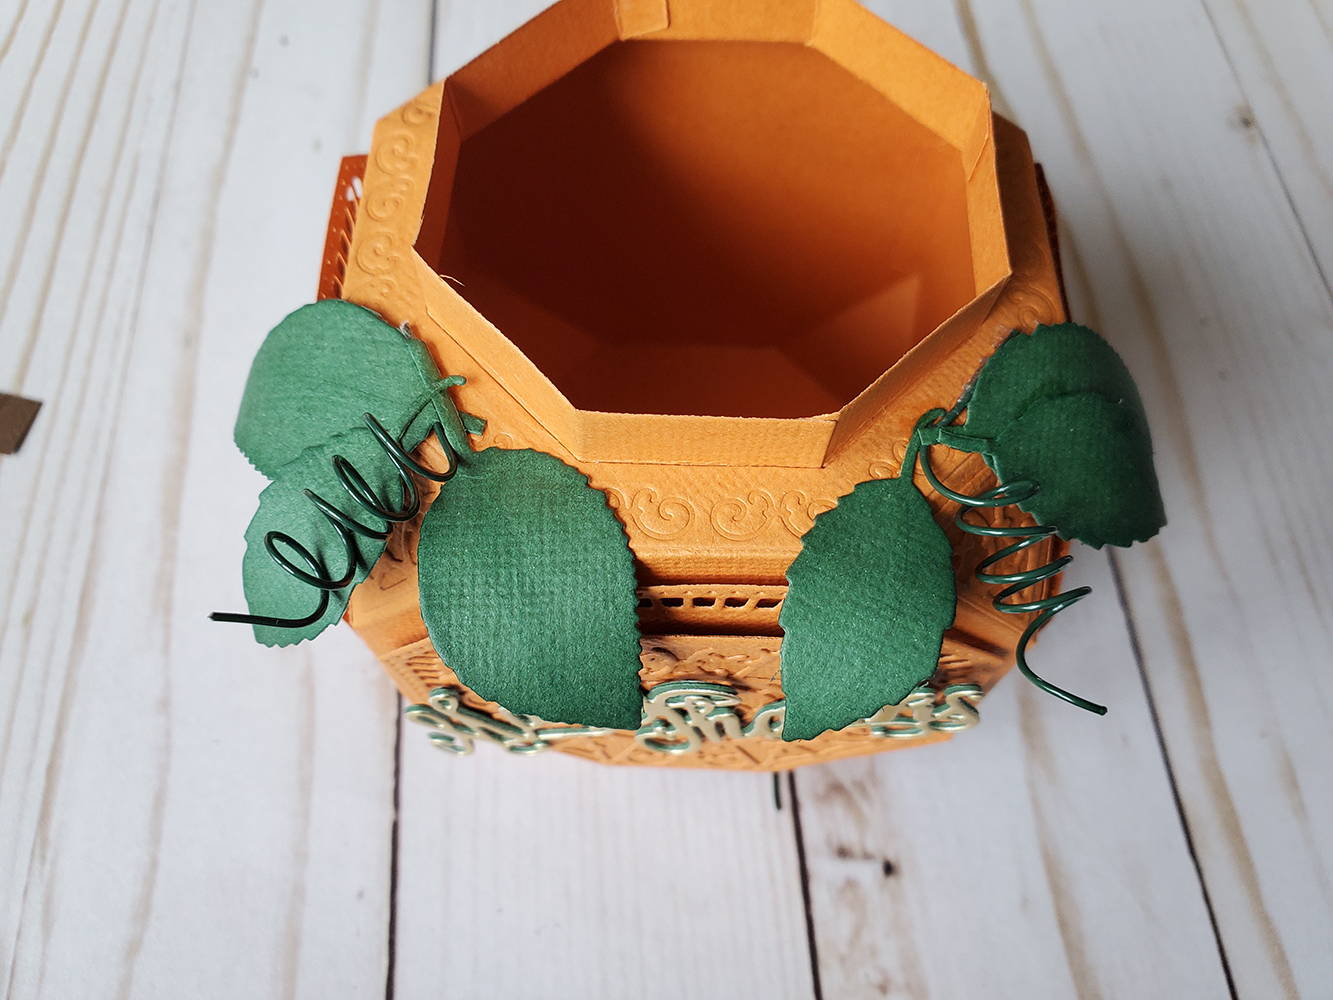
Using a Teflon bone folder, gently curl the leaves. Attach the coiled wire using a permanent adhesive, and using Nuvo Deluxe Adhesive glue the leaves over the exposed wire. Be careful to leave room for the lid to fit down over the tea jar lip.
Step 10
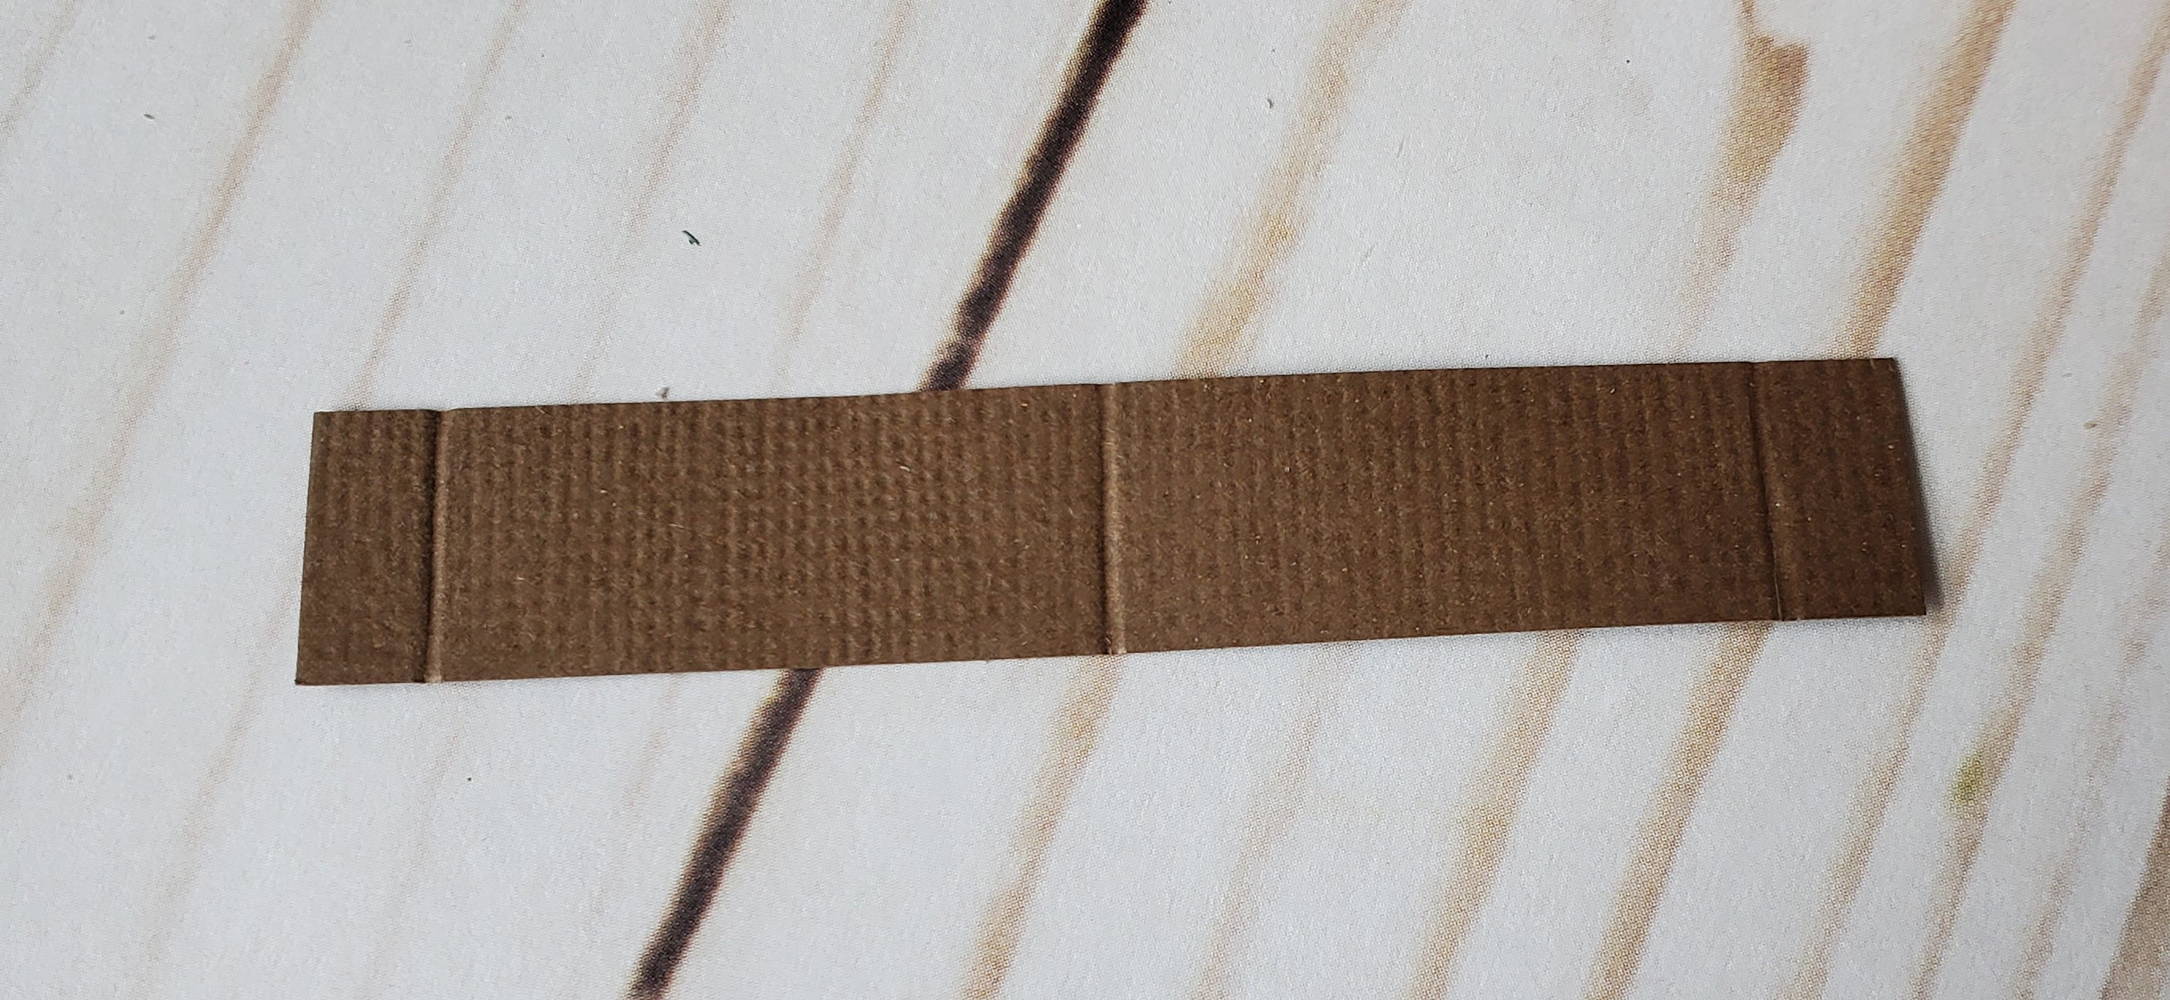
If you want a stem on the lid, cut a piece of Chocolate Brown card stock 3” by 1/2”. Score it at 1/4”, 1 1/2”, and 2 3/4”.
Step 11
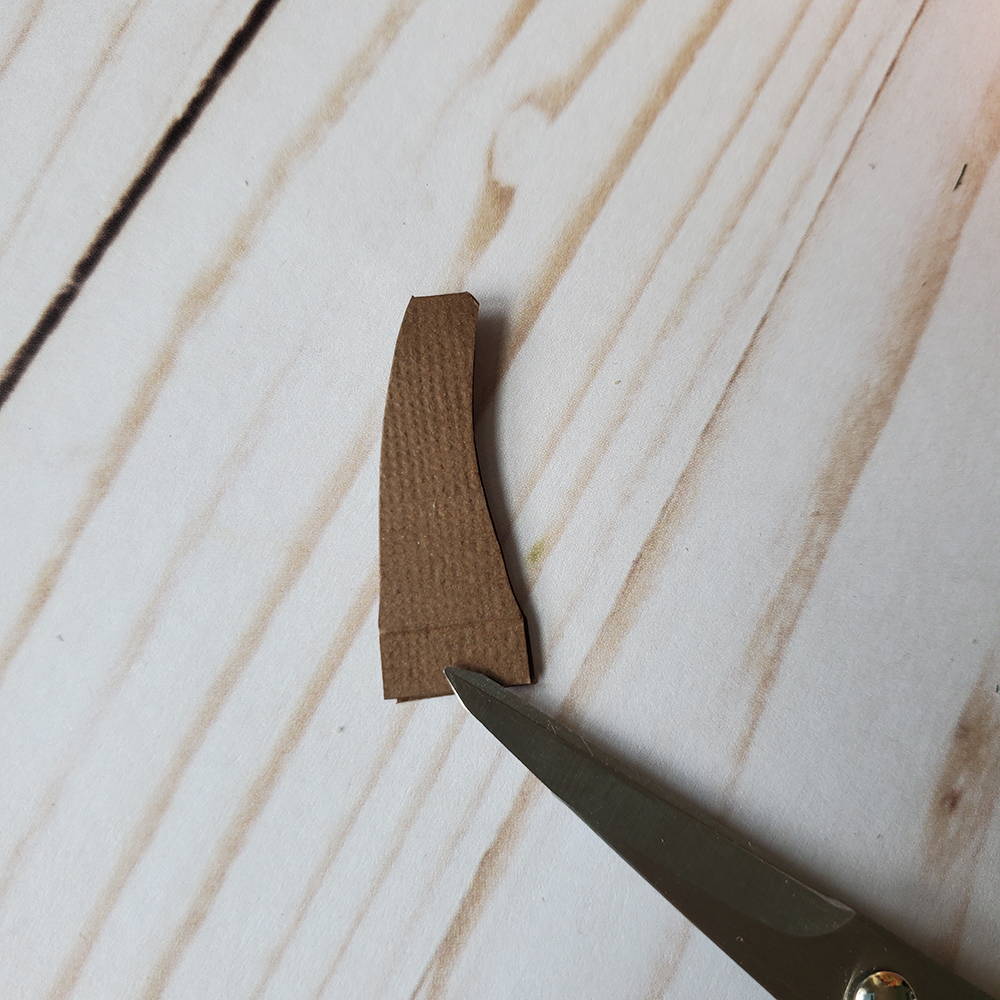
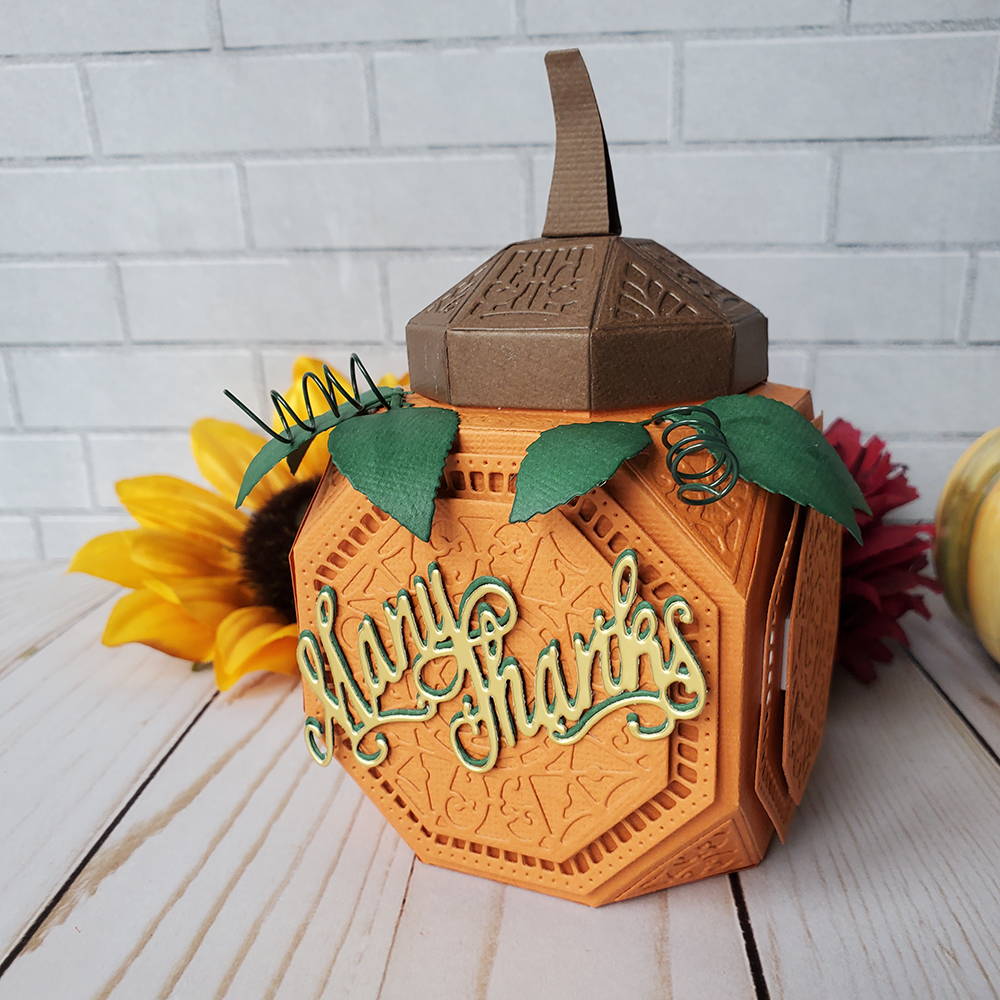
Fold it in half, and using fine tip scissors cut a curved shape above the two score lines. Fold the small scored bottom panels inward and glue together. Put a drop of glue inside the top edge and press together. Glue to the center of the lid.
Buy The Craft Project
