

This month’s kit creates a selection of dinky little flower topped boxes, and there are tonnes of iterations that you can make too, the die set includes 3 different base shapes as well as 3 different side heights so it’s the ultimate mix and match box set :D And the kit comes packed with all the Craft Perfect and Nuvo you’ll need to make some fantastic boxes, or cards too :D Check out my CRaFTi PoTeNTiAl channel for a full un-boxing with 4 sided box construction, and a separate card making video using dies from the kit too :D Christine xxx
Step 1
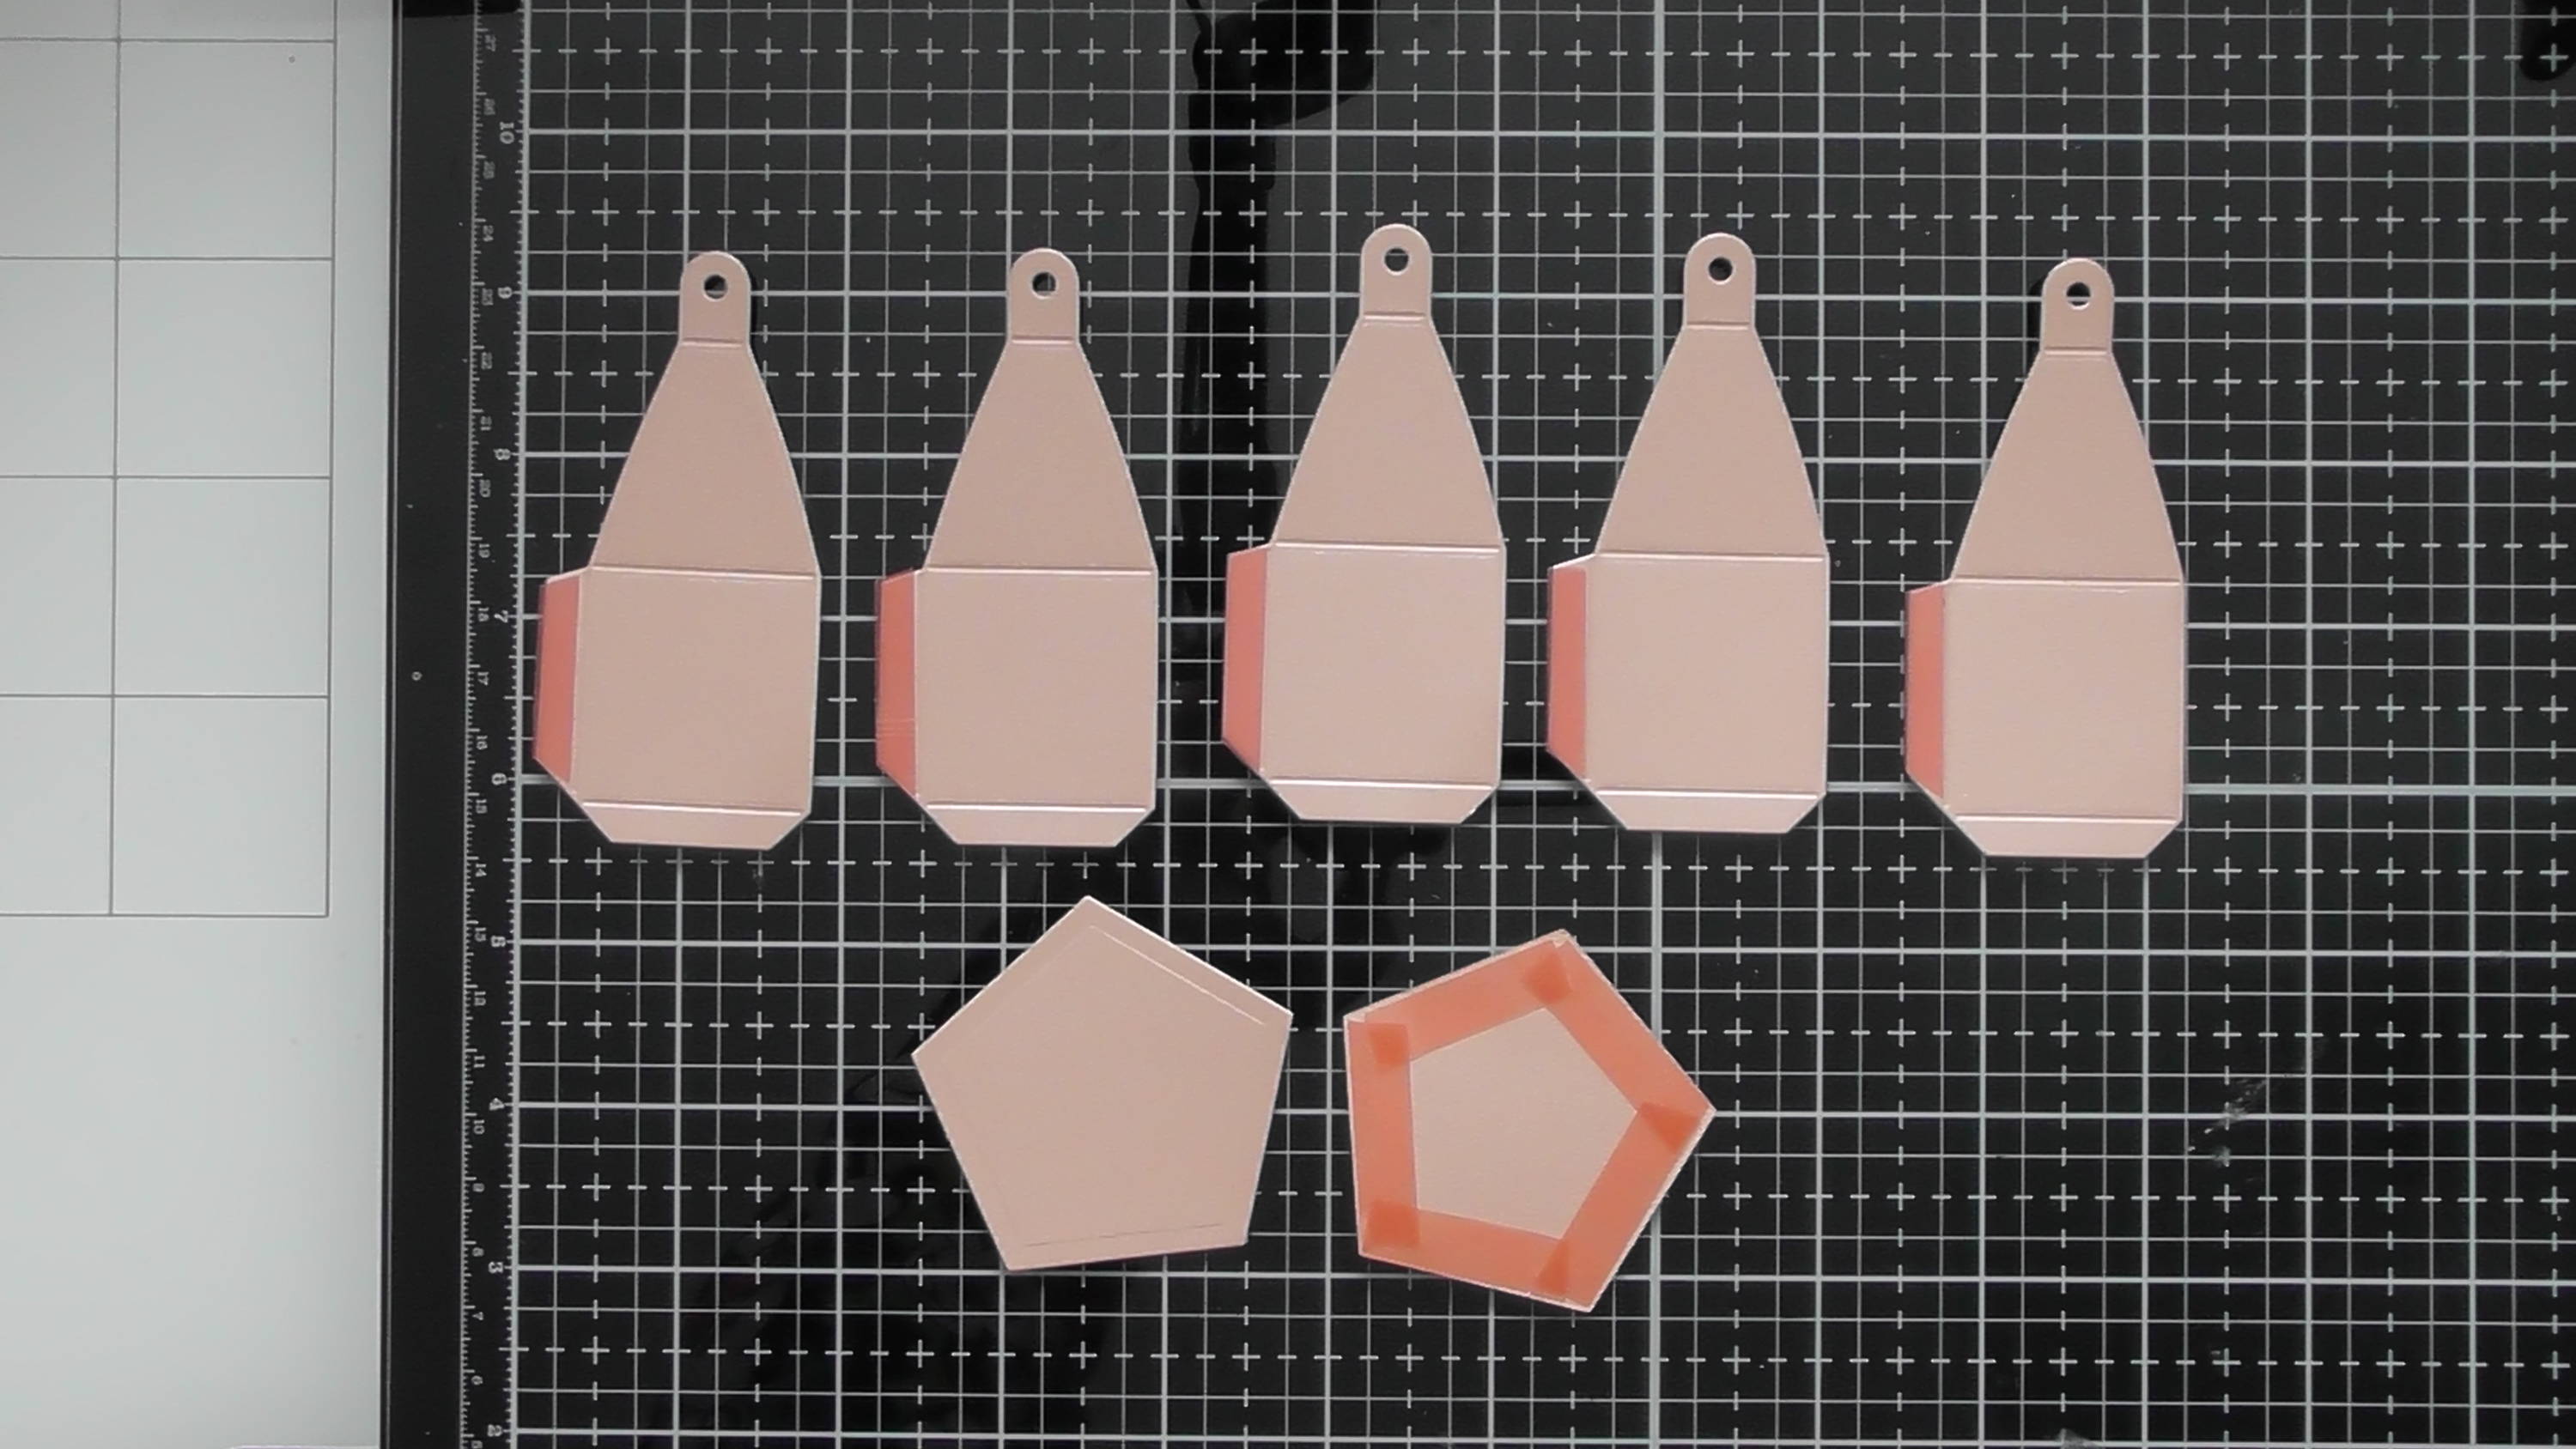
You’ll need these pieces for the box construction, and the photo indicates where I’ve added red liner tape too, however, you do get Nuvo Deluxe adhesive in the kit, and it’d work equally well.
Step 2
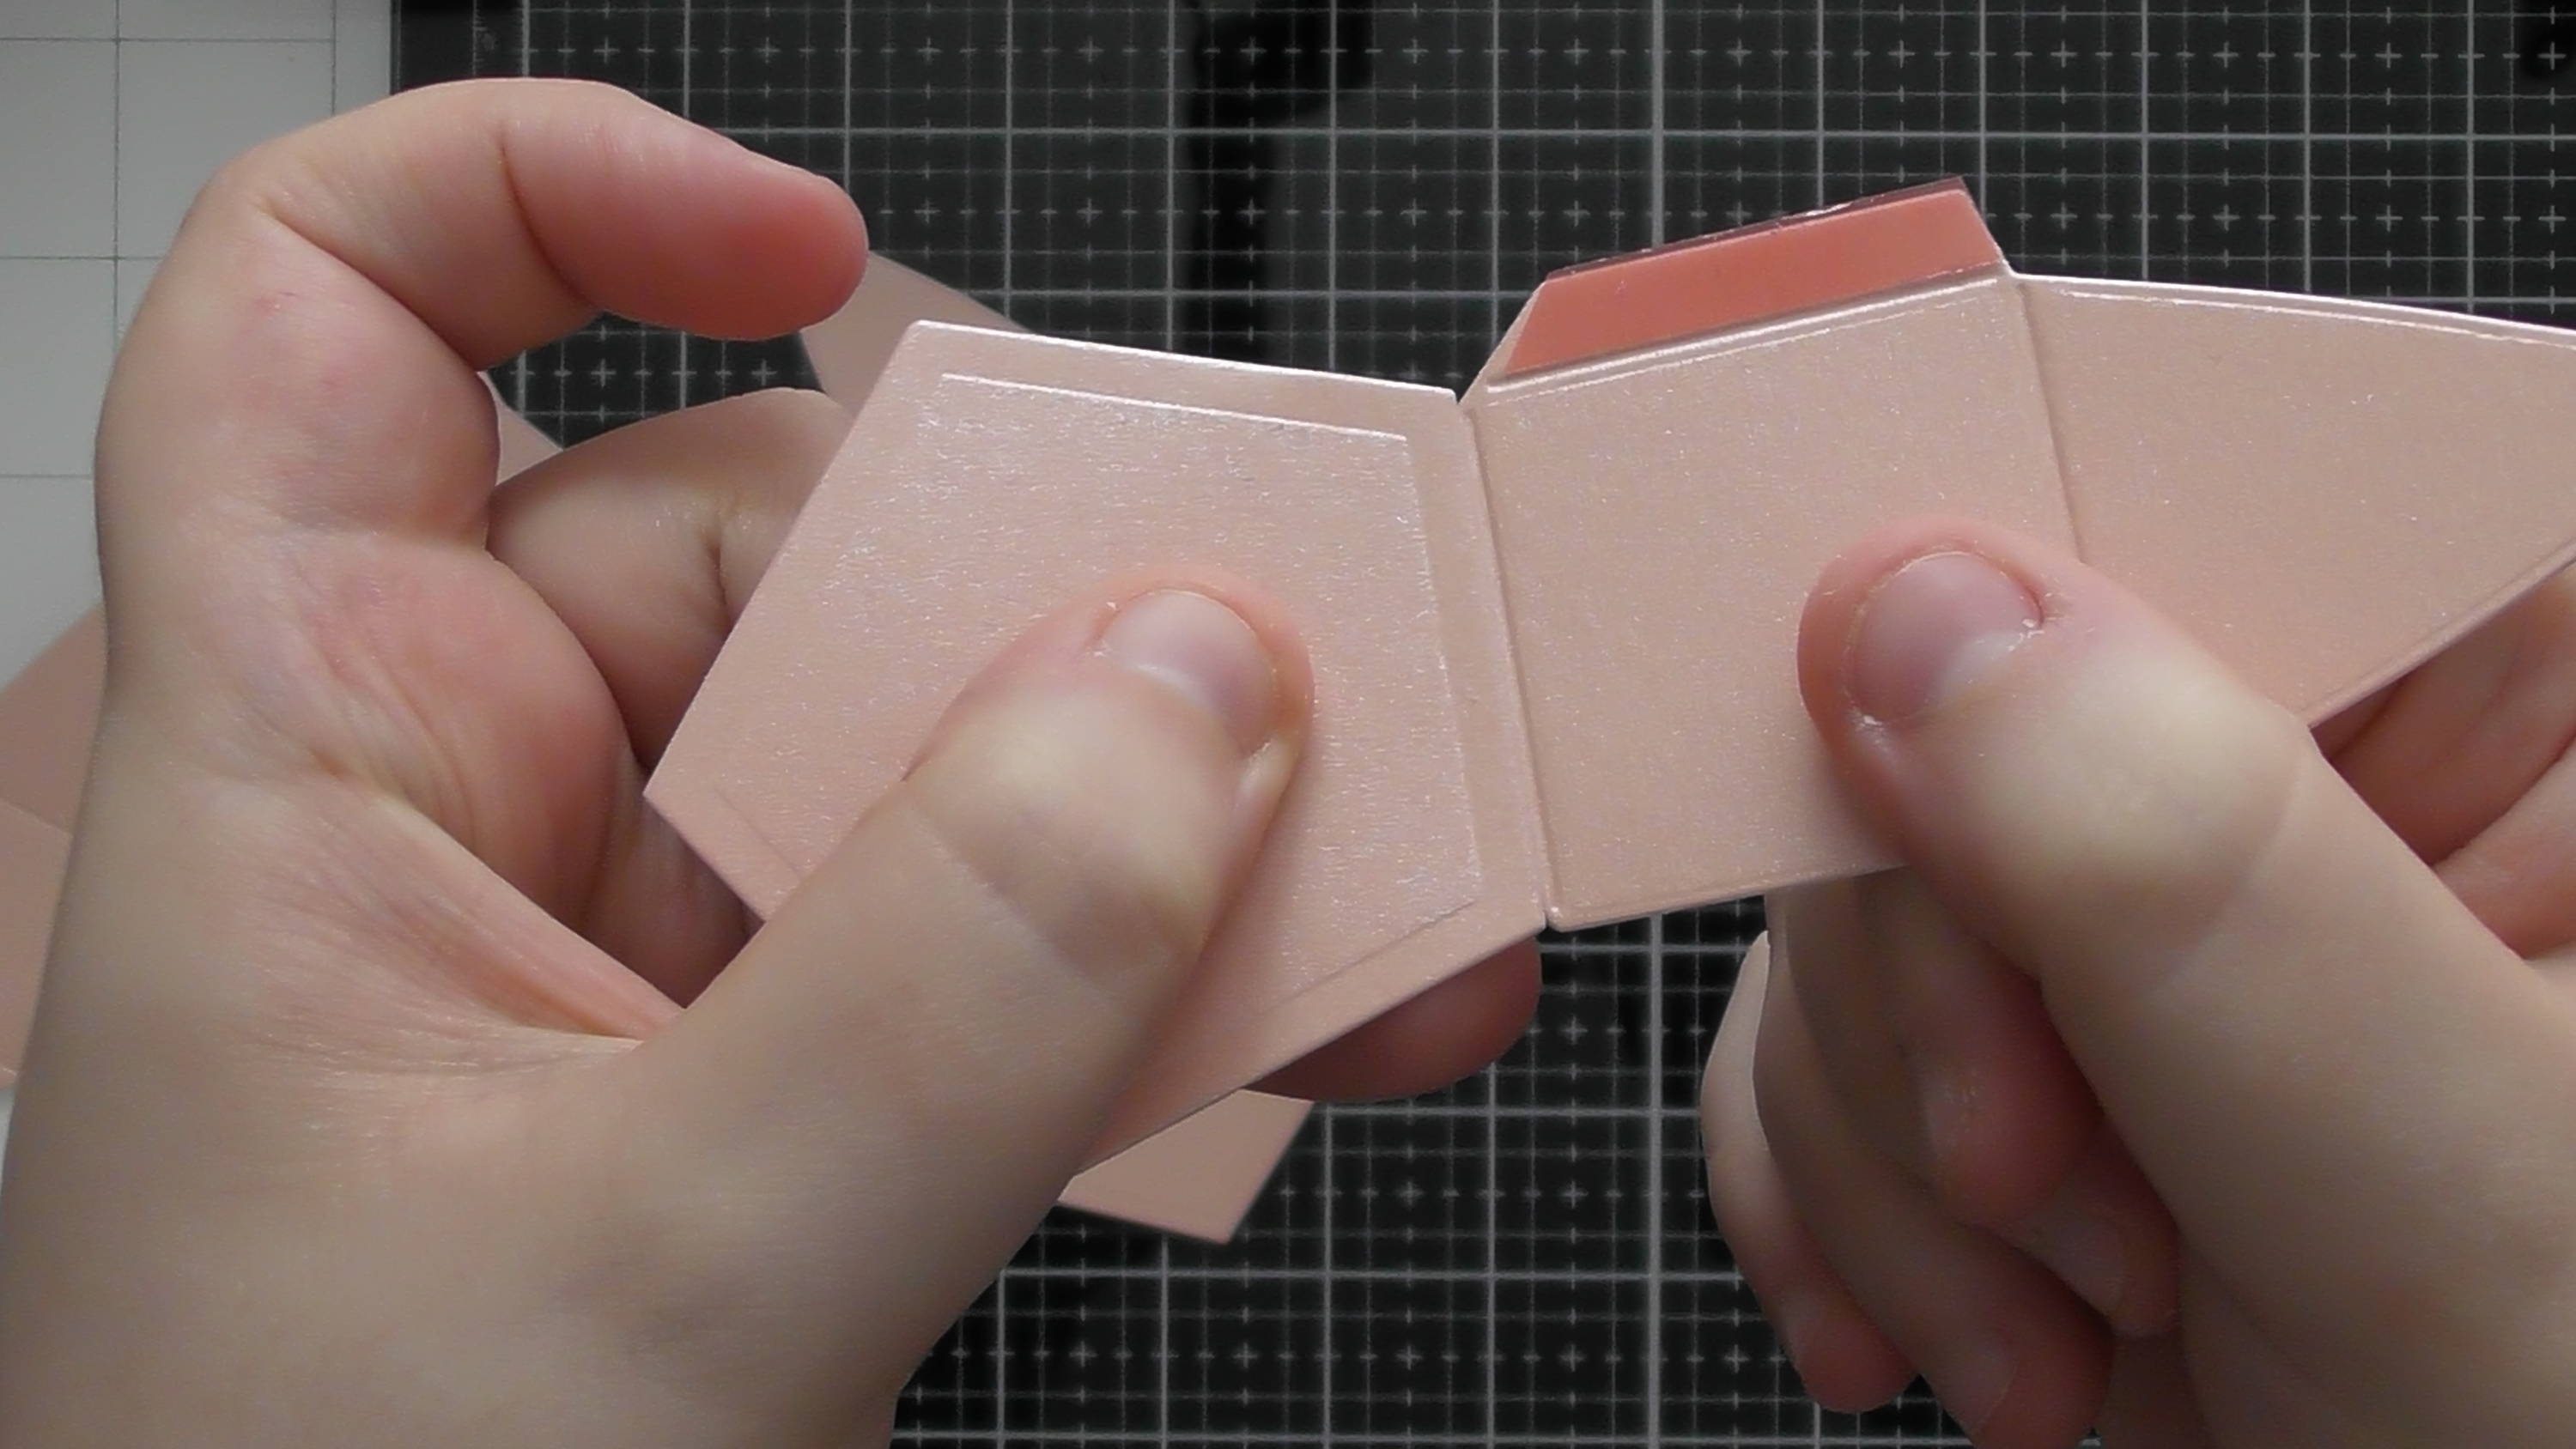
Take the backing off the red liner tape you added to the pentagon, and attach all the sides…
Step 3
… and you’ll be left with a piece like this.
Step 4

To make a nice strong base, add a second pentagon inside as shown.
Step 5

Now you need to decide on your decoration, I decided to stick the intricate panels straight onto the box base, but you can also back them with a solid piece, or just simply use a solid panel too, there are so many options.
Step 6
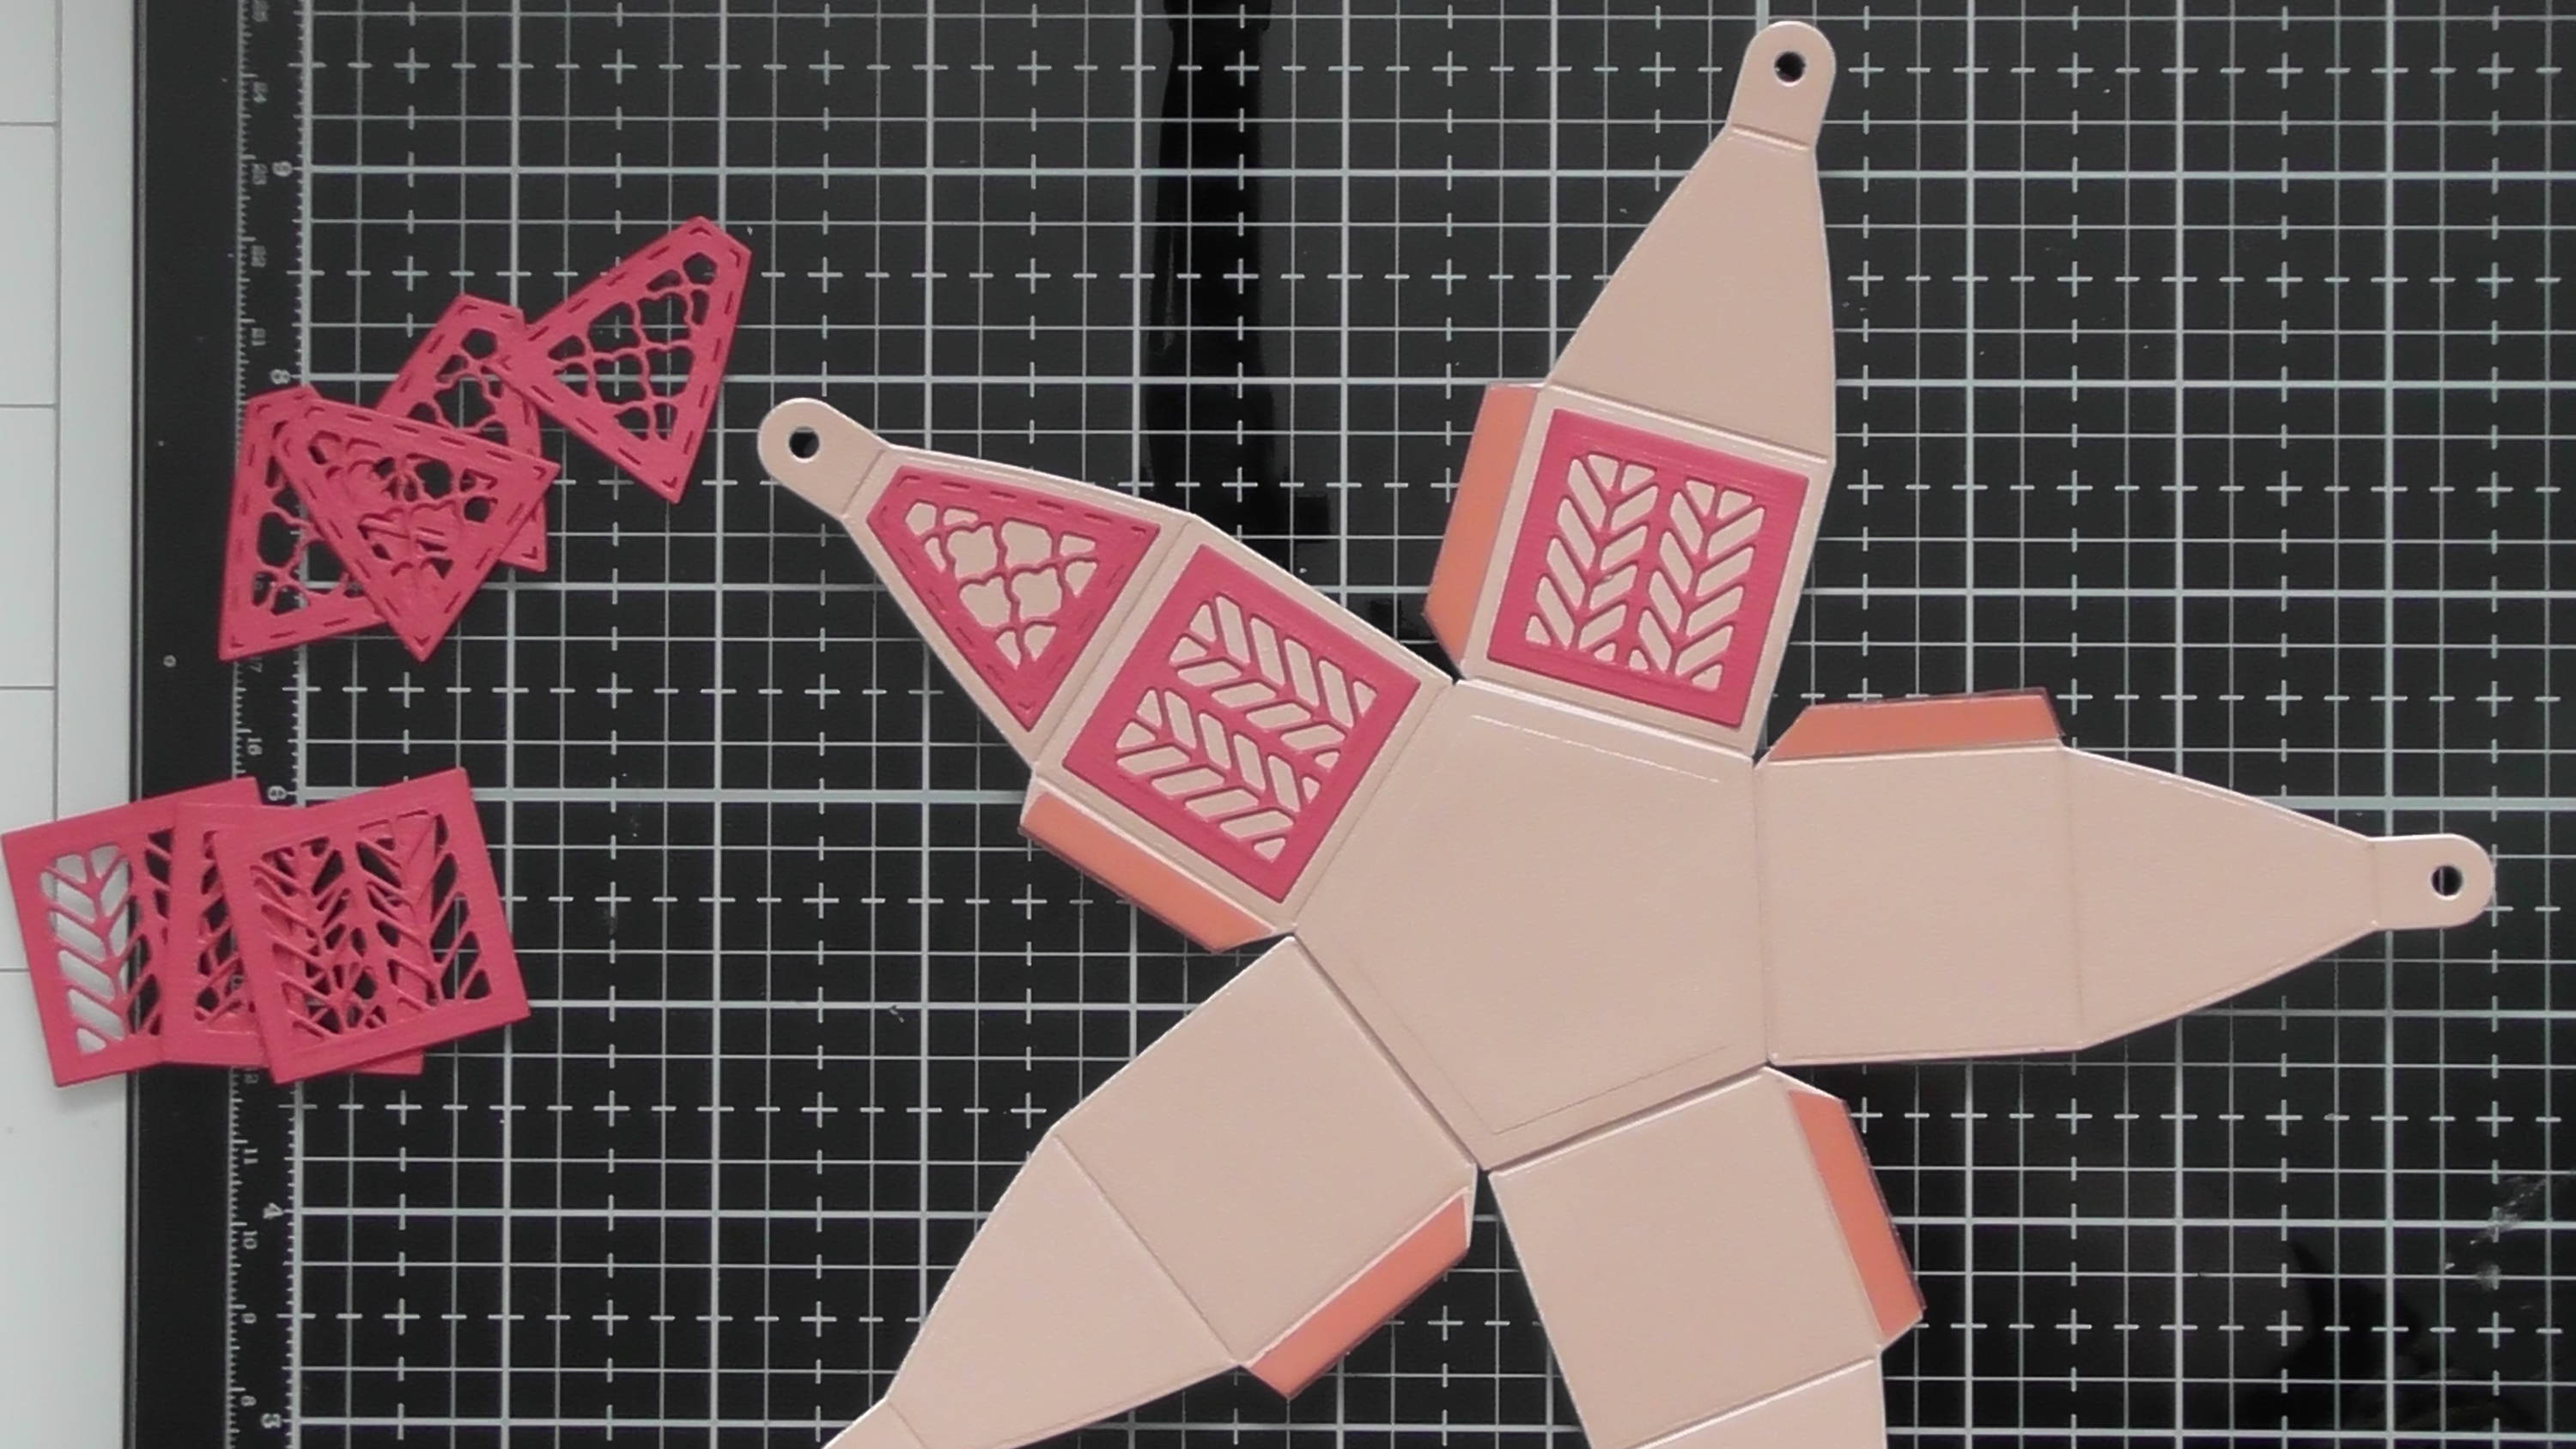
Add your panels as shown.
Step 7
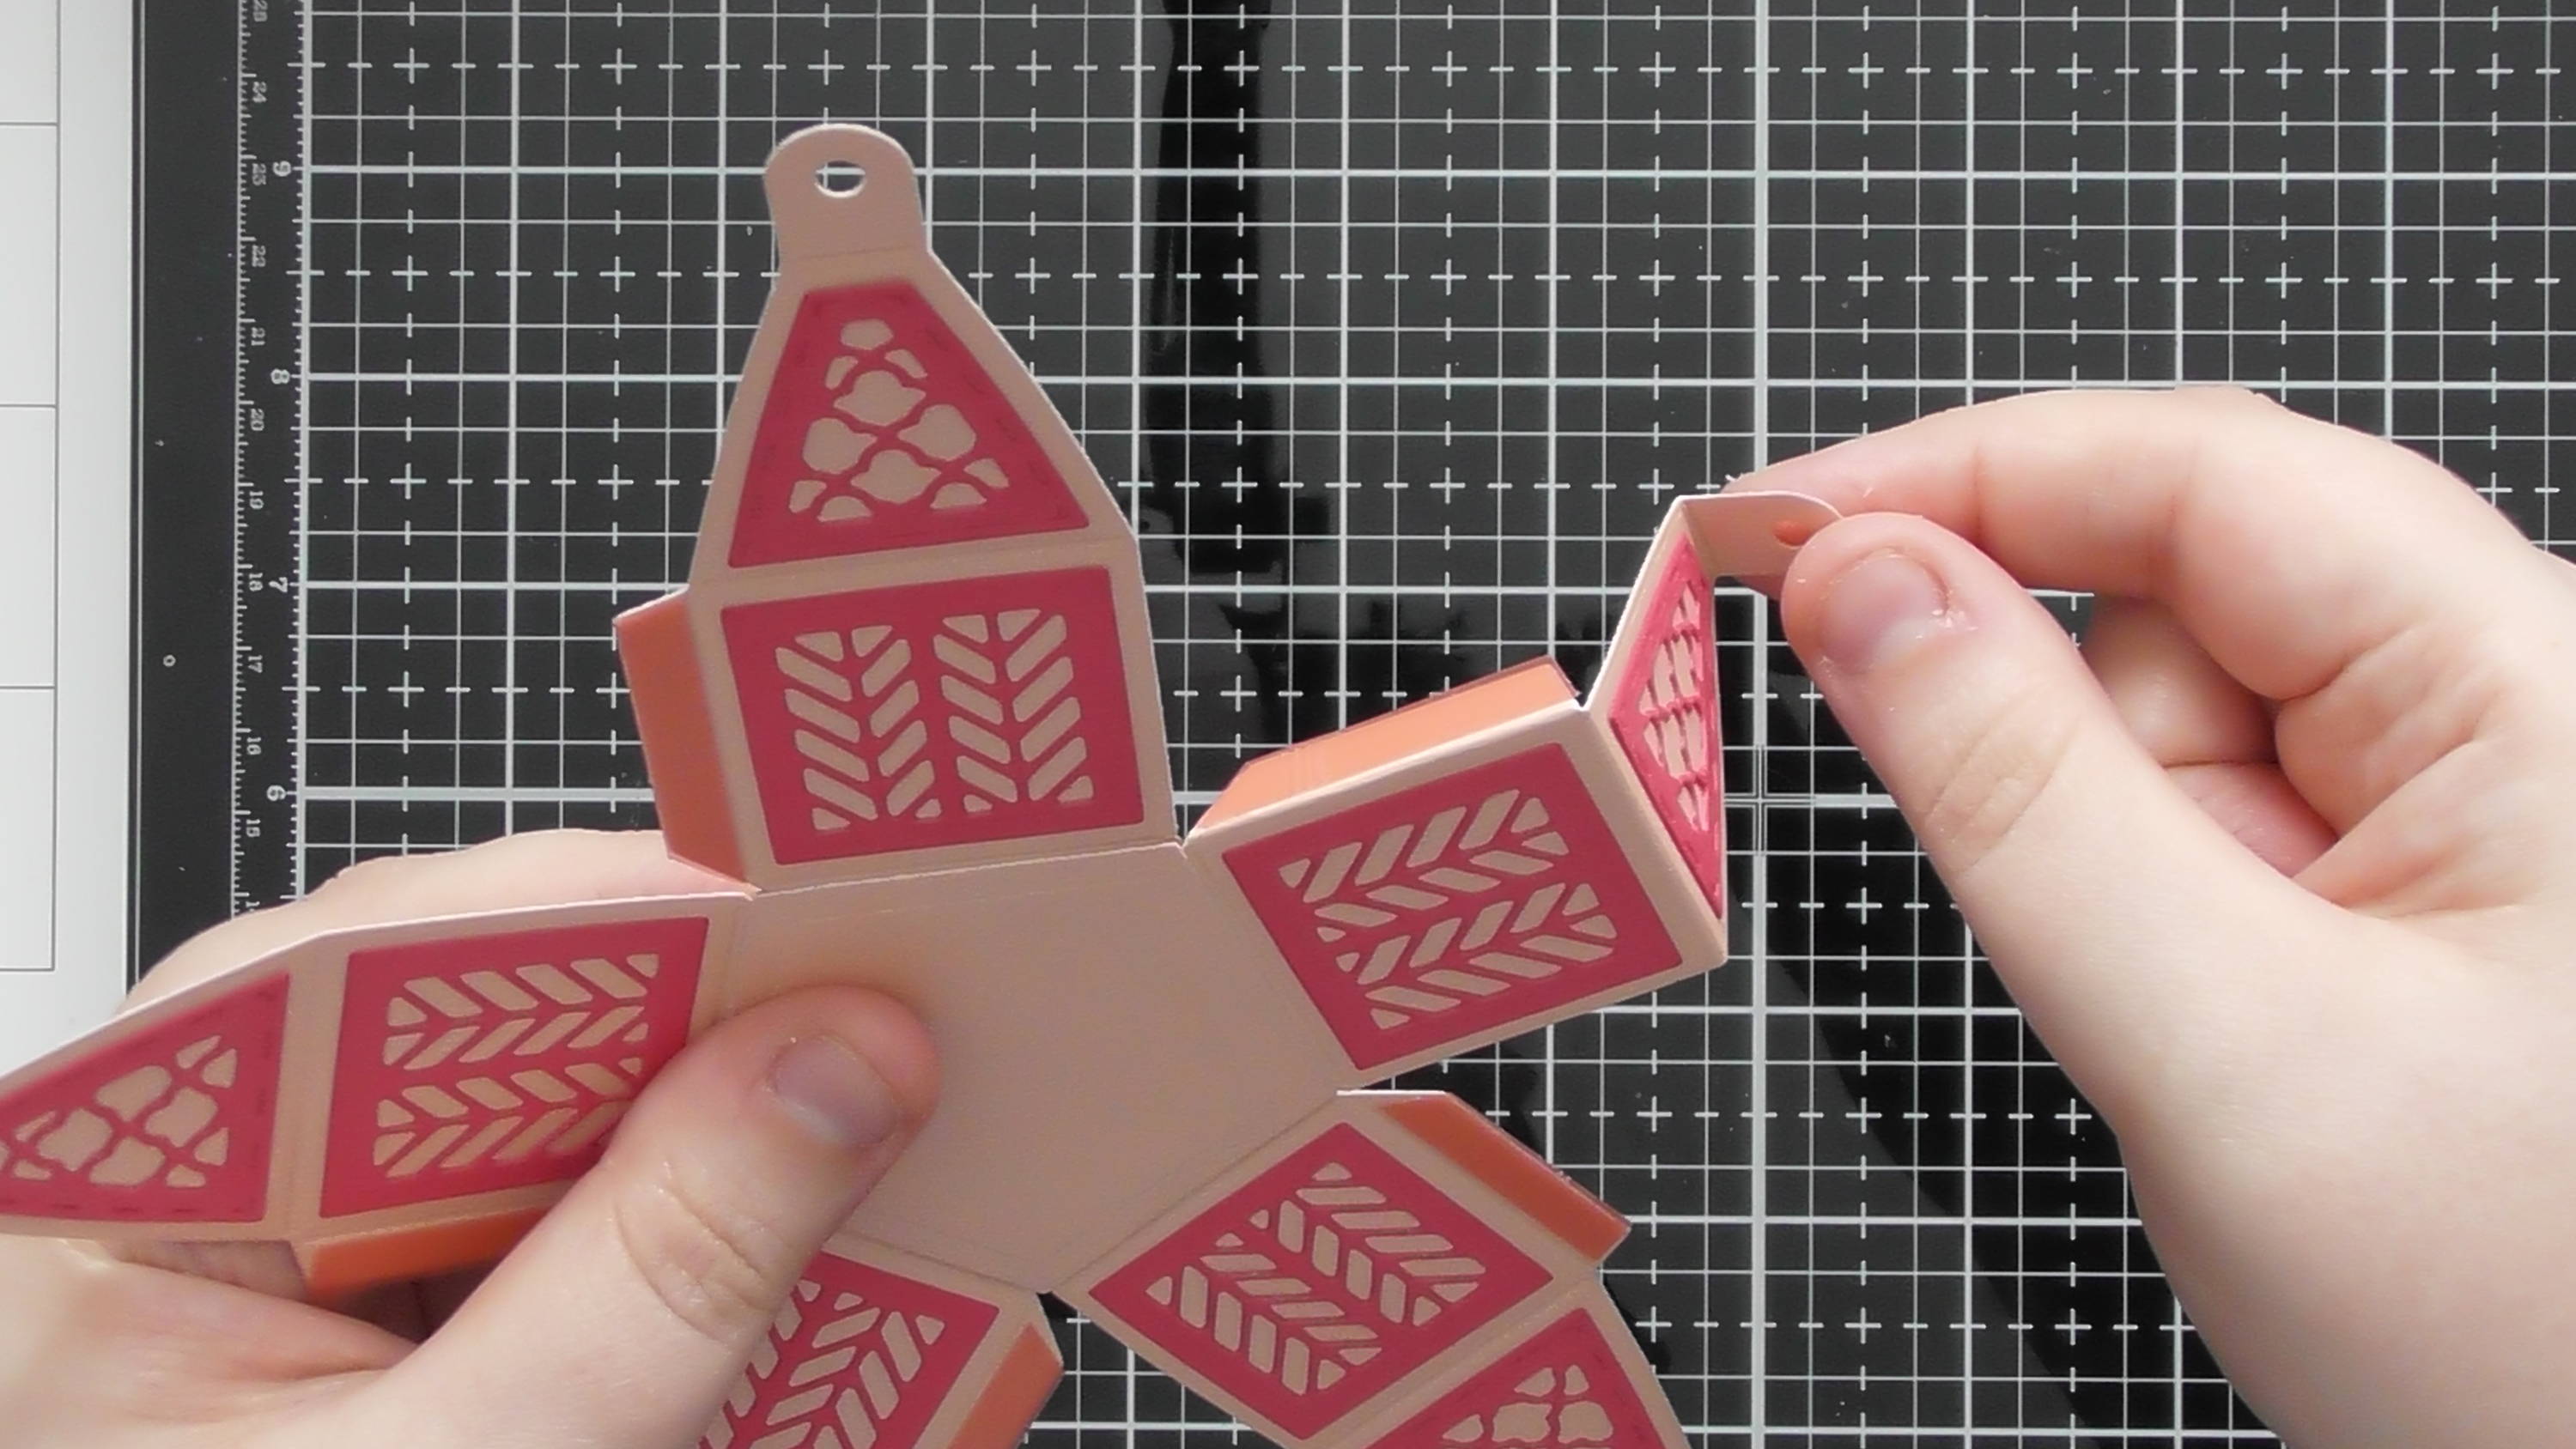
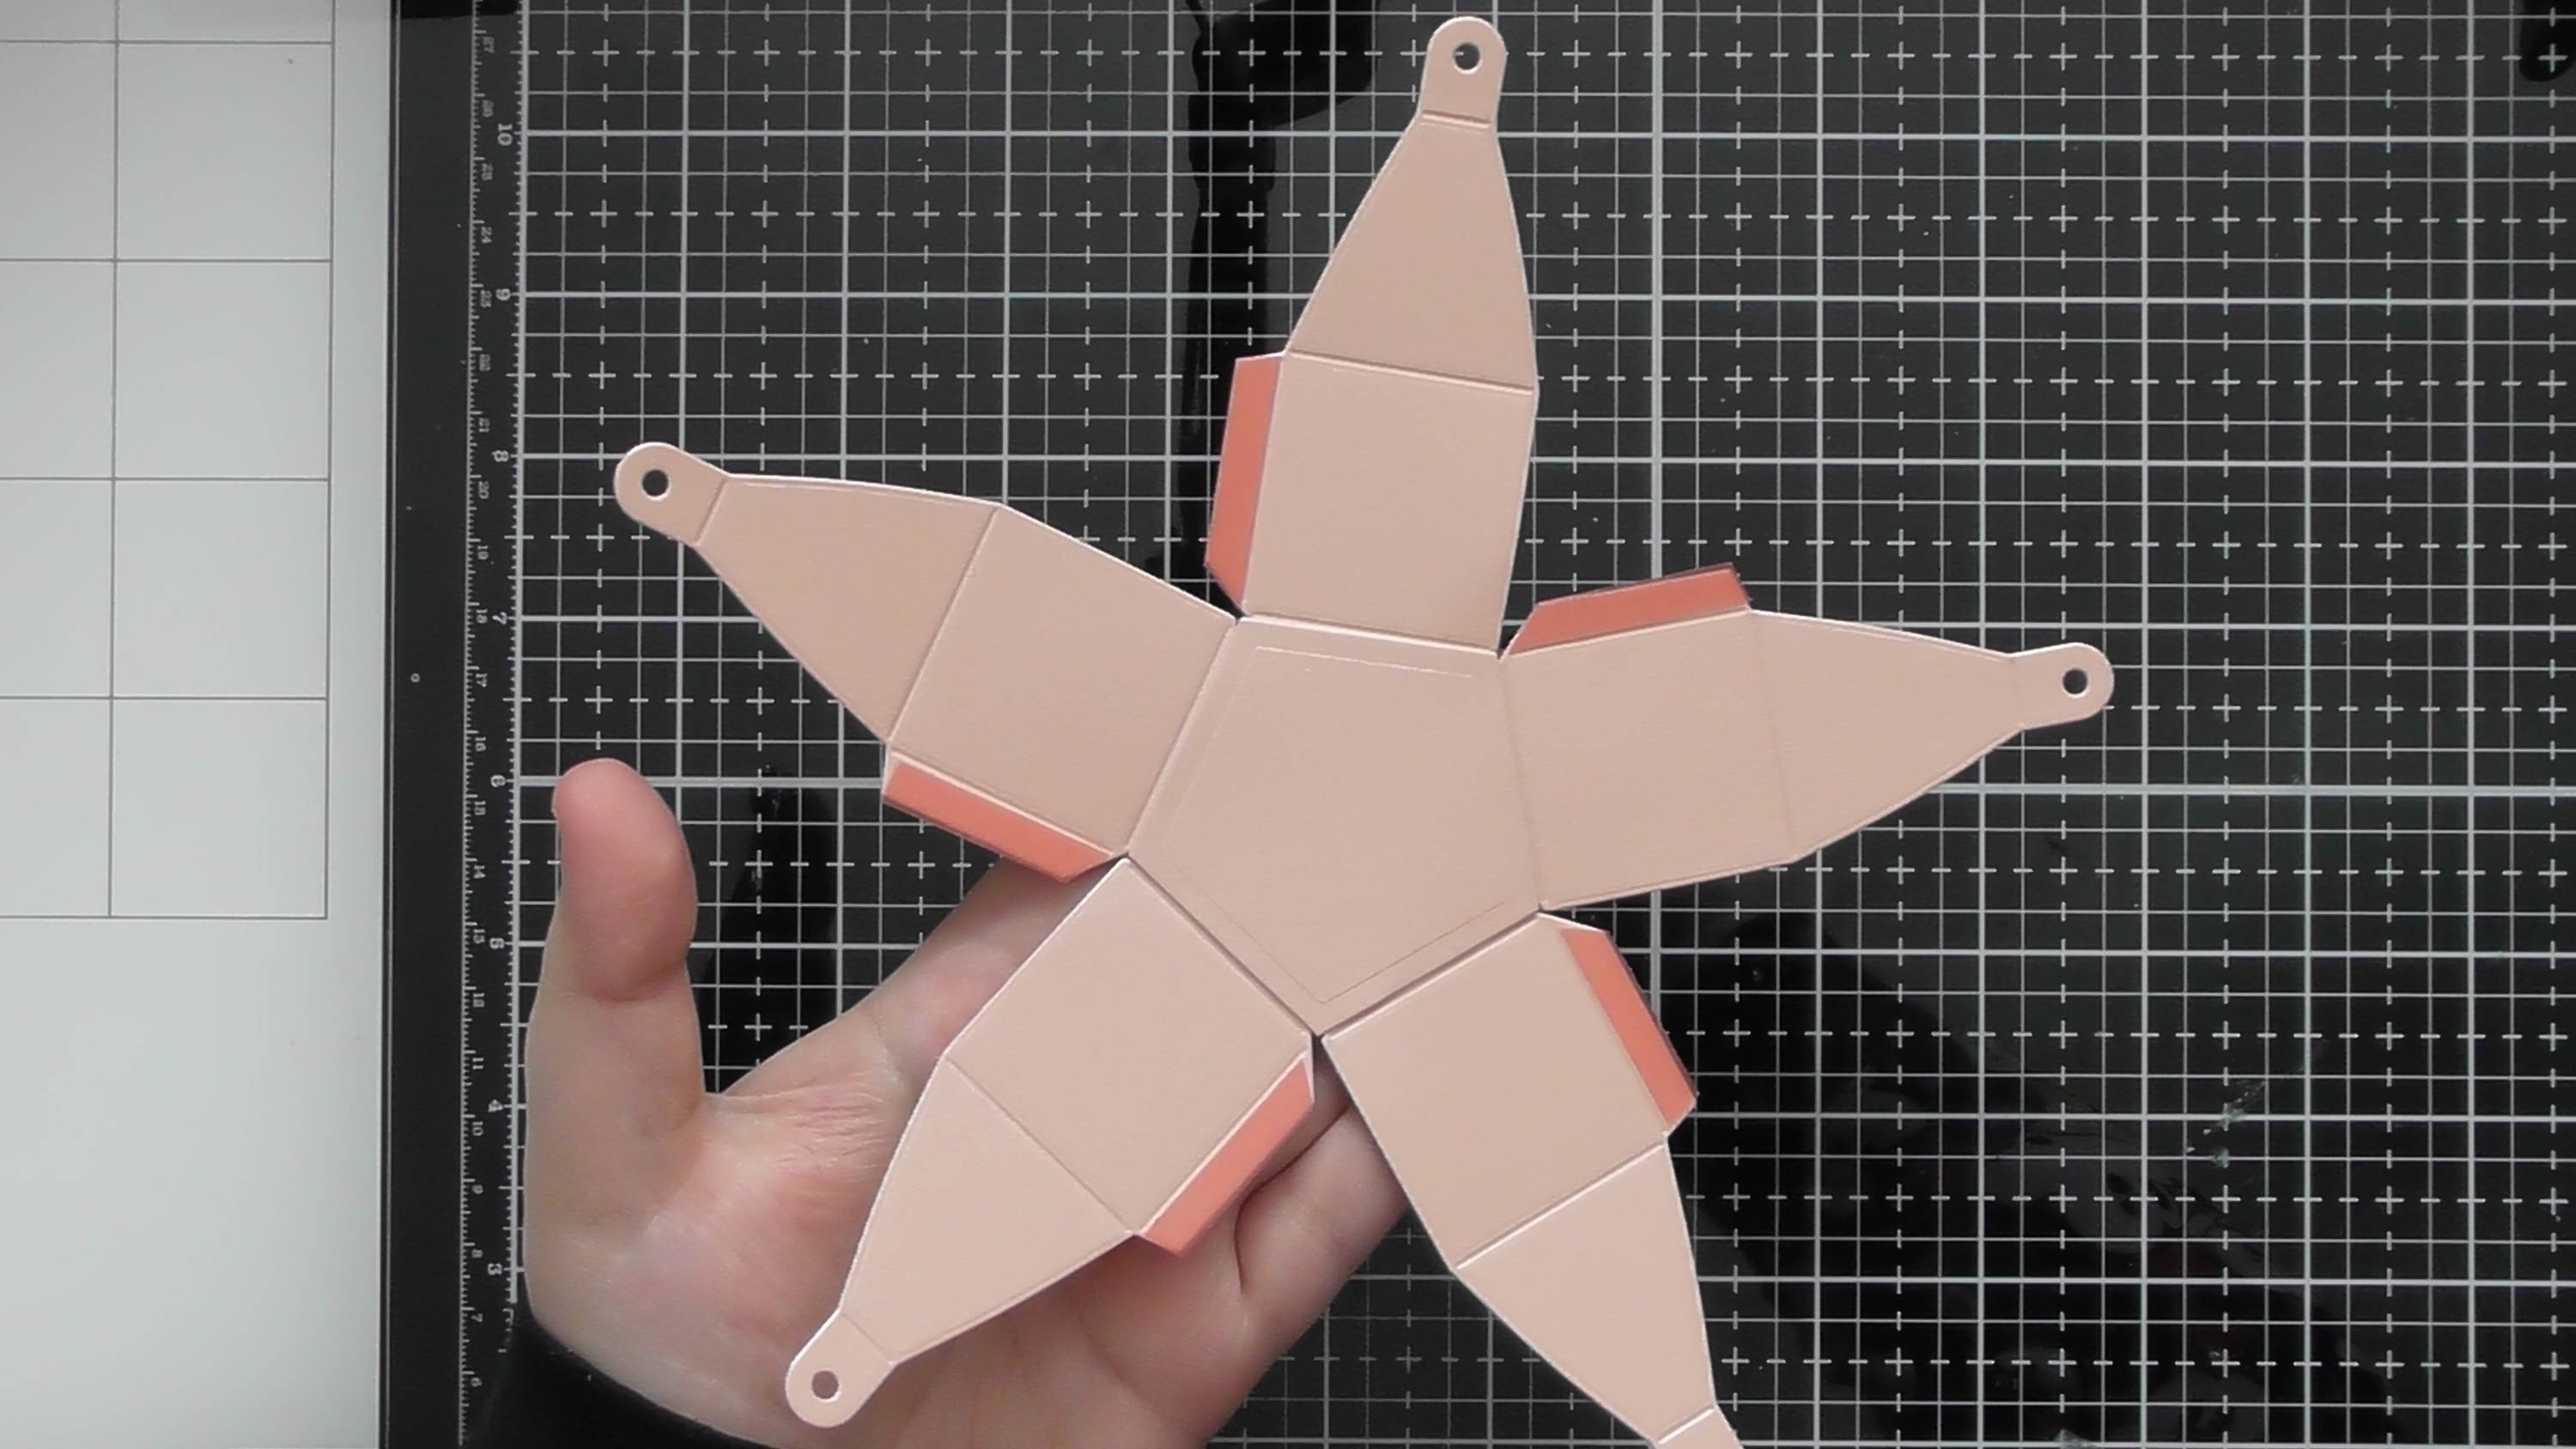
Pre-fold all of the score lines, the top piece is a valley fold, the rest are mountains…
Step 8
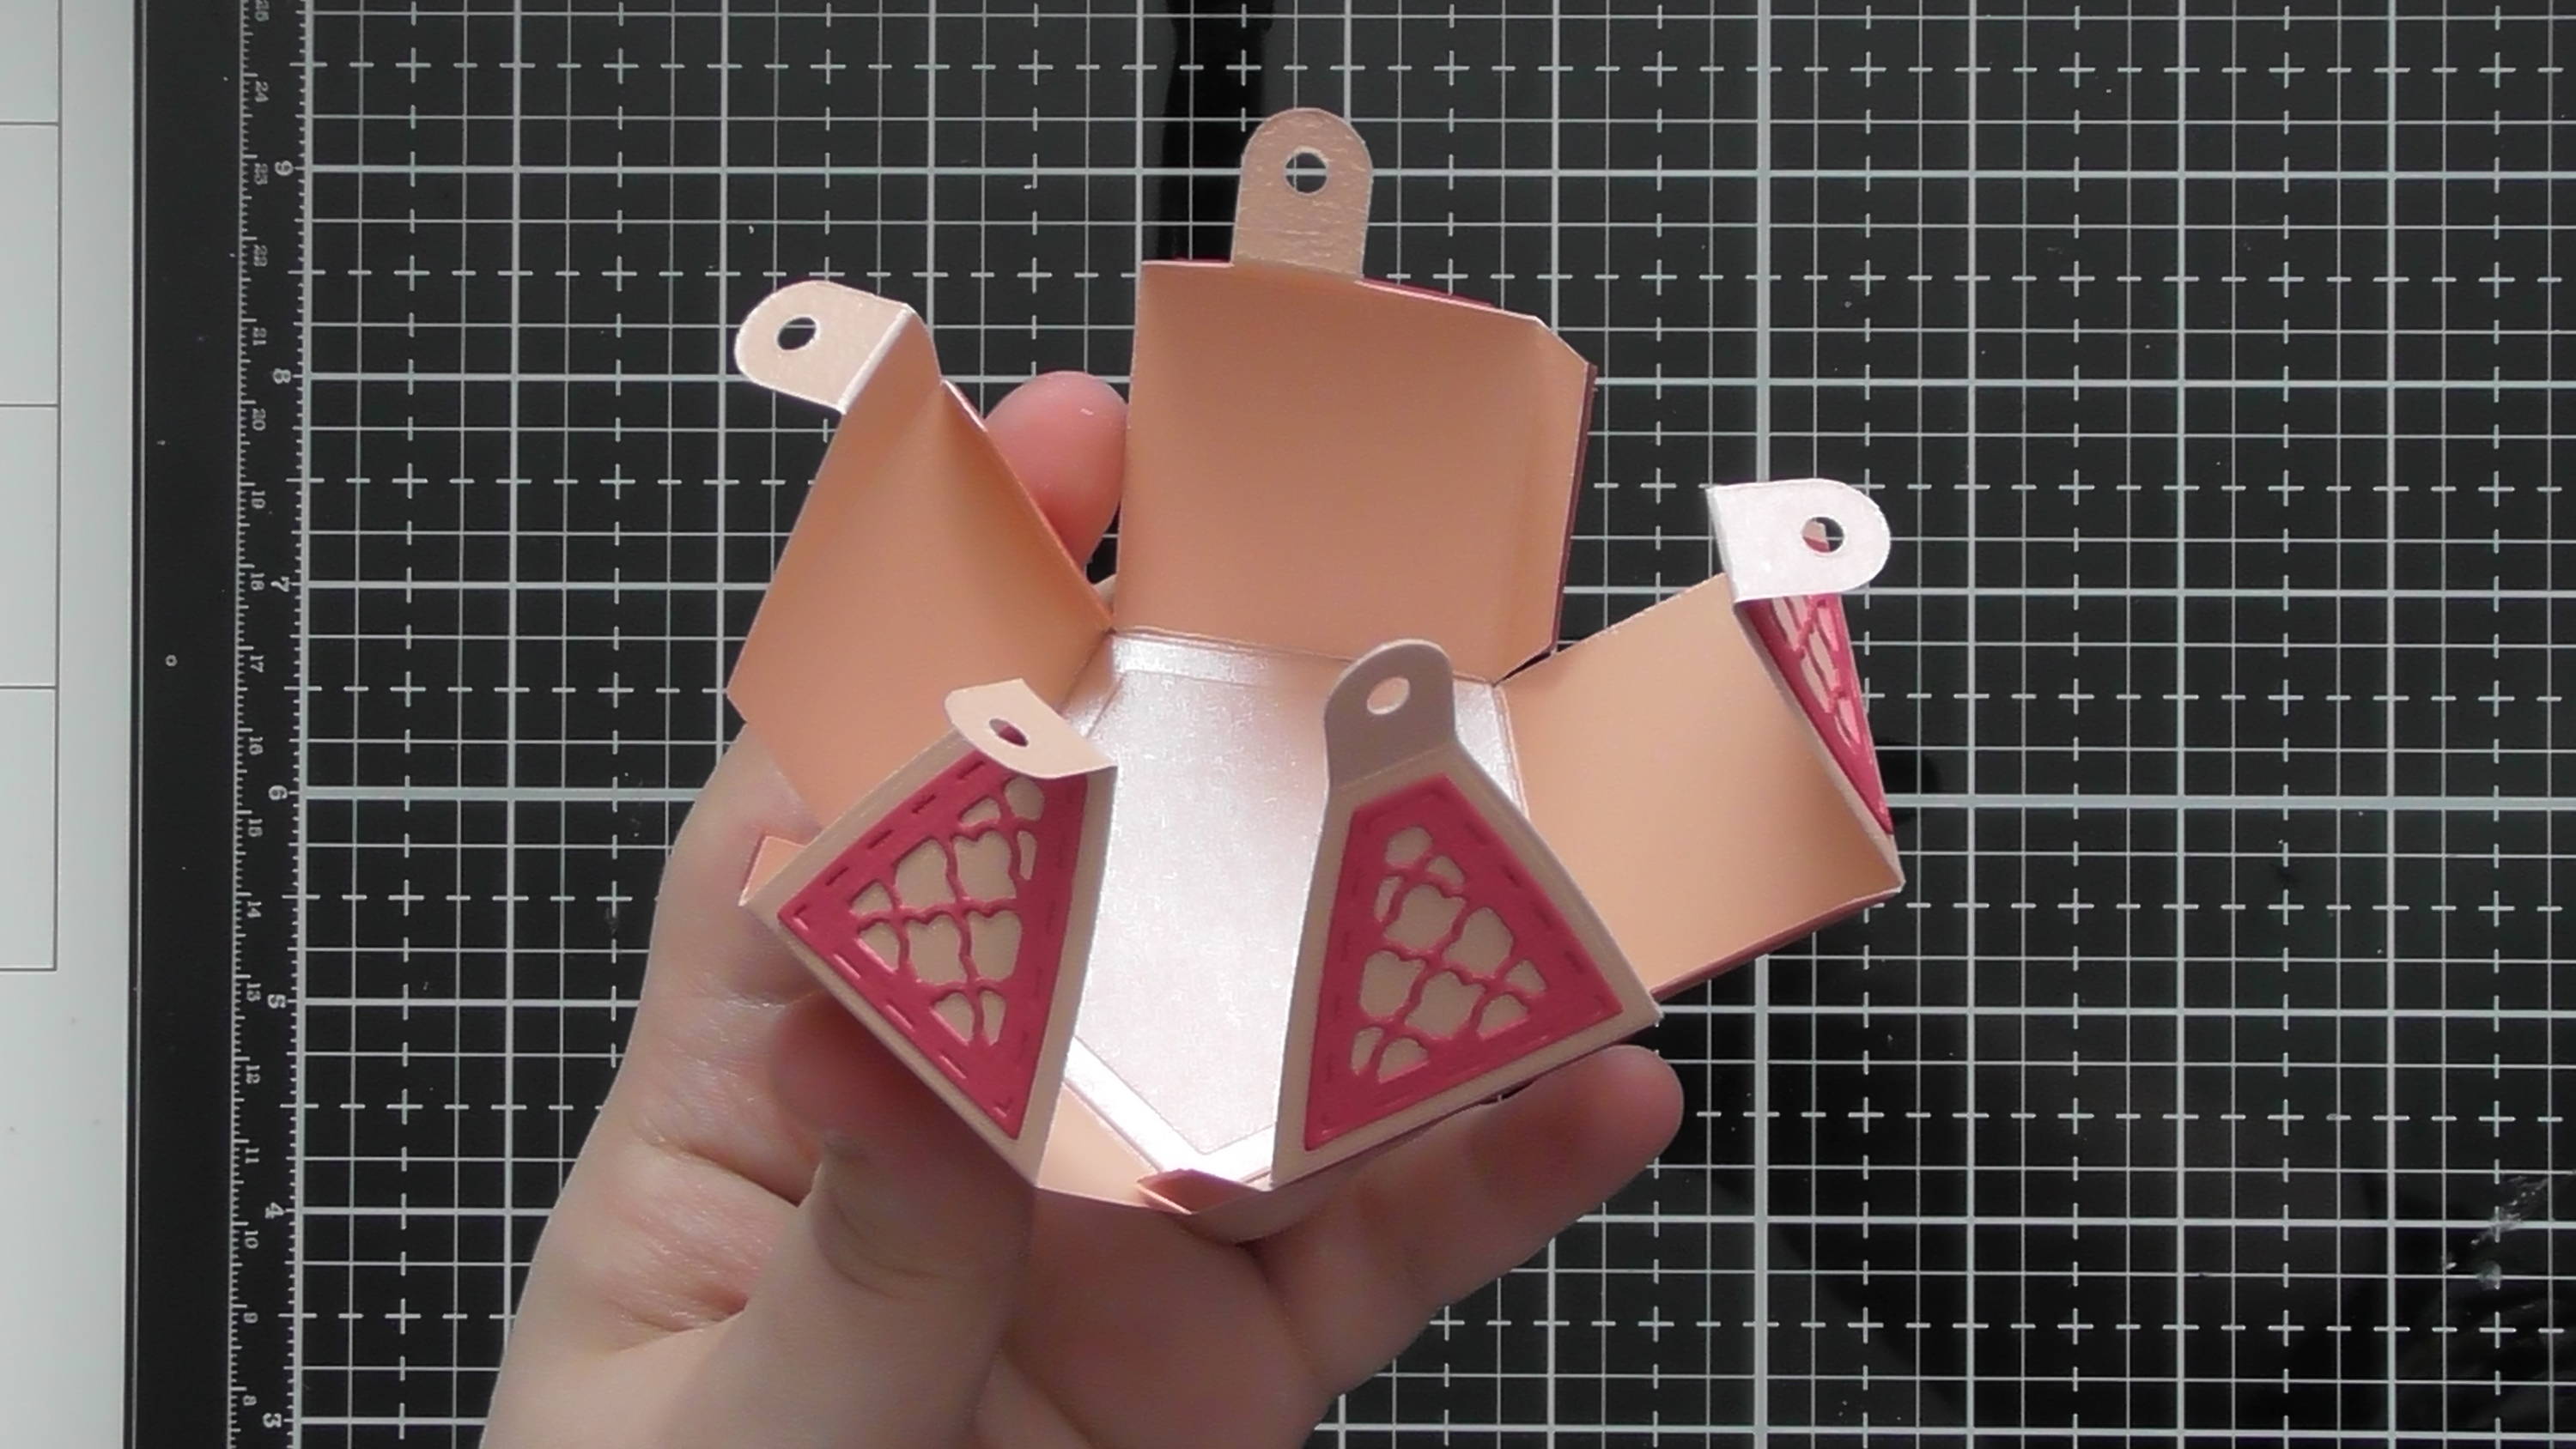
…once everything is pre-folded, it’ll start to come together like this.
Step 9
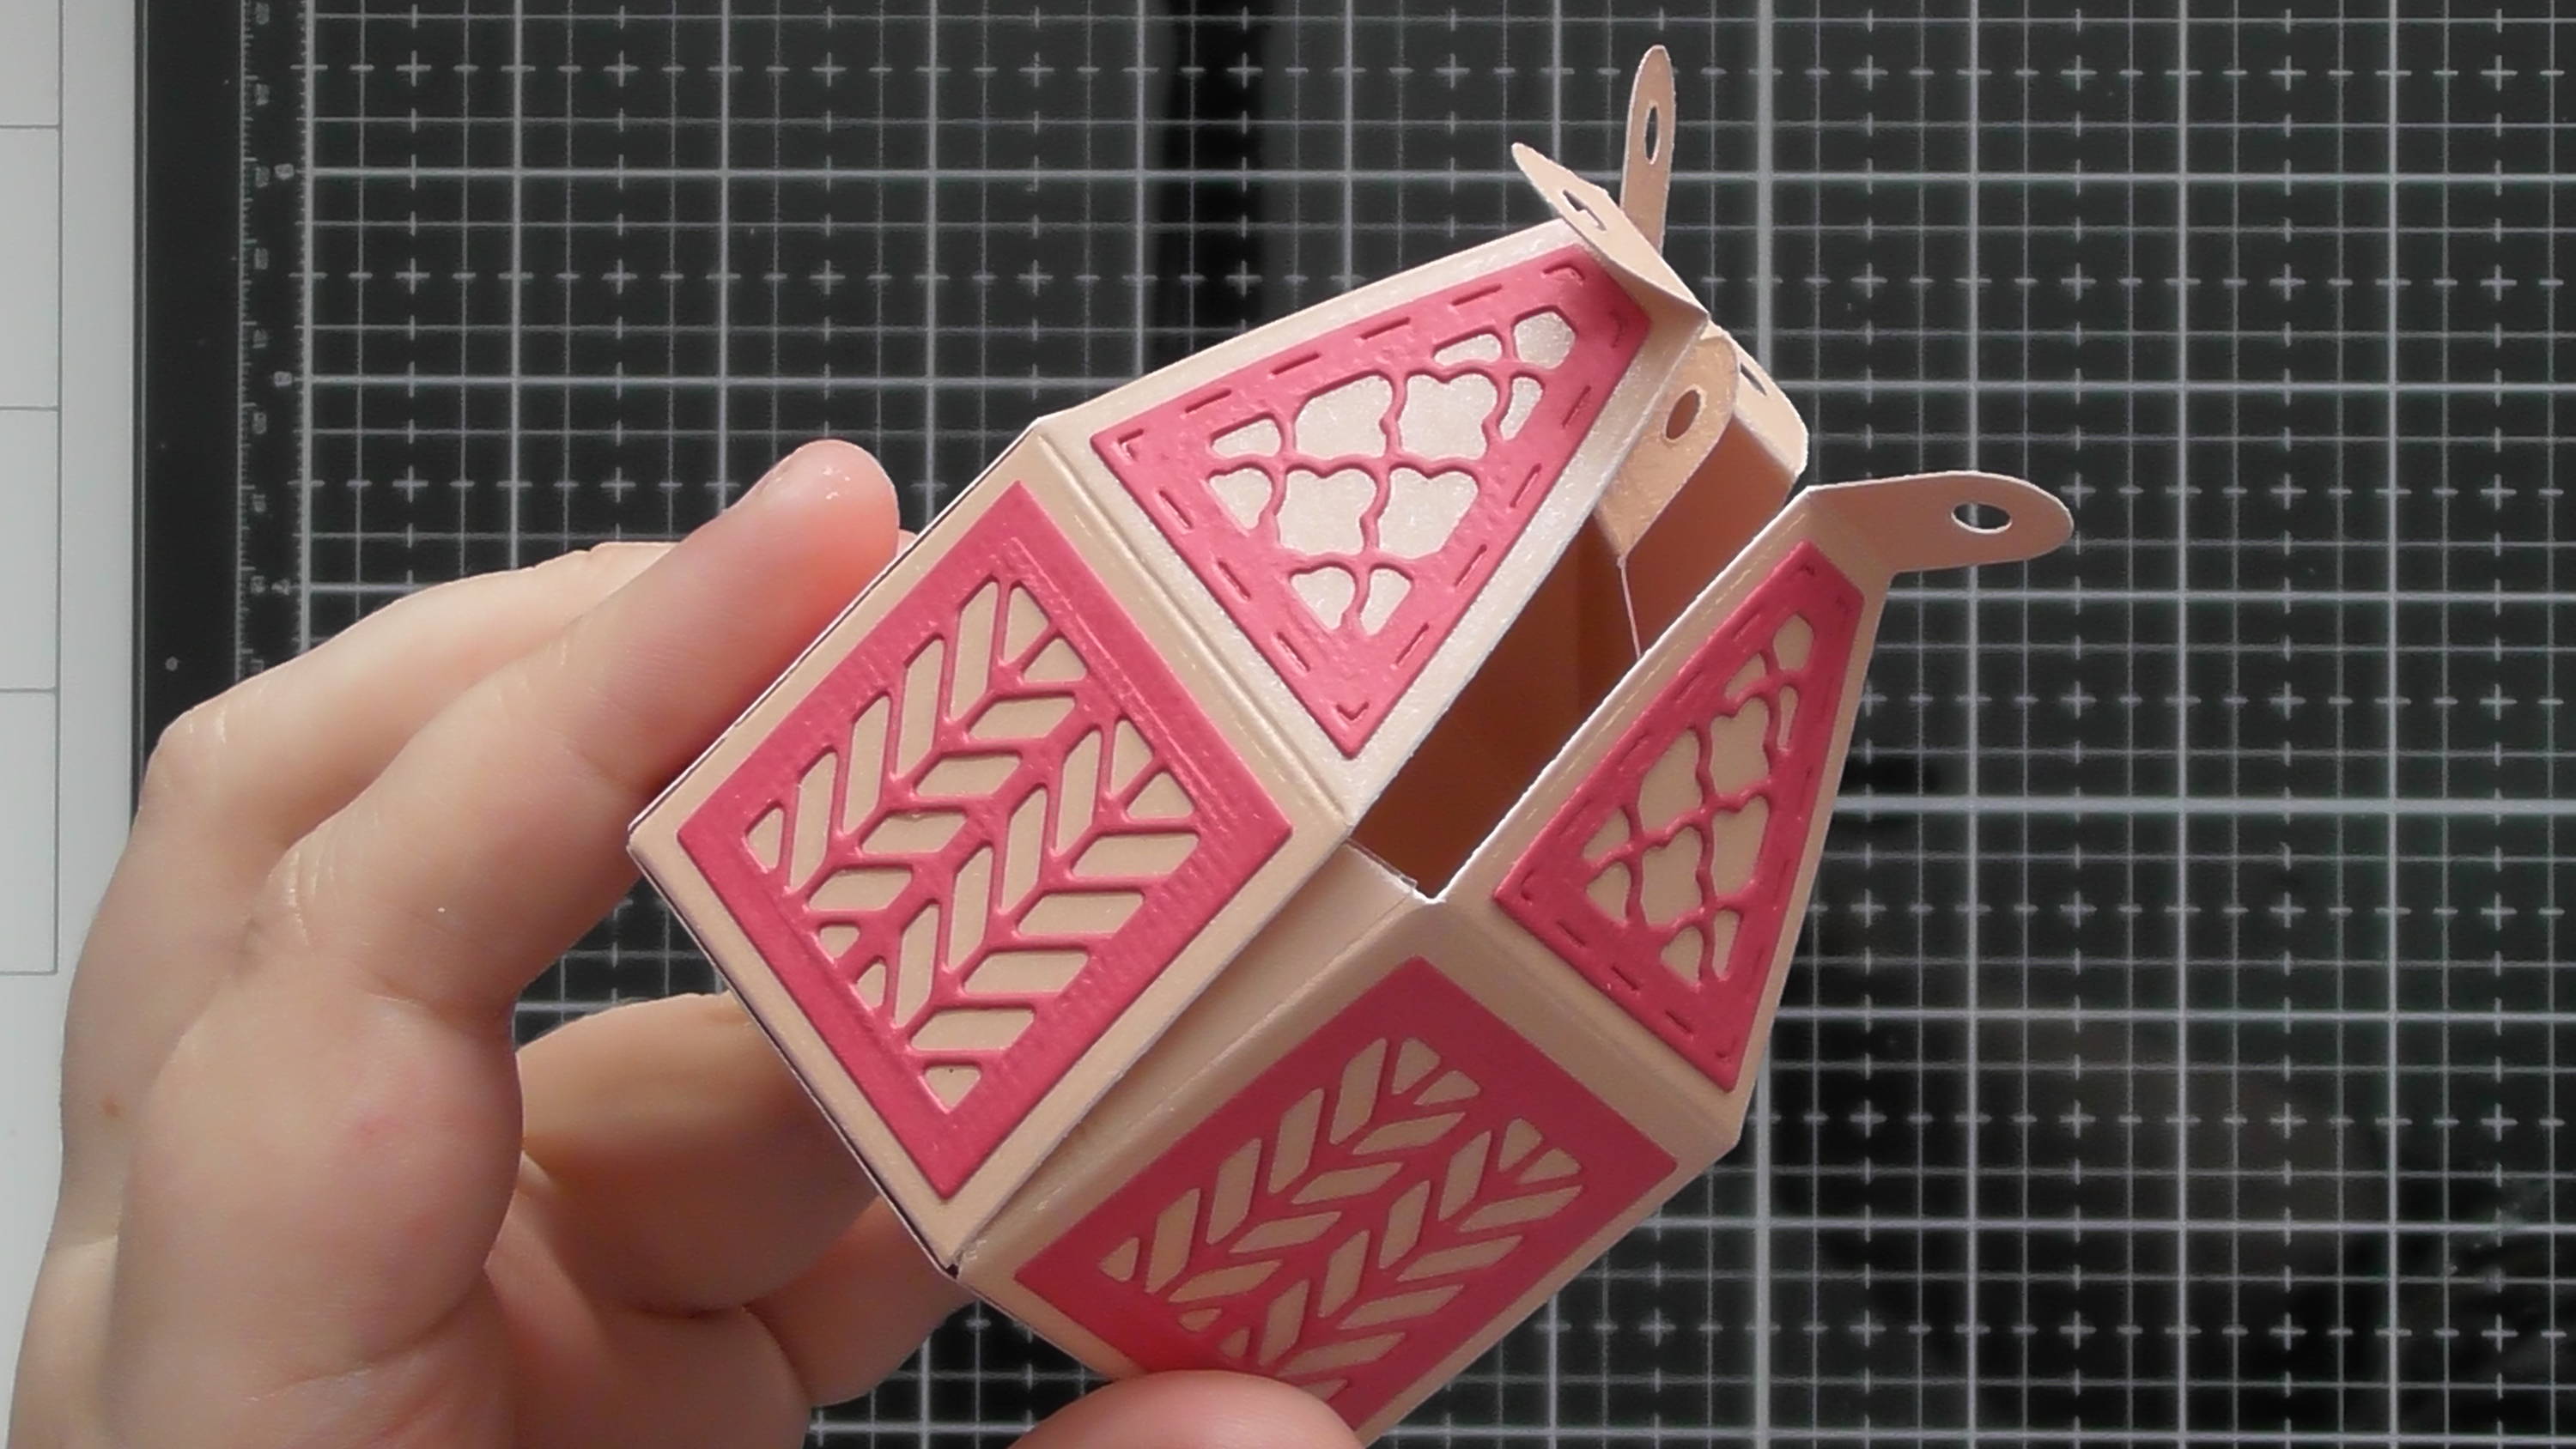
Then you can simple remove the backing from the red liner tape on the side glue tabs and bring all the sides up and adhere them together…
Step 10

…to give your main box.
Step 11
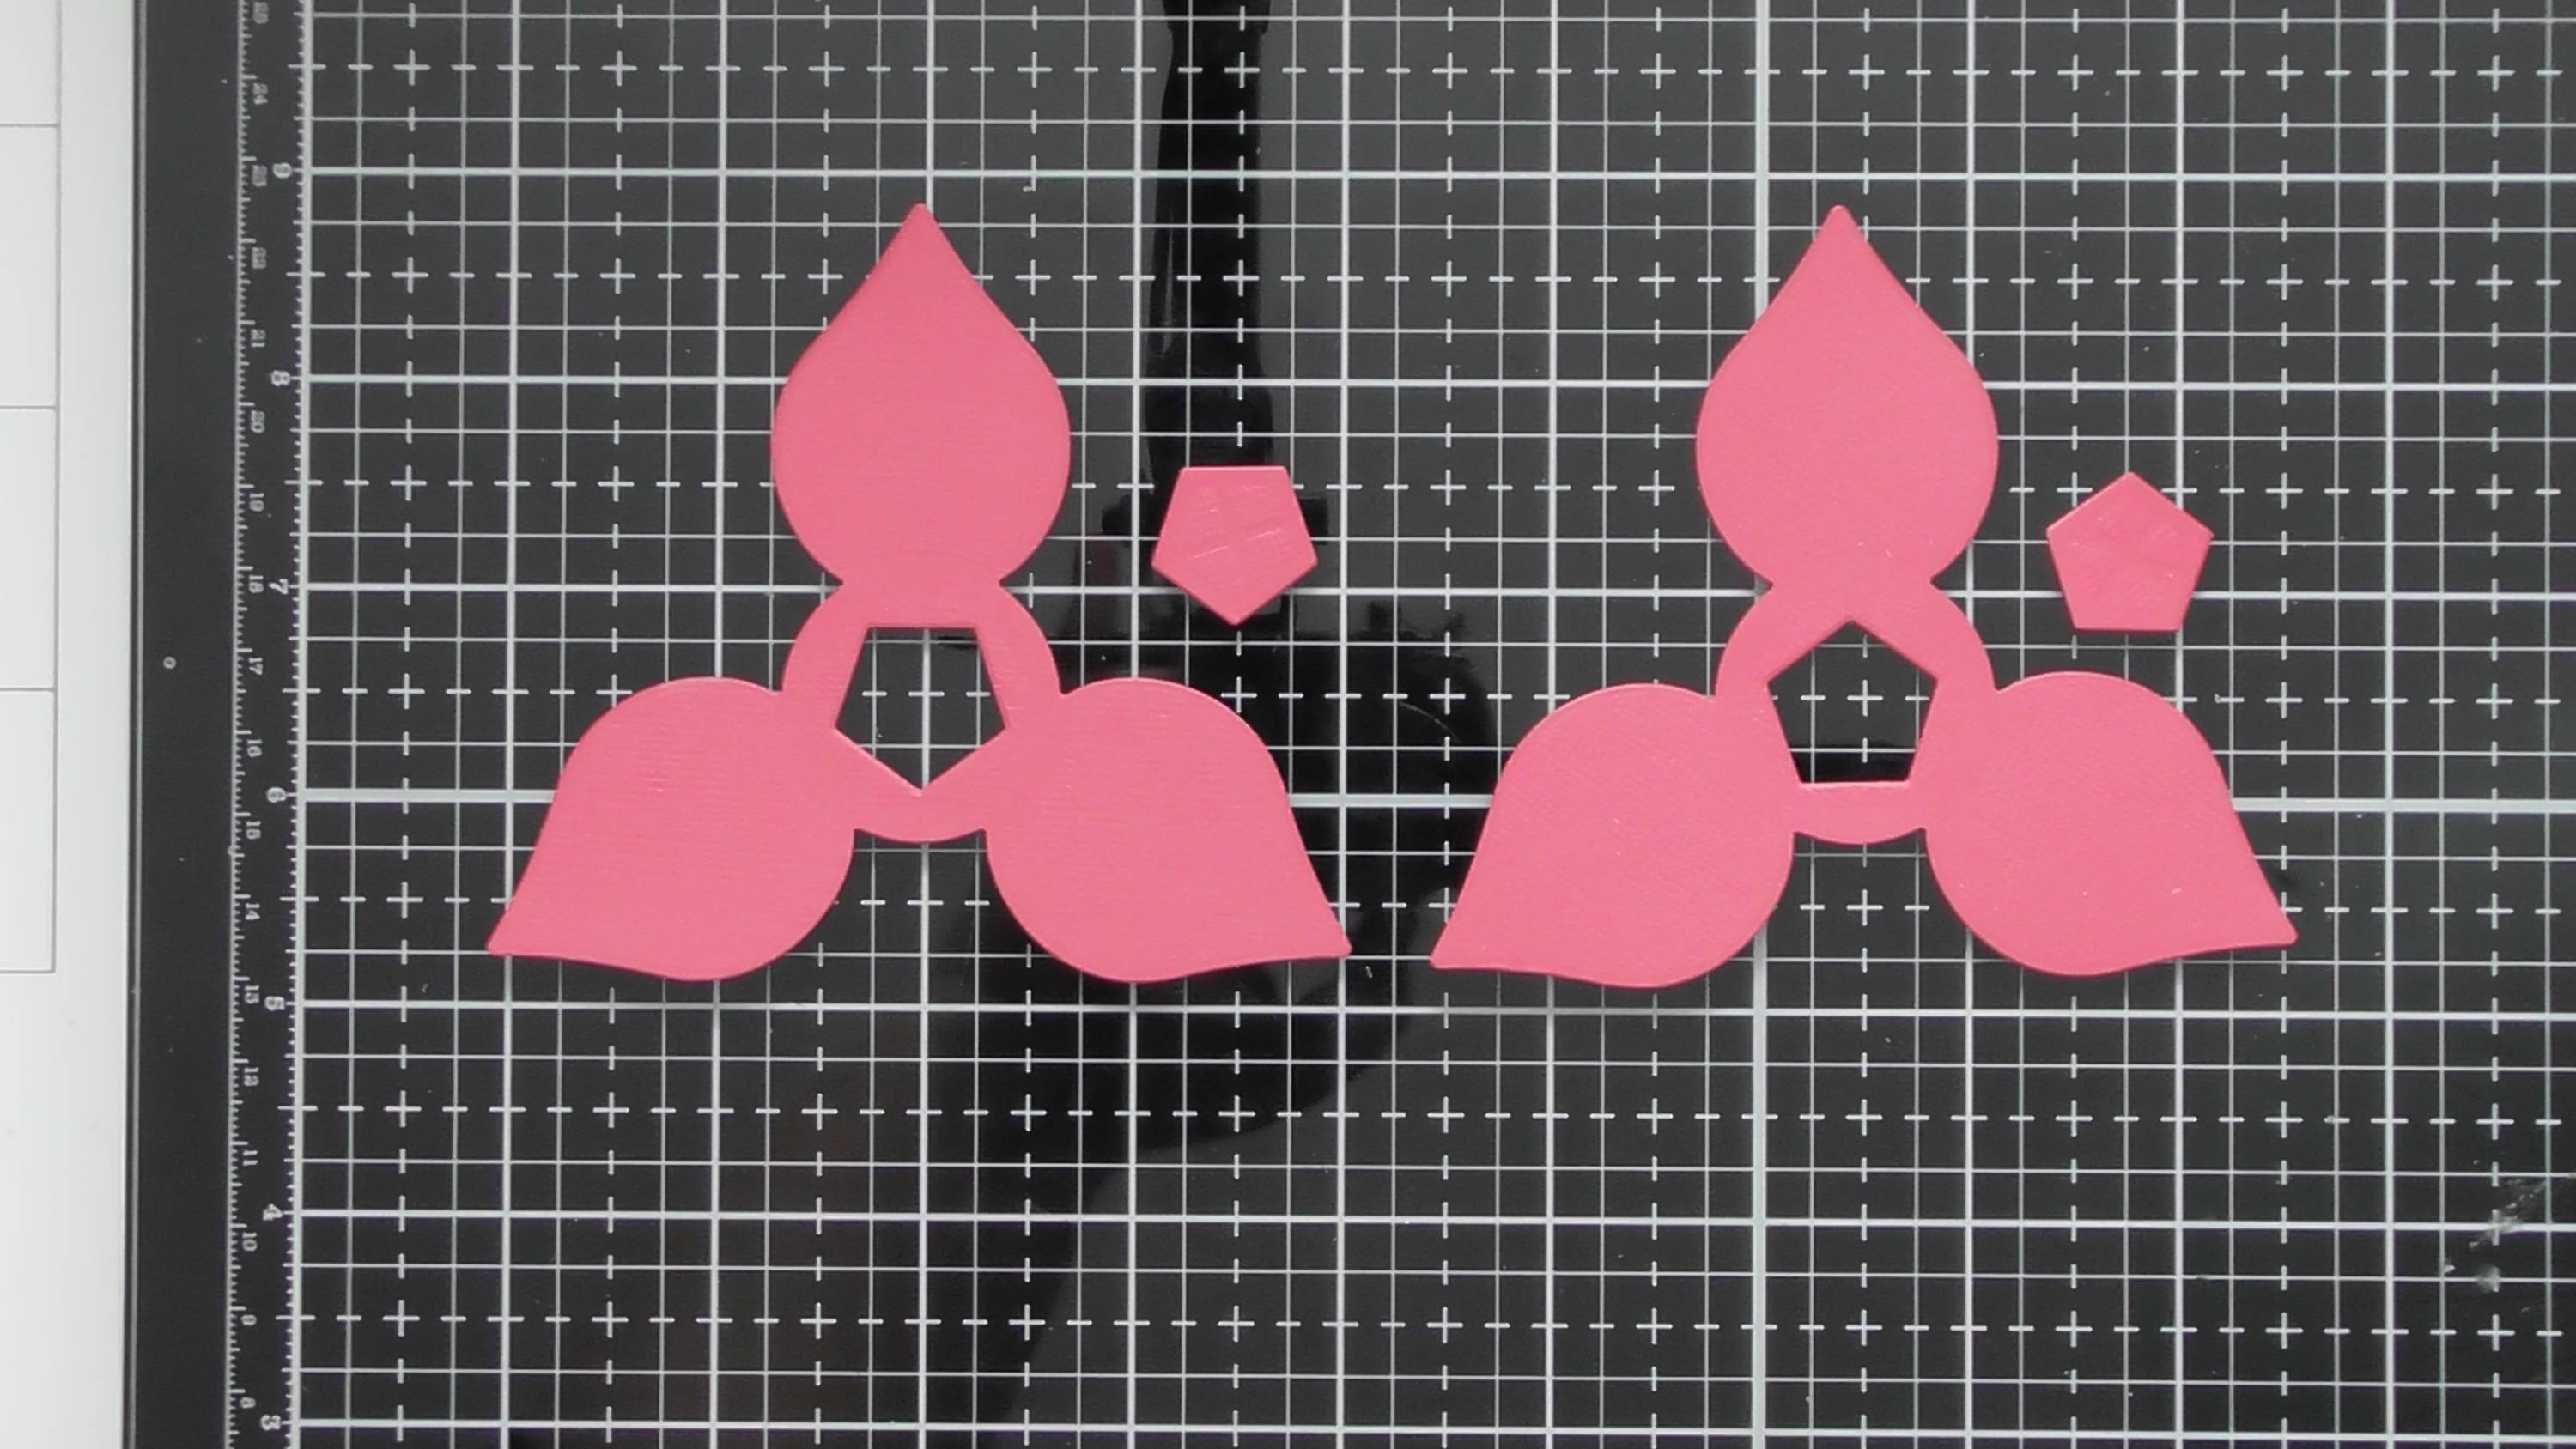
For the lid, you’ll need two of the petal/leaf die-cuts. Then you’ll need to die-cut the pentagon from the centre of both. There’s multiple ways to do this, you can cut both separately orienting them as shown in the photo. You can stick both together, then die-cut the pentagon (to give Step 12), or the writing instructions in the kit say to use 3 of the die-cuts, so you have a few options :D
Step 12
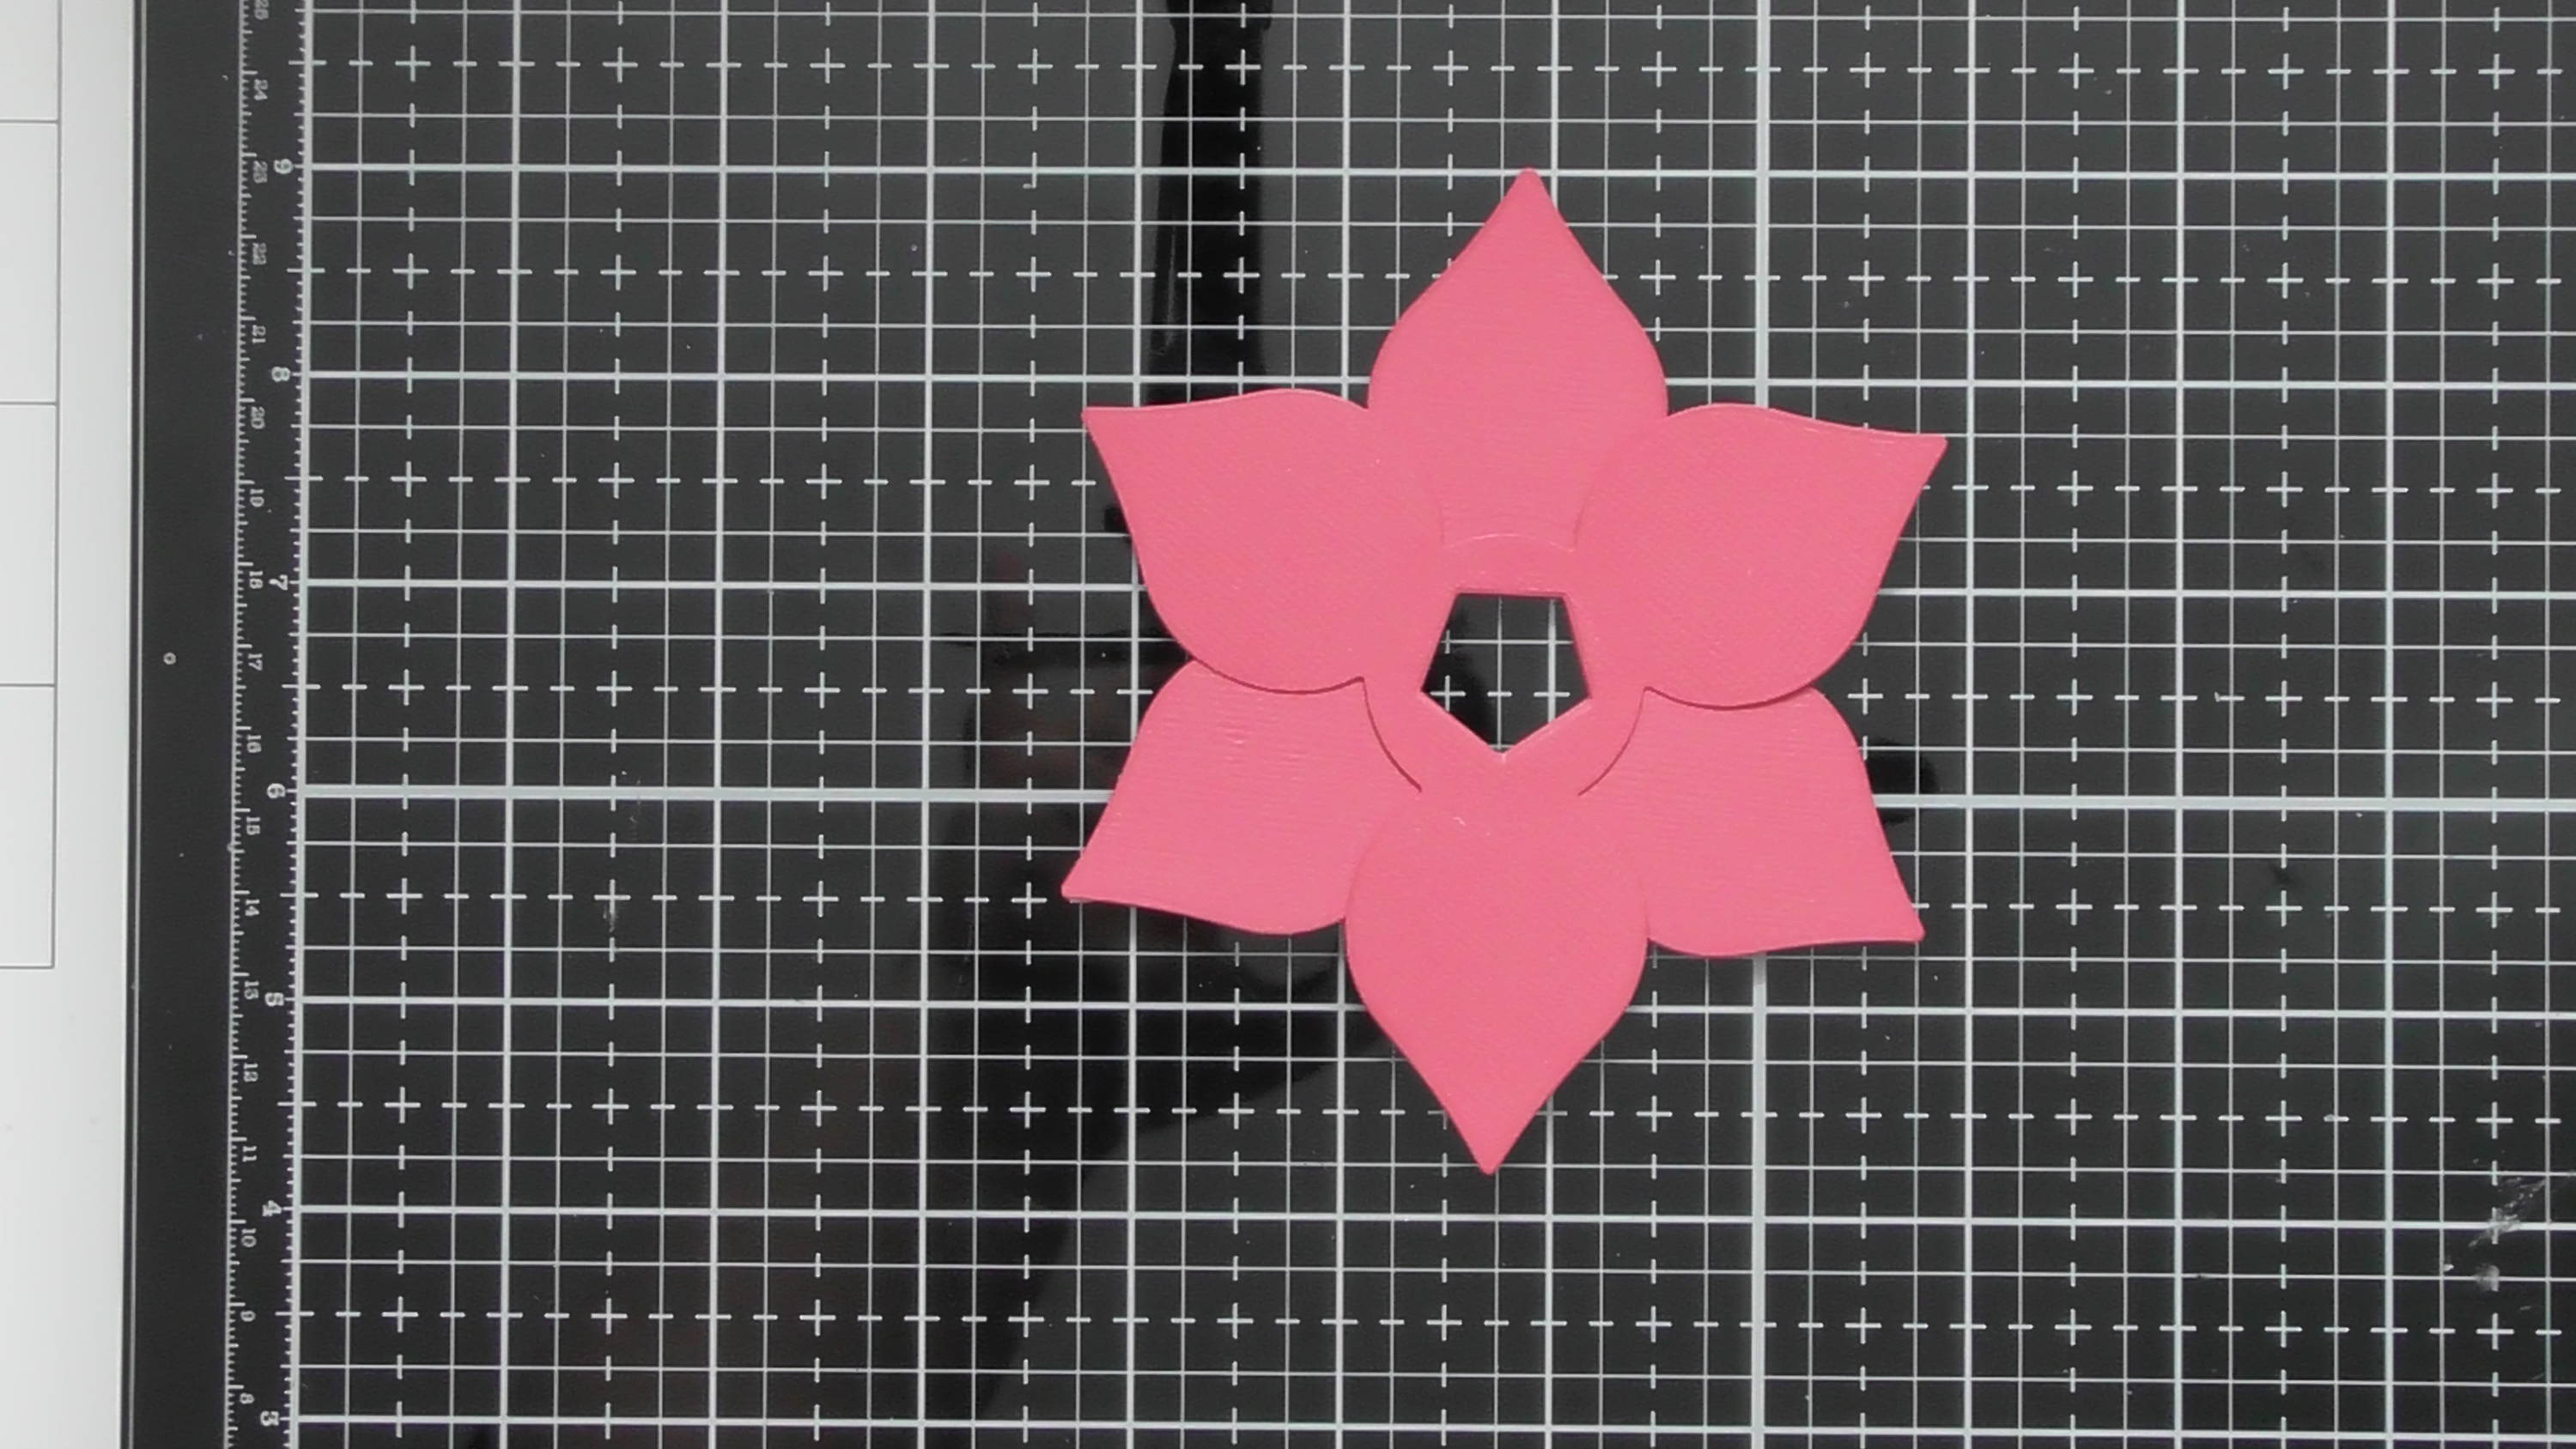
Stick your lid pieces together so you have a full 6 petal flower. It doesn’t matter how many sides the bottom box has, the lid piece always has the 6 petals.
Step 13
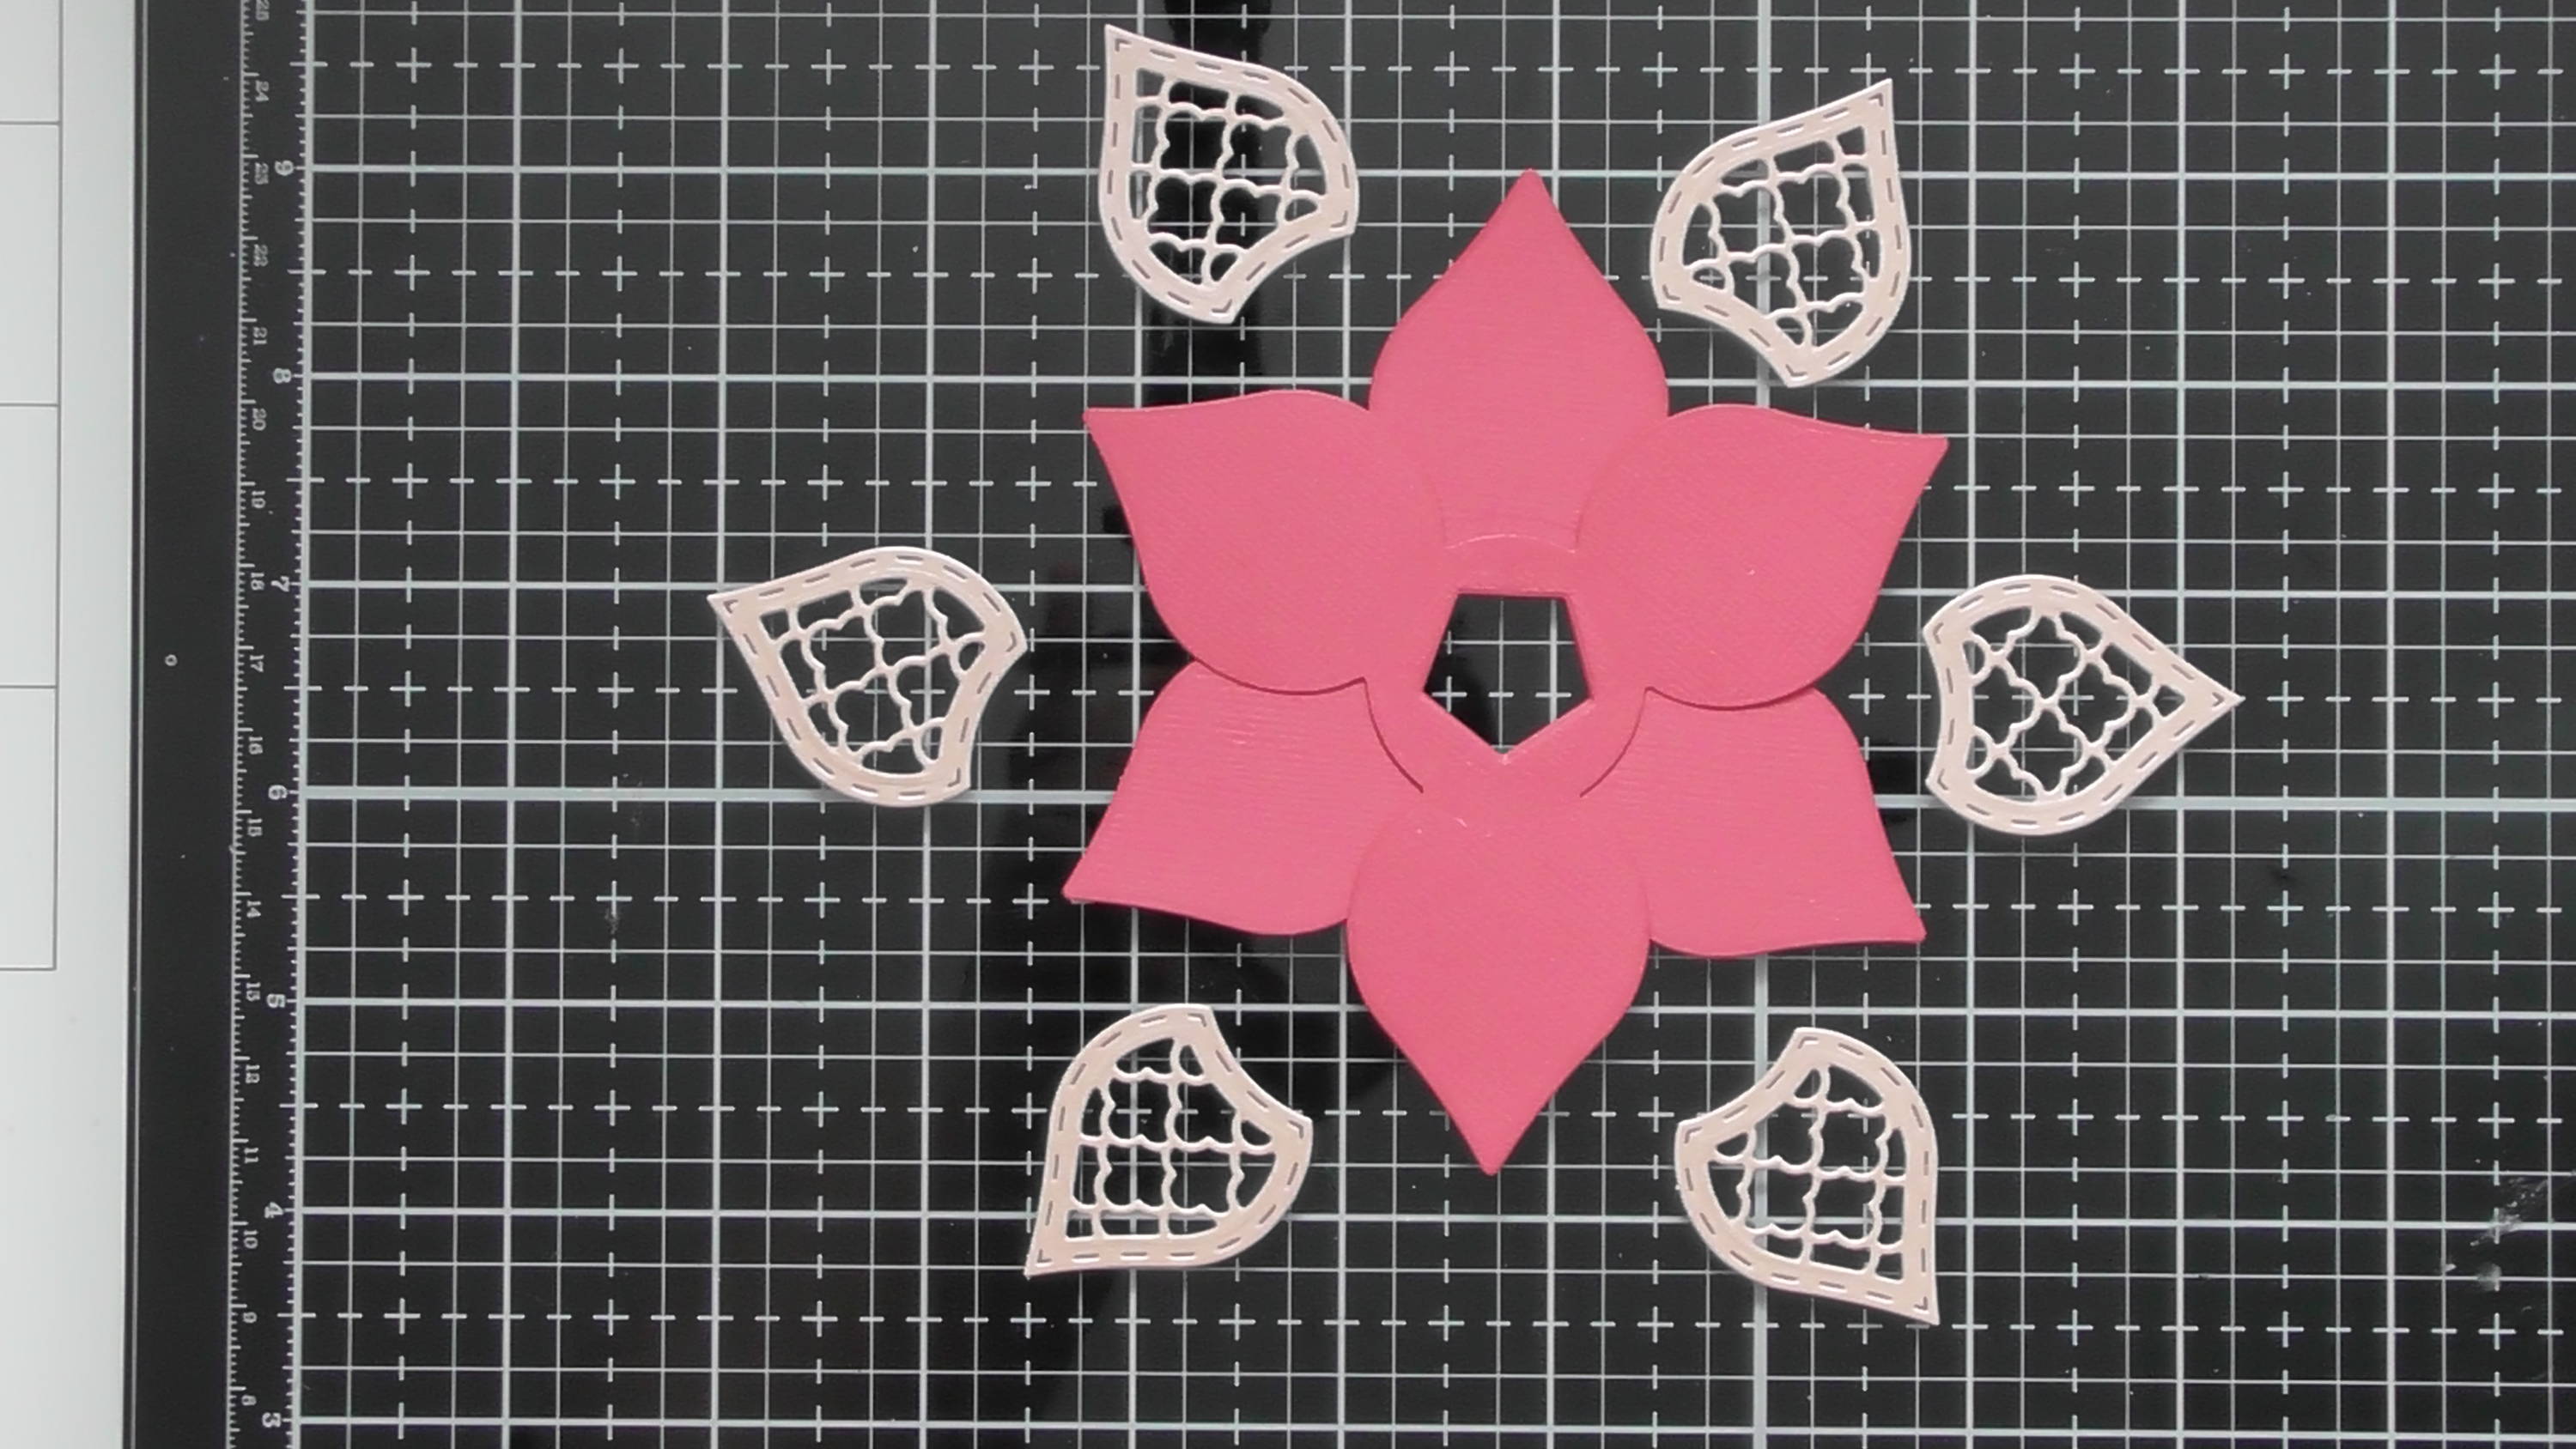
Choose your decorations…
Step 14
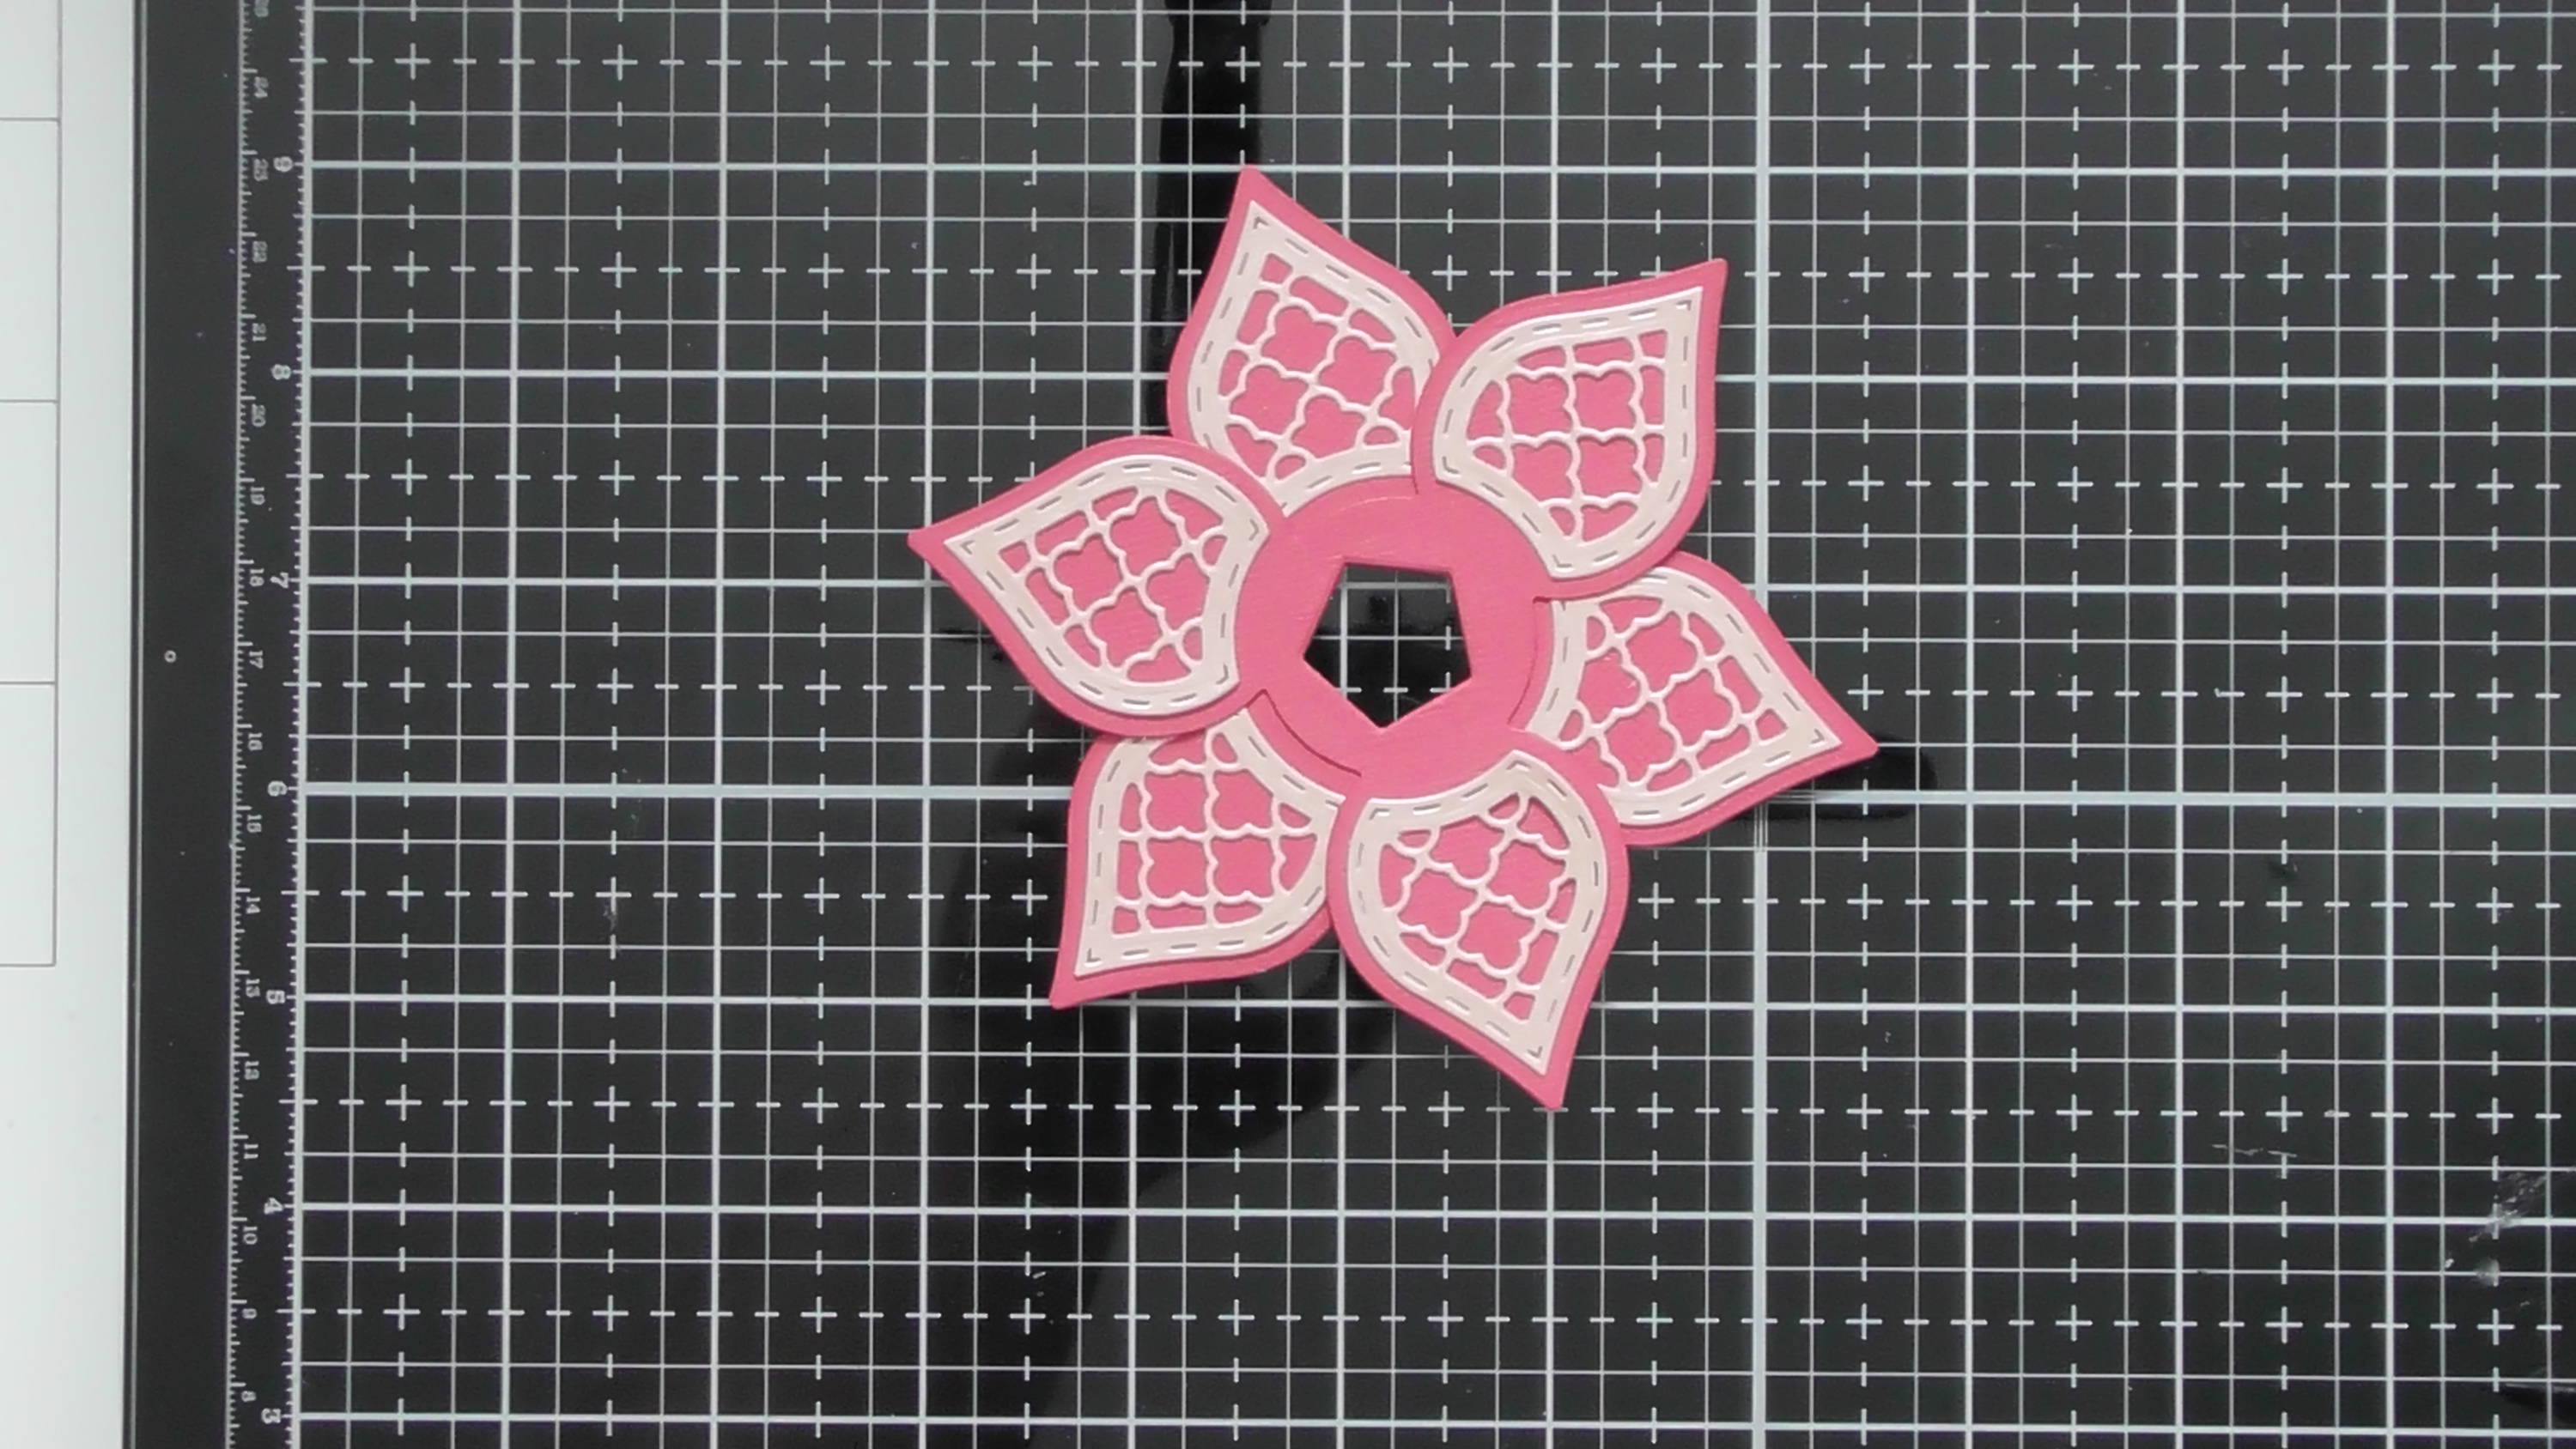
…and adhere them to your lid.
Step 15
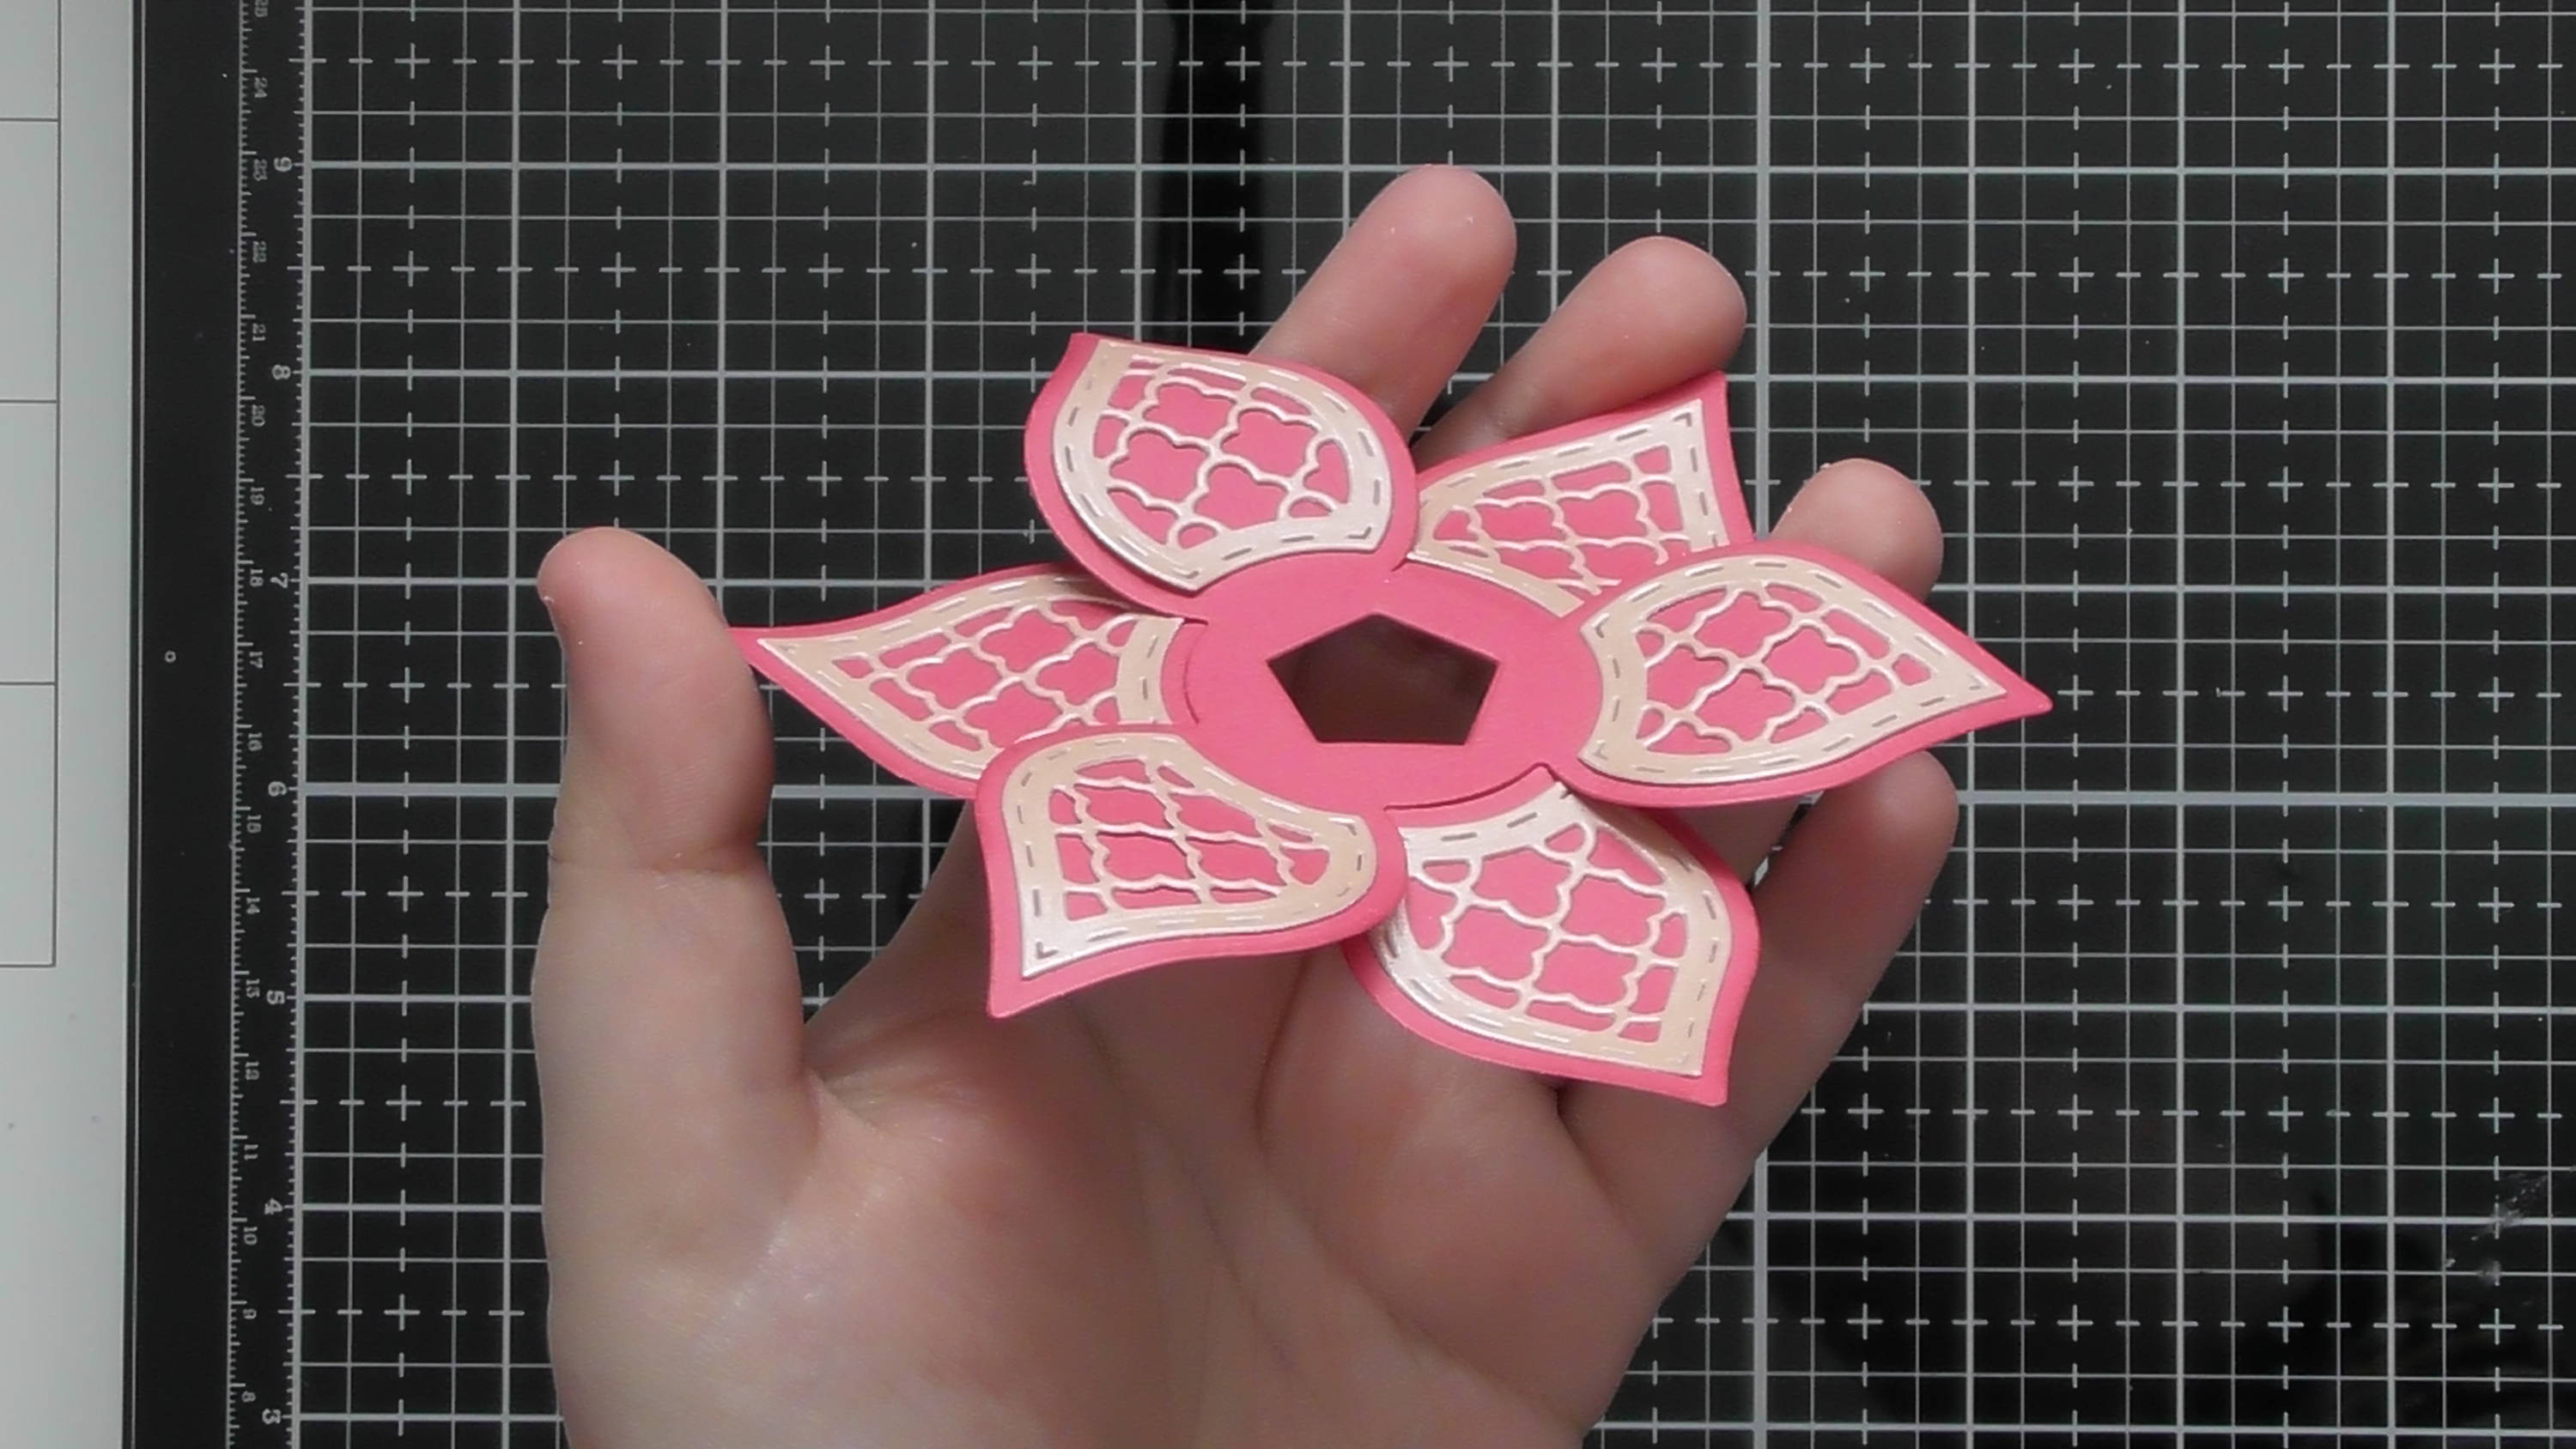
You can also manipulate the petals to give a bit of movement to the lid too, just gently curve them up or down :D
Step 16

Then simply add your lid over the top of the box we finished in Step 10.
Step 17
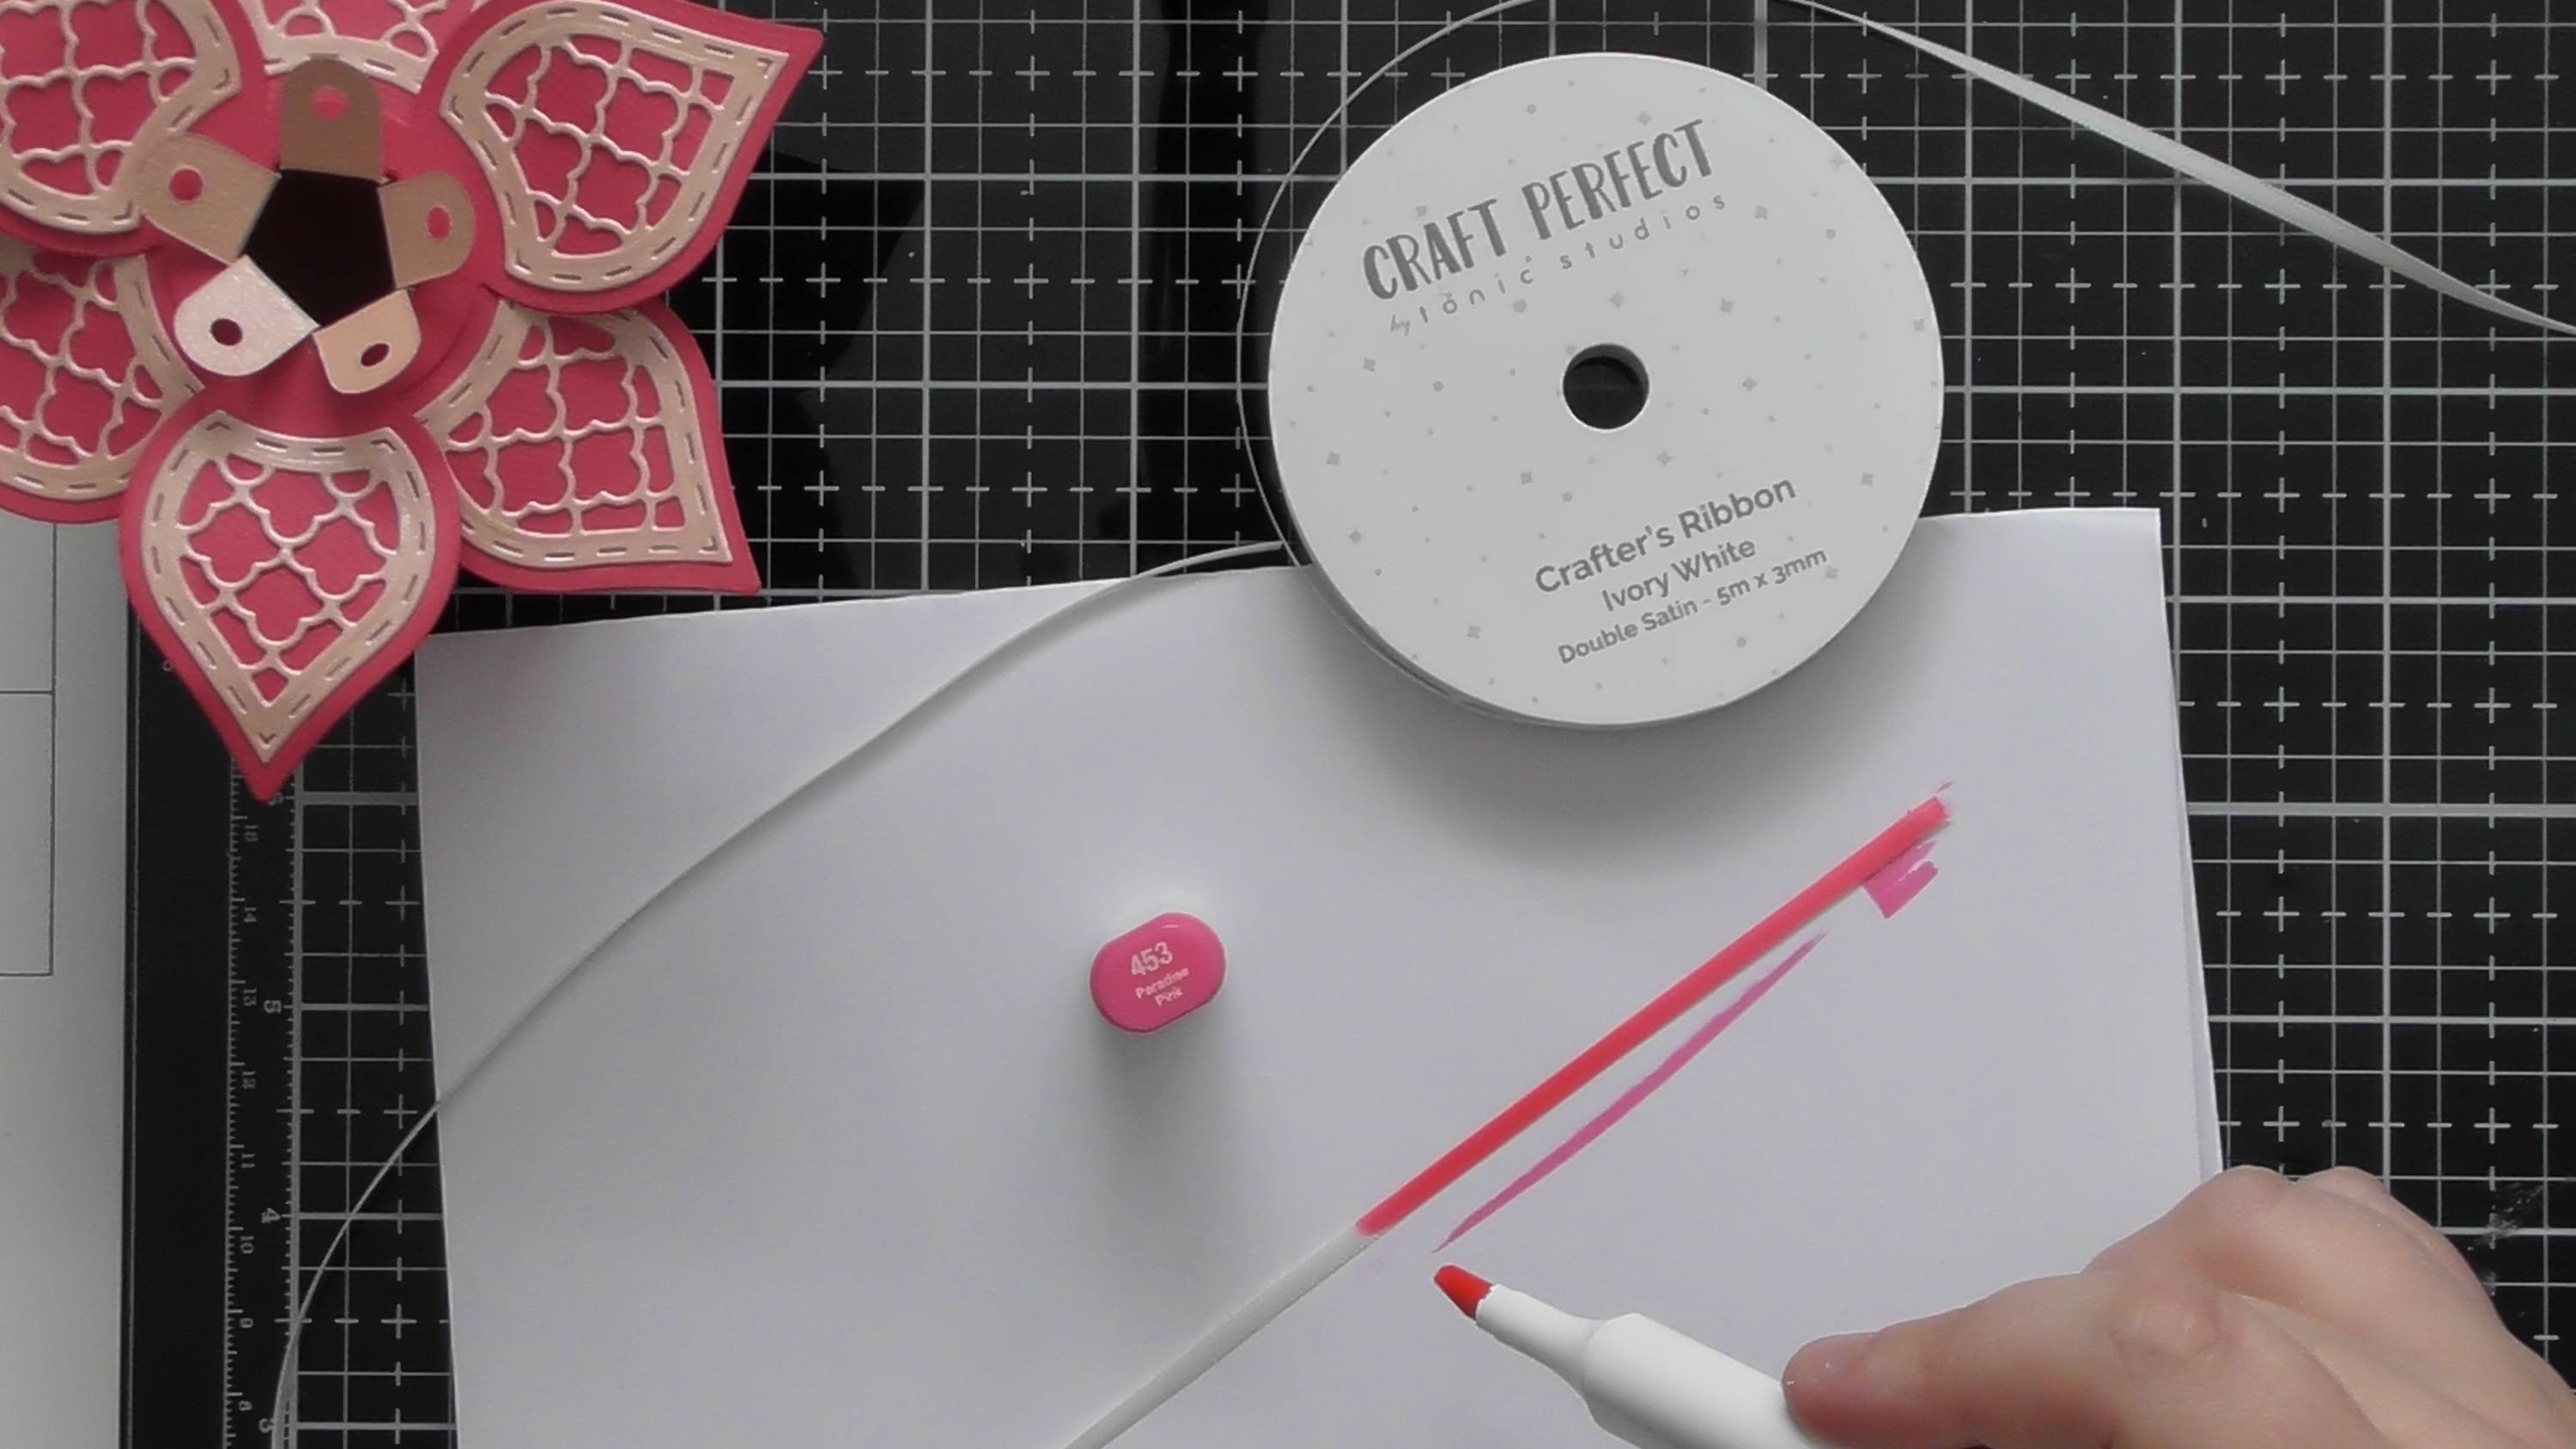
The 3mm width ribbon we get in the kit is perfect for tying your box together, and it can easily be coloured with the Nuvo Alcohol pens to get a coordinating colour if you’d like :D
Step 18

Finally thread your ribbon around the top, through the holes and finish with a bow.
Buy The Craft Project


