

Hello, everyone! Today we will be working with a fun and dynamic stamp and die showcase, the Magic Shutter Card Creator! What I really love about this set is that it will help you make a shutter card super easily from start to finish, and with two different aperture styles and inlay looks. The showcase comes with a stamp set, but today I am only using the dies and simplifying the included instructions a bit. I am only using one card base, where the instructions ask to sandwich the center shutter guard in between two card bases. I will be using three classic card colors: Bright White, Arctic Blue, and French Blue. Simple and clean! Grab your favorite glue and die cutting system, and let’s get started!
Part 1 - Creating the Card Base, Panels and Shutter Pieces!
Step 1

First, cut one card base and one shutter guard from the Arctic Blue card.
Step 2

To cut the guard portion in a way that will center the circle aperture, I will first place all of the dies that can inlay within the guard.
Step 3

Next, I will tape down the inner circle die and the outer guard die
Step 4

Then remove the inlay dies and the rectangular die. Place more tape on the circle and guard die so they will not move. Now run this through your die cutting machine.
Step 5

We will now have our card base and guard properly die cut. Put these pieces aside.
Step 6

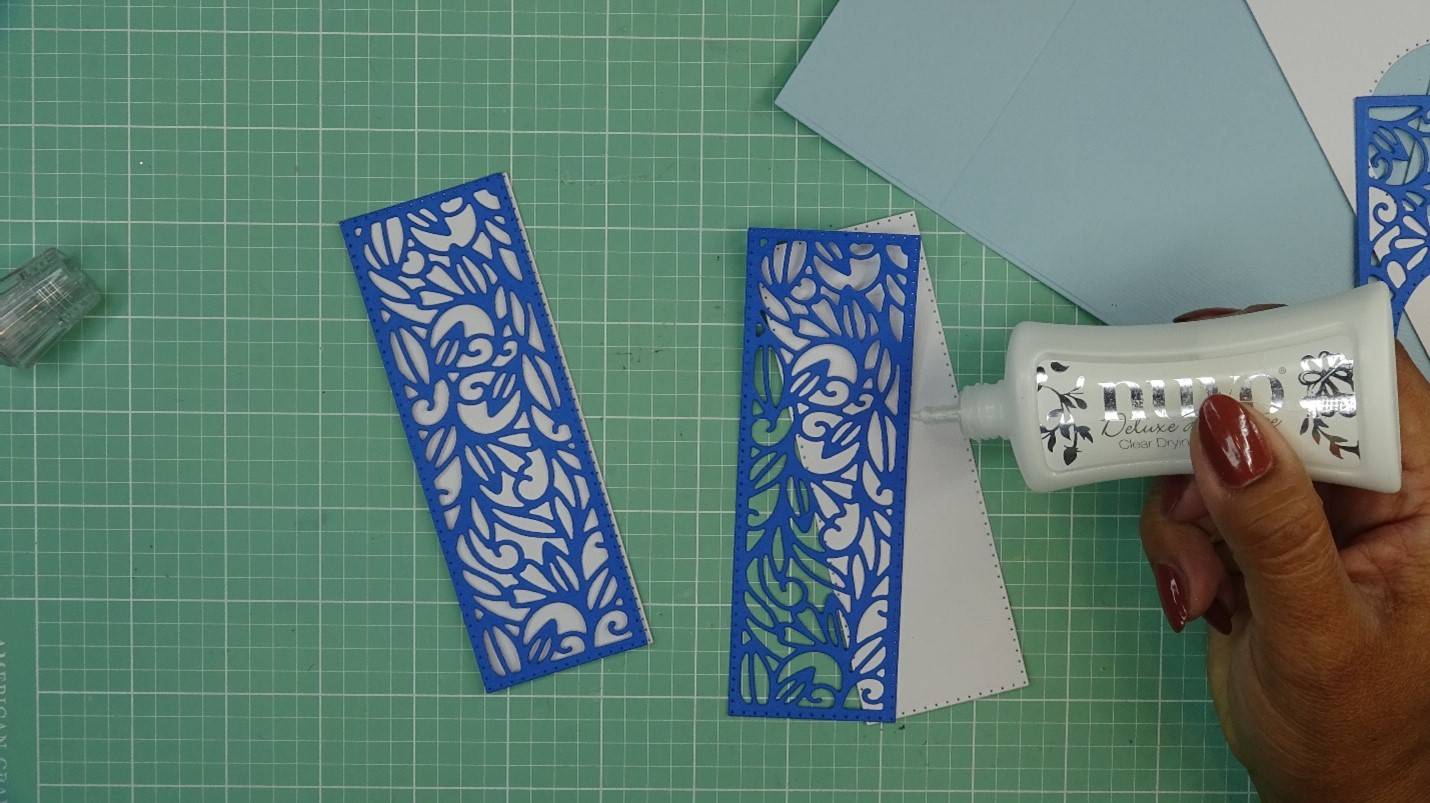
Next, I will cut the decorative panels for the front of the card and the shutter guard from Bright White card. I will cut two of the rectangular panel pieces, and will then cut the guard in a similar way that we did for the last portion.
Step 7


To cut the guard piece, go ahead and place all of the inlay dies, tape the inner circle and the outer rectangle. Remove the inlay dies, secure what is left and run through your die cutting machine.
Step 8

You will now have two plain panels and the plain shutter guard. Keep the circle that came out of the guard, also. Place these pieces to the side.
Step 9

We will now cut the decorative inlay panels from French Blue card. Again, two of the rectangular outside panels and one of the shutter guard. We will again cut the shutter aperture as we did before. Placing the inlay dies and circle, however, this time we will choose to keep one of the inlay dies to cut our design.
Step 10

Make sure to tape the rectangular die and inlay die well so they do not shift while die cutting. Again, make sure the dies for the shutter guard are also secured well. Run through your die cutting machine.
Step 12


To cut the other half of the shutter guard inlay decoration, remove the dies and place just the inlay over the portion that still needs to be die cut. Secure well and run through die cutting machine.
Step 13
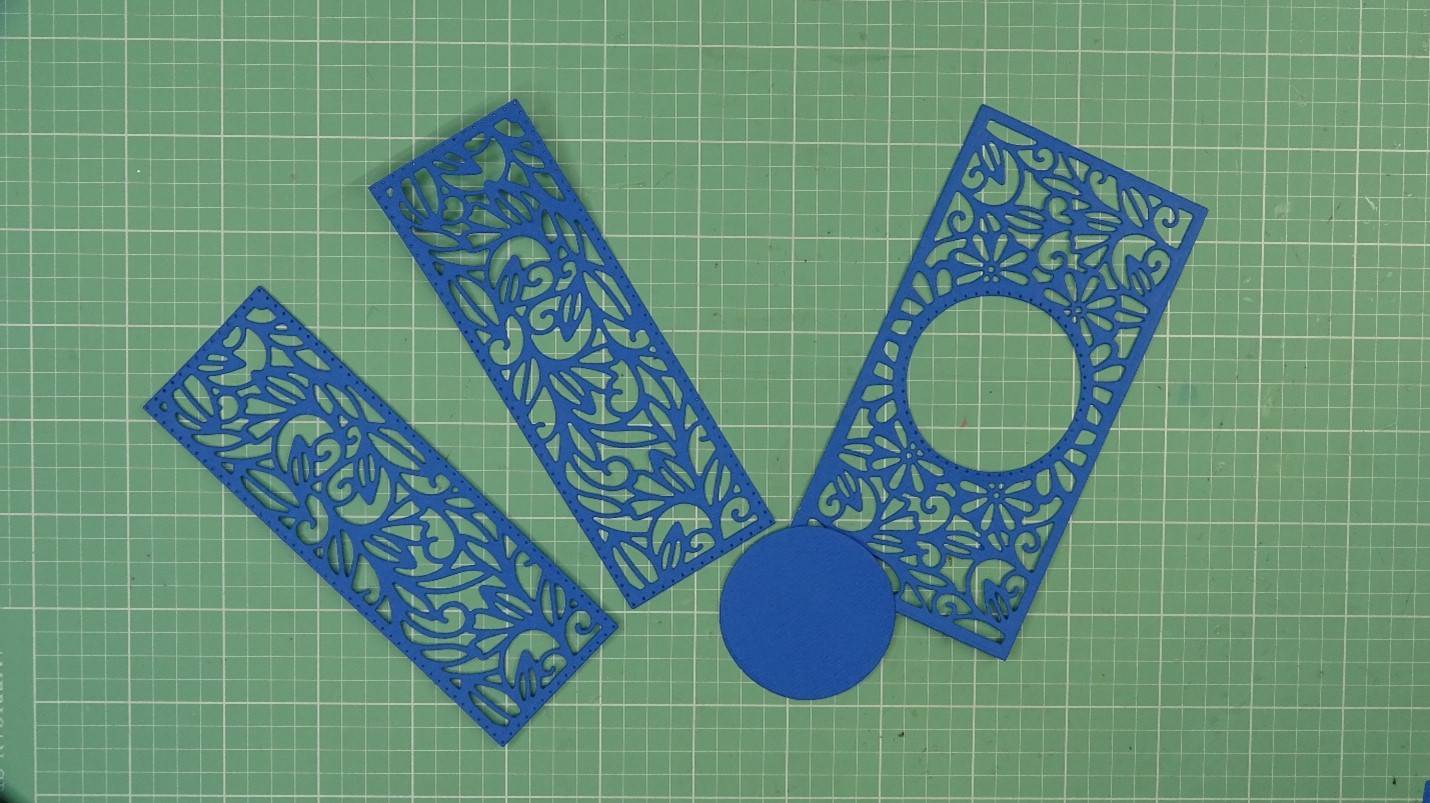
You will now have two decorative panels and the decorative shutter guard panel. Again, keep the circle that came out of the guard. Set these pieces aside.
Step 14
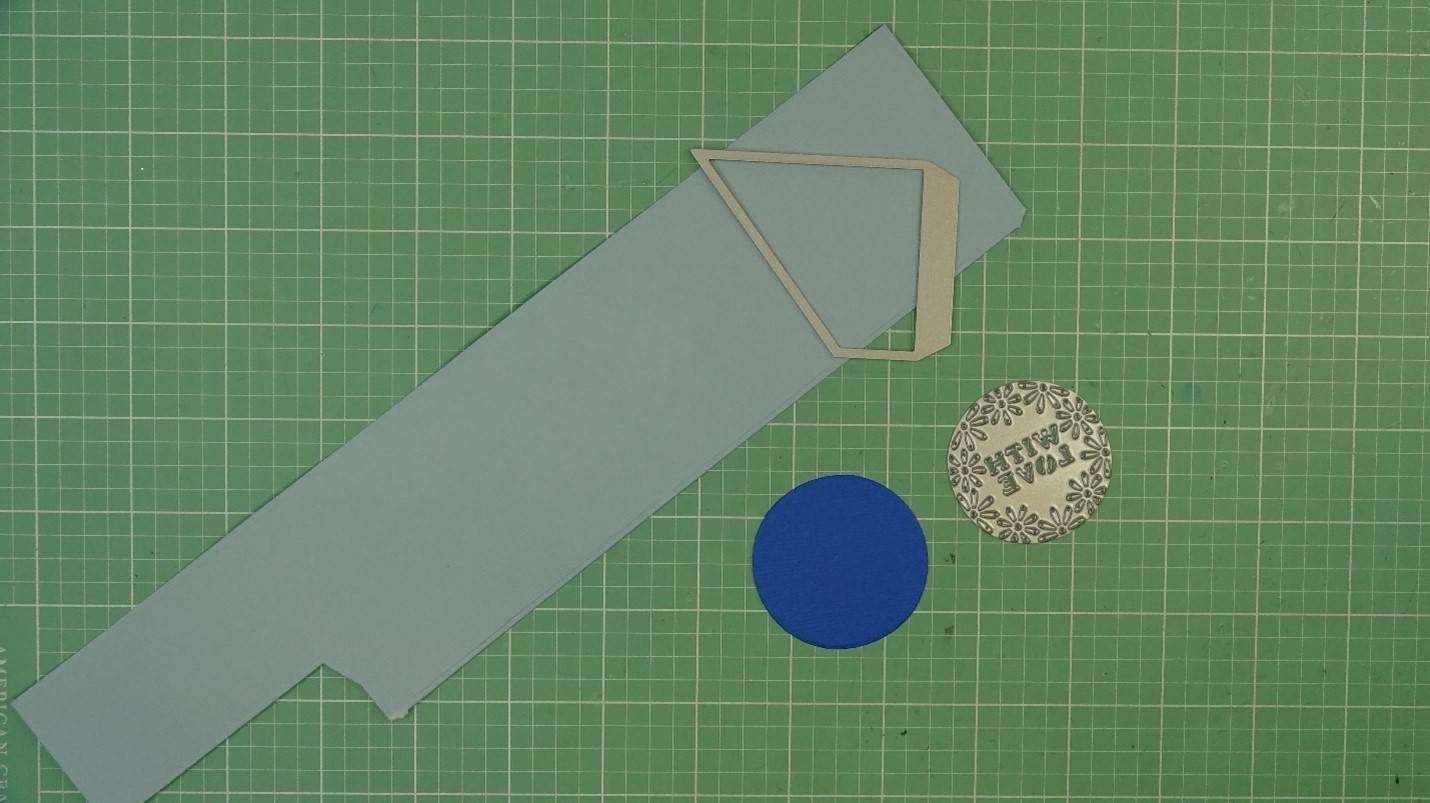
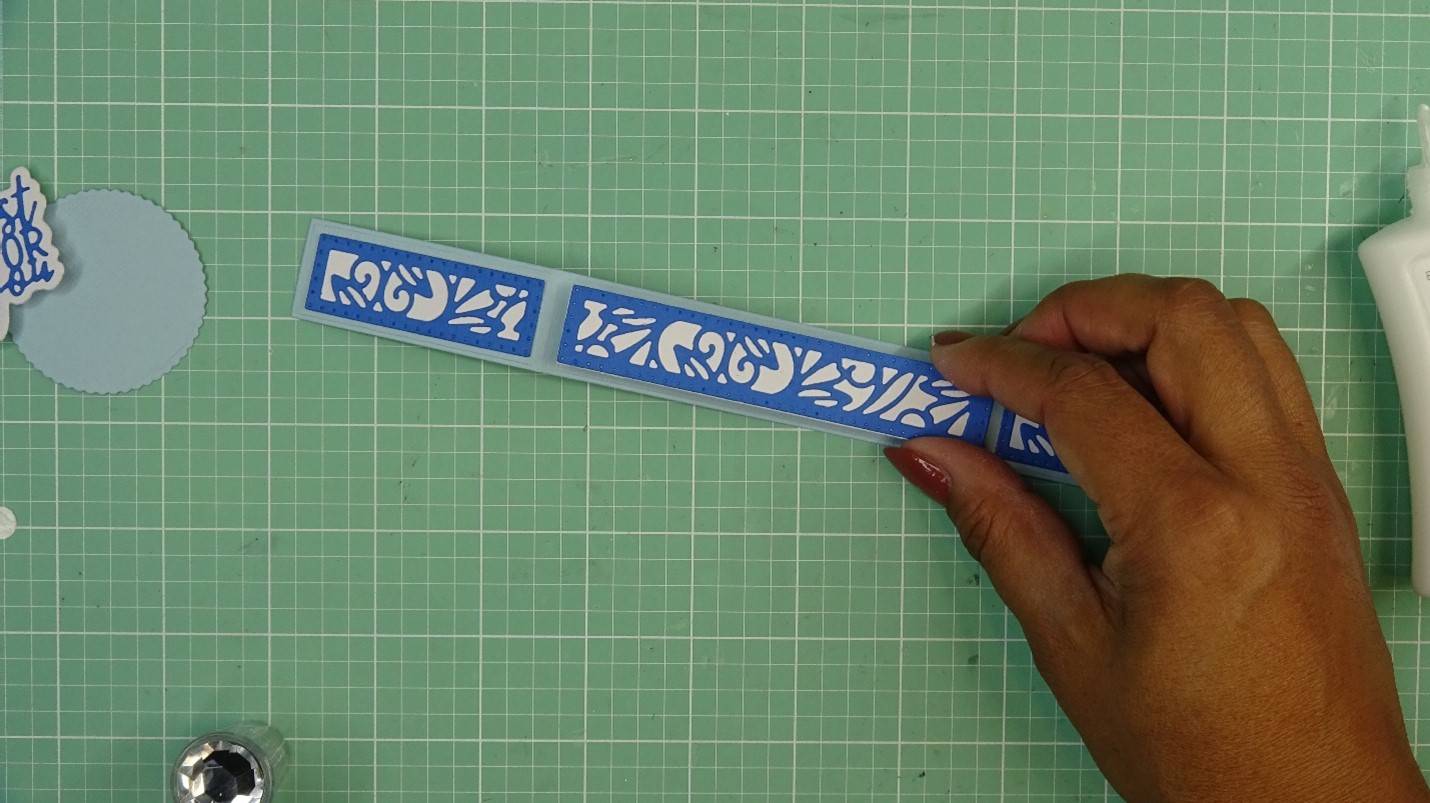
Lastly, we will die cut the shutter pieces and the sentiment. To do this, I will cut two shutter pieces from Arctic Blue card. I chose to use the slanted shutter die. I will then die cut my chosen sentiment into the French Blue circle that we reserved in the last step.
Step 15

Secure the dies well, and run through your die cutting machine.
Step 16
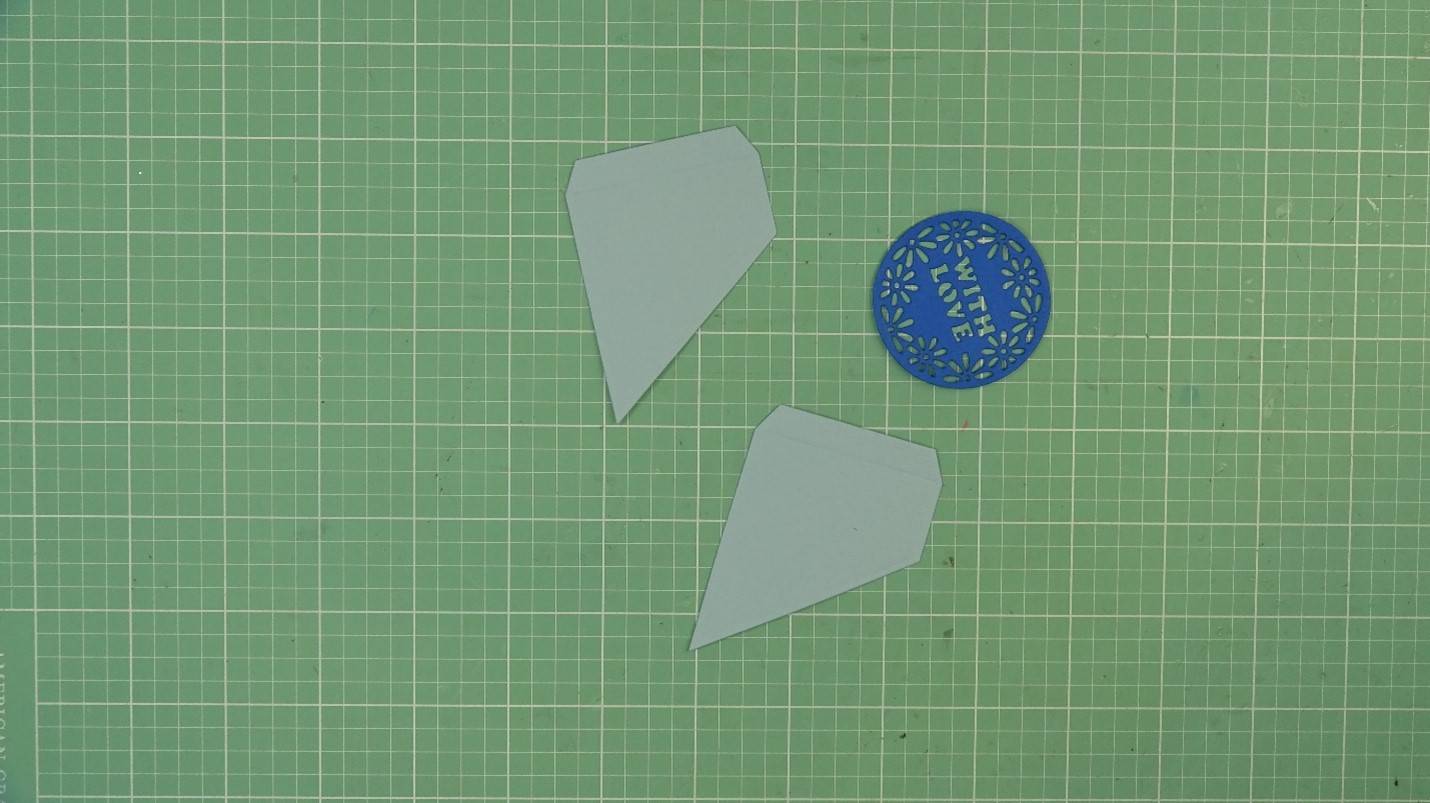
We now have our shutter pieces and sentiment for the inside of the card.
Step 17
Secure the dies well, and run through your die cutting machine.
Step 18
We now have our shutter pieces and sentiment for the inside of the card.
Part 2 - Putting the card pieces together and assembling the shutter mechanism!
Step 1

Secure the dies well, and run through your die cutting machine.
Step 2


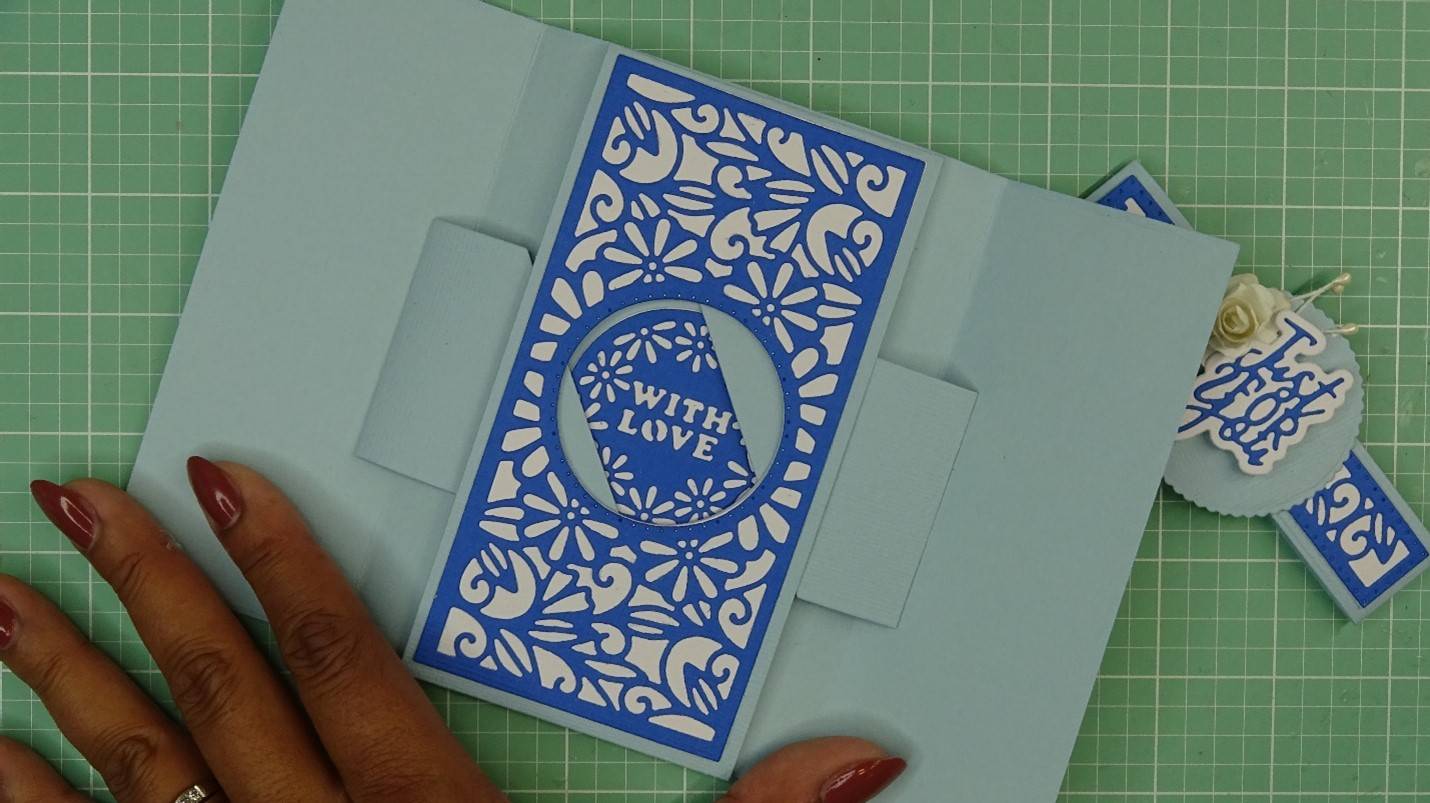
I will go ahead and score my guard piece. Then adhere the basic panel to it, centering the circle cut out area.
Step 3

Now, I will adhere the sentiment to the Bright White circle we reserved earlier.
Step 4

I will go ahead and score my shutter pieces on the score lines.
Step 5

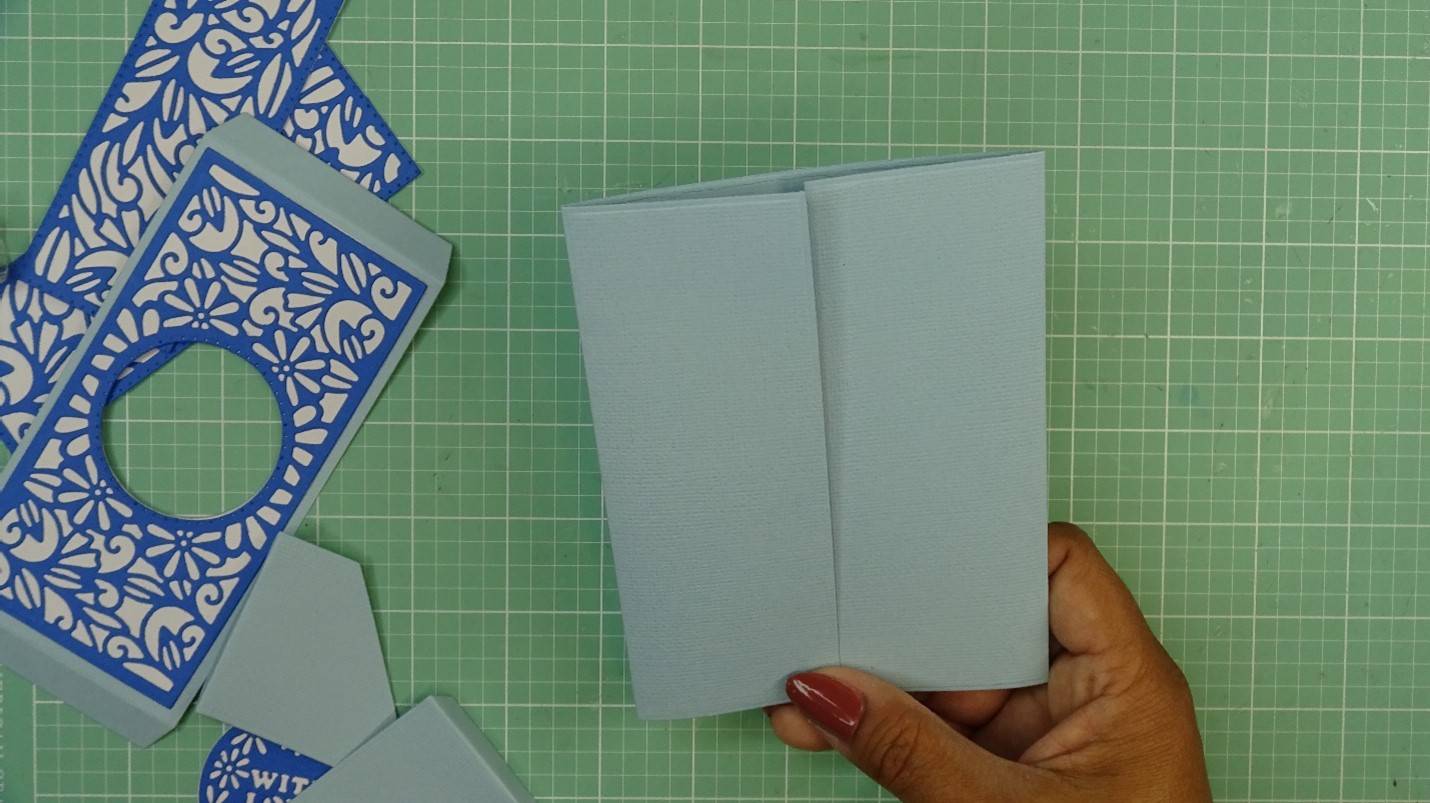
Then I will go ahead and score the Arctic Blue card base on the gatefold score lines.
Step 6

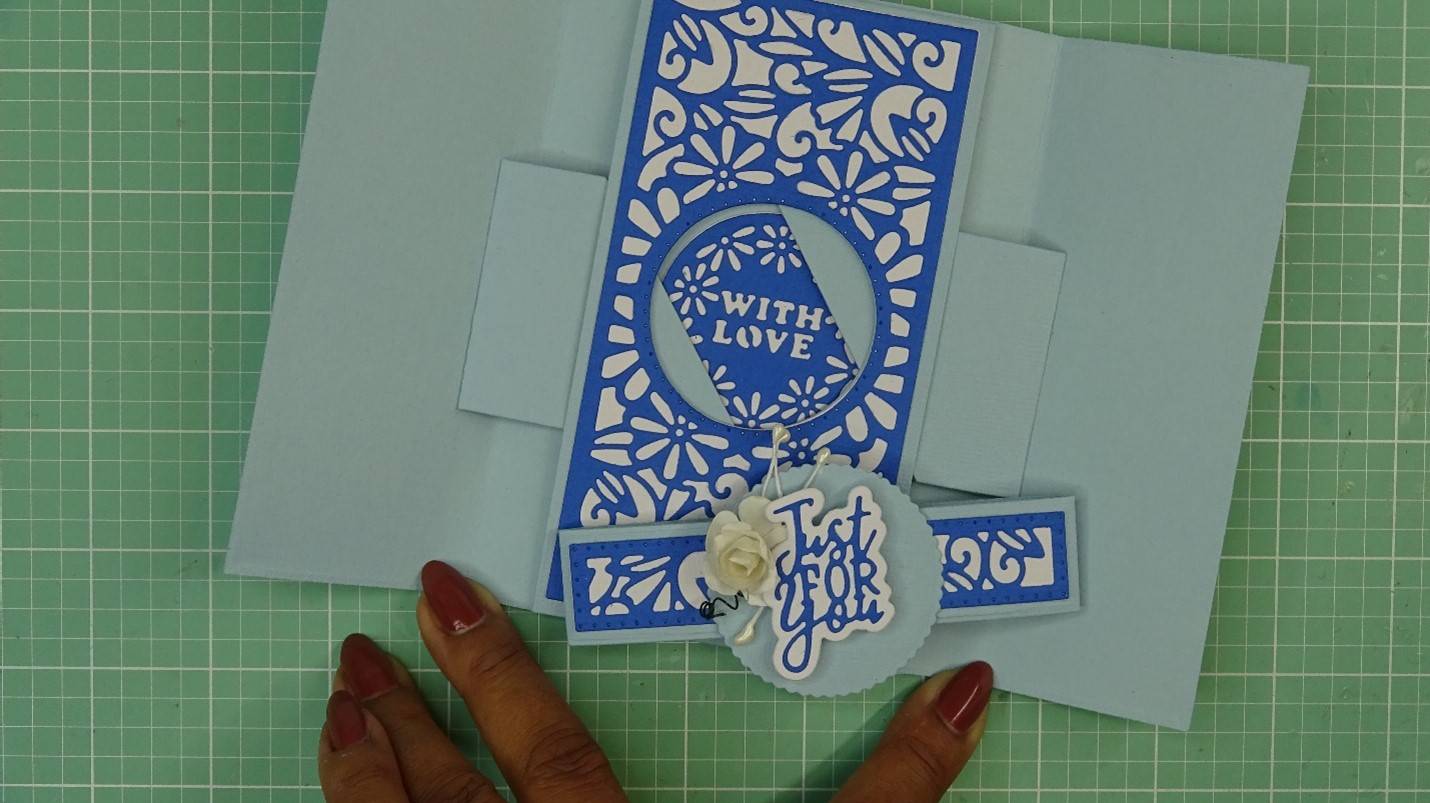
To put the magic shutter card together, I will first focus on the shutter guard. Apply glue on the top tab.
Step 7

Then adhere this tab to the top center of the inside of the card. (This is different from the instructions provided with the showcase set.)
Step 8


I will now bend the shutter guard down so I can see where to place my sentiment.
Step 9

I put glue on the back of my sentiment, making sure to get it very close to the edge. This will assure the shutter pieces will not catch on the edges when opening and closing the card.
Step 10

Place the sentiment, assuring it is centered in the aperture hole.
Step 11

Now lift the shutter guard so we can place the shutter pieces.
Step 12

I placed the shutter pieces over the sentiment. Making sure the pieces are centered and will be center when the guard is in place.
Step 13

Apply glue on both tabs. These will hold on to the panels and will work to open and close once the guard is in place.
Step 14


Go ahead and bring the shutter guard down and close the card. The gatefold panels will now adhere to the shutter pieces. Give it some time to dry before opening, if using a wet glue.
Step 15


Carefully open the card, burnish the folds of the shutter pieces, and adhere the bottom tab of the shutter guard.
Step 16

Apply glue to the bottom panel and turn the tab under so it makes contact with the card base, just like the top tab.
Step 17

You can then burnish all of the scored and glues areas, if you would like. At this point, the shutter is complete!
Part 3 - Creating and assembling the belly band!
Step 1


To create the belly band, I will cut the larger die once and the scalloped circle die from Arctic Blue paper. I will also need one of the larger rectangular decorative panels cut from Bright White, along with two of the shorter rectangular panels, and the background layer of my sentiment.
Step 2

Then, I will cut the decorative layers from French Blue card, again using the inlay dies within the larger and shorter rectangle. We will need one of the larger panels and two of the smaller. I will also cut the sentiment.
Step 3

Then, I will adhere all of the decorative pieces to the basic background pieces
Step 4

Now, I will go ahead and score and fold the belly band die cut.
Step 5
Next, I will adhere the decorative pieces.
Step 6


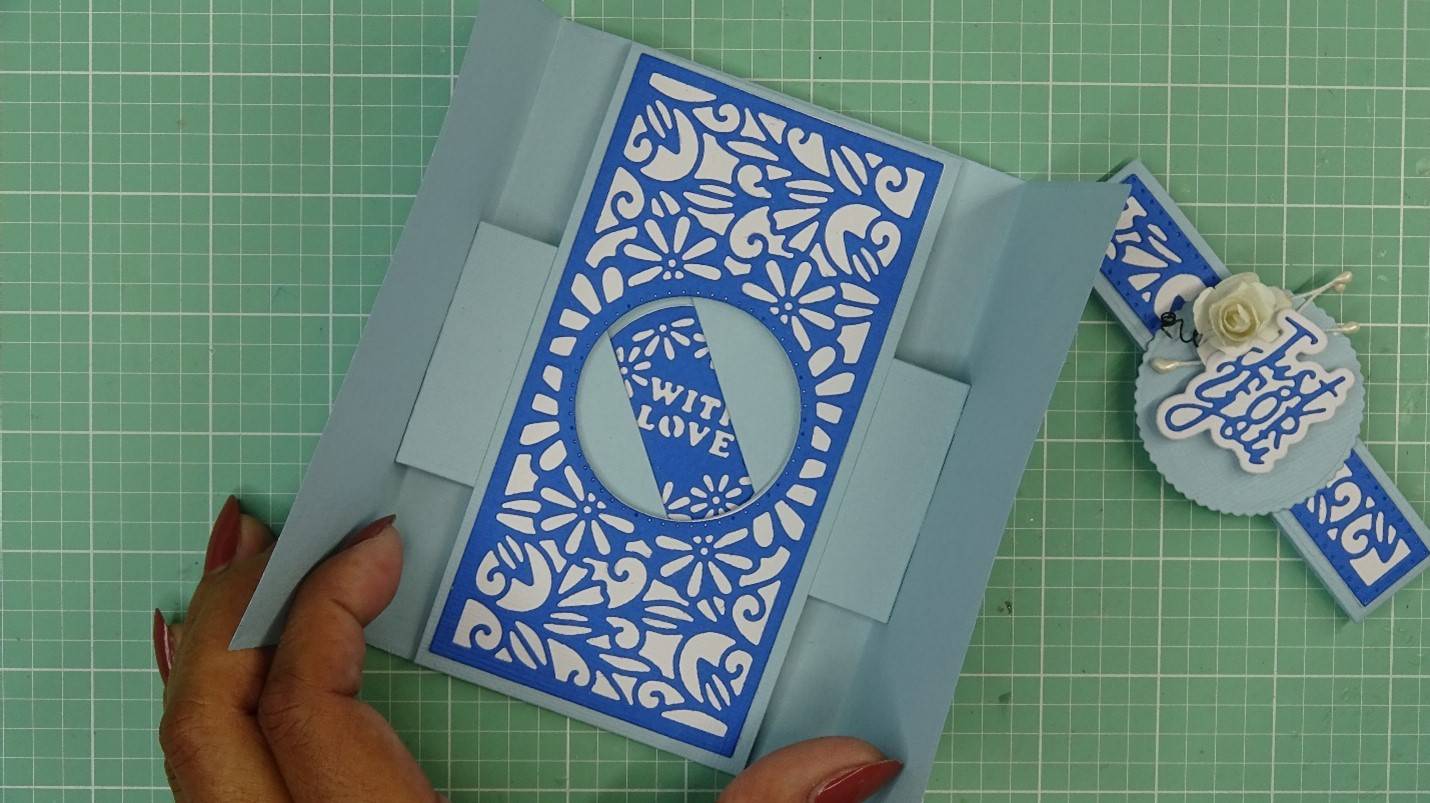
I will then fold the belly band and adhere one side over the other. This junction I will place in front and cover it by the sentiment.
Step 7

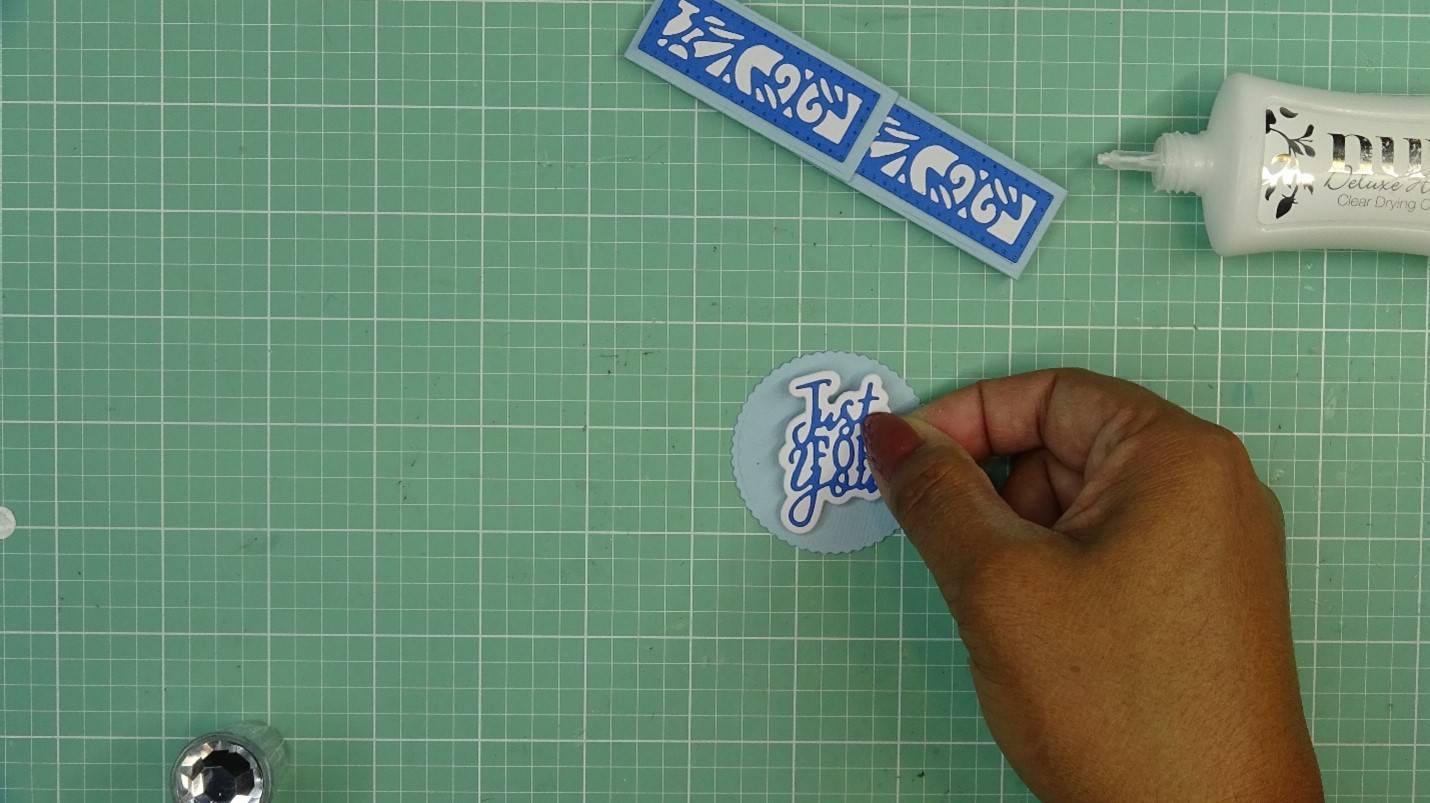
To complete my sentiment, I placed dimensional adhesives on the back of the sentiment die cut. I will place this on my scalloped circle.
Step 8


I will then adhere this to the belly band junction. Let it dry and slide over your card!

I went ahead and added a paper flower and some pearl stamens.

Our card is done! I am so impressed with how quickly a card of this type comes together with this showcase set. I love the mix and match of the Verso dies, the design options are endless!! Thank you for spending time with me. Have fun!!

Buy The Craft Project
