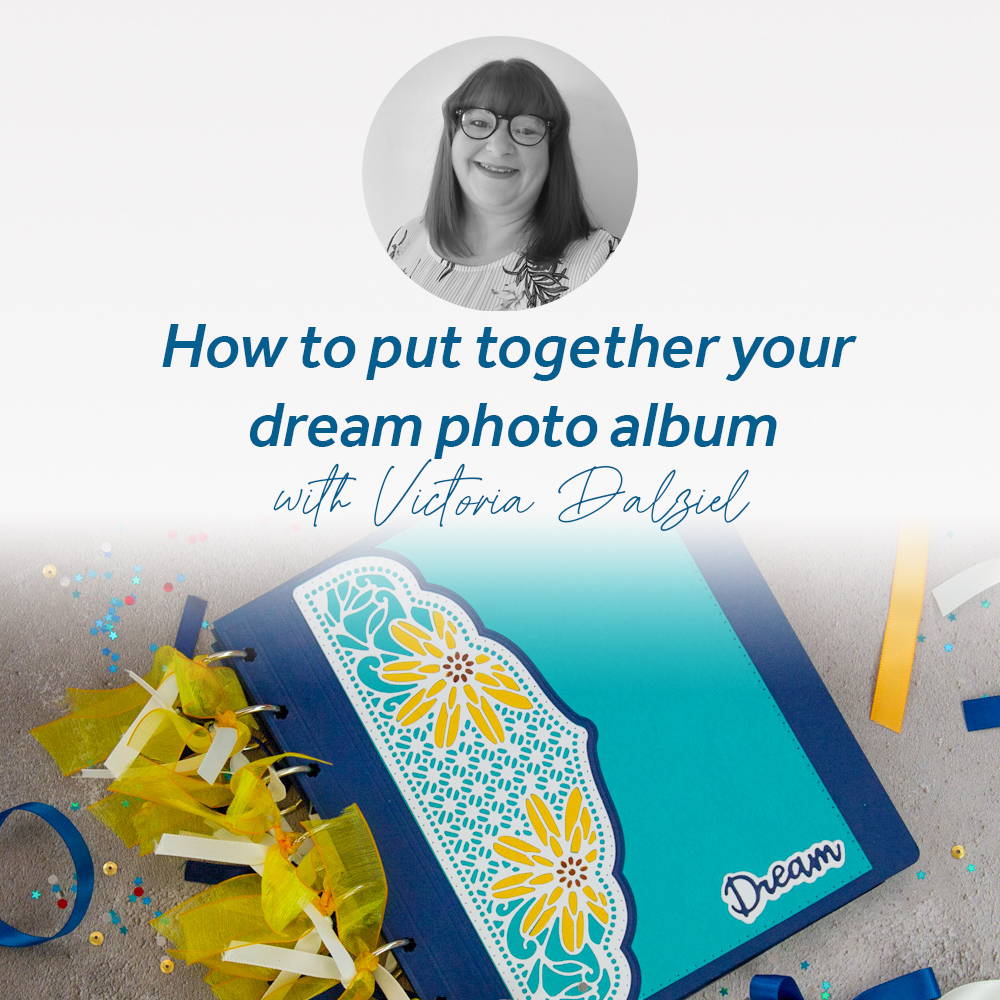

What you will need:
Magazine dies, stamps and papers
Nuvo Deluxe adhesive
Craft Perfect redline tape
Timmer/Guillotine
Tim Holtz Stamping Platform
Nuvo Hybrid Ink – Black Shadow
8x Jump Rings (1" Diameter)
Craft Perfect in Ocean Blue, Ivory White, Mustard Yellow
Assorted Ribbon - White, Golden Yellow, Mustard, Navy
Base Card 240 GSM - Navy
Magnets
Tonic Tangerine Die Cutting Machine
Nuvo Alcohol Makers - 417n 377n 381n & 499n
Step 1
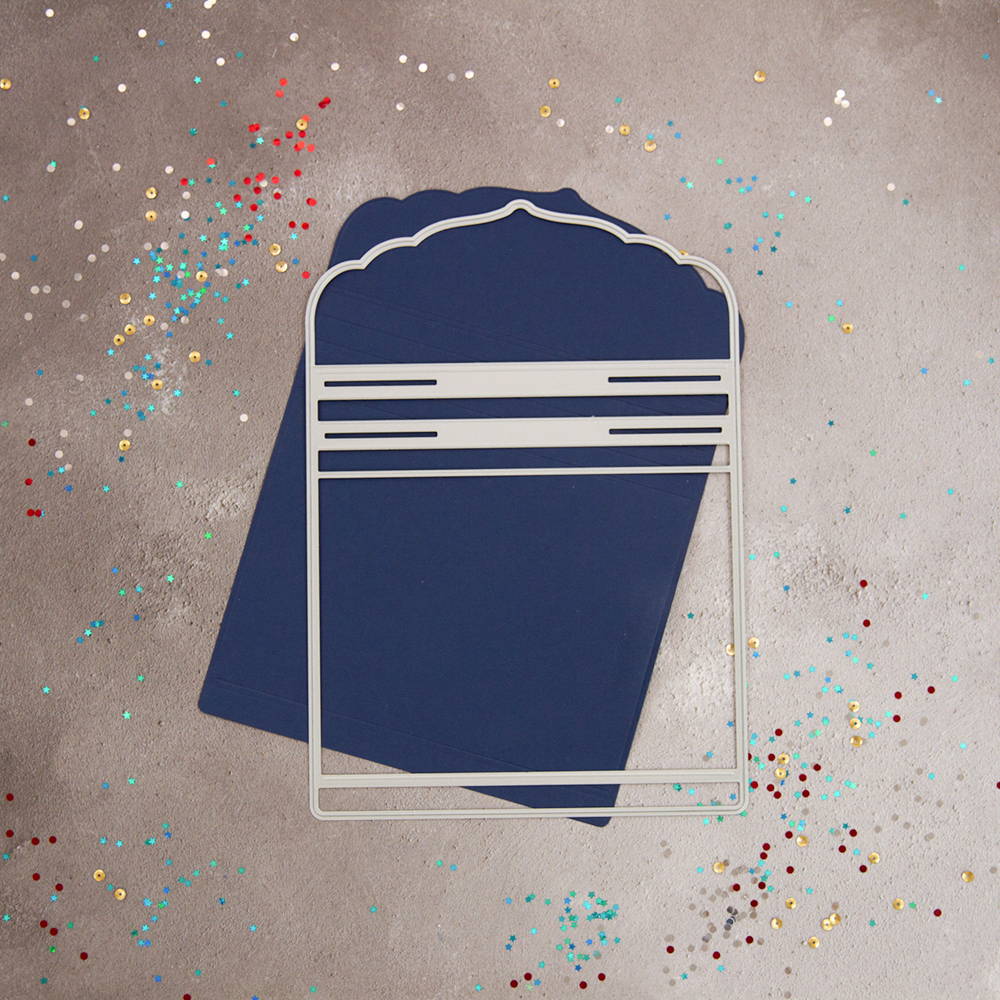
Cut the largest base die out of Navy 240gsm card stock 8 times. These will also be used for the flaps to your pages. The front and back page of your book uses the entire base die. You need to fold the die cut card at the second score line.
Step 2

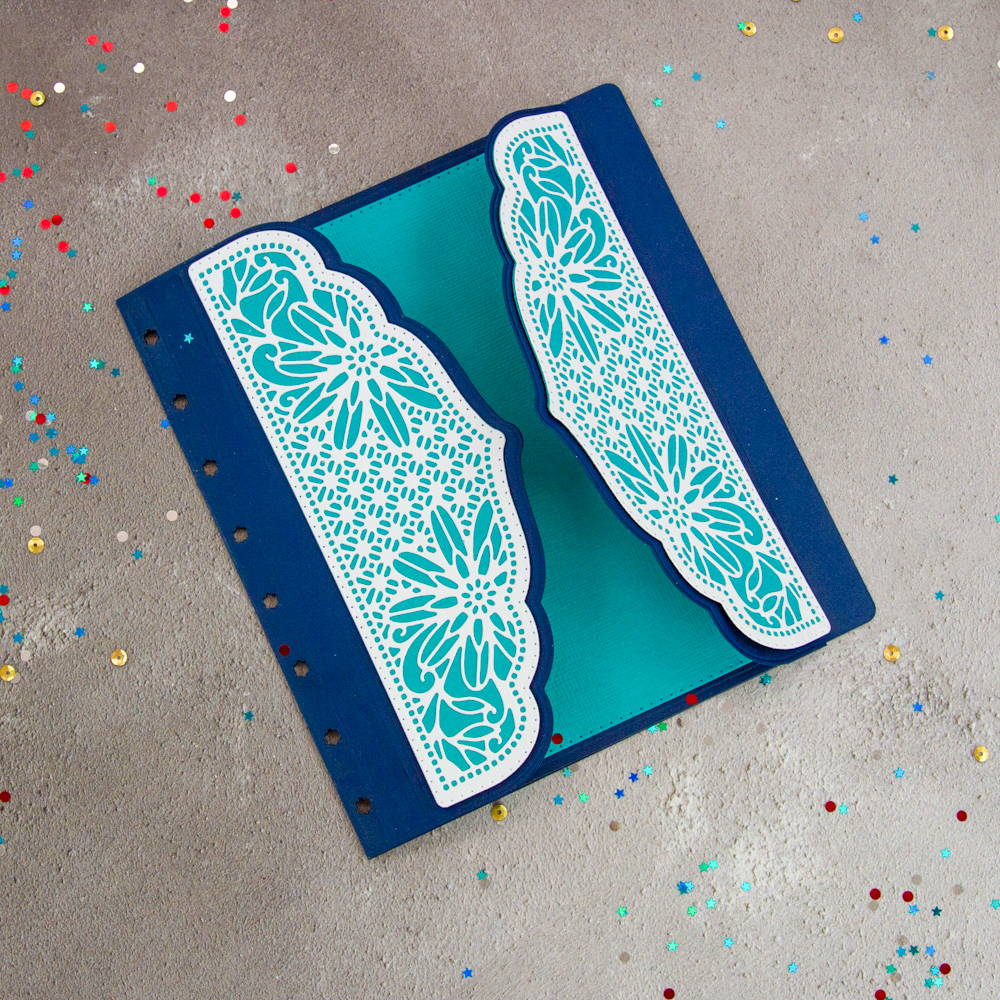
Place the strip die which has holes in the shape of flowers on it, on the card at the first score line and cut through 2x pieces of card, this is where you will thread your rings. Then die cut the rectangle layering die in the cardstock colour Ocean and white, this is to line your page where you could be adding a photo.
Step 3
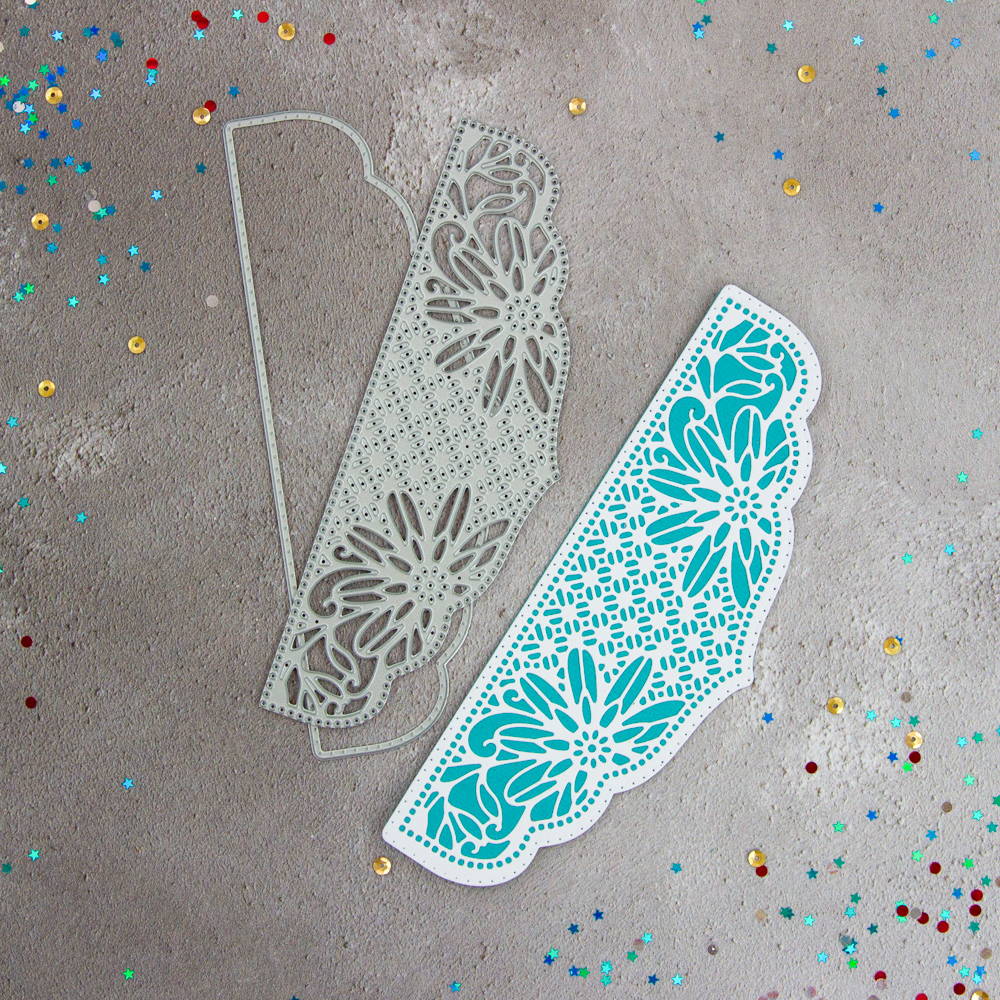
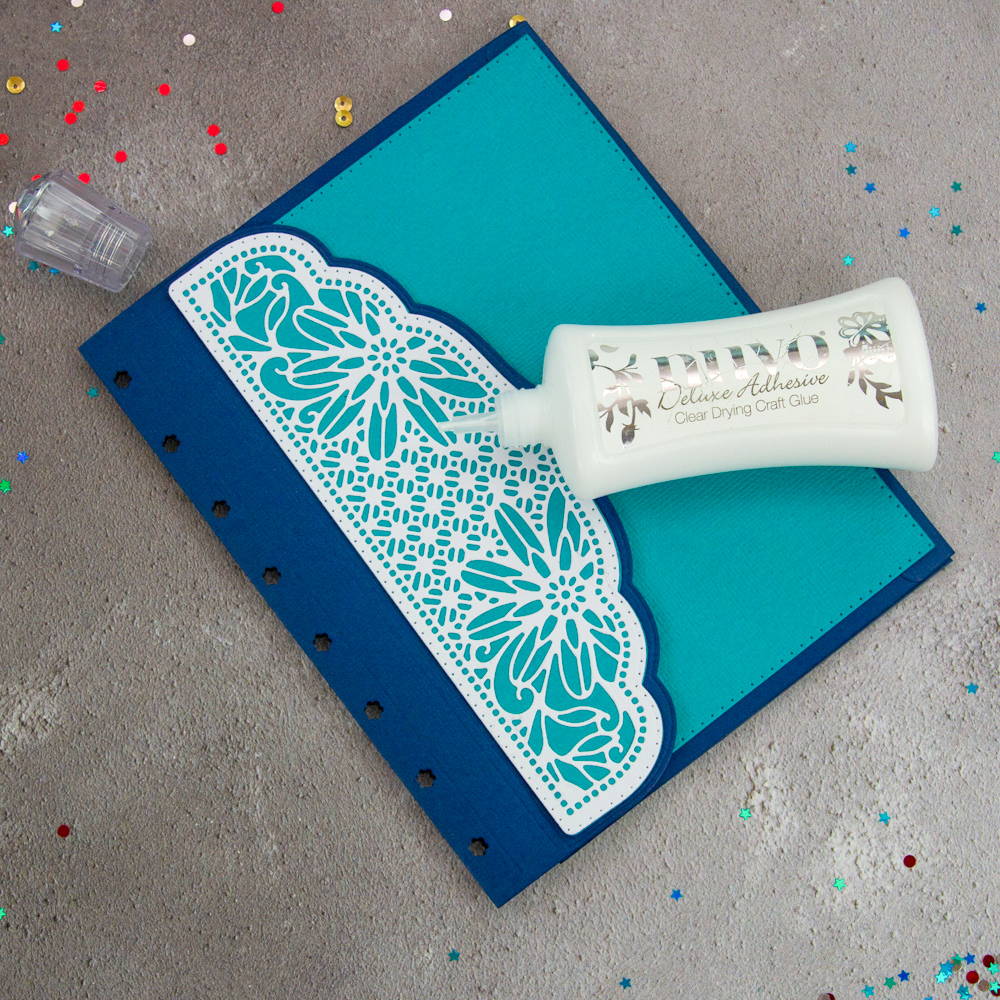
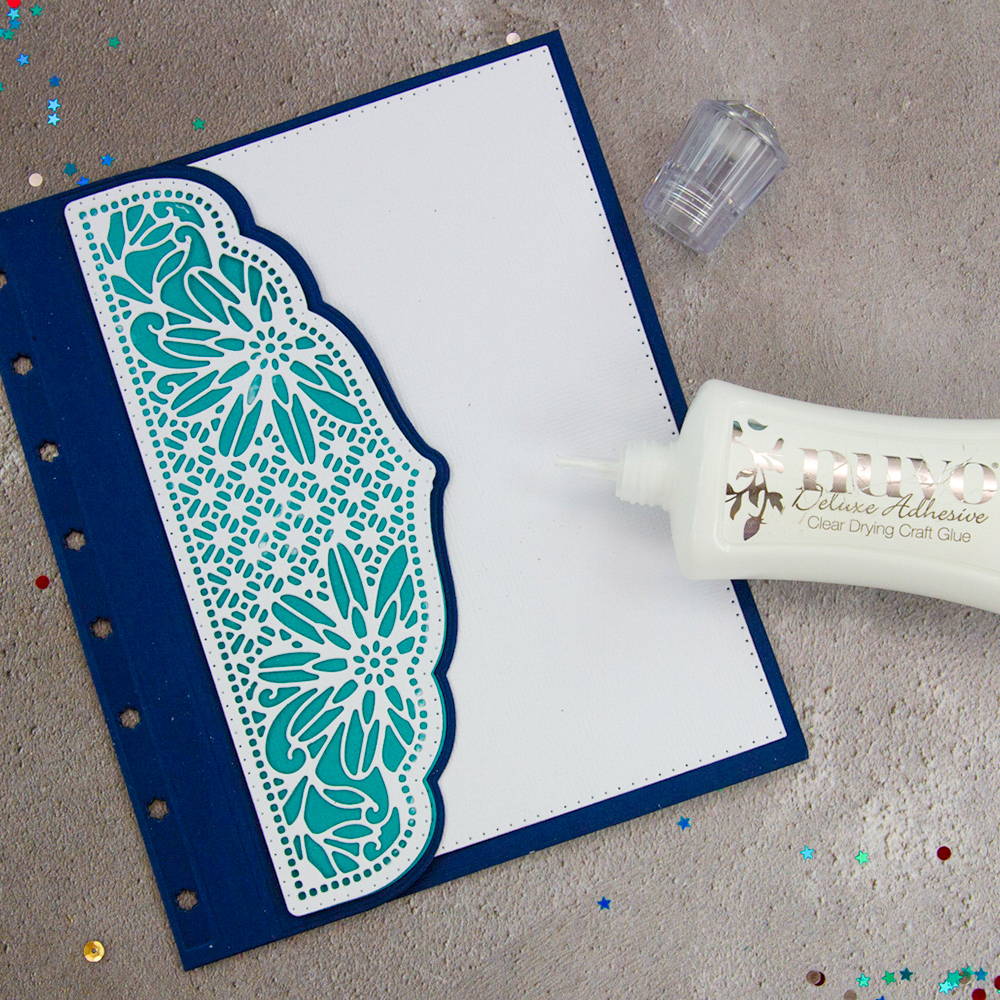
Die cut the decorative panel in white and the plain panel in ocean- glue these together using deluxe Adhesive.
Step 4
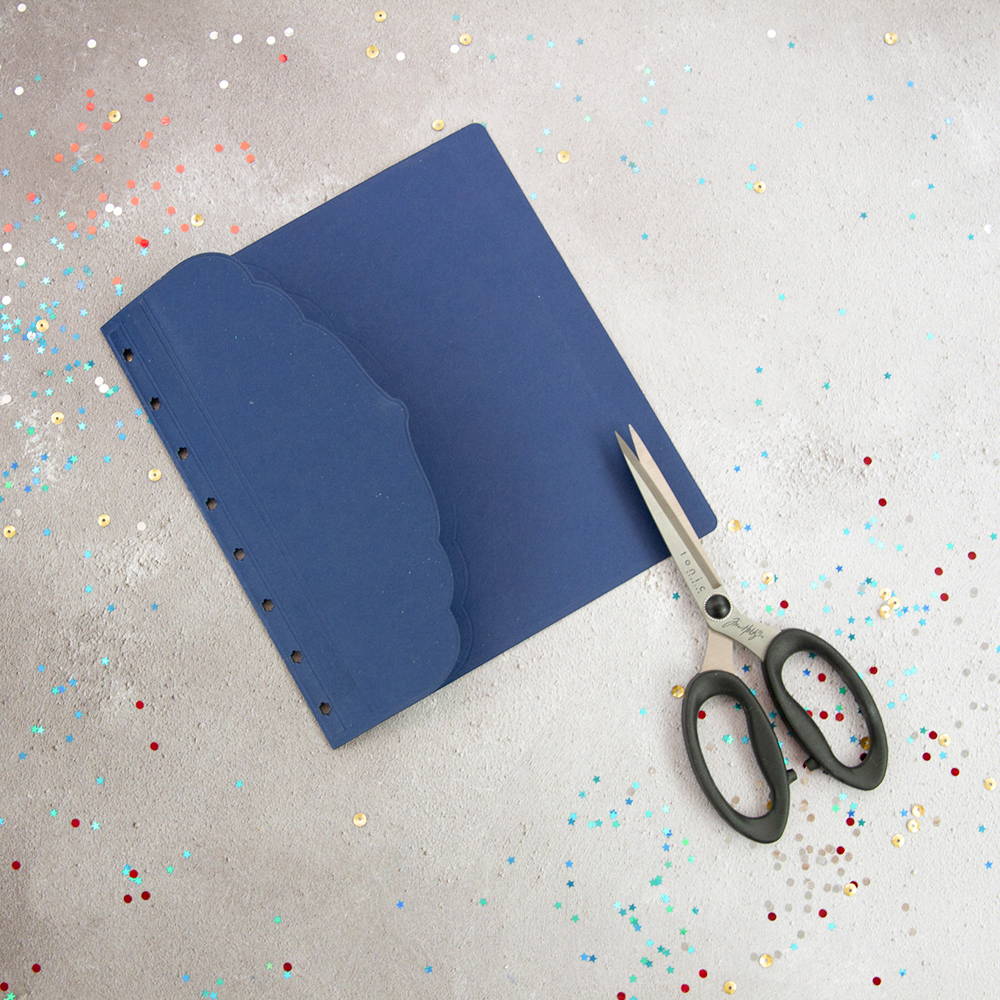
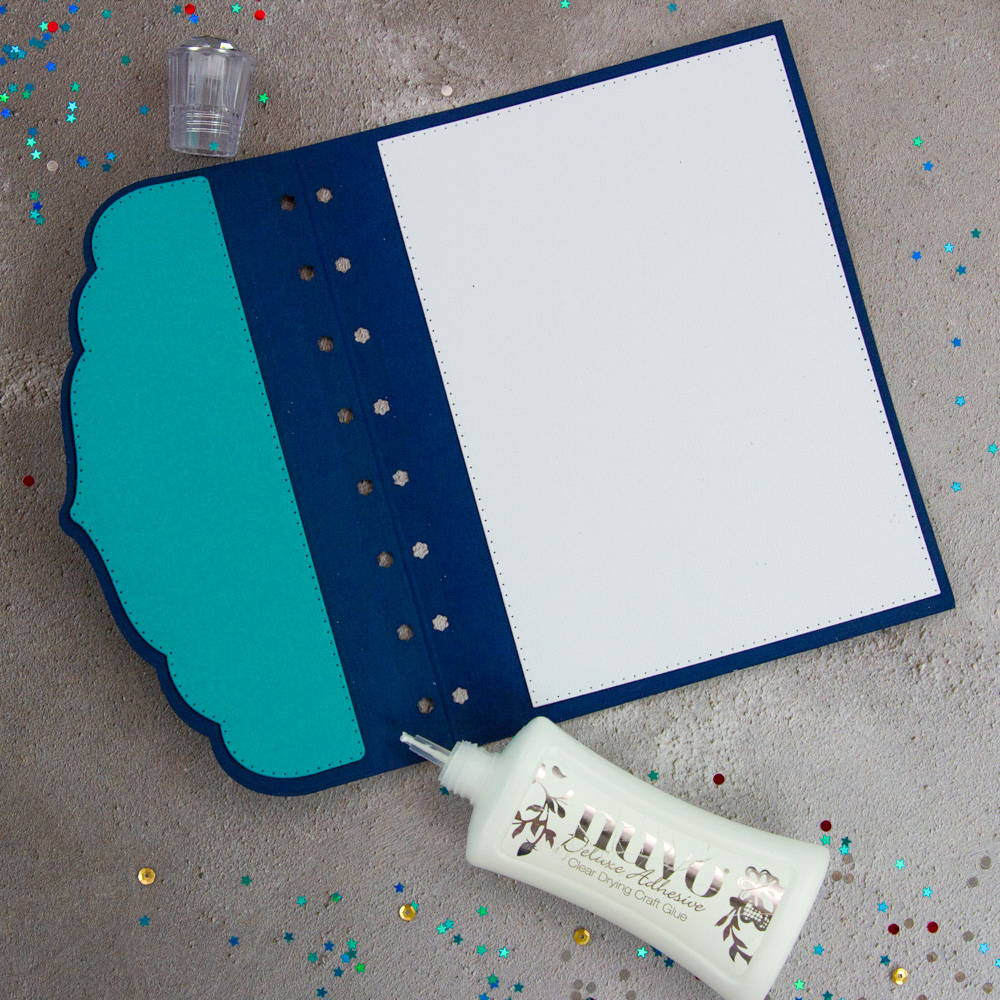
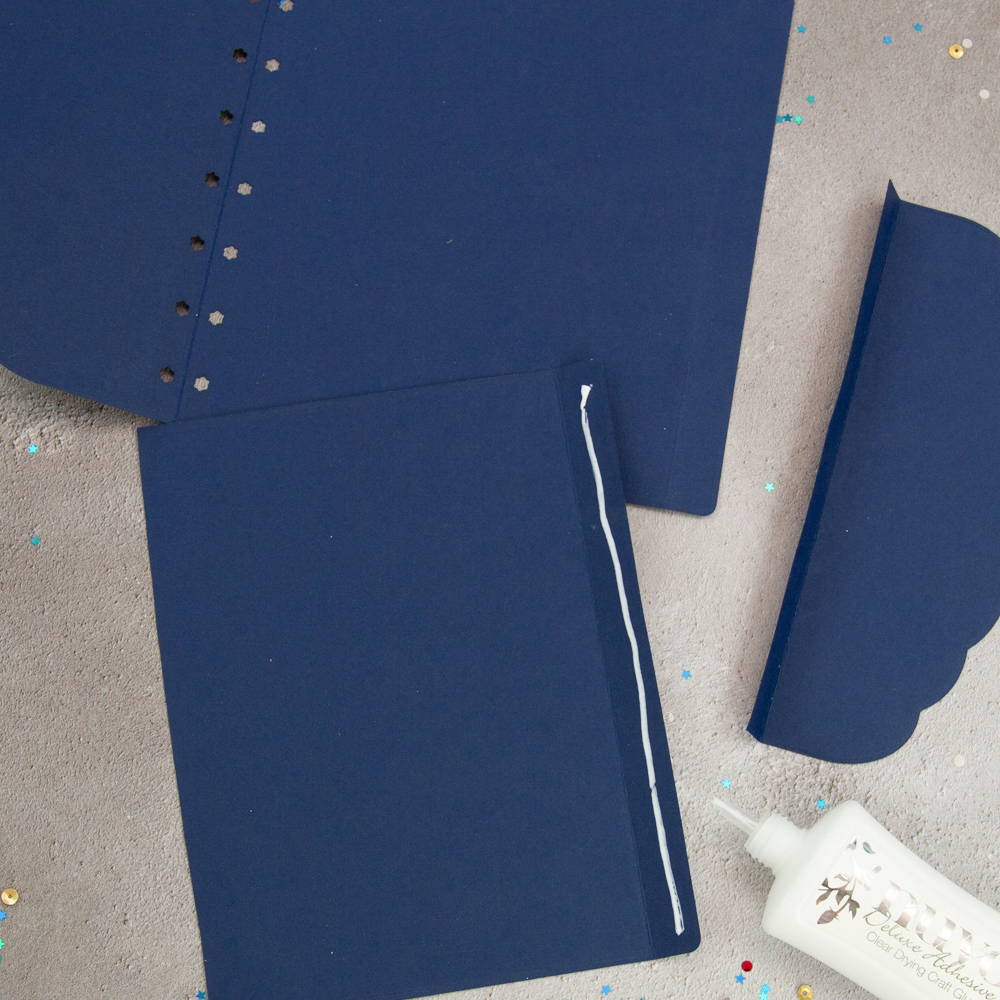
Trim off the end of 2 base cards you have already die cut out, these will be the centre pages of your book. These also need the holes placing in the side as we did previously in step 2.
Step 5
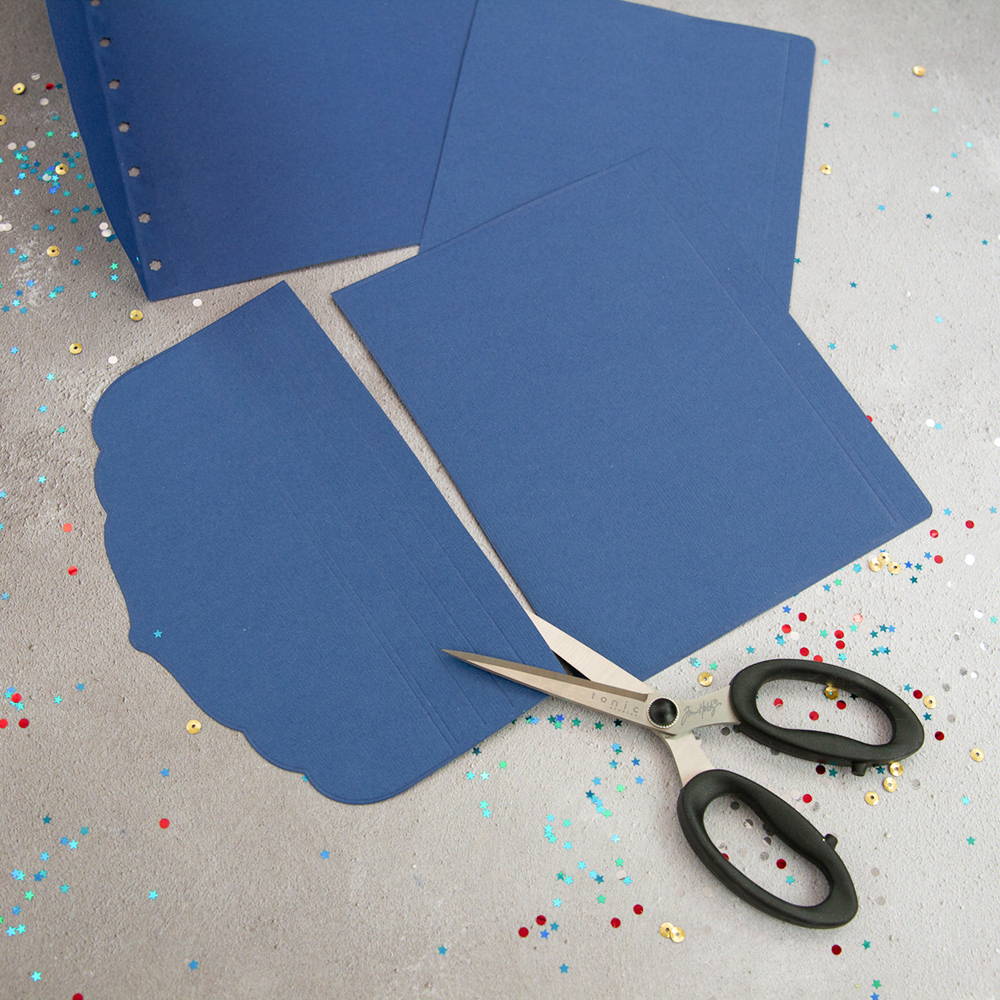
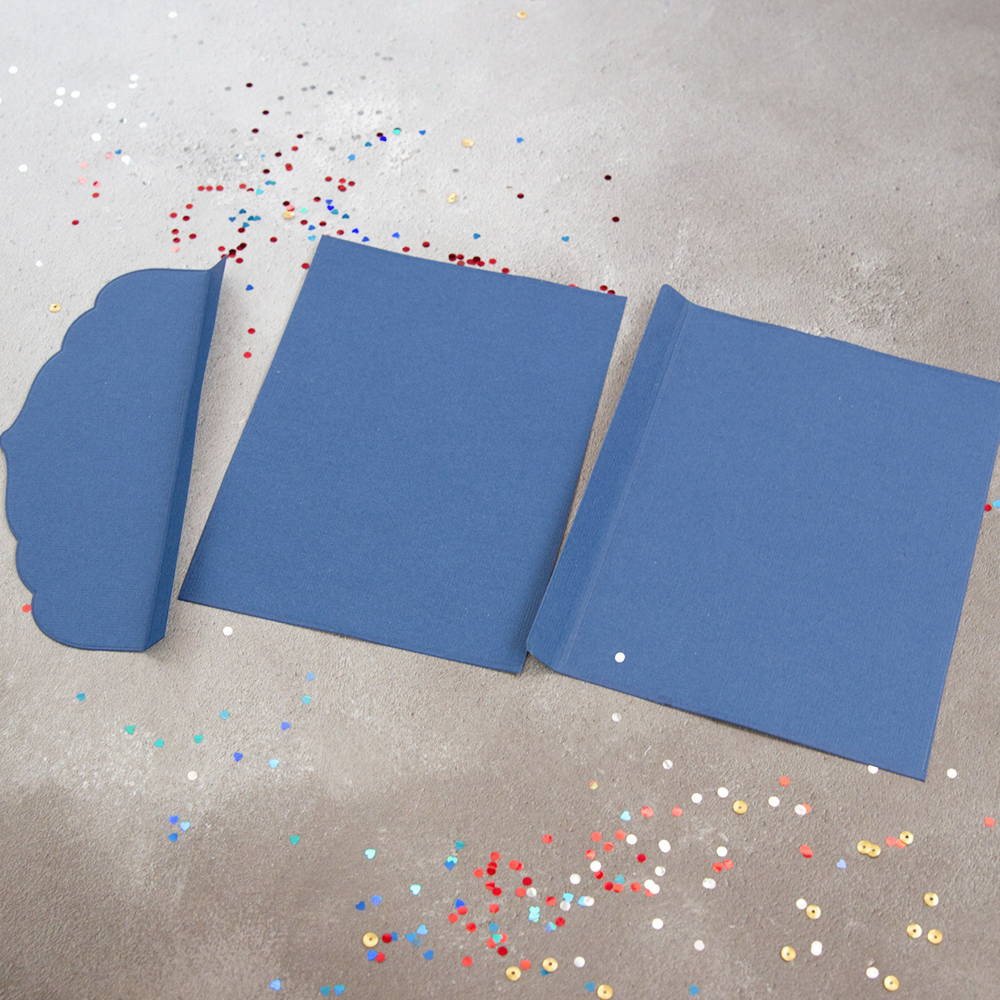
For the second page trim the edge off and add the holes. Cut another base layer & trim off the decorative flap and the score lines. Do this twice.
Step 6
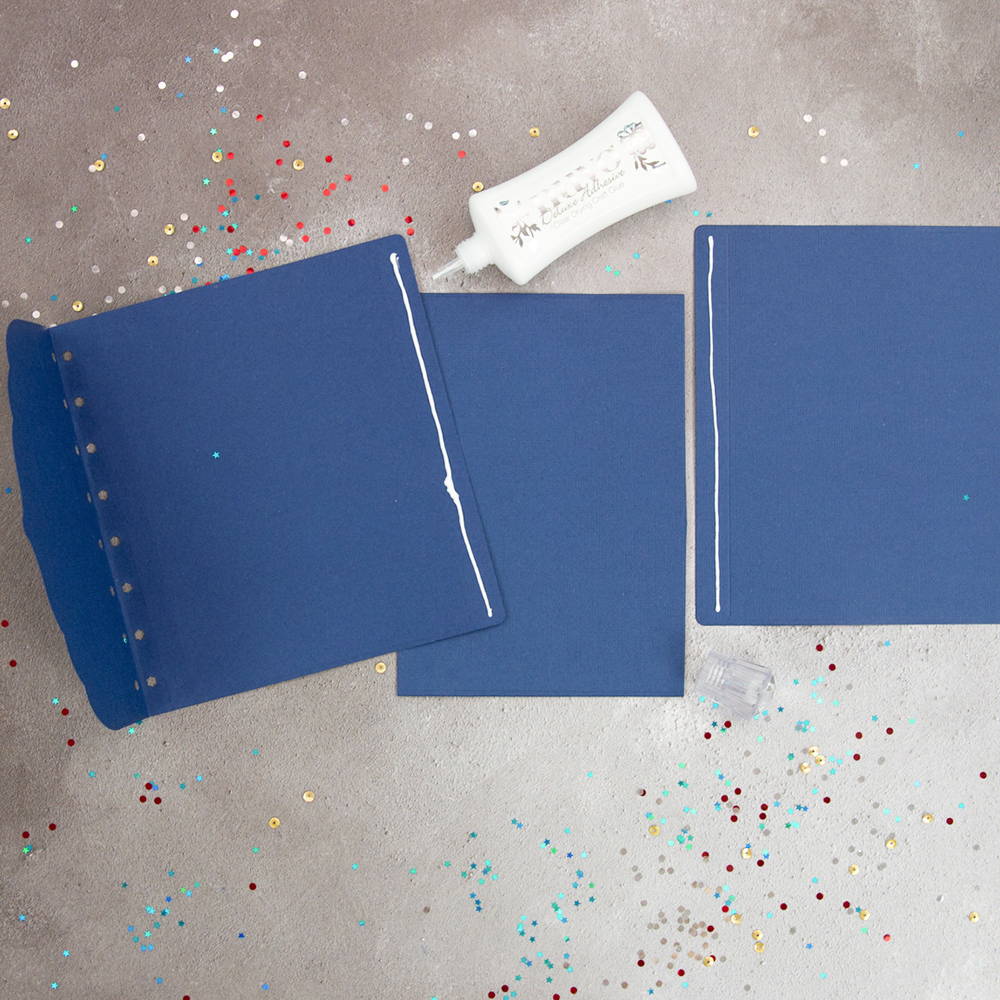
Now you have 2x pieces of card with a glue flap, this needs to be folded and wrapped under the 2nd page of the book.
Step 7
Add the second flap in just the same way so you have you should have a 3 page pull out.
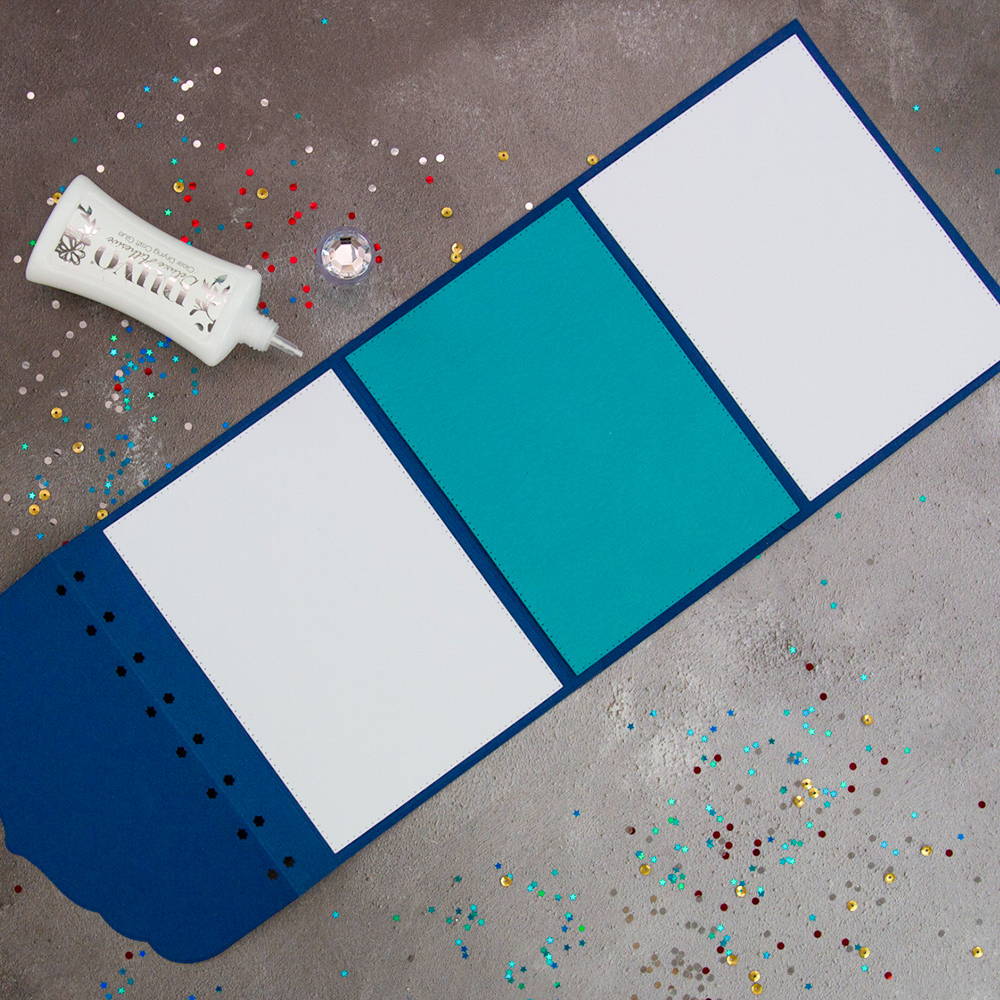
Step 8
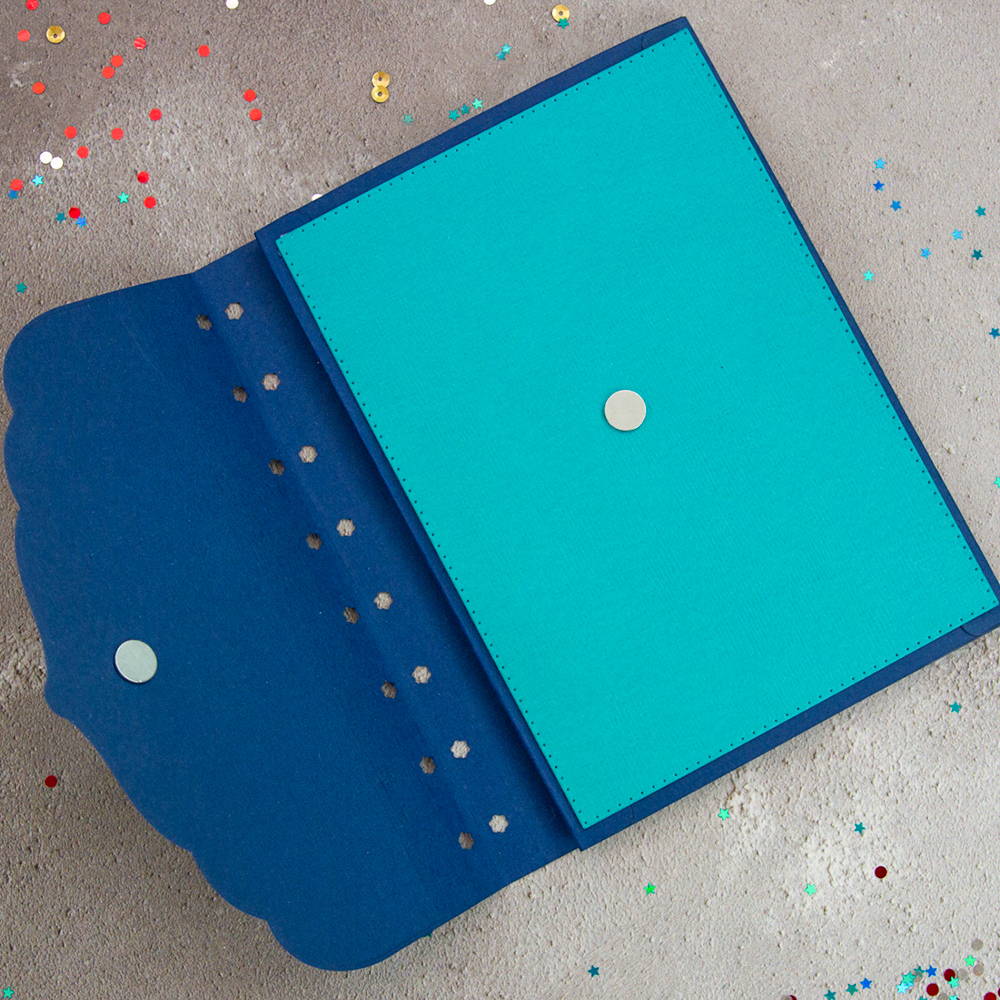
All these pages need a white layer. Stamp the camera stamp on the centre of each piece of card, to indicate where the photo is to be placed. Add a magnet to the underside of the decorative flap and to the middle of the page. Cover the magnets with card.
Step 9
Same as the first page add the decorate element to the front of the flap.
Step 10
Use the base die with the score lines trimmed off to create the centre page. Fold as in step one and line with white card and add a decorative flap.
Step 11
Use the same die for the back page as the front page. Trim nothing away but add the holes for the rings to thread through. Add a plain layer to the underside of the decorative flap and add the decorative element.
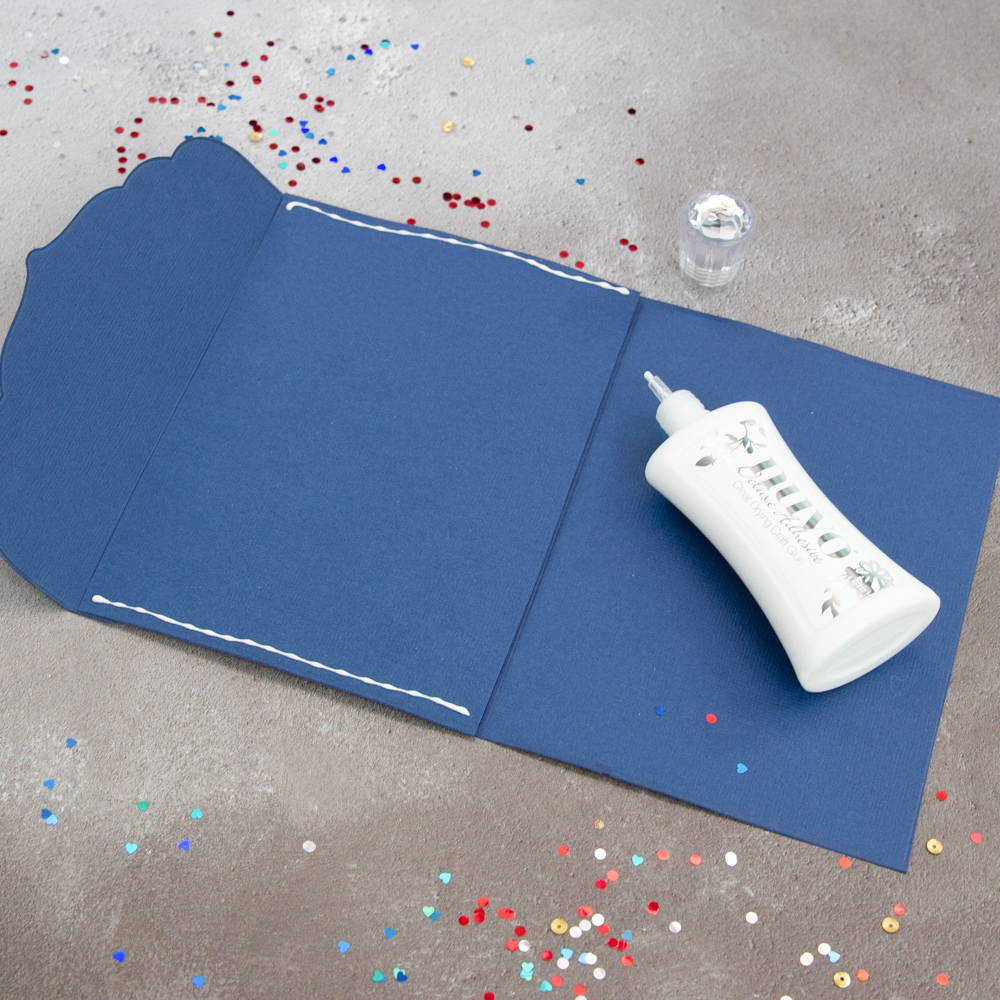
Step 12
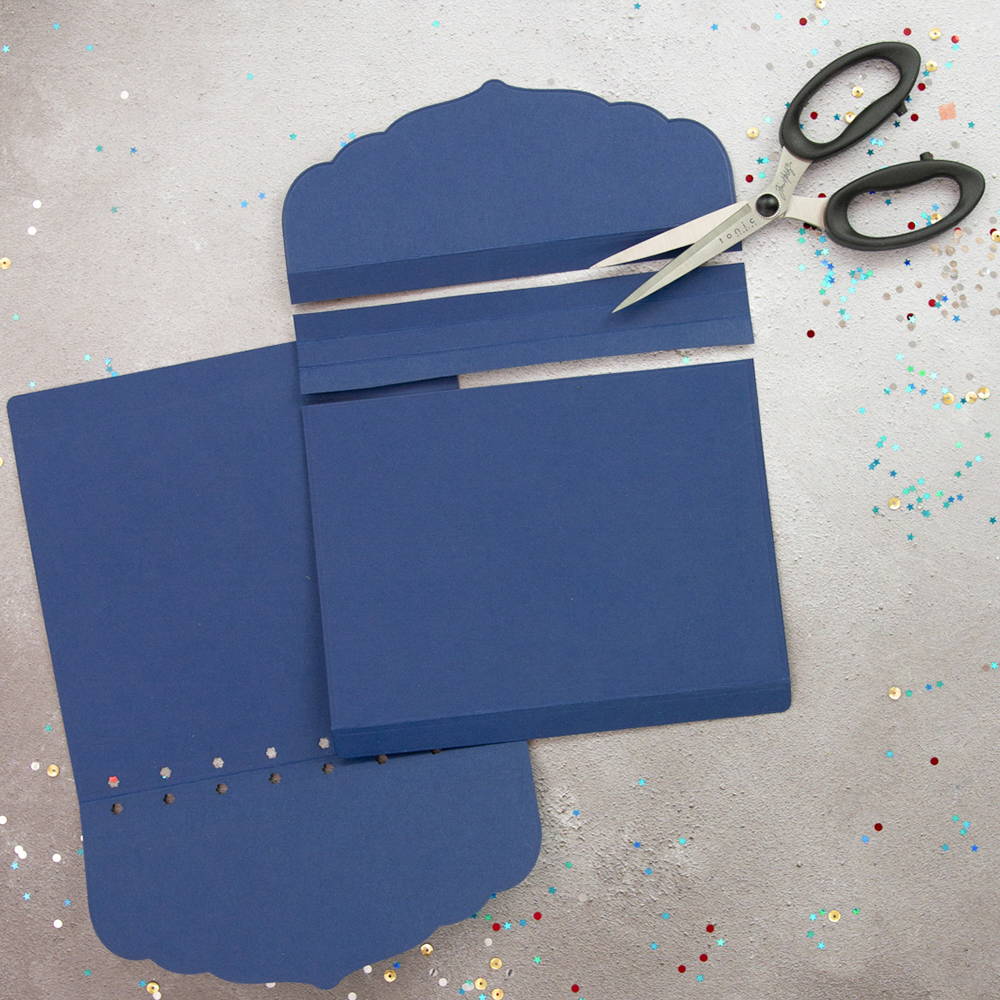
To make the envelope to place on the back page you will need x2 base pieces of card. Cut off the shaped panel and the remaining 4x score lines on the first card so you are left with a large piece with 1x score line. Fold the card at the score line. The flap will form a glue tab.
Step 13
Now trim the decorative panel and all score lines off the second piece of card, you are left with a rectangle with no score lines.
Step 14
Add glue to the tabs and glue to the central rectangle piece to create an envelope shape.
Step 15
Now add glue to the top and bottom of the central panel or use very thin red line tape. You only need a small amount of glue here. Glue the side panel to the central panel.
Step 16
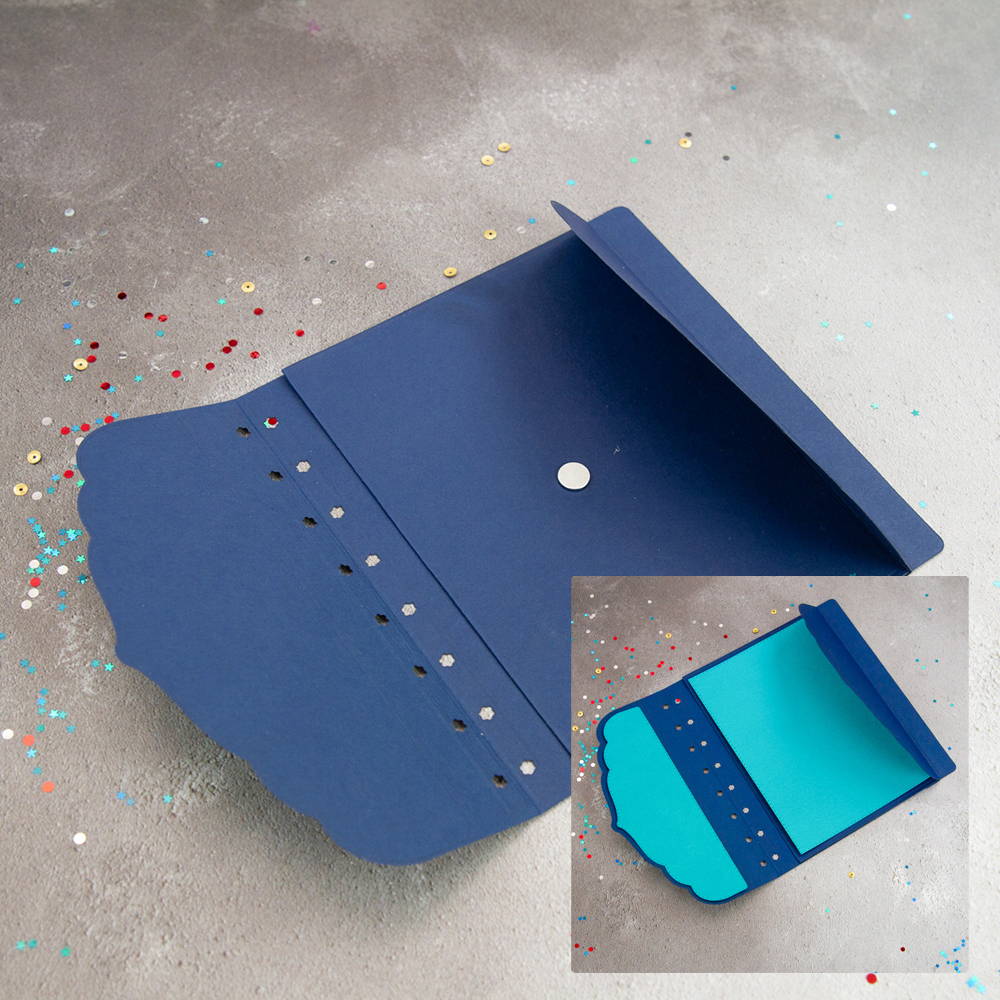
Before decorating the envelope add a magnet to the underside of the envelope flap and another to the central panel and then cover the envelope in ocean card stock. Add the decorative panel to the front of the envelope.
Step 17
Glue the envelope to the inside of the back page with deluxe adhesive, making sure the envelope opens to the outer edge of the book base.
Step 18
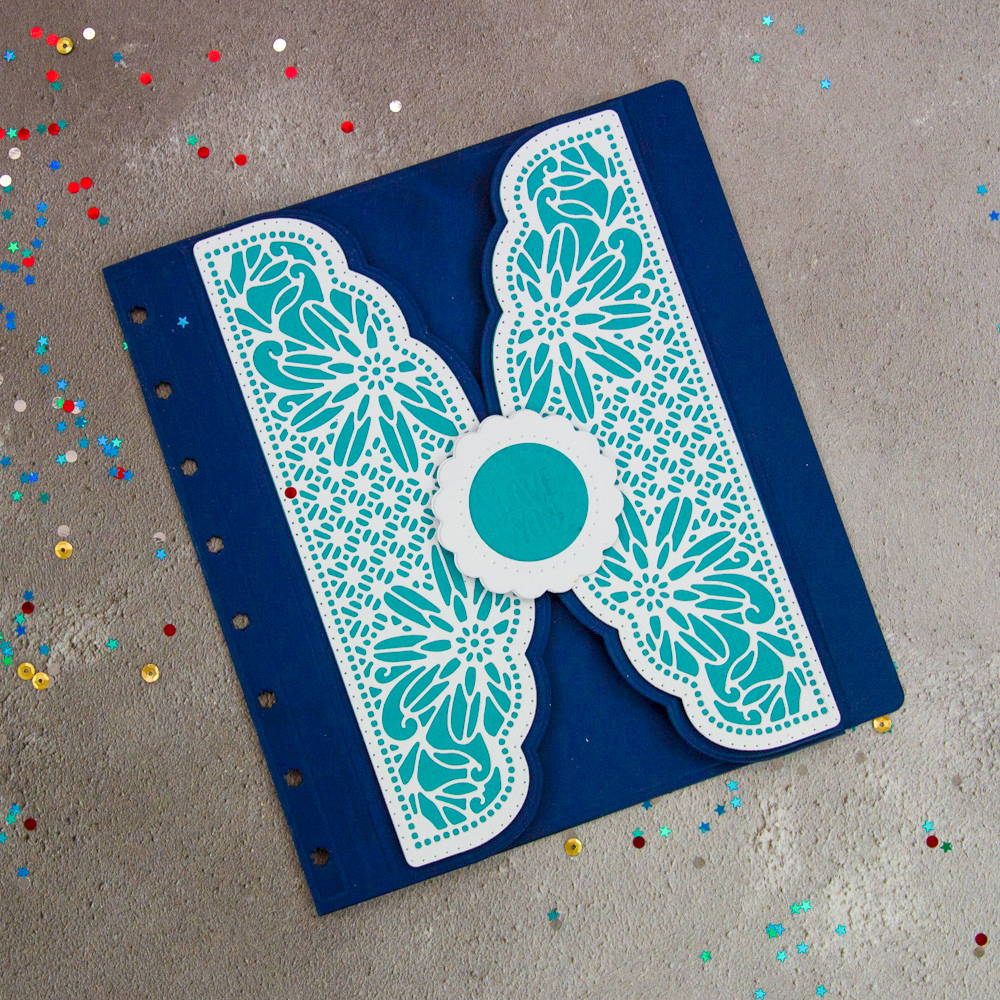
A decorative scalloped Die cut can be placed on the front of the envelope panel joining the 2x decorative panels together.
Step 19
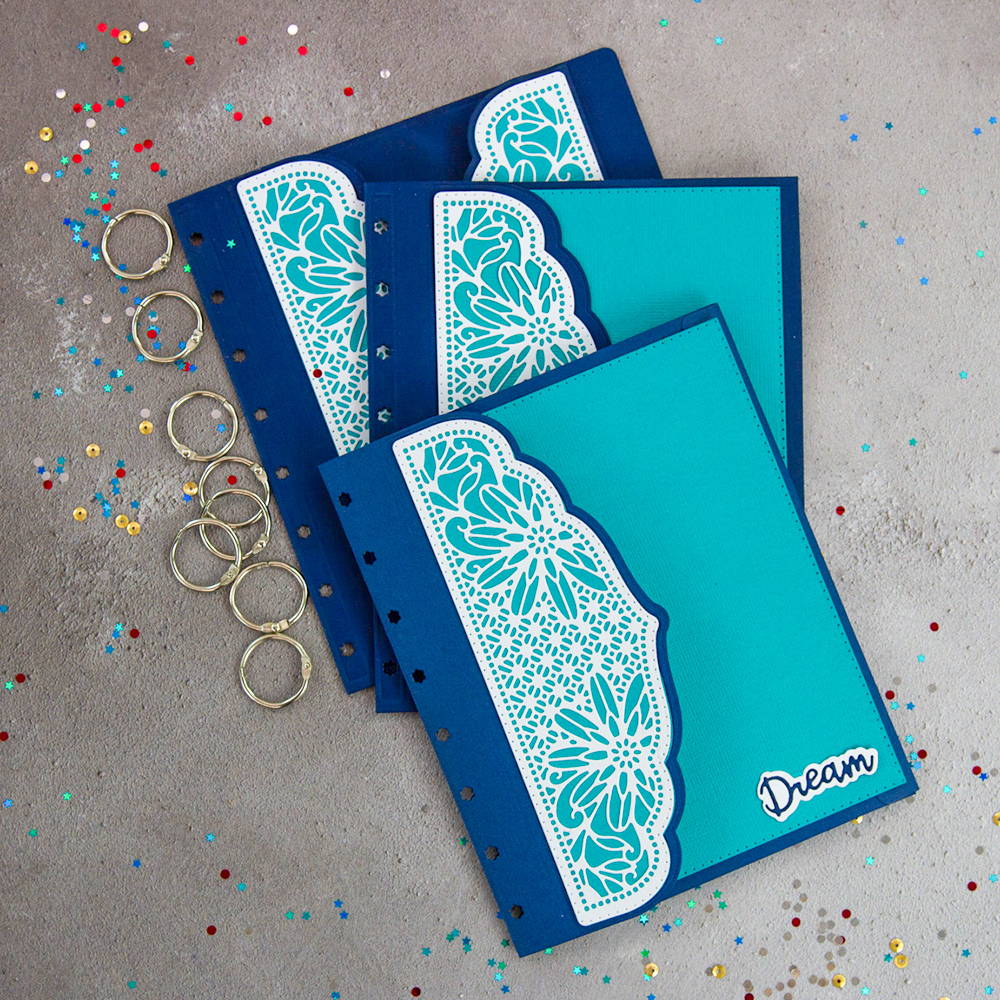
Now add the rings to your pages. You will need 8 x of these. Add strips of ribbon in white, mustard and navy to the rings by double knotting them. Now add any sentiments to your book.
Step 20
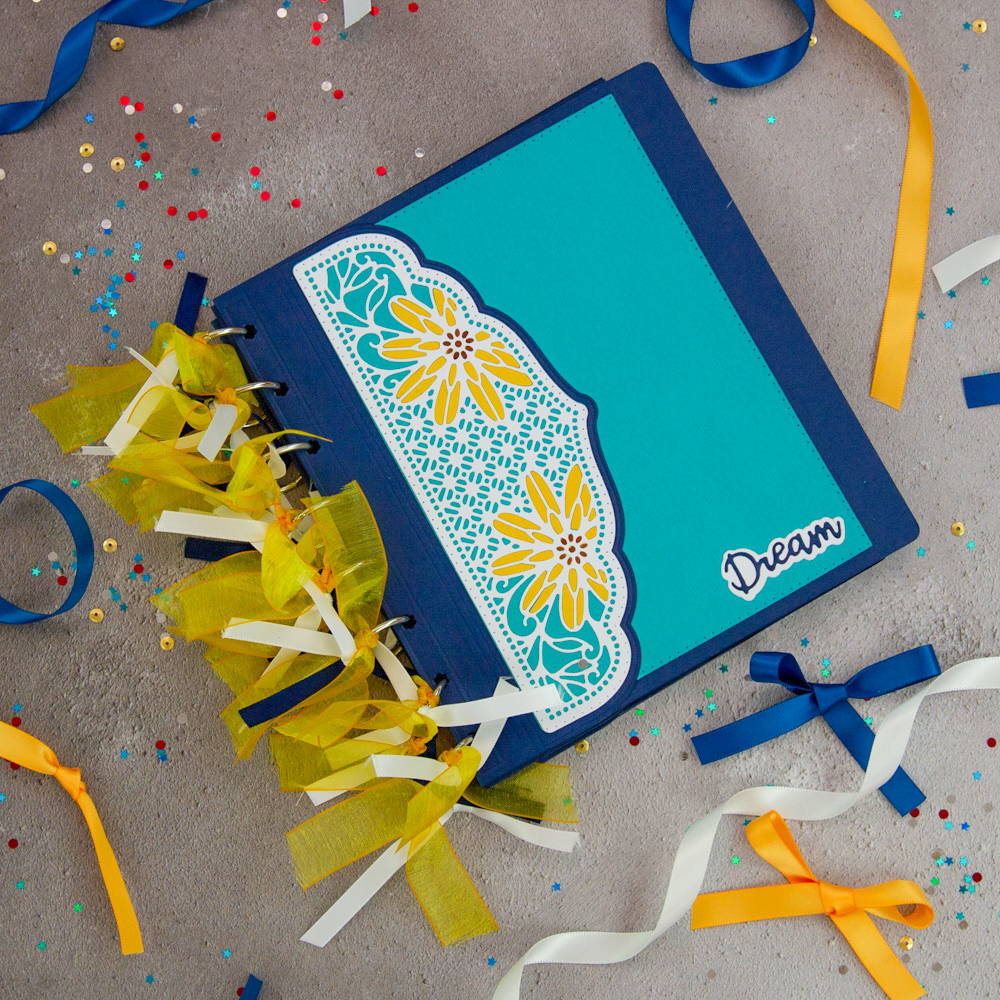
If you so wish the decorative panels on the front of the book can now be paper pieced. Die cut the decorative panel in the desired colour (I have used yellow) and carefully remove the die trying to keep all the pieces on your cutting mat. Using a pick up tool or fine tweezers add the pieces of card to the decorative panel. Adhere with Deluxe Adhesive. This gives a stunning finish to your book and makes it really pop with a splash of colour.
Buy The Craft Project
