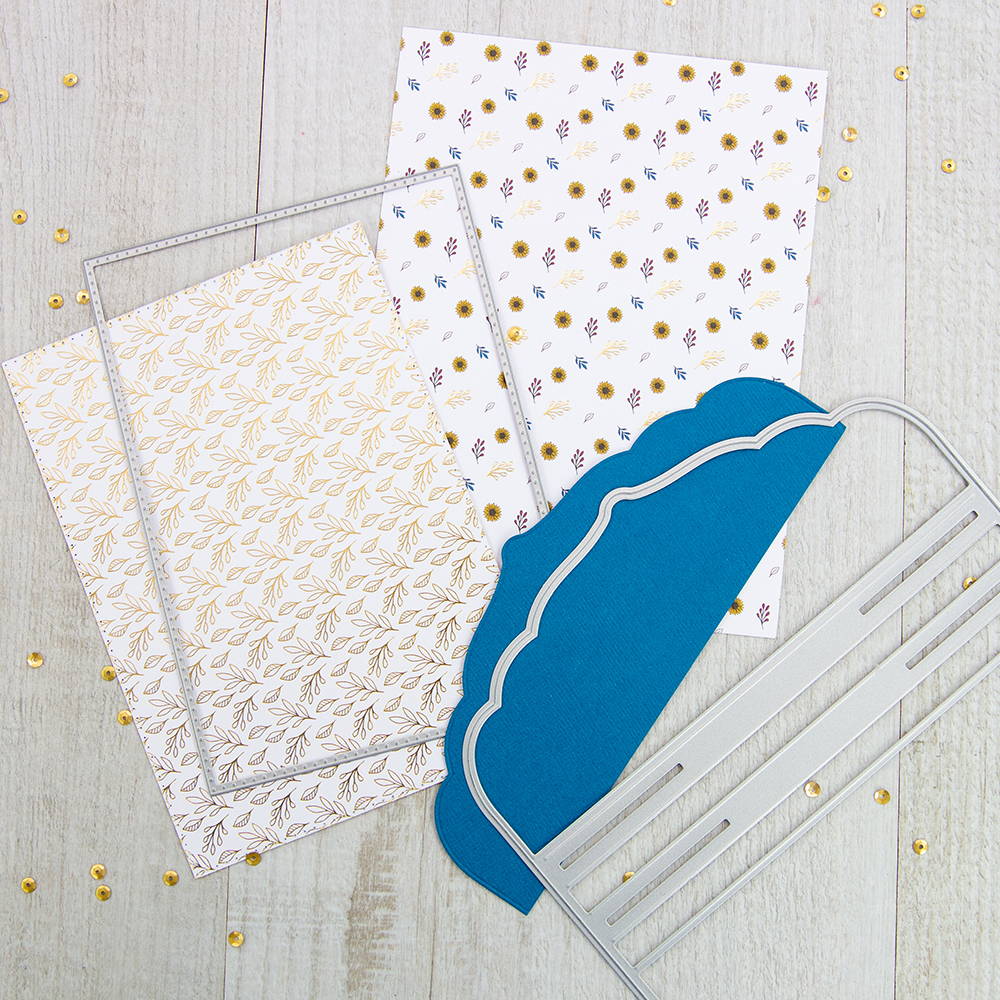
What you will need:
Magazine dies and papers
PLUS
Craft Perfect A4 card, Teal Texture Weave. Polished Gold High Gloss Mirror Card
Nuvo Dream Drops, Cloud 9
Craft Perfect 6x6 Bright White card
Craft Perfect A4 Bright White 300gsm Smooth Card
Nuvo Deluxe Adhesive 200n
Craft Perfect Double sided tape
Craft Perfect Dimensional Foam Pads
Craft Perfect Classic Bakers Twine – Jute
Luxury Layering Luggage Tag Die set
Circle punch /layering die
Tonic Tangerine Die Cutting Machine
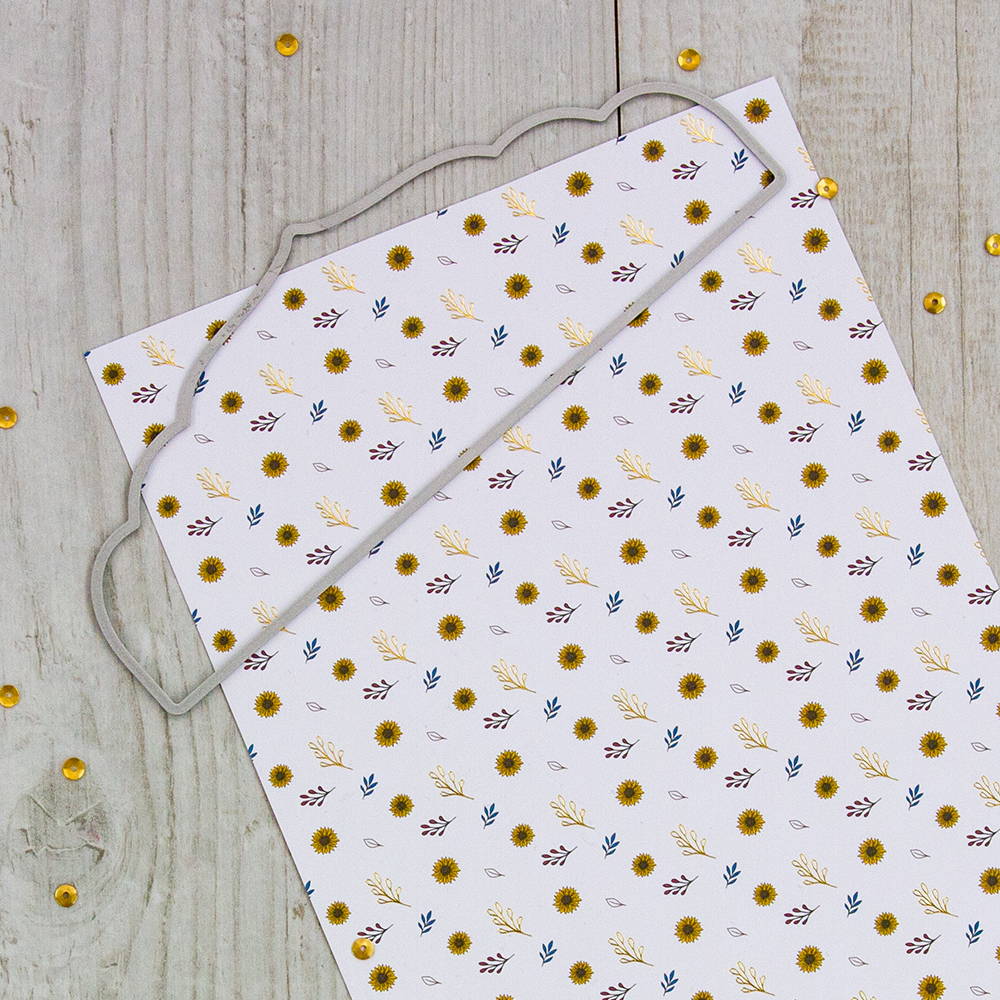
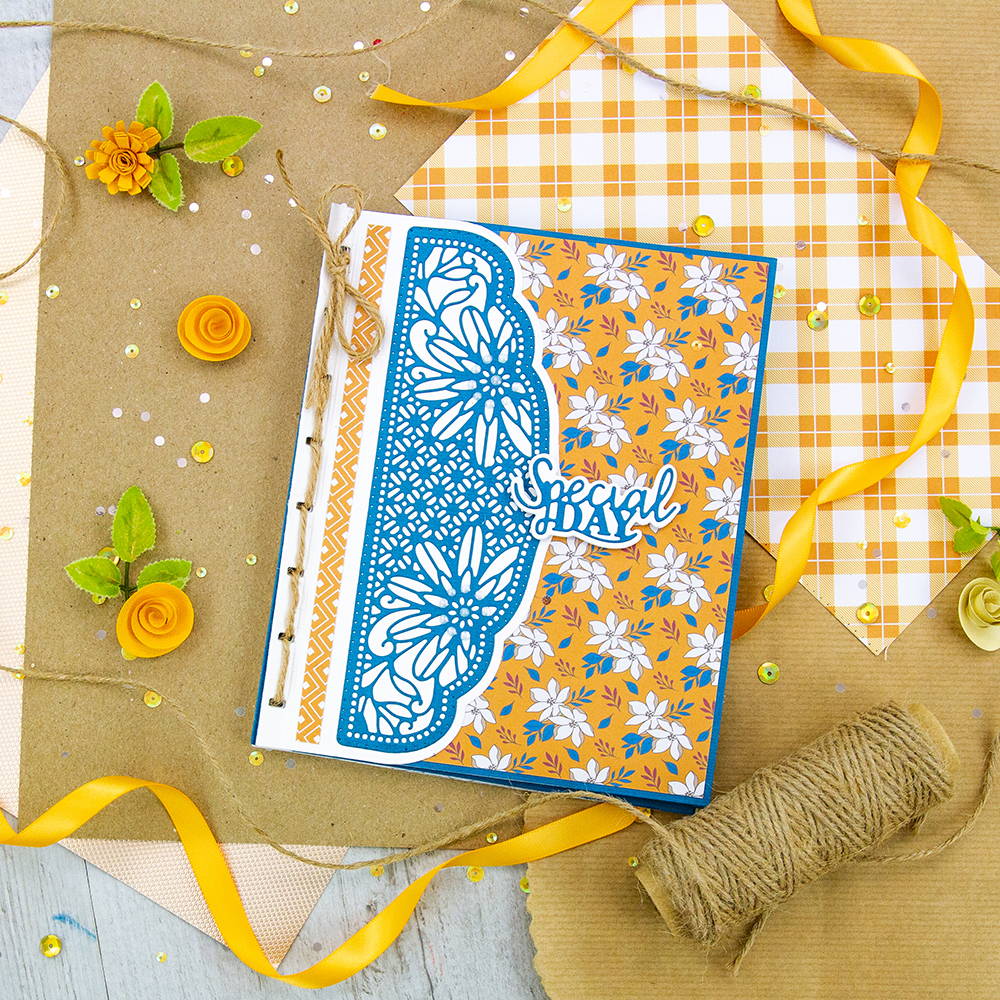
Step 1

Use the largest die with white card to cut out the back and front covers of the book. Use the hole die to cut out holes for joining the pages as shown. Fold down between the two rows of holes and burnish well.
Step 2


For the front cover, layer a 12.5cm x 16.6cm piece of patterned paper onto a 13cm x 17cm piece of teal card and glue this behind the shaped part. Use the 2 corresponding dies to create a teal patterned die cut and glue onto the white area.
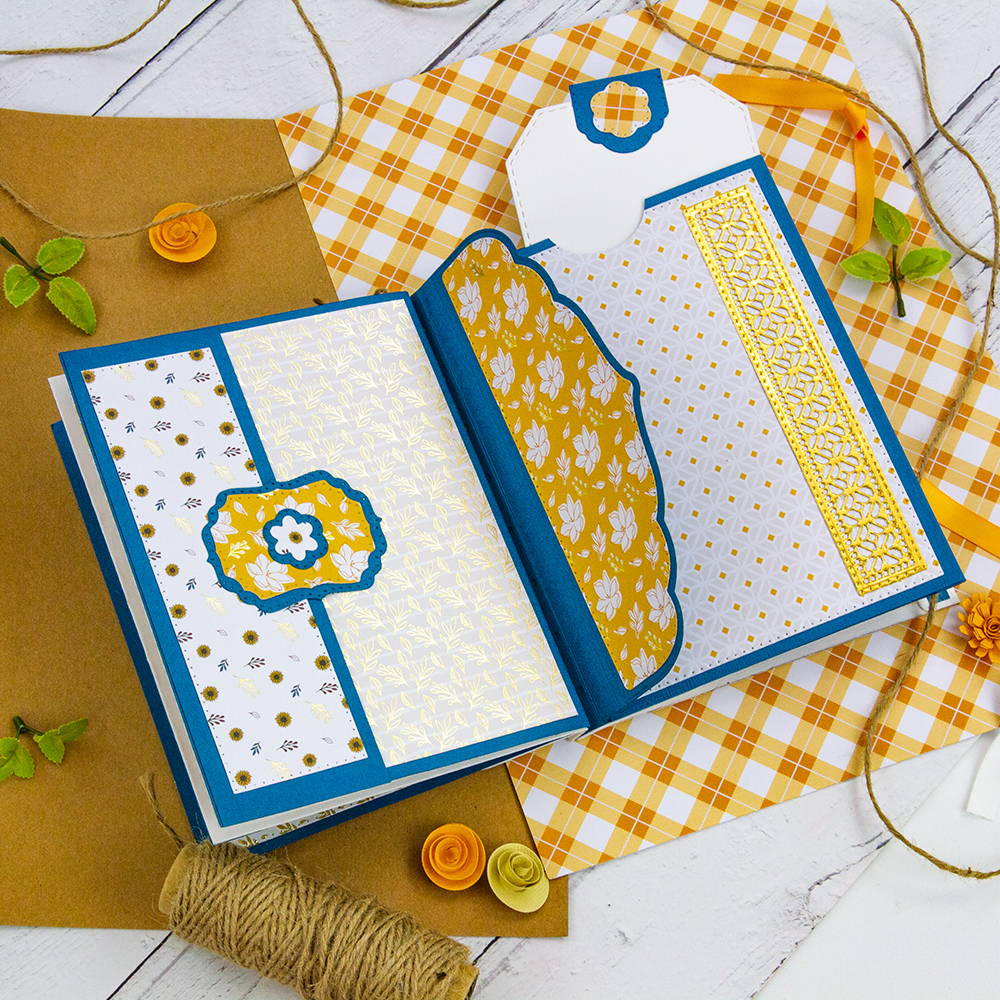
Step 3
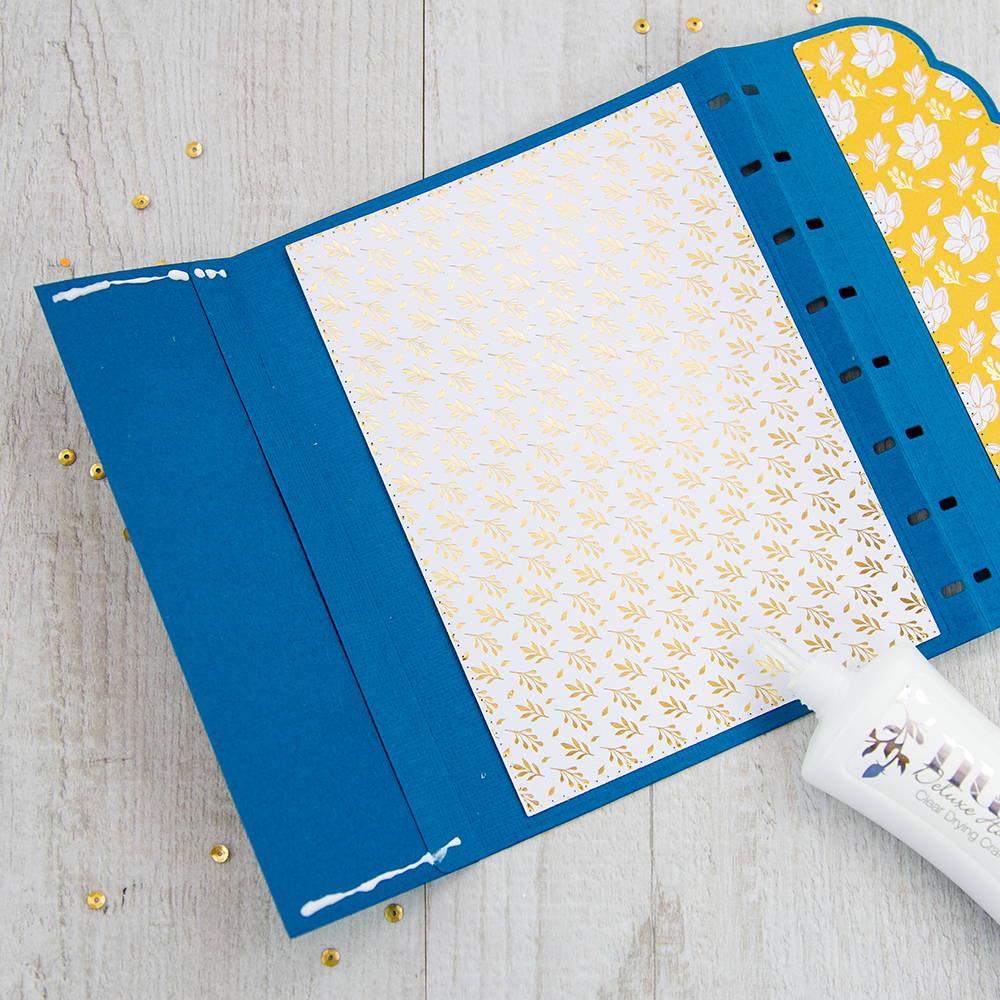
Die cut a rectangle from gold patterned paper and glue to the inside of the front cover. Pop out the flower shaped lined topper and glue on top.
Glue a 13cm x 17cm piece of patterned paper to the right page. Fold the long tab inwards.
Step 4
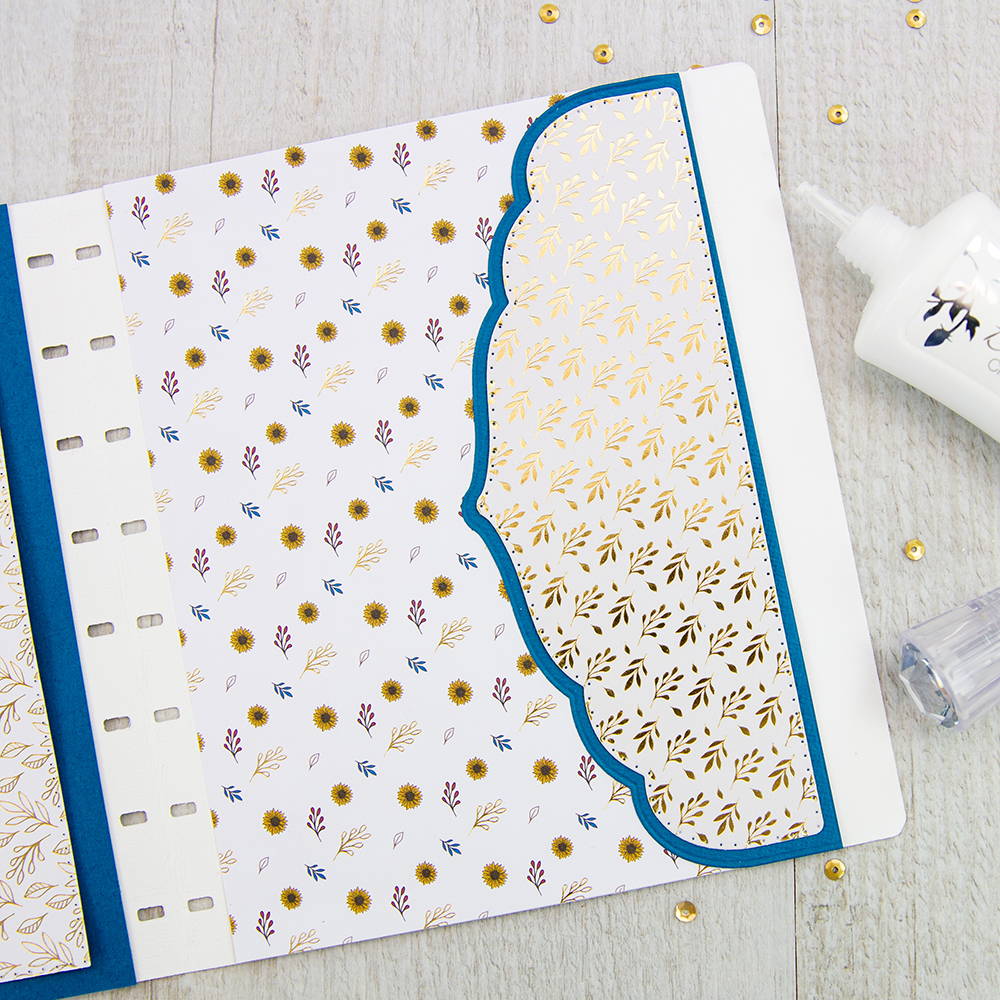
Use the shaped part of the large die to cut out the teal shape and the smaller die to cut out the corresponding shape in gold patterned paper. Glue the paper to the teal card and glue the long edge and the 2 short edges to the long tab on the right edge of the page, leaving the shaped side open to form a pocket.
Step 5

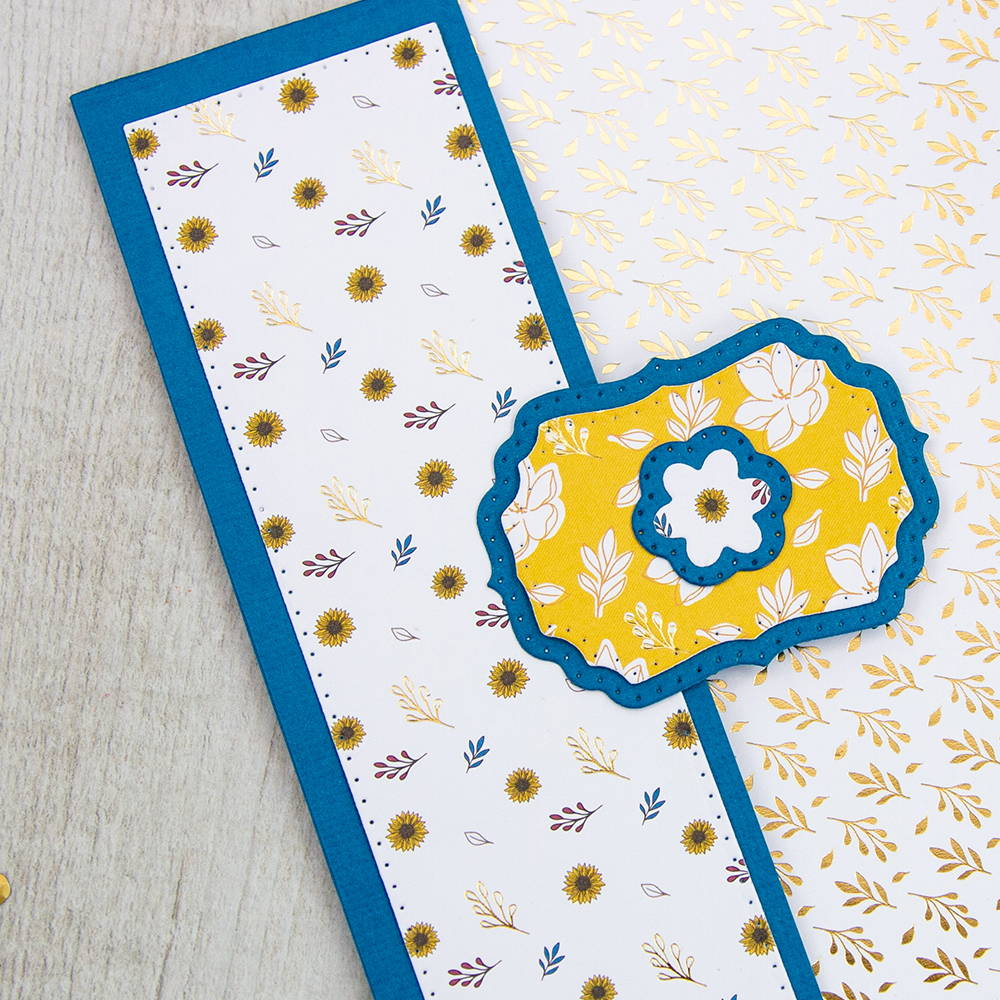
Die cut the rectangle from floral paper and glue to the back of the previous page. Die cut the ling strip from patterned paper and position on the centre of the page but attach only the top and bottom so that a tag/ photo can fit behind it.
Step 6
Decorate with a teal flower die cut and a floral circle centre.
Step 7

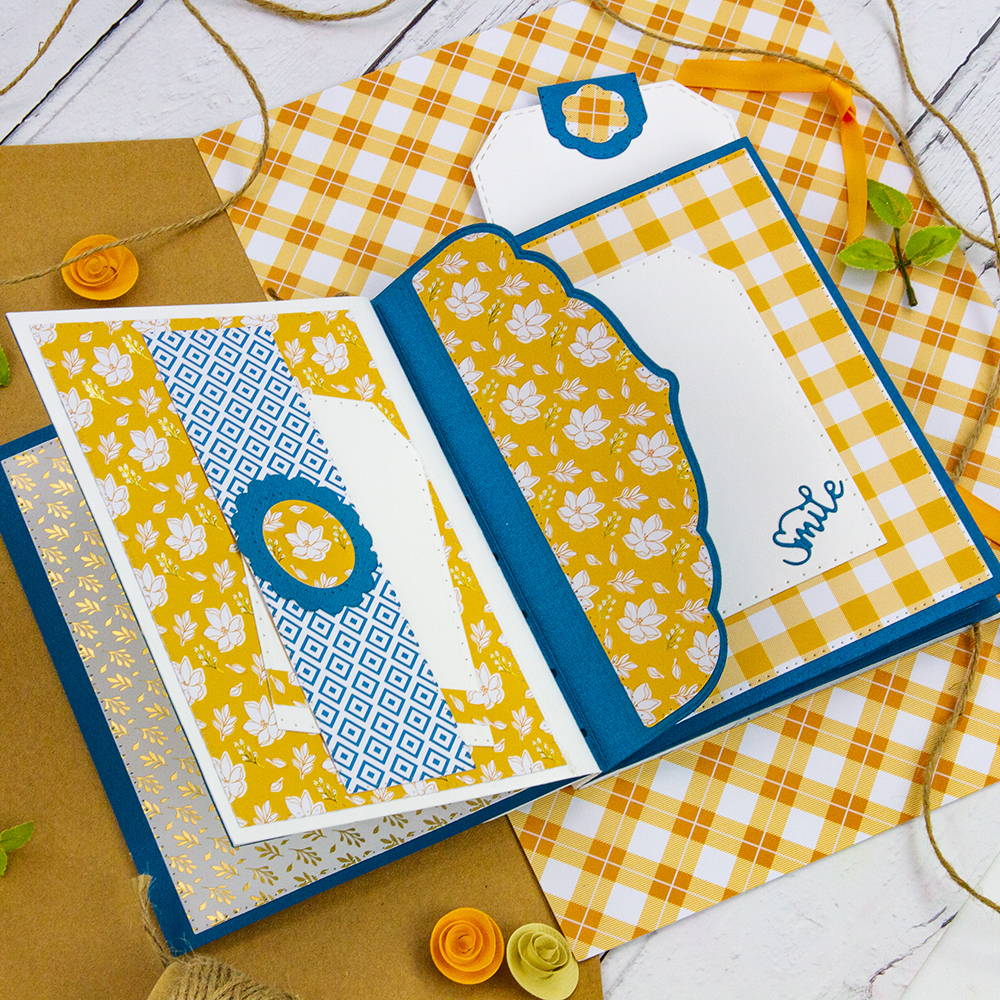
DIE CUT 2 PAGES FROM TEAL CARD AND DIE CUT THE HOLES IN THE SAME WAY AS FOR THE FRONT AND BACK COVERS.
Step 8
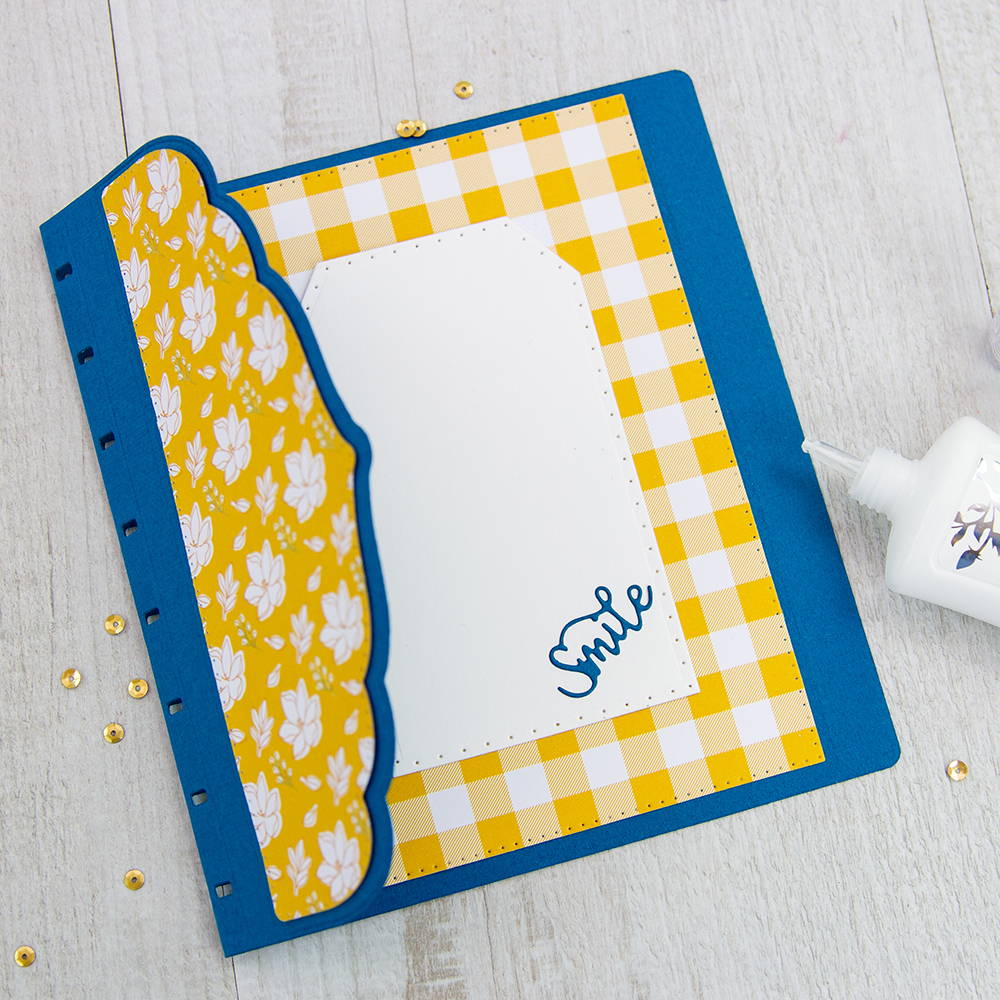
On the first teal page, fold the long tab backwards (to be used on the next page) and glue down a checked rectangle die cut. Die cut a 7cm wide tag and glue to the centre of the page. Die cut Smile from teal card and glue at an angle to the bottom right corner.
Die cut the shaped piece from floral paper and glue in place.
Step 9
Glue an 8cm x 17cm piece of gold patterned paper to the right side of the page. Cut a 5.5cm x 17cm piece of teal card and glue to the long tab. Attach the top and bottom to the page with double sided tape to create a pocket.
Step 10
Die cut the 2 layering shapes shown from teal card and floral paper. Glue together and glue the left half to the right of the pocket. Add 2 layering flower die cuts on top.
Step 11
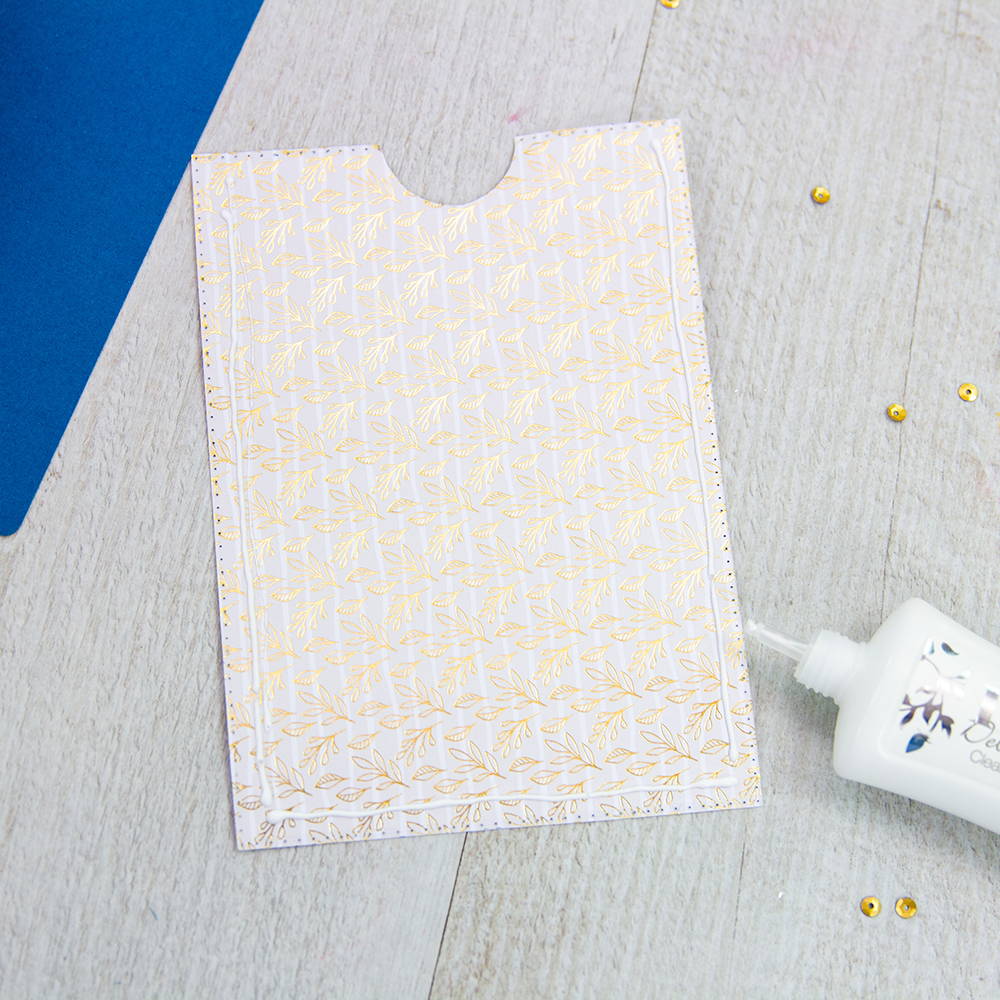
Glue a patterned paper die cut rectangle to a 12.5cm x 17cm piece of teal card and remove a semi circle from the top with a circle punch or layering die.
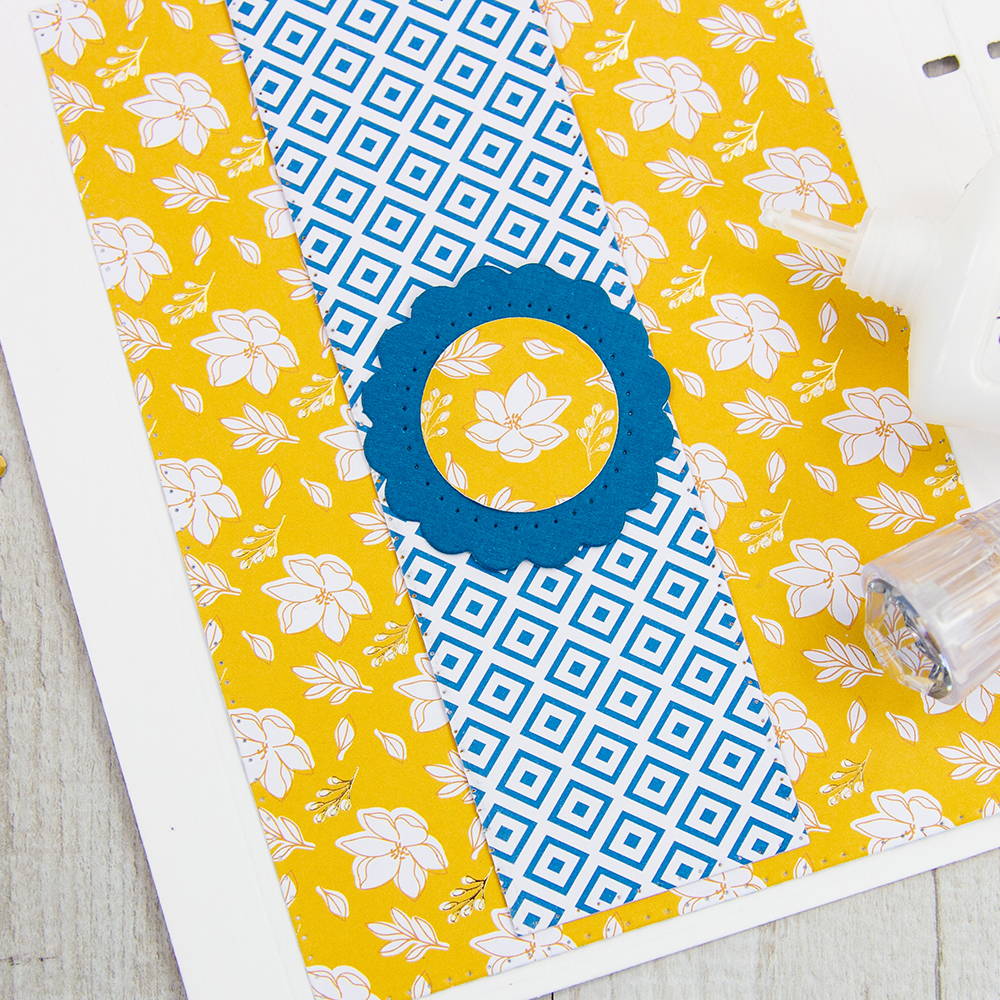
Step 12
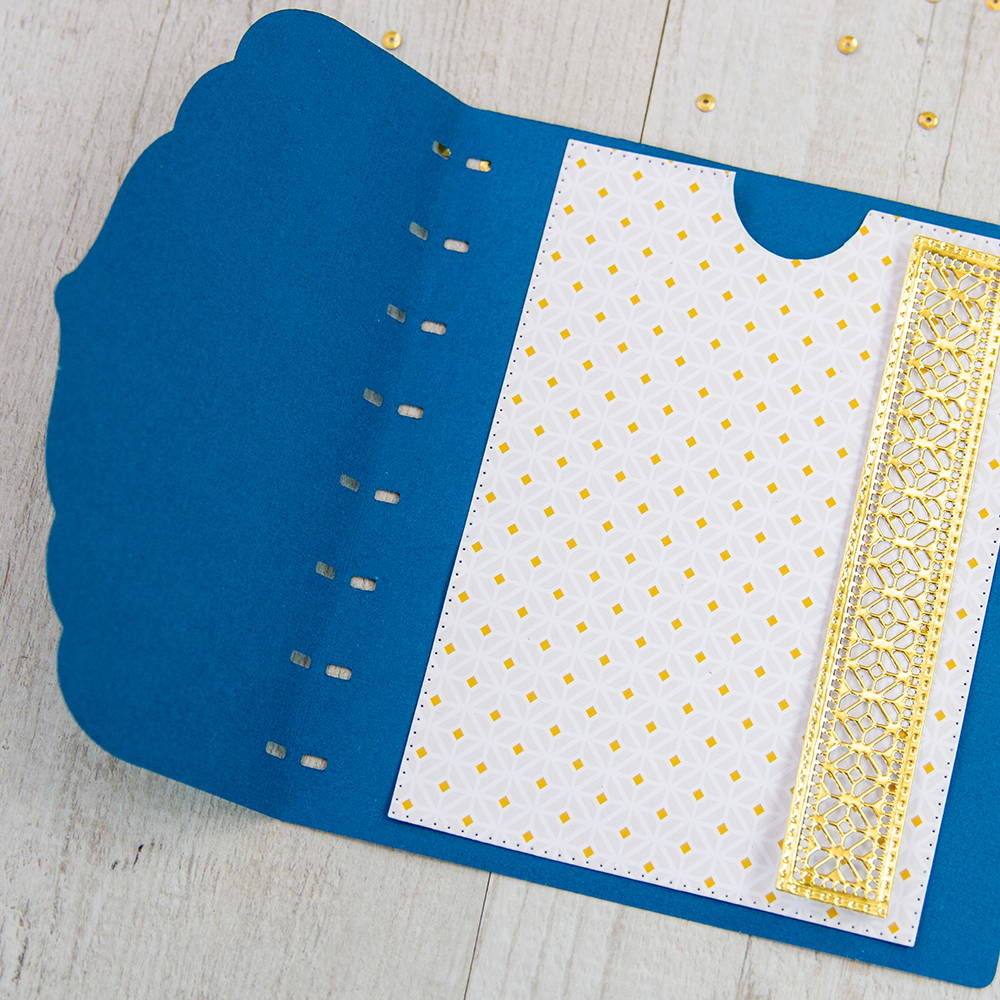
Attach this on 3 sides with double sided tape to create a pocket. Use the two narrow strip dies together on gold card to create a patterned rectangle and glue this down the right side of the pocket.
Step 13

Glue a floral shaped die cut to the front flap.
Step 14
Die cut the rectangle die from patterned paper. Place the shaped die as shown with the bottom underneath the paper and die cut to give the rectangle a shaped edge. Score and fold at 12cm from the bottom.
Step 15
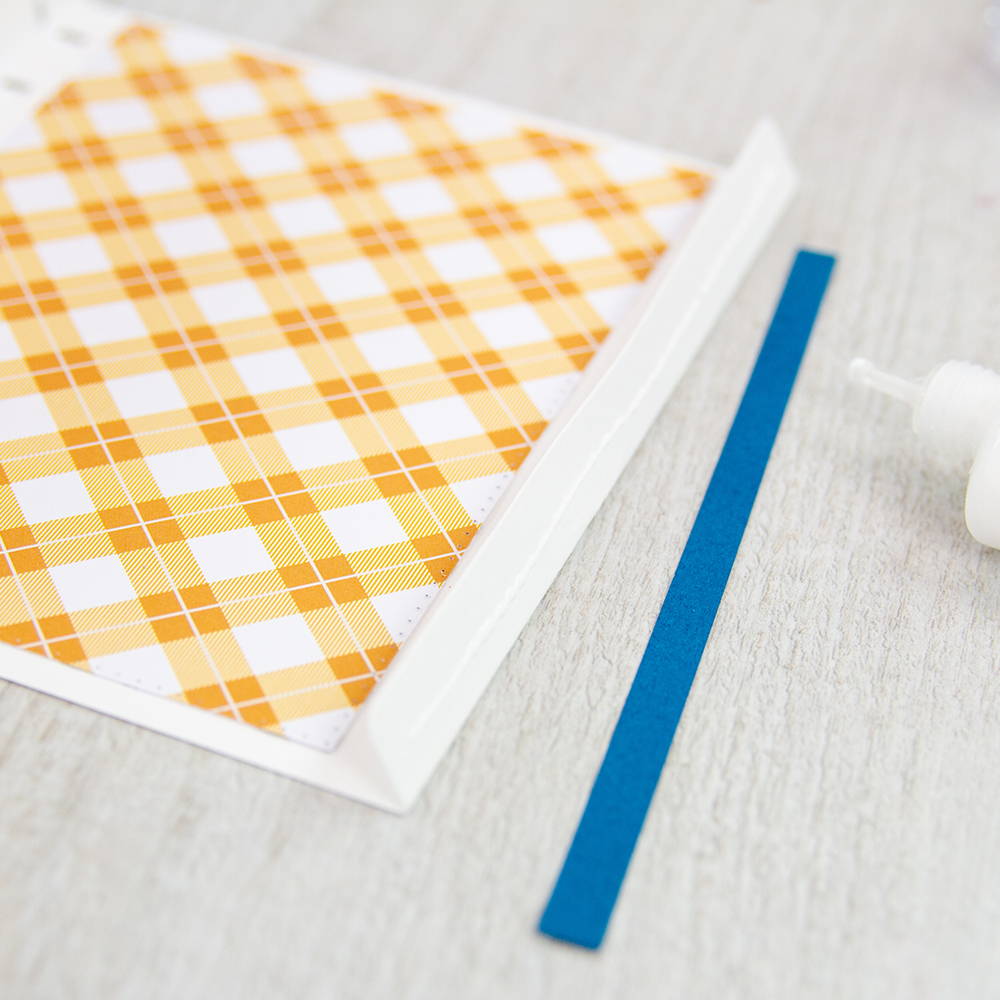
On the last page (inside back cover) glue a checked die cut rectangle to the page, fold over the long tab and glue in place. Glue a 0.5 x 16.25cm strip of teal card down the tab.
Step 16

Use the outline shape die and the corresponding detail die on teal card and glue this to the shaped tab.
Step 17
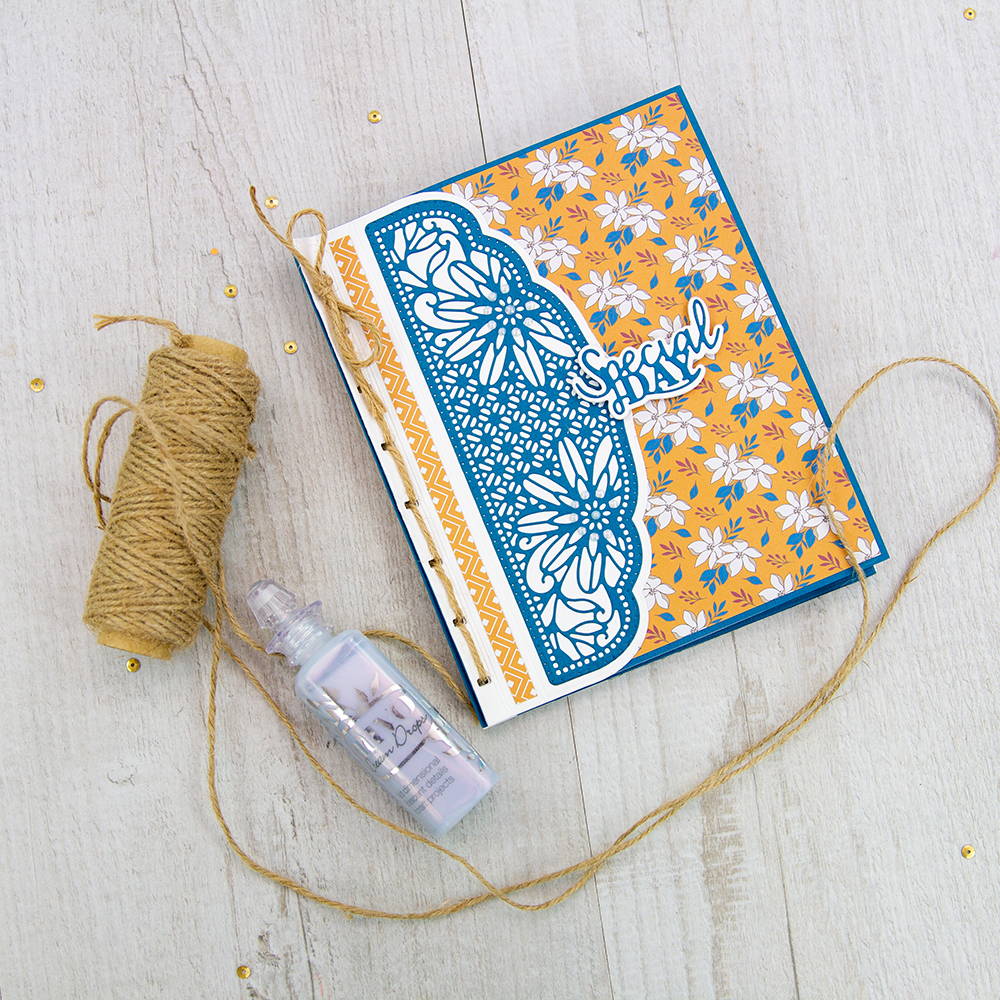
Thread the twine through the holes starting from top to bottom and back up again in a running stitch. Tie a knot and bow at the top.
Step 18

Die cut the Special Day and backing plate from teal and white card, glue together and add to the centre of the book front with 3D foam pads.
Step 19

Add Dream Drops to the die cut flower pattern. Die cut a floral rectangle and glue to the back of the book.

Buy The Craft Project