
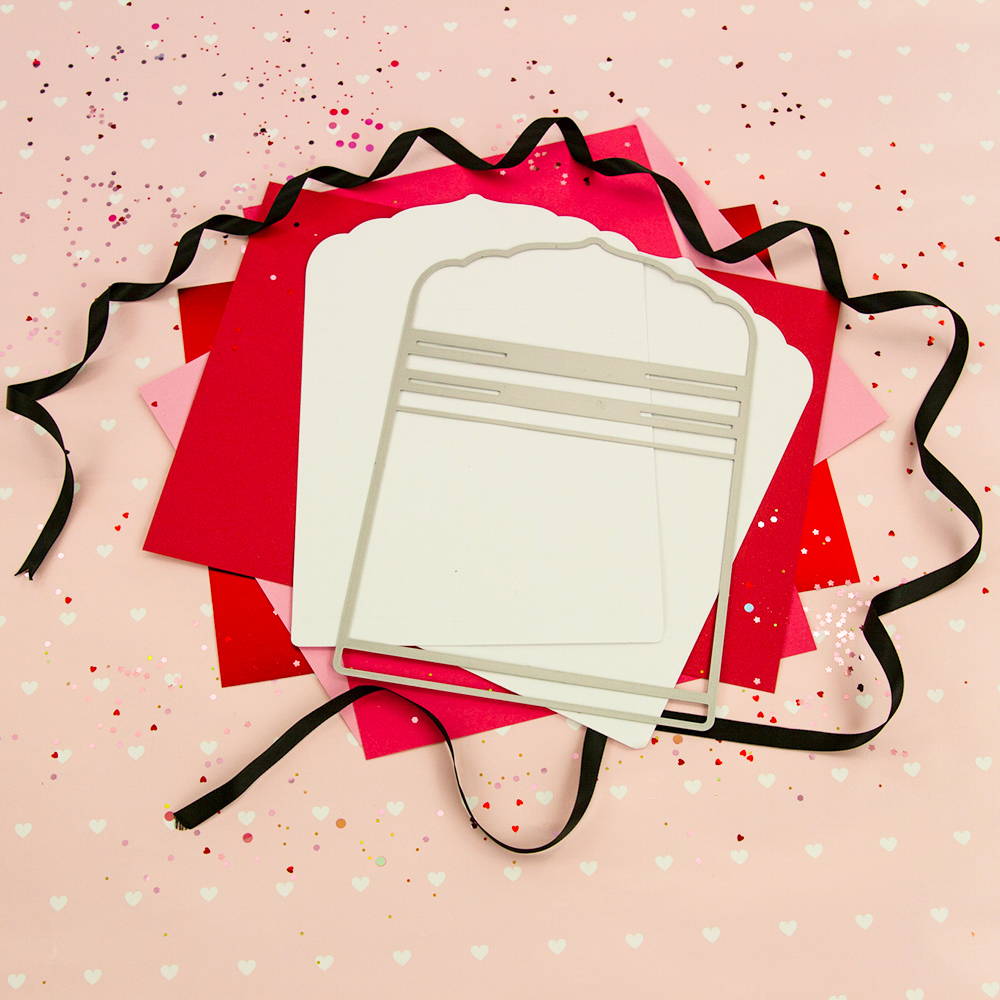
What you will need:
Magazine Dies and Paper
Craft Perfect Classic Card - Jet Black
Craft Perfect Mirror Card - Chrome Silver
Patterned Paper
16cm x 10cm Ready Made Notebooks
11cm (Unstretched) Decorative Elastic Bands or Ribbon
Craft Perfect Bakers Twine
Tonic Tangerine Die Cutting Machine
Tim Holtz Craft Pick
Nuvo Deluxe Adhesive
Tonic Studios Scoring Board
Tonic Studios - Precision Glide Folder
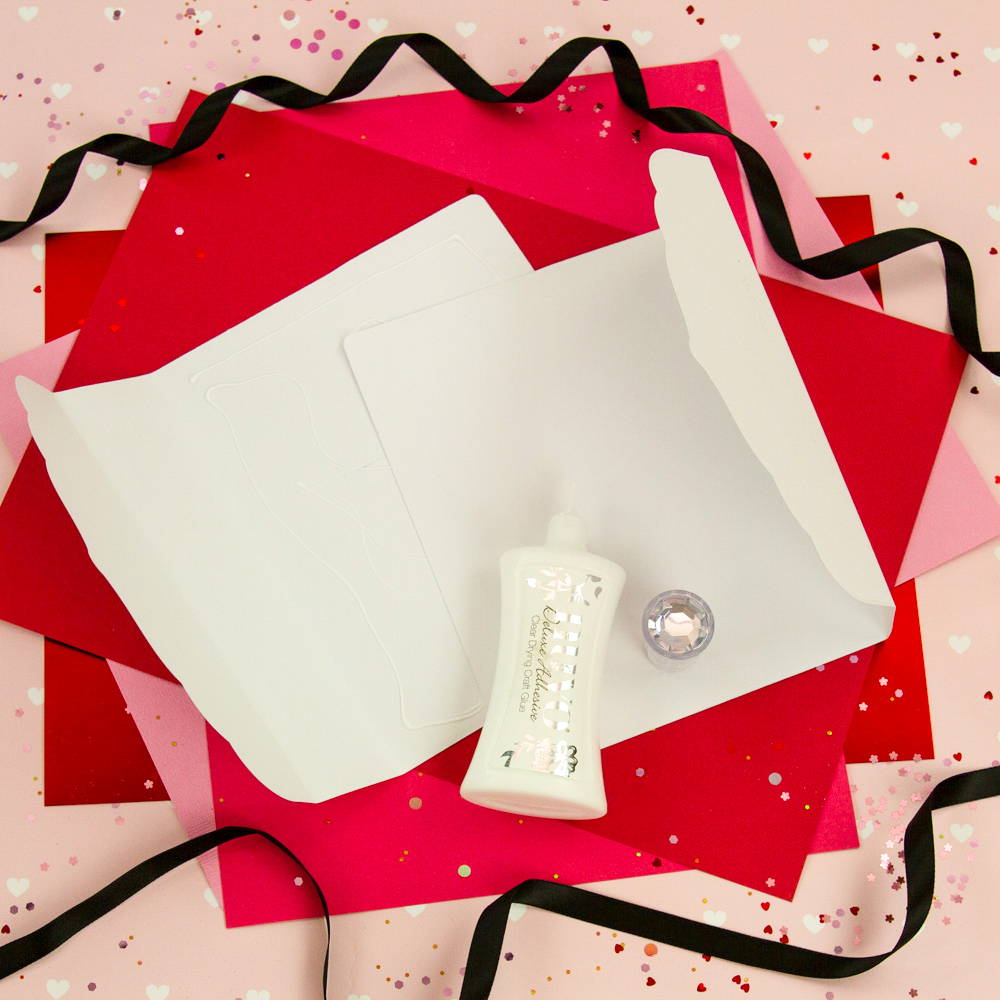
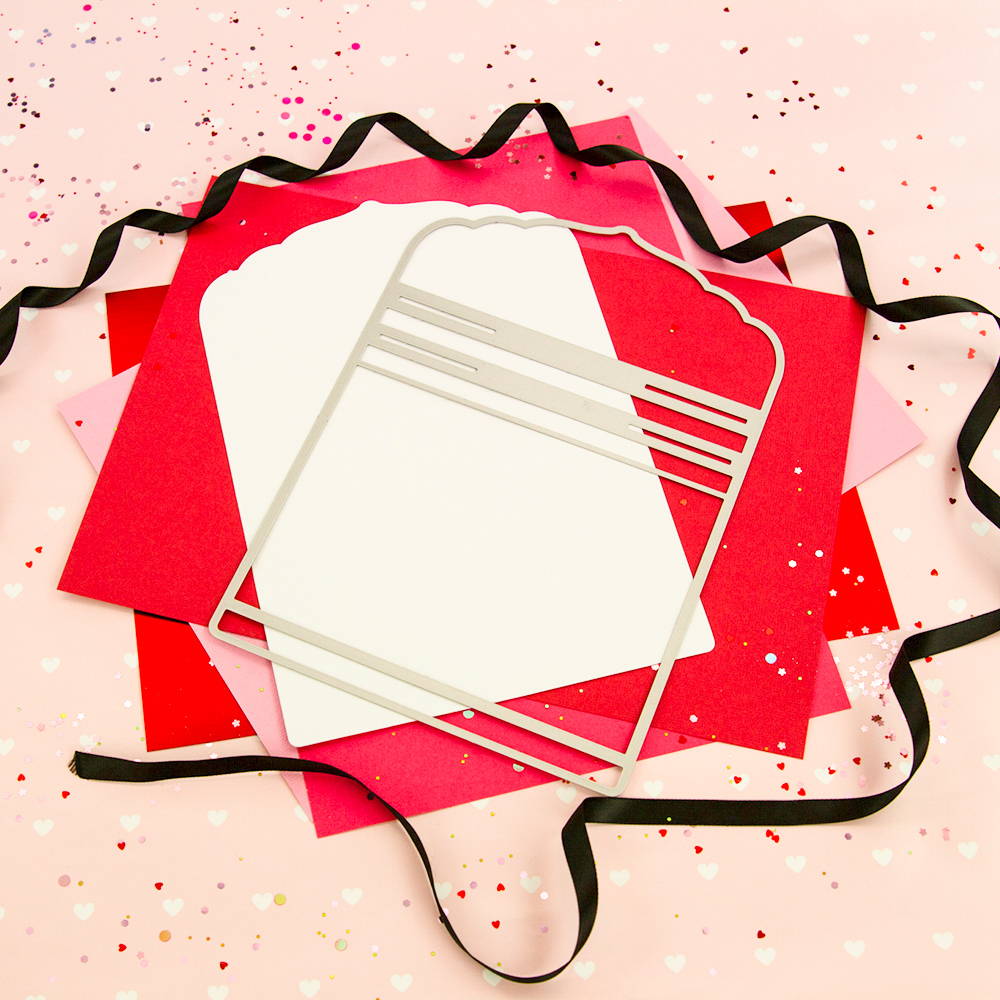
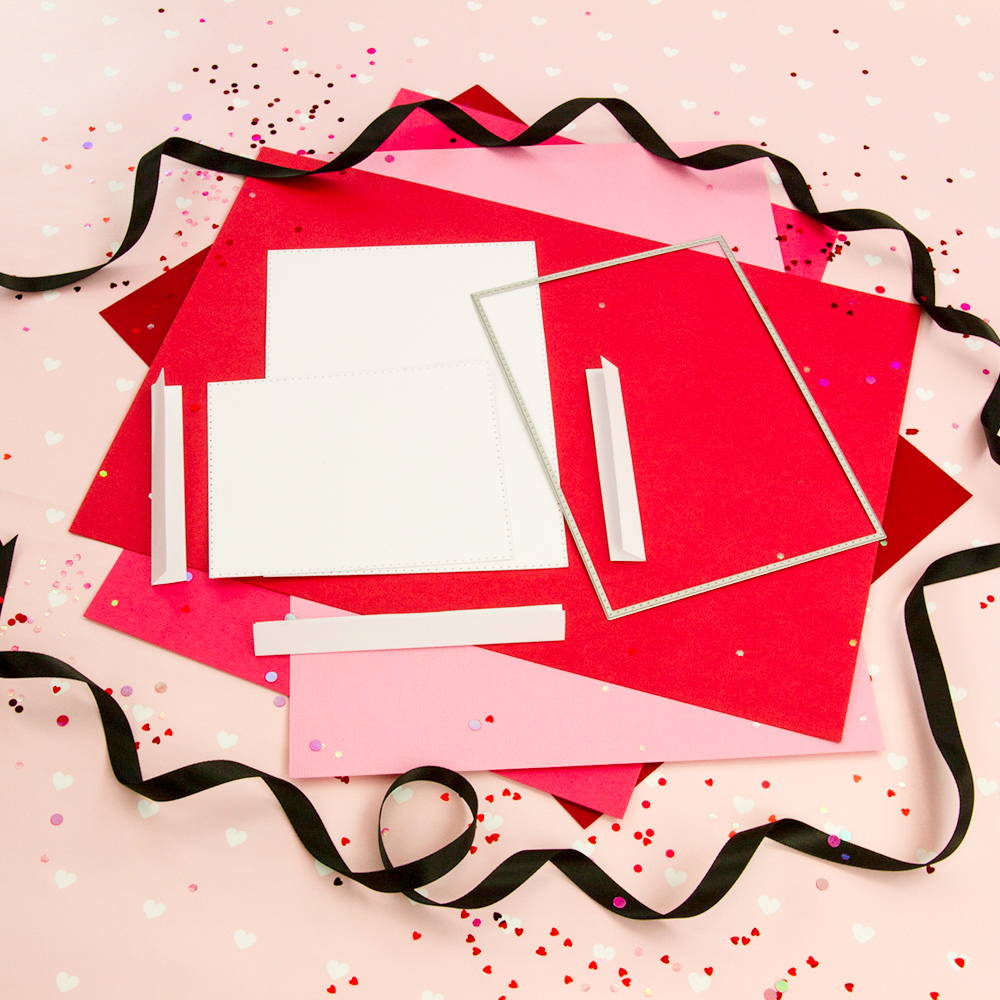
Step 1
Take the main outer edge die and cut twice from black card
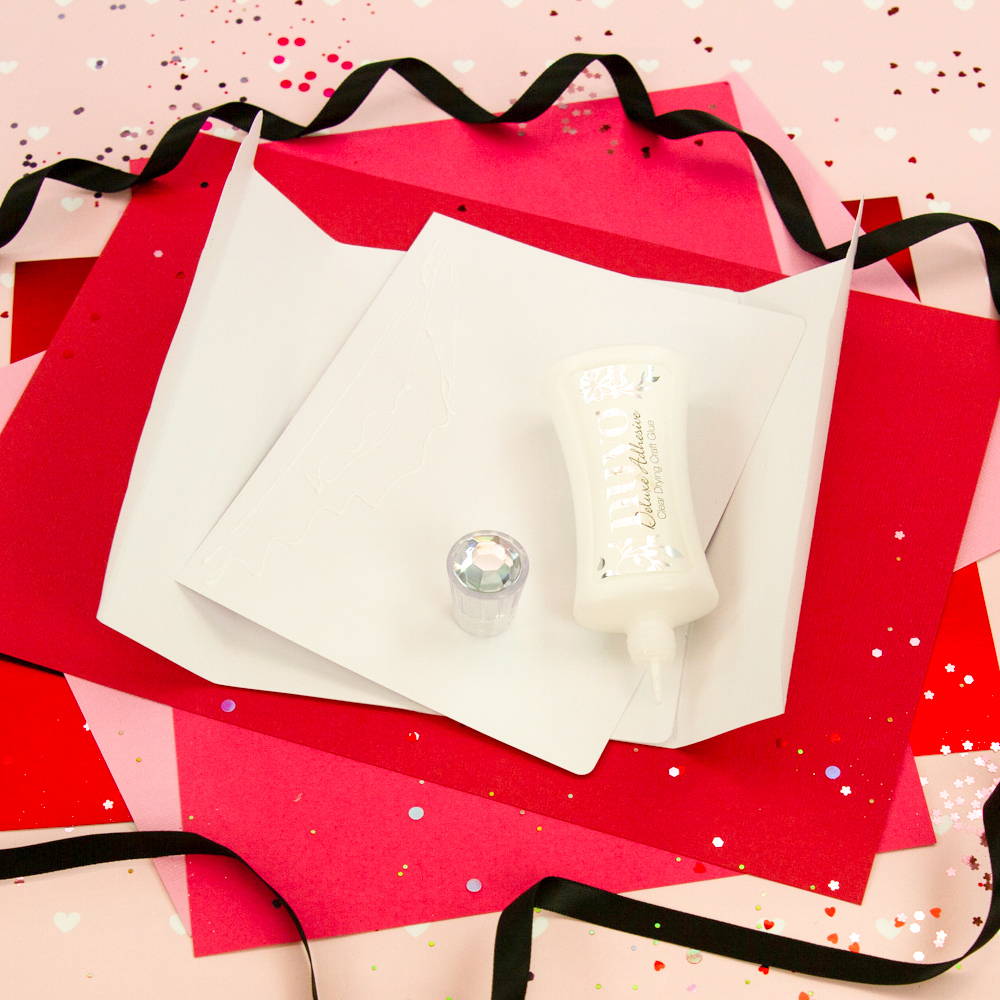
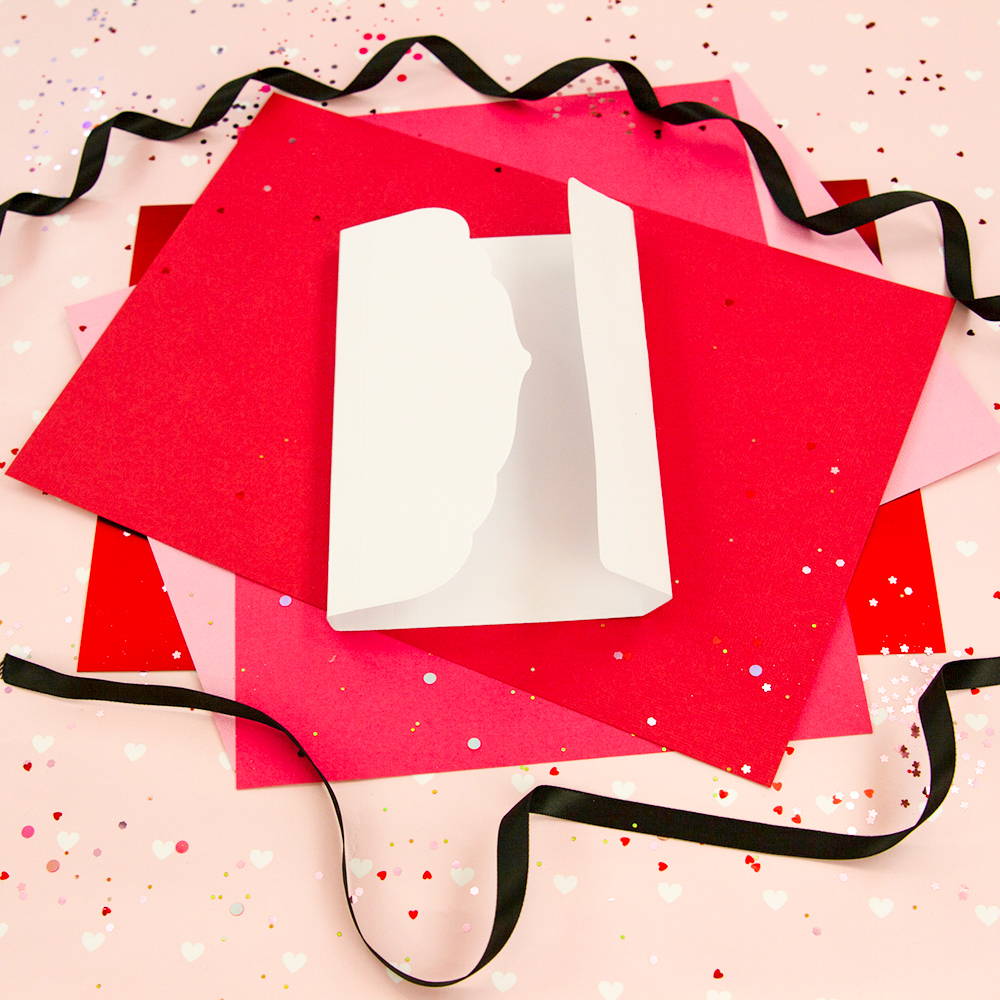
Step 2
Fold both at the first and last score lines, overlap the main panel and adhere them both together.
Step 3

Cut another of the main outer edge die and trim off the scored section leaving you with the rectangle.
Step 4
Adhere the rectangle to the rear of the left shaped section. This forms your main book wrap.
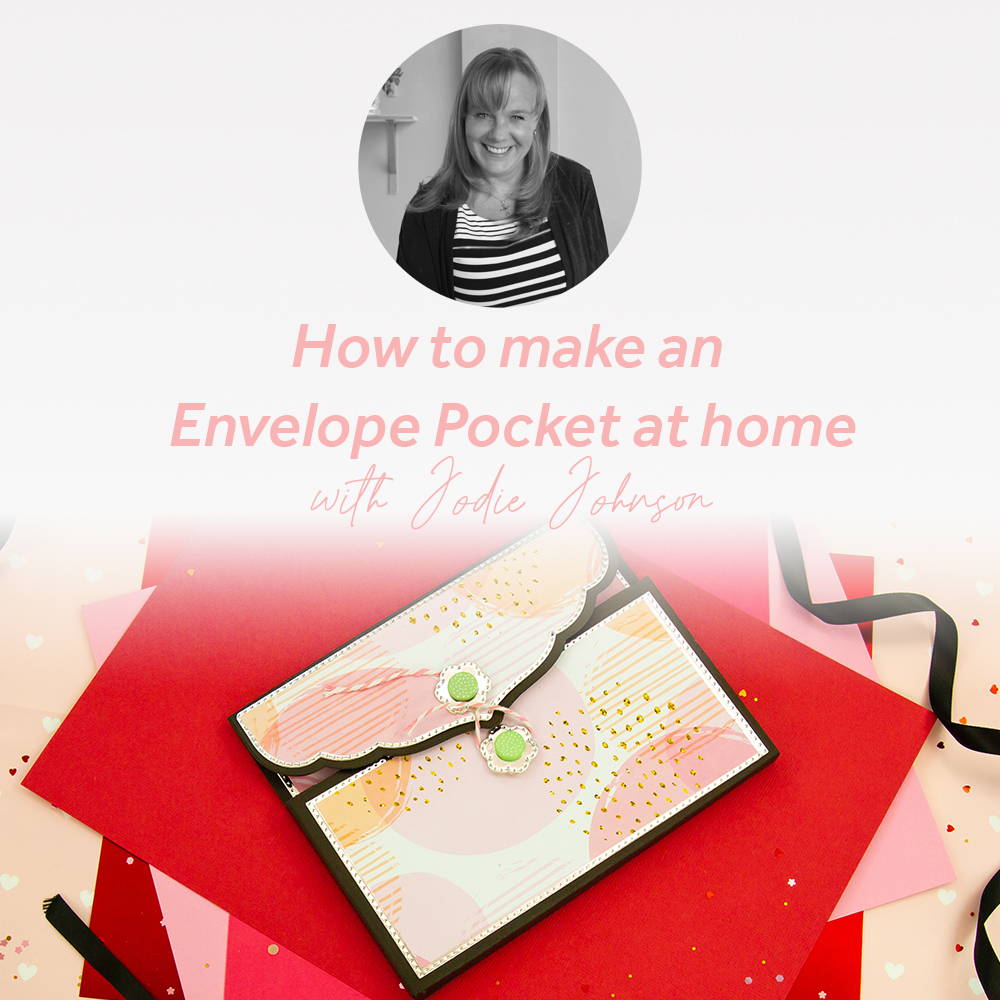
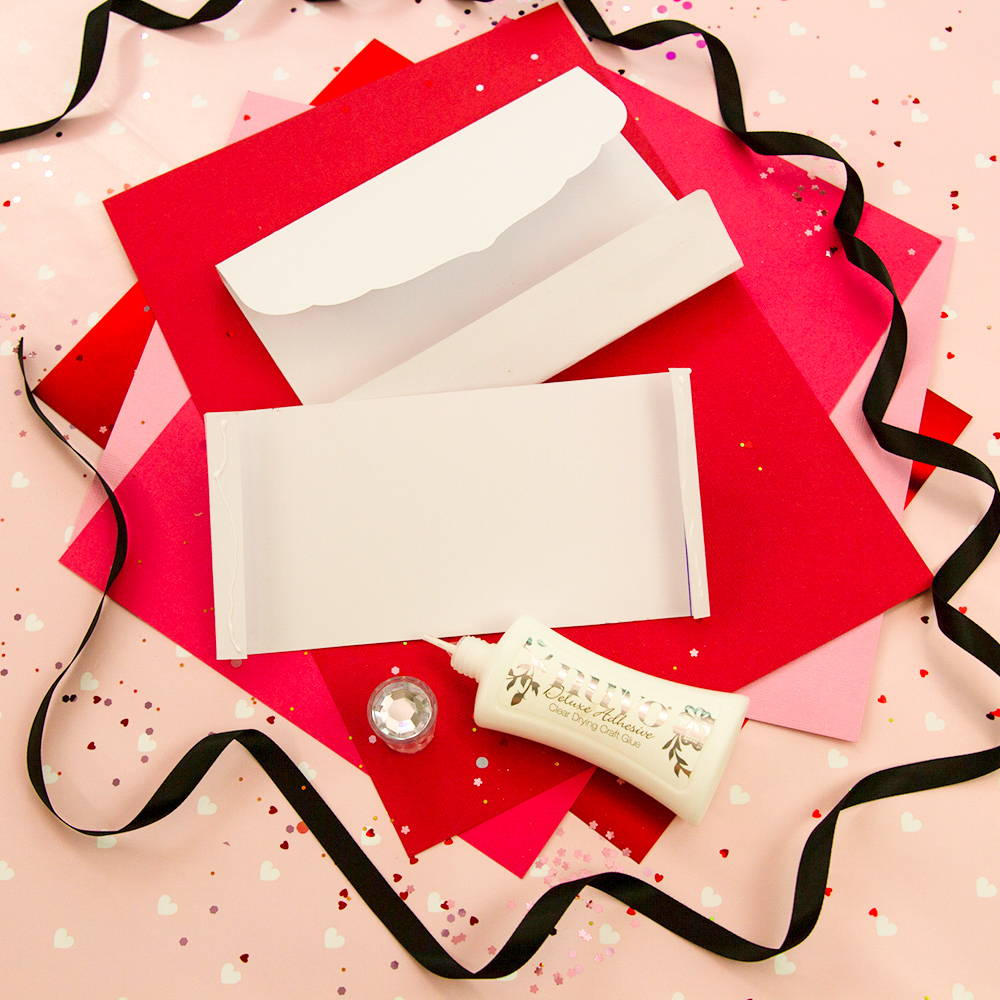
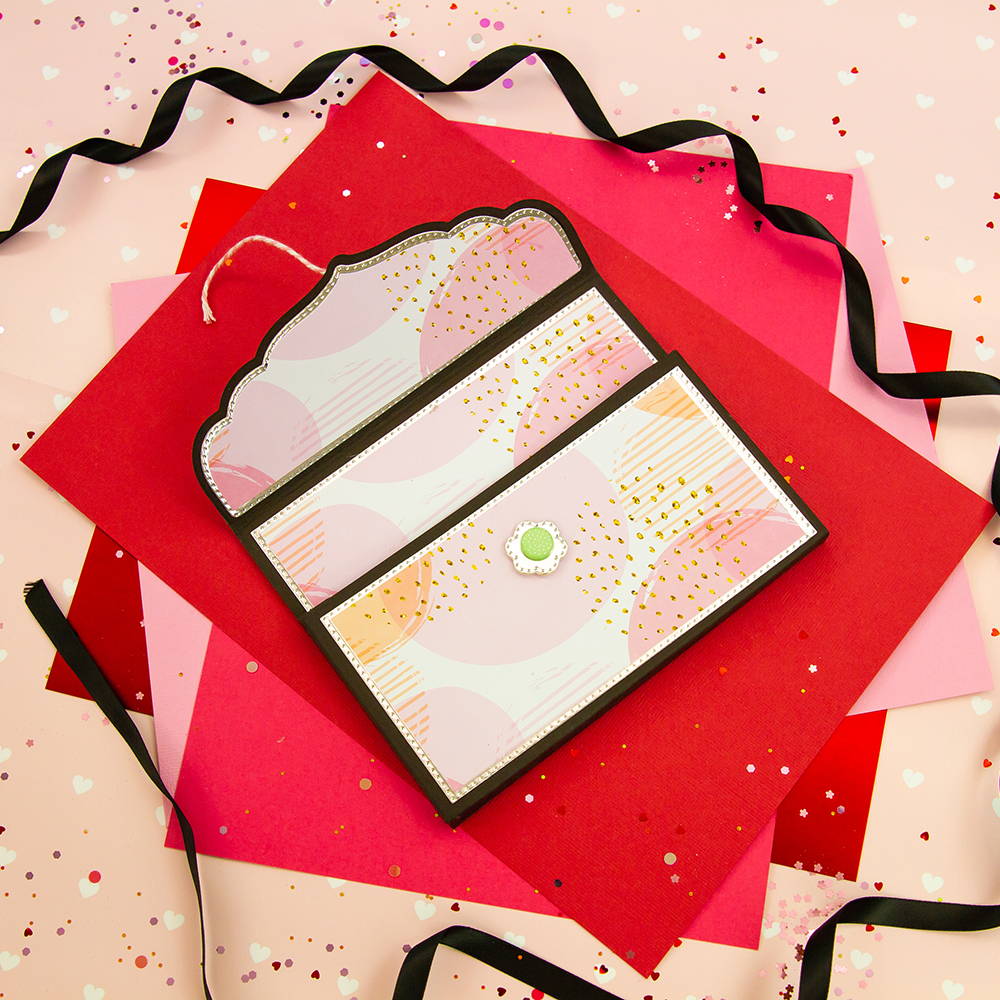
Step 5
To construct the envelope pocket, cut the main outer edge die.
Step 6
From the shaped edge, fold the first and second score lines then measure 12 1/2 cm and score another two lines 1cm apart using a score board. Fold these as shown
Step 7

Cut a strip of card 21cm x 9cm, score each end at 1cm and 2cm. Fold the score lines, this will create the front of your envelope pocket.
Step 8
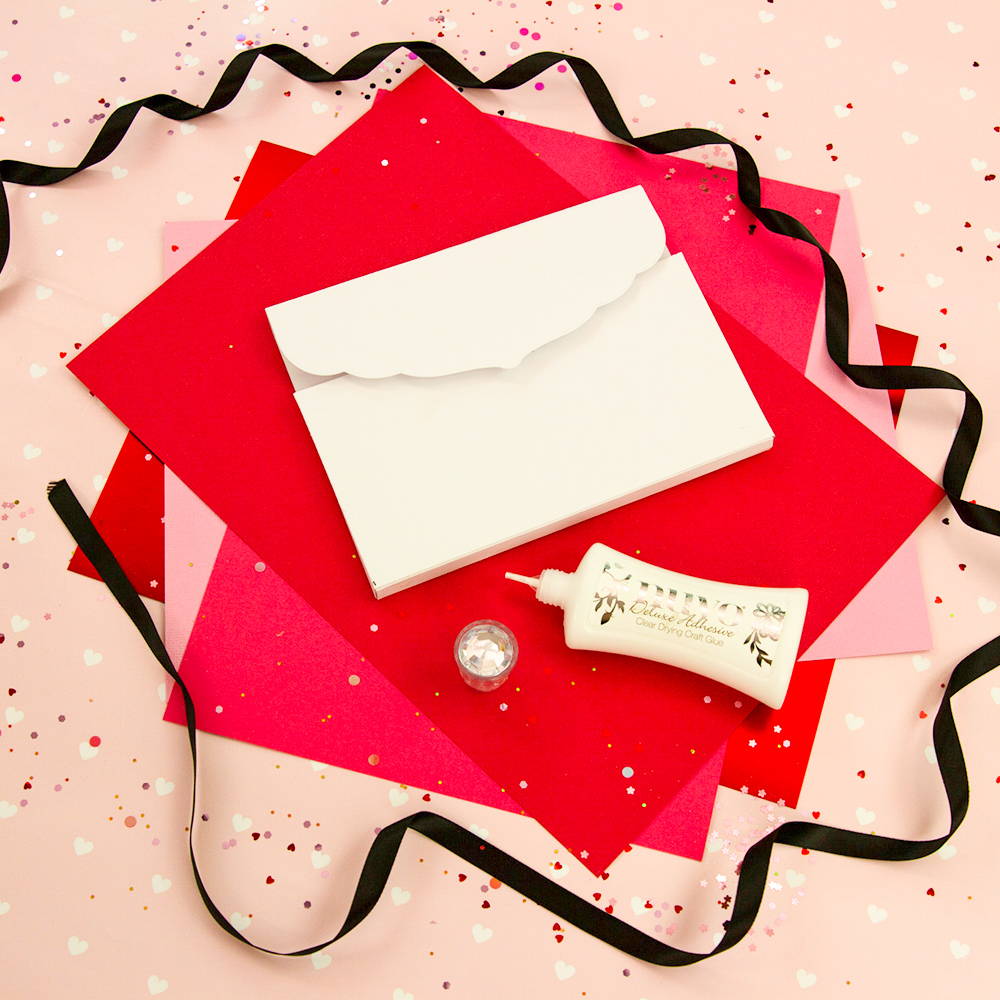
Adhere these two sections together to form the envelope pocket.
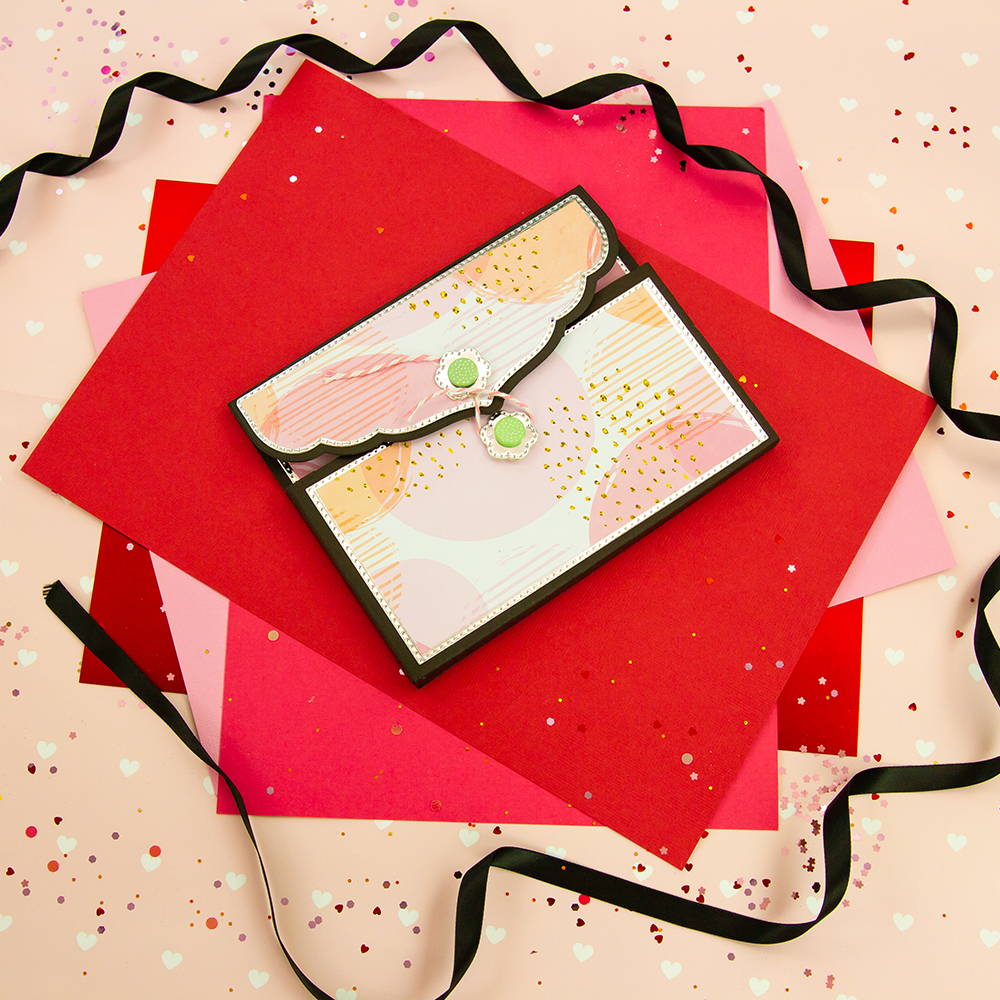
Step 9
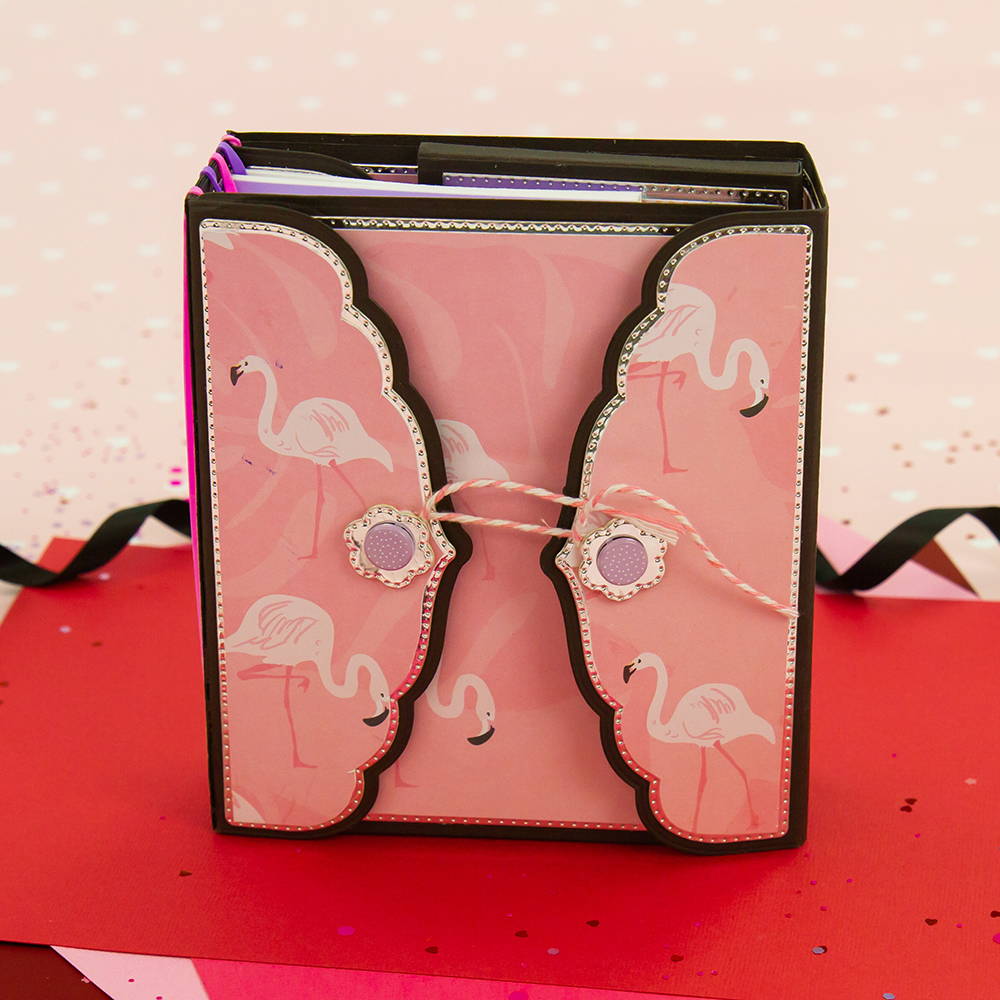
For the simple layered pockets, cut two of the dotted edge rectangle, cut one in half. Add some scored strips of card to attach the two together. This will give enough room to slide things in. I've added these to the inside covers and also to the back of the envelope pocket.
Step 10
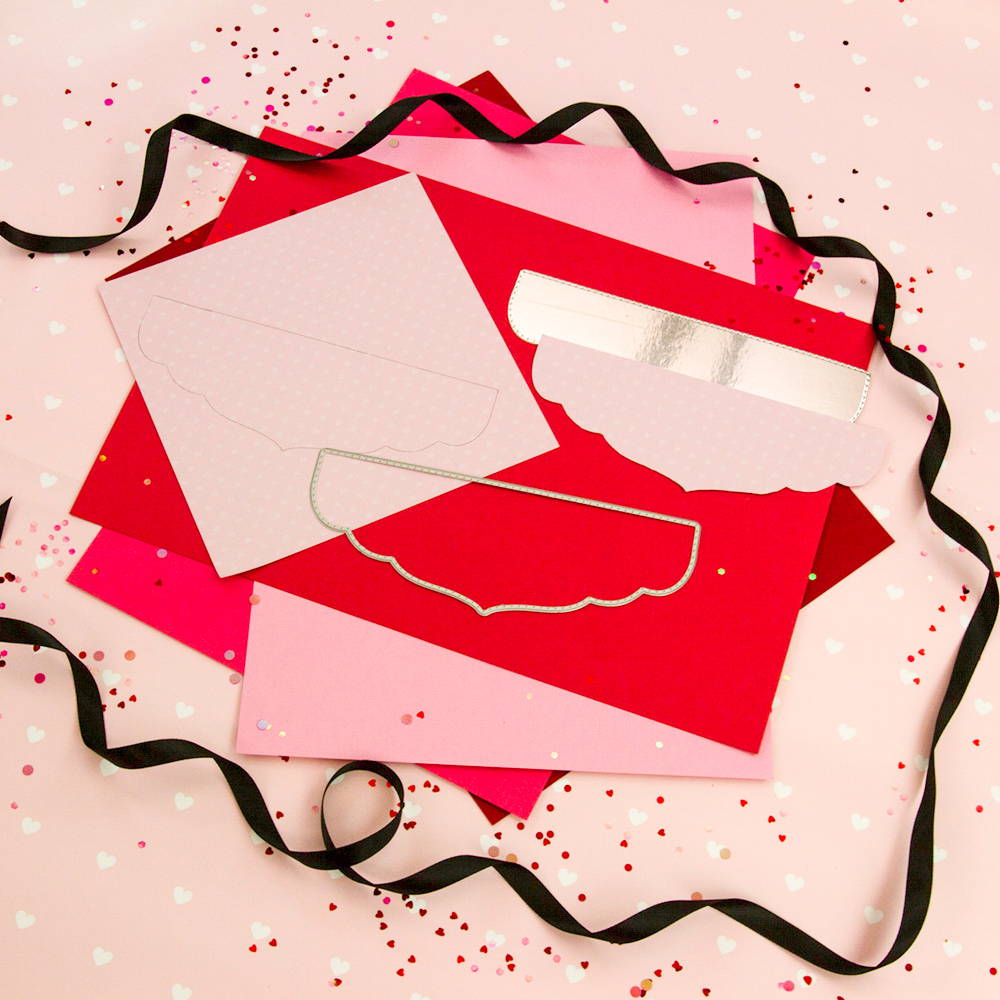
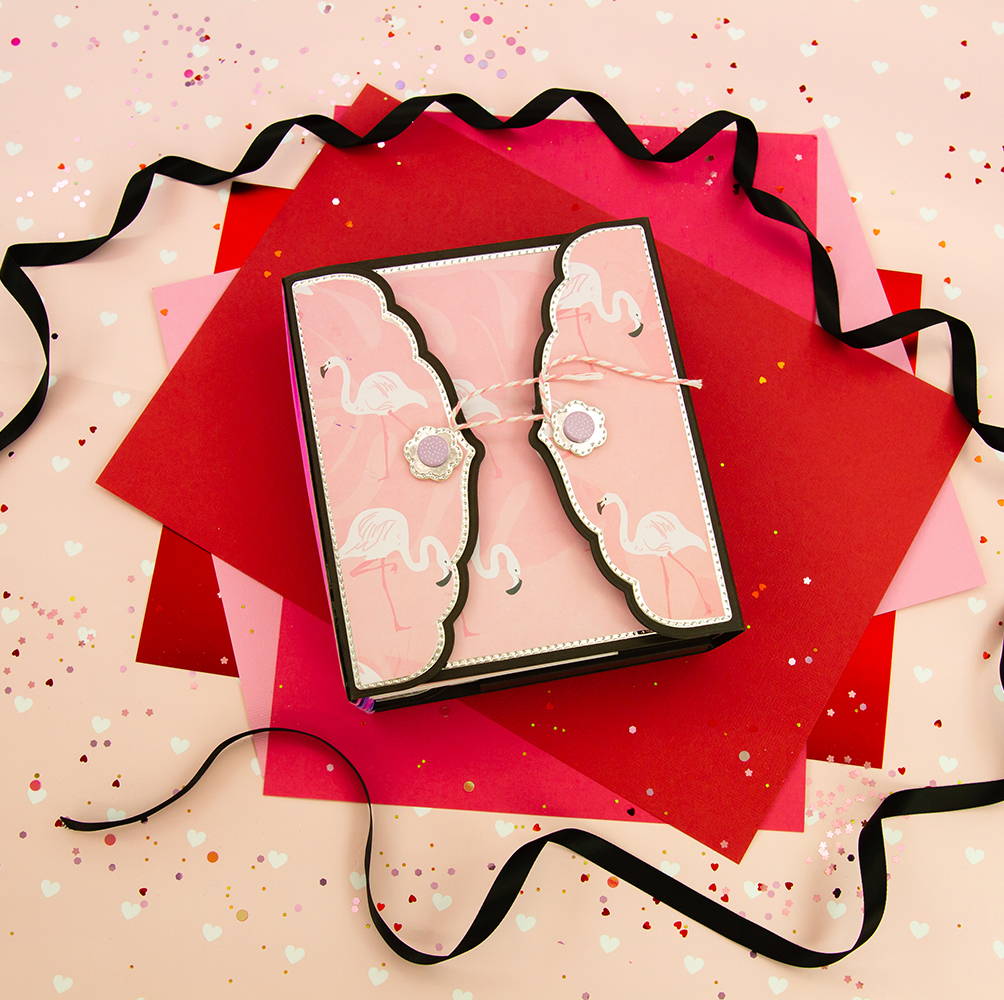
Add decorations to your taste. I've used silver mirror card and because I wanted an extra layer I've drawn around the inside of the die and carefully cut out my patterned paper.
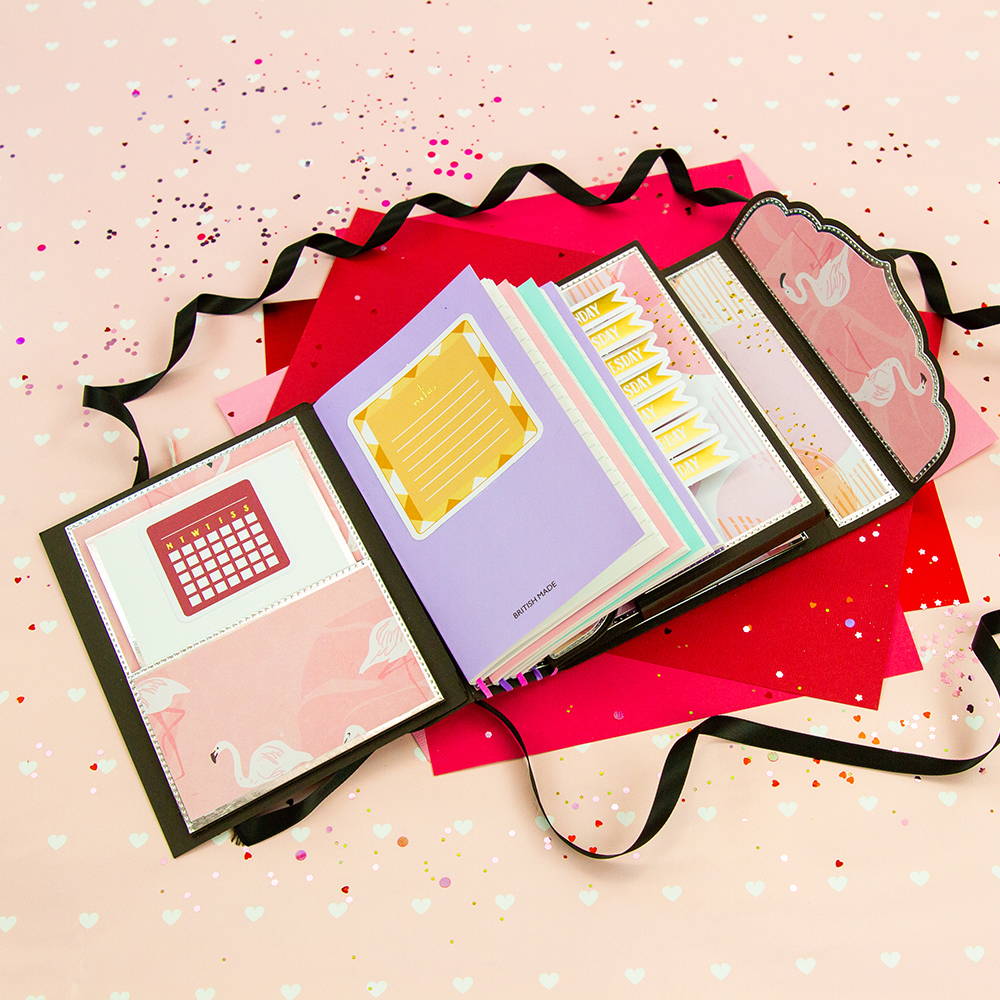
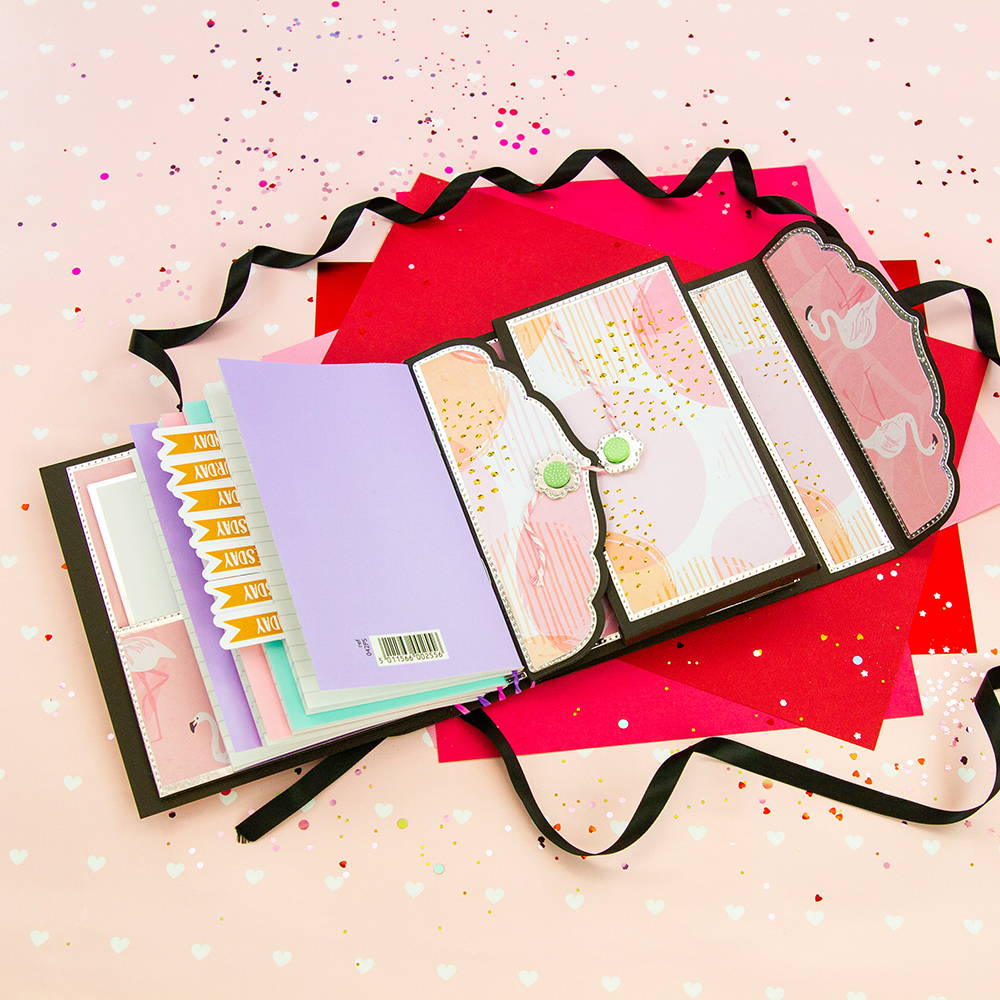
Step 11
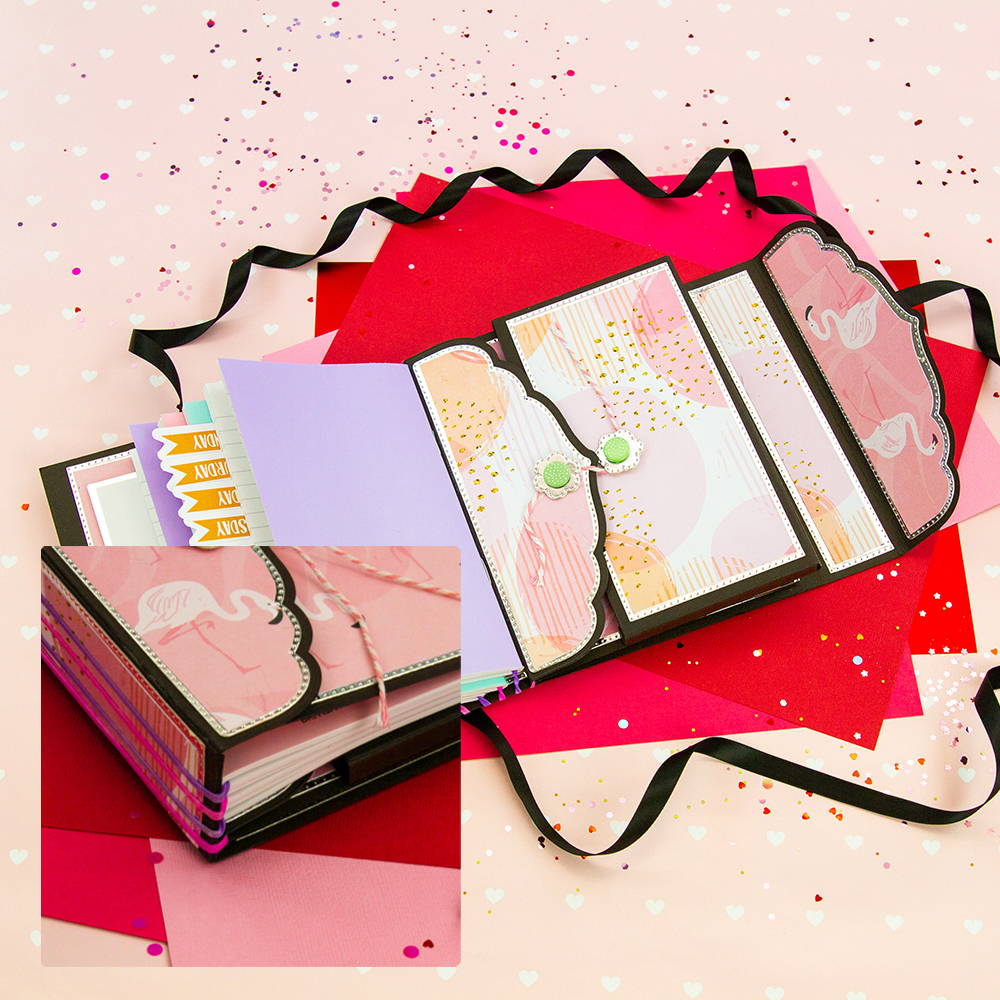
Stretch the elastic band to the spine of the book wrap, add the envelope pocket and the ready made notebooks. Embellish with the toppers from the pack so they match in with your theme. By using this system to attach the books, they can be removed and replaced easily once they are filled.
Step 12
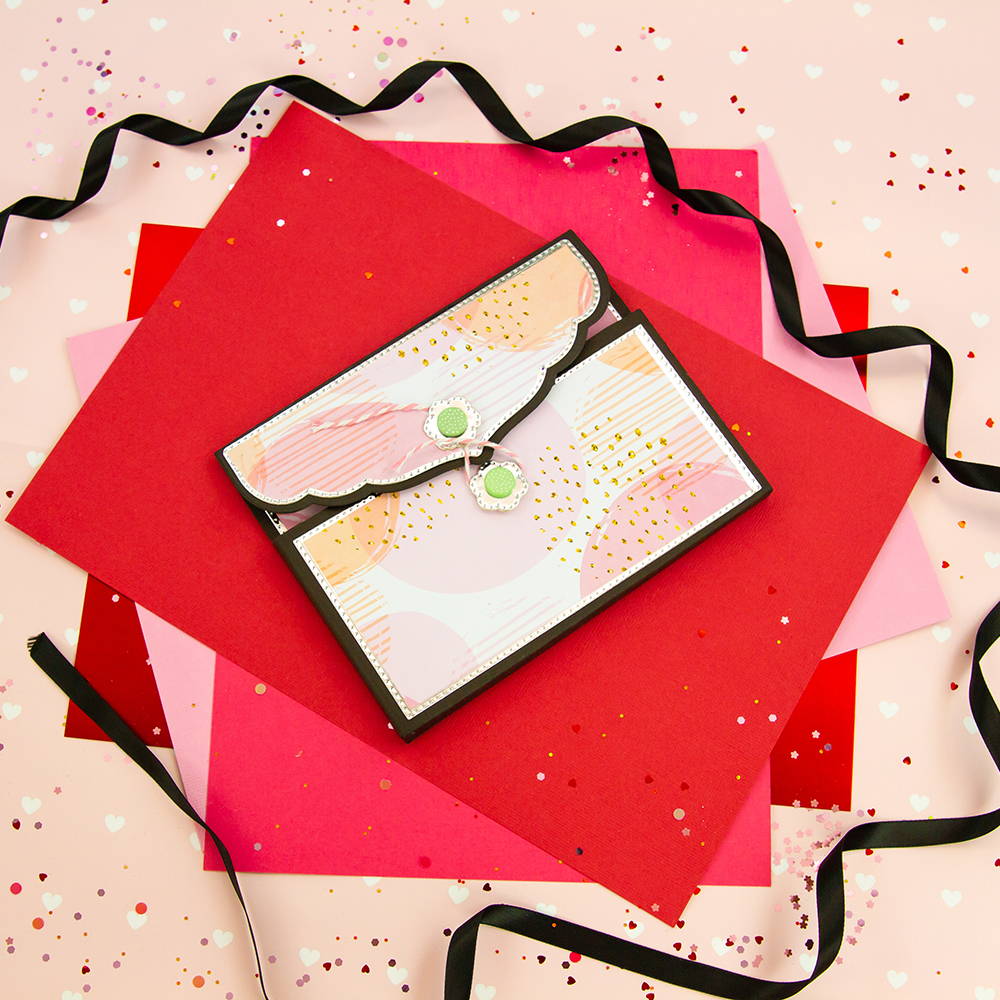
The closures were made from a die cut flower with some Bakers Twine as a wrap. Either brad or glue them in place.
Buy The Craft Project
