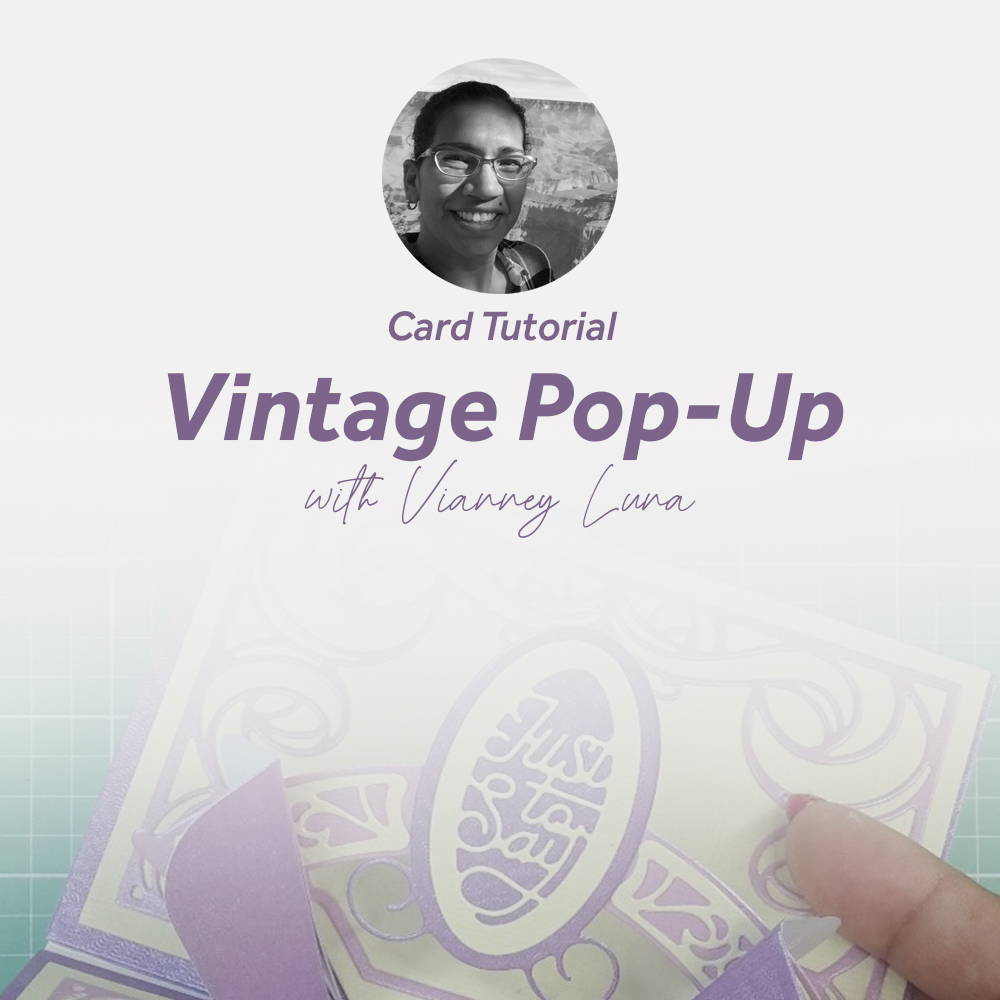

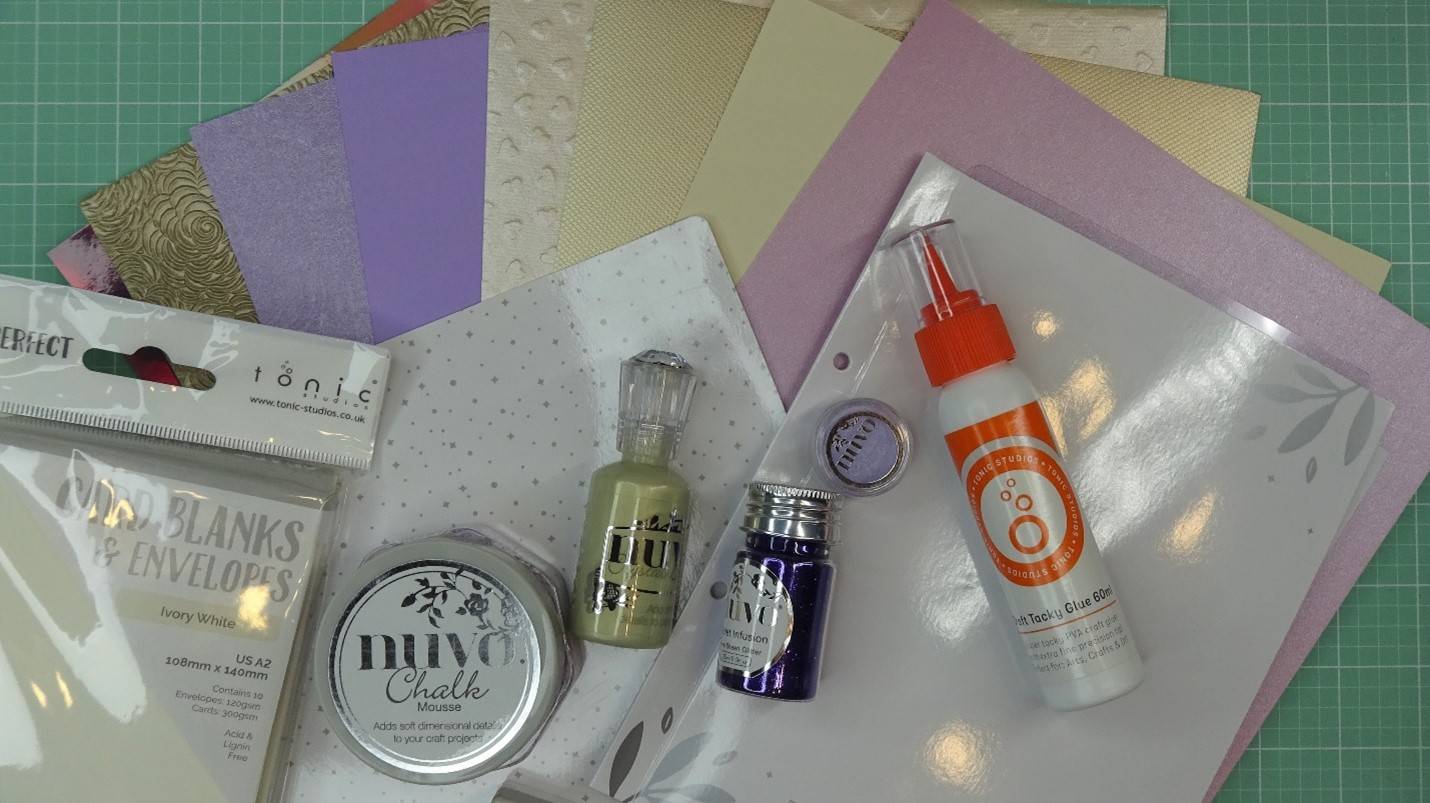
Hello, everyone! My name is Vianney and today I will be using this month’s gorgeous Vintage Pop-Up Sentiments craft kit to create a unique and interactive card. The kit has so many gorgeous papers in golds and purples, a combination I am a huge fan of. The dies and stamps create a beautiful and intricate pop out card, where the sentiment is displayed on an arch within the card. The kit also has embellishments and stamps to add the perfect finishing touches. In this step-by-step tutorial, I will walk through the basic steps to put it all together!
Part one - Creating the card base
Step 1

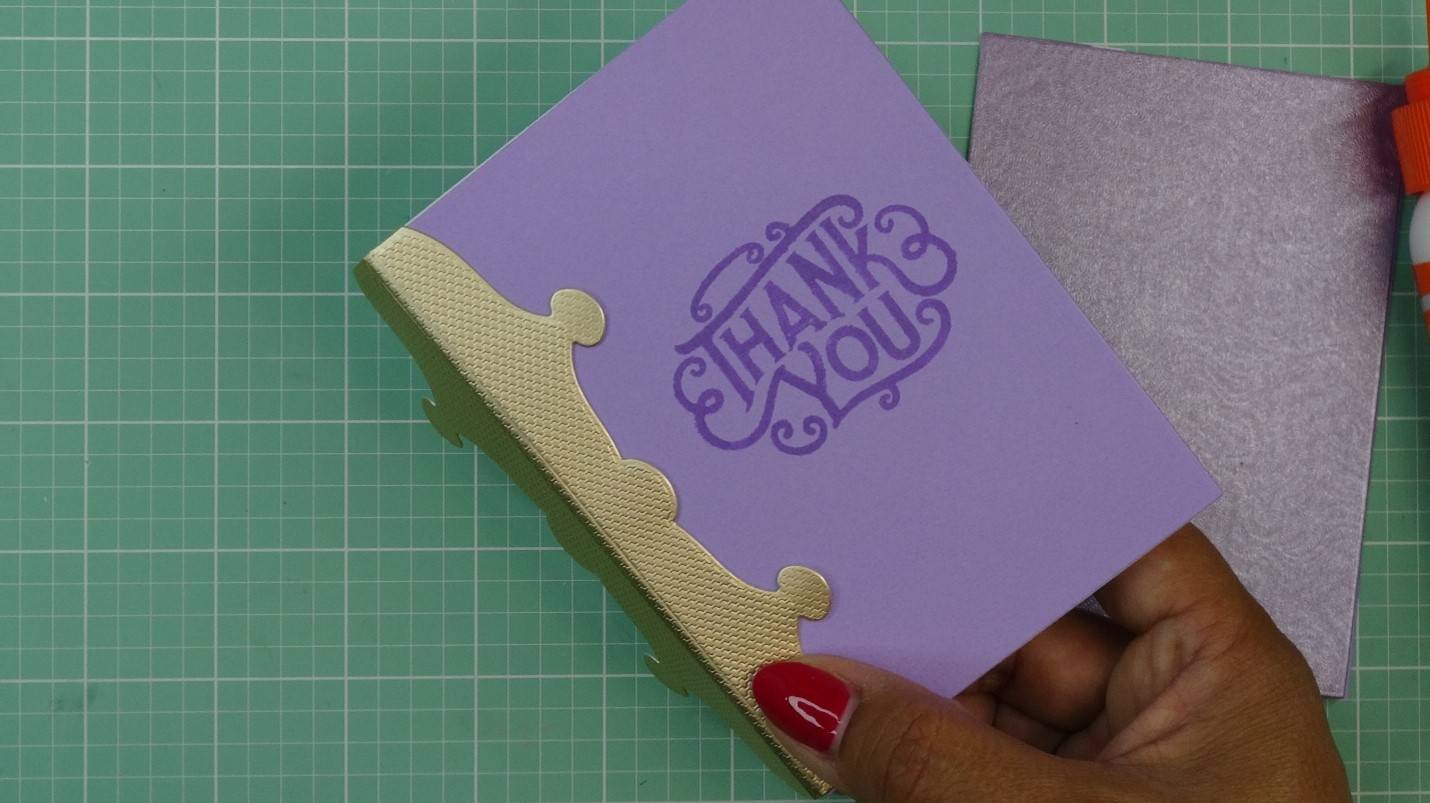
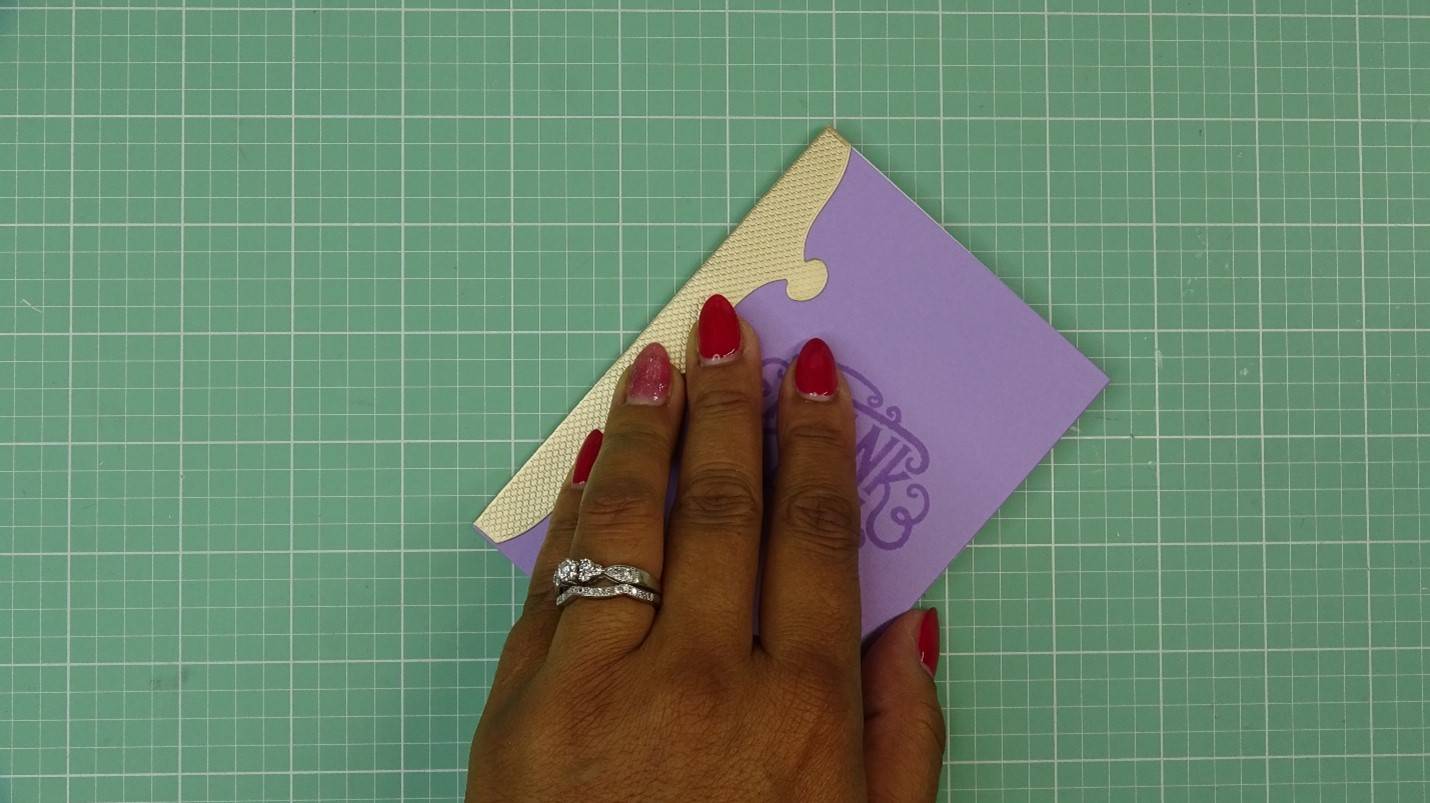
To begin, I will choose the papers I would like to use for the card base and spine. I will select two different colors for the card panels just for added interest. So, I will cut 2 rectangular panels from each of the 2 colors and one coordinating spine.
Step 2
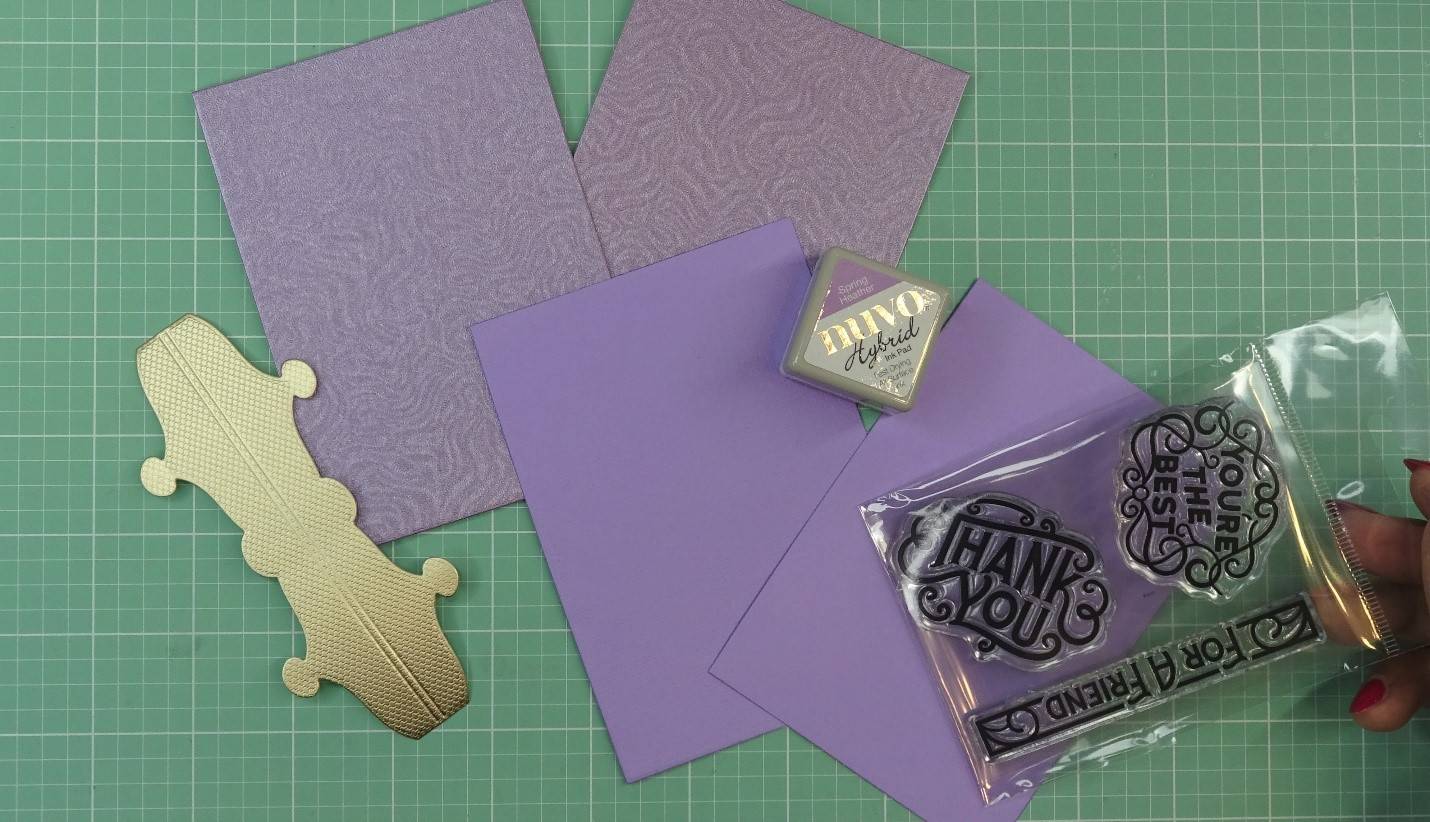
To decorate the front of the card, I will do some stamping to a panel that I consider the “front” panel.
Step 3

I use the spine to judge where I might want to stamp my sentiment.
Step 4
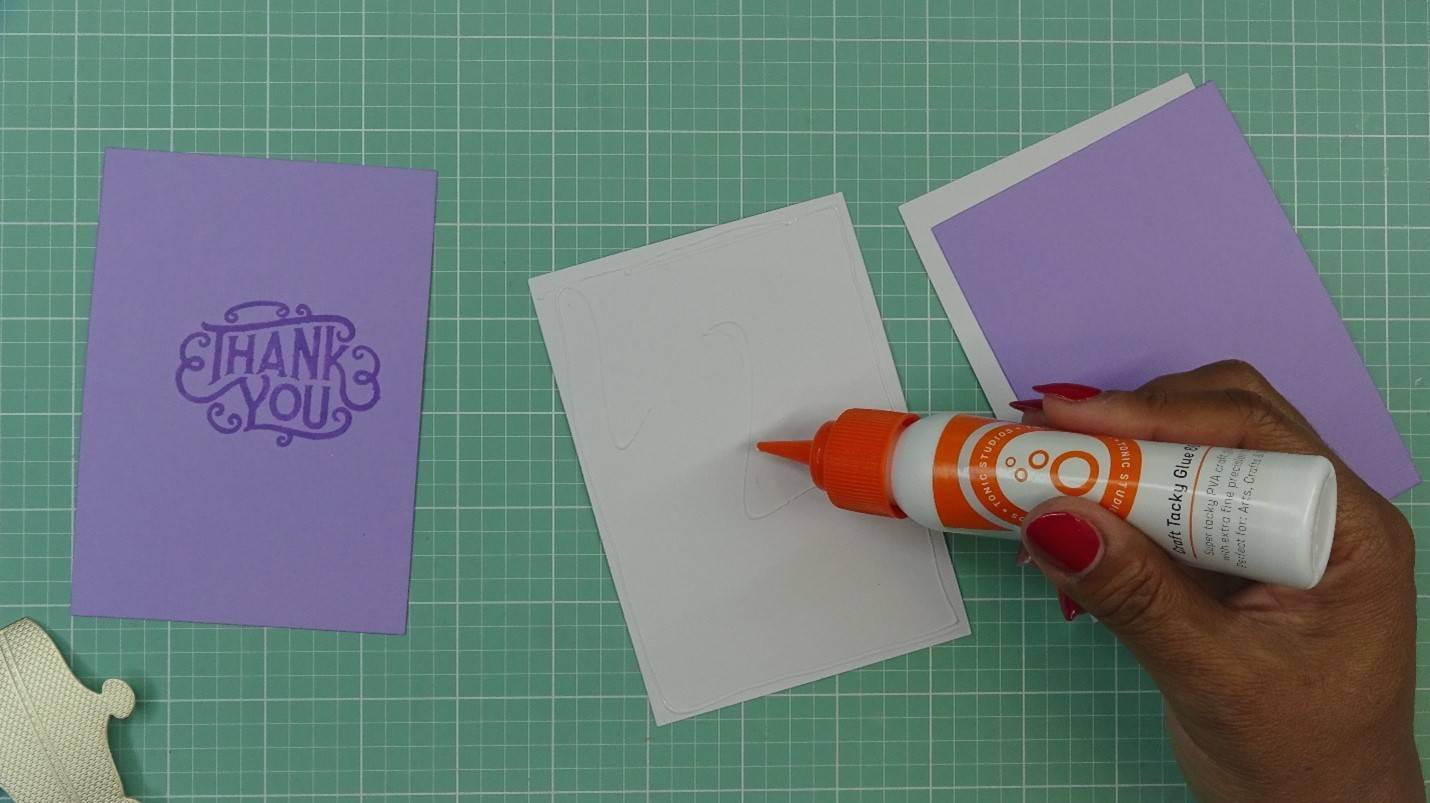
Glue 2 panels together wrong sides facing. Do the same for the remaining two panels.
Step 5

Next, glue the panels to the card base spine. I like to pre-fold the spine before adding the panels to it, but if you prefer you can glue the panels on and then fold on the score lines.

Place the card base to the side for now.
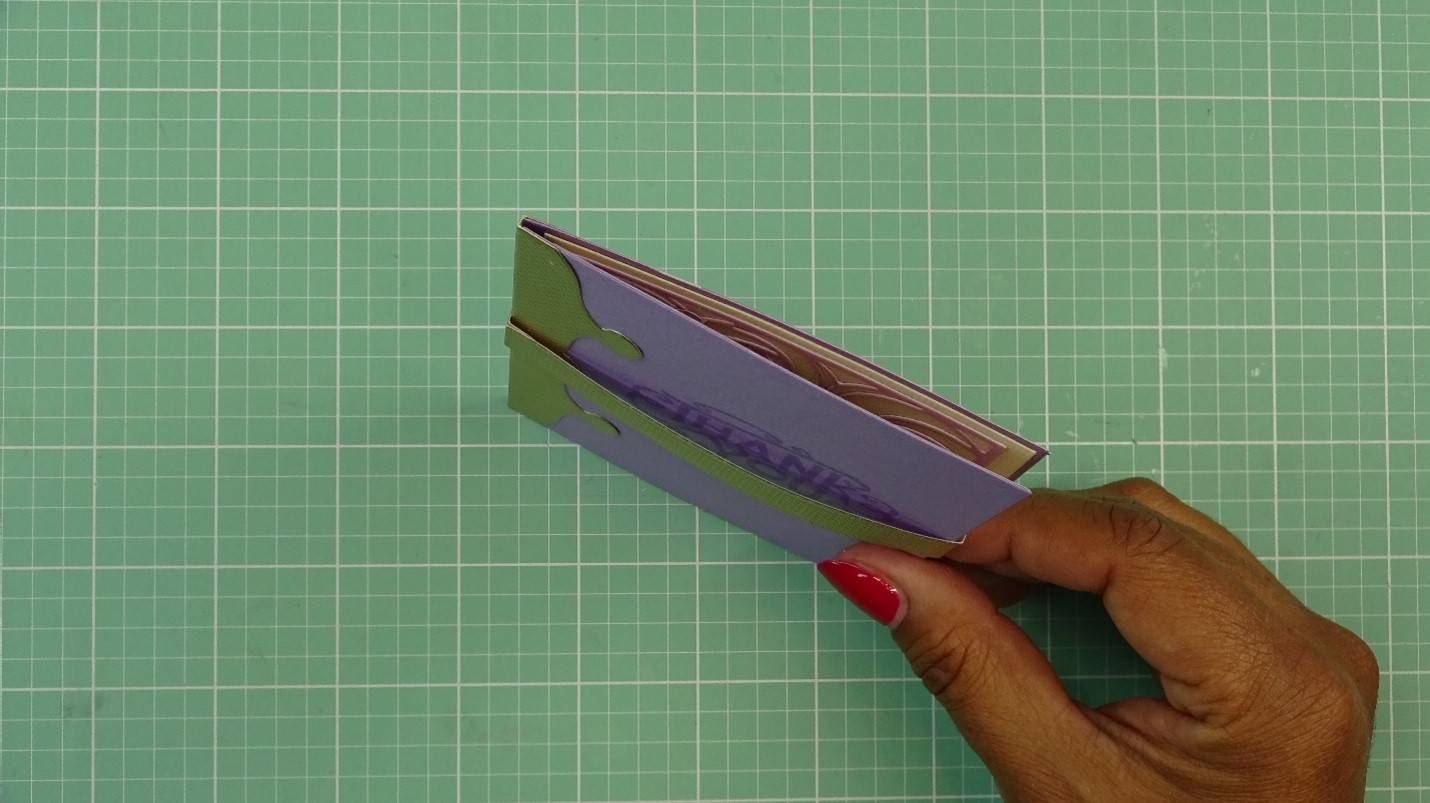
Part 2 - Creating the pop-up mechanism
Step 1
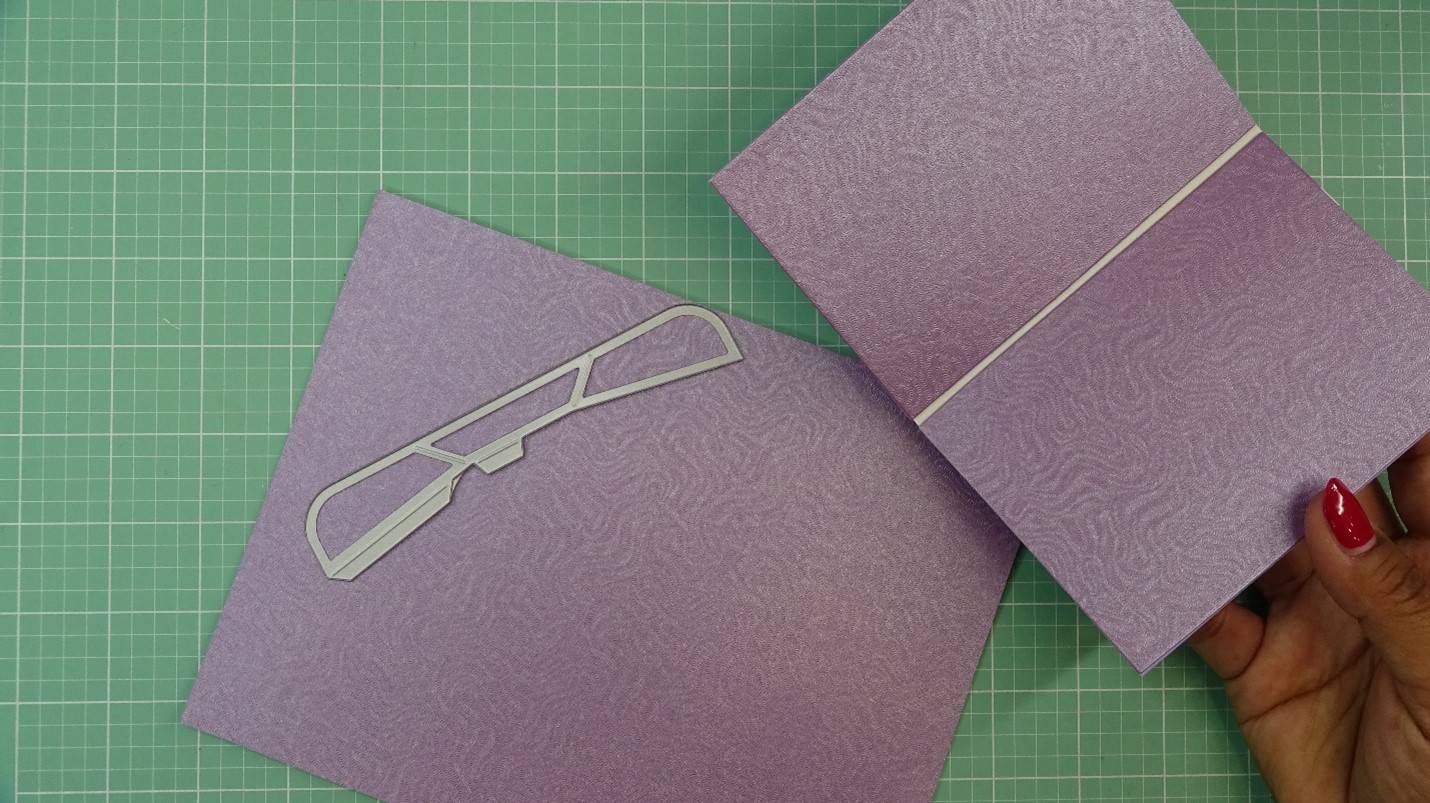
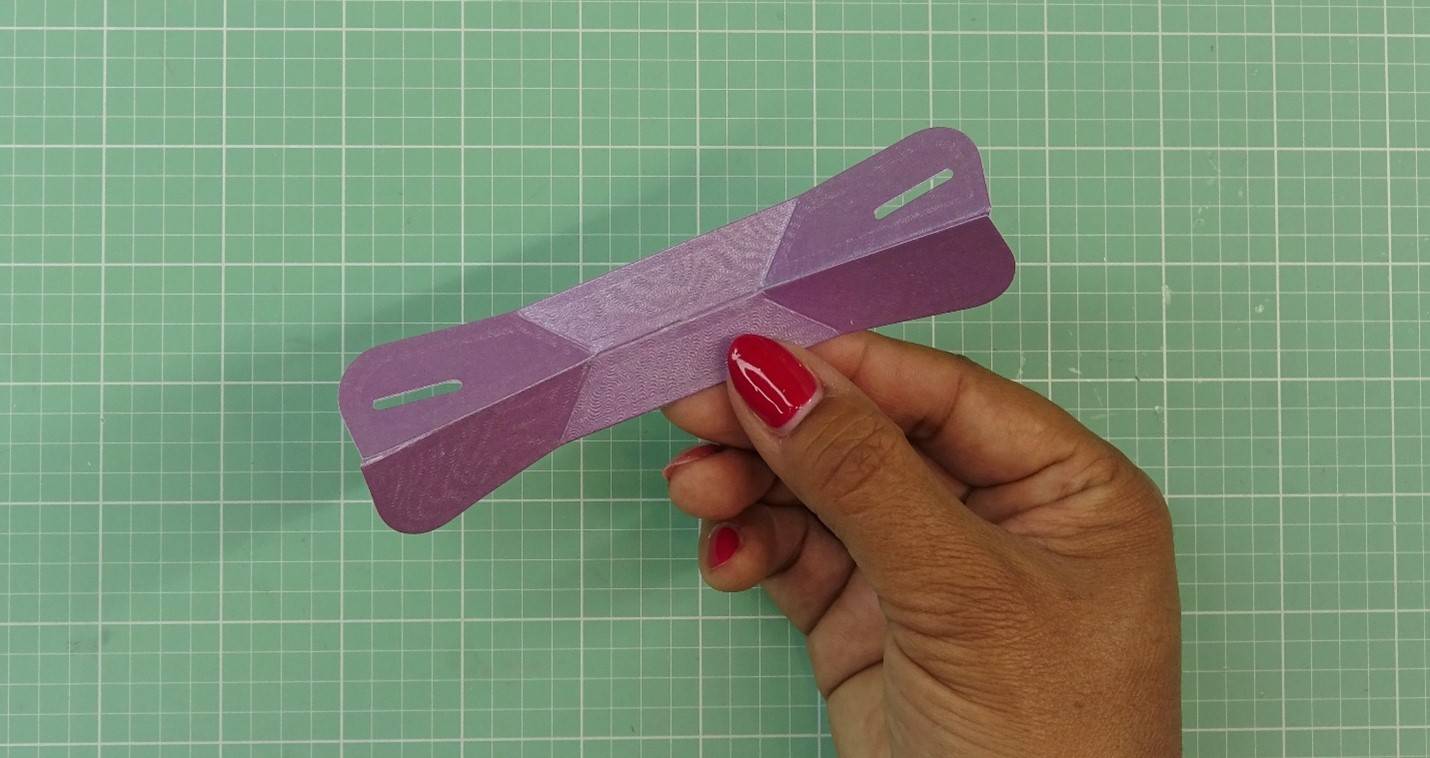
Now we will take the “wing” die and cut two pop-up mechanism pieces from papers that coordinate with the paper selected for the inner card panels.
Step 2
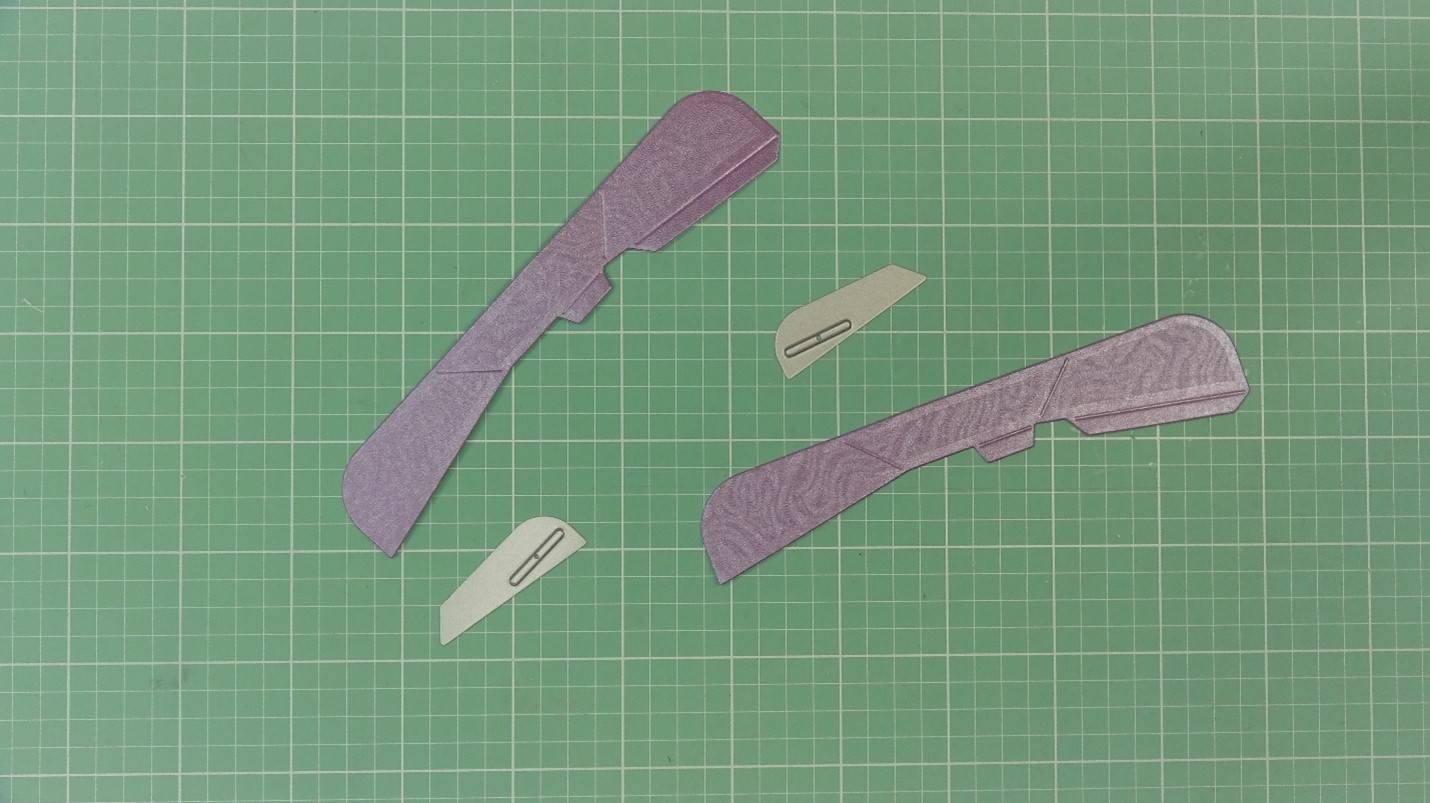

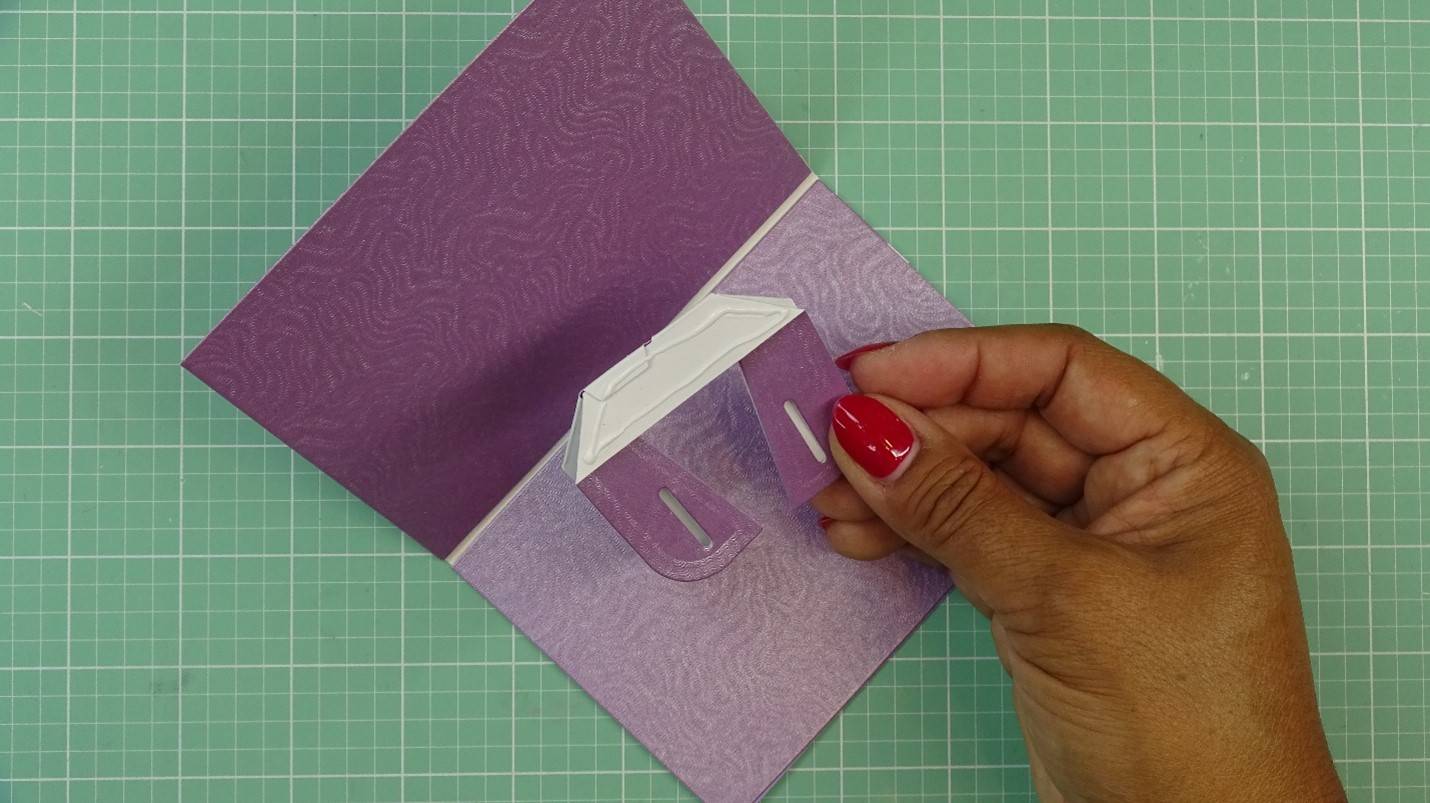
Then use the small dies that will create small slits on either wing on one of the mechanism pieces. Tape the dies onto the winged mechanism piece, run through die cutting machine. You will have two winged mechanism pieces, one with slits and the other without.
Step 3
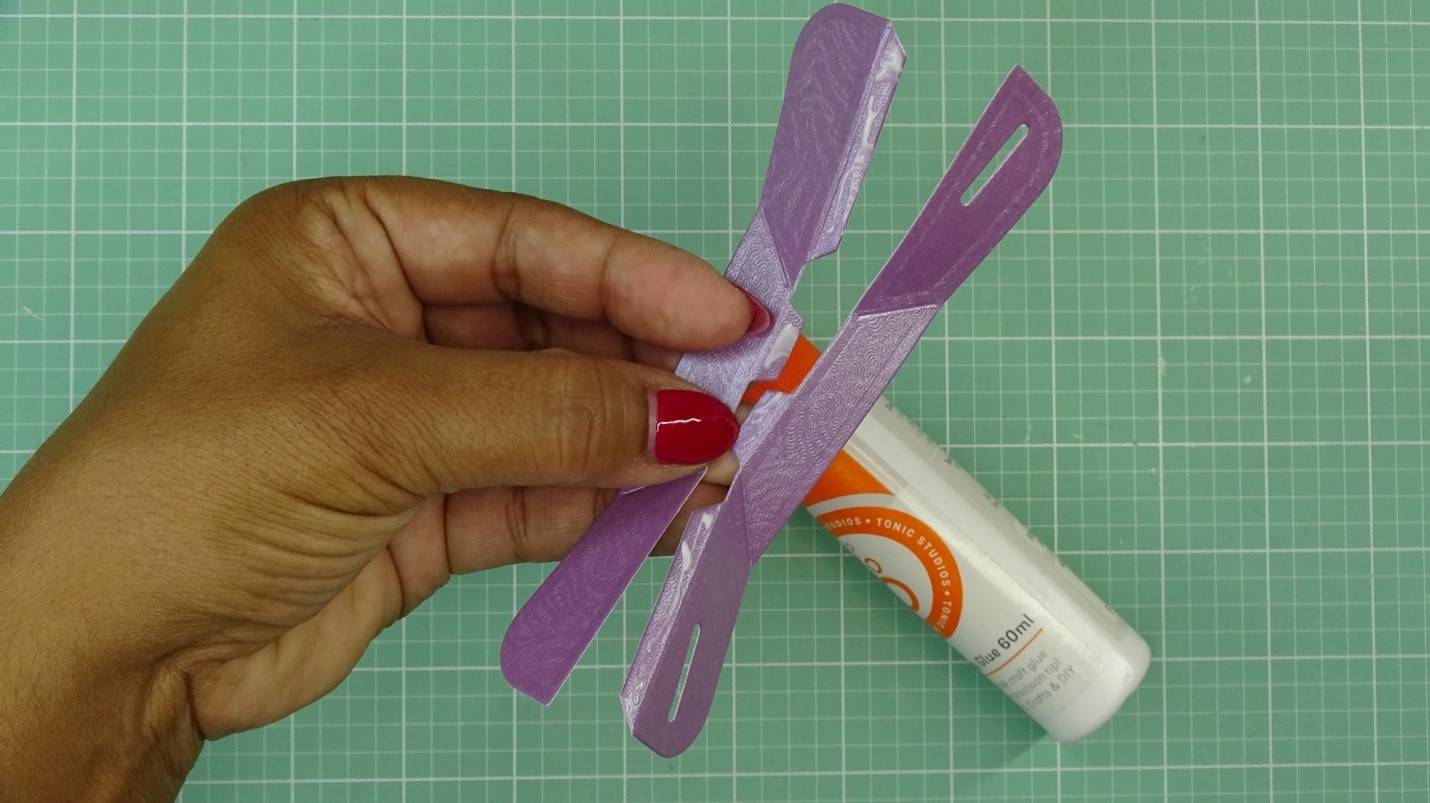

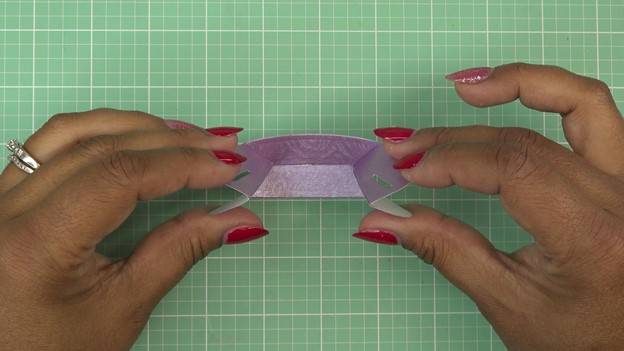
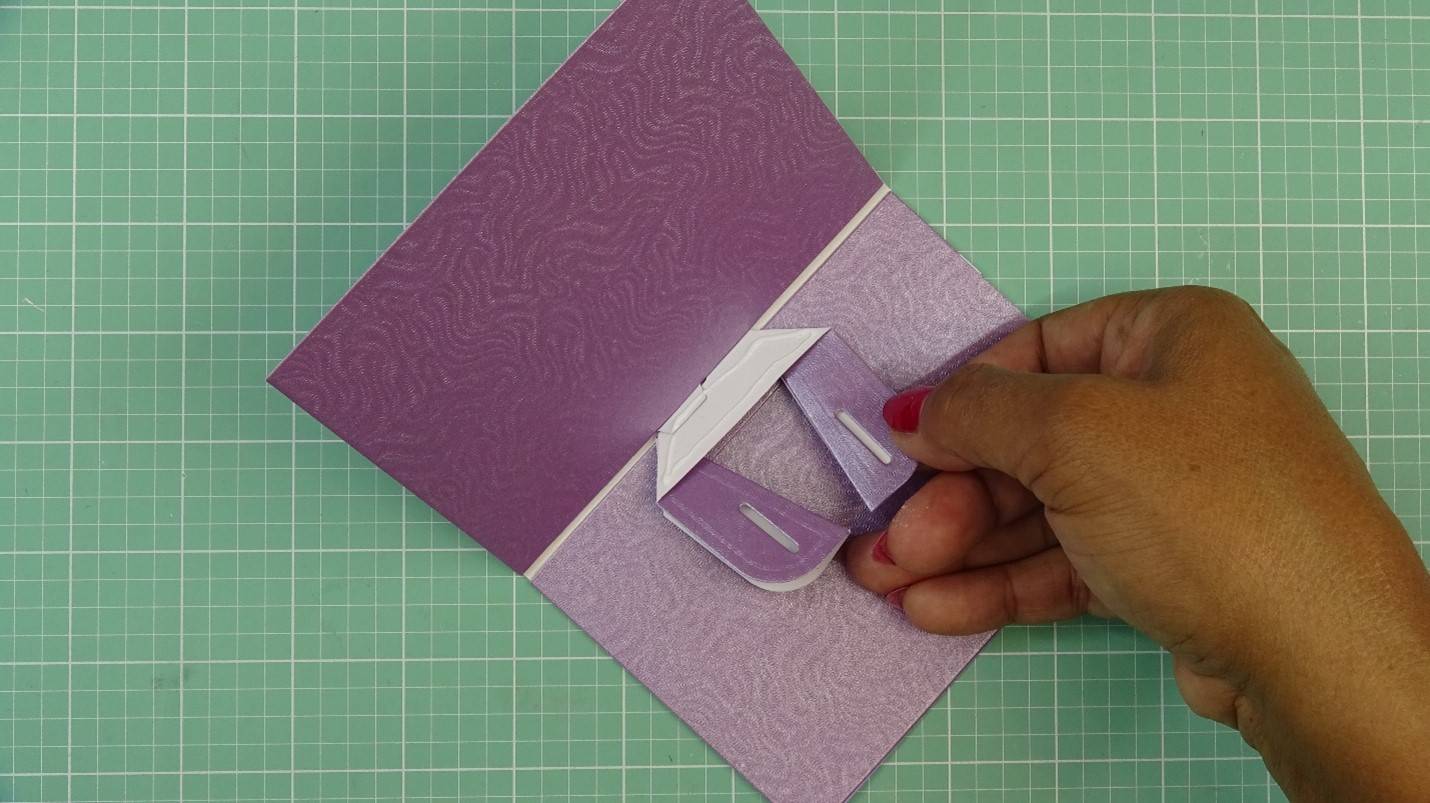
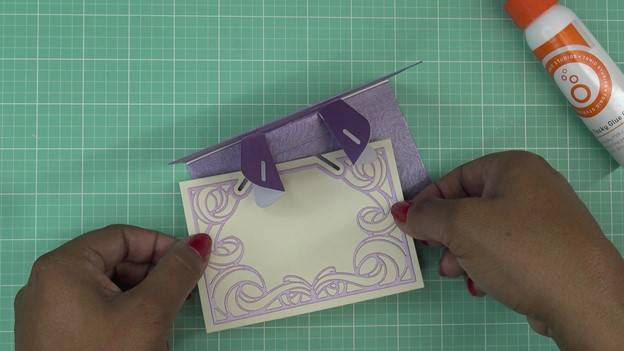
I like to go ahead and score all of the tabs and score marks at this point. I will then glue the winged mechanism pieces together by adhering all of the center tabs to the opposite pieces, as shown, to form one mechanism piece.
Step 4
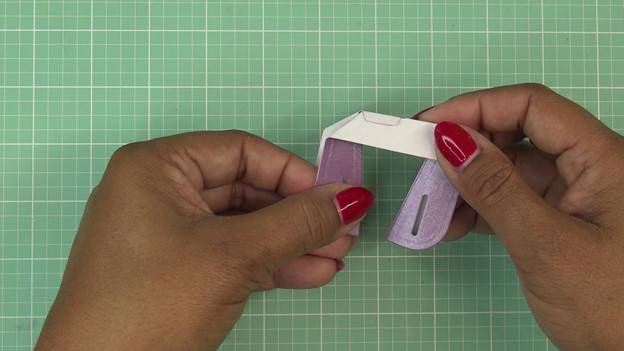
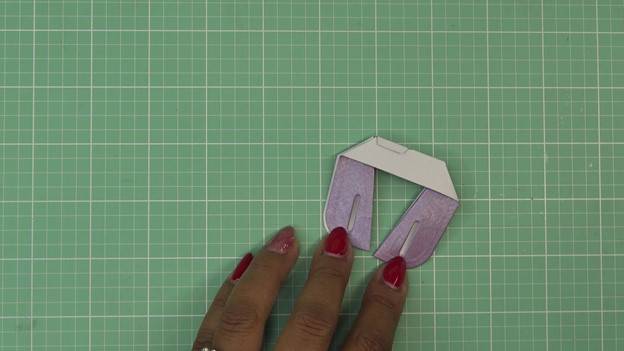
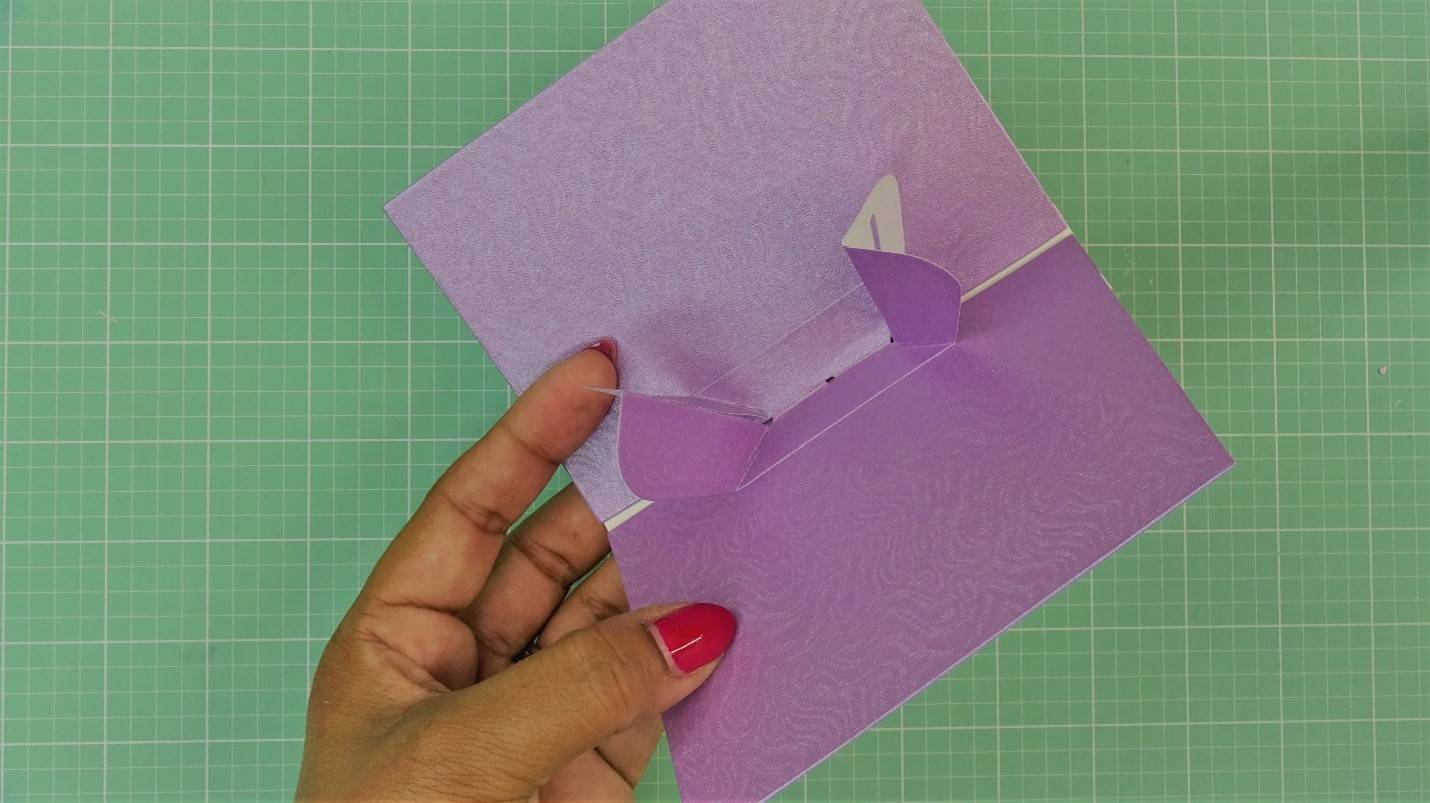
Once glued and dry, go ahead and squeeze and fold this mechanism piece so it collapses into itself, as shown.
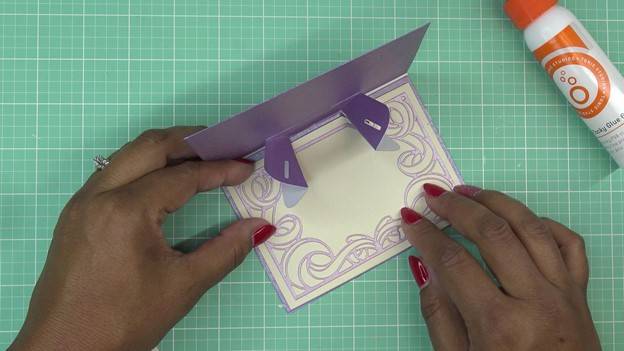
Step 5

Glue the pop-up mechanism into the very center of the card base, tucked as far into the spine as it can go, and making sure the side of the mechanism with the slits is facing up. To do this, I put glue on the center area of the mechanism on top and bottom. Glue the top and the bottom of the mechanism down. I like to close the card and hold it down to make sure I get the best adhesion. I also burnish over the top of the closed card to really crease the mechanism for a more finished look.
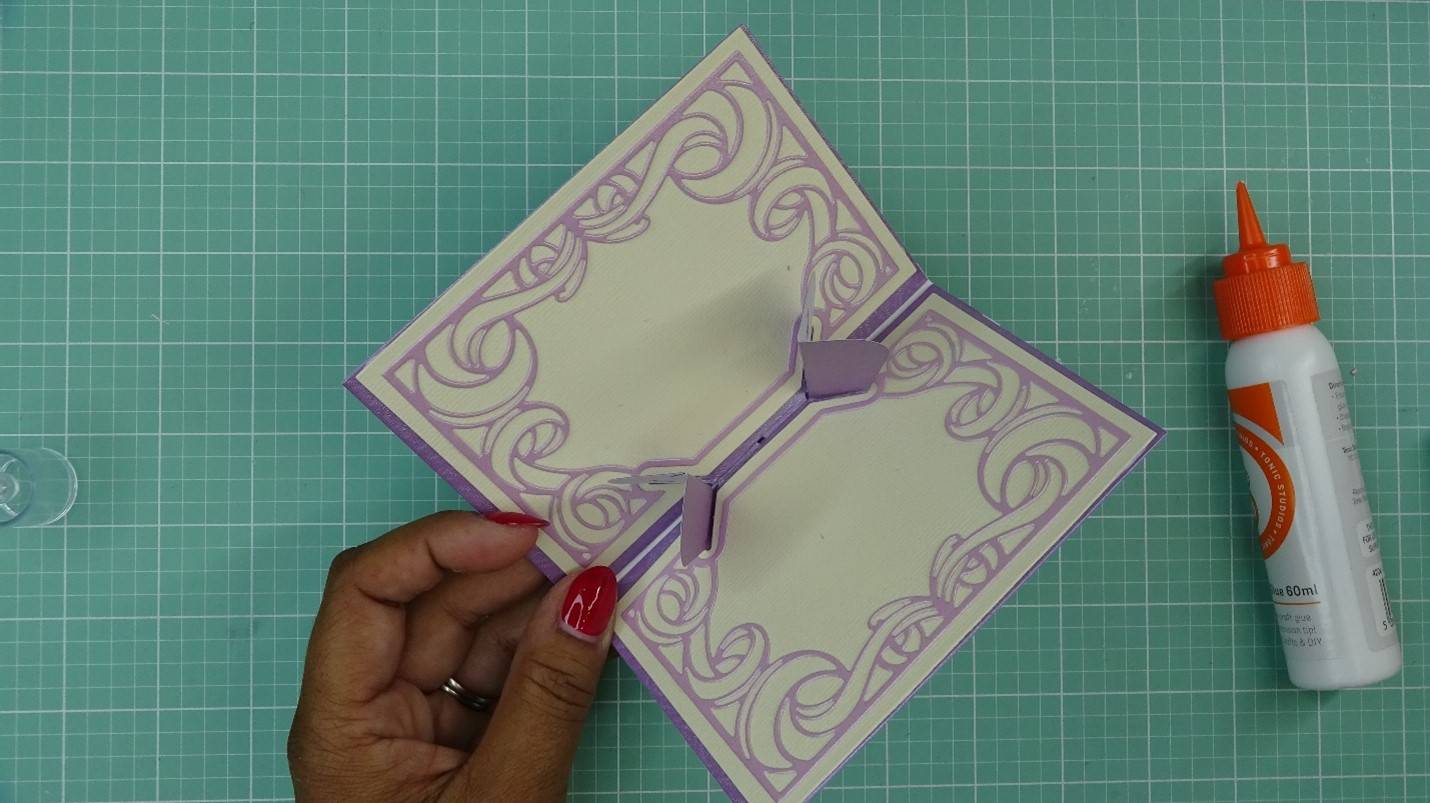
Step 6
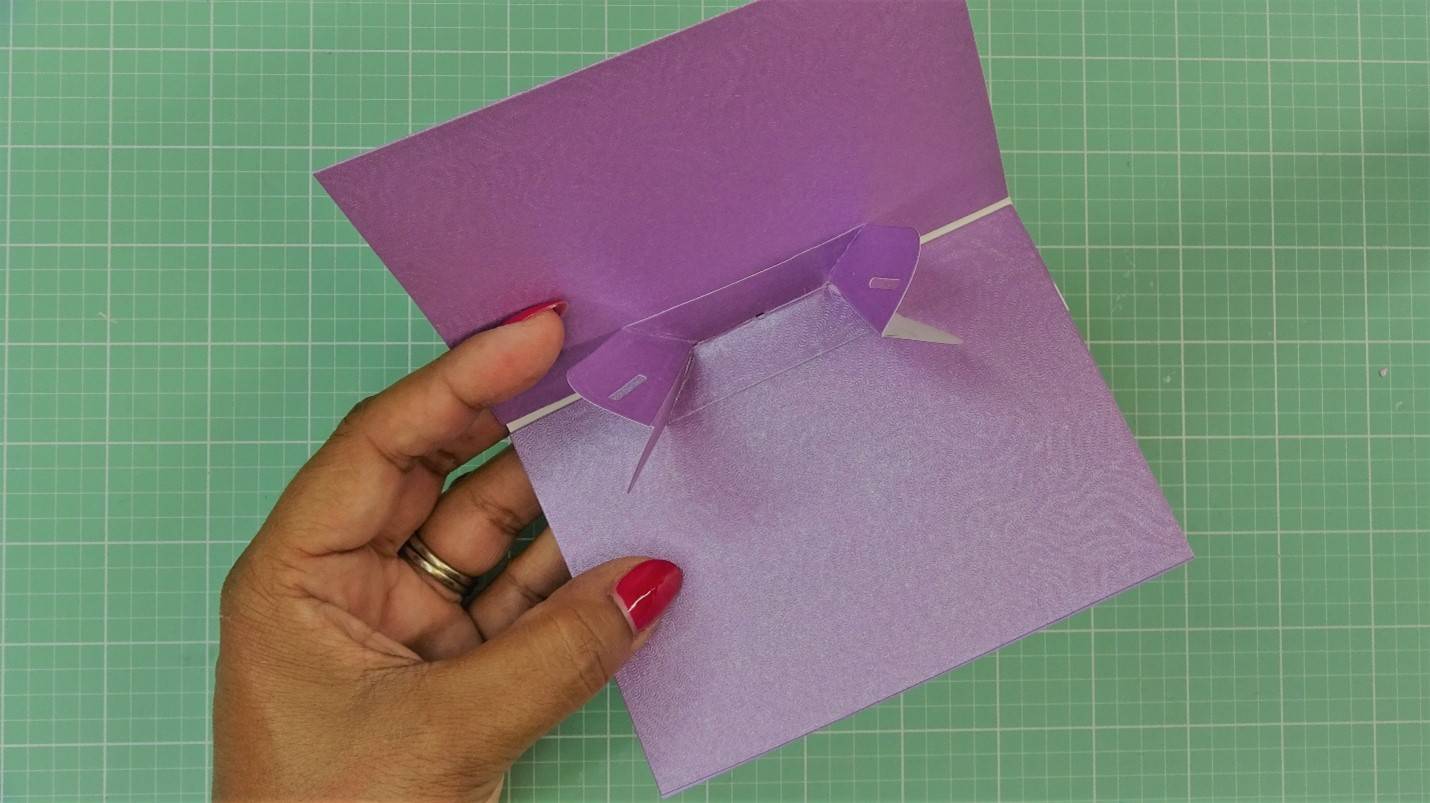
Once the glue is dry, when you open the card…the pop-up mechanism wings should open up.
Step 7
Place to the side for now.
Part 3 - Decorating the inside card panels
The kit also includes special rectangular dies that have slits cut into the bottom area. These slits will help the decorative rectangular panels tuck right into the mechanism, creating a beautifully finished card.
Step 1
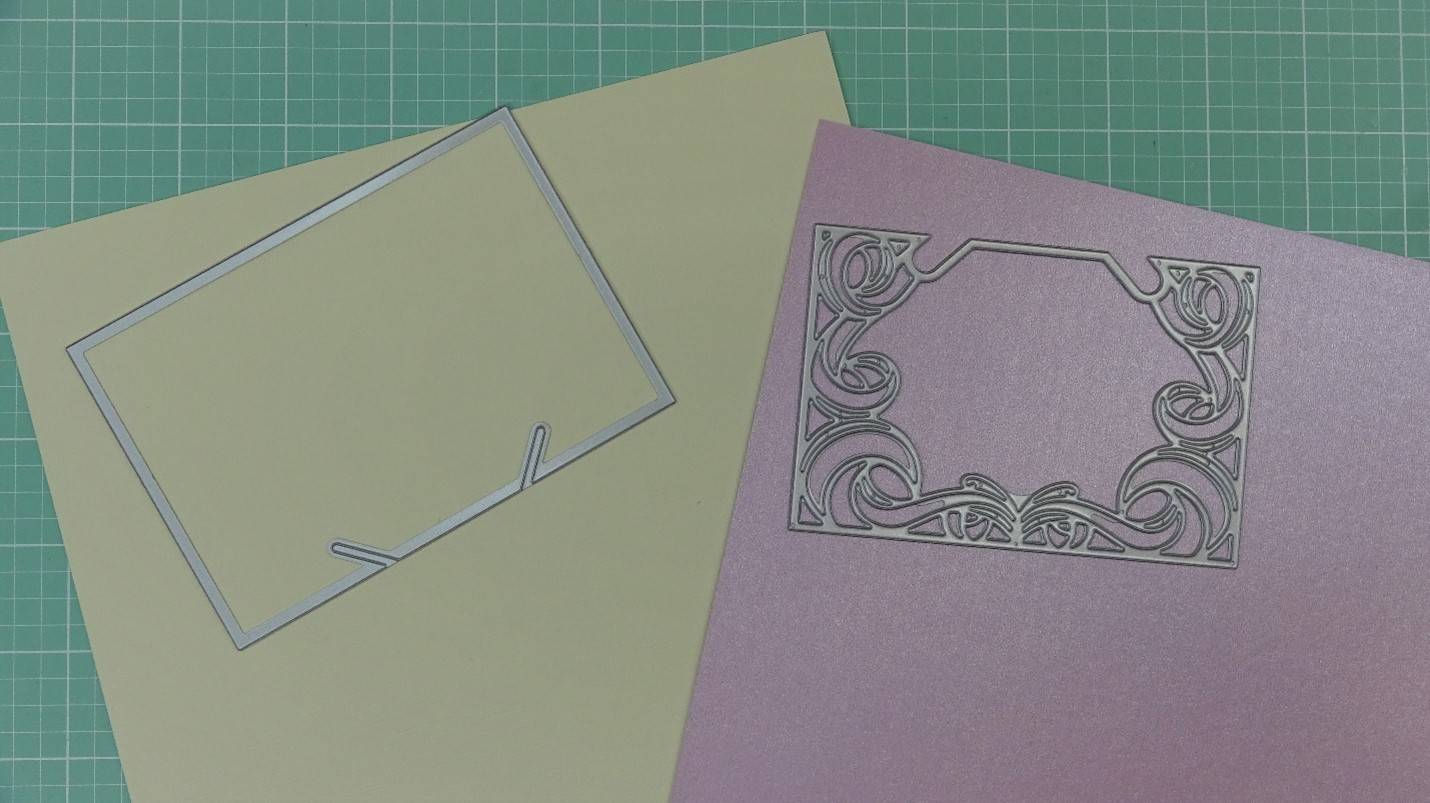
These dies can be used to create a basic panel and an intricate panel to layer over it, or they can used separately. In this case I will select two different papers to cut layers, as shown. You will need to cut two of each layer, a set for either side.
Step 2

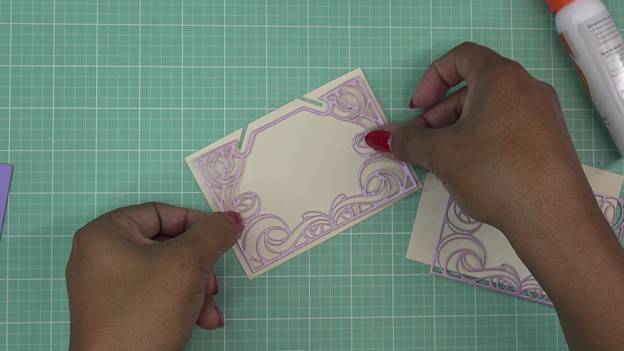
Glue the layers together.
Step 3
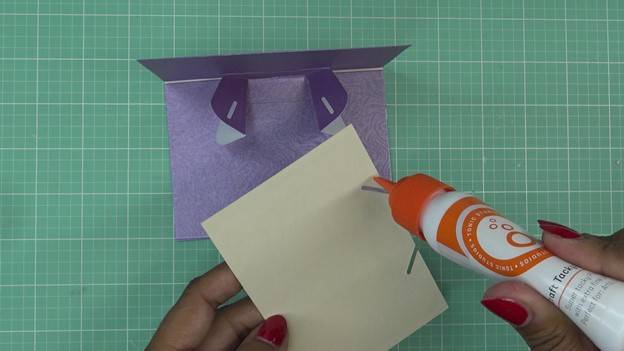
Glue these panels into the card base, snuggling them right into the mechanism.
Step 4
Optional: You can also die cut and adhere decorative layers for the mechanism wings. This will add more detail to your card. I left the “wings” as they were.
Set aside for now.
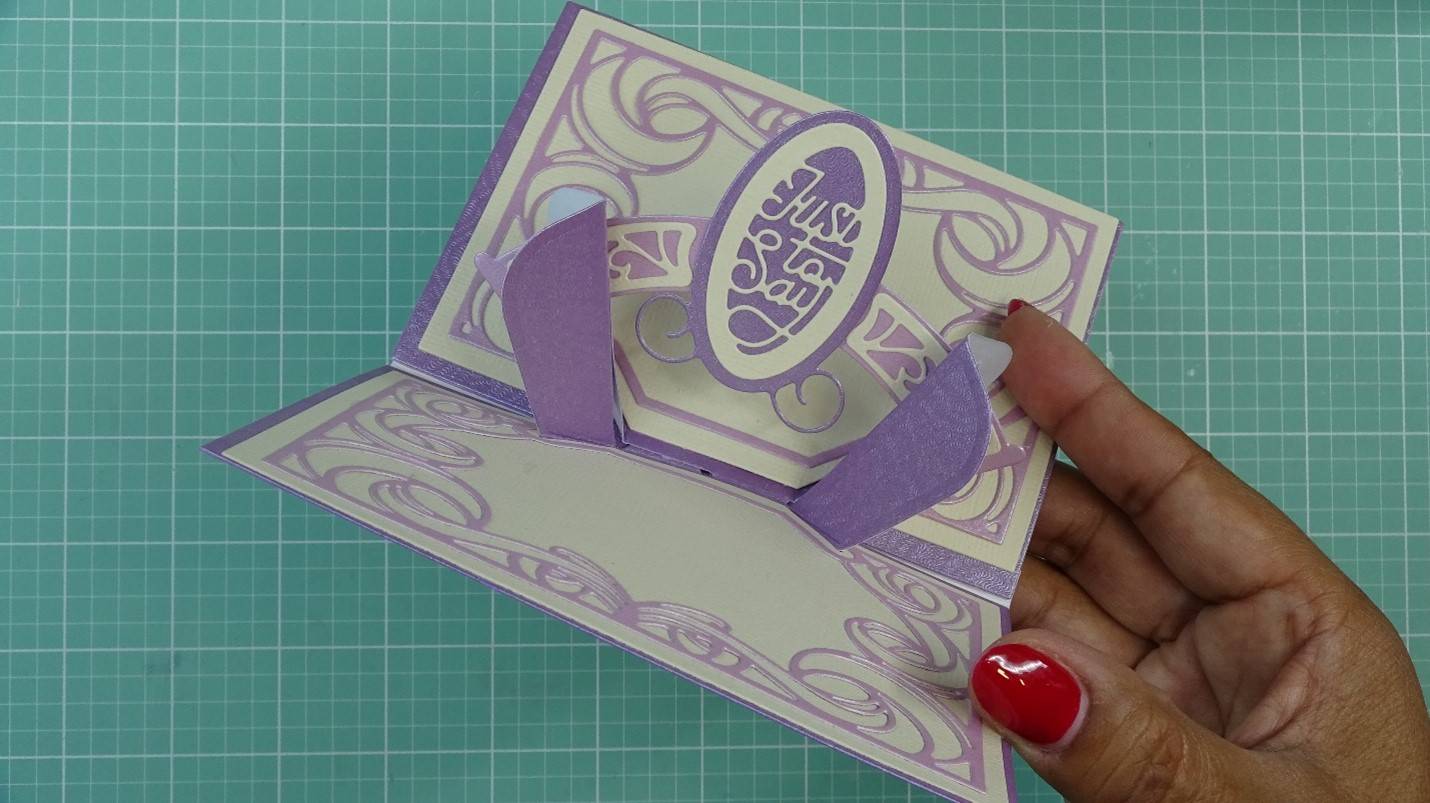
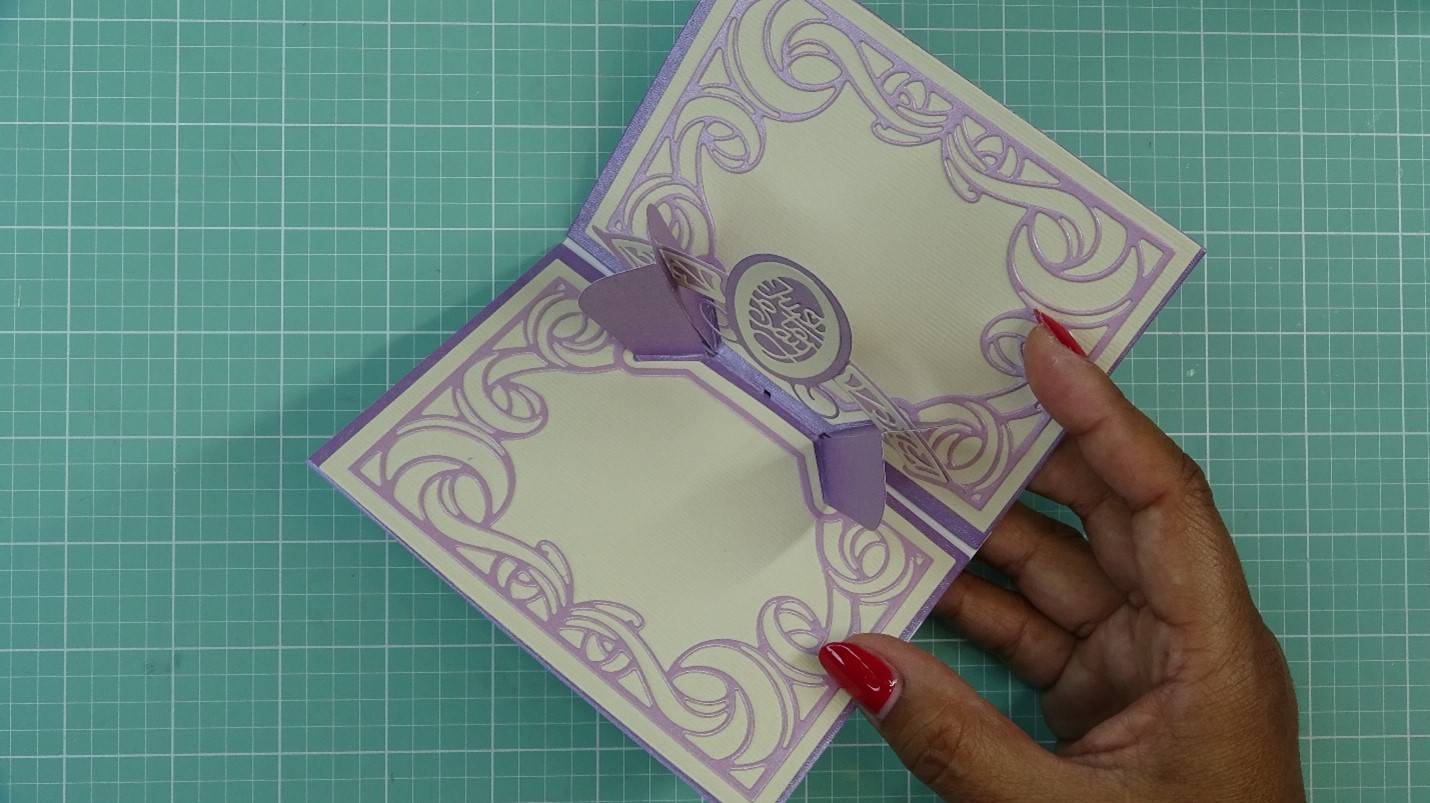
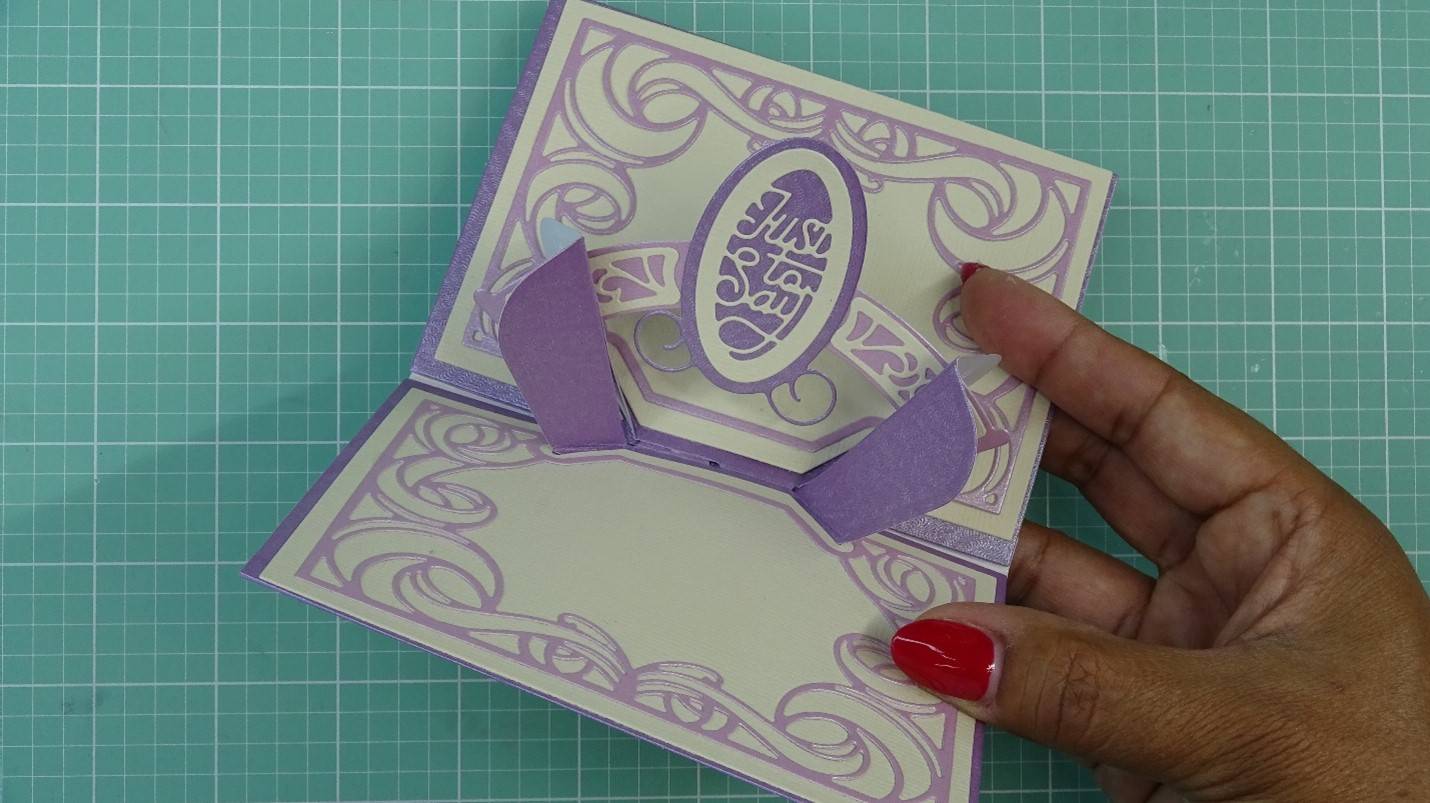
Part 4 - Adding the Pop-Up Sentiment
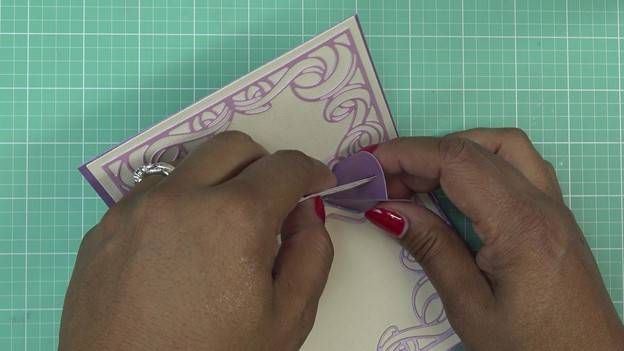
In this last step, we will take the arch shaped die and layer it with the small decorative dies. We will also cut the oval sentiment, and layer it up, too.
Step 1
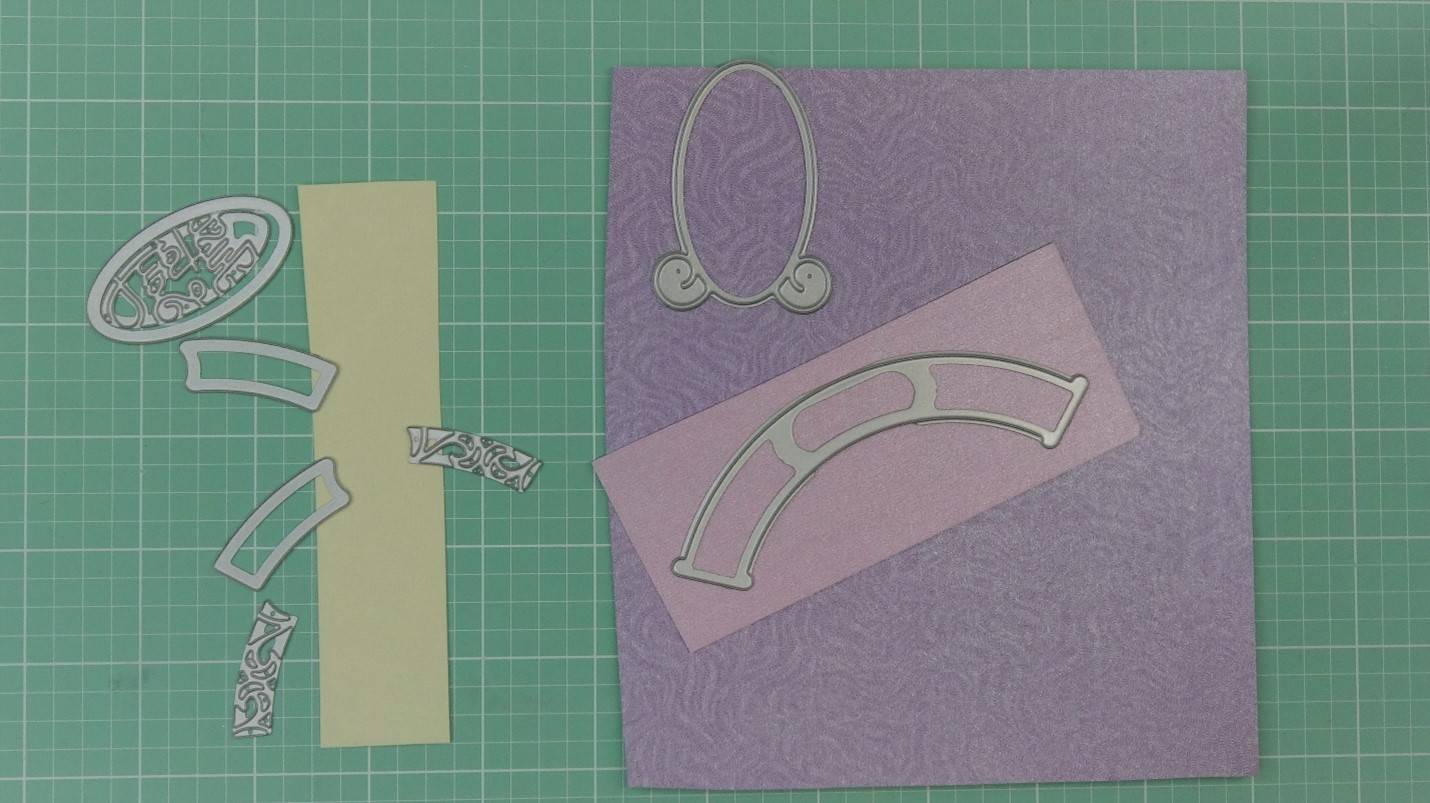
I will select a sentiment die and papers. I will die cut a single larger oval, then one oval with the sentiment die inlayed.
Step 2
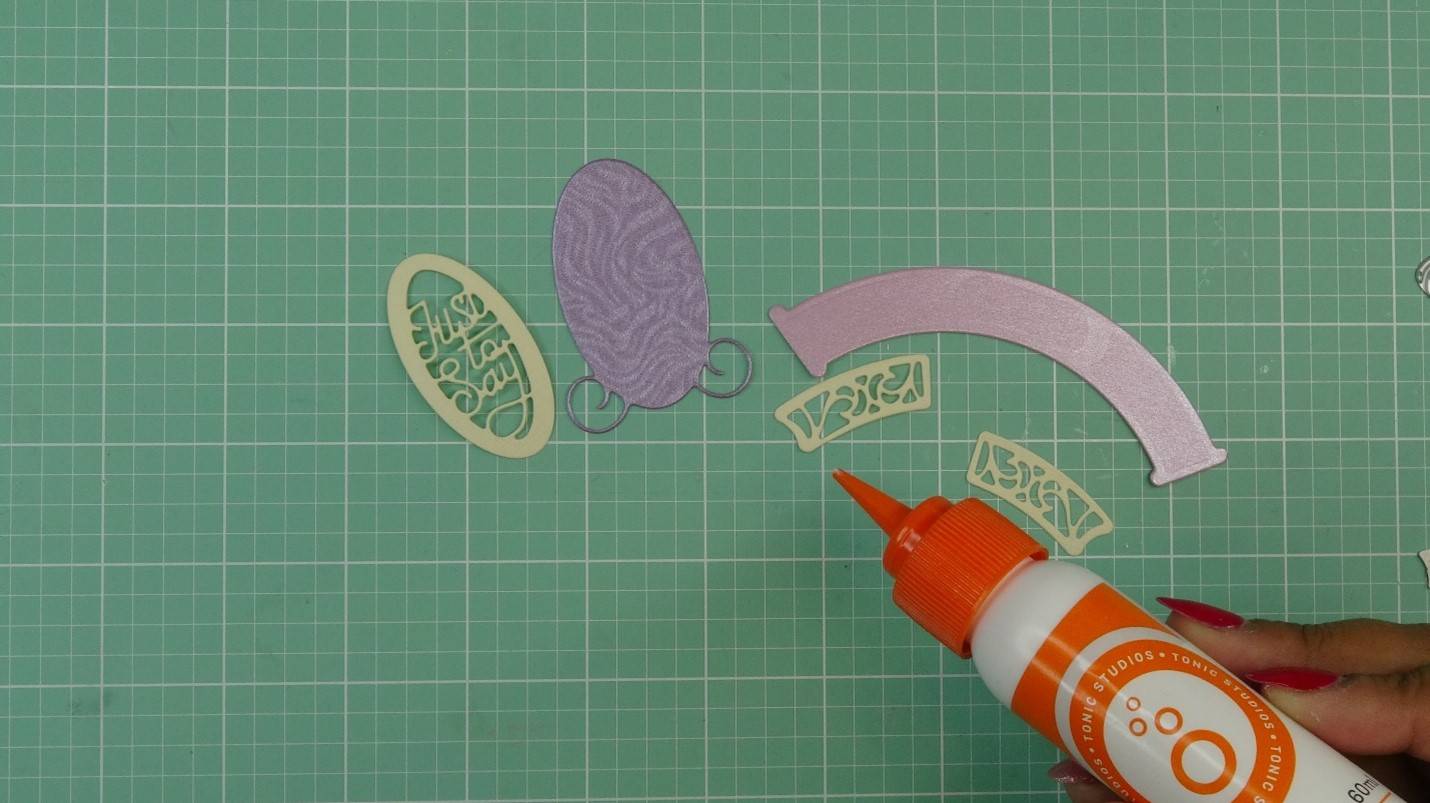
Glue these layers together and set aside.
Step 3
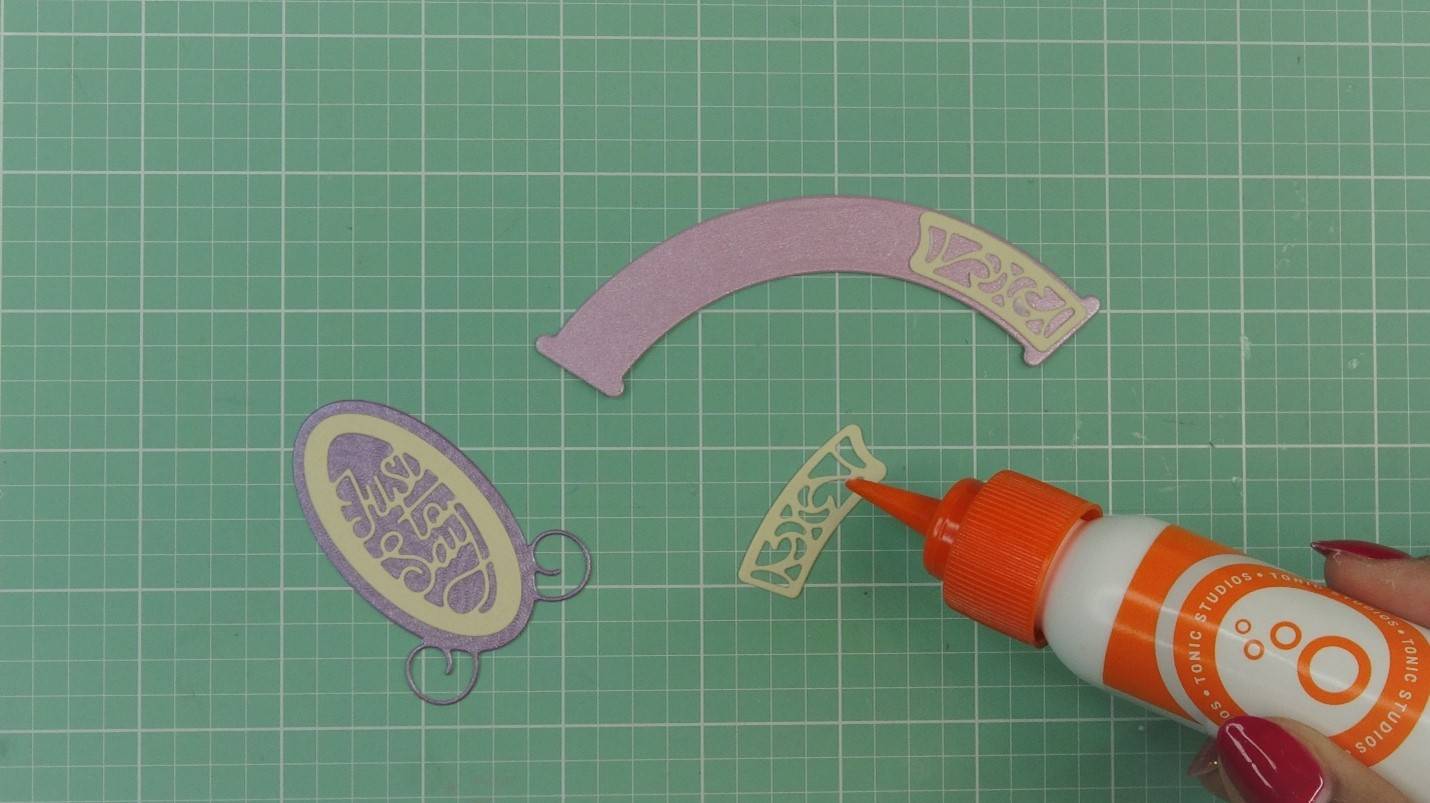
Die cut one arch piece. This piece can be decorated with pairs of intricate layers, single layers, or left alone.
Step 4
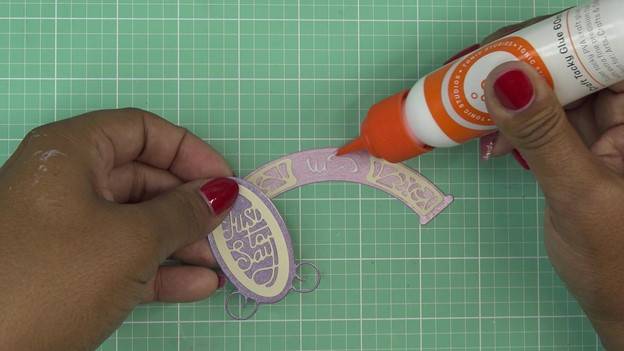

Adhere the sentiment oval to the center of the arch piece.
Step 5
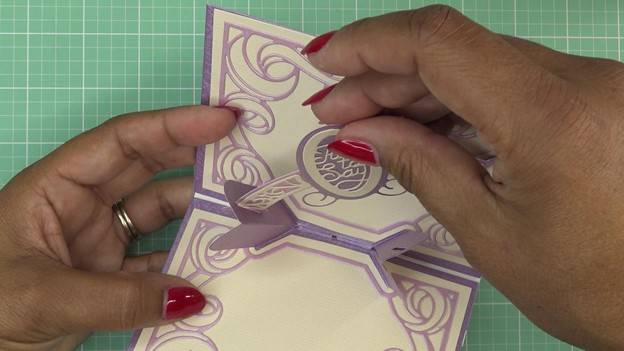
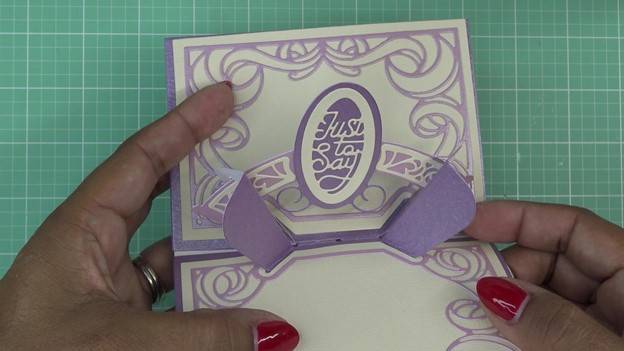
Once dry, slide the arch into either slit on the pop-up mechanism.
Step 6
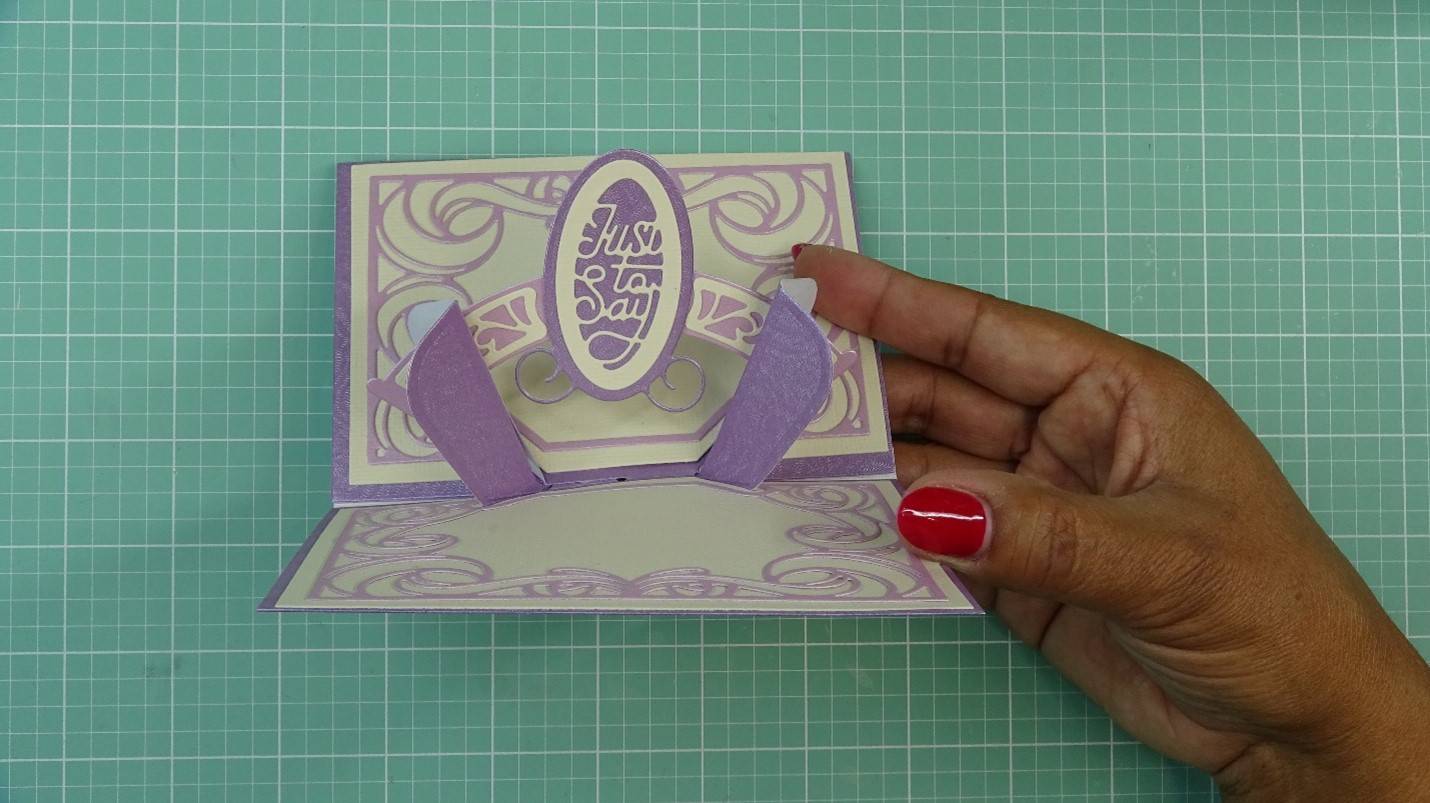
Close the card and open it back up to see your work in action!
Part 5 - Making the Belly Band (If desired)
Step 1

The belly band dies have many options for stamping then cutting or die cutting with inlays. I will cut a simple band, two strips from one of the more decorative papers.
Step 2
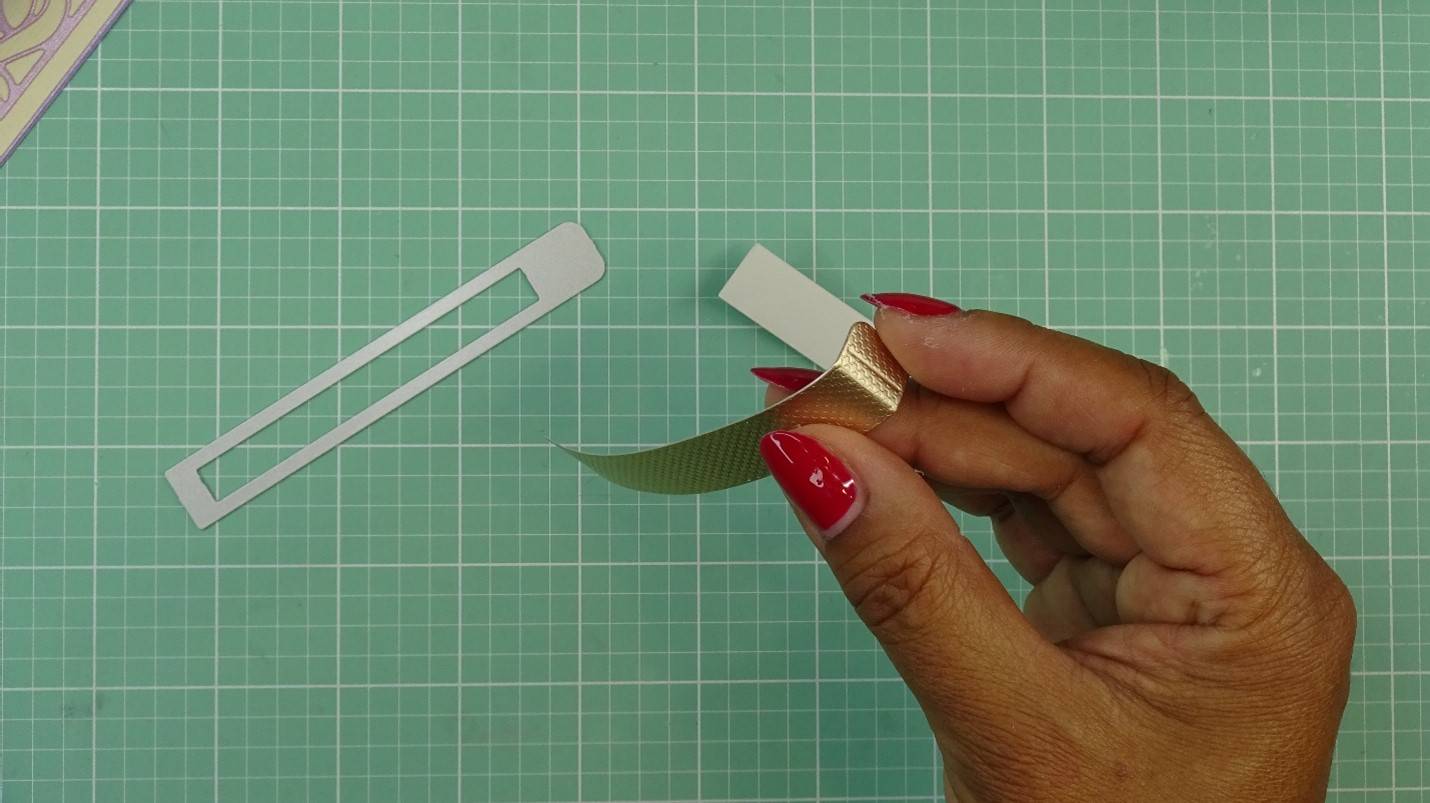

Fold on the score lines and adhere the two small tabs to the opposite band piece. Allow to dry.
Step 3
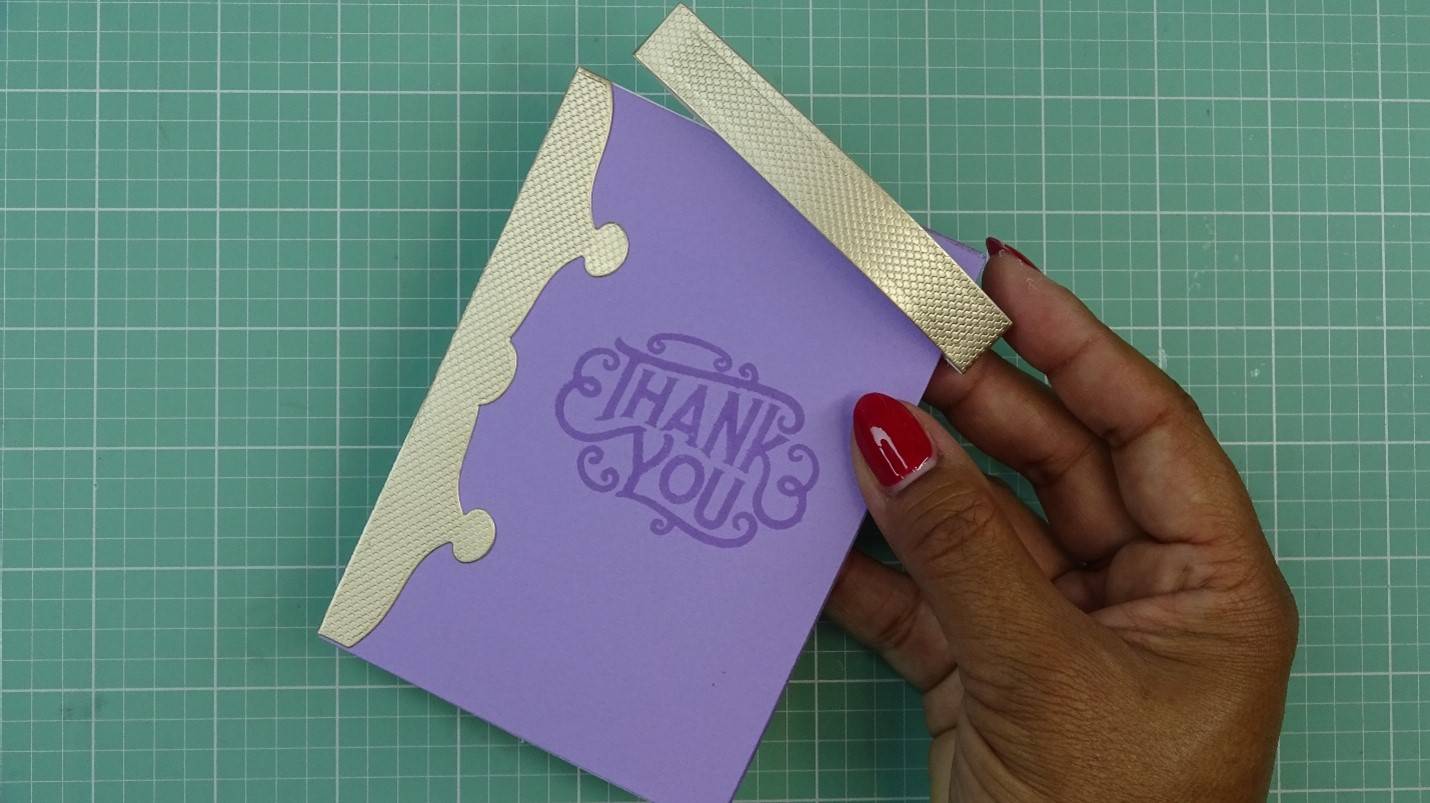
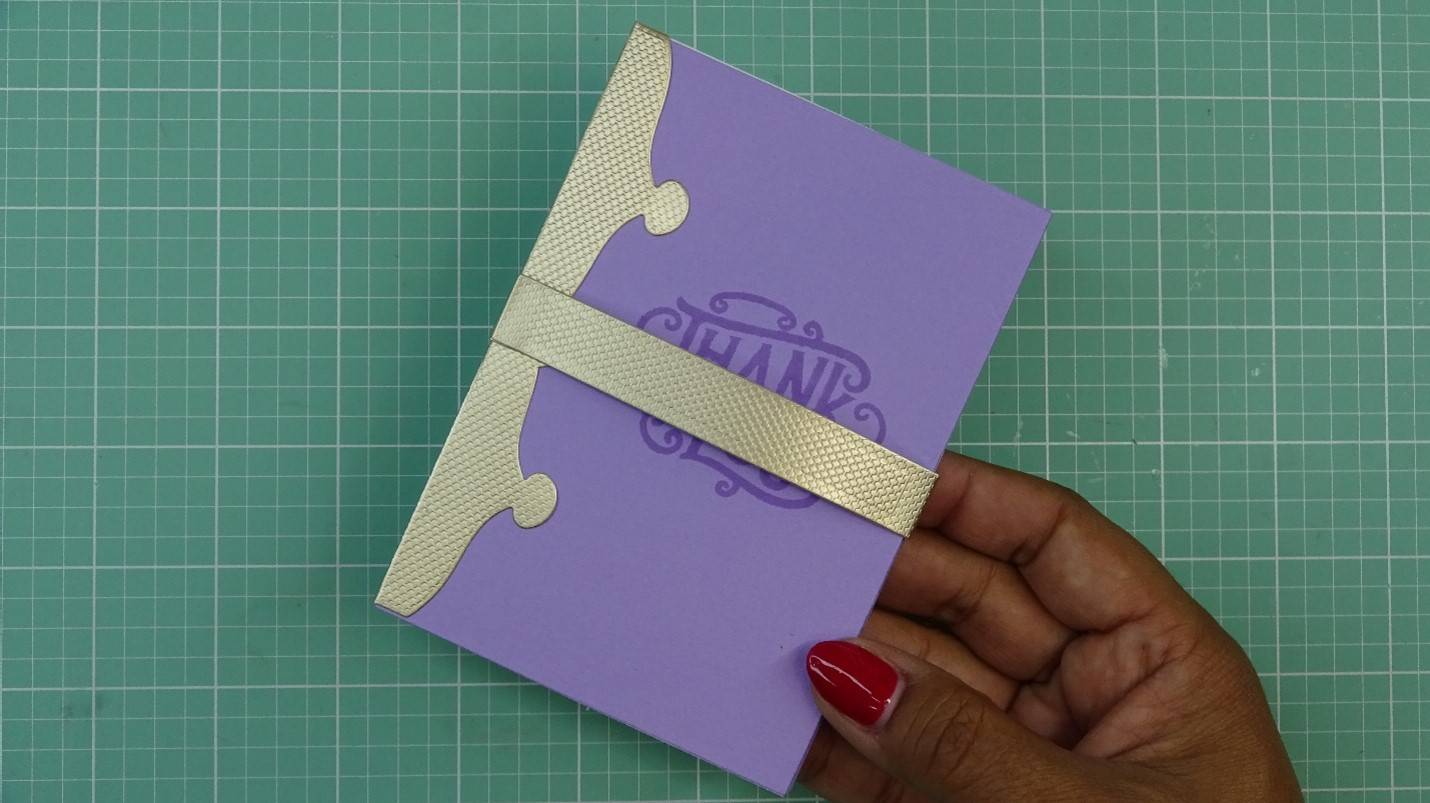
Slide the belly band over the card! All done!
The Vintage Pop-Up Sentiments craft kit is so gorgeous and elegant. It really does have an old-timey feel with the look of the dies, the sentiment arch, and papers. Thank you for visiting my post, I hope you have fun making your own beautiful pop-up cards!
Buy The Craft Project
