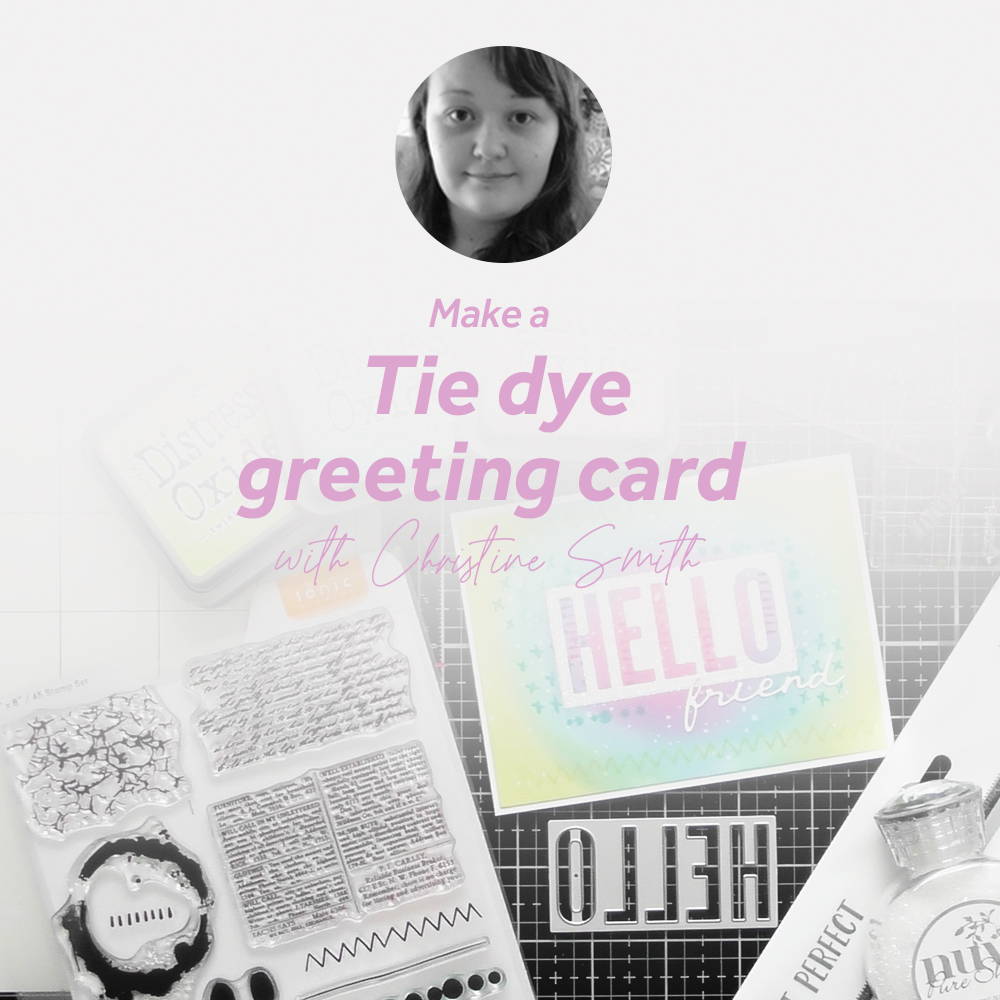

I LOVE this month’s Stamp Club! It’s a similar concept to Stamp Club #5 Backgrounds and Borders with some fab stamps for creating your backgrounds and some lovely bold dies to add your sentiments, it’s such a fab concept, and really helps you turn your backgrounds into cards in no time :D AND the larger word dies in this month’s Stamp Club are all the same size, and you can actually spell more words from them too (see my CRaFTi PoTeNTiAl Up Close video for ideas)
For the step by step below, I had the idea to do a masking technique with the ‘Hello’ word die, however instead of just using masking paper or post-it notes, I decided to use Tonic’s Craft Perfect Adhesive Sheets, so when we’re done with the background we can add glitter :D Hope you like this idea!
What you will need
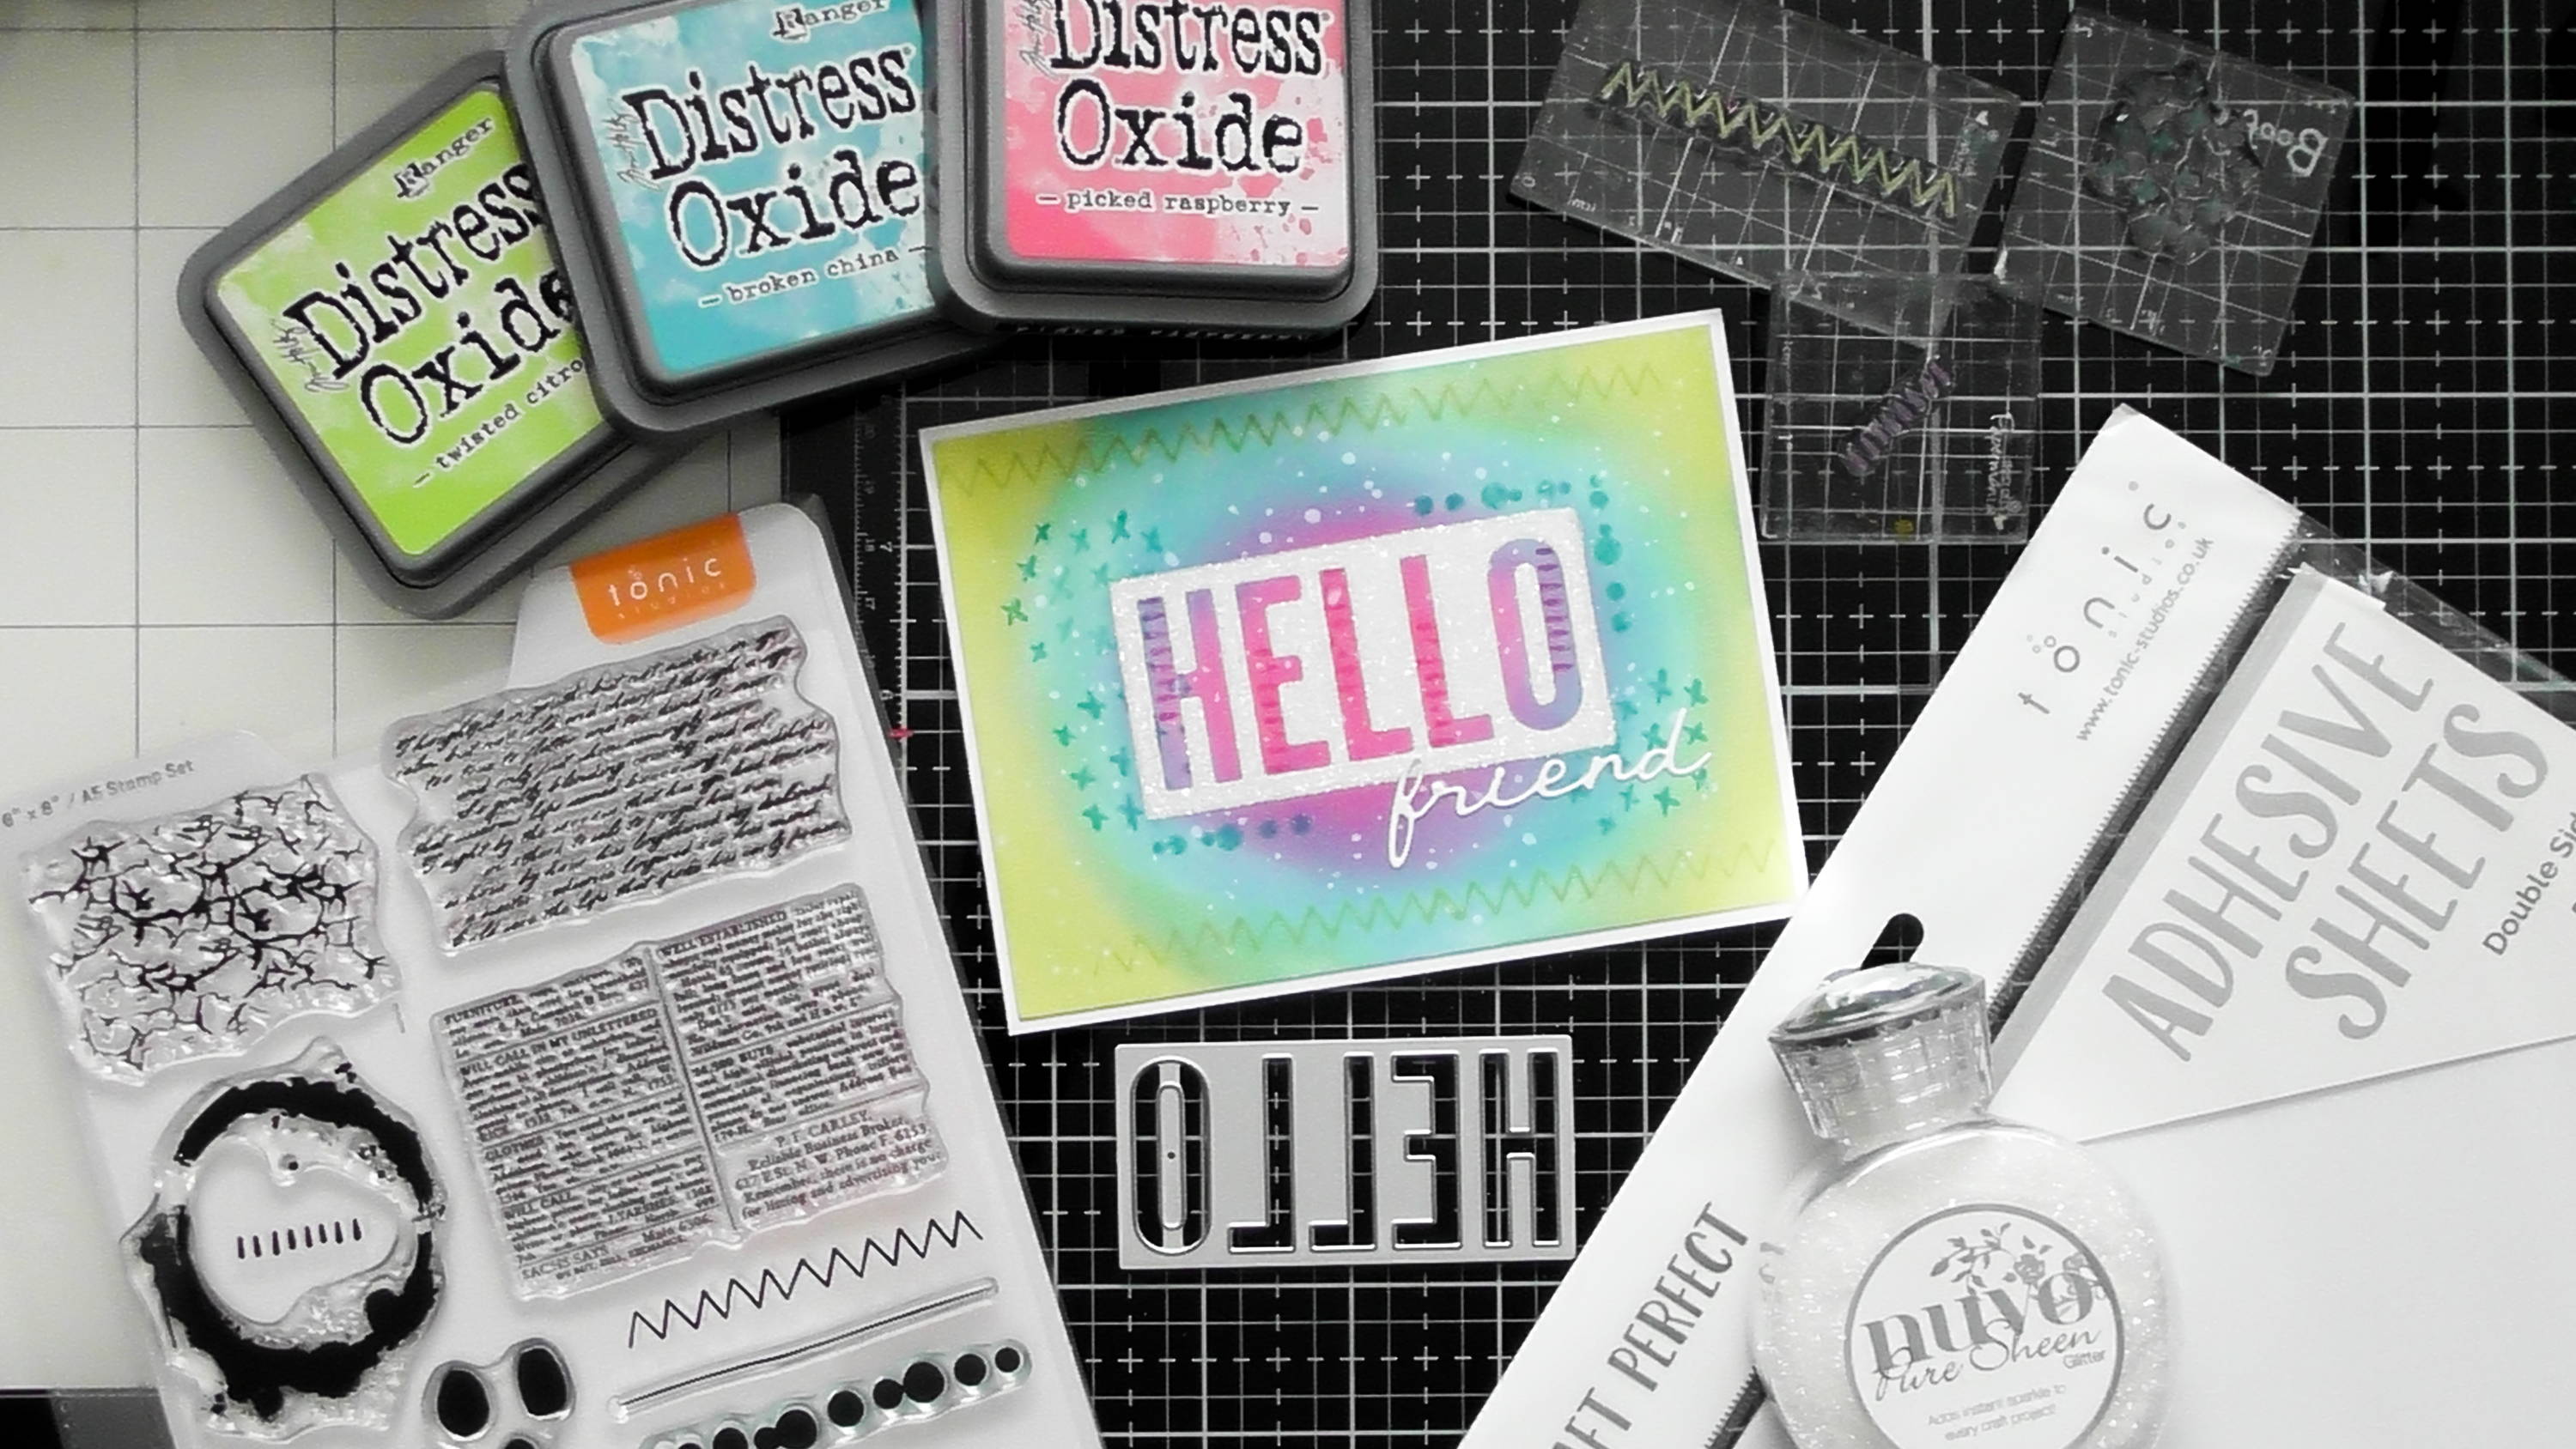
- Stamp Club #11
- Craft Perfect Double Sided Adhesive Sheets
- Tonic Tangerine
- Tim Holtz Sheers
- Nuvo Large Blending Brushes
- Distress Oxides (or any ink that blends and reacts with water)
- White Card
- Nuvo Pure Sheen Glitter
Step 1
Die-cut your chosen word from a piece of double sided adhesive. Then use a long bladed pair of scissors or alternatively a guillotine to trim it into a rectangle.
Step 2
Stick your word into the centre of your card panel (10x13 cm) remembering to add in the centre of any letters. You can also save the fall away letters for a similar style of card too.
Step 3
Pick three ink colours (I used Picked Raspberry, Broken China and Twisted Citron) and start blending one in the centre of the card in a circular shape, the Large Blending Brushes from Nuvo are fabulous for this!
Step 4
Then move on to the other colours, continuing in that circular fashion to make almost a dart board kind of effect. You can also ink blend in any way you like, diagonal or randomly would also look fab.
Step 5
Choose some of the gorgeous texture building stamps from the set and assign one to each colour of ink you’ve used. And simply add pattern to the corresponding colour so it’s tone on tone. The little dash stamp fits perfectly inside the letters
Step 6
Continue with the other patterns to add extra interest to your background.
Step 7
Once you’re happy, splatter on some water to your background, leave for 30 seconds and blot with kitchen roll, this gives a faux bleached splat effect that helps meld the whole background together
Step 8
Pick a colour of glitter that will contrast with your background, I went with Ice White, but you could also pick a colour of glitter too.
Step 9
Simply peel off the backing paper from the double sided adhesive sheet, and add your chosen glitter, burnishing it into the adhesive and tipping the excess back into the bottle.
Step 10
And you’re left with this gorgeous glittered word block.
Step 11
Finally mount your panel onto a white card blank and chose one of the scripty word dies to add underneath the ‘Hello’ if you want to
I hope you enjoyed this technique! You can also easily adapt this and use gilding flakes onto the adhesive as well for a more foiled look, and have a play with different colours of card and inks as well. Oxides onto black card would give this a galaxy feel :D Christine
Buy The Craft Project
