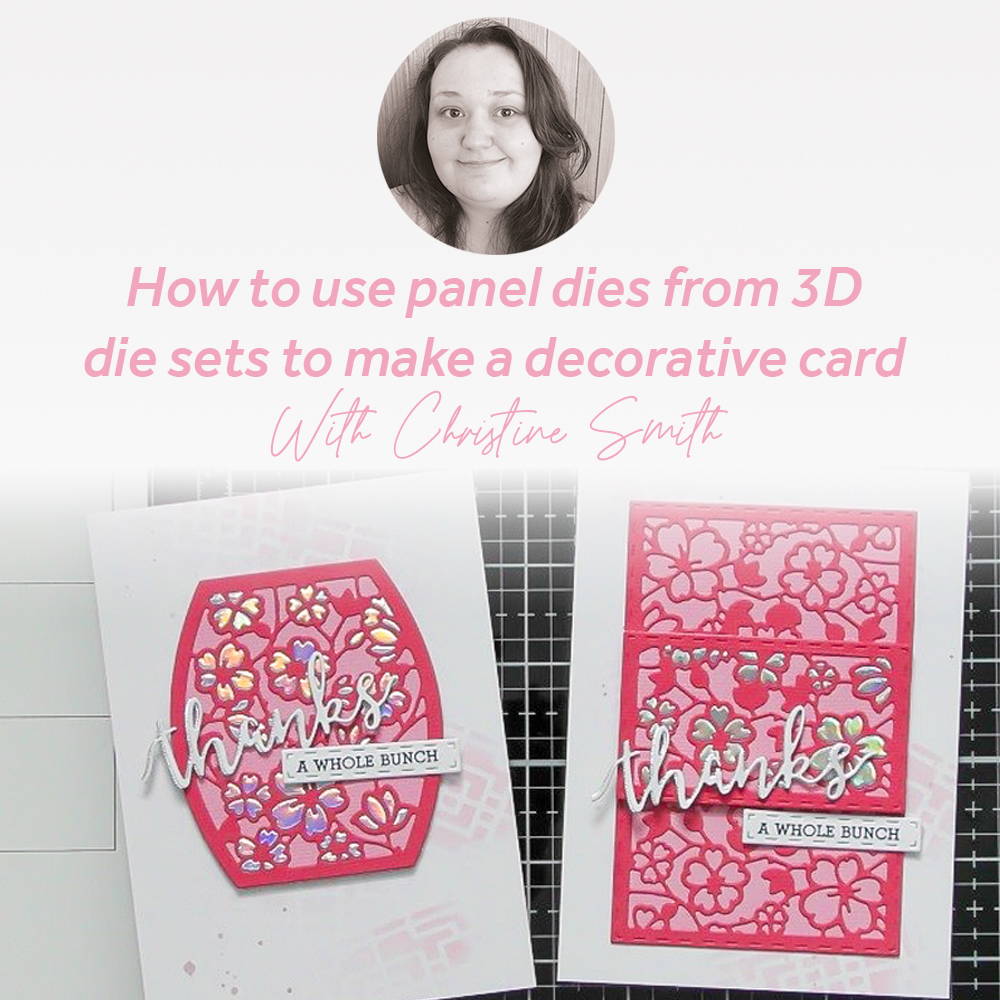
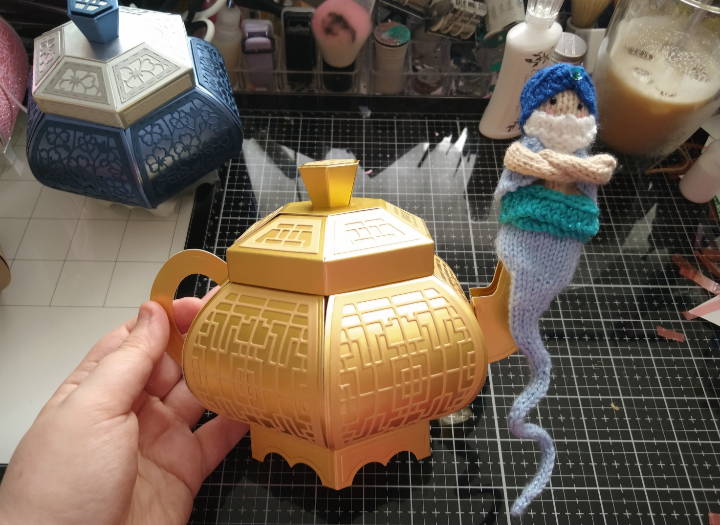
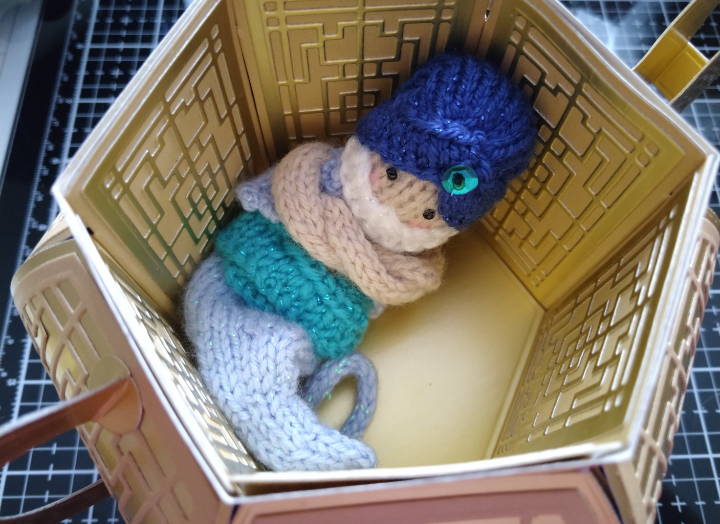
The Oriental Sky Lights Boxes as so well engineered and have a fantastic hidden area detail inside the boxes and a fabulous domed exterior too. For the launch on Create & Craft I actually used the spout and handle from the Tonic Tea pot to create an Aladdin’s Lamp, and I made the square version into a snake charmers basket too, so they’re a nice versatile base for some creative ideas too :D And speaking of that, the gorgeous decorative panels are also fabulous for cards too! So seeing as you get the construction details inside the package, I thought I’d show you a couple of quick and easy card ideas that you could use to accompany your Oriental Skylight Gift
Step 1
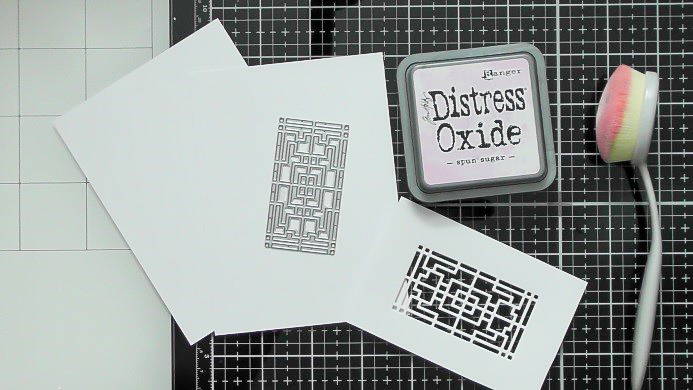
For the simple backgrounds of the cards, die-cut one of the decorative panels from a piece of scrap card and use this as a stencil
Step 2
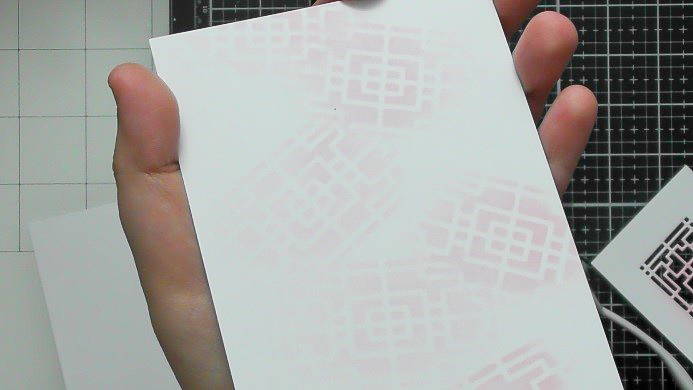
like so, simply moving it around the card… I like this random style, but you can certainly line it up to create a more linear uniform effect too if you’d prefer.
Step 3
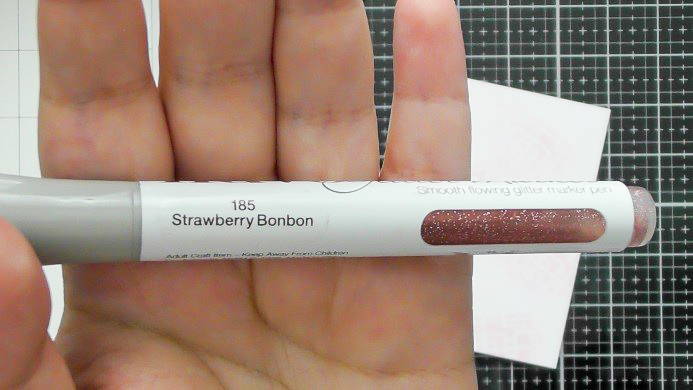
For some sparkle I took the Strawberry Bonbon Glitter Marker, scribbled it onto my glass matt, added some water and splattered it onto my background with a fine paint brush
Step 4
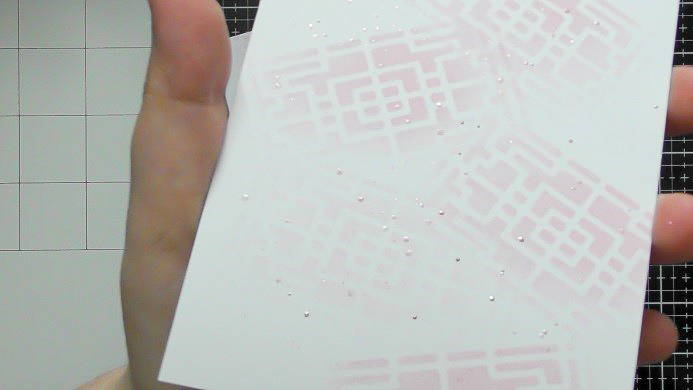
this gives a lovely subtle sparkle across the card. The smaller the paintbrush, the smaller the splatter.
Step 5
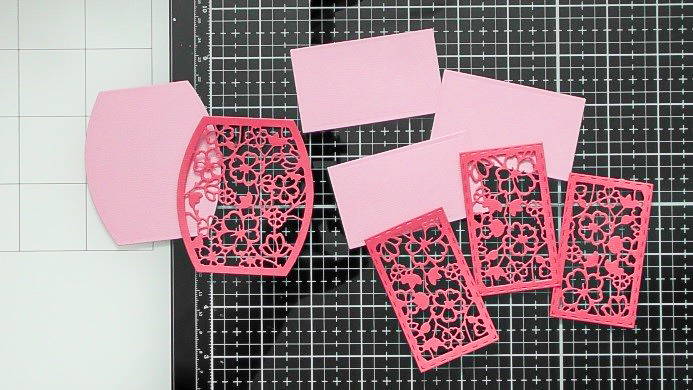
For the decorative ‘toppers’ for the cards I die-cut the pieces above, using a darker pink tone for the intricate detail and a lighter pink for the solid backing pieces.
Step 6
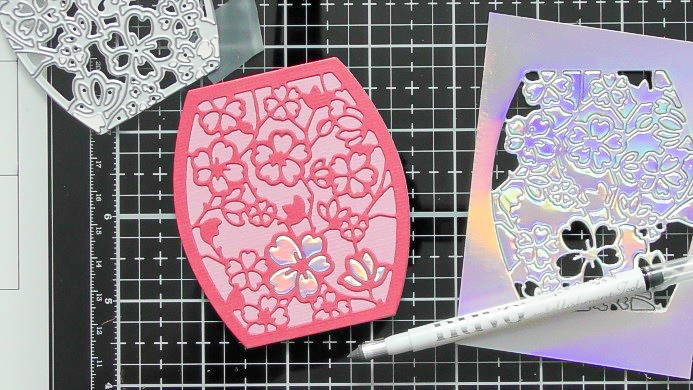
To add some extra interest I decided to paper piece the flowers from the design with Holo Waves cardstock, and the Nuvo Embellishment Tool works great for placing the tiny pieces.
Step 7
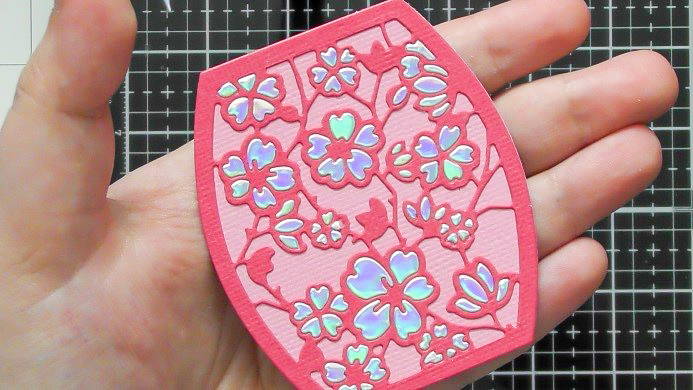
This is the fabulous result you get :D I repeated this for one of the rectangle panels too.
Step 8
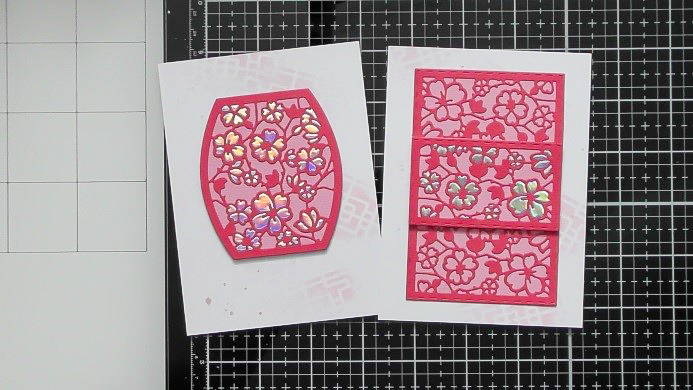
Add your ‘toppers’ to your backgrounds, I added the curved topper to the upper portion of the card, and for the rectangles, I stuck the two plain ones flat to the background, and raised up the paper pieced one with 3D foam in the centre, this gives the illusion that it’s a larger decorative panel.
Step 9
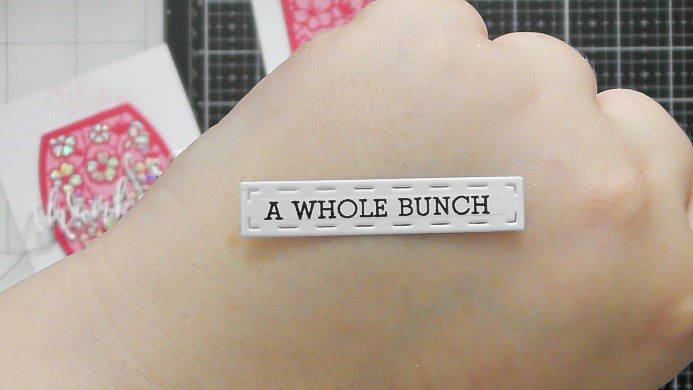
There are also small stitched rectangles in the die sets, and I used one of them to stamp my sub-sentiment into (from the Simple Sentiments set 3796E)
Step 10
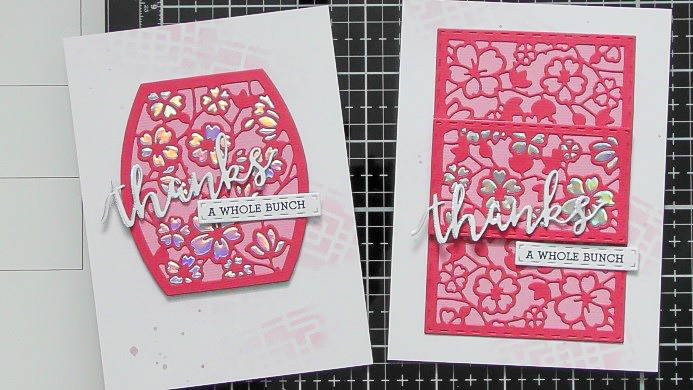
and I teamed this up with the classic Thanks Sentiment Strip die to complete my sentiments
Step 11
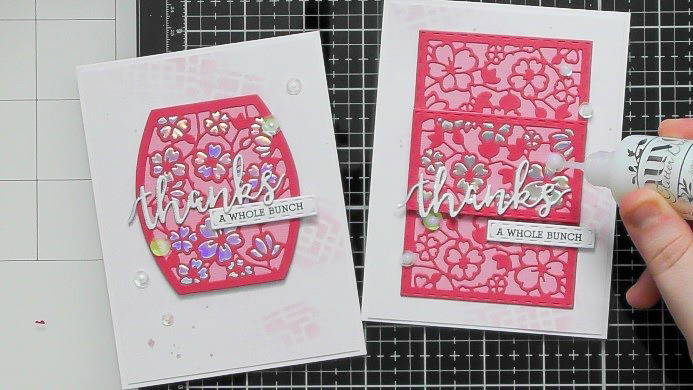
Finally I added a scattering of sequins and added some White Blizzard Nuvo Glitter Drops to the centres
Hope you enjoyed these quick and simple card ideas, I think transferring the stencilling and paper pieced panels onto a complete Oriental Sky Light Box would look fantastic too :D :D Christine xxx
Buy The Craft Project


