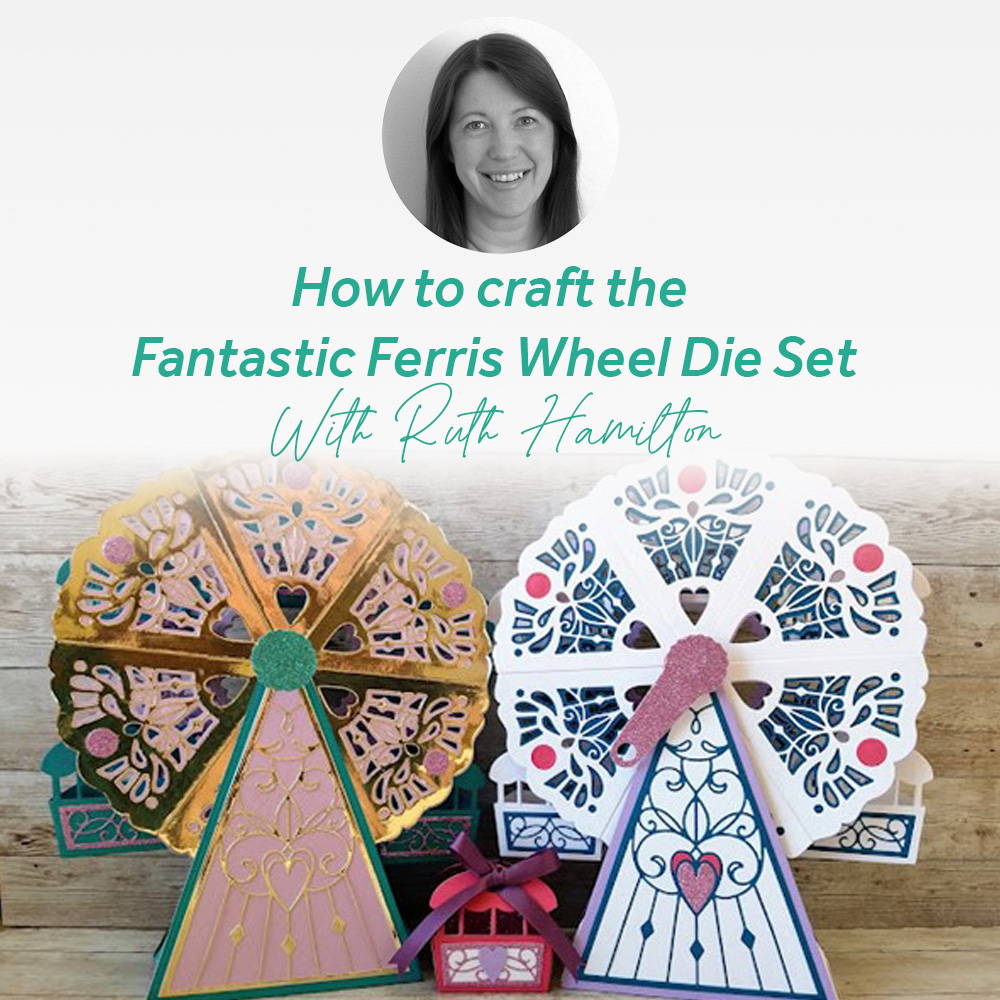
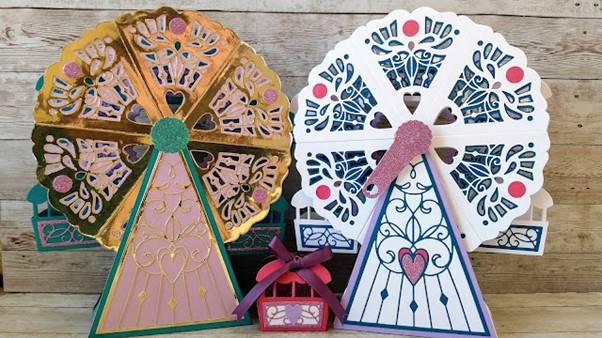
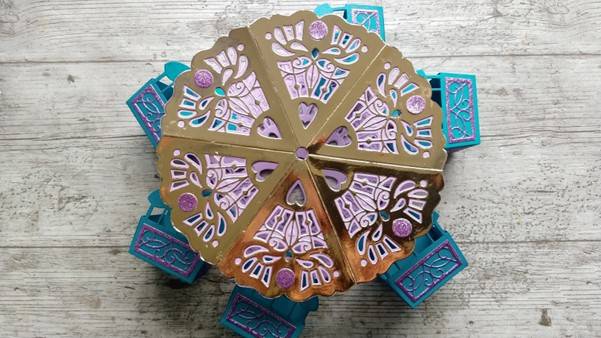
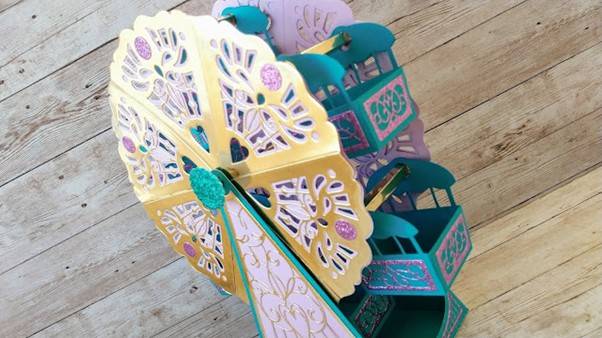
This is the FANTASTIC FERRIS WHEEL from Tonic and the wheel turns around with all the little carriages hanging from the bars. It looks fabulous when assembled and can be used as a centrepiece or filled with treats for a special gift/occasion.
In this Step by Step tutorial I'll show you how to make the wheel shown below, including the carriages
What you will need
- You will need the following Tonic Studios products
- Fantastic Ferris Wheel Die Set
- Craft Perfect Classic Card, Sugared Lilac, Ocean Blue
- Craft Perfect Mirror Card, Venetian Gold
- NB If you are a newer crafter you may find it easier to substitute the gold mirror card with plain card to make this wheel as the glue will dry more quickly and it will require less “holding”
- Craft Perfect Glitter Card, Turquoise Lake, Berry Fizz
- 300gsm white card
- Nuvo Deluxe Adhesive
Please note that you can follow the steps from the instructions if you want to go ahead and cut all your pieces together and have them ready. In this Step by Step tutorial I’ll be cutting them as I use them so that you can follow along and know which pieces you will need to cut in each colour.
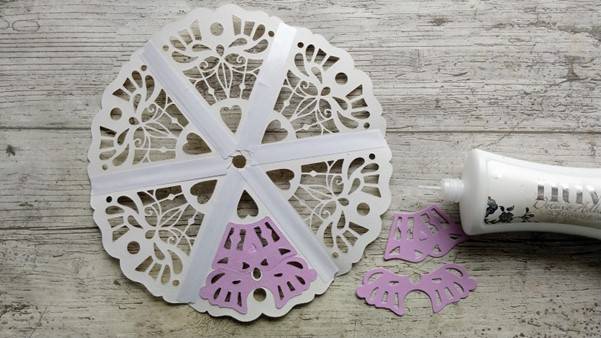
Step 1
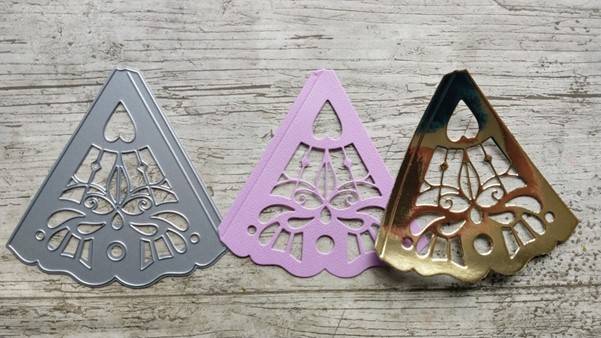
1. Cut 12 lilac pieces and 12 gold pieces with the die shown
Step 2
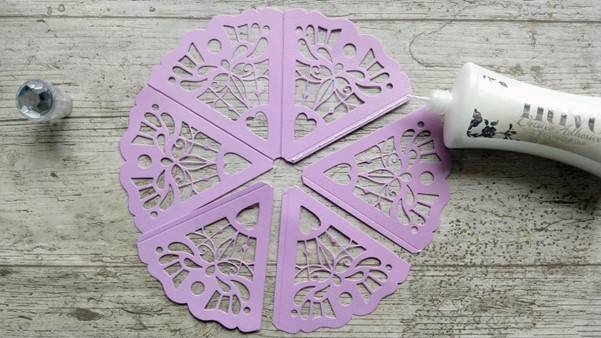
2. Glue 6 of each colour together to form a circle/ wheel.
Step 3
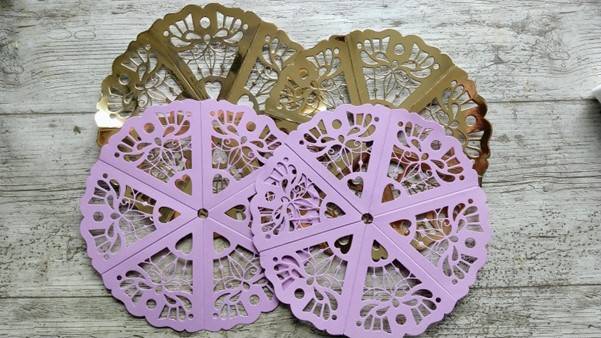
Repeat so that you have 2 large lilac wheels and 2 large gold wheels.
Step 4
TOP TIP. Because the gold mirror card tends to curl slightly when die cut, hold it in place with double sided tape on the back.
Step 5
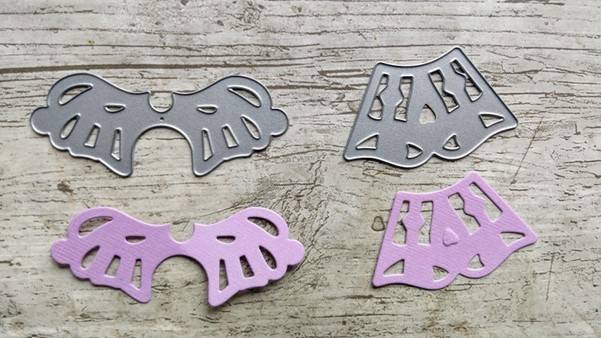
Die cut 12 of each of these shapes. (There are two similar dies of each. These are the “thicker” dies)
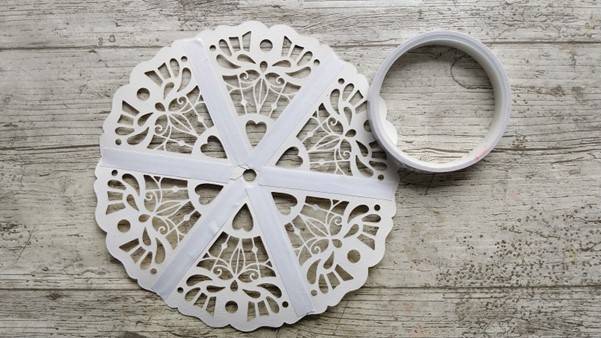
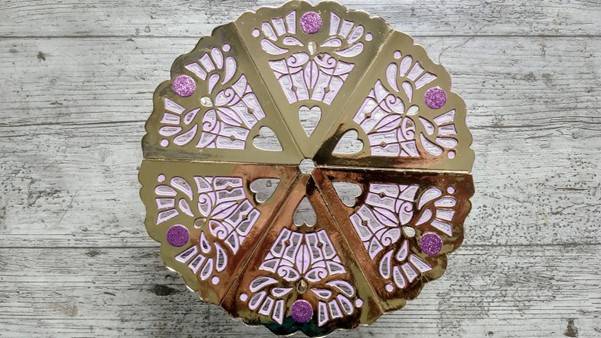
Step 6
Glue these to the reverse side of the gold wheels as shown, checking from the front that they are aligned correctly.
Step 7
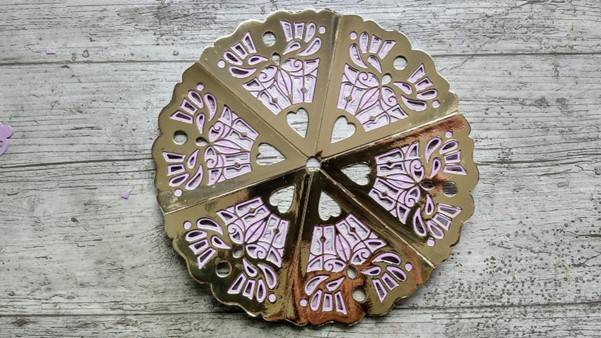
The wheels will look like this from the front.
Step 8
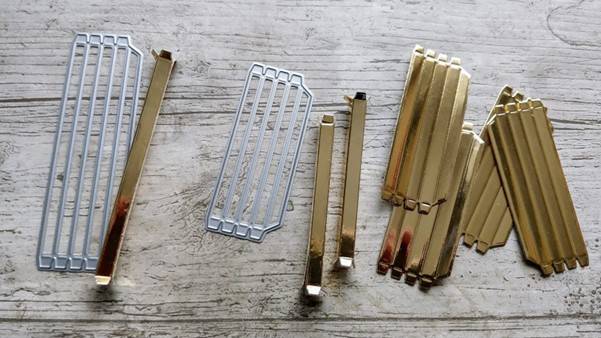
Die cut 6 small bars and 1 large bar from gold mirror card. Burnish the score lines, fold and glue to form tubes, leaving the tabs open at both ends.
Step 9
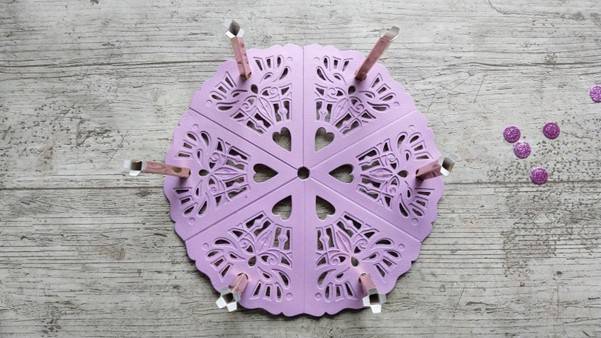
Insert the small bars through one of the lilac wheels from the “wrong” side up to the glue tabs. Fold and adhere the tabs to the “wrong” side of the wheel. Place and adhere one of the gold wheels to the back of the lilac wheel to hide the exposed glue tabs
Step 10
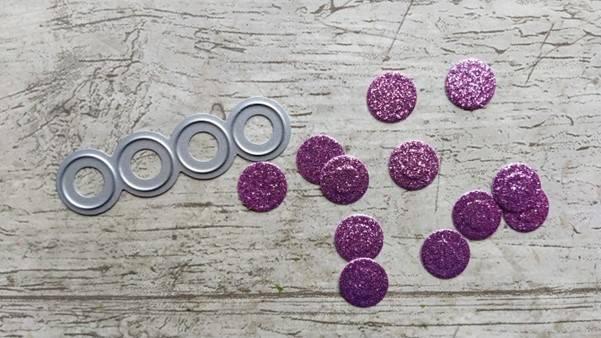
Die cut 12 small circles from glitter card
Step 11
Use these circles to cover the exposed holes on the front of the gold wheel.
Step 12
Die cut 12 Ocean Blue carriage pieces and 12 each of the decorative panels in glitter card.
Step 13
(OPTIONAL) I have used 216 gsm card and therefore decided to reinforce the carriages by cutting extra panels, trimming to fit the sides and gluing in place.
Step 14
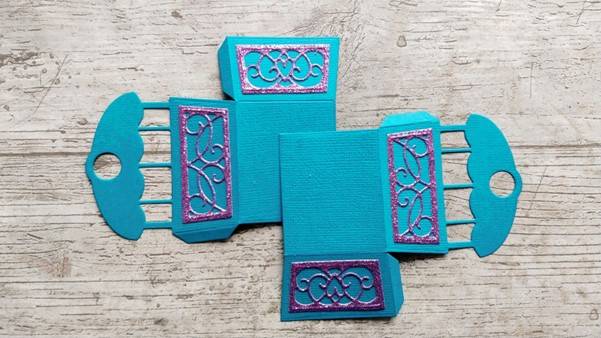
Rotate the carriage pieces as shown and glue the bases together.
Step 15

Fold up the side glue tabs and glue in place to form carriages. Make 6 carriages.
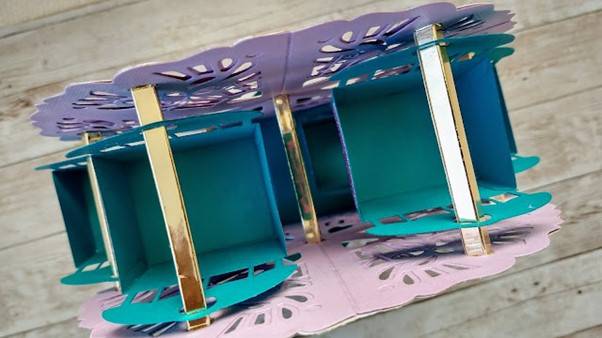
Step 16
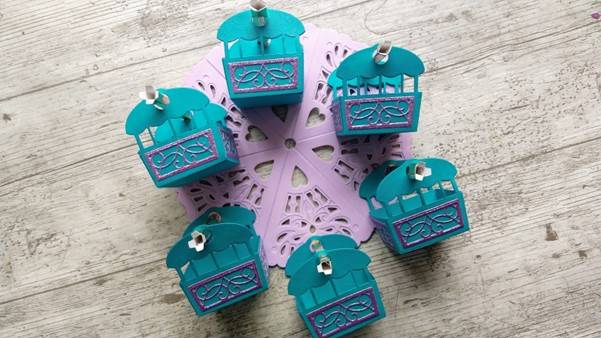
Place the carriages onto the small bars.
Step 17
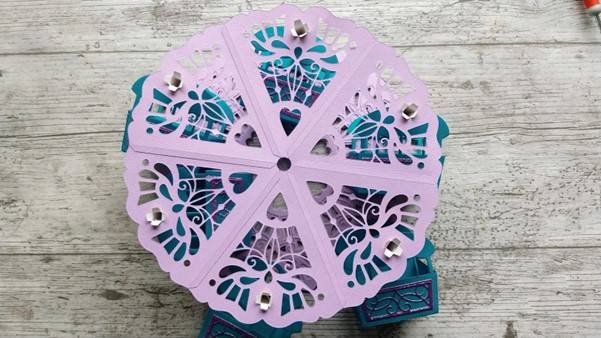
Place the 2nd lilac wheel (right side facing inwards) over the bars then fold and adhere the tabs to the “wrong” side of the wheel.
Step 18
Place and adhere one of the gold wheels to the back of the lilac wheel to hide the exposed glue tabs.
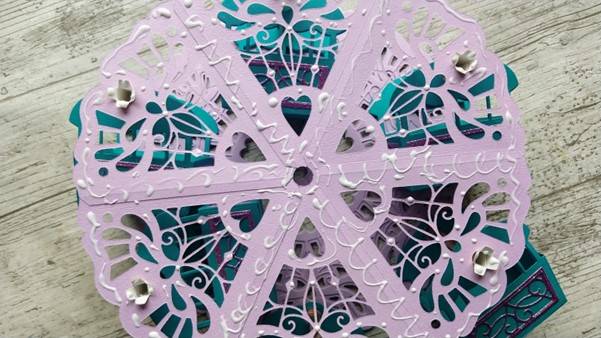
Step 19
When the gold wheel is in place, cover the holes with the remaining glitter circles.
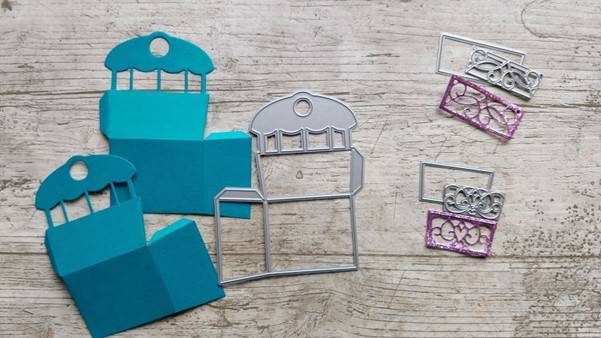
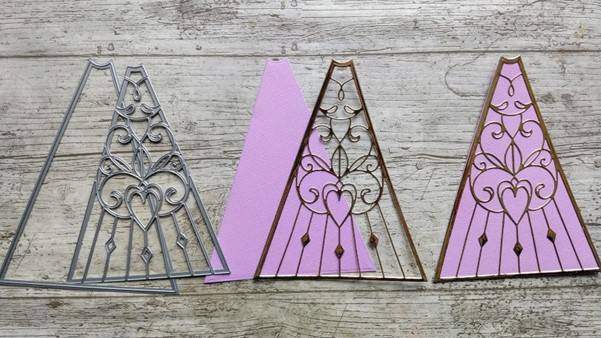
Step 20
Die cut 2 front/ back stands from Ocean Blue card and 2 decorative panels from glitter card. Glue the panels in place.
OPTIONAL - I have cut 2 extra panels and removed the glue tabs, then glued these to the reverse of the main panels to reinforce them.
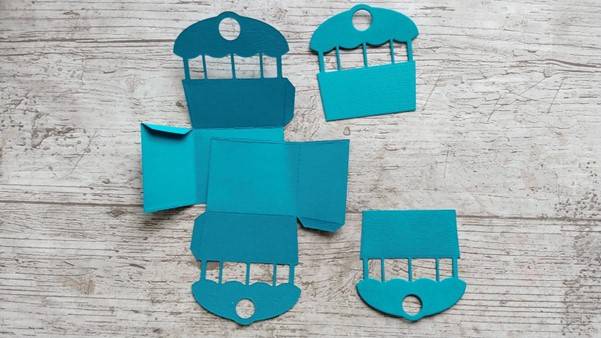
Step 21
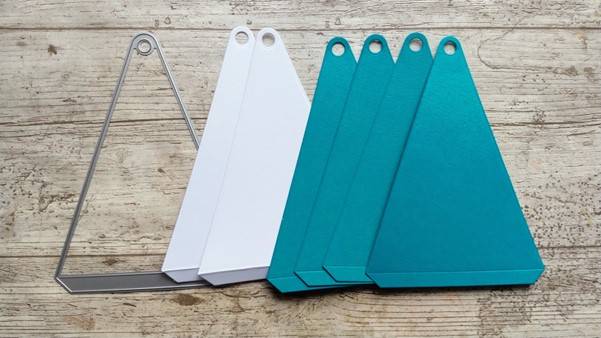
Die cut the sides 6 times – 2 in white (300gsm card) and 4 in Ocean Blue.
Remove the glue tabs from the white sides and 2 of the Ocean Blue sides.
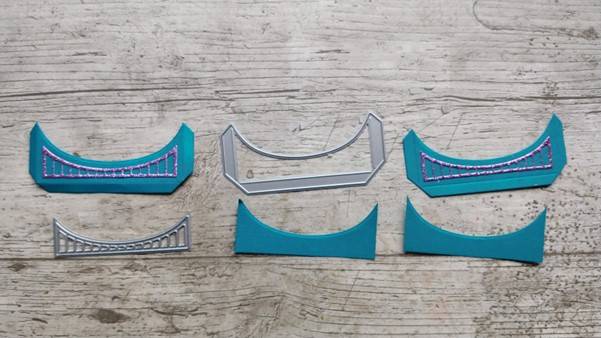
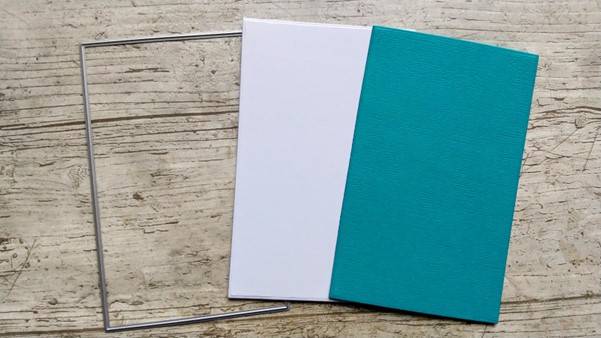
Step 22
Die cut the plain panels in lilac card and use both dies together on gold card to create the decorative panels. Glue the decorative panels onto the lilac panels.
Step 23
Die cut 2 bases. One from white (or matching colour) 300gsm card and the other from Ocean Blue card.
Step 24
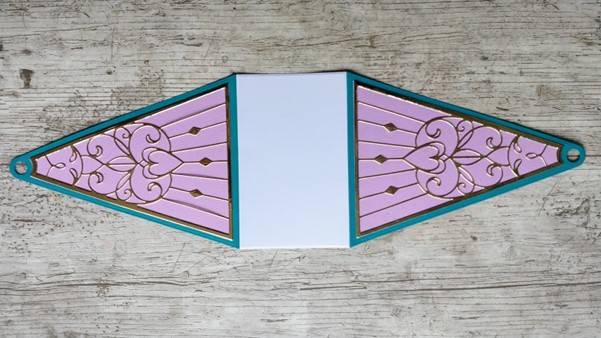
Glue the 2 decorated sides onto the white base.
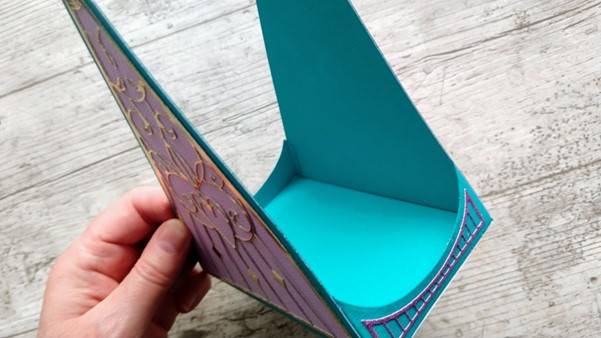
Step 25
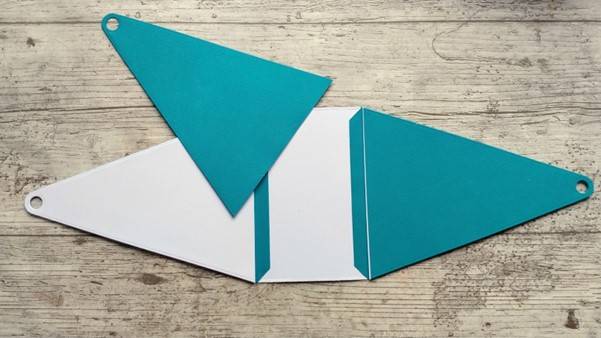
Glue white sides to the inside of the stand and then glue the remaining Ocean Blue sides on top with the right sides facing inwards.
Step 26
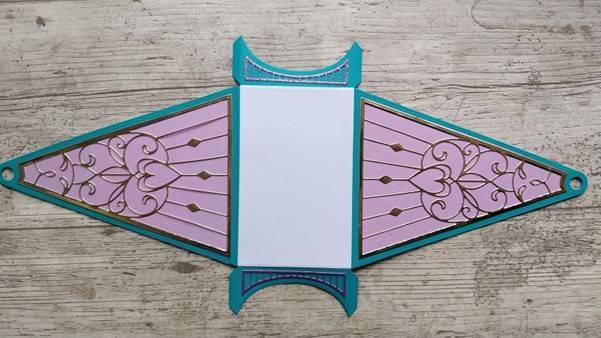
Glue the front and back in place as shown.
Step 27
Glue the Ocean Blue base into the bottom
Step 28
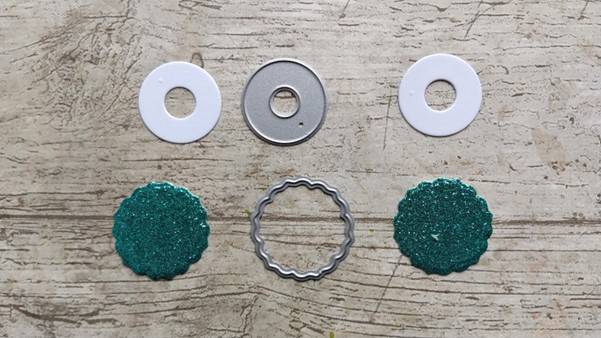
Die cut 2 white circles (with holes) and 2 glitter card decorative circles.
Step 29
Finish by threading the large bar through the holes in a white circle , the Stand, your wheel and a second white circle die cut. Fold and glue the large bar glue tabs to the white circle outer faces and glue a glitter card decorative circle onto each end to hide the exposed glue tabs. Finally, glue a handle die cut to one end to complete your Ferris Wheel.
Finished
Enjoy 😊
Buy The Craft Project
