The Tiffin Boxes have a stacking ability, you can either stack the identical hexagonal shaped boxes ‘Tiers of Beauty’, or you can create almost a pyramid shaped box with the layers from ‘Glistening Pyramid’ both boxes look stunning and are so well engineered as they stack so snuggly together you can’t really believe you made it out of cardstock :D For this blog post I’ve done a simple construction for a one layered hexagonal box, but the principal is the same for both sets, however with the ‘Glistening Pyramid’ you have the extra step of adding the sides to the bases first before you start construction
Step 1
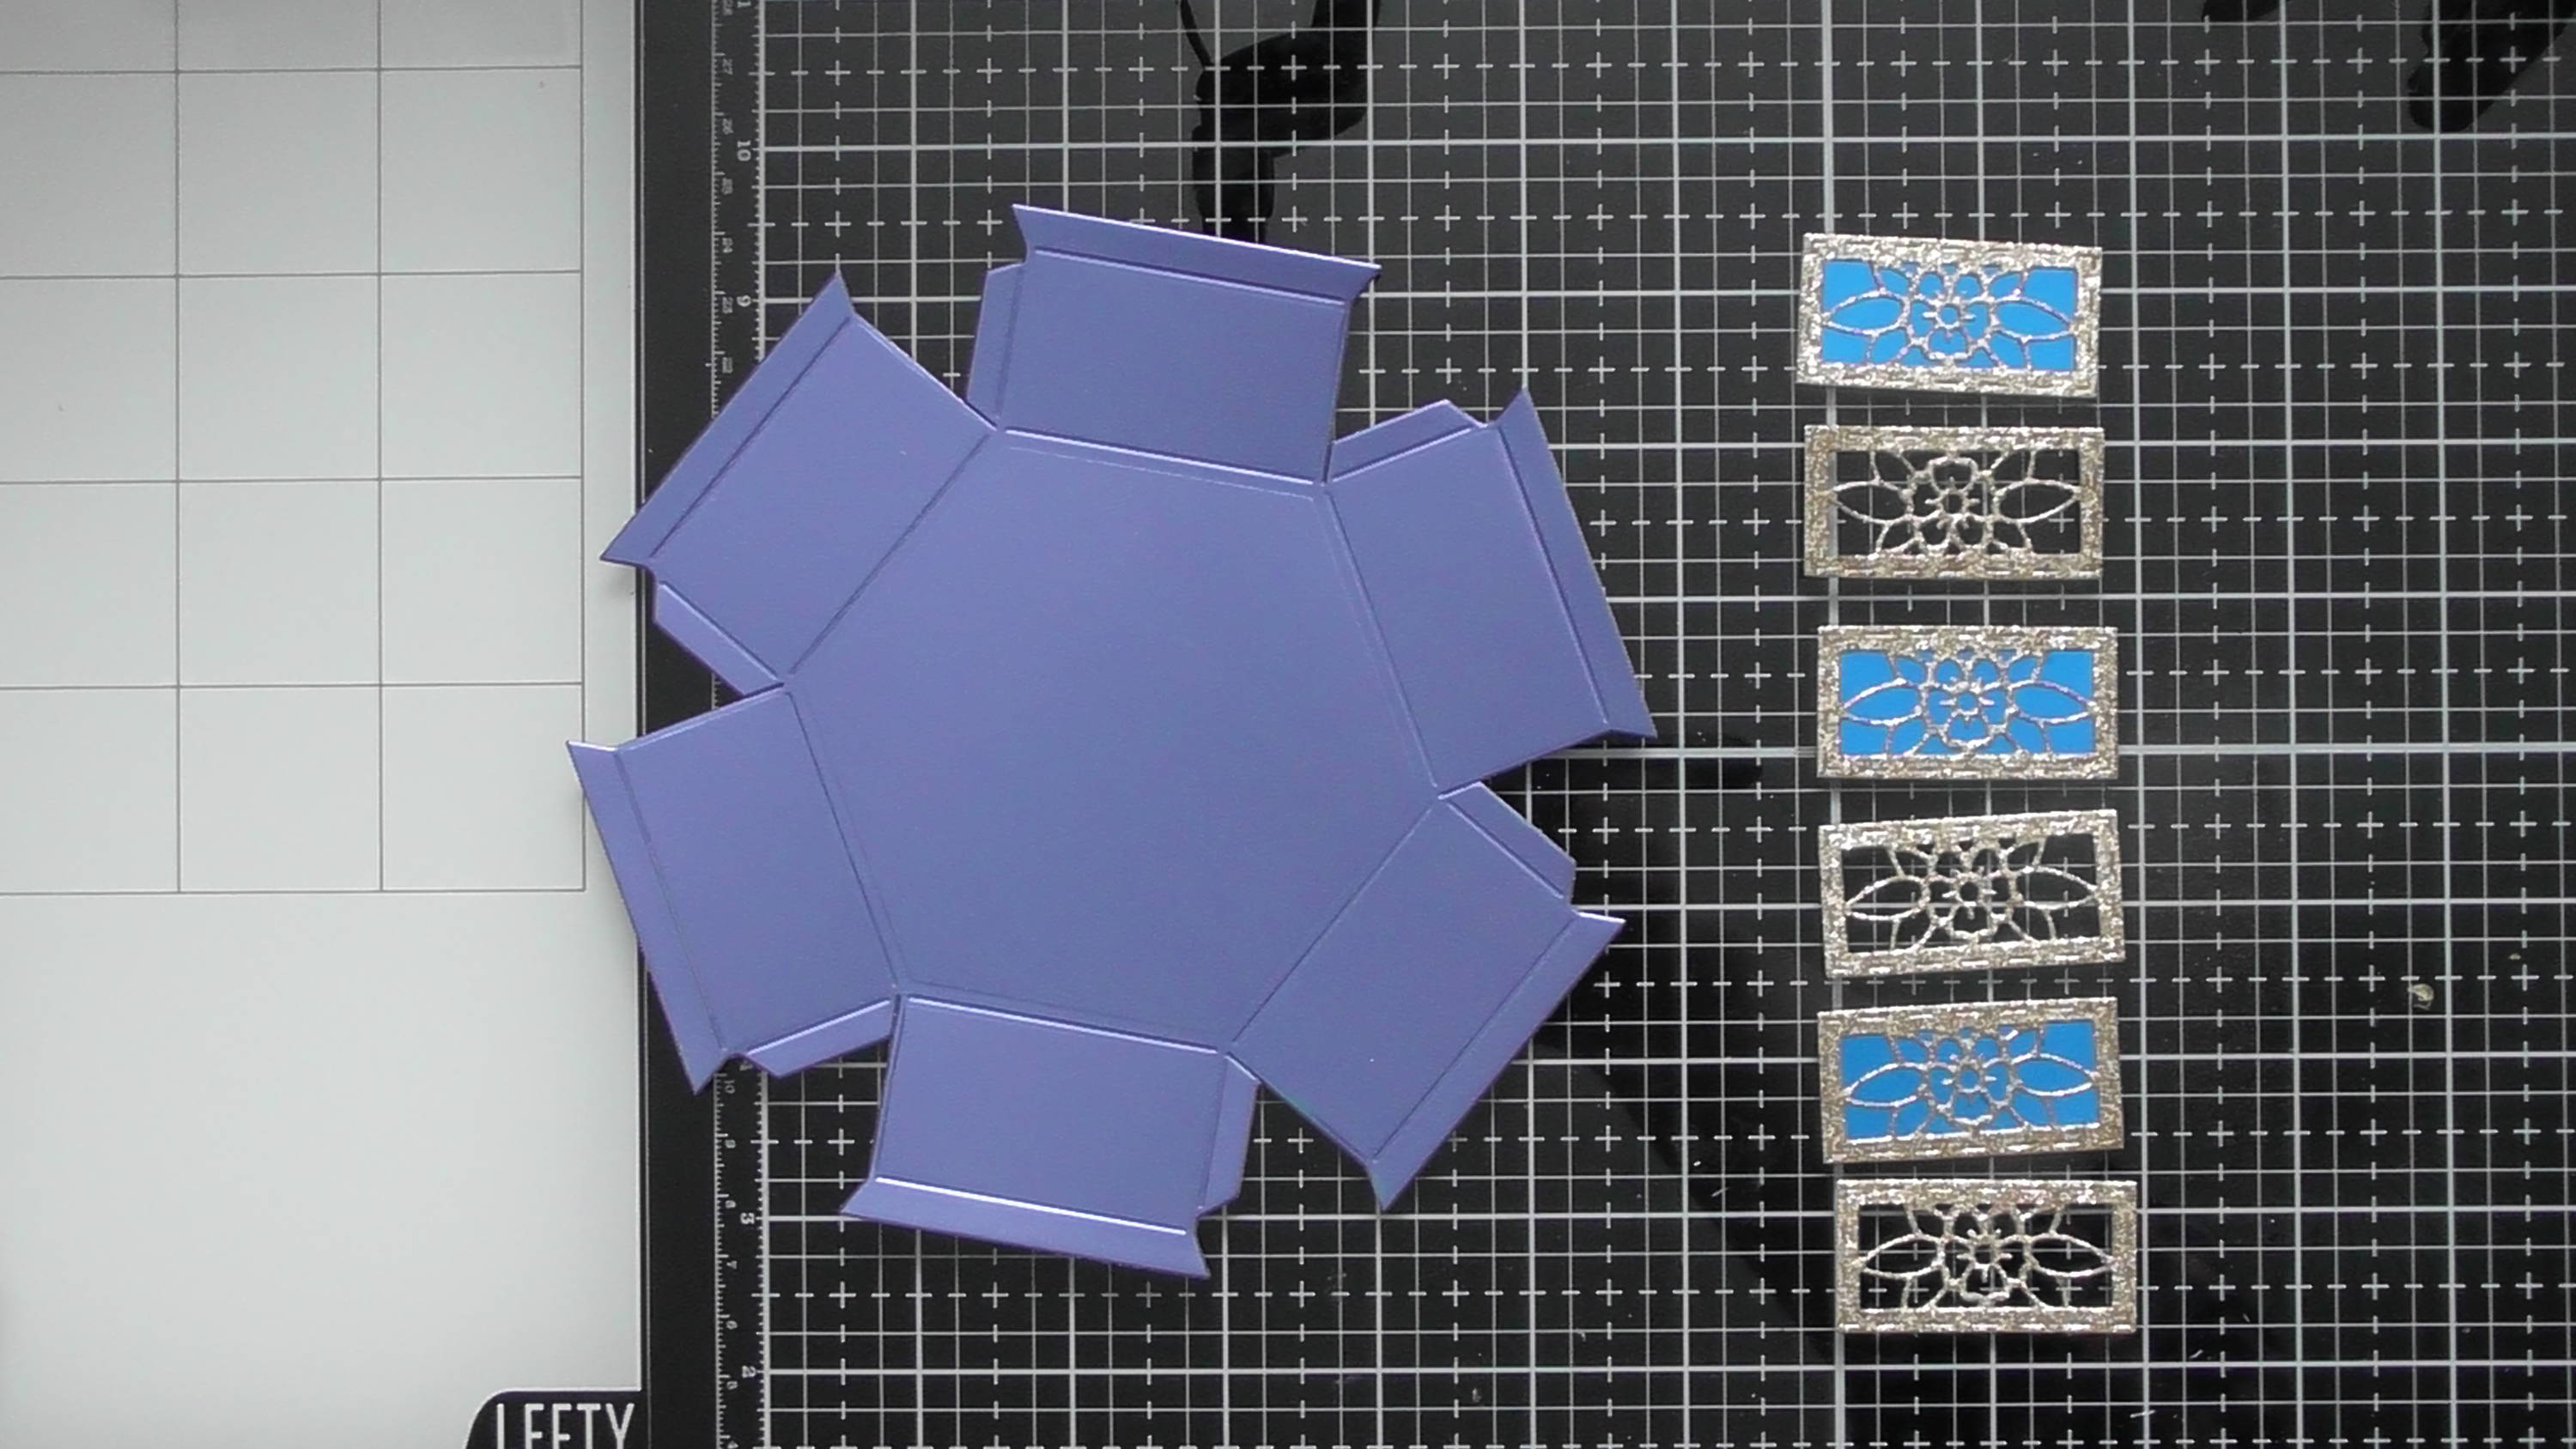
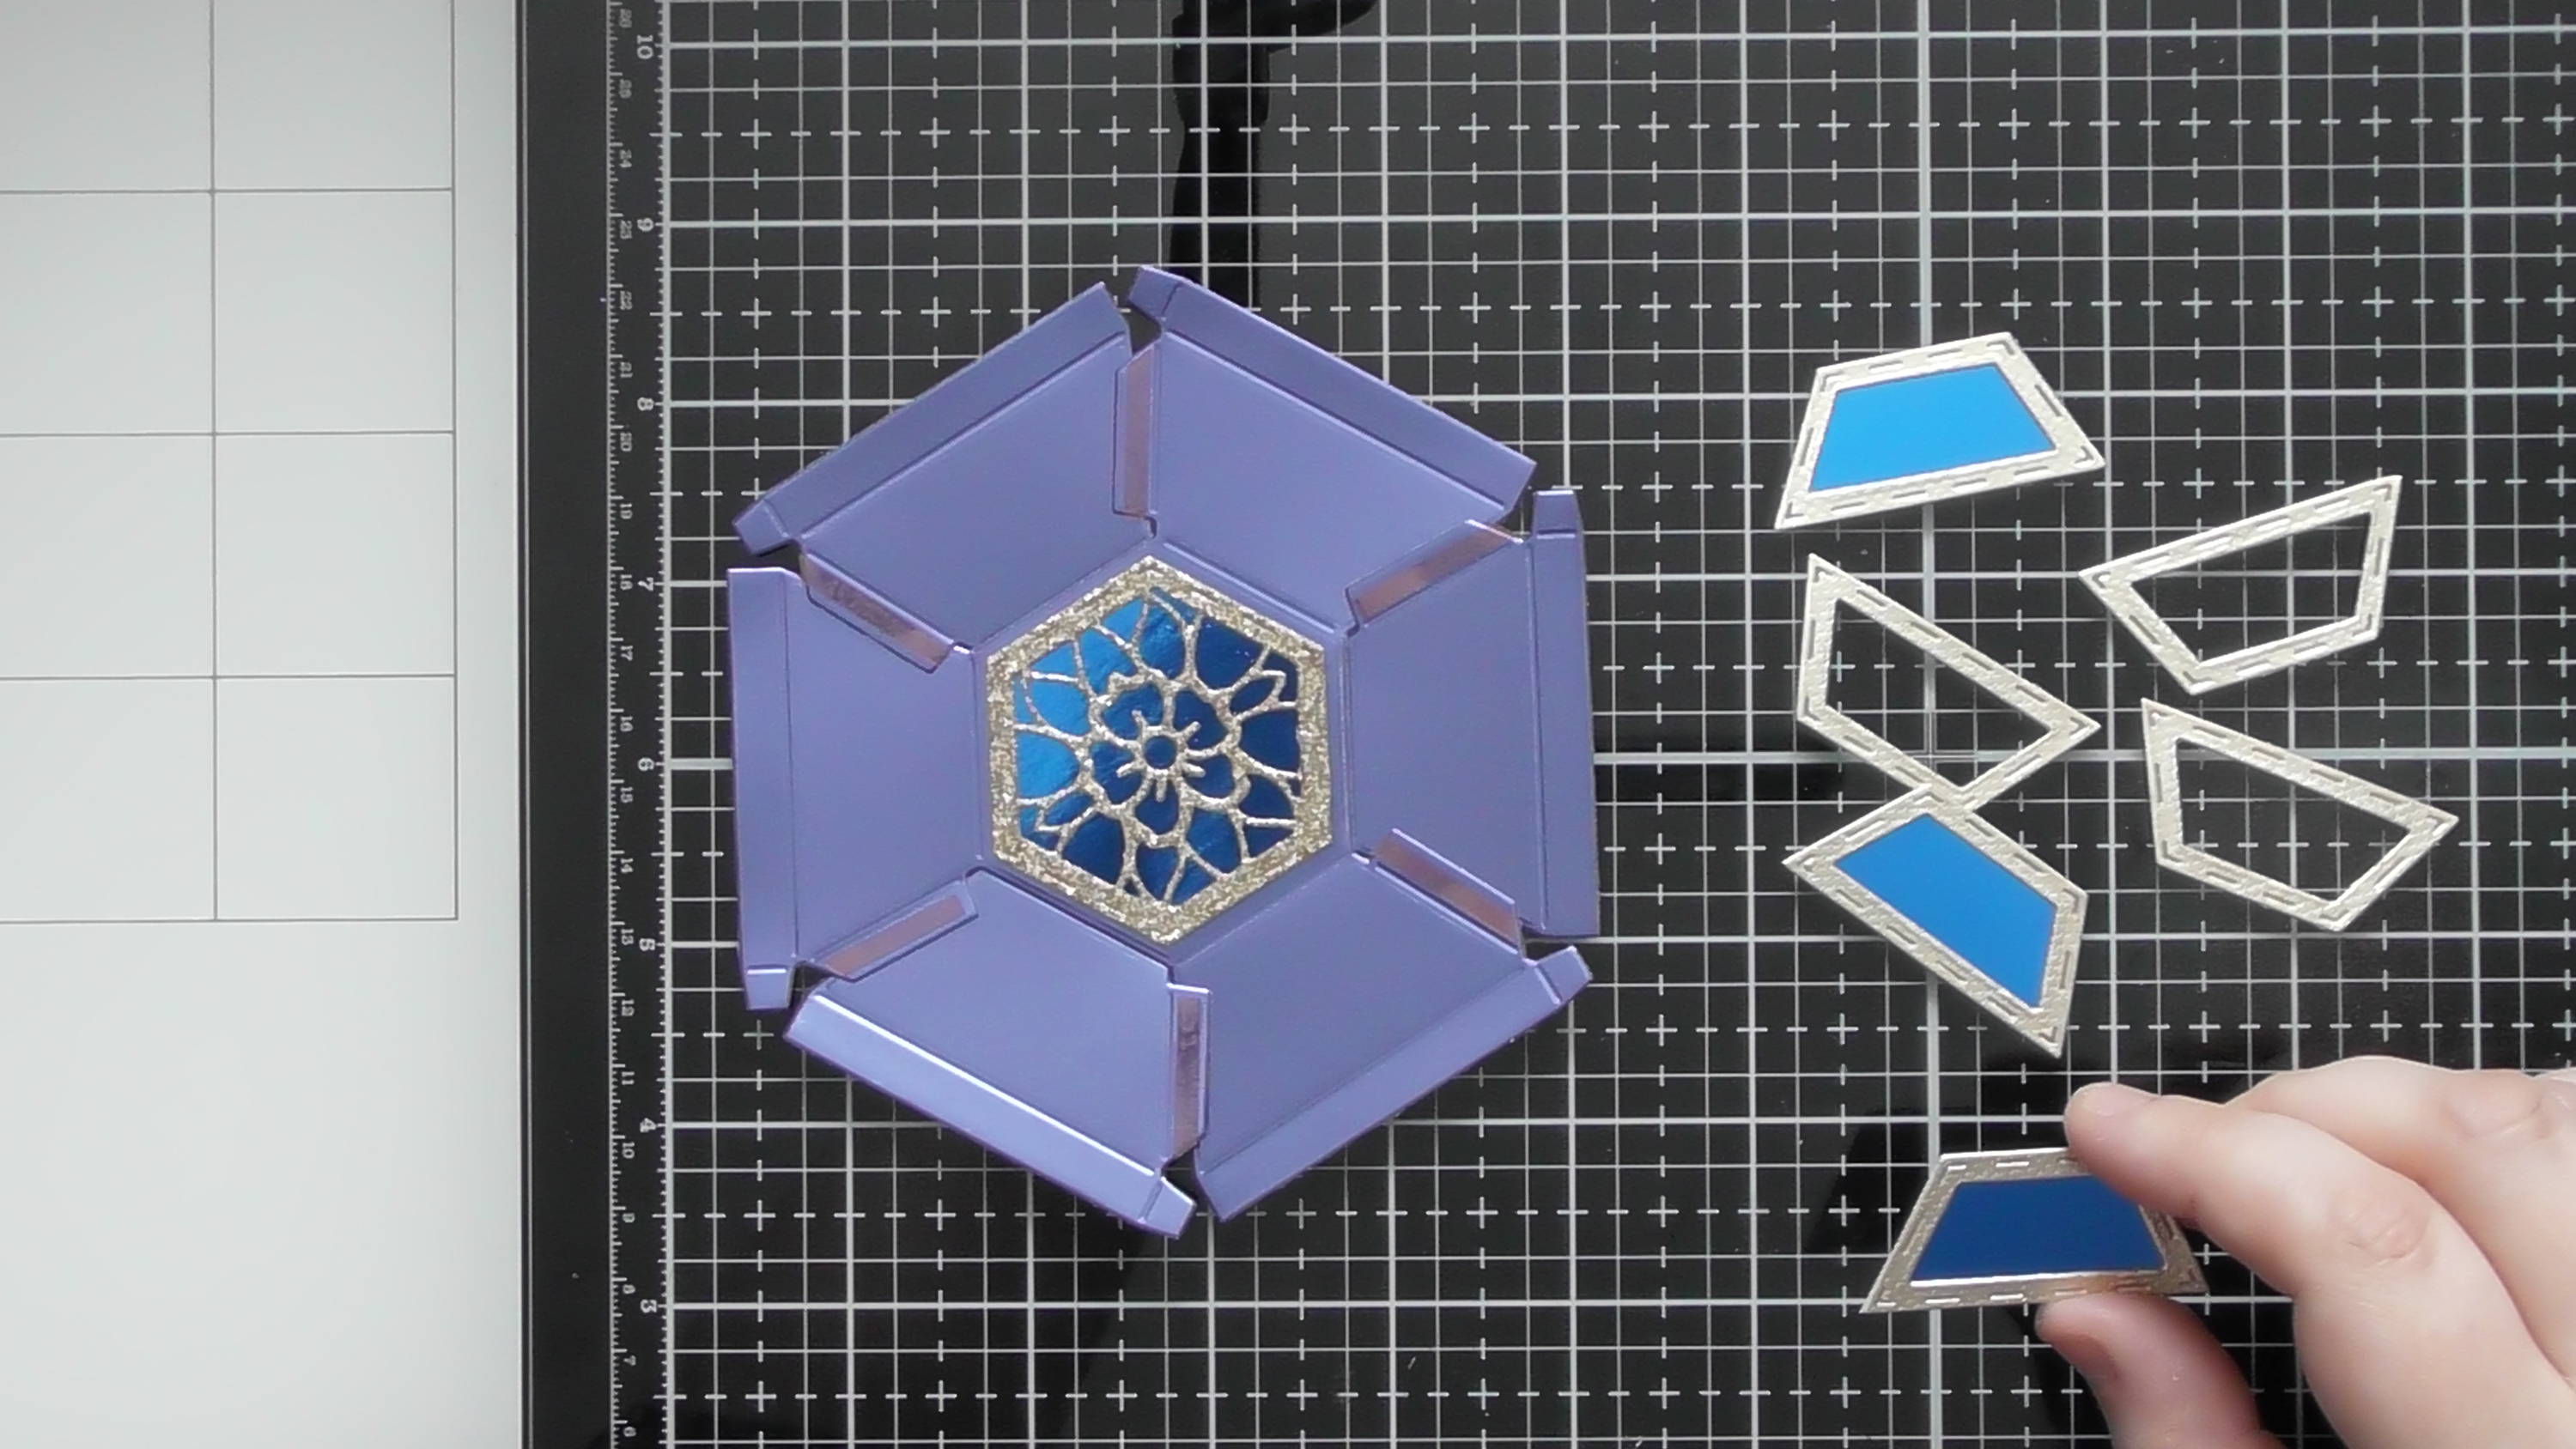
For the main base of the box, you’ll need one of the main hexagonal die-cuts, plus your chosen decorative panels.
Step 2
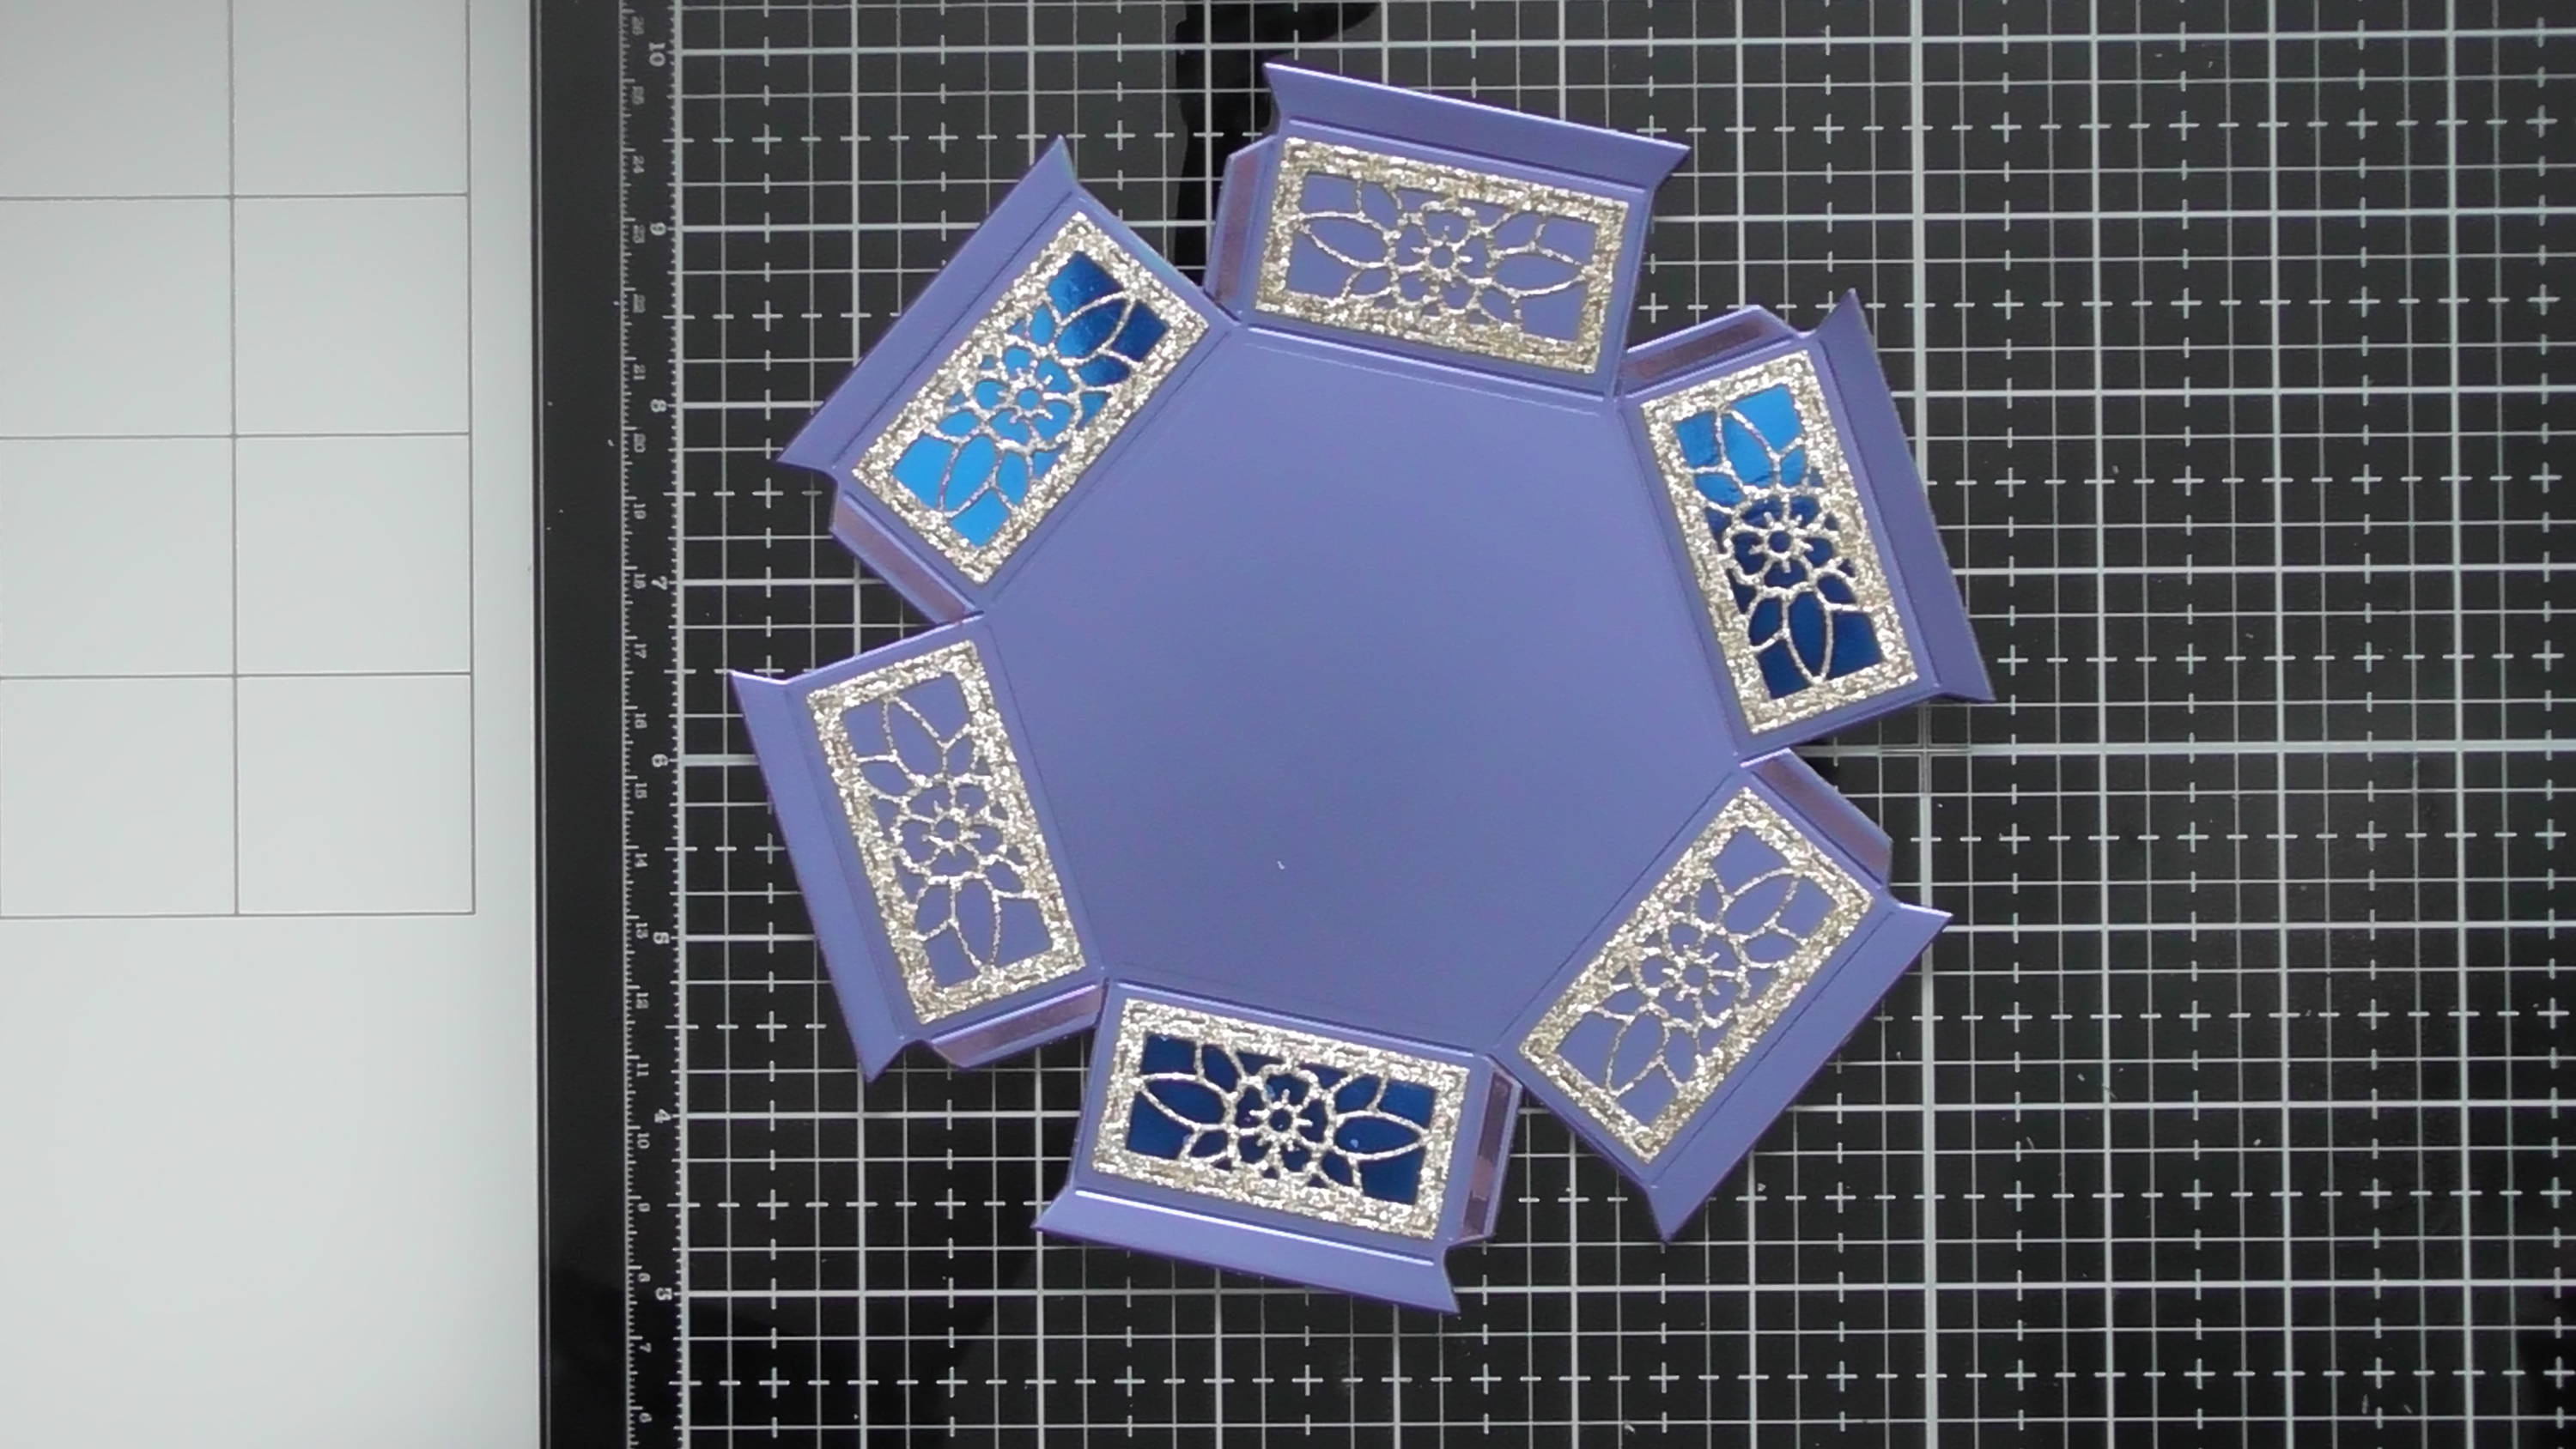
Stick your panels to the base, I did alternating panels where every other one had mirror card behind it
Step 3
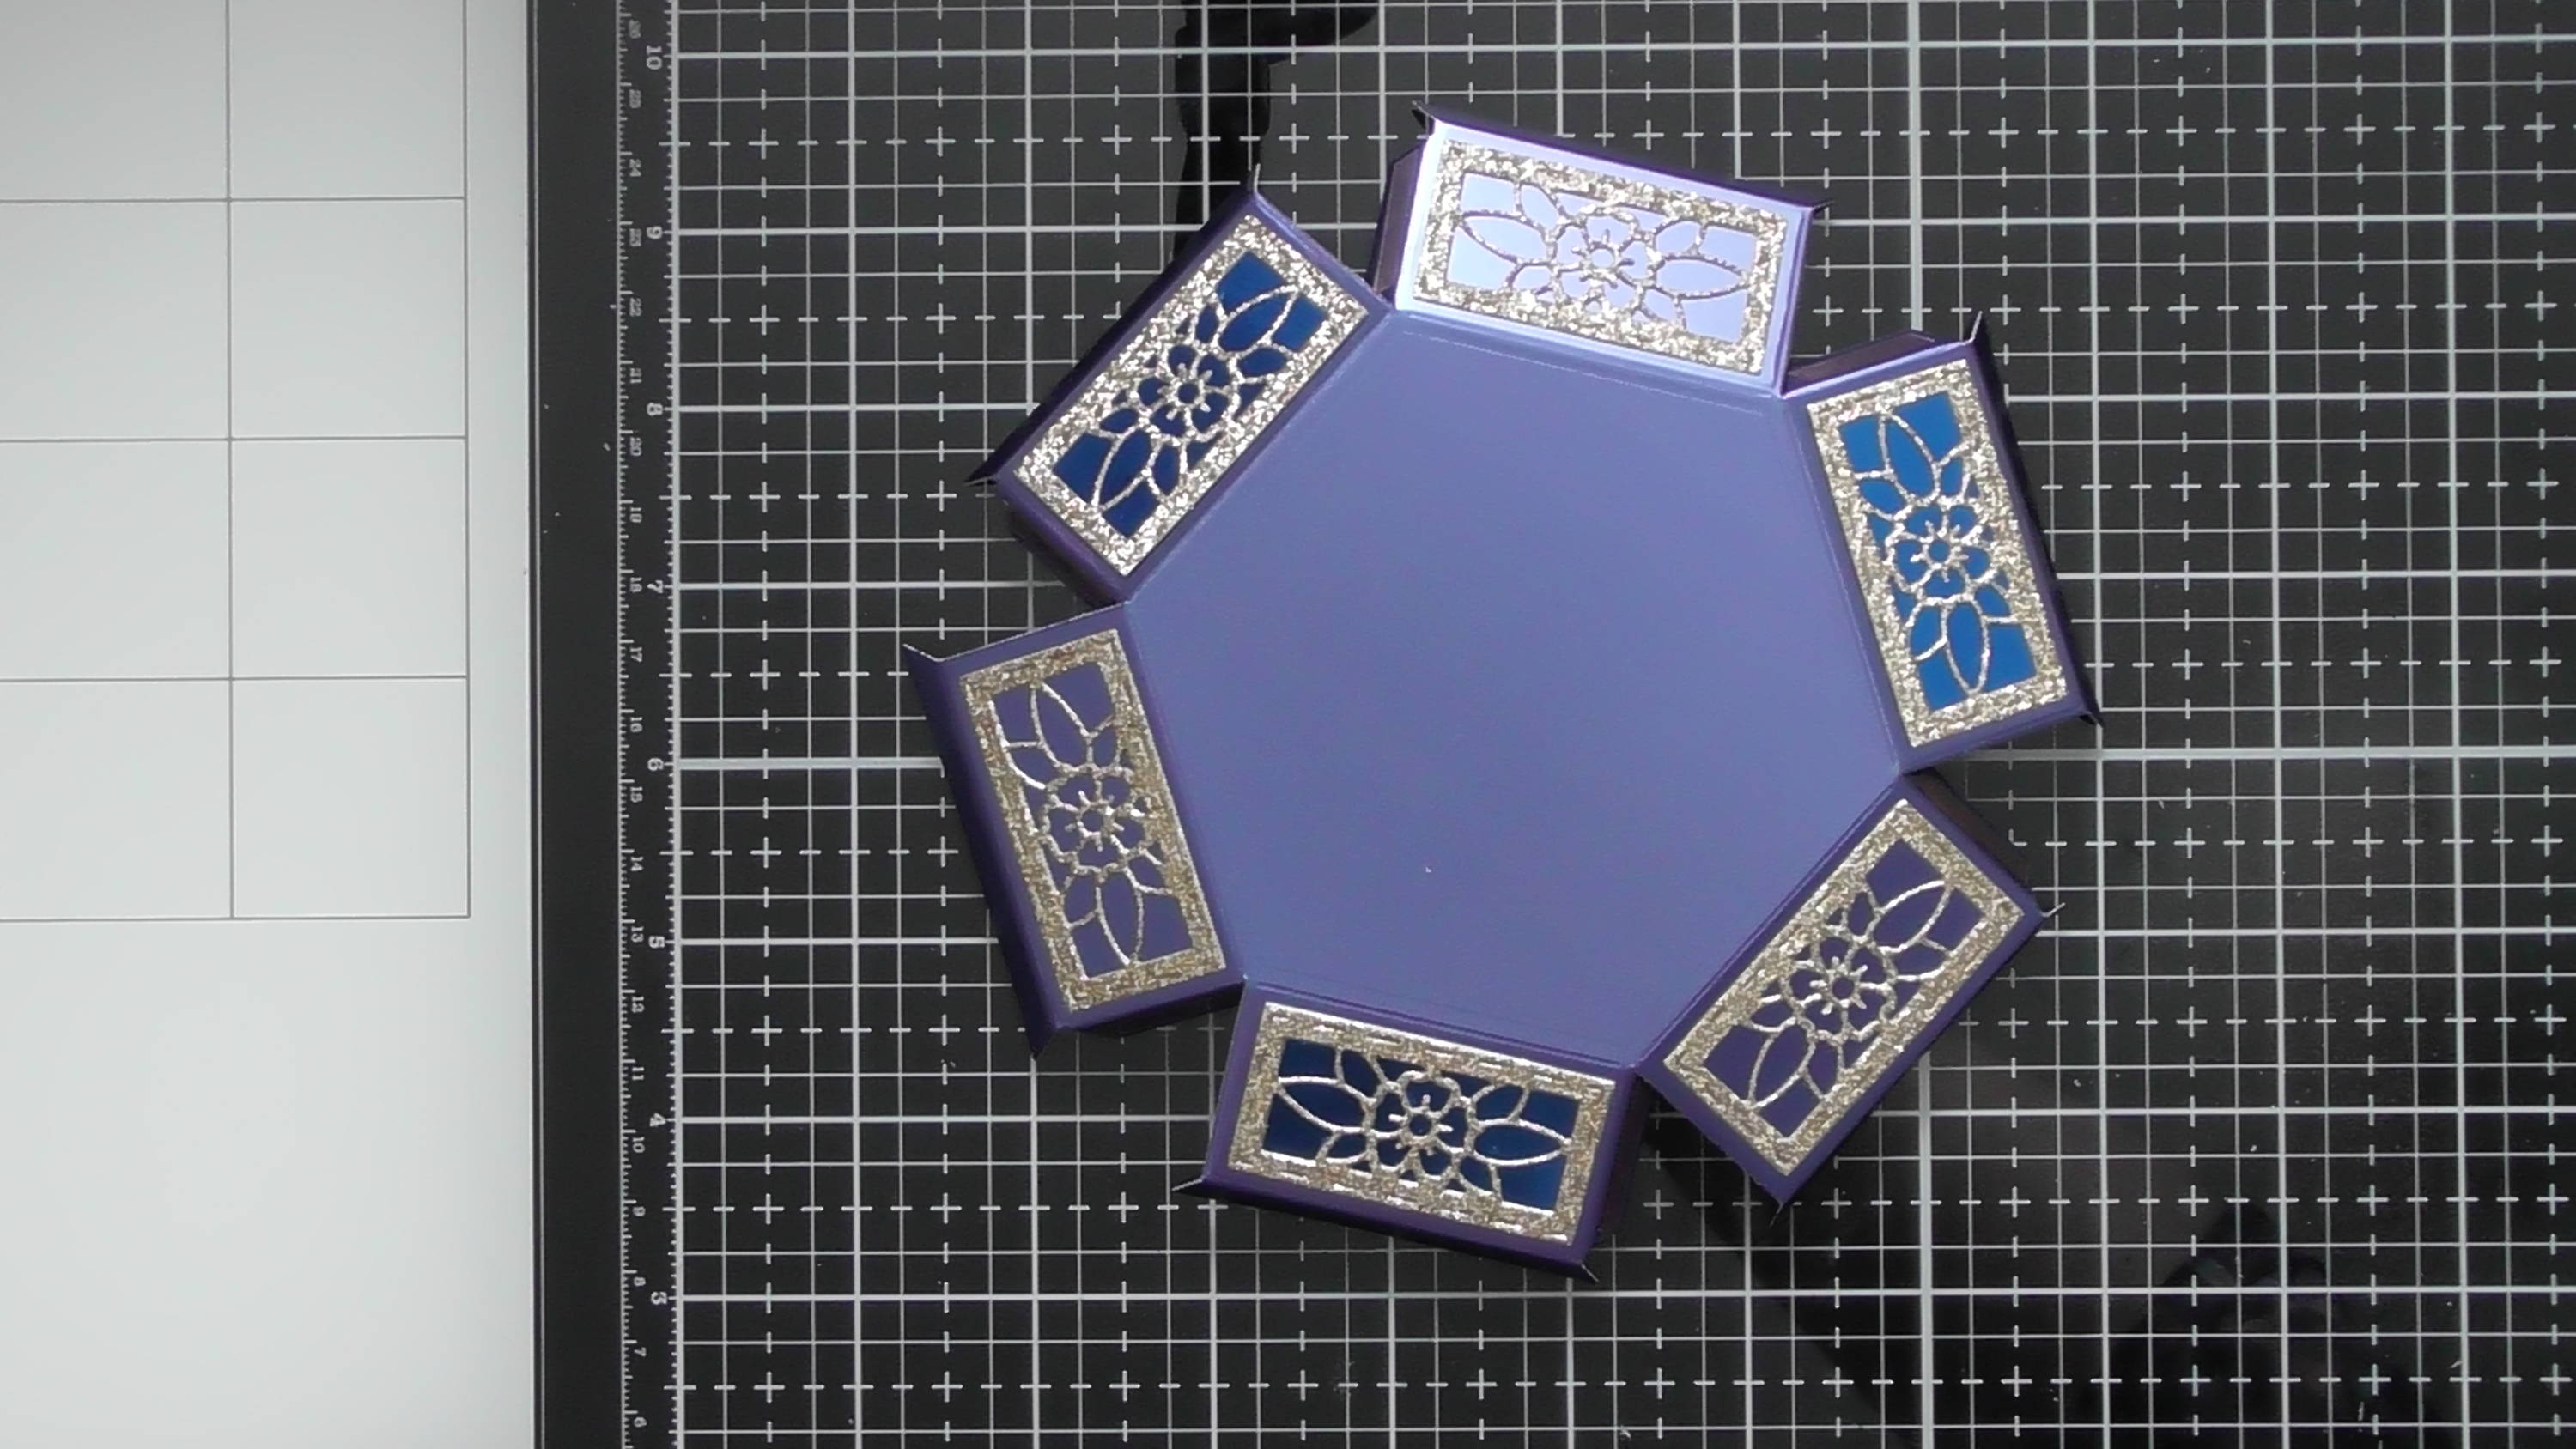
Before we start assembling, make sure to pre-fold all the score lines, this makes the box come together so easily.
Step 4
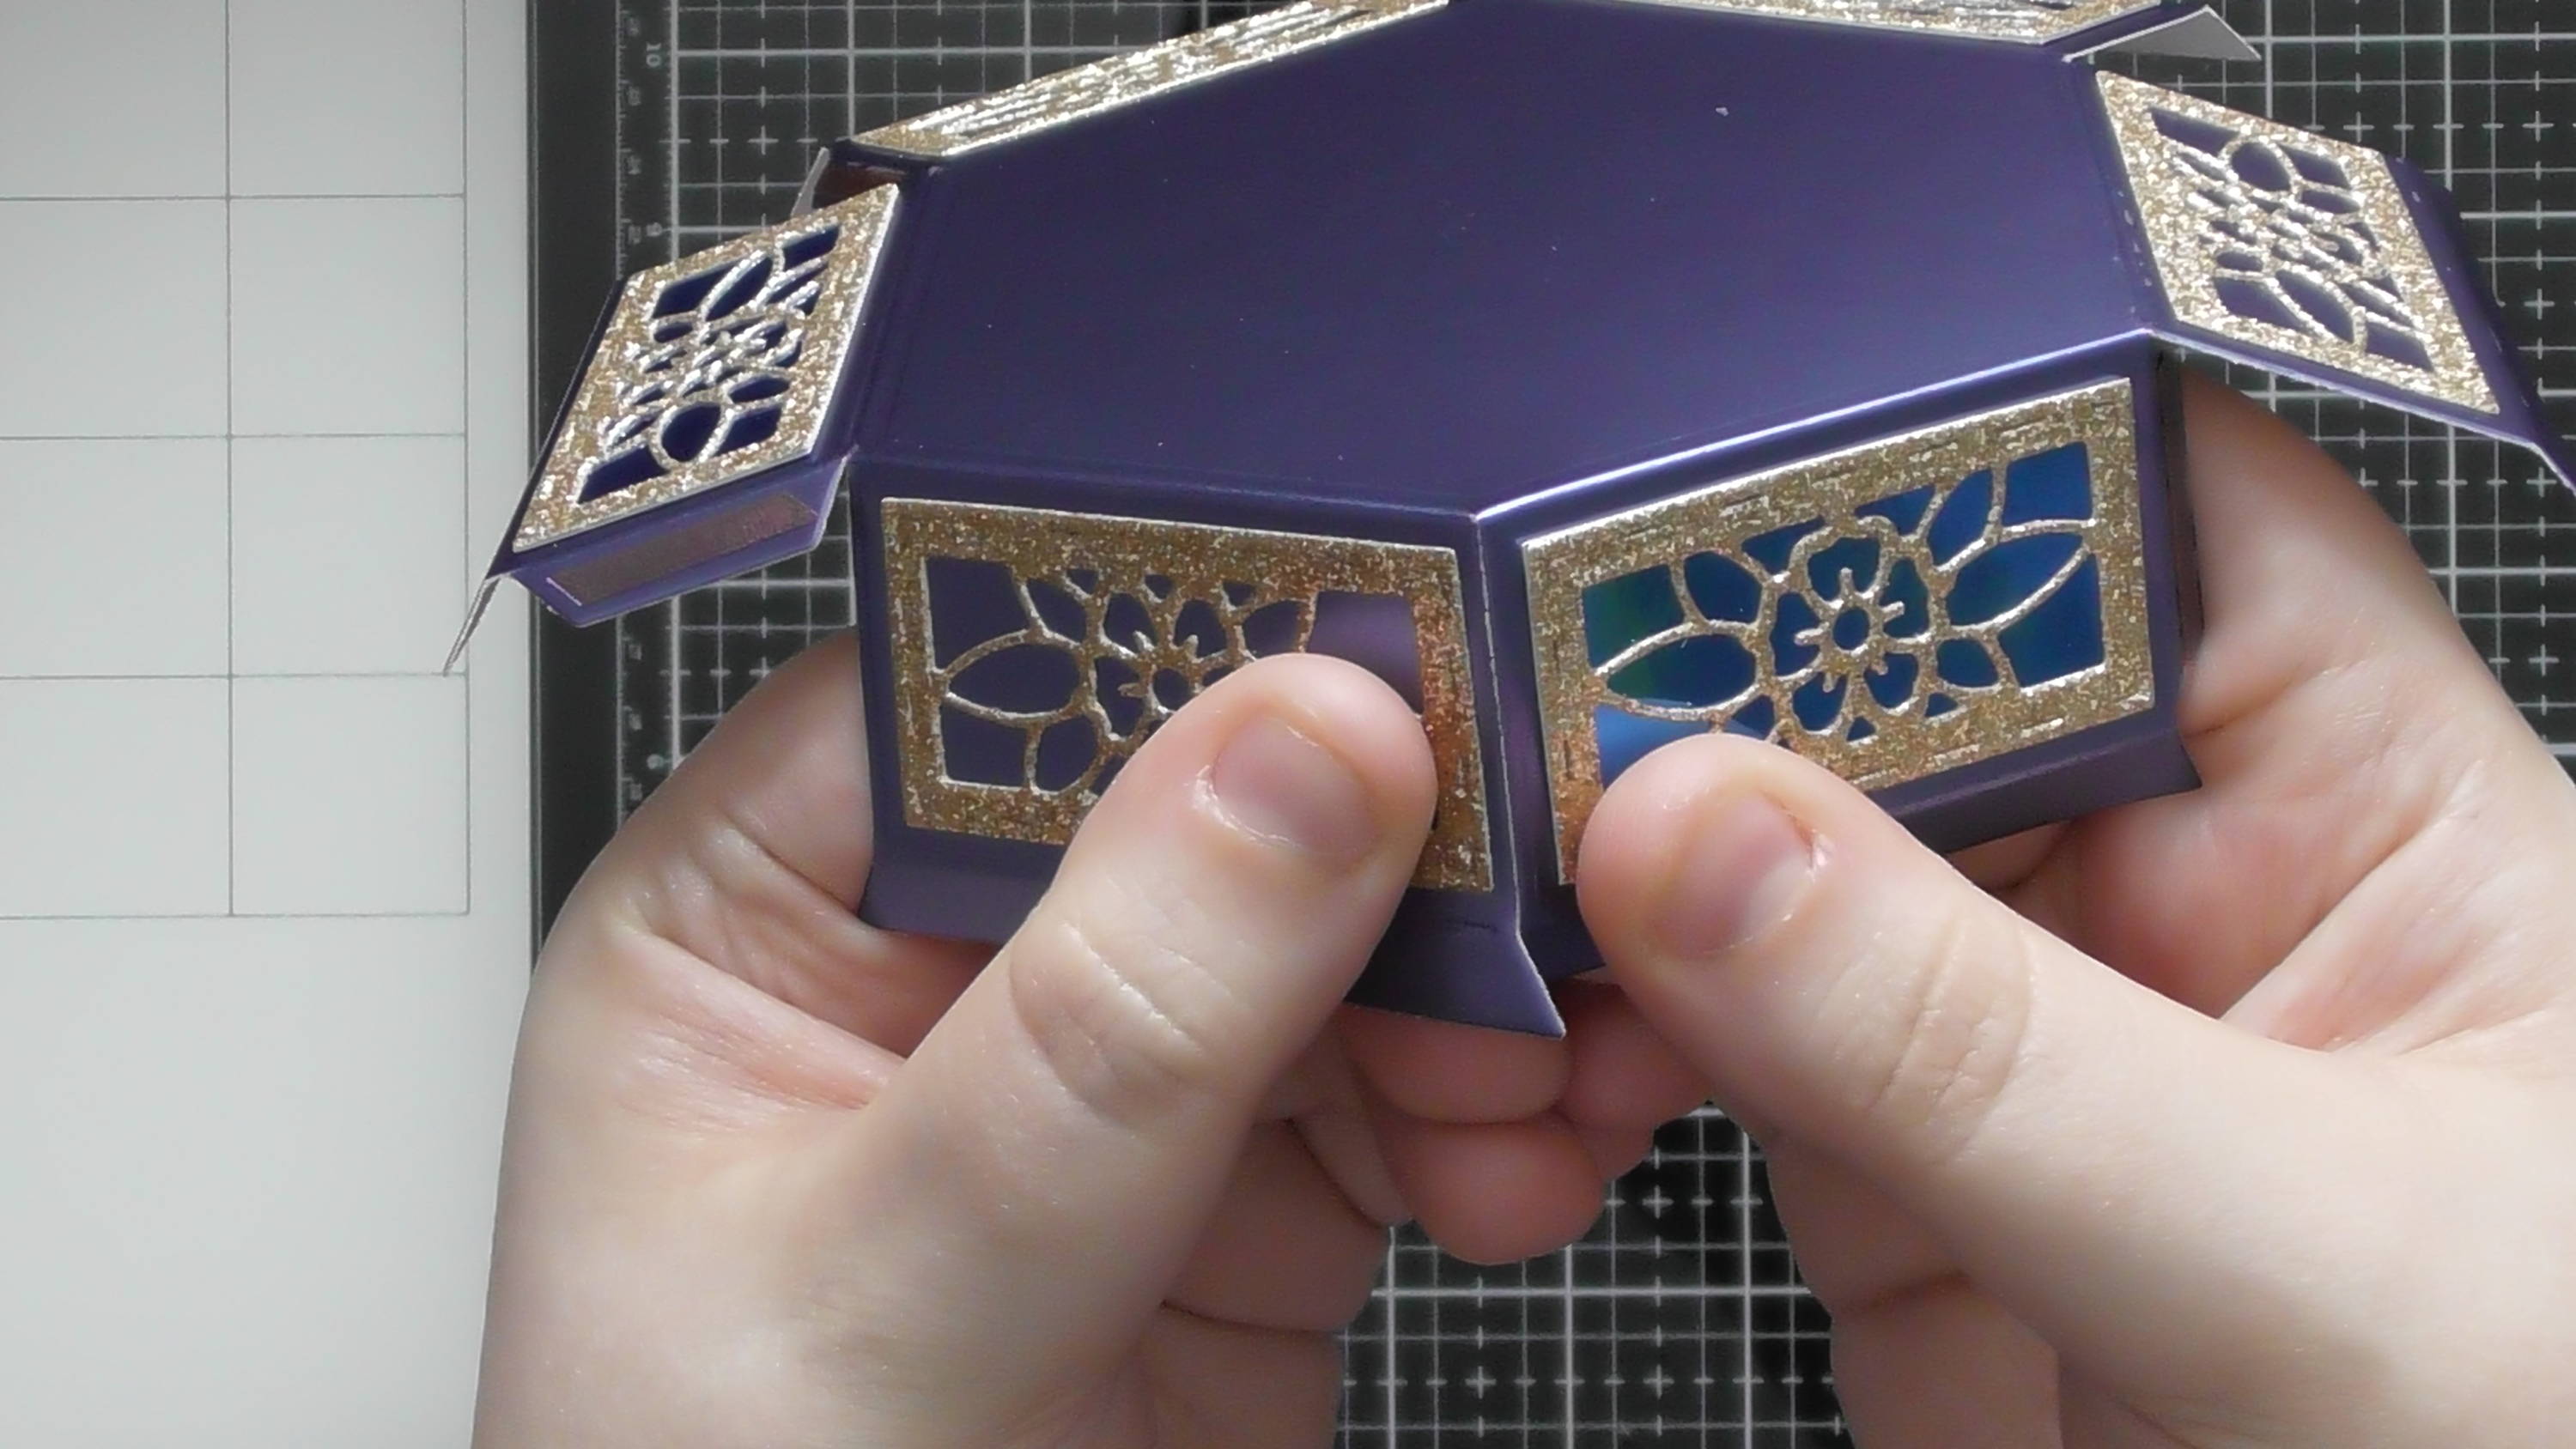
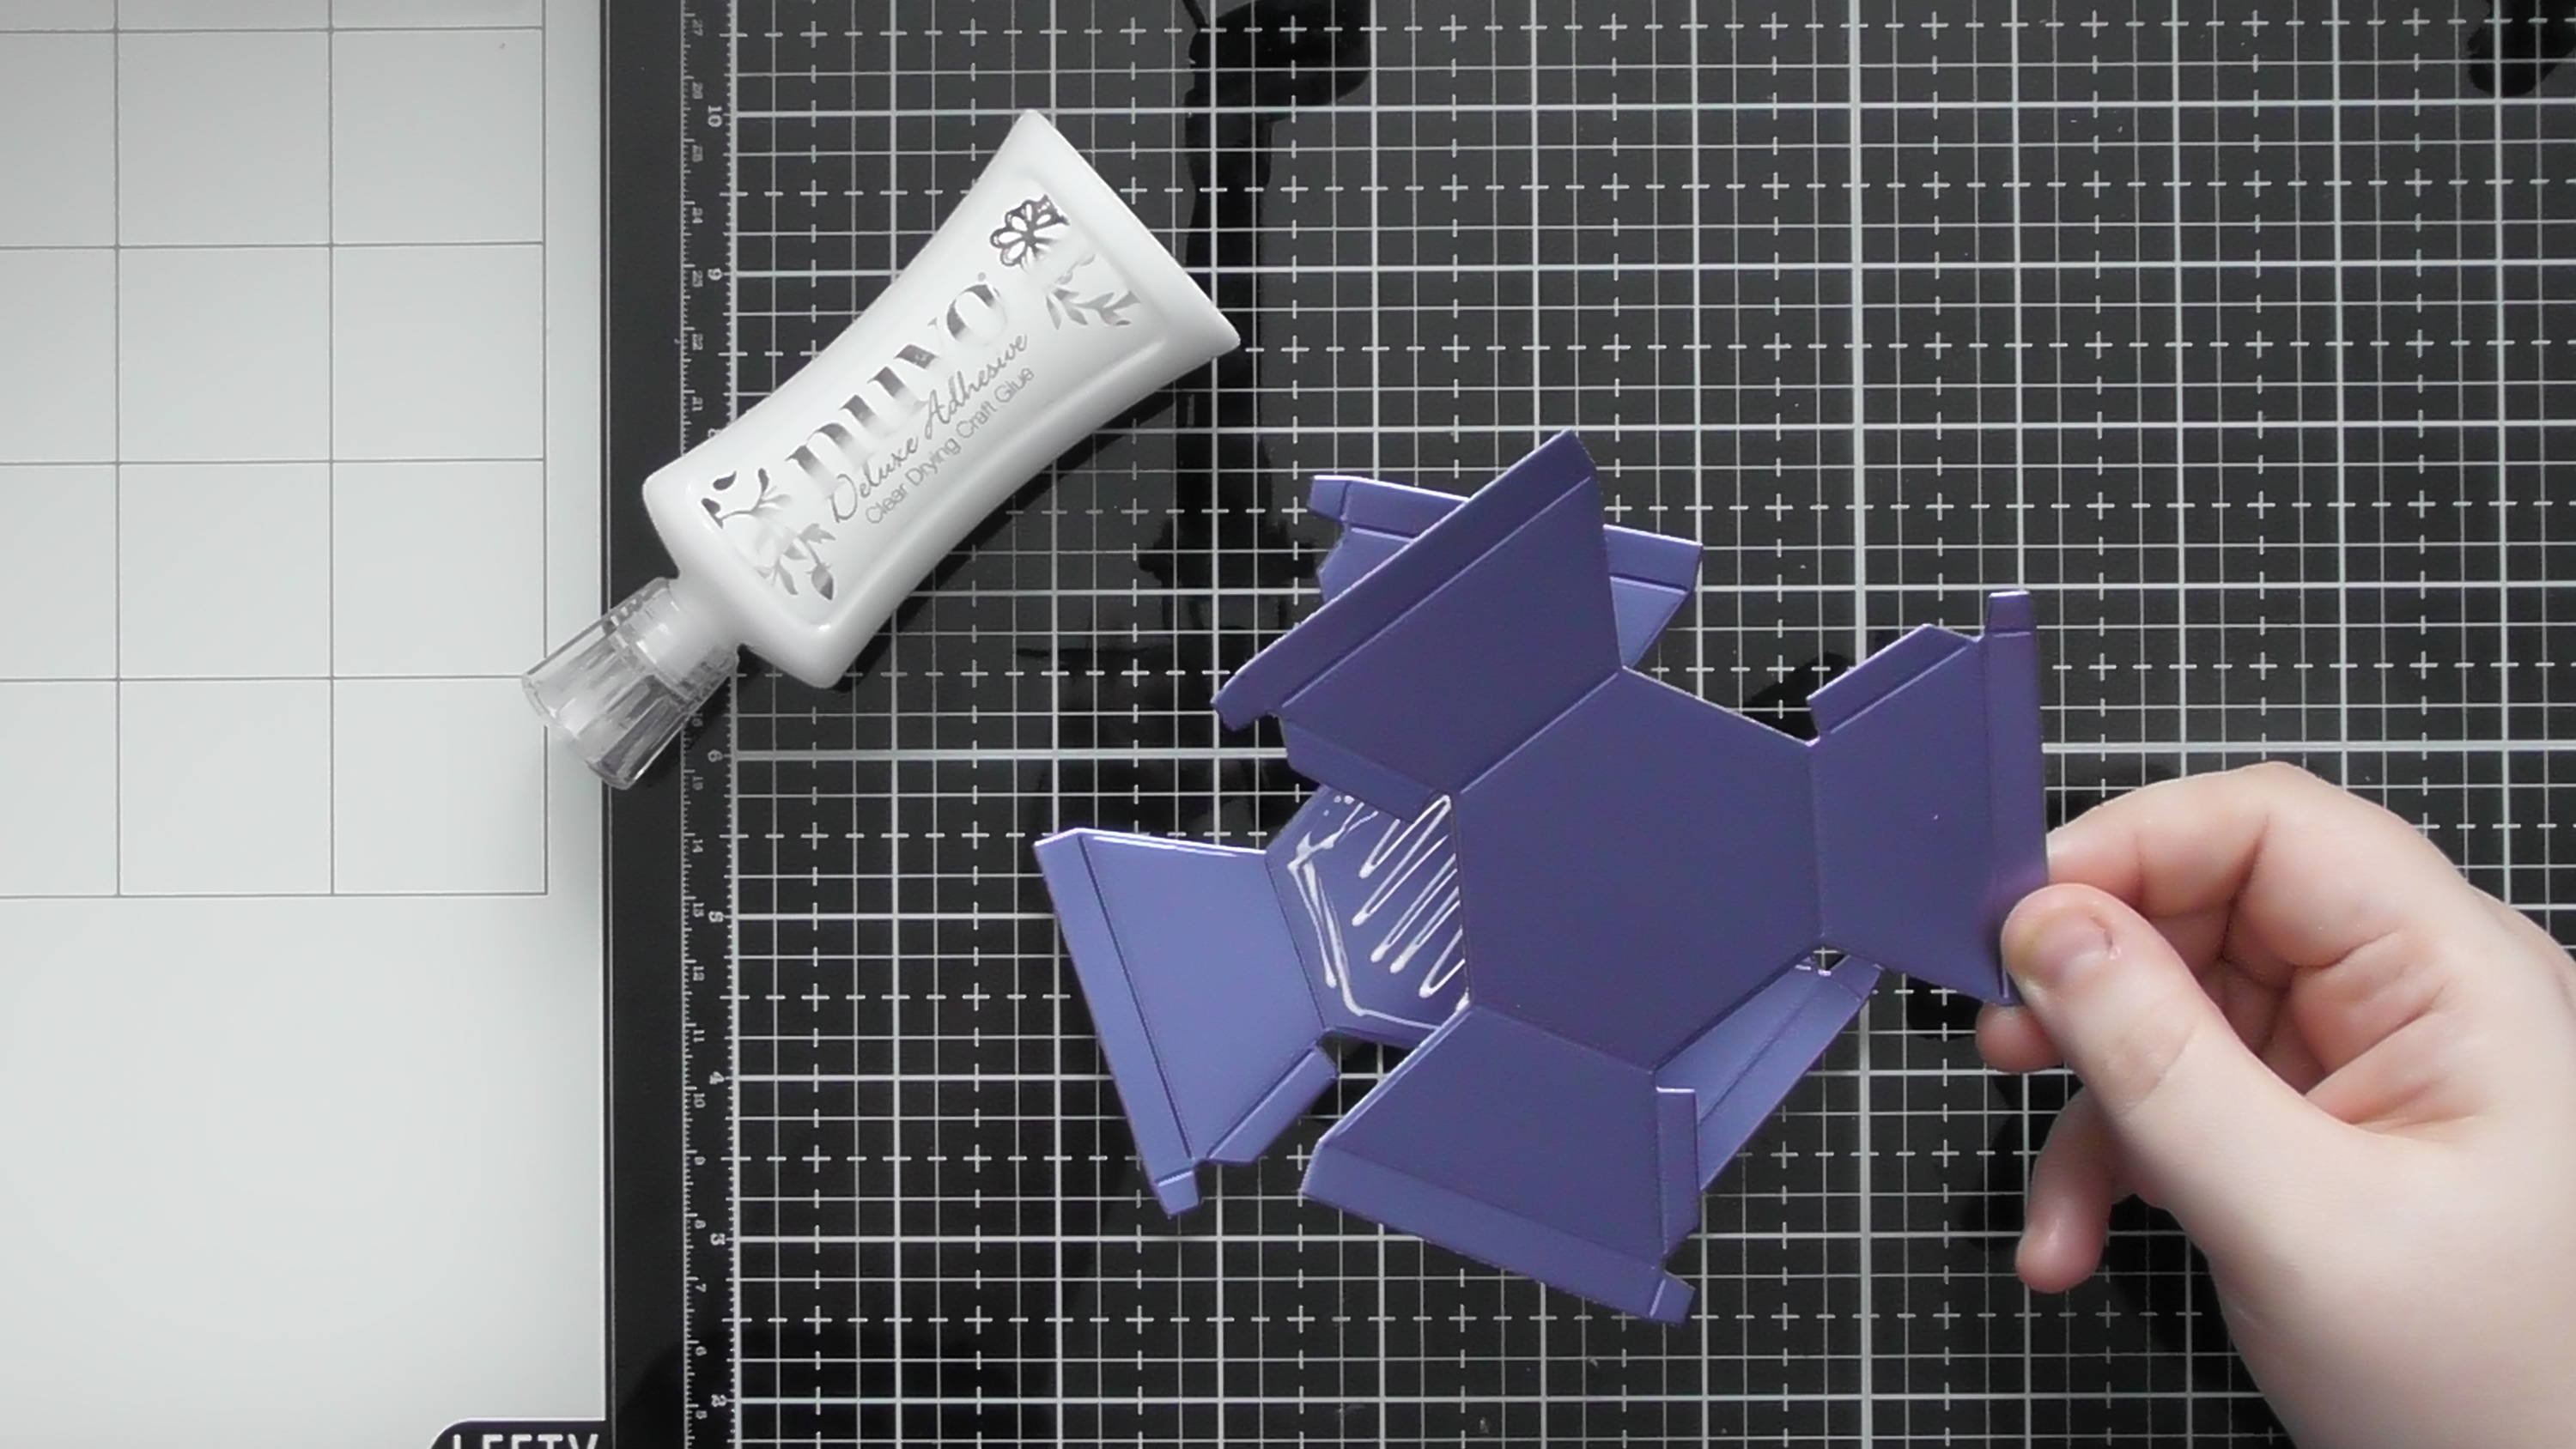
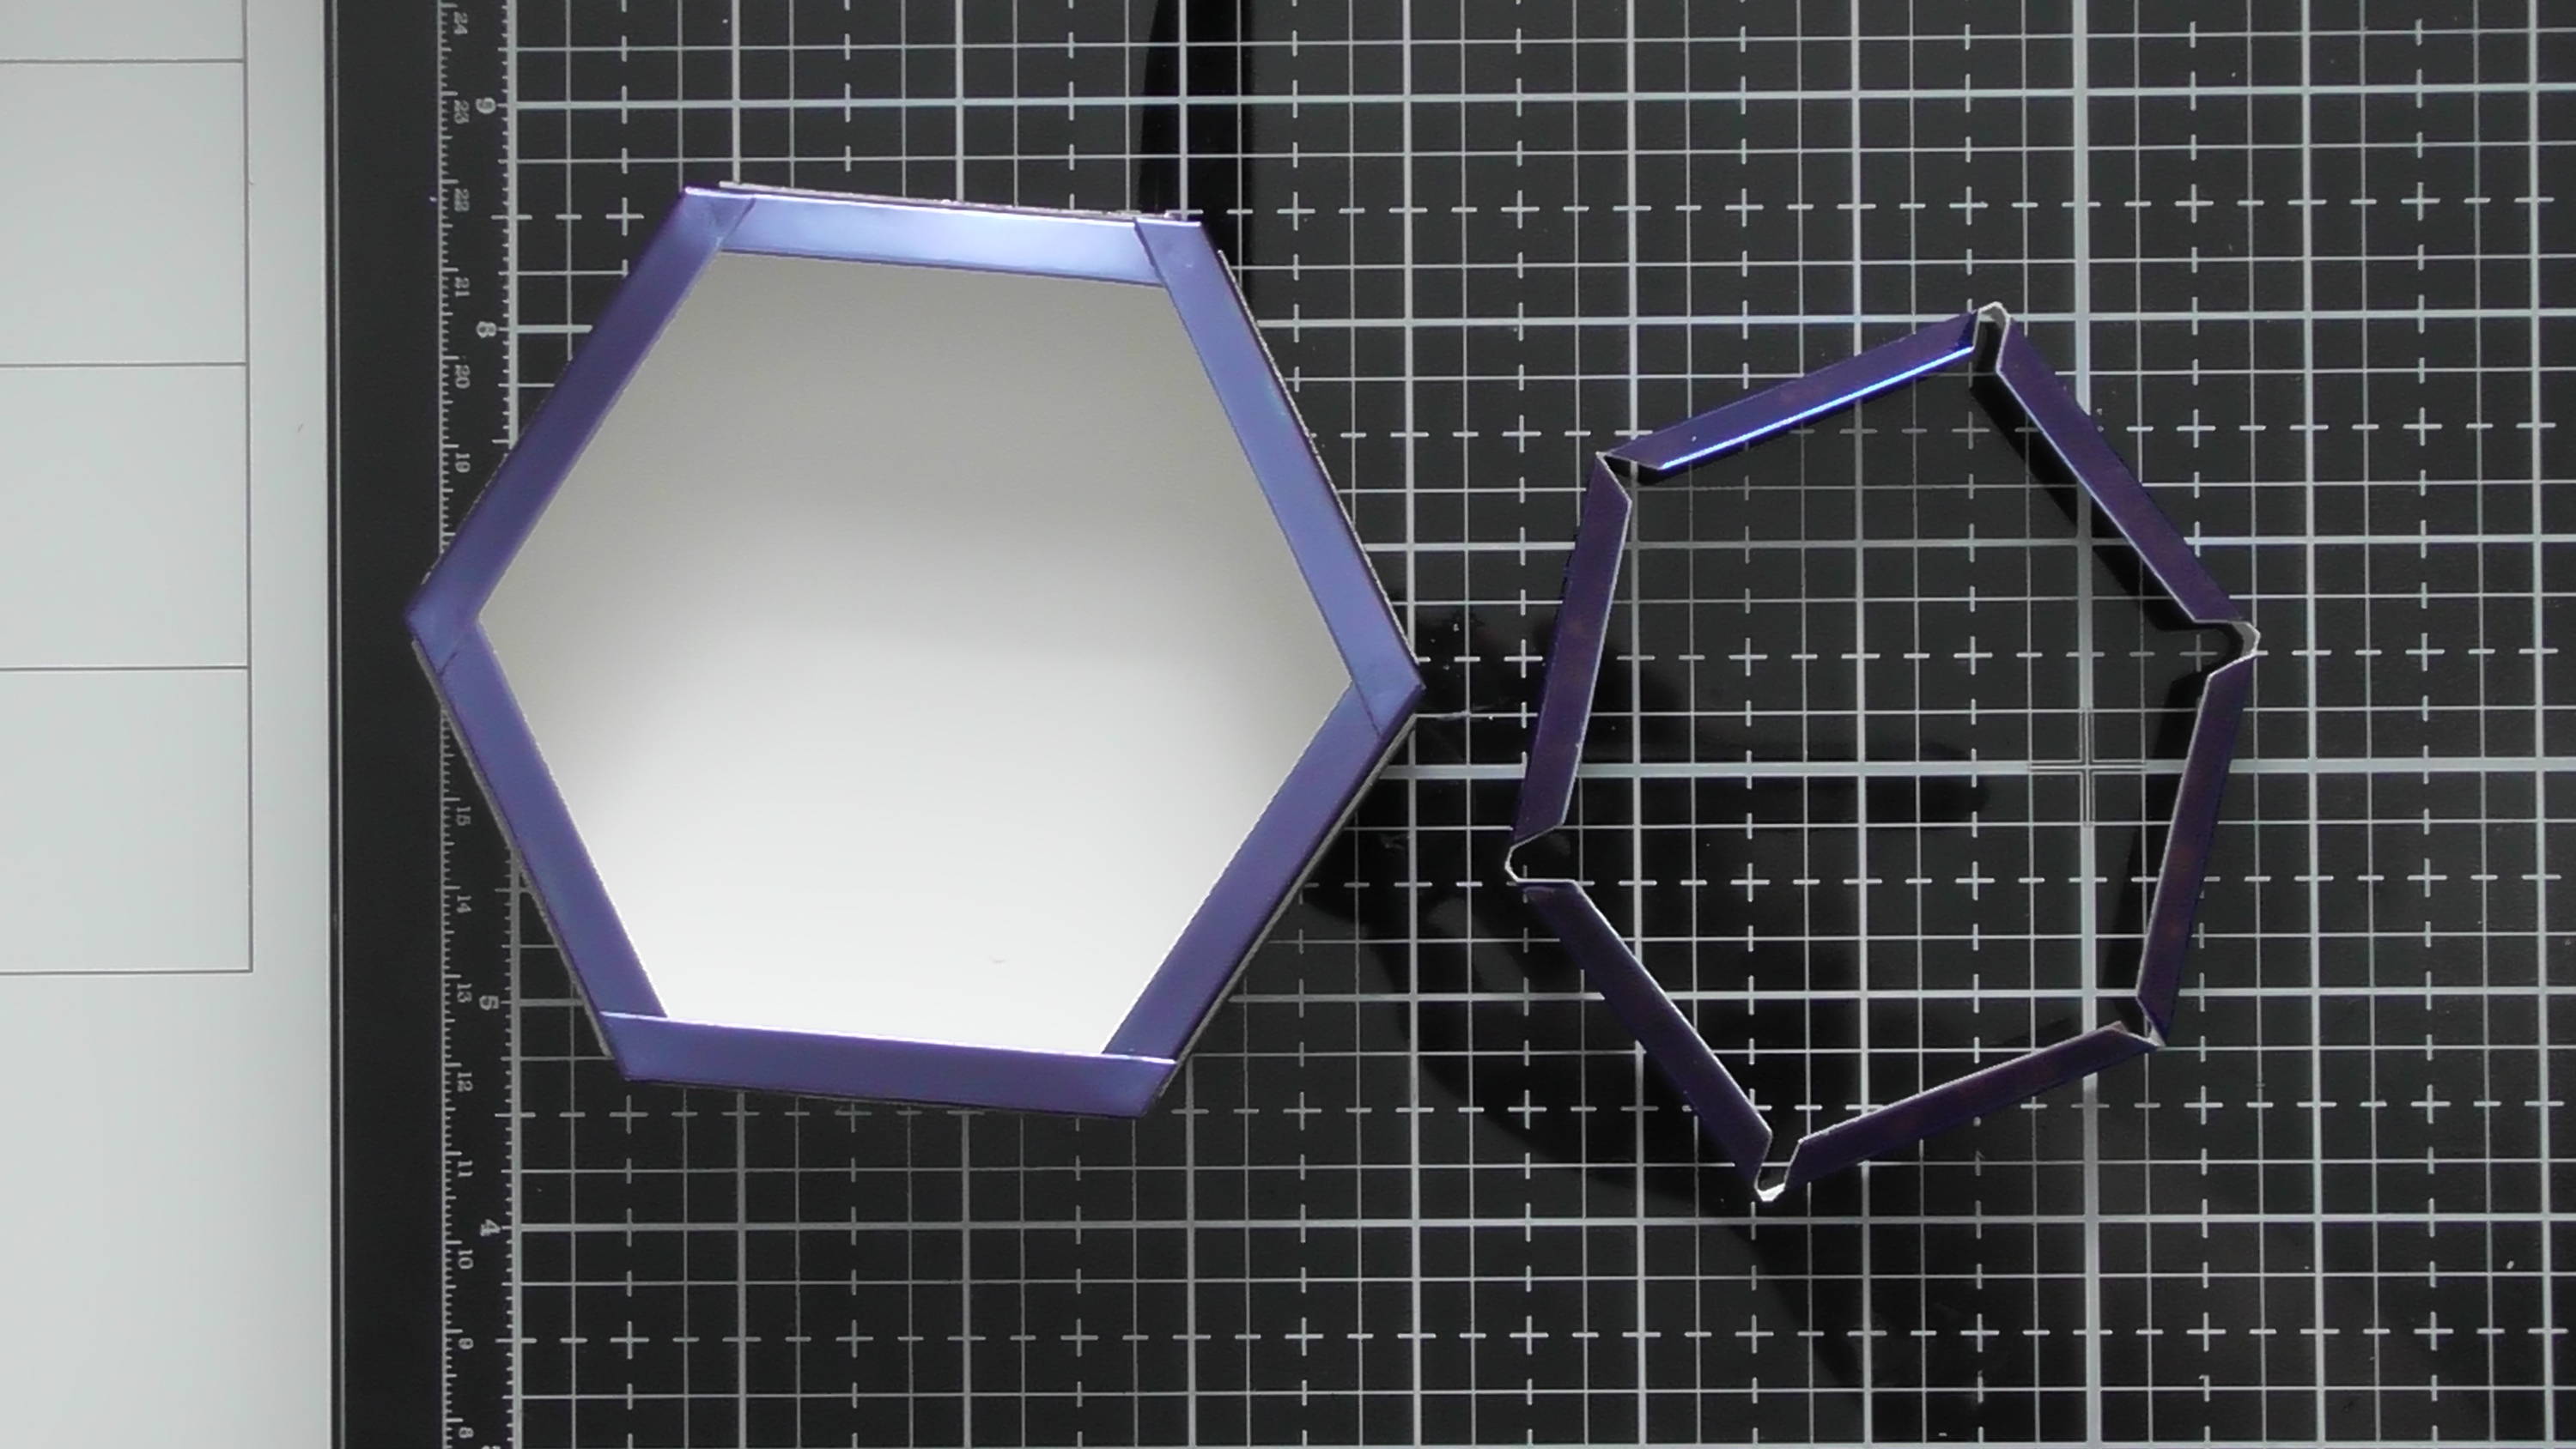
Simply bring the sides together as shown butting the cut edge of one side up to the score of the next.
Step 5

You’ll then see your box take shape… but we have some top flaps to deal with, if you look at the photo you can see how I’ve oriented mine, I found this looked the neatest, and all you have to do is put a tiny dab of glue at the corners to hold everything together
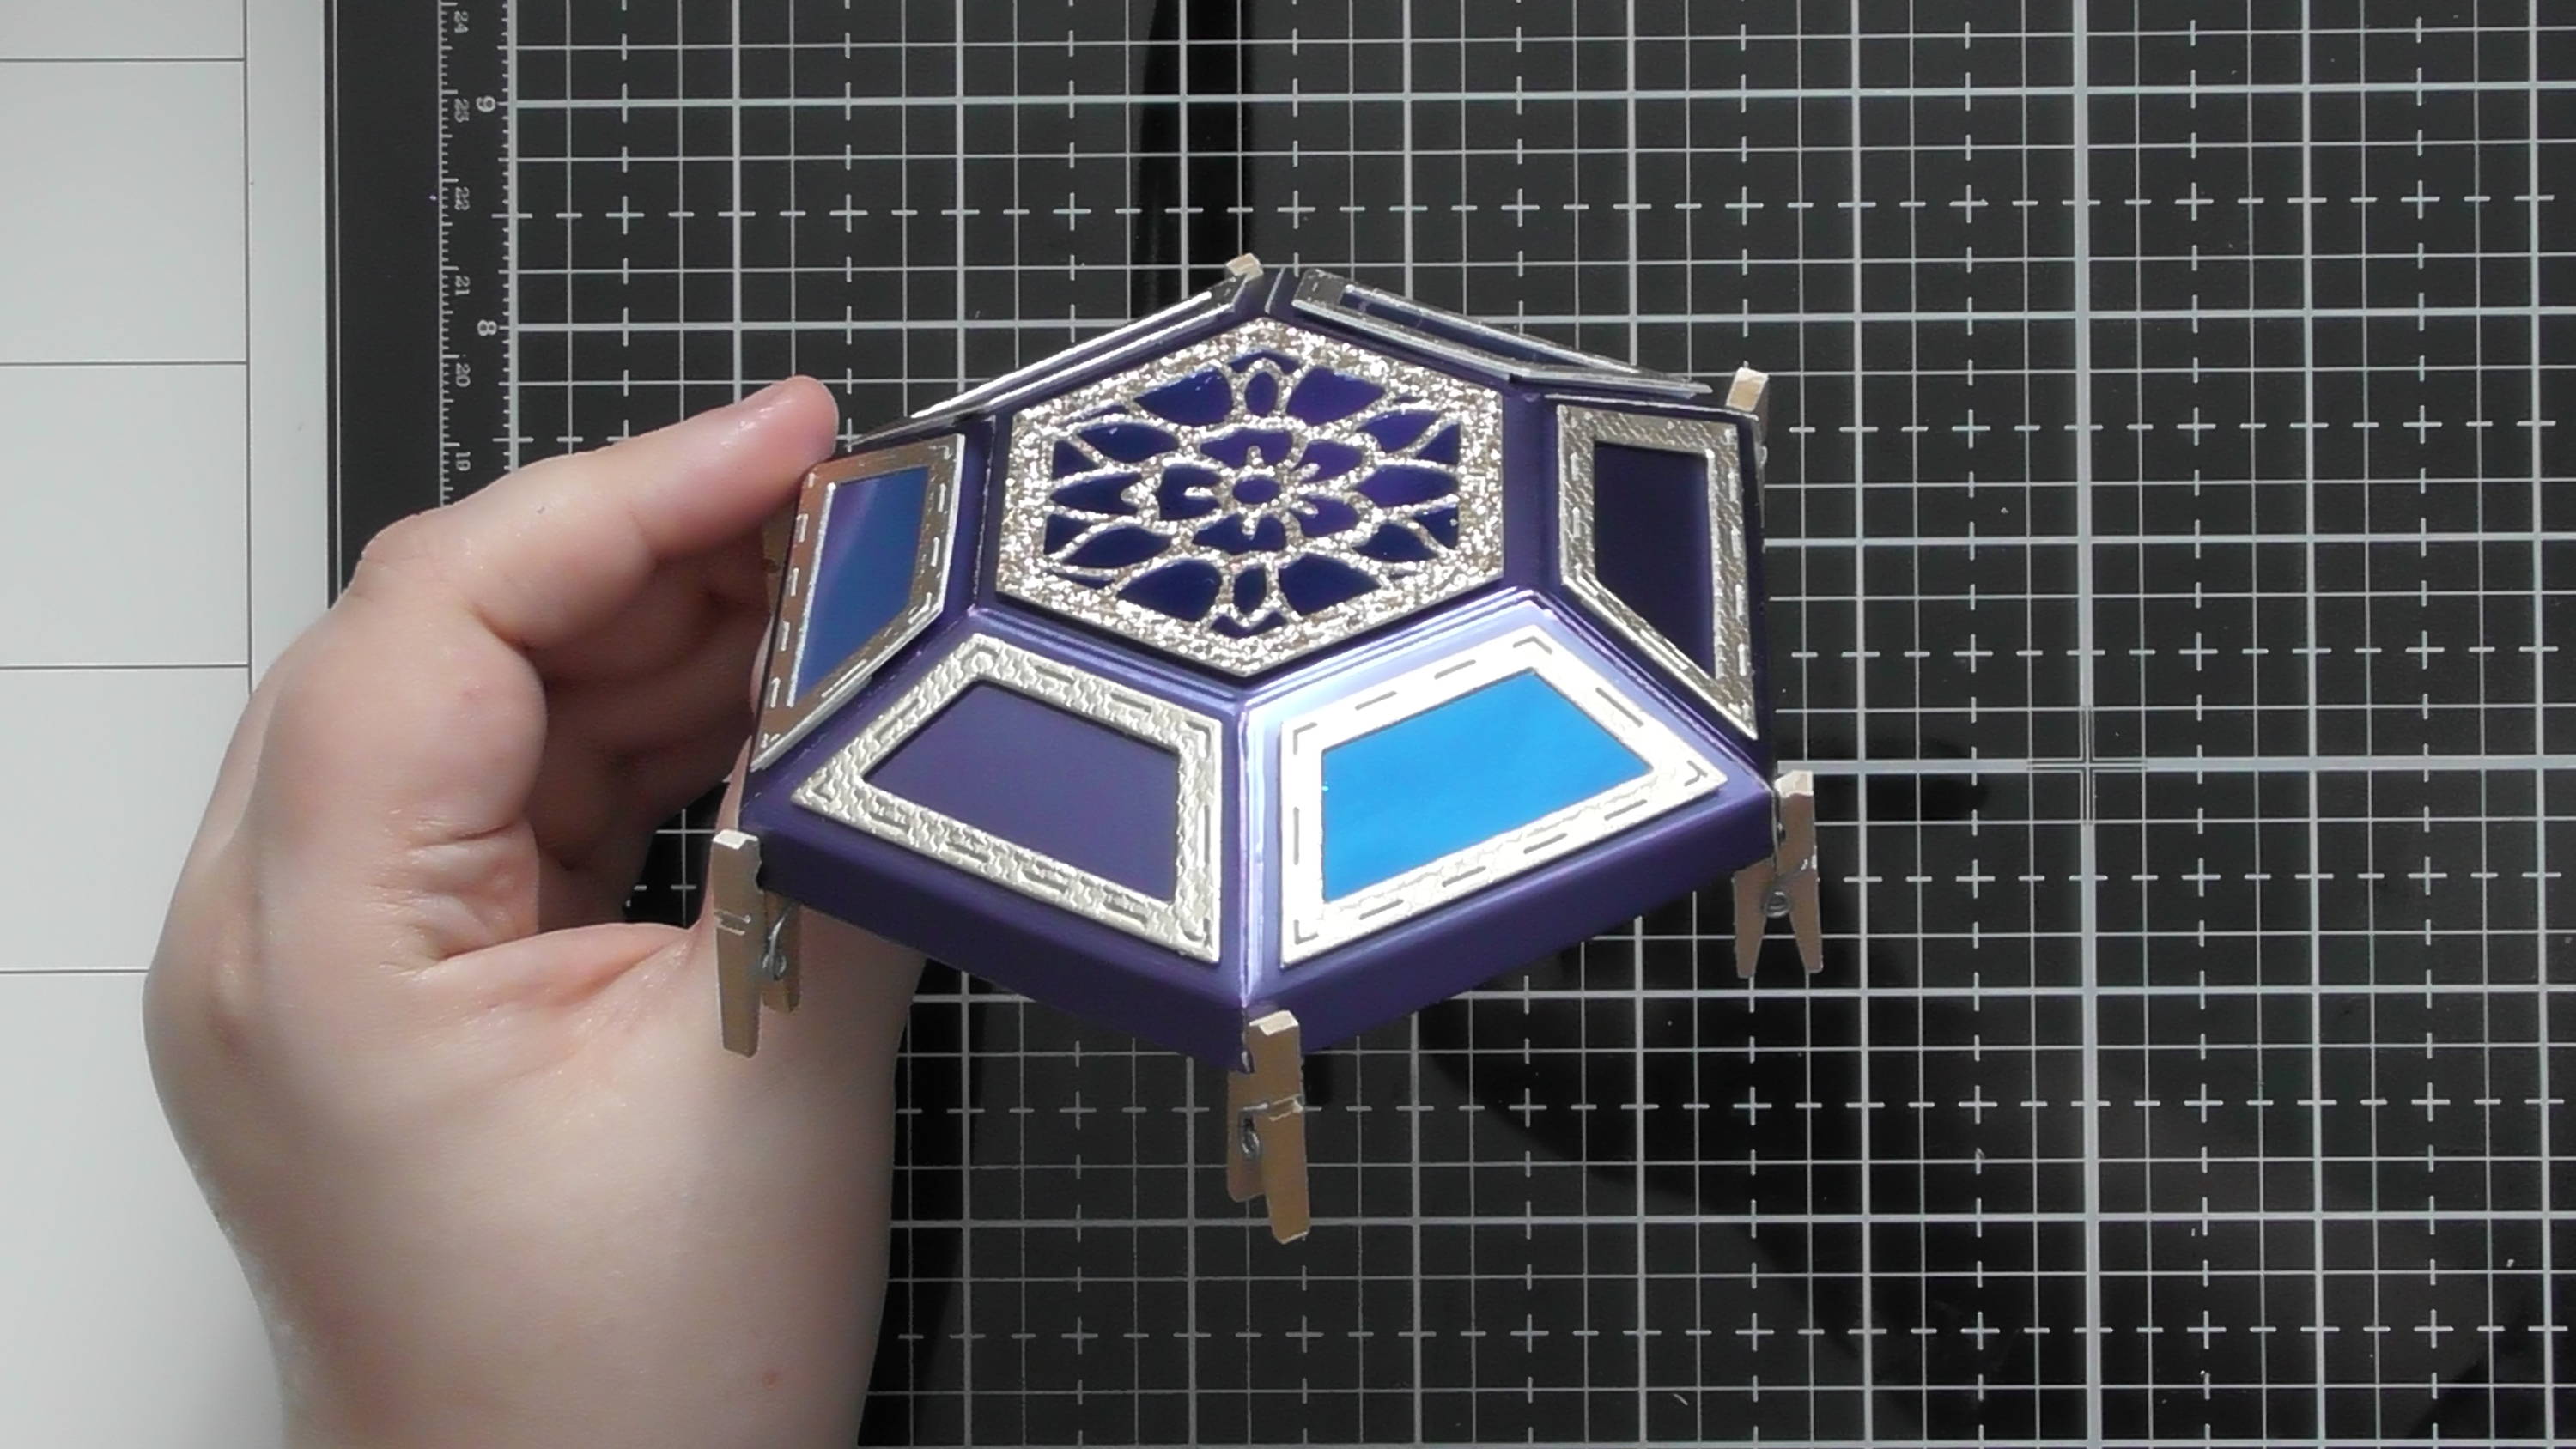
Step 6
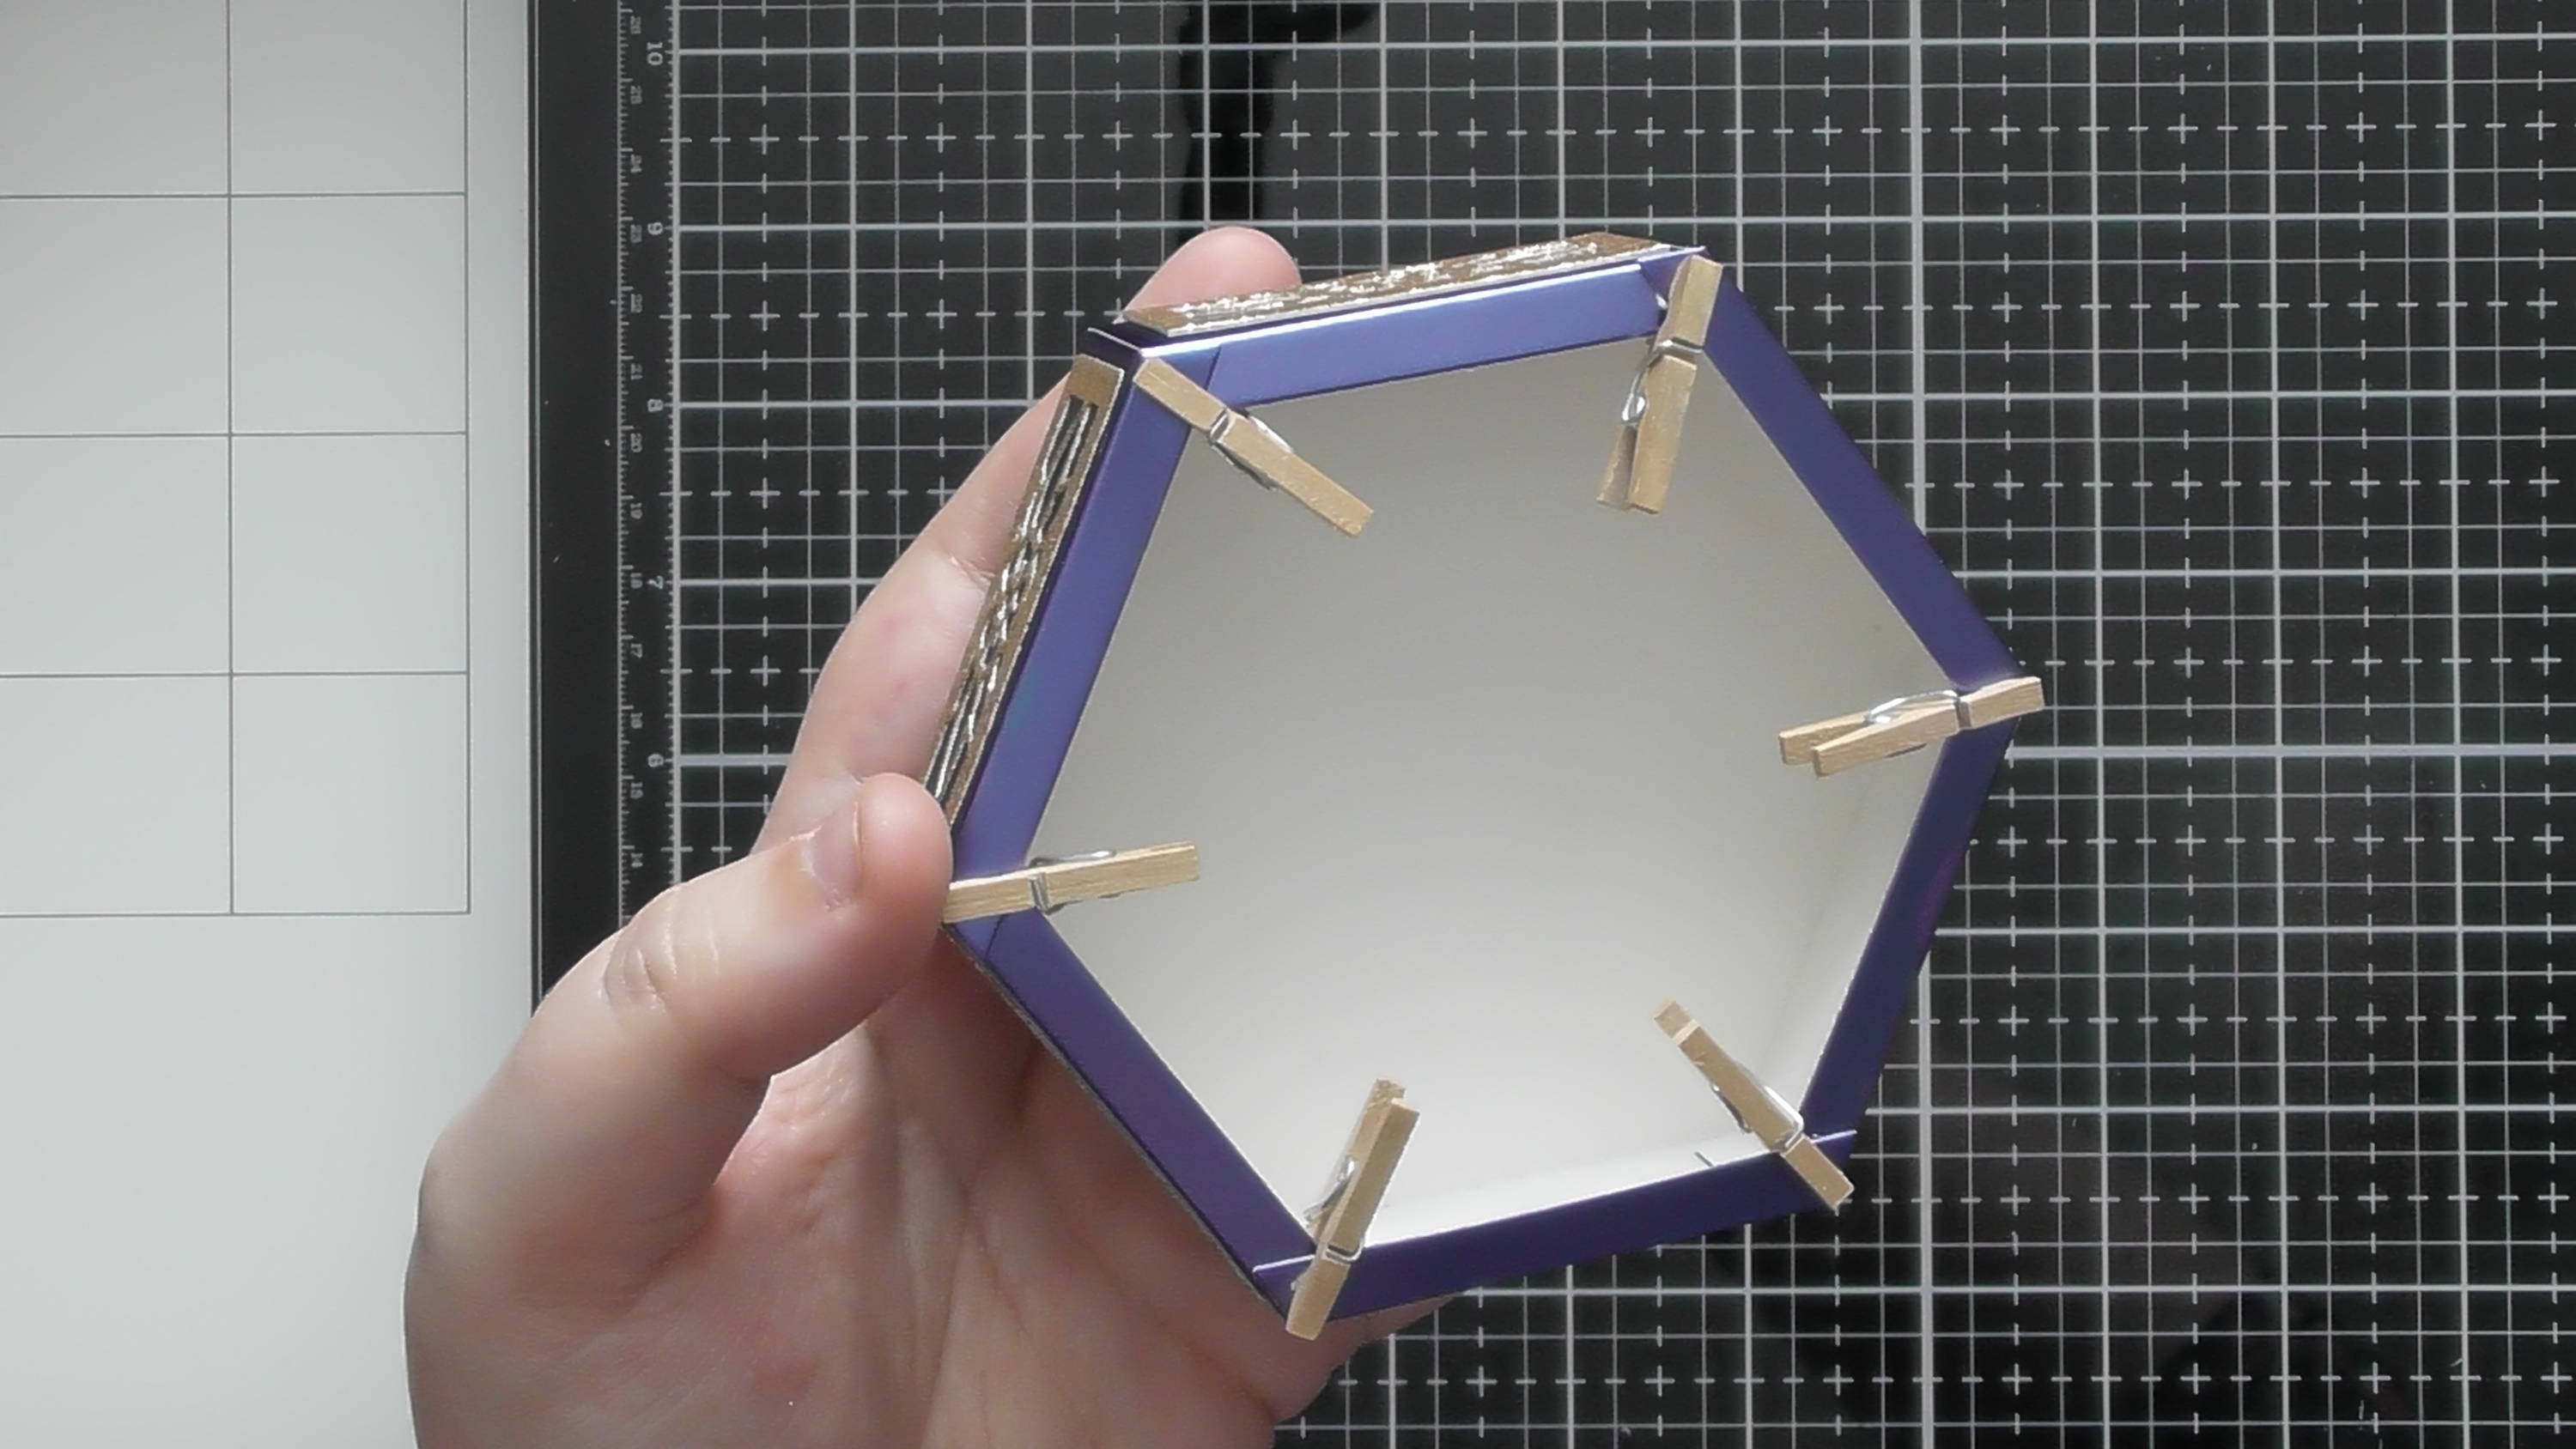
I also like to add tiny pegs to help everything dry exactly where I want it, especially when I’m using luxury or mirror cardstock
Step 7
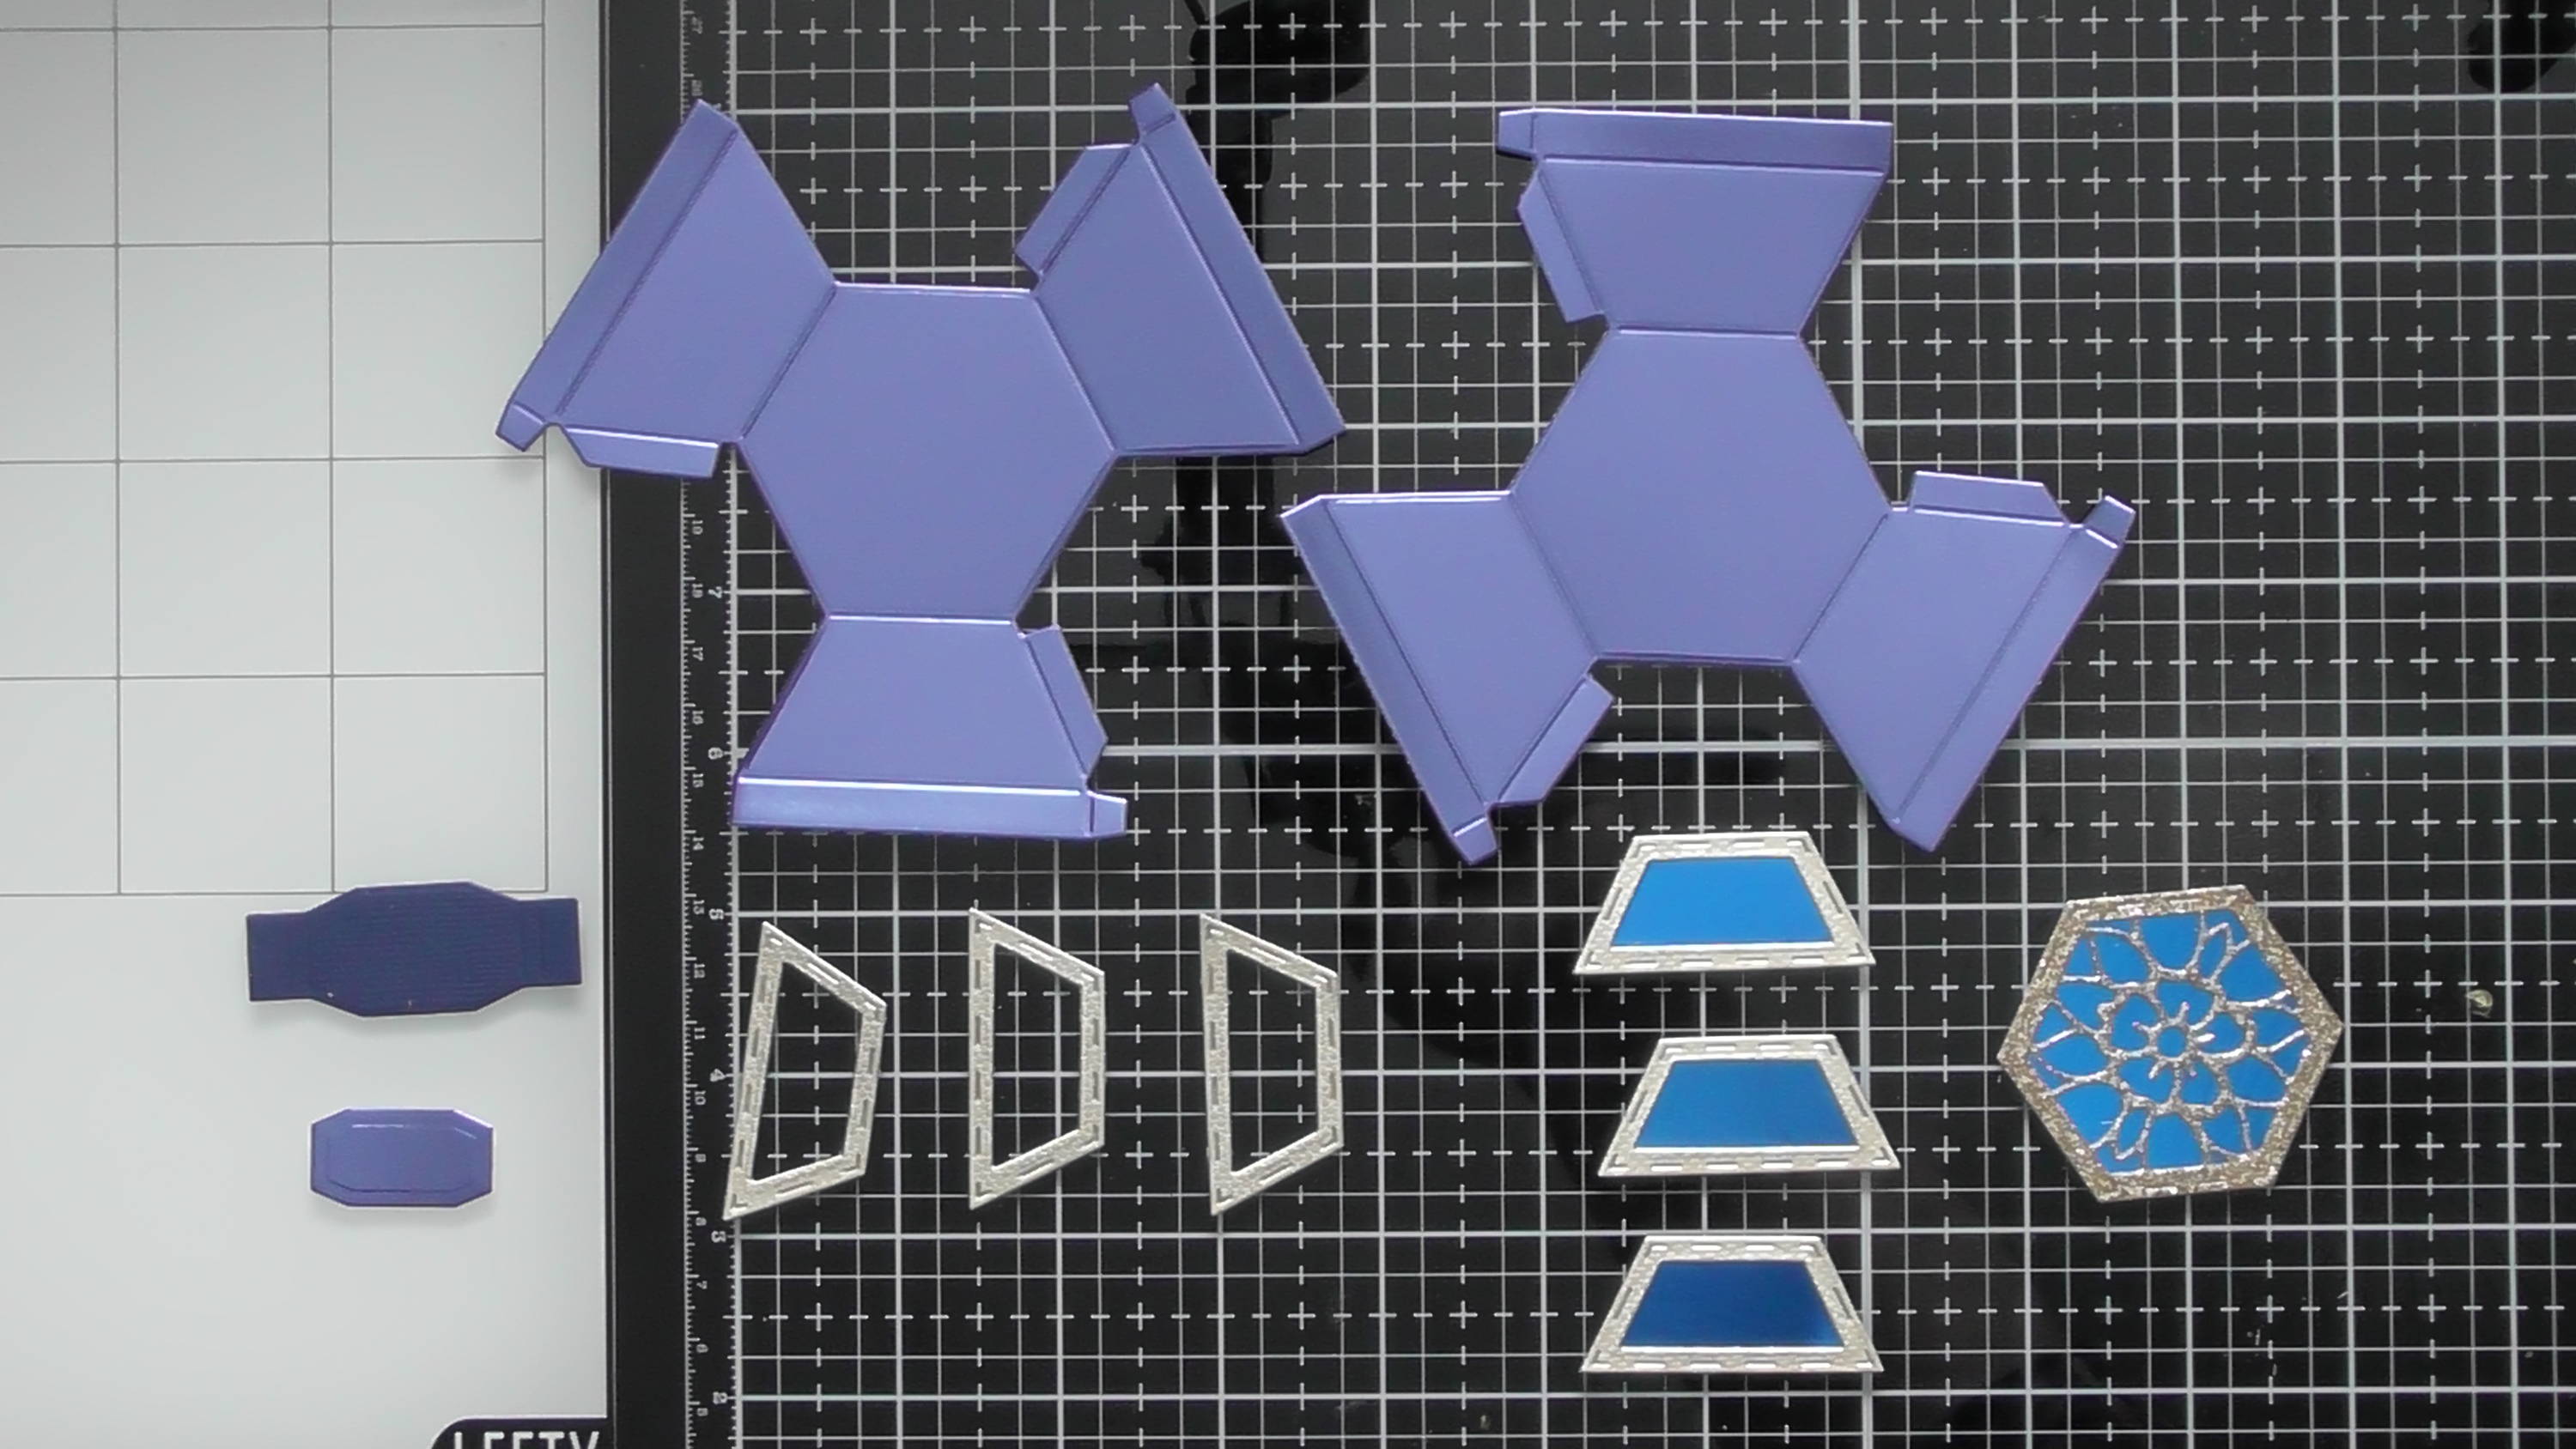
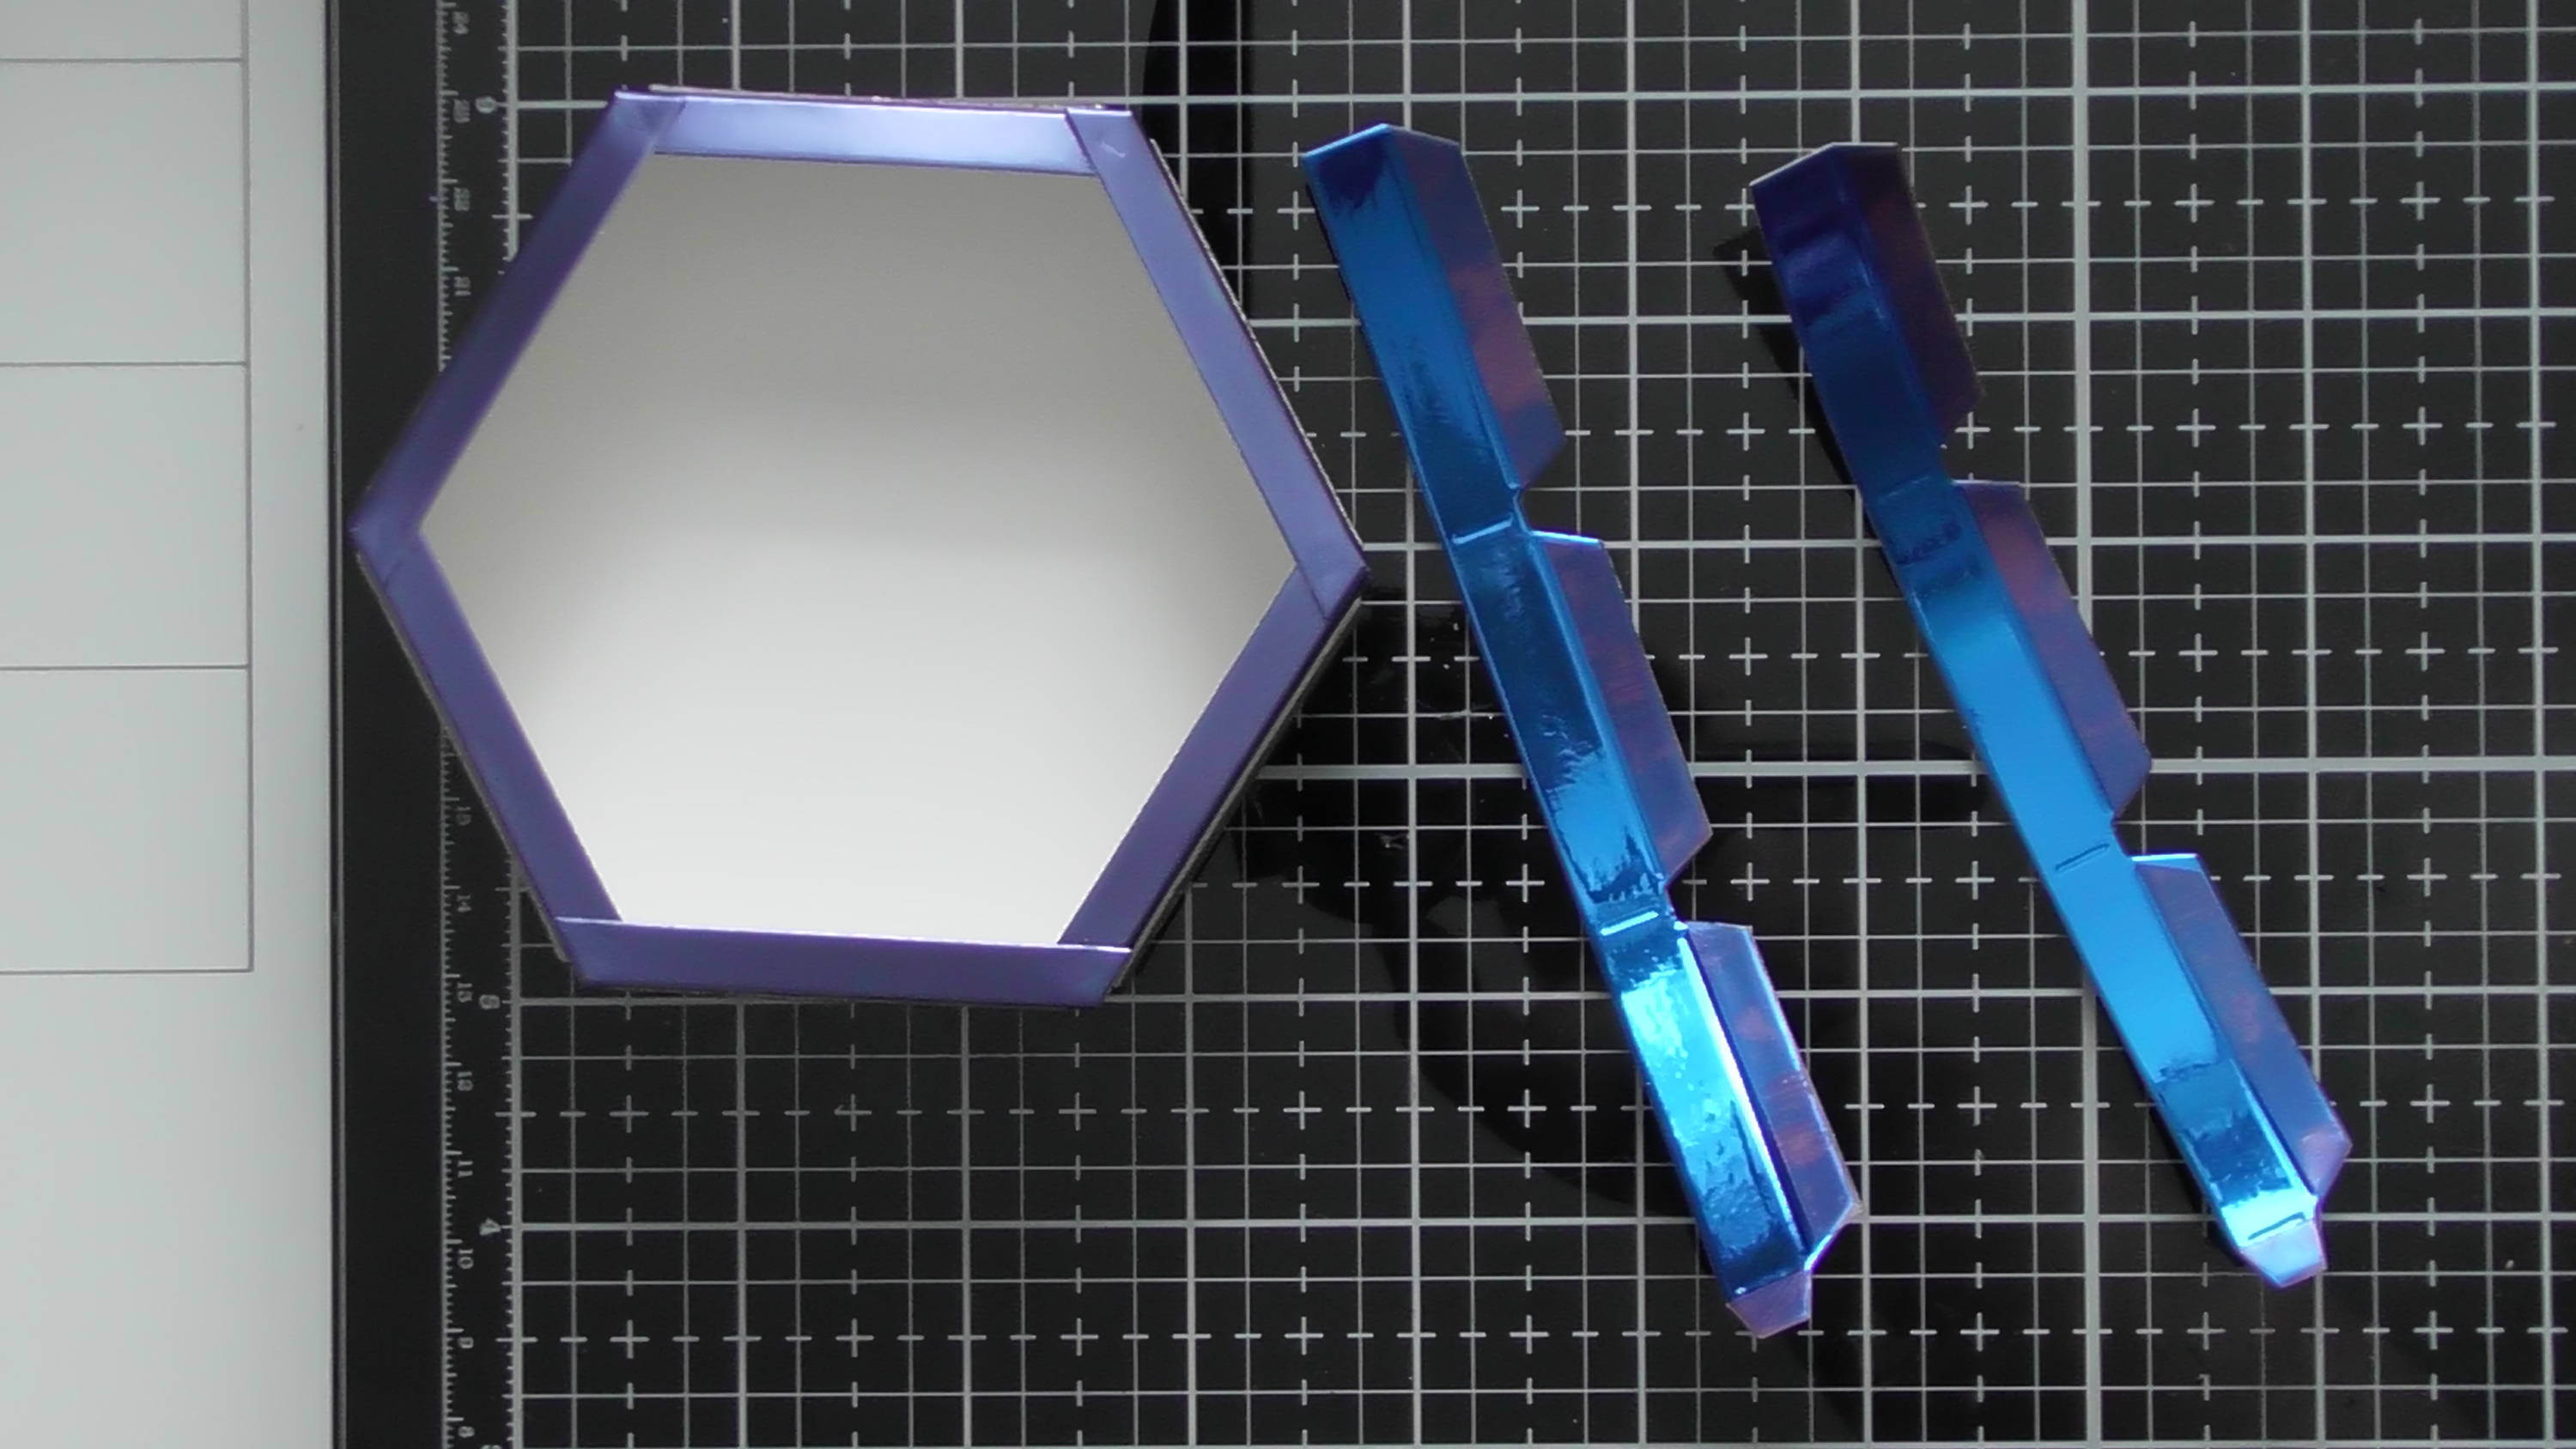
For the lid, you’ll need two of the main pieces (they almost look like propellers) plus an optional handle (I didn’t use mine in the end) and your decorative panels too.
Step 8
Firstly stick the two lid pieces together rotating them so one fits in the gaps of the other. If you’re using luxury or mirror card, you might want to use double sided tape rather than wet glue as it can be visible, however I knew I was going to cover mine with a decorative panel
Step 9
Add all of your decorative panels while your lid is flat
Step 10

then pre-fold all the score lines to make construction easier
Step 11
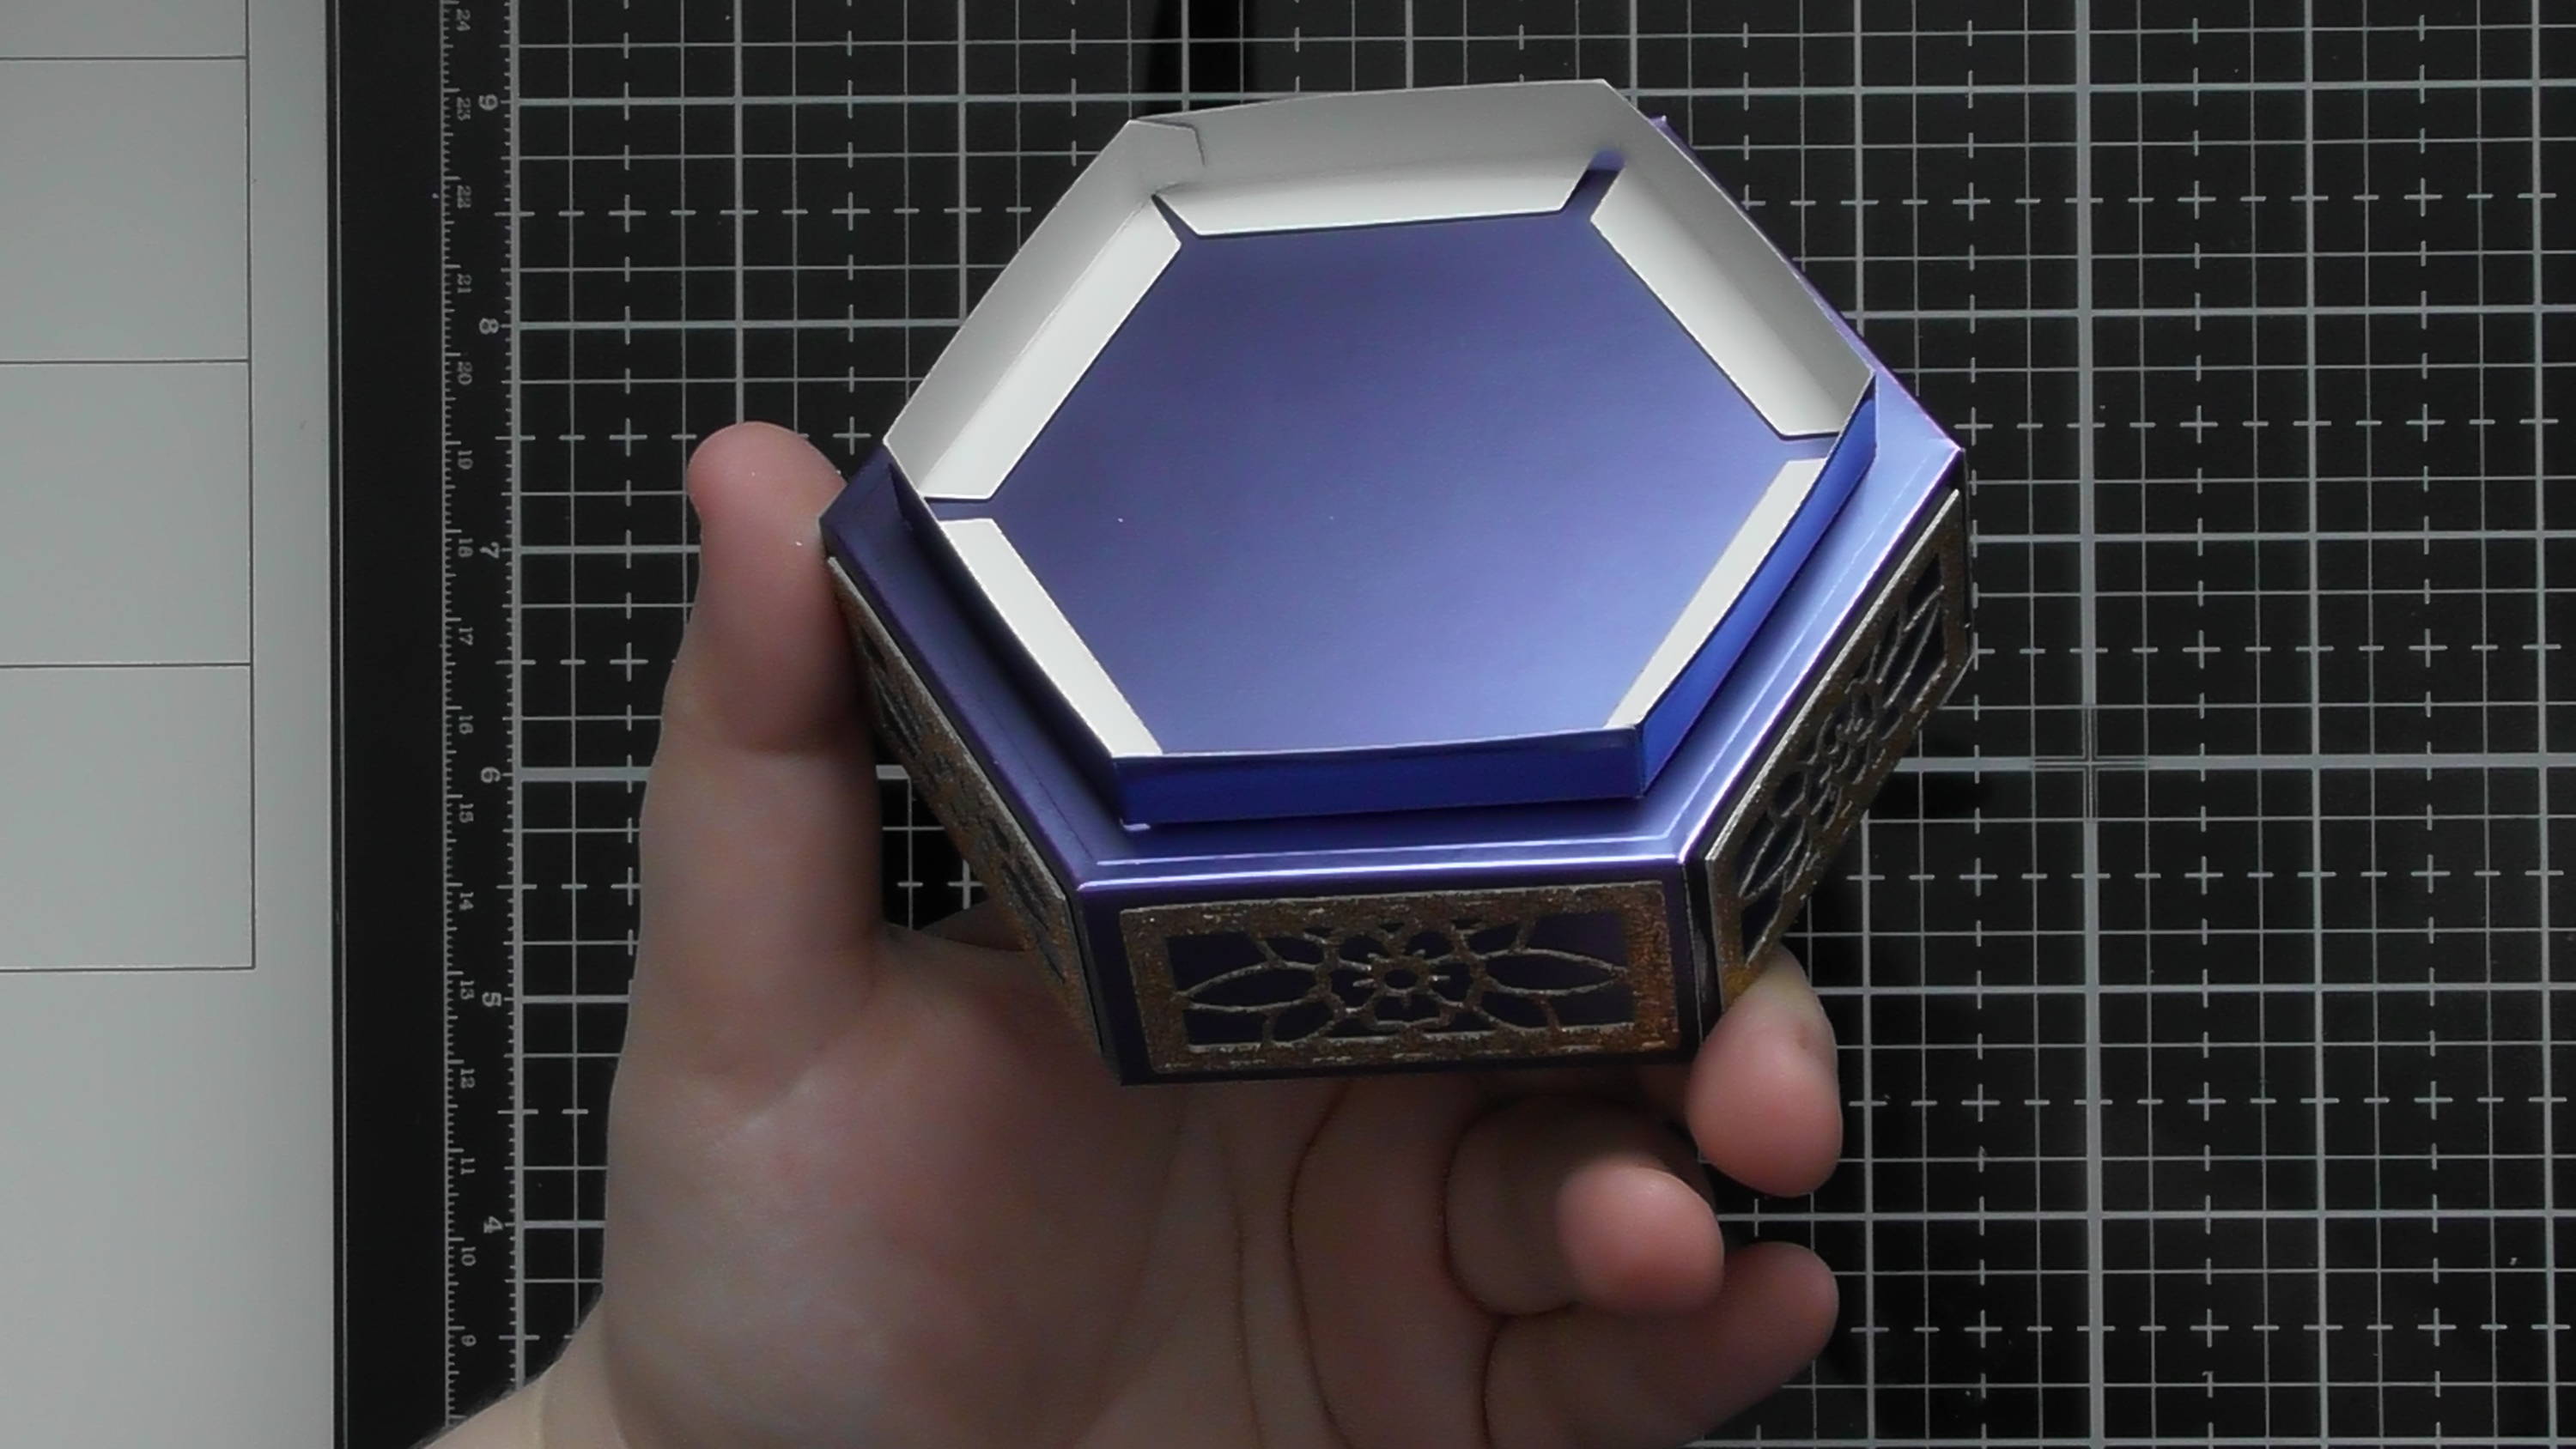
Adhere all the sloping sides to create your domed lid shape then
Step 12
add tiny dabs of glue to those remaining little glue tabs, and use a peg to hold them together while the glue dries.
Step 13
You’ll now need to die-cut 2 of the pieces shown above, this creates the foot of the box.
Step 14
Finally it’s time to add the foot of the box; the instructions tell you how to flip the glue tabs outwards so you get the perfect placement and your boxes will stack perfectly on top of each other
Step 15
but if you’re doing a single box like this, it is possible to attach it like this if you’d rather :D I think it’d look nice if you added a hexagon die-cut from your stash into the centre there as well, that would make the foot nice a sturdy. Or alternatively you don’t need to add the foot at all, as it’s mostly to help them stack
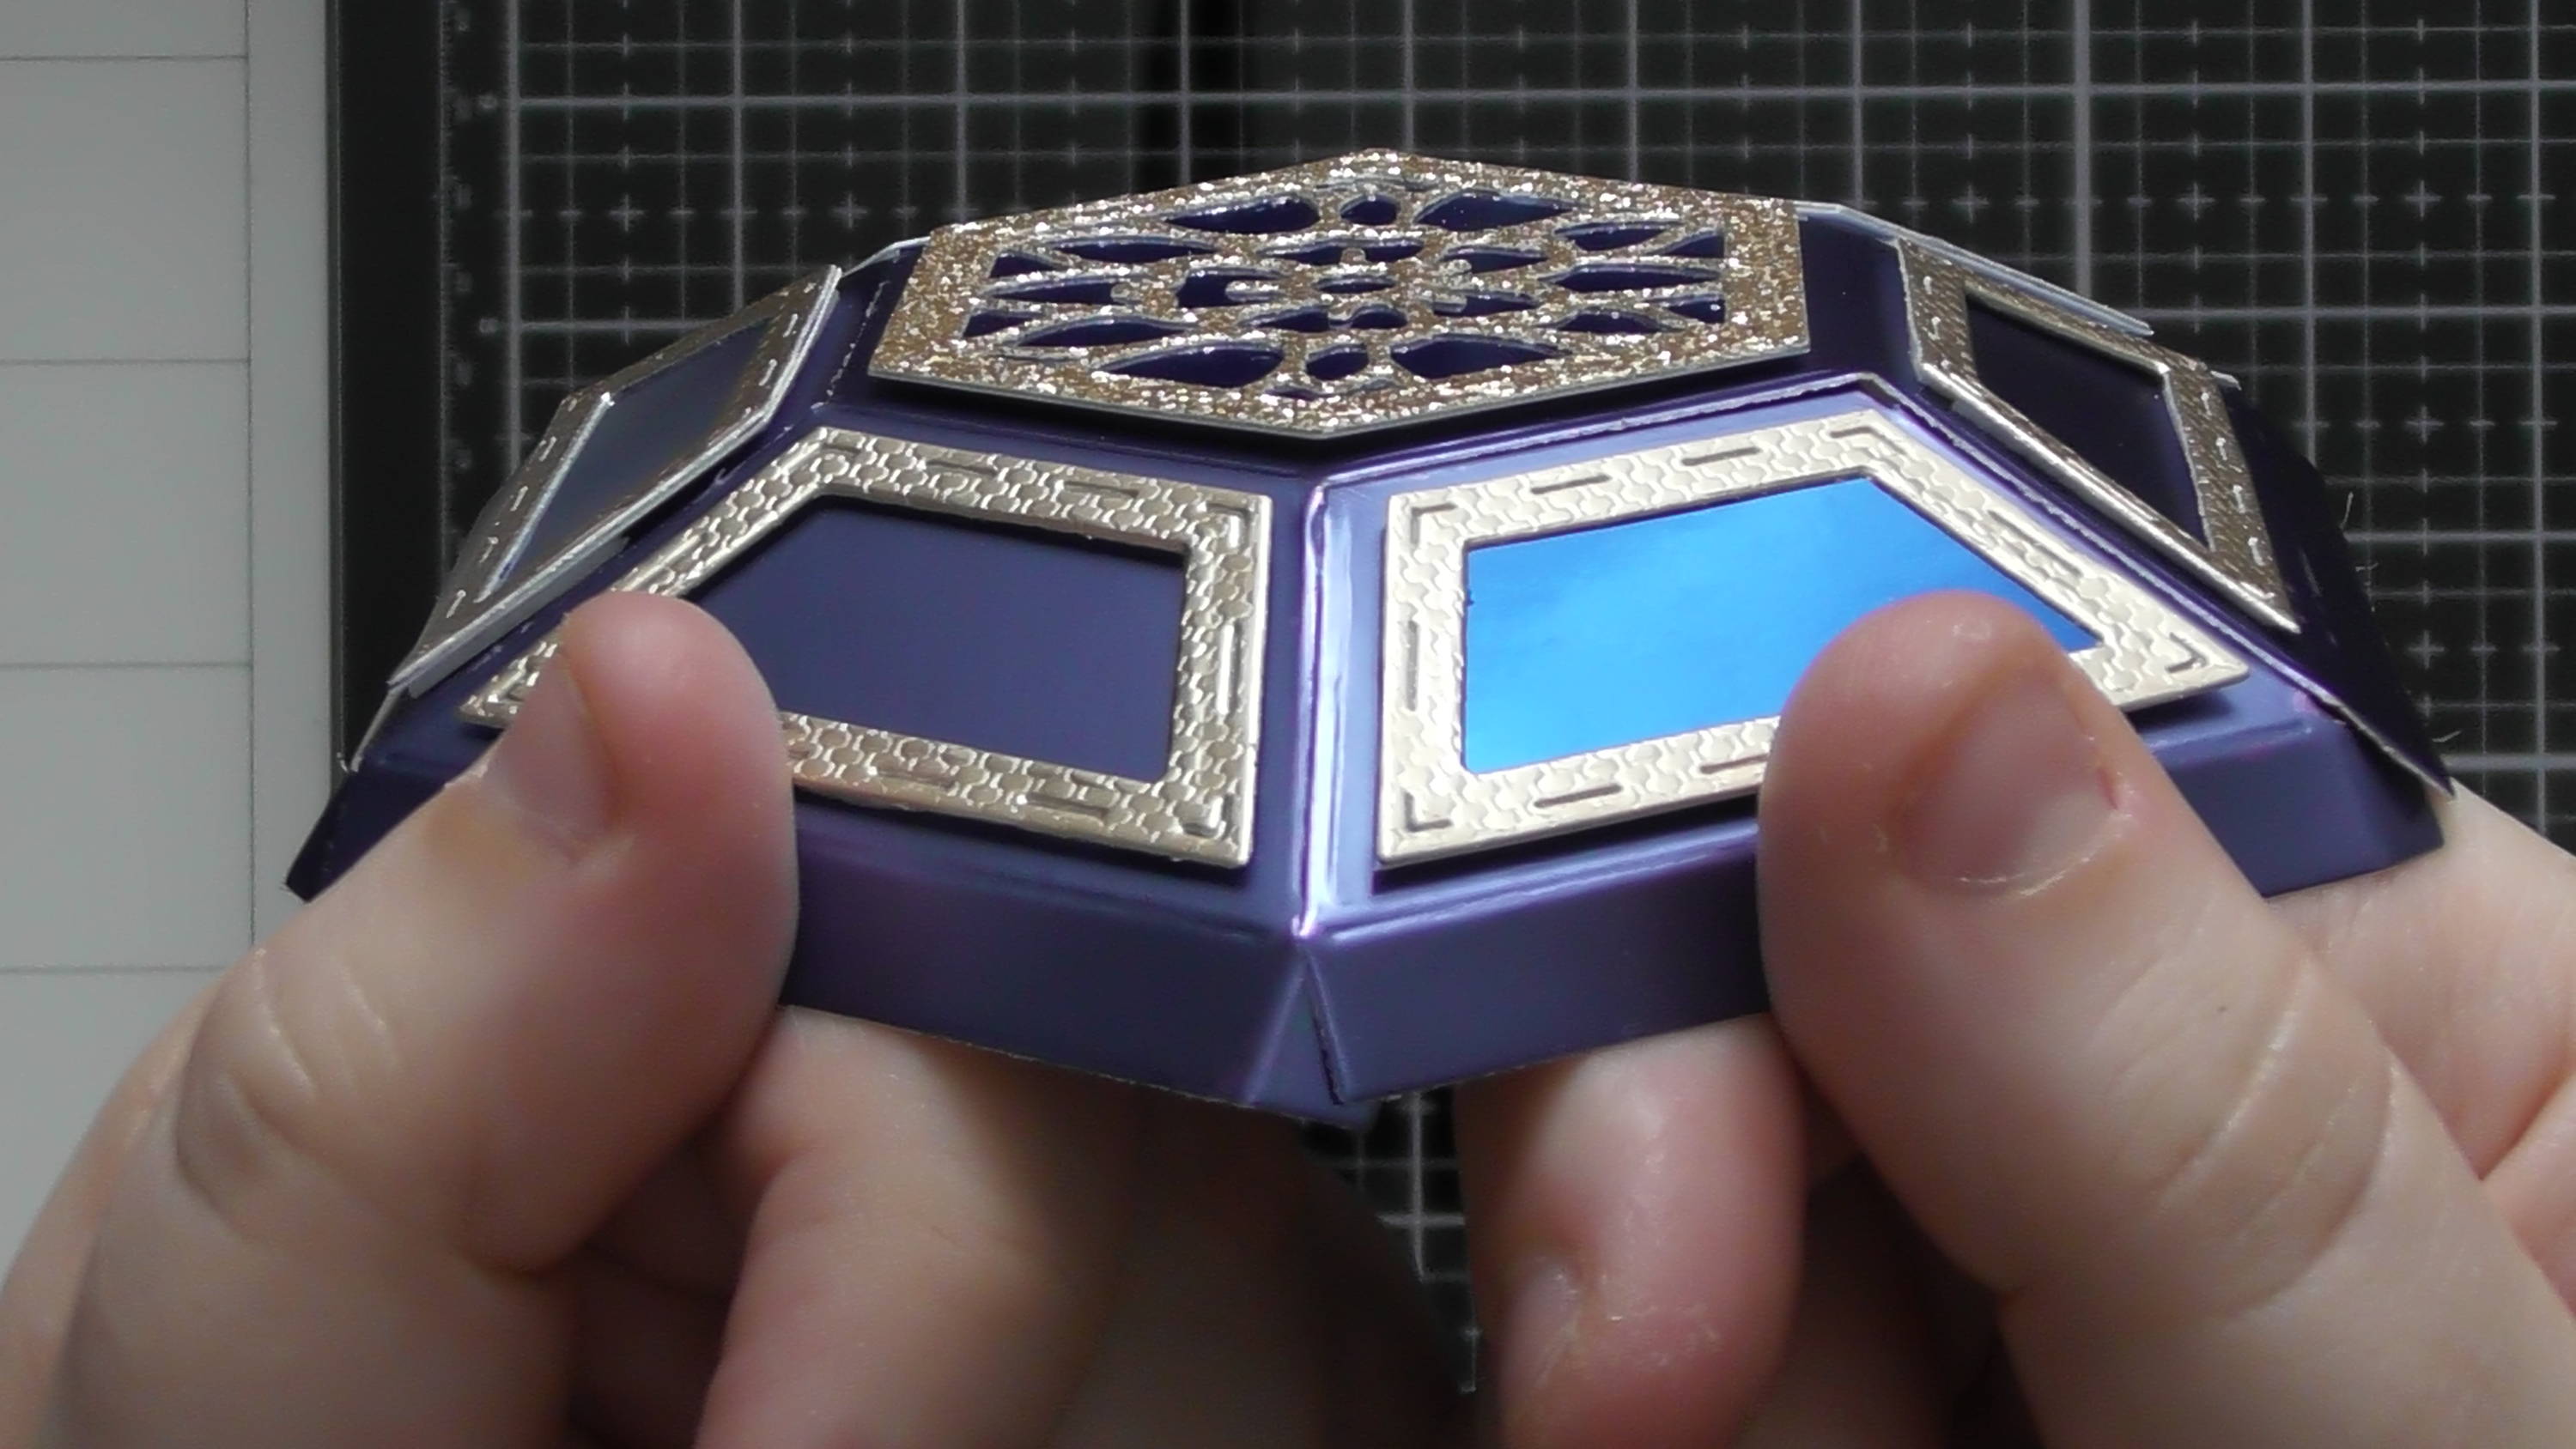
Step 16
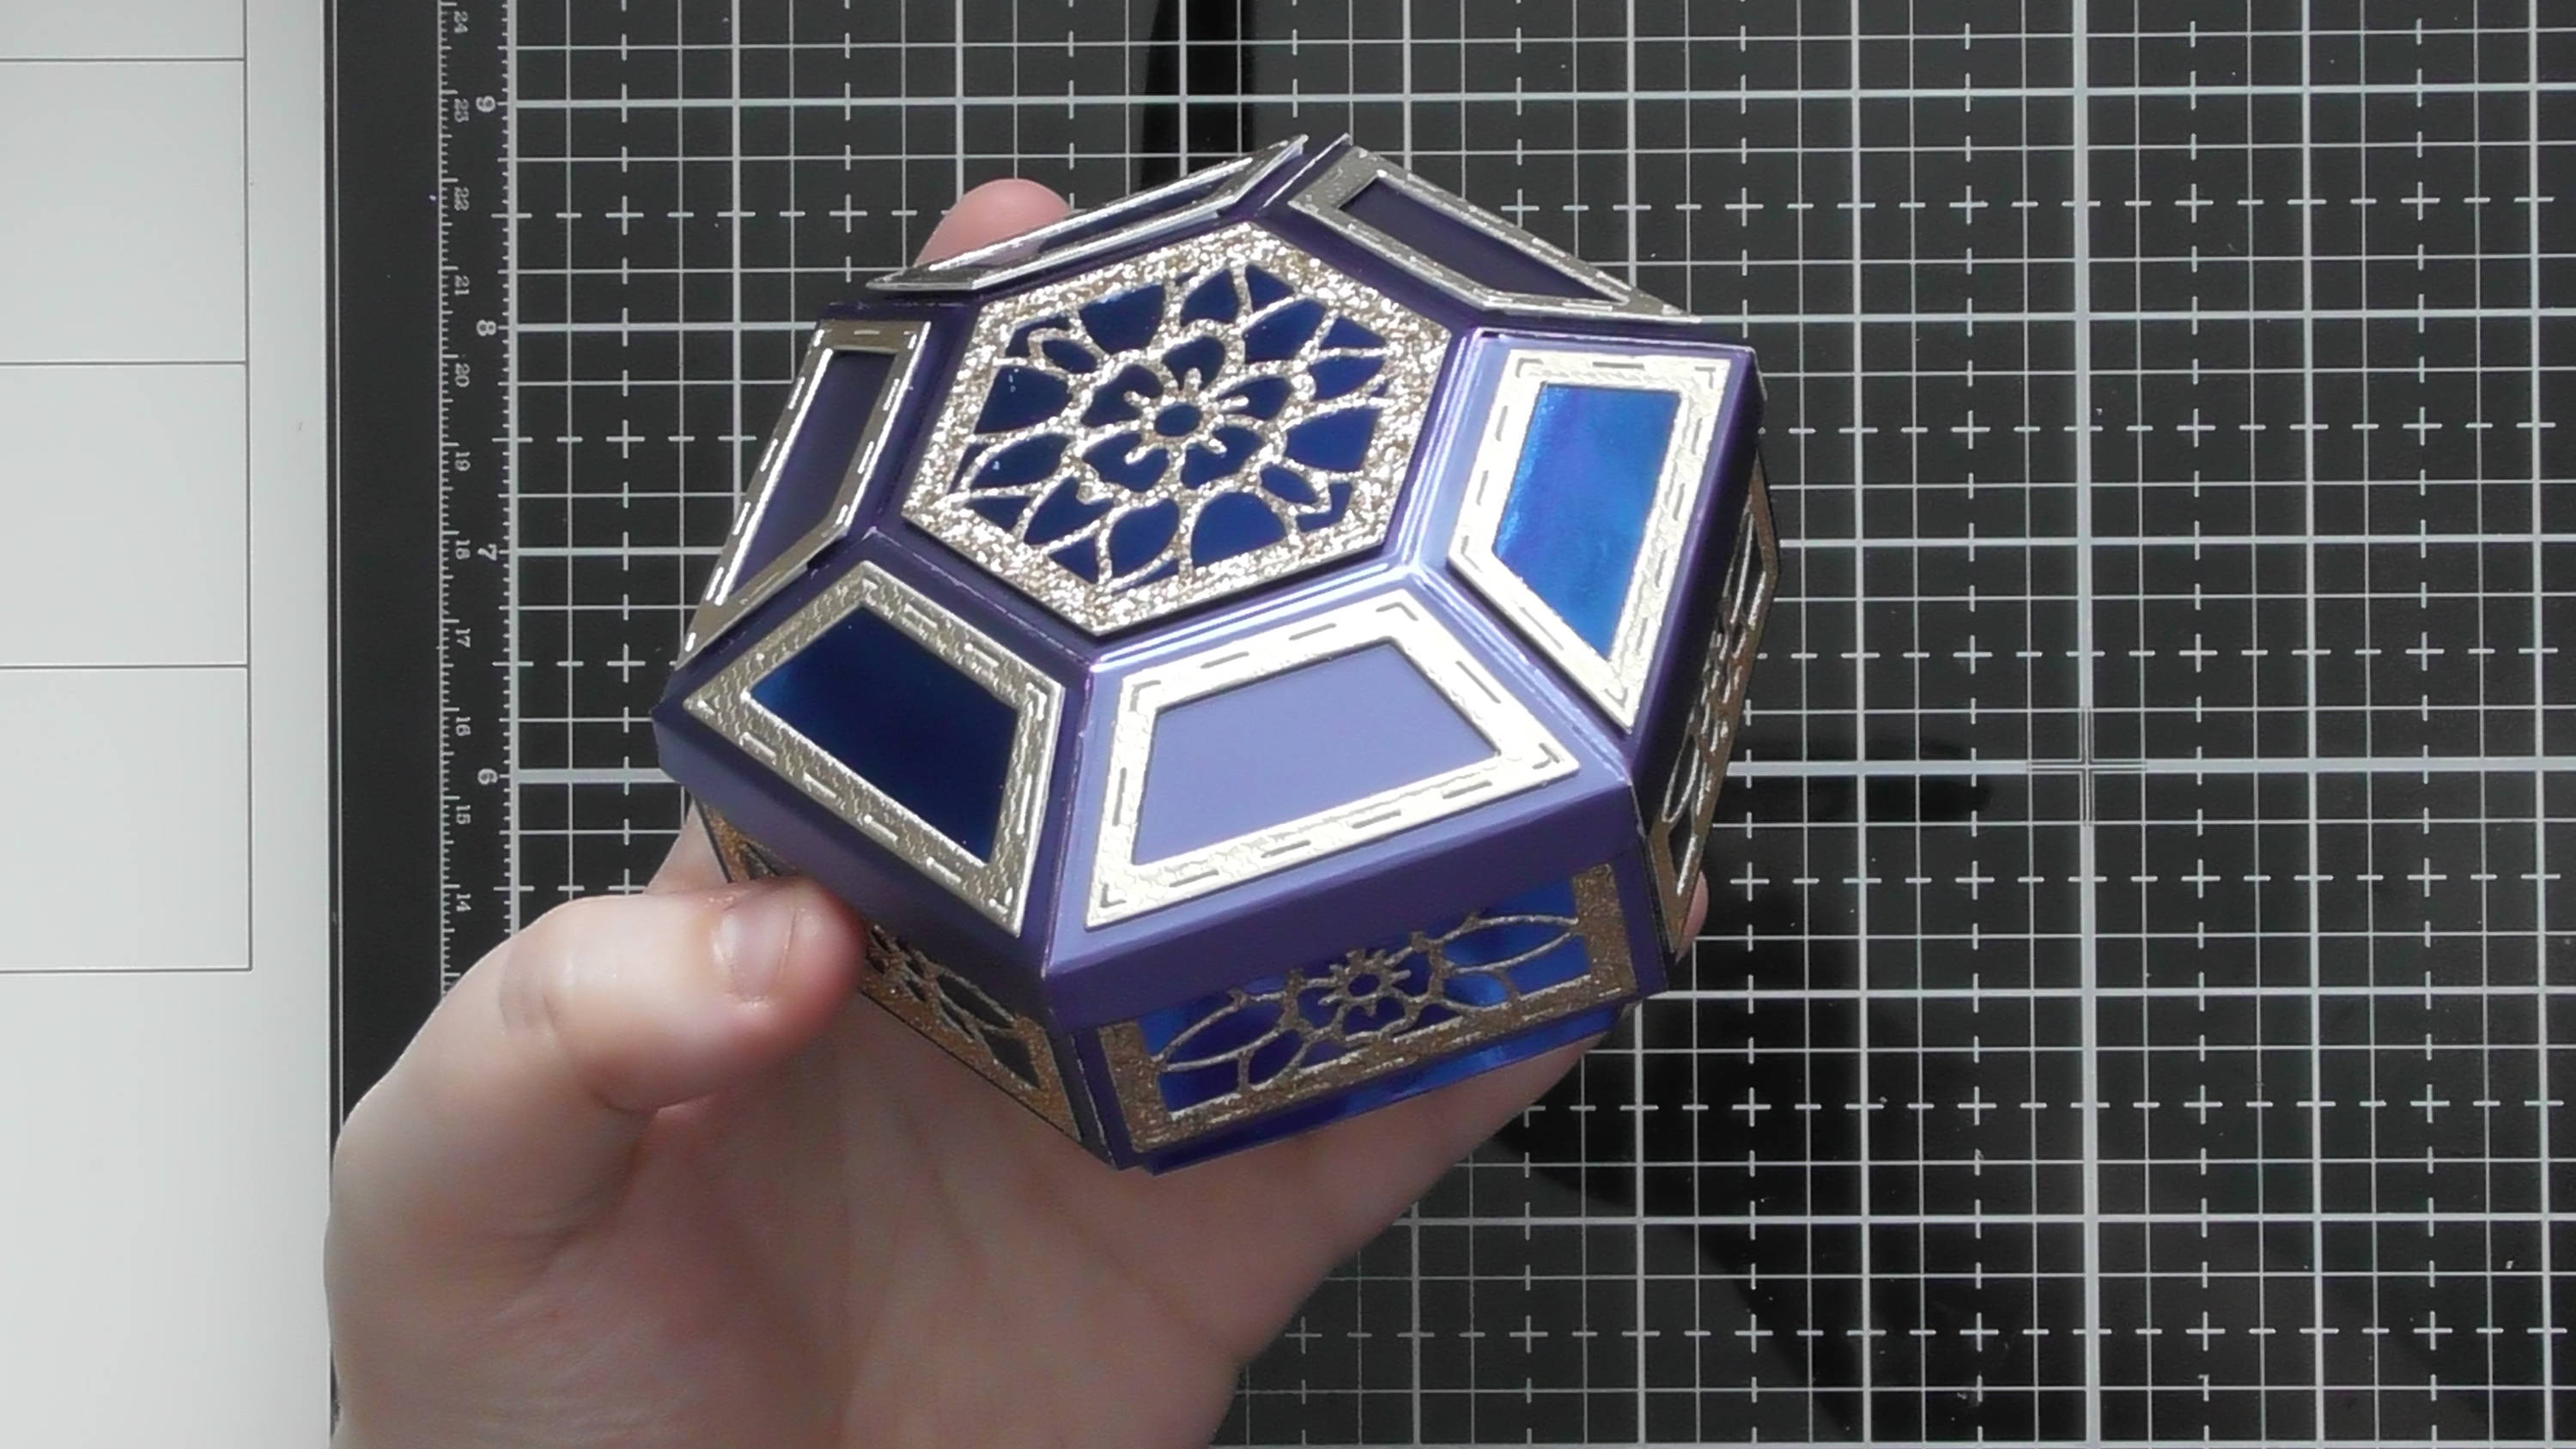
And now you have your finished box :D And the great thing with the ‘Tiers of Beauty’ set is that you can add more boxes to the stack if you decide to which is fab
Hope you found this basic step by step helpful :D These Tiffin Boxes are so much fun to create and you can have hours of fun thinking up different ideas of how to use them :D Christine xxx
Buy The Craft Project


