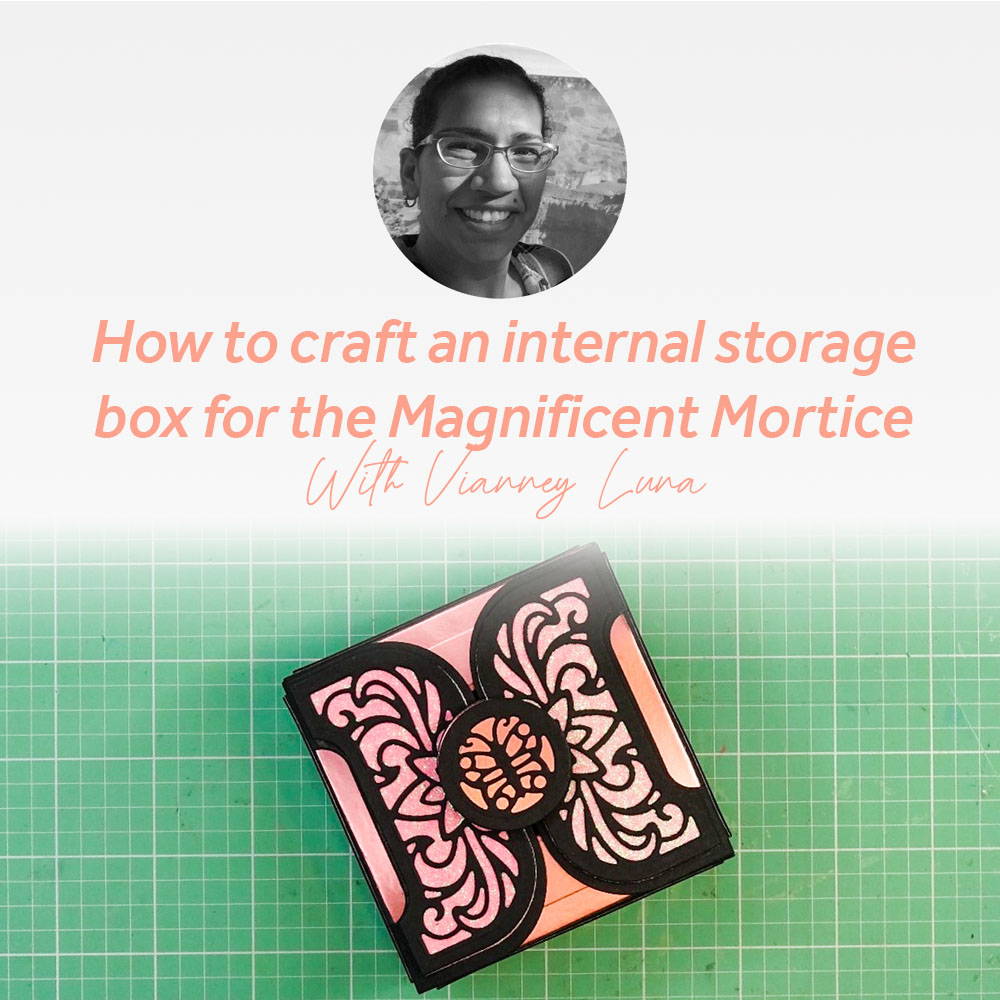
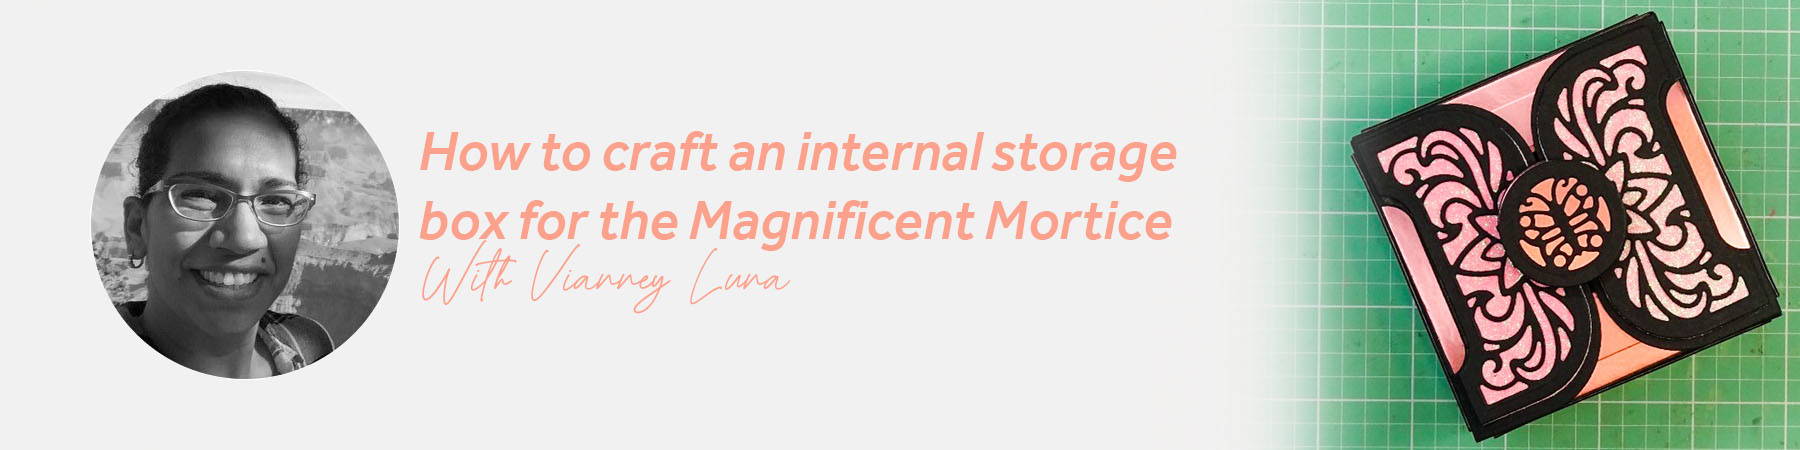
Hello, everyone! My name is Vianney, and in this tutorial we will be working with the Magnificent Mortice Gift Box dies. This is an amazing and dynamic set of dies. They will create a larger box, that can be stacked or crafted in many layers, and an internal box that is smaller and has its own options! So many ways to use these gorgeous dies. Today I will walk you through creating an “enclosed” internal storage box for the Magnificent Mortice gift box.
I will use the same papers I used for the larger box: Pink Frosting glitter card, Baroque Rose metallic card, and black heavyweight cardstock.
Part 1 - Making the Basic Box Base
Step 1
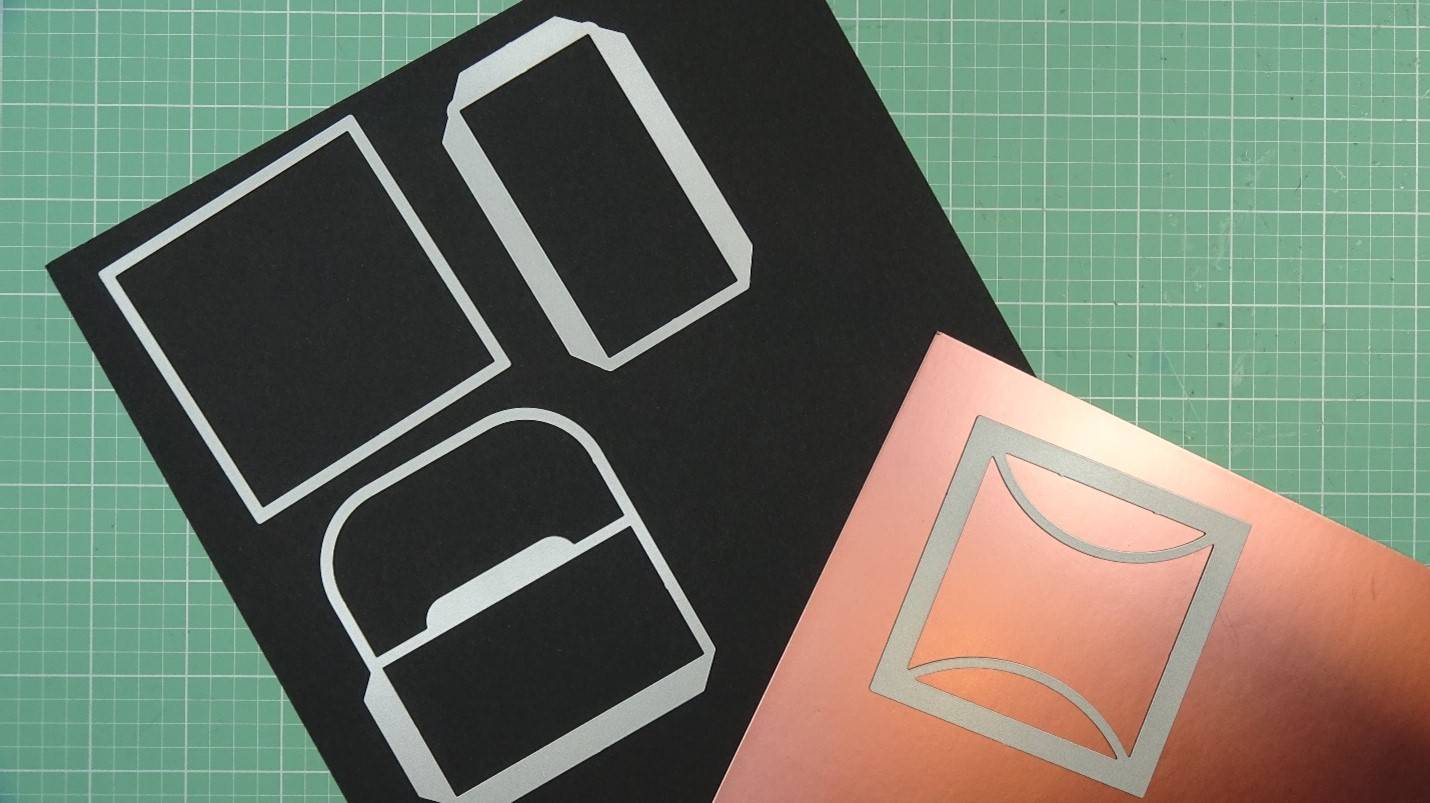
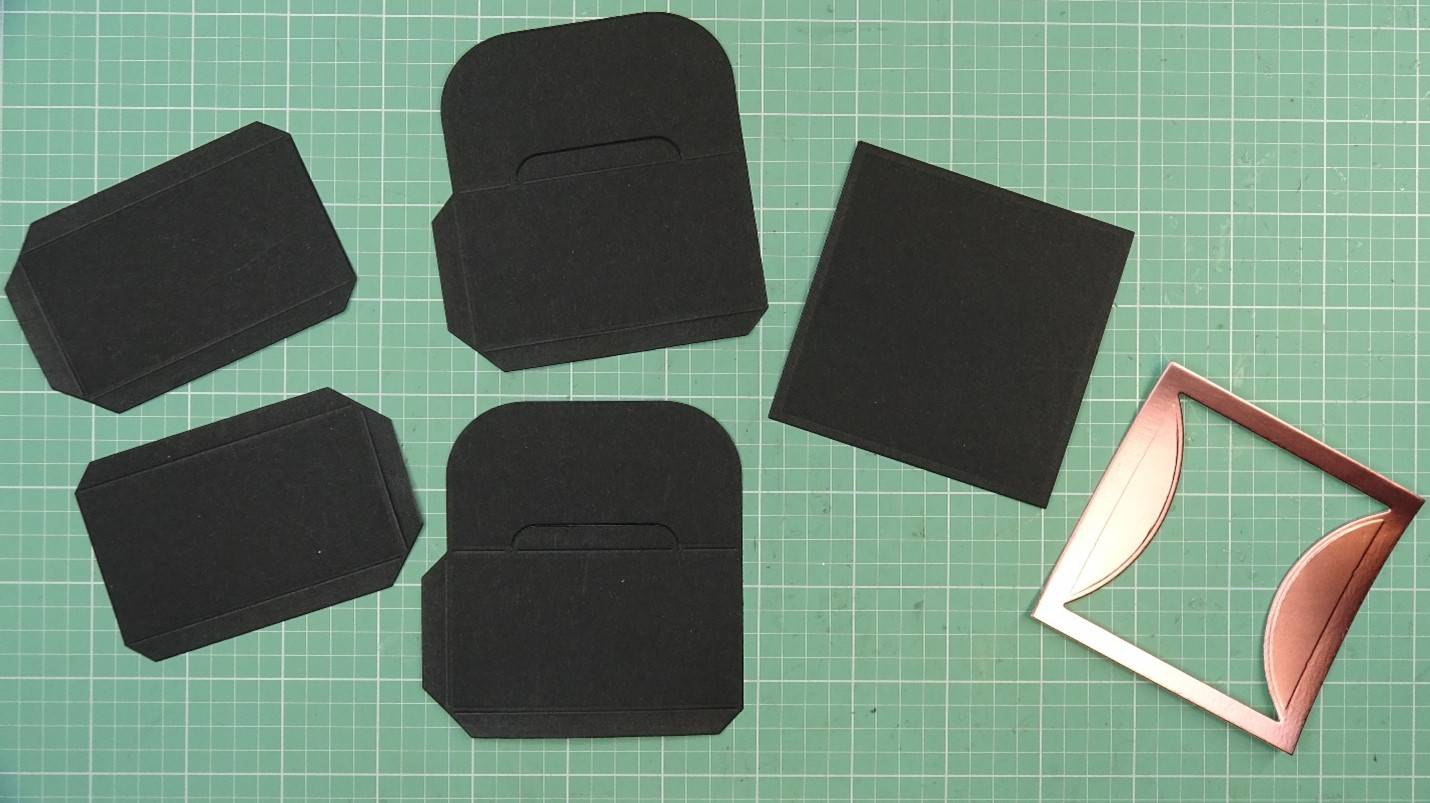
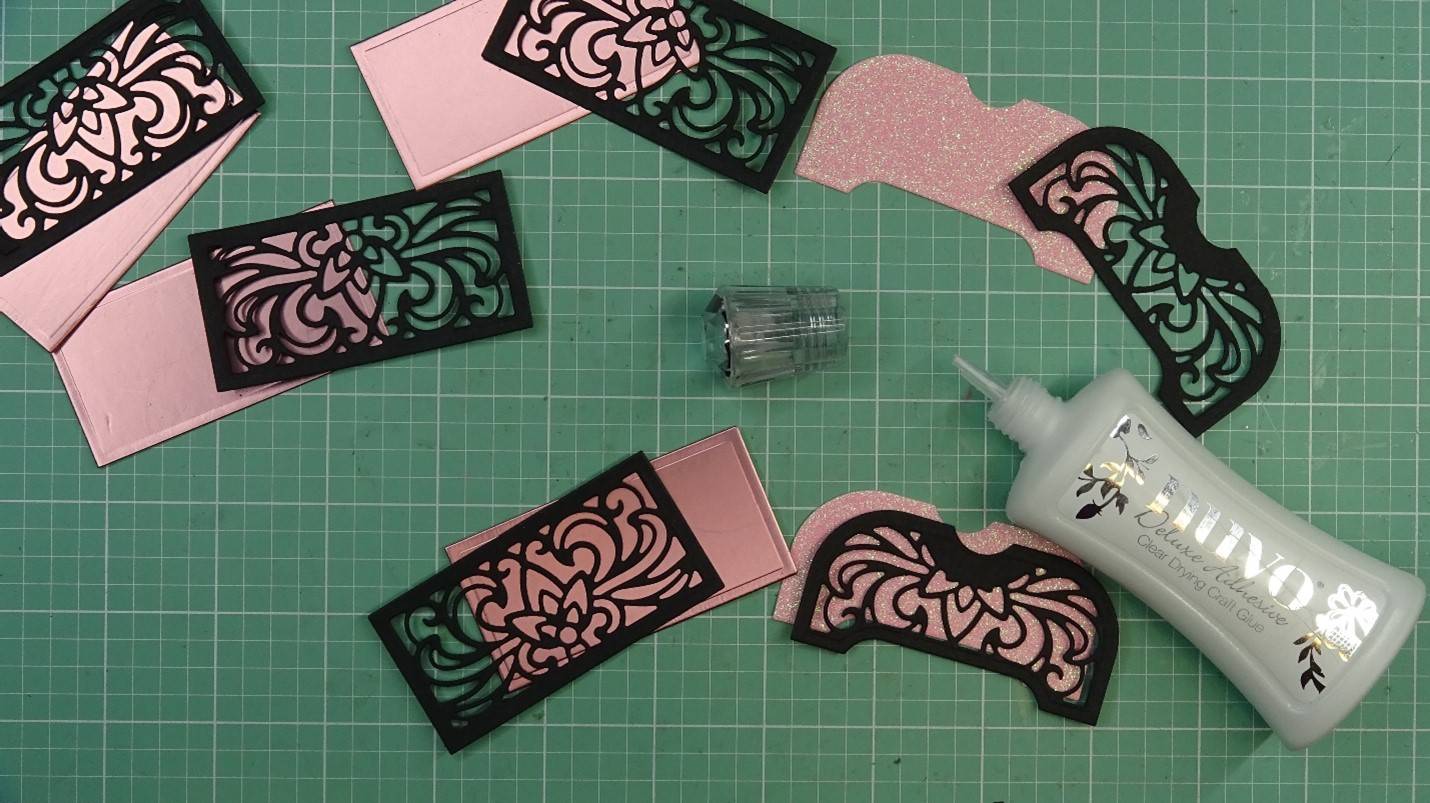
First, I will cut the black cardstock using the square die (1 of this), the rectangular side die (2 of these), and the rectangular side die that has large flaps (2 of these). I will also need the square die with the scallops cut from Baroque Rose metallic paper (1 of these).
Step 2
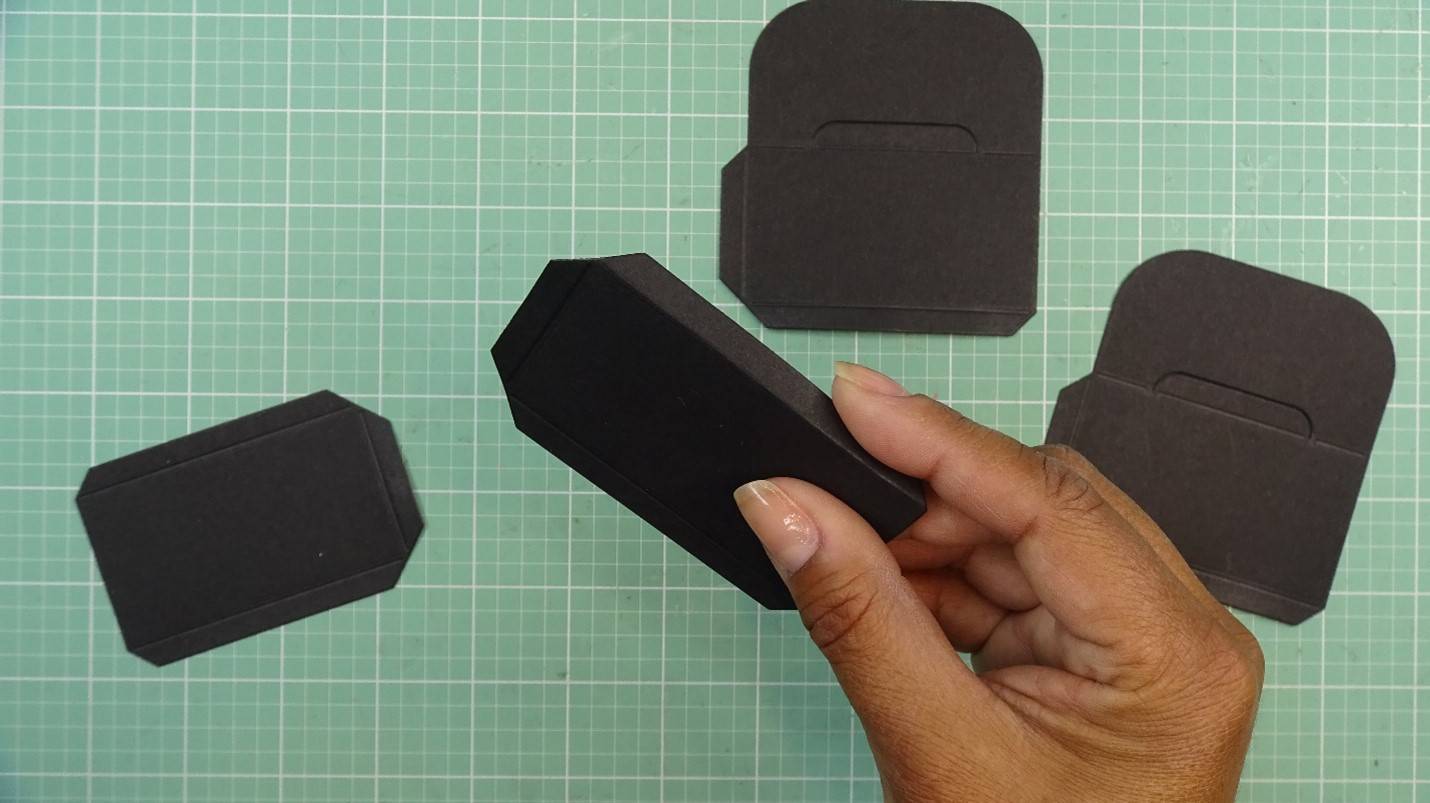
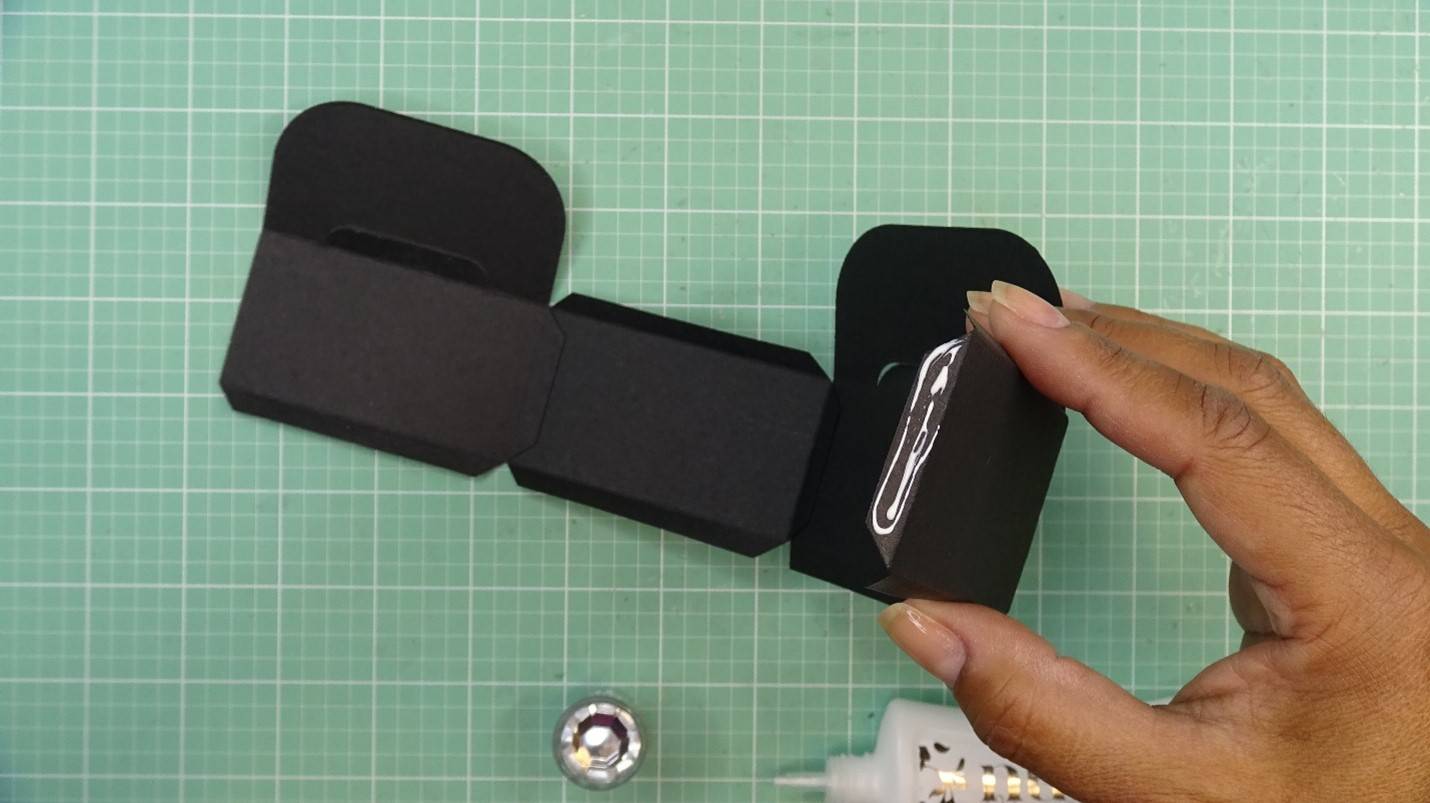
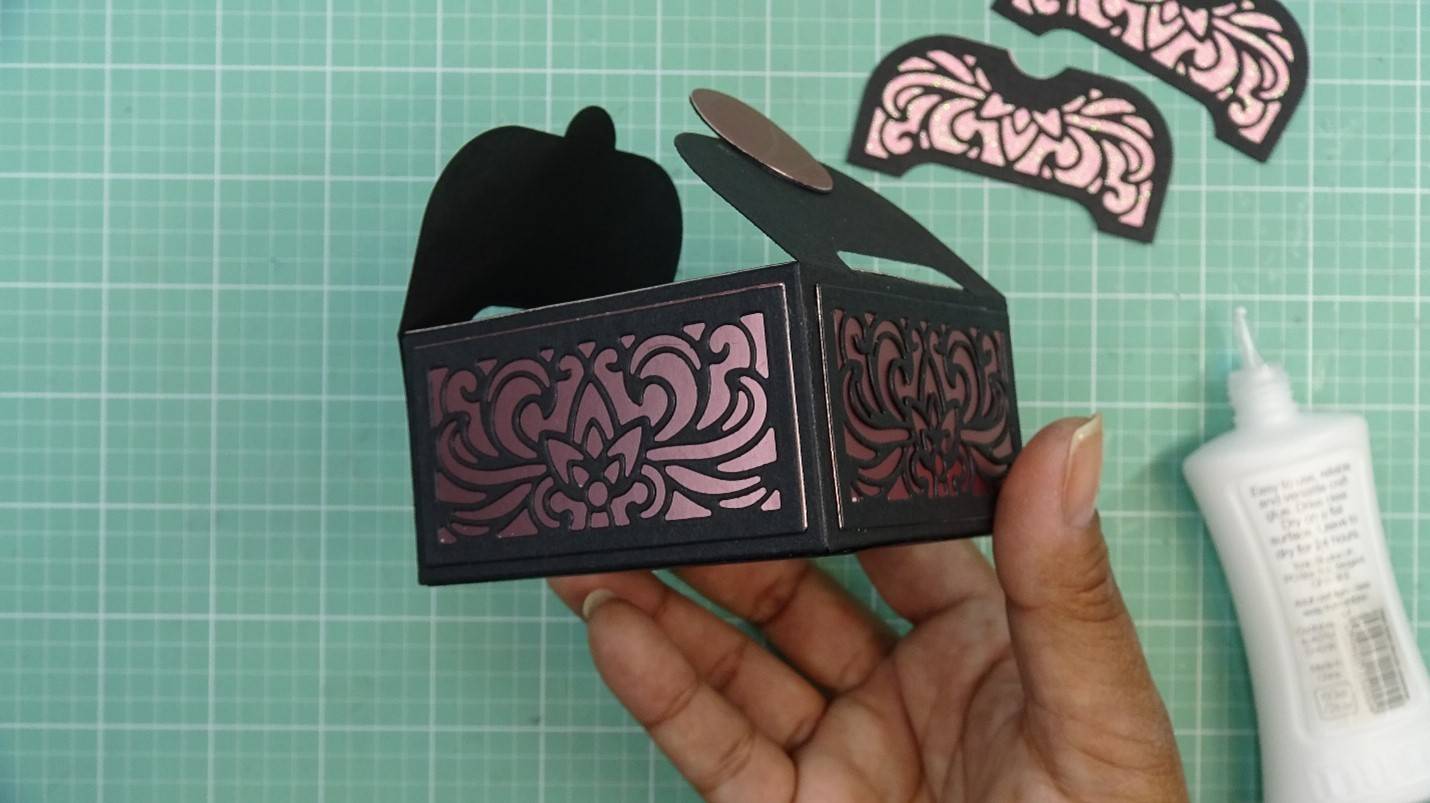
Then, I will make a frame structure by adhering the side pieces together. I take a moment to go ahead and score all of the tabs before proceeding.
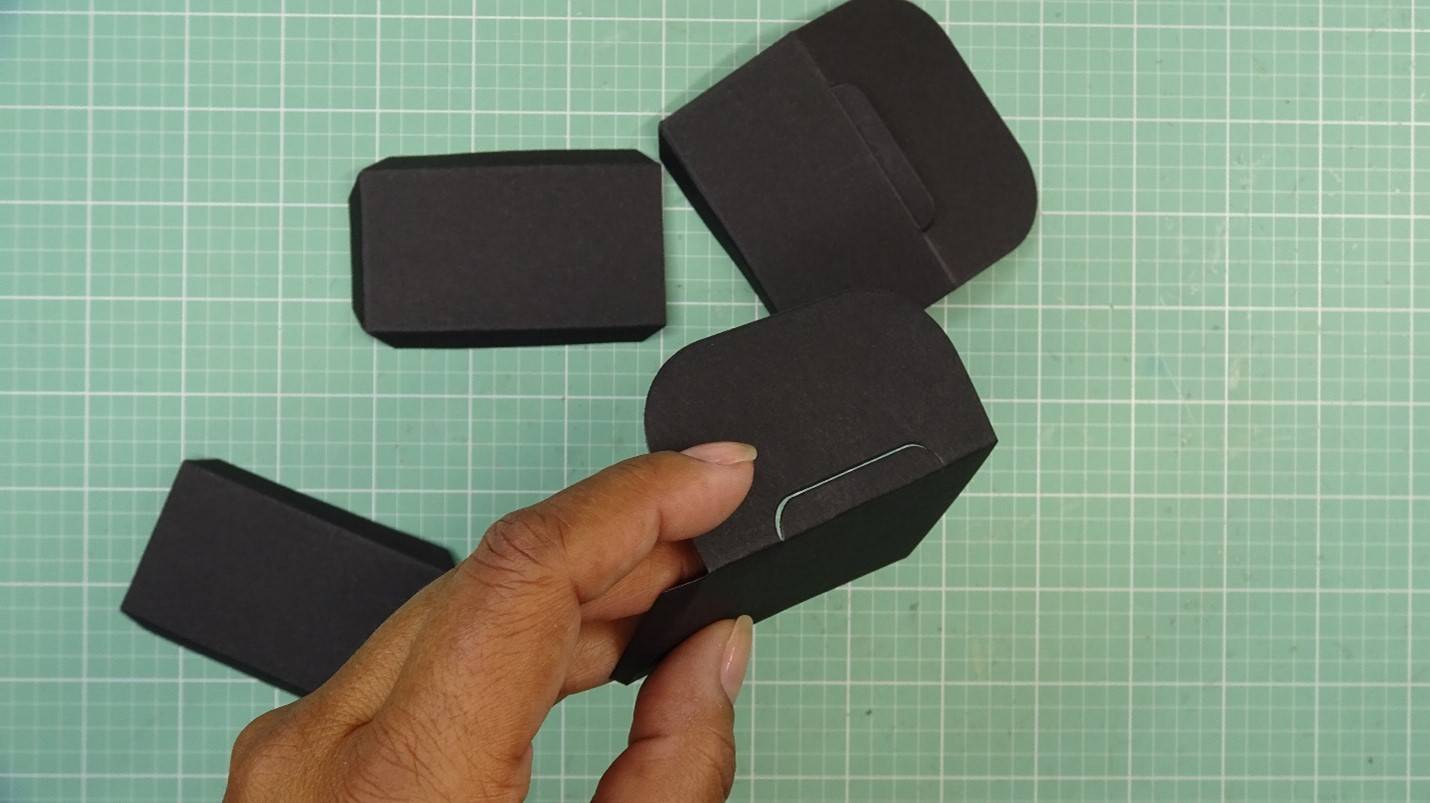
Step 3
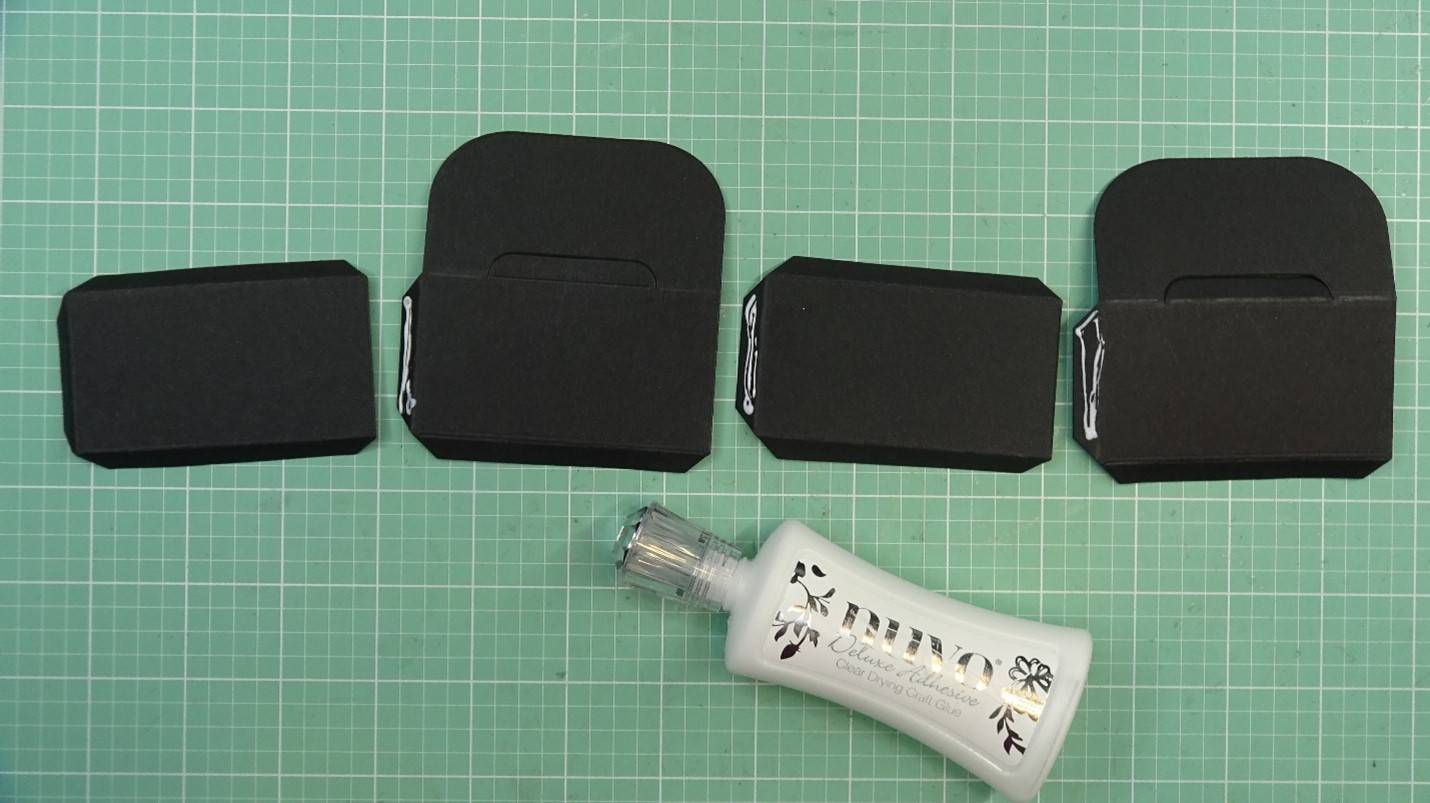
Apply glue to the side tabs, and adhere the side pieces…alternating between the two types.
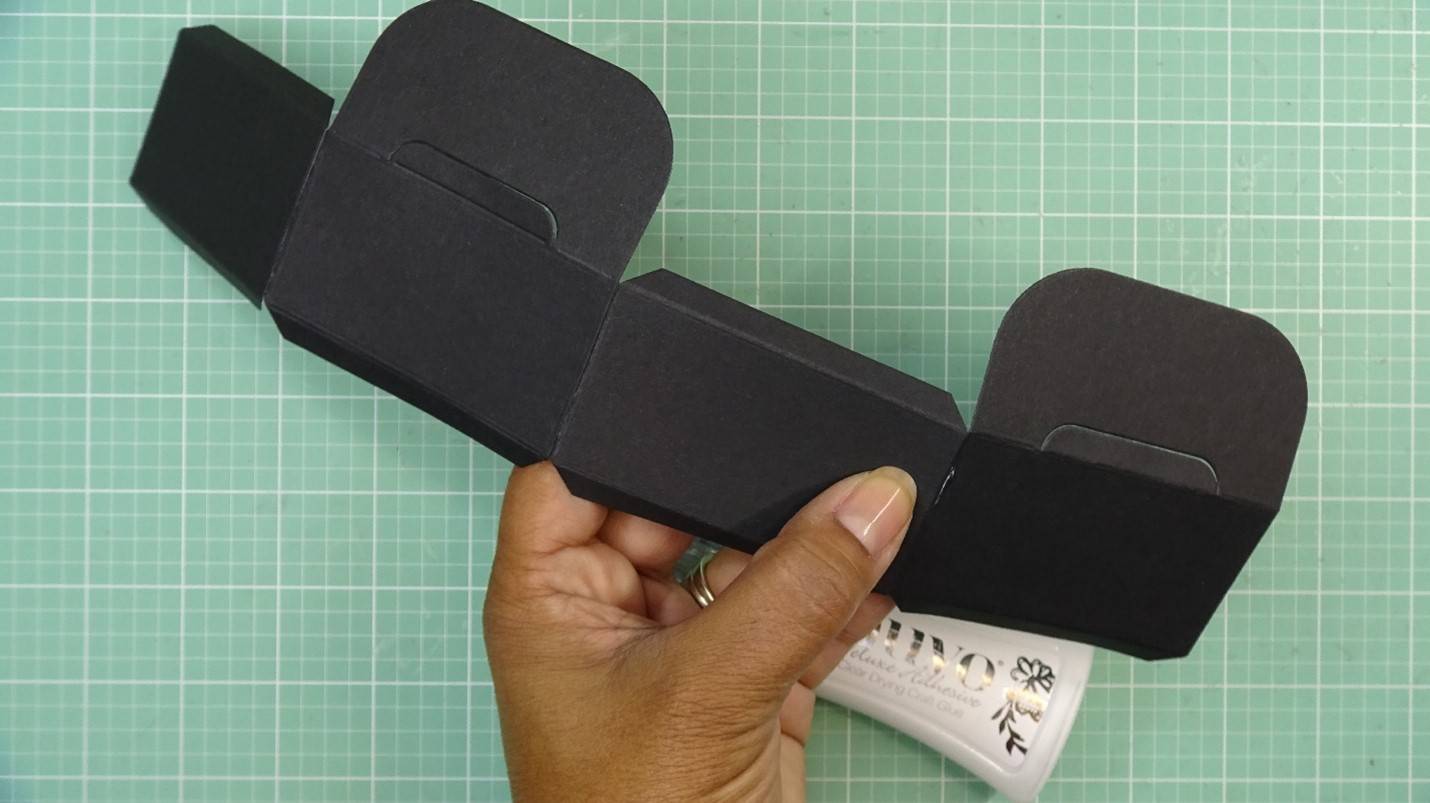
Step 4
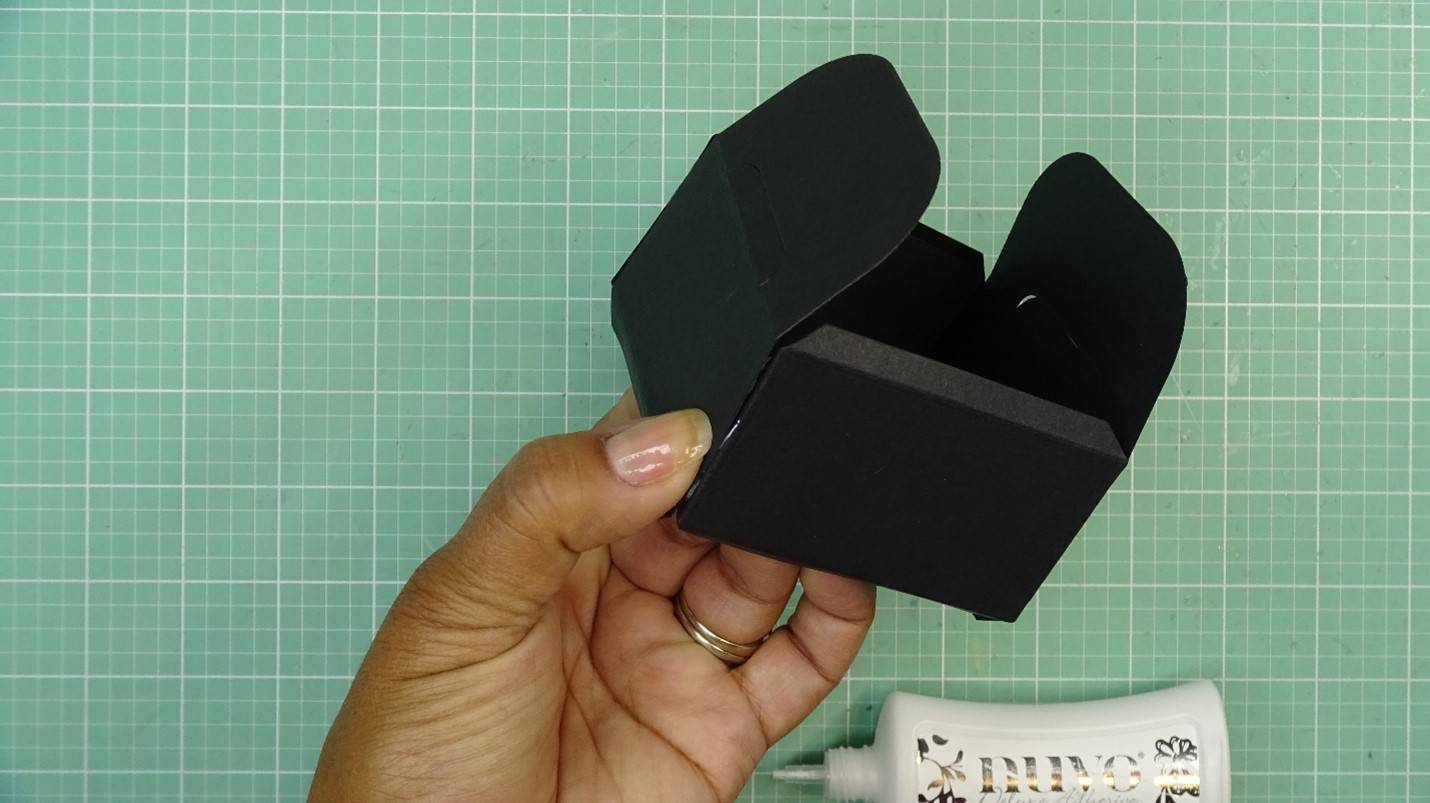
To complete the frame structure, apply glue to the last tab and adhere to the first side piece’s edge. The top of the box will be the surface that has the large flaps.
Step 5
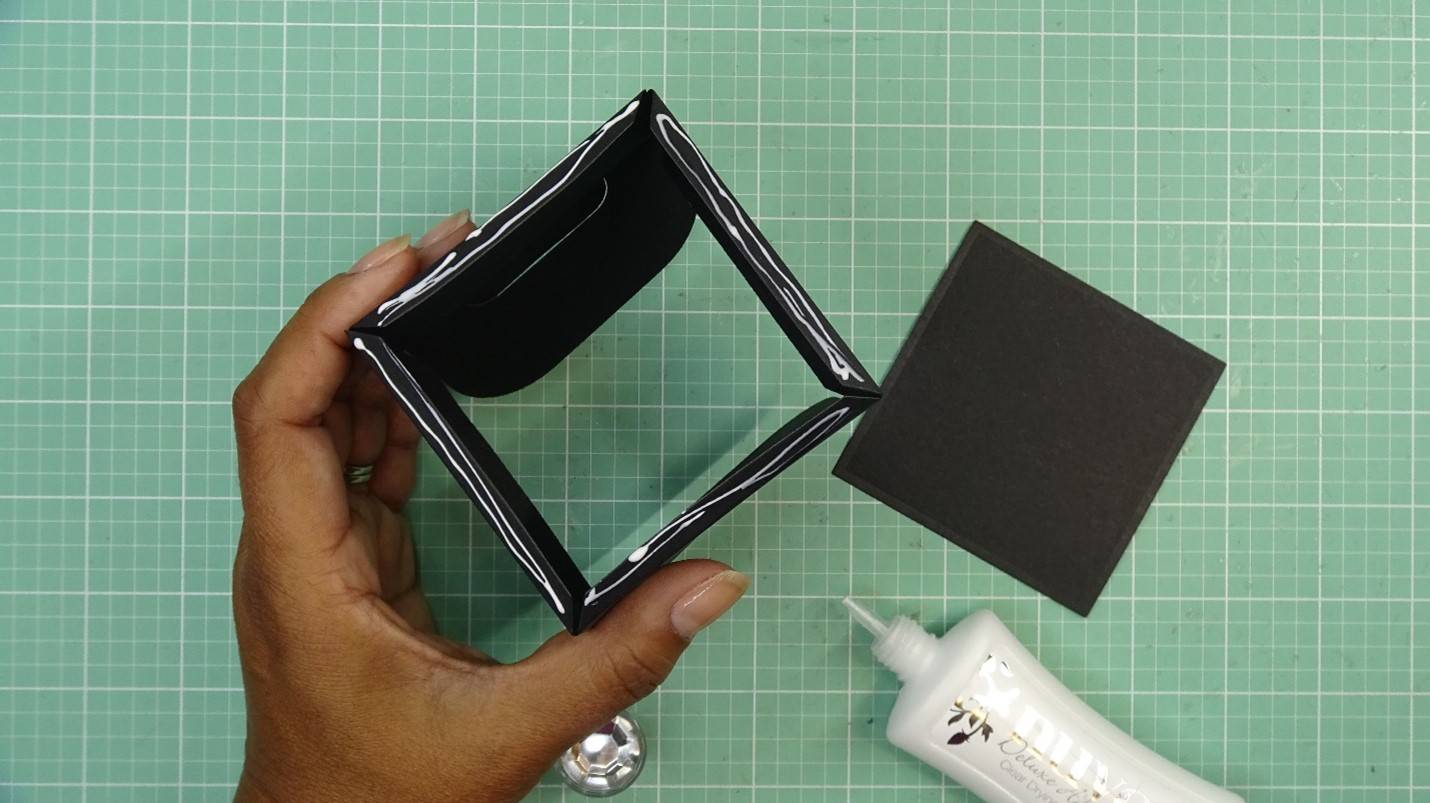
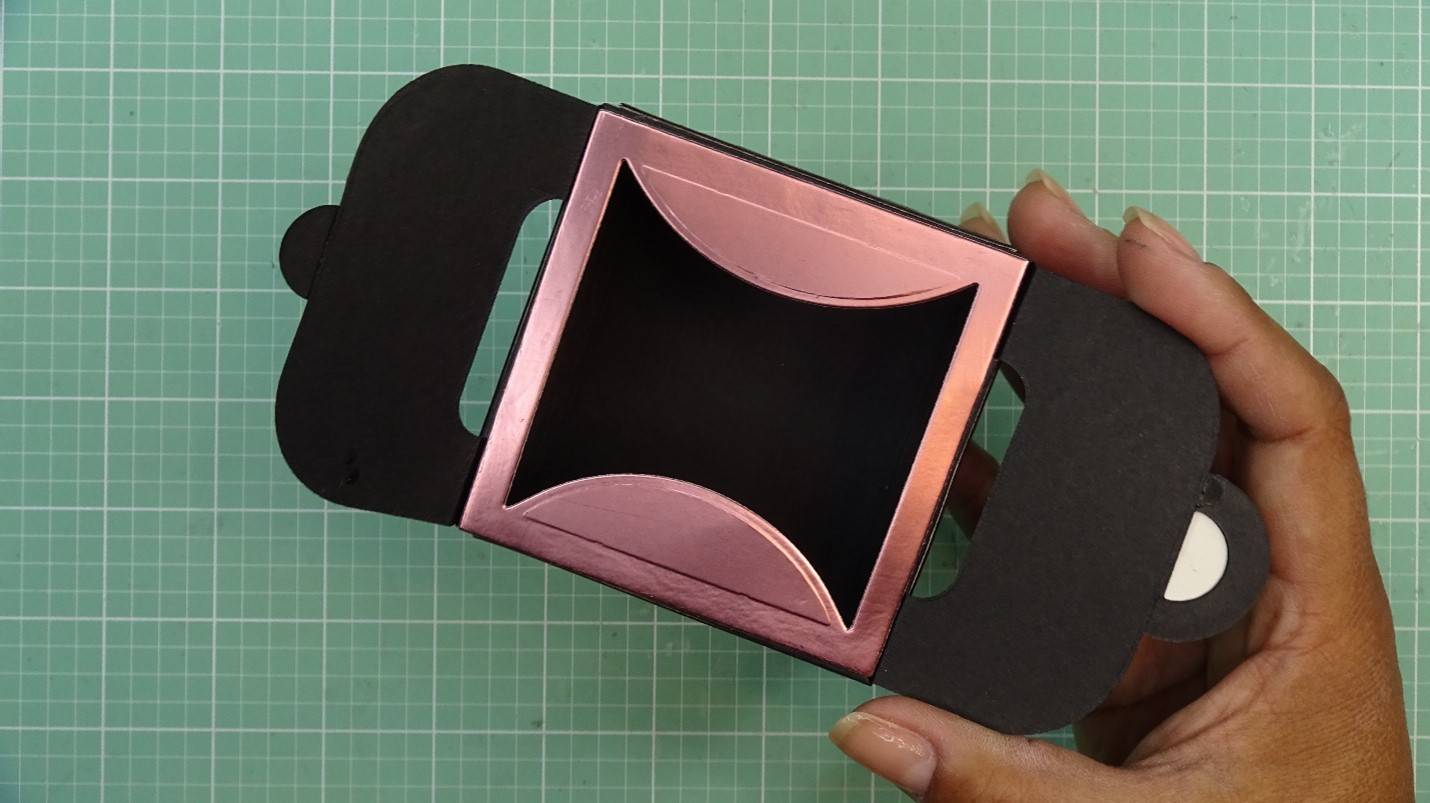
I will now glue the bottom of the box to the frame. Apply glue to the bottom tabs of the frame we created and place the solid square die cut onto it.
Step 6
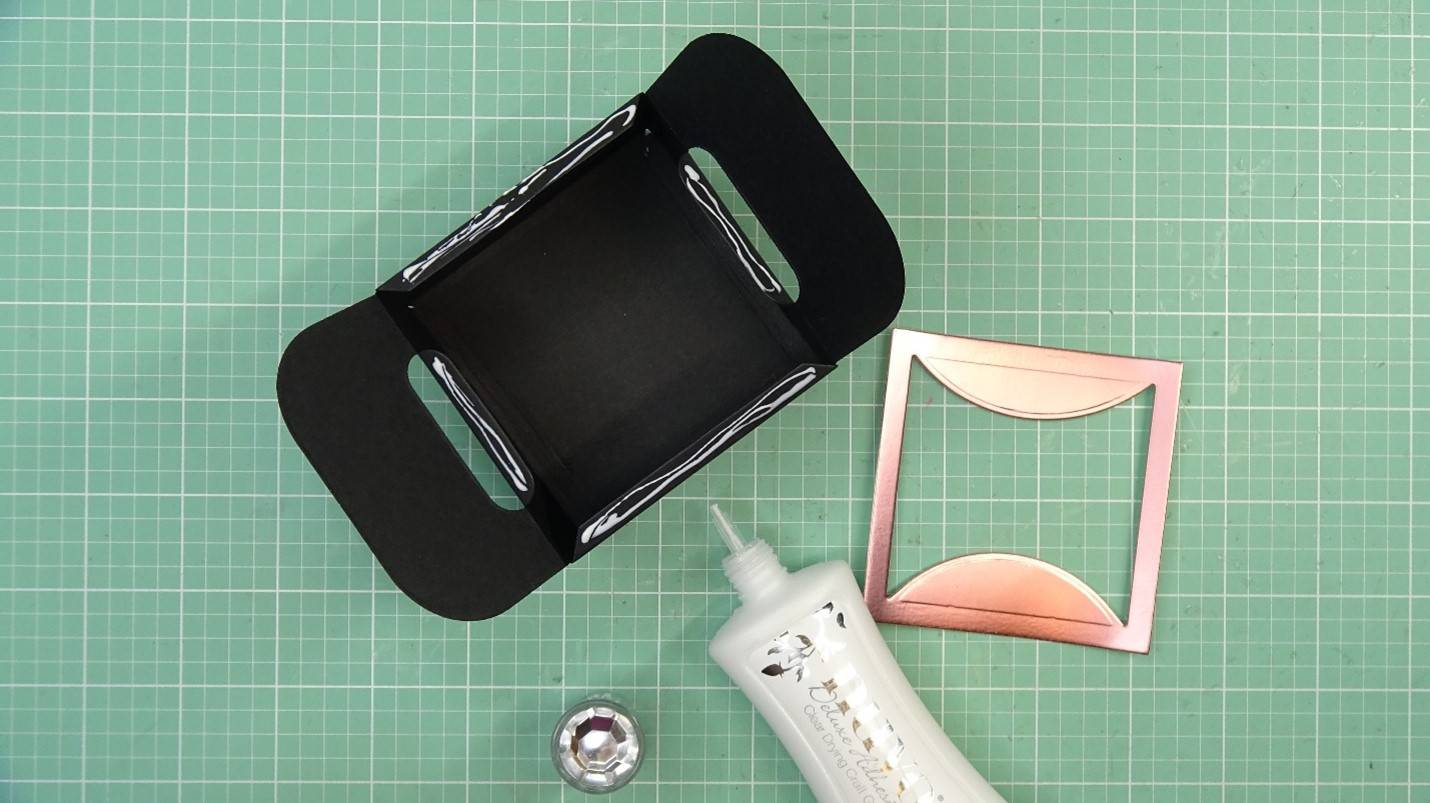
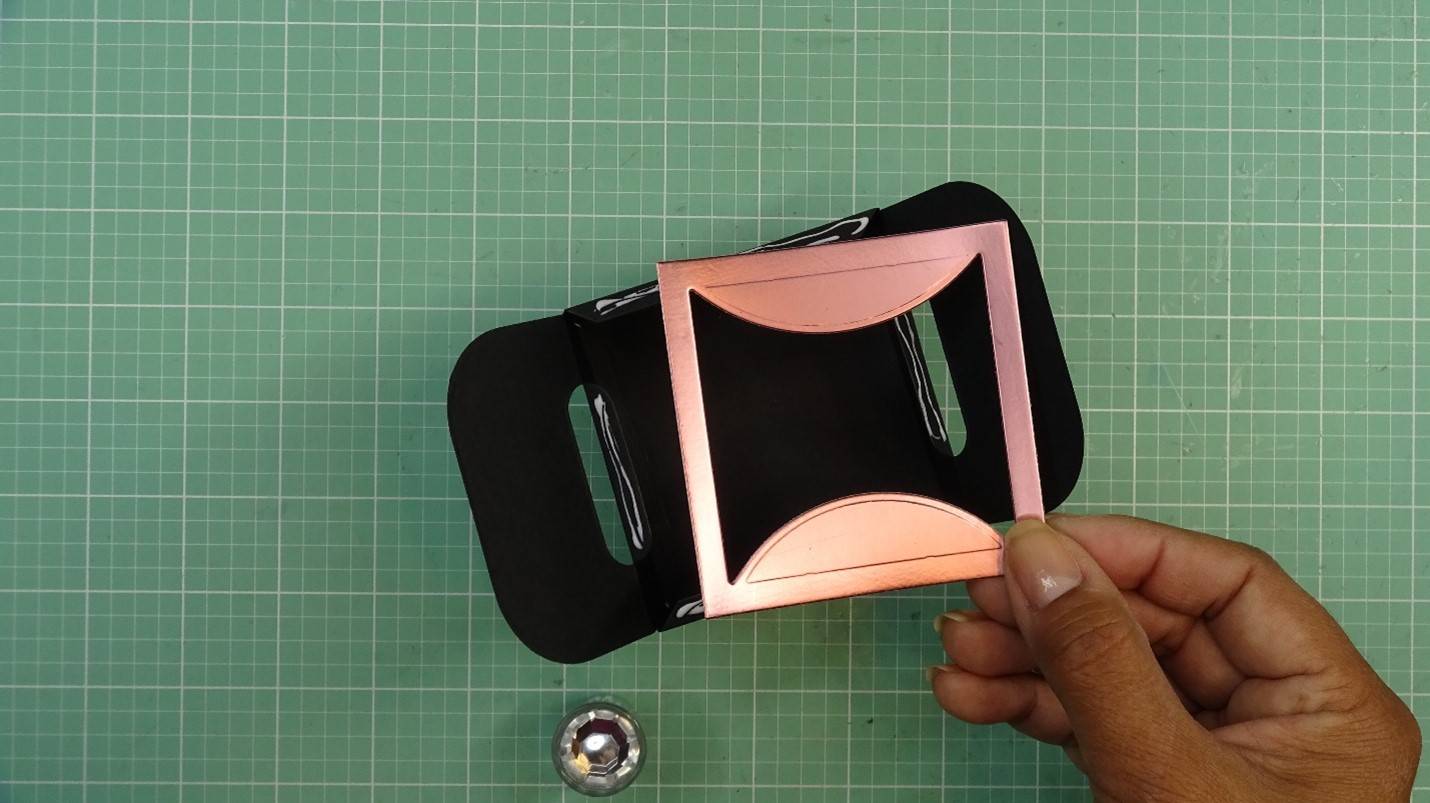
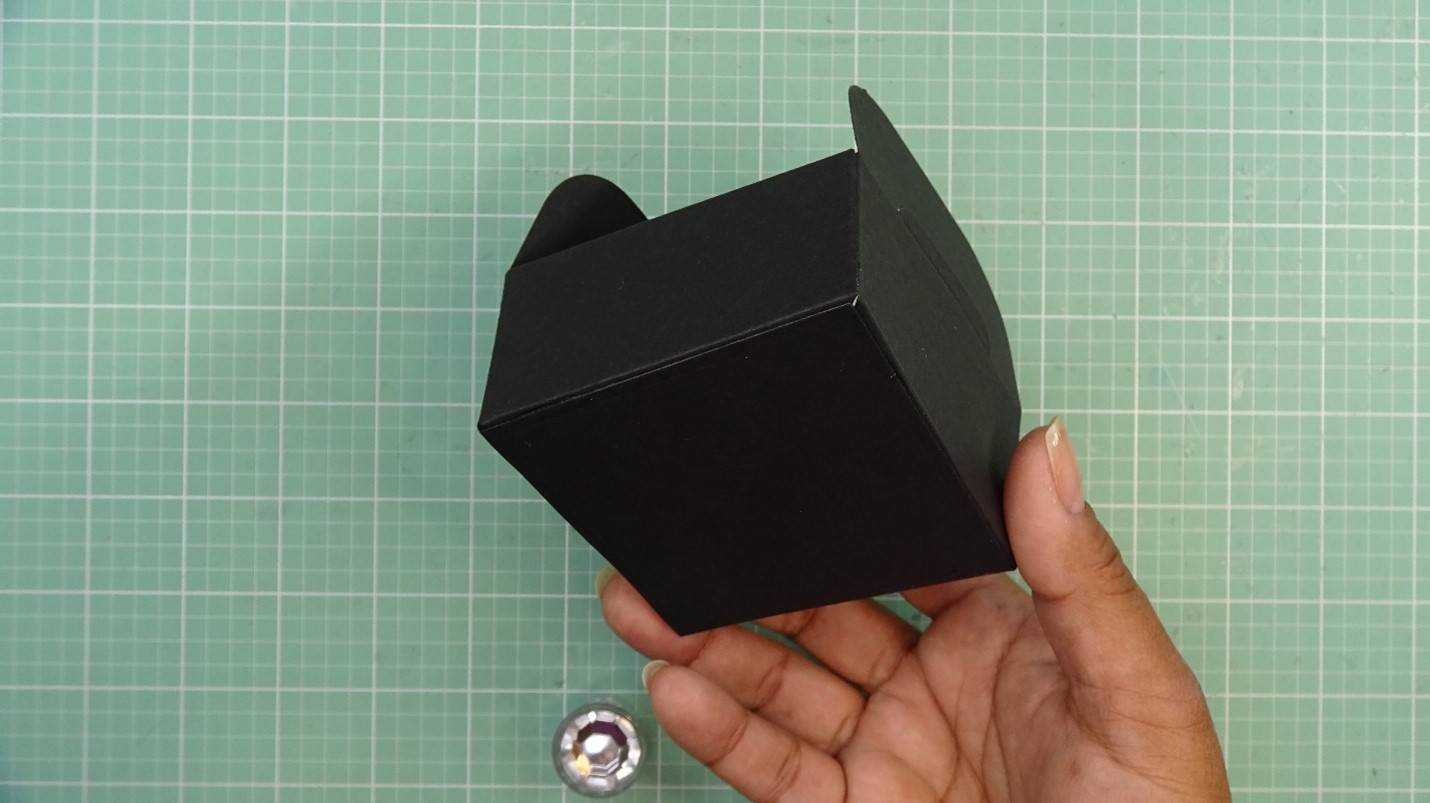
Lastly, we will glue on the top of the box. To do this, we will adhere the Baroque Rose scalloped square onto the tabs at the top of the box. Make sure the small inlaid tabs of the large flaps are scored inward to create small glue tabs. Now apply glue to all tabs, and place the scalloped square on top. This completes the basic box shape.
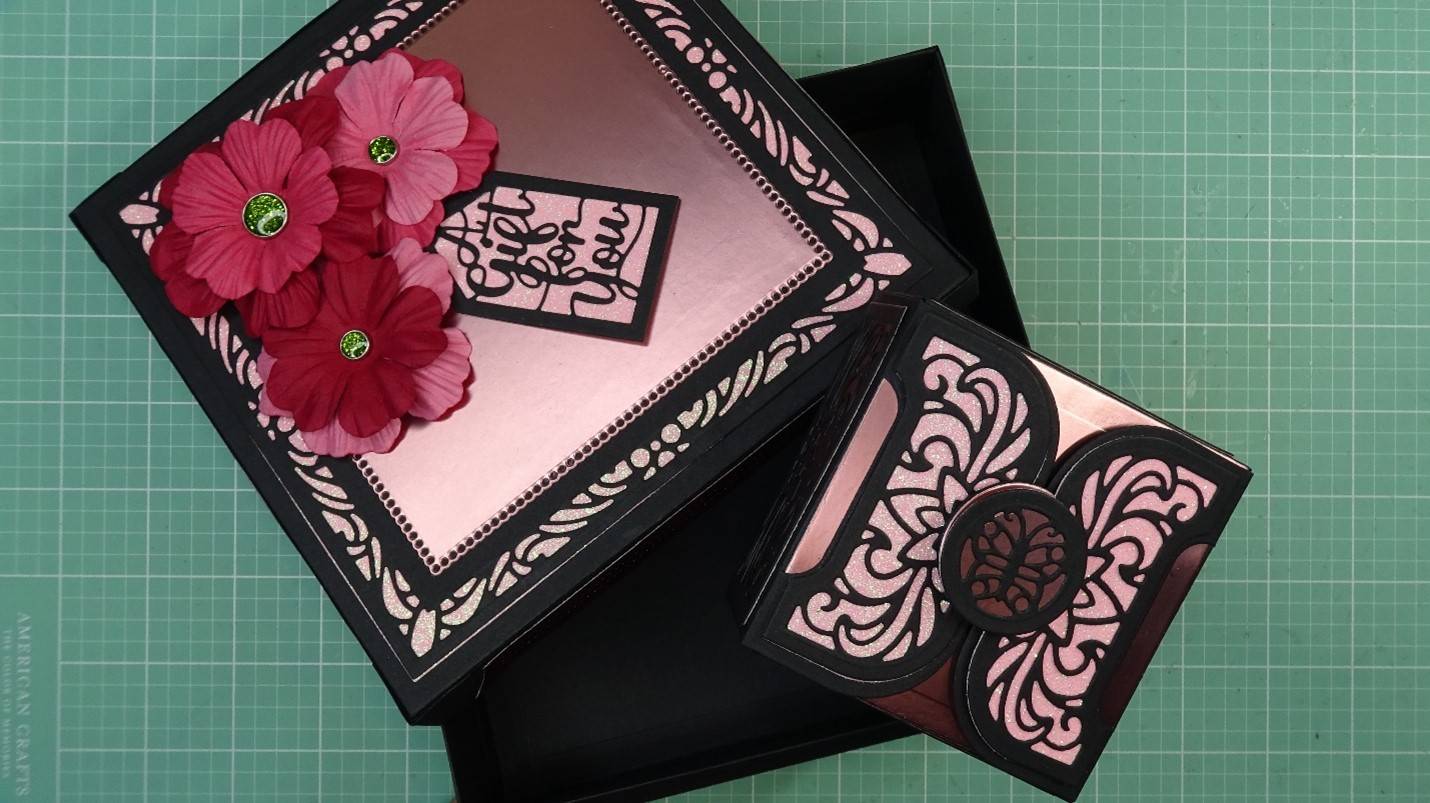
Part 2 - Making the Closure
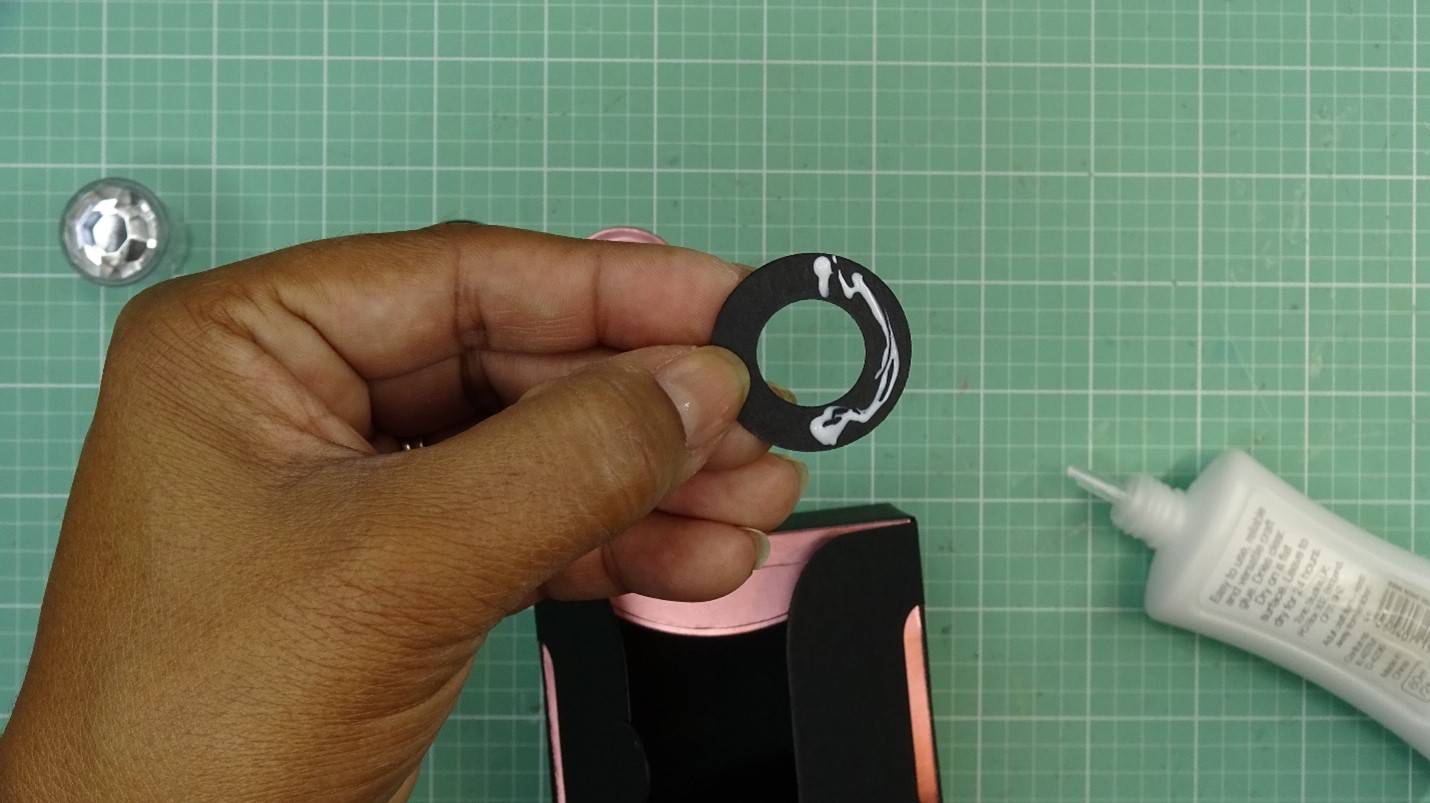
Step 1
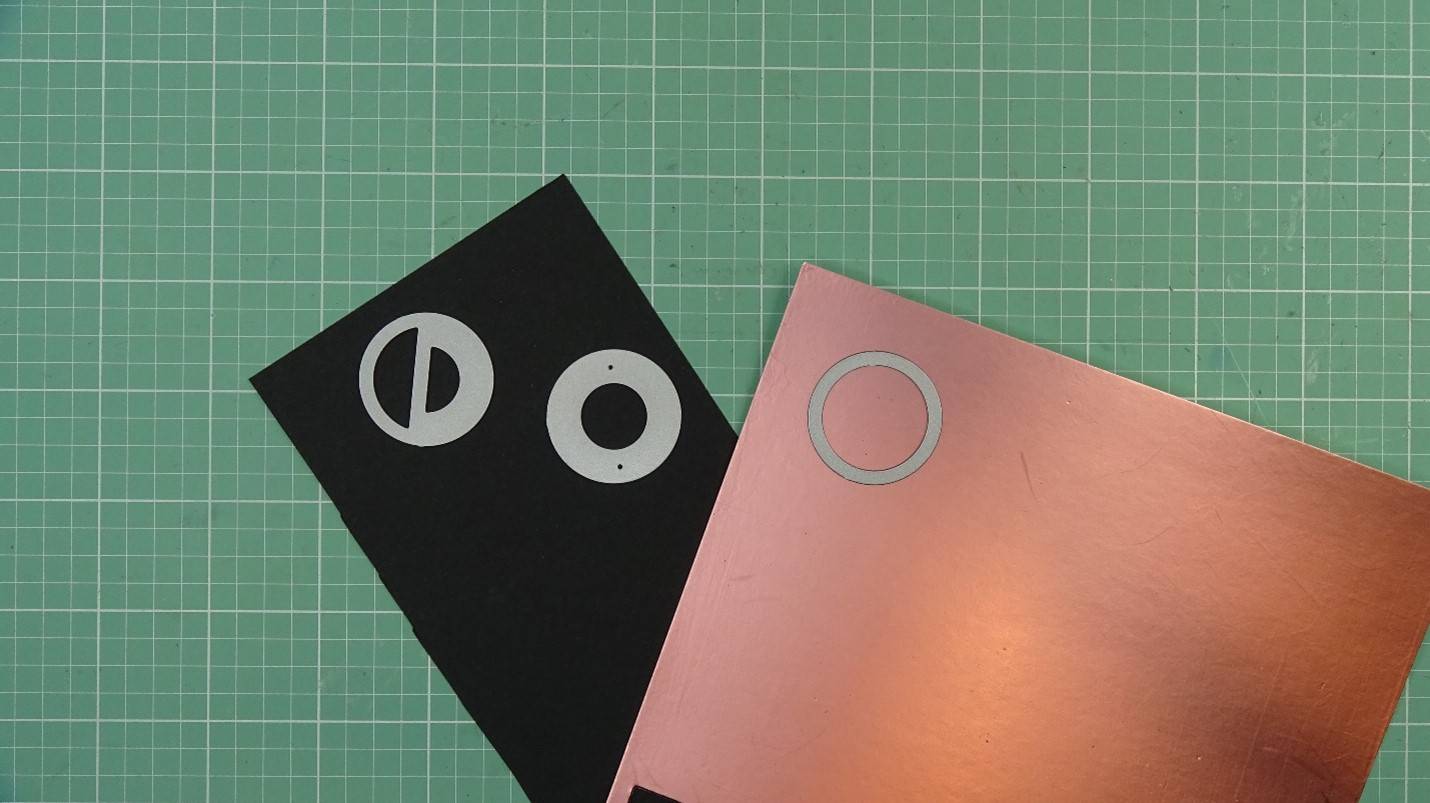
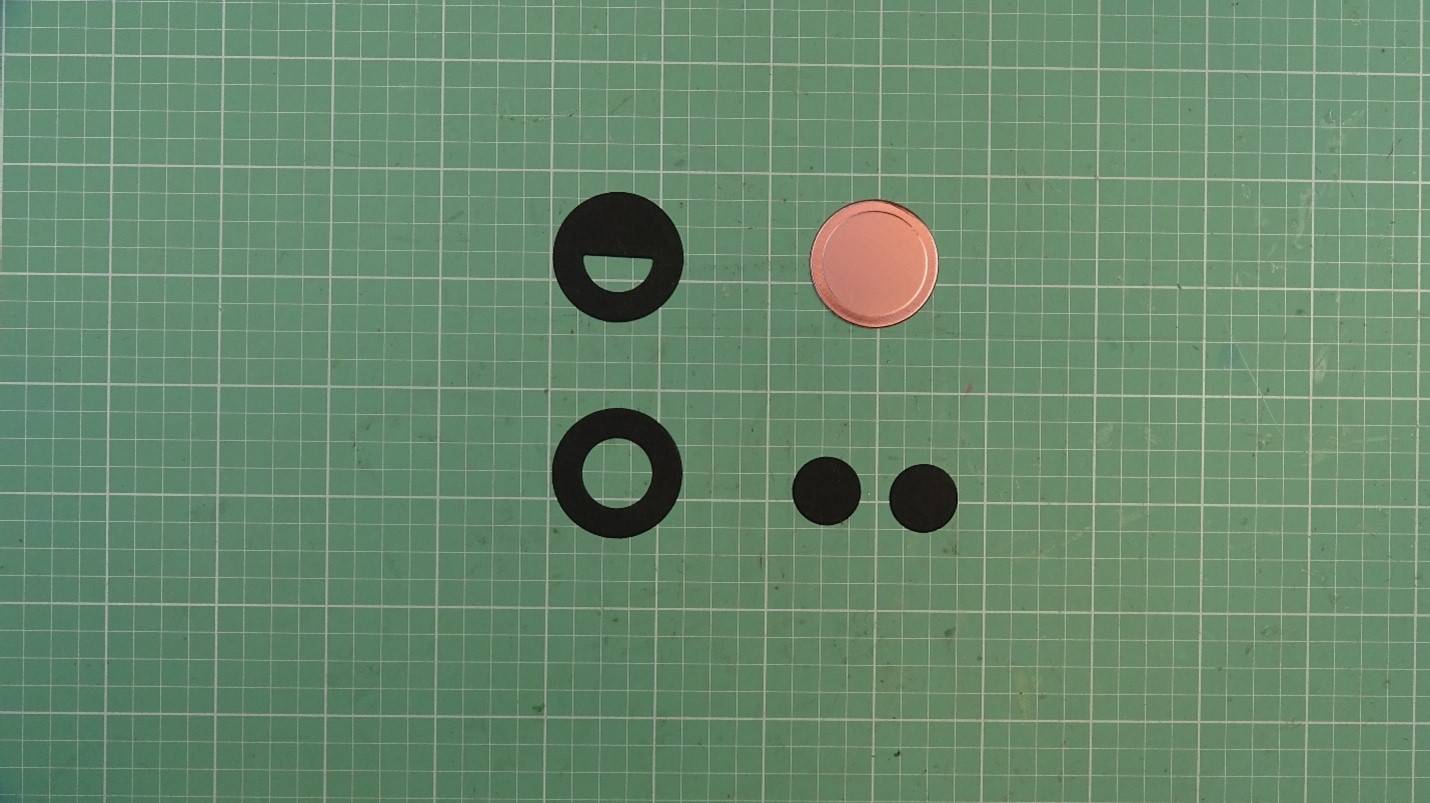
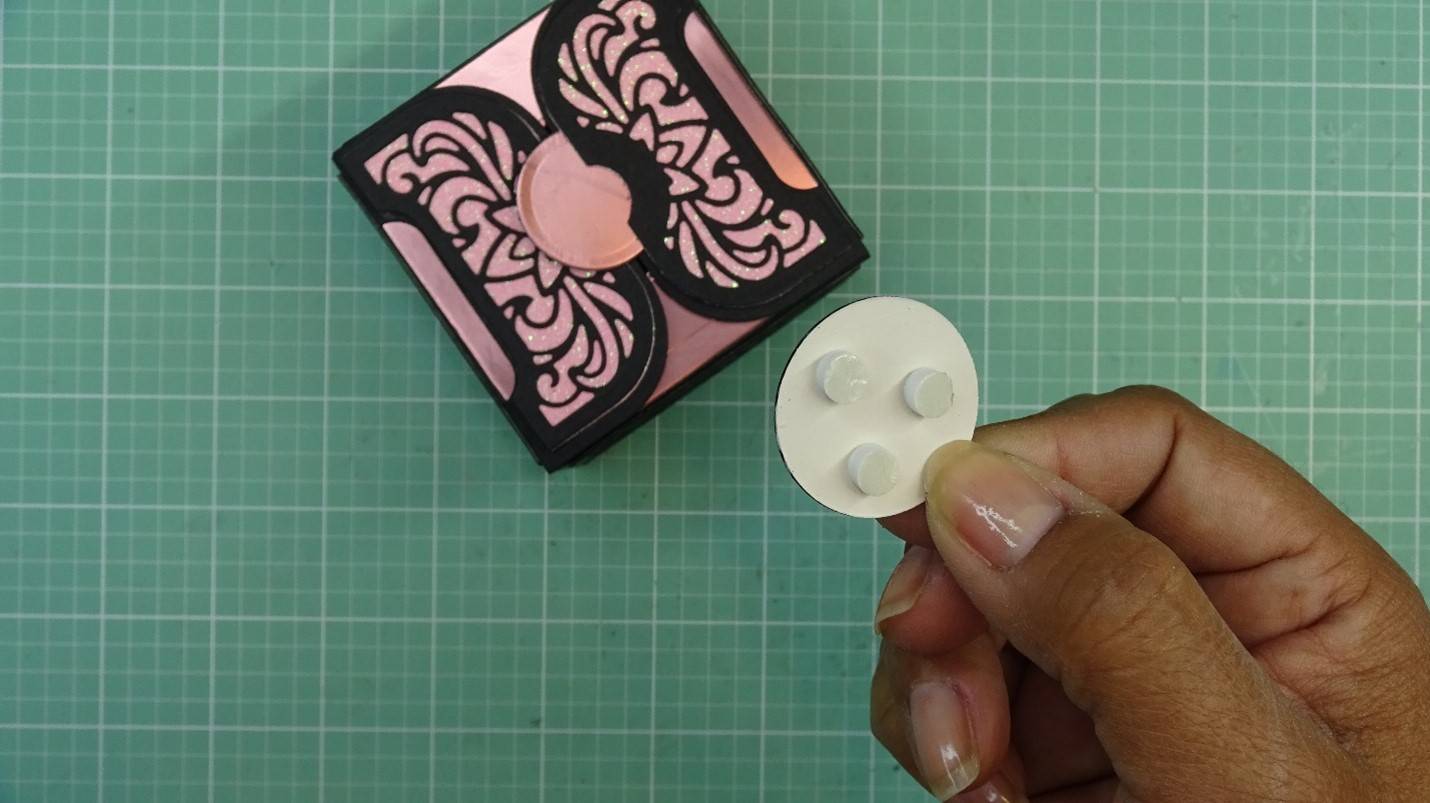
The “enclosed” box will close with an interlocking closure made of different cuts of circles! First cut one full circle, one circle with half circle cut in, and two of the washer circle. You will only need one of the washer die cuts, but both of the circle fallouts from it! I will cut mine from the black heavyweight paper. (I cut the solid circle out of the rose paper, which is not necessary at this point as we will cover most of it up later.)
Step 2
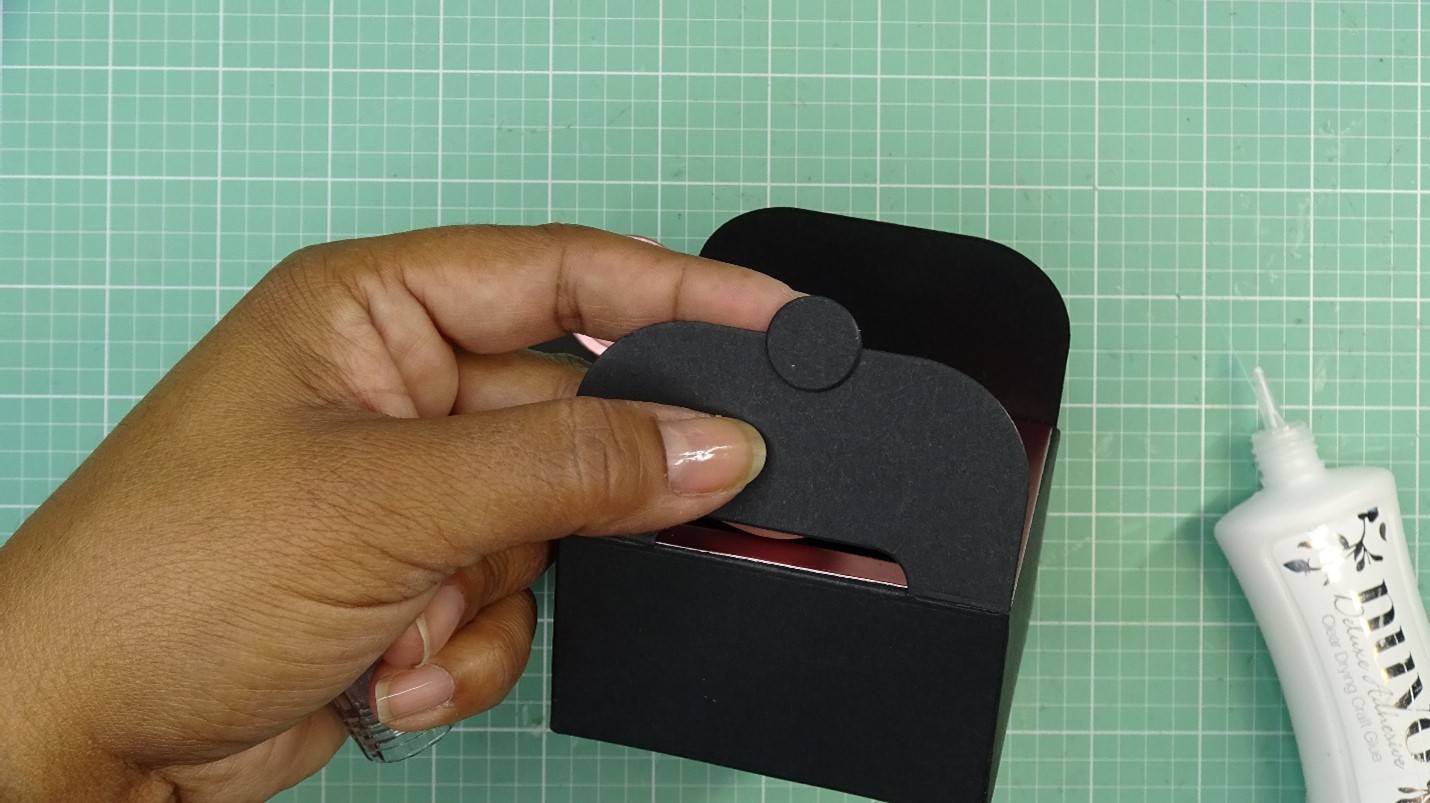
Now, I will glue the two fallout circles to one flap. I will center them on the flap edge, and adhere one on top of the other.
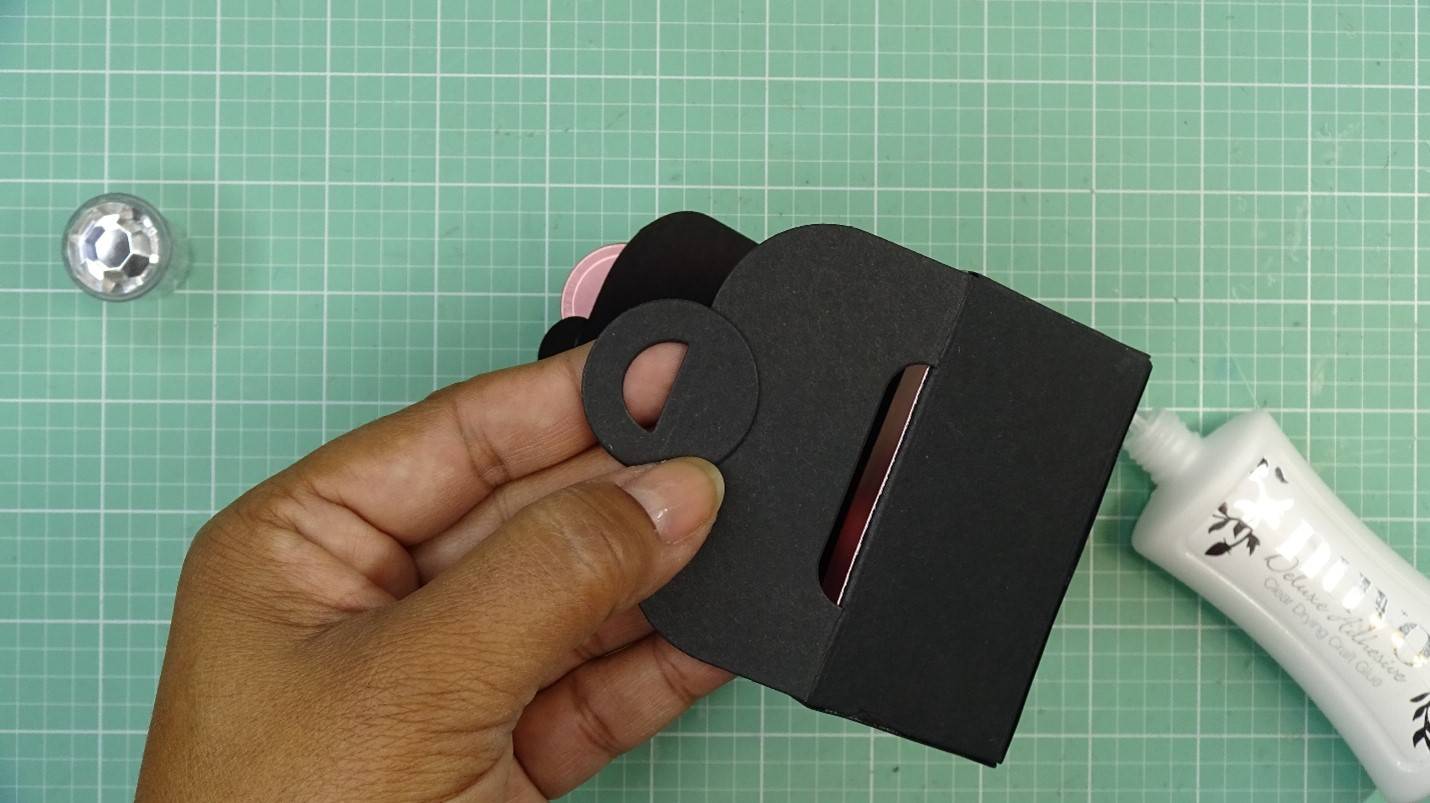
Step 3
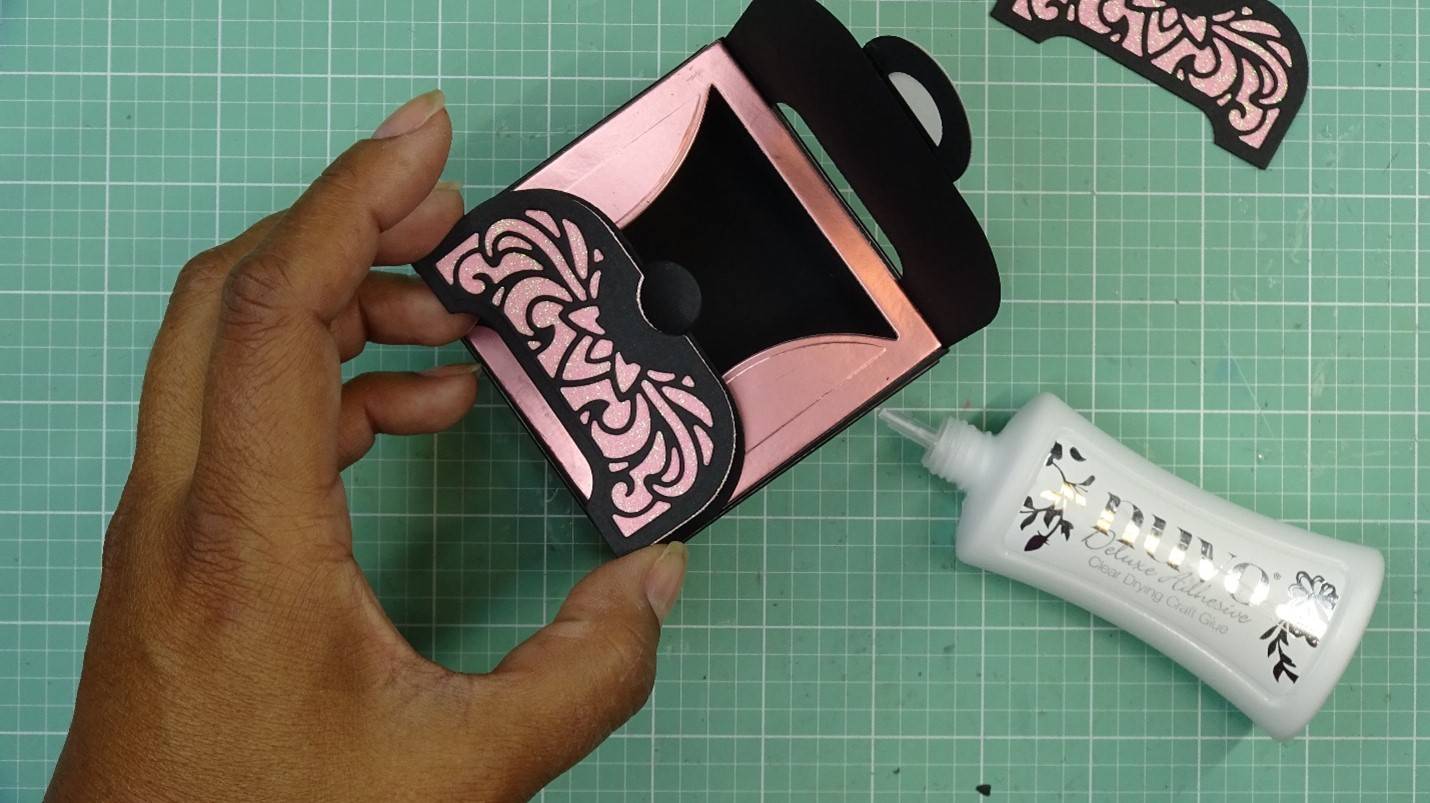
To complete the closure, I will first apply the washer die cut on the opposite flap. Again, centering it on the flap edge. Only apply glue to the half that will secure it to the correct side. You can close it a bit to make sure the circles will interlock with each other.
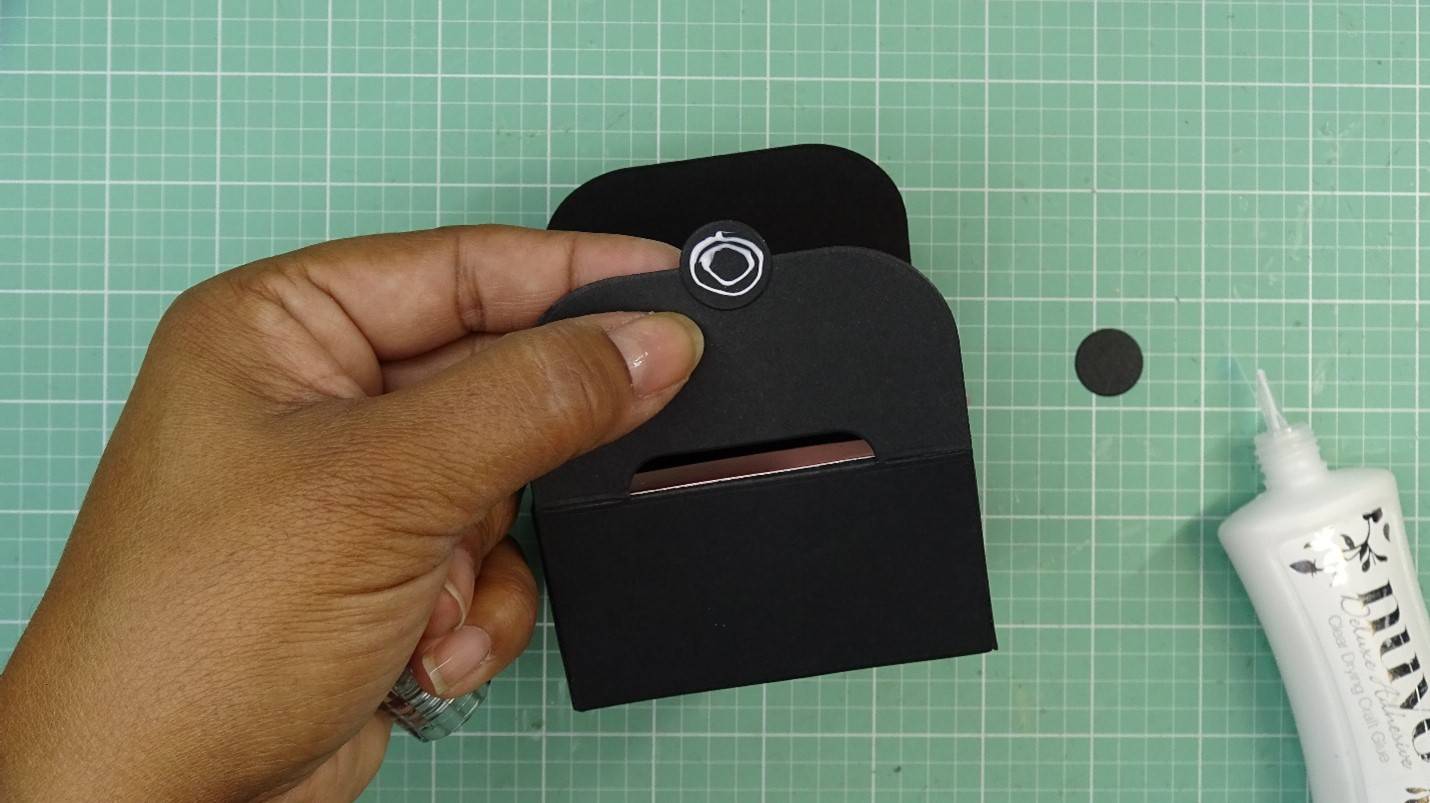
Step 4
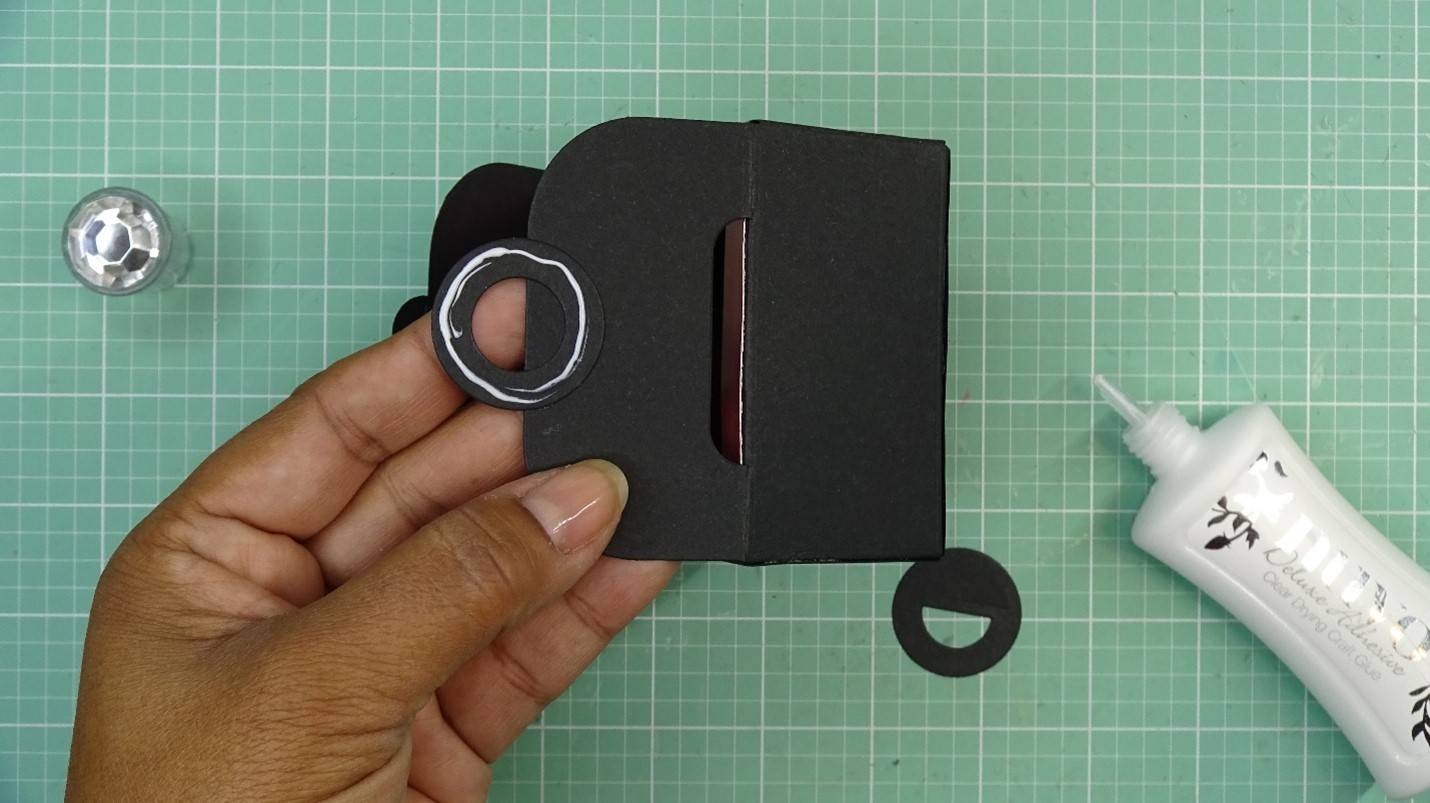
I will then adhere the circle die cut with the inlay on top of the washer. To do this, carefully apply glue to the washer shaped die and then place the die cut over it…making sure the open area of the die cut is hanging over the edge. The open area of the middle circle die cut should be hanging off the edge so that the fallout circles on the opposite side will nestle into the gap.
Step 5
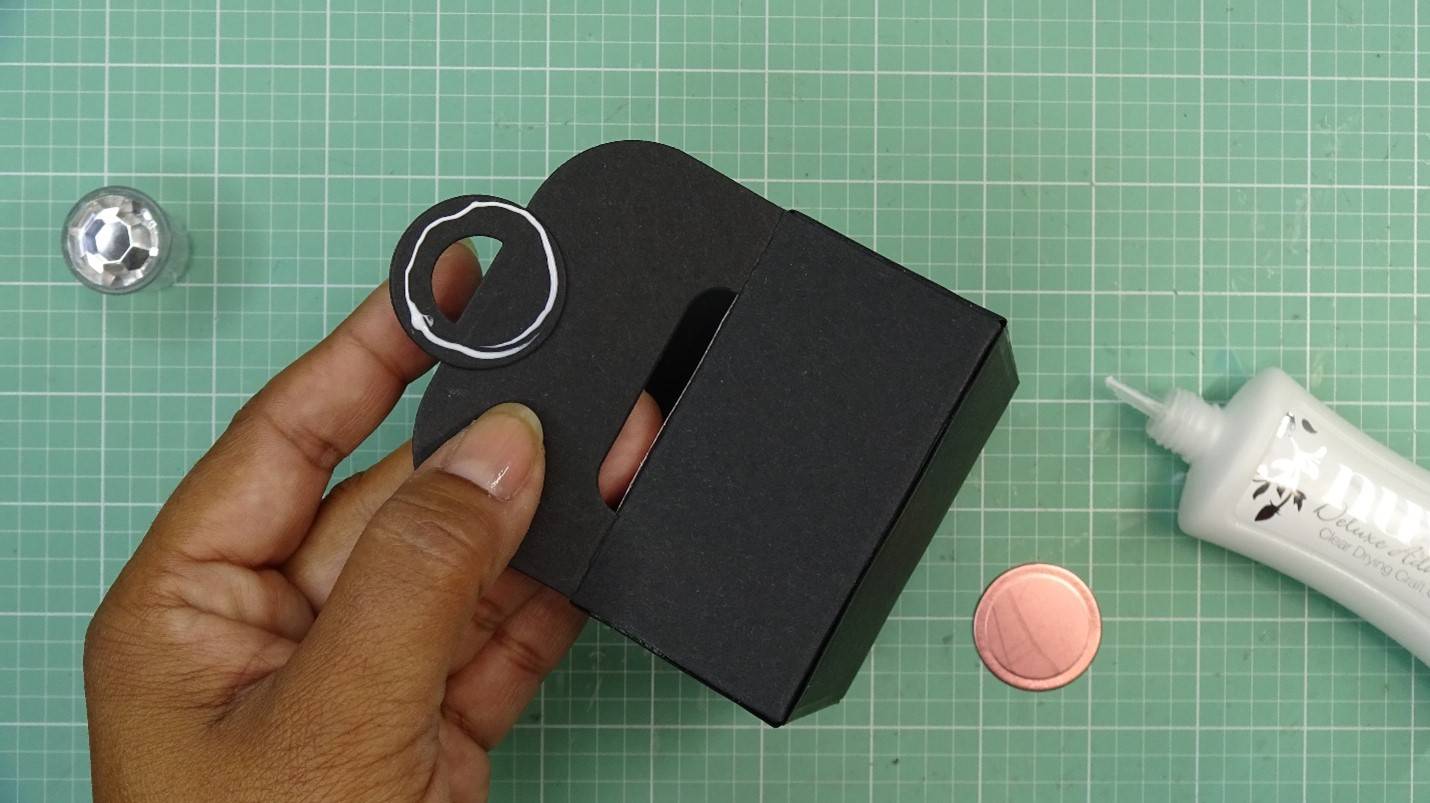
Lastly, we will top this with a full circle die cut. Again, carefully apply a circle of glue around the very edge of the previous die cut, and then add the full circle.
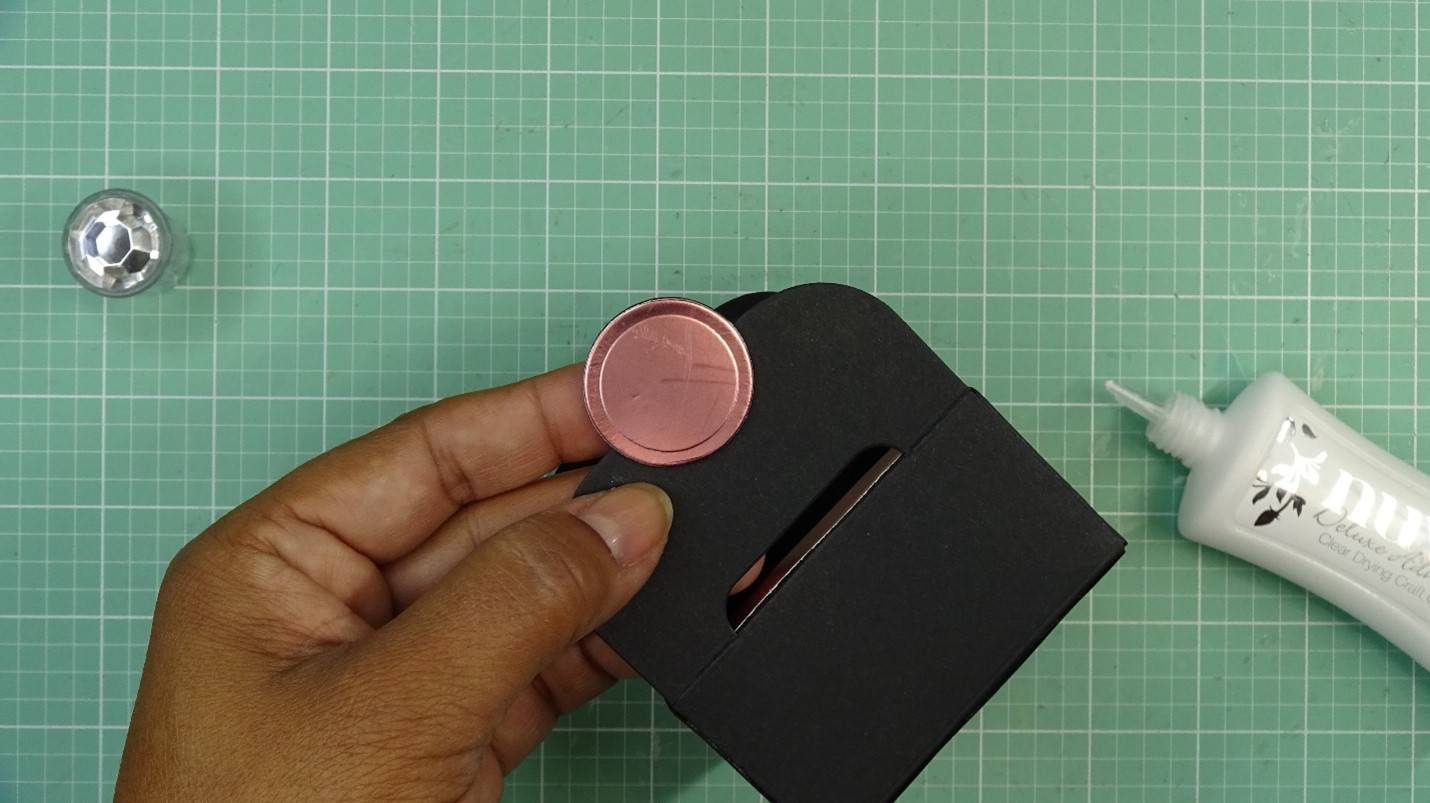
Step 6
Lastly, we will top this with a full circle die cut. Again, carefully apply a circle of glue around the very edge of the previous die cut, and then add the full circle.
Step 7

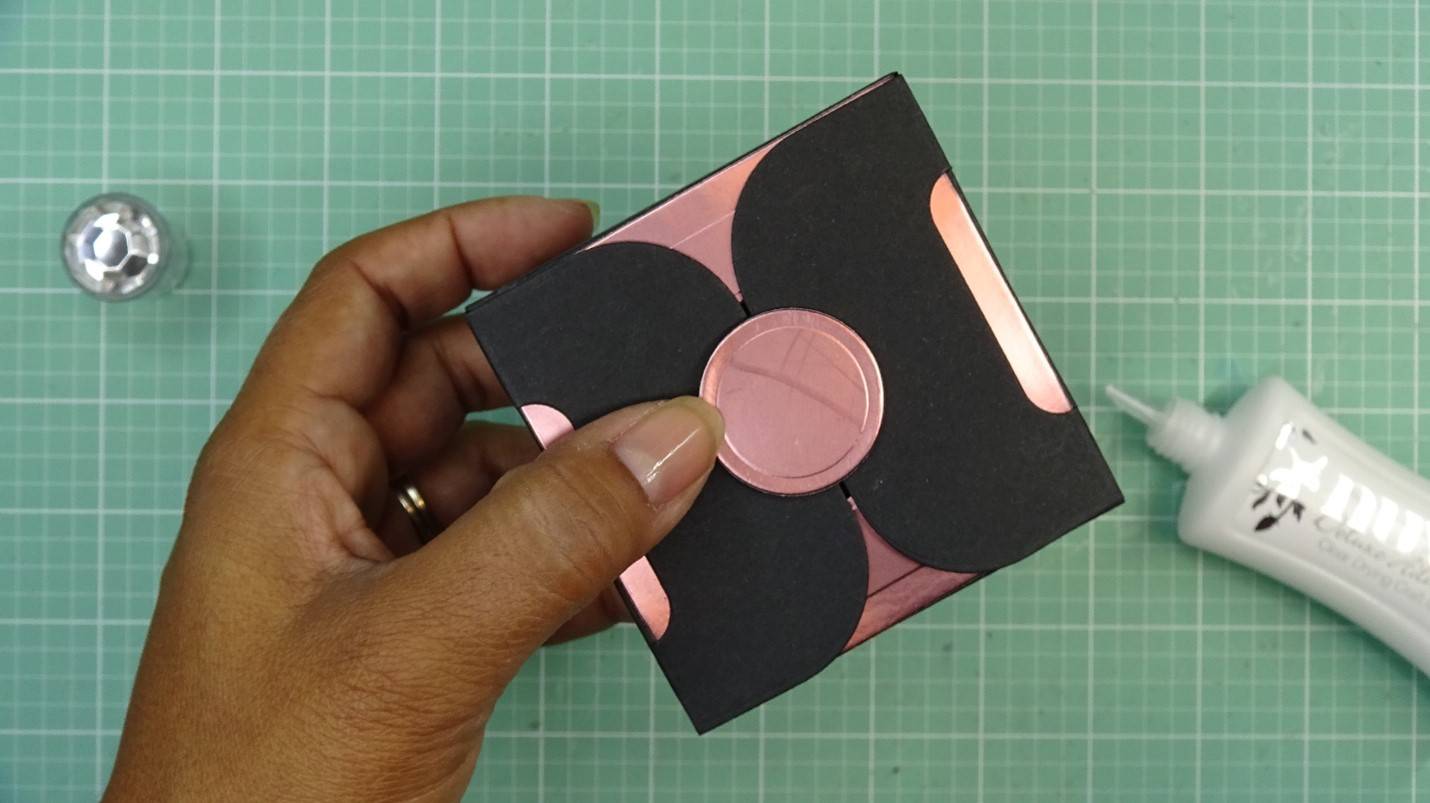
Once dry, the closure will interlock.
Part 3 - Decorating the Box
Step 1
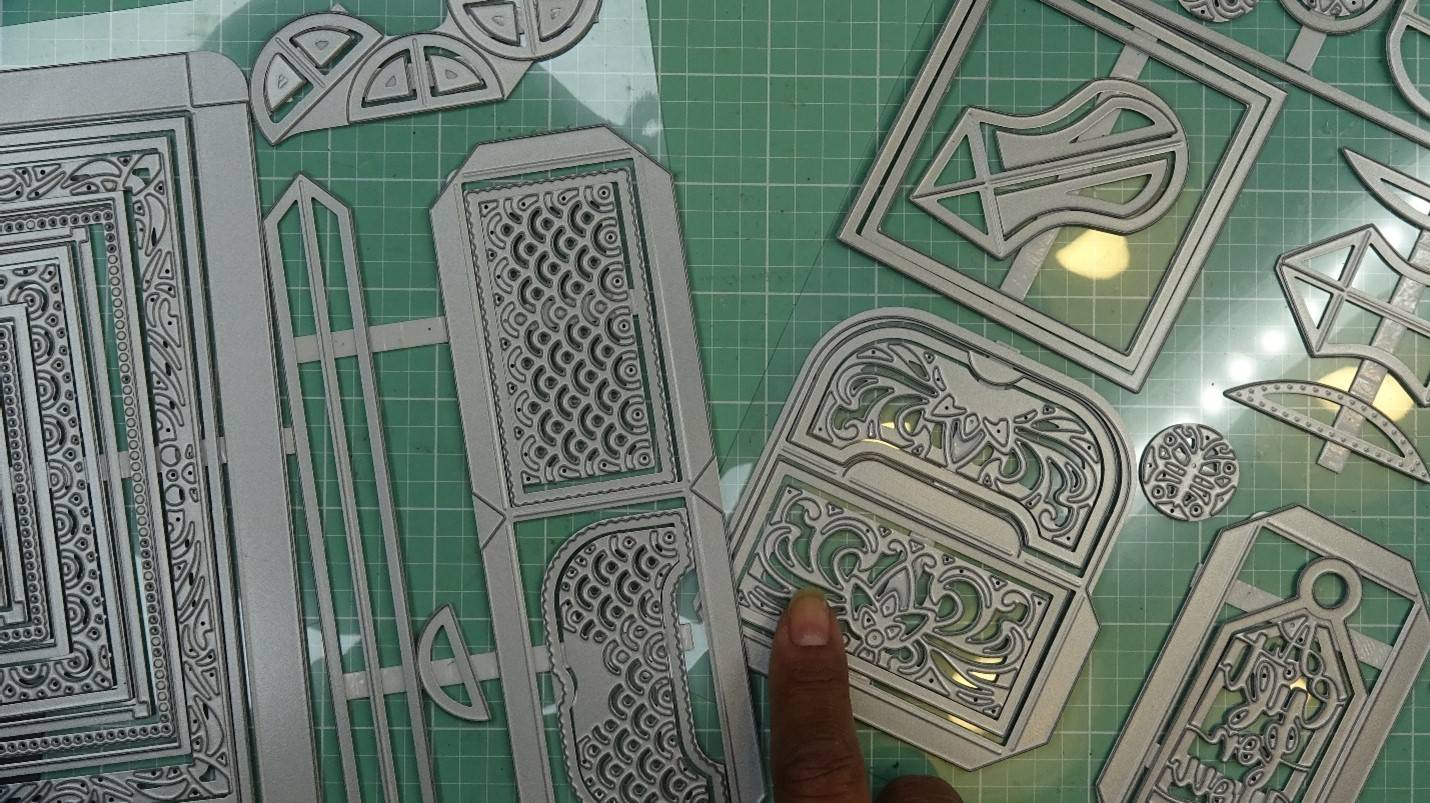
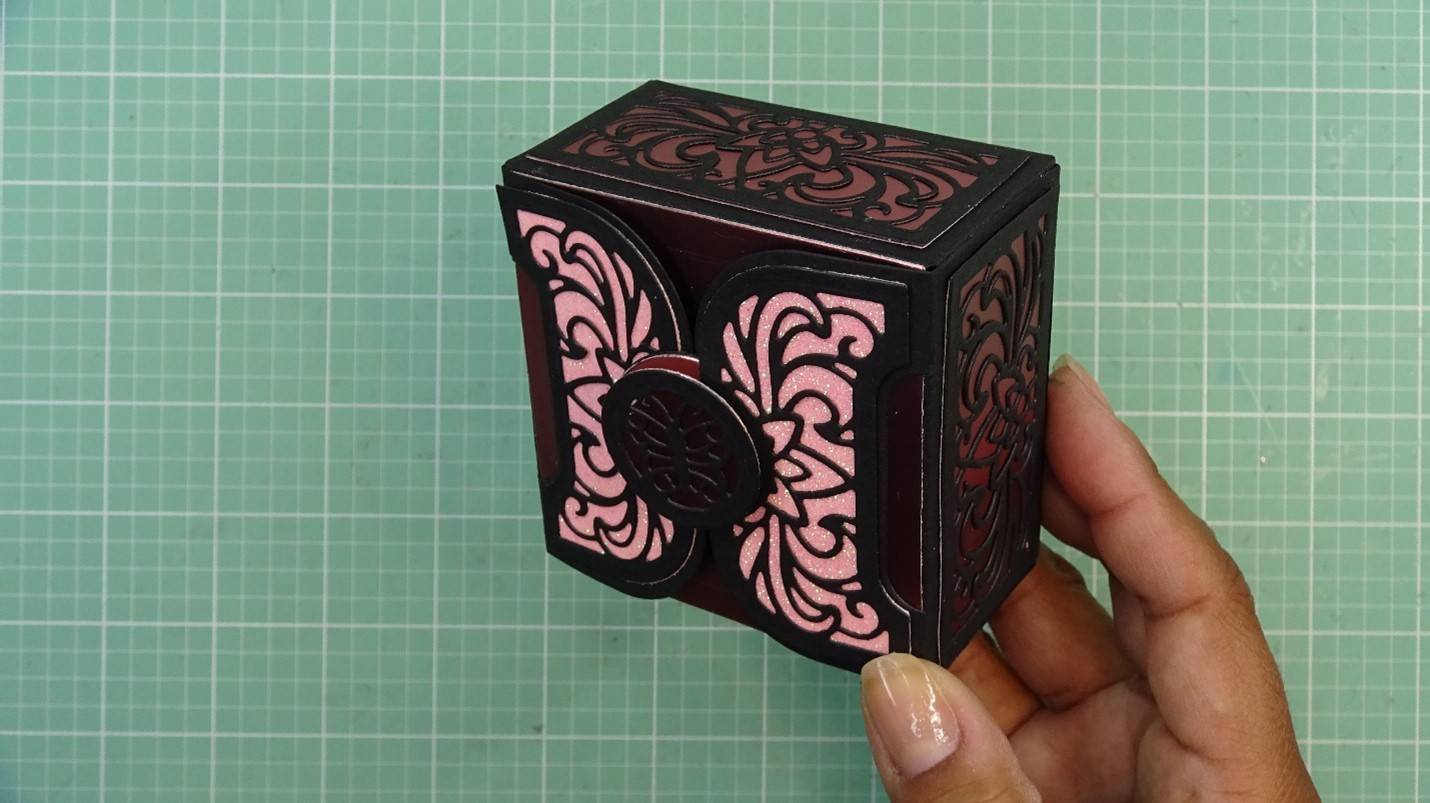
Now we can take any of the decorative dies and inlays to decorate our little box. I will use combinations of the glitter card, metallic card, and black card to match my larger Magnificent Mortice gift box!
Step 2
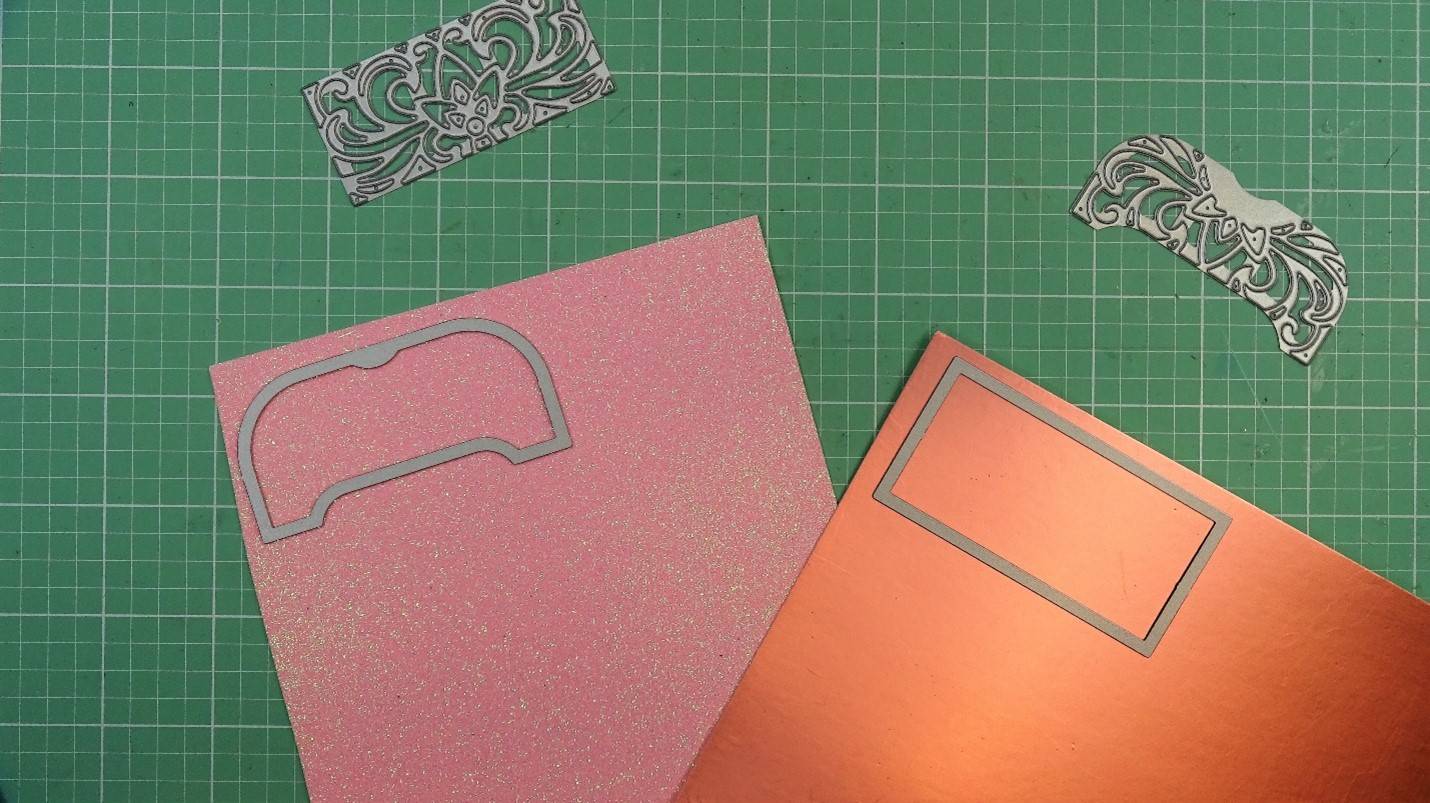
I chose coordinating side panel and topper sets. I will begin by cutting 4 background side pieces from the glitter card, and two background topper pieces from the metallic card.
Step 3
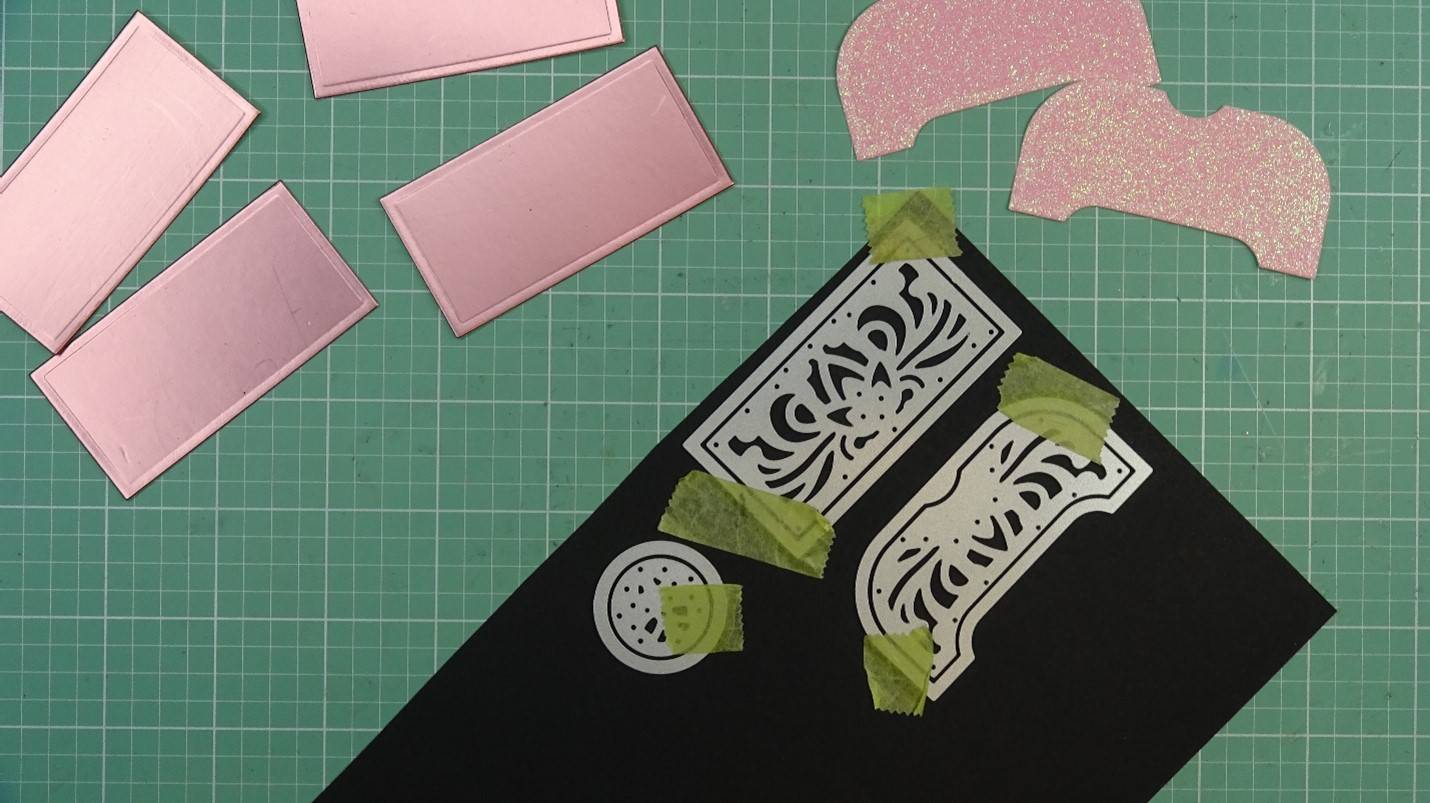
Then I will cut the decorative inlay layers from the black cardstock. Again, 4 of the side pieces, two topper pieces, and one circular inlay piece to go over the closure. Make sure to tape your dies so they will not move when going through the die cutting machine.
Step 4
Now, I will adhere the decorative toppers to their background pieces.
Step 5
We are now ready to adhere these pieces to the box.
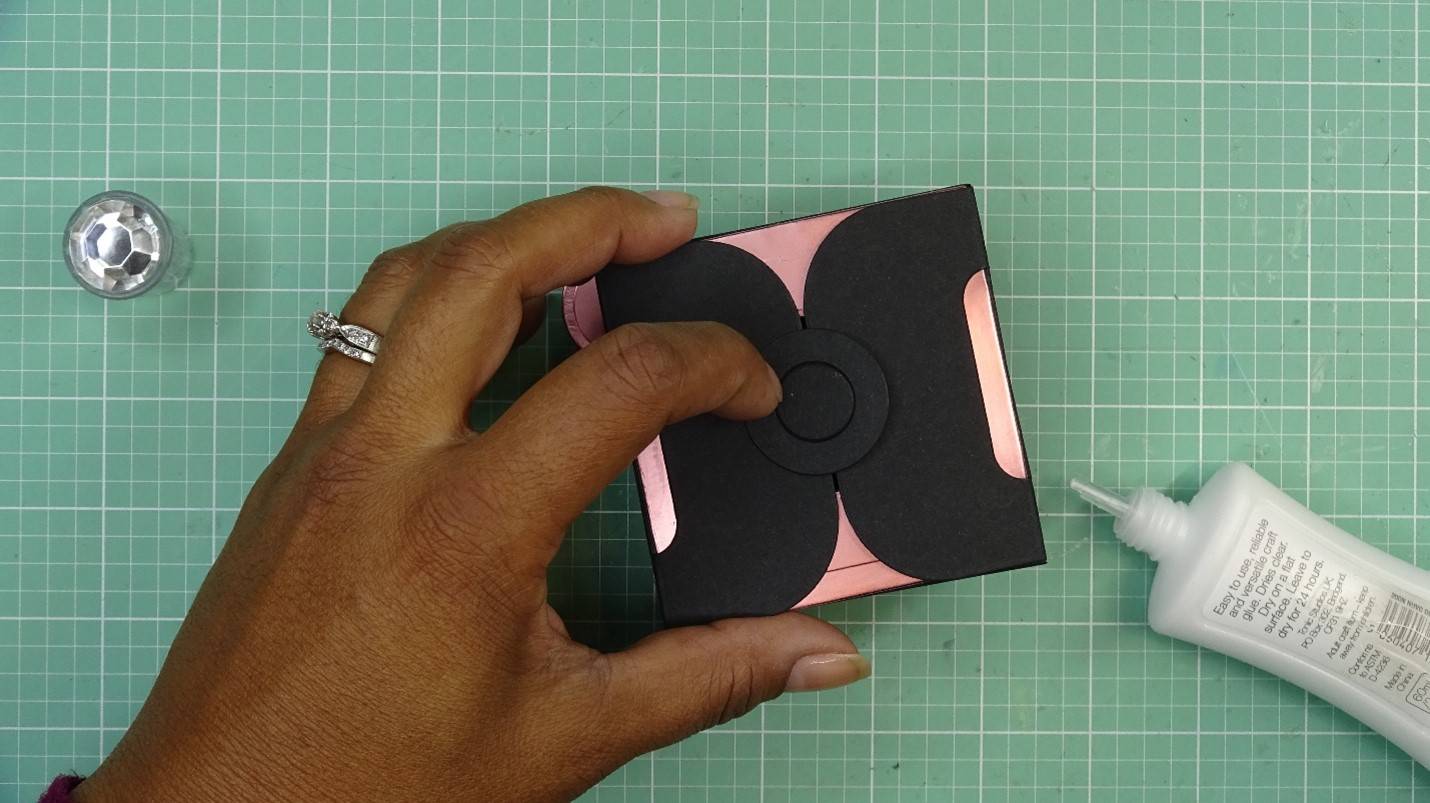
Step 6
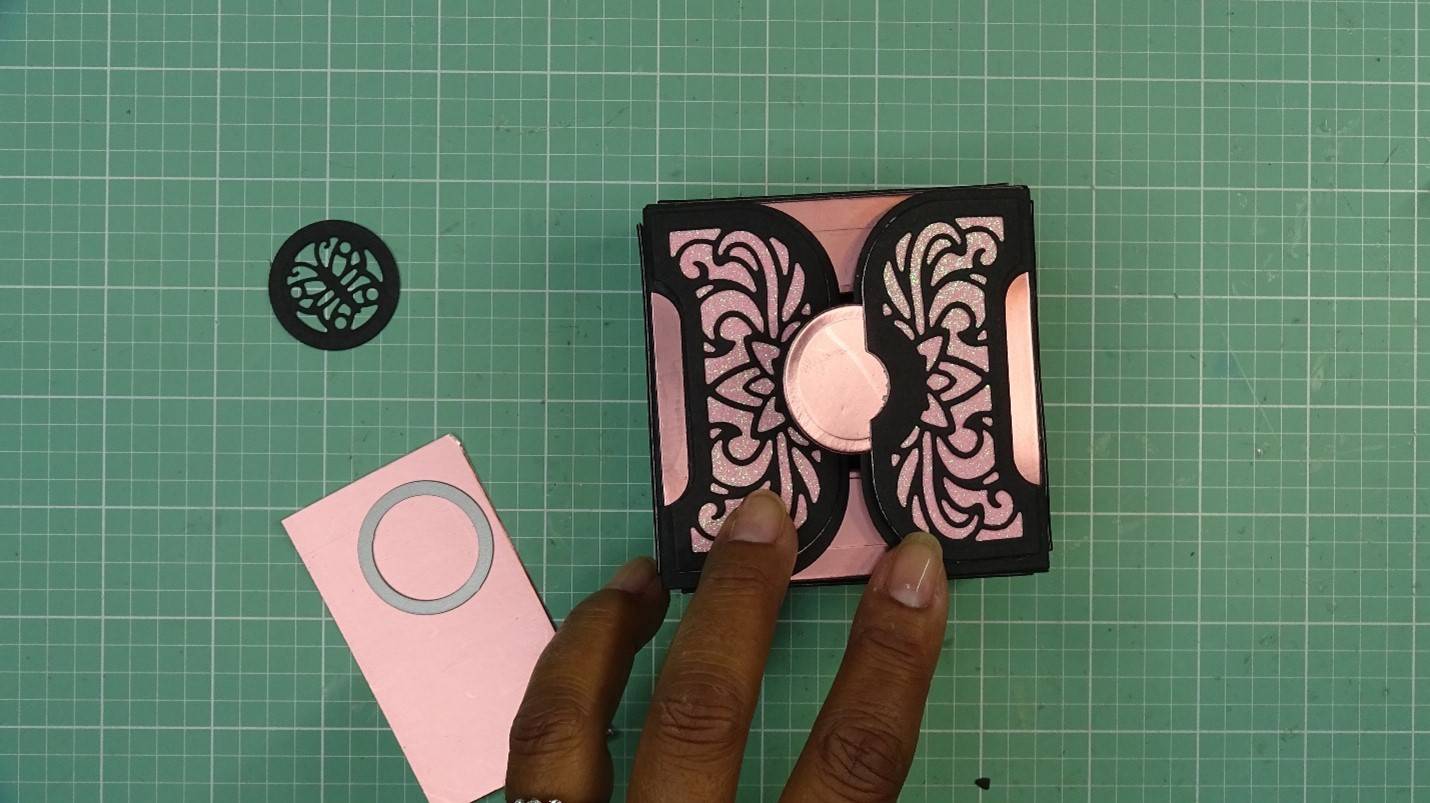
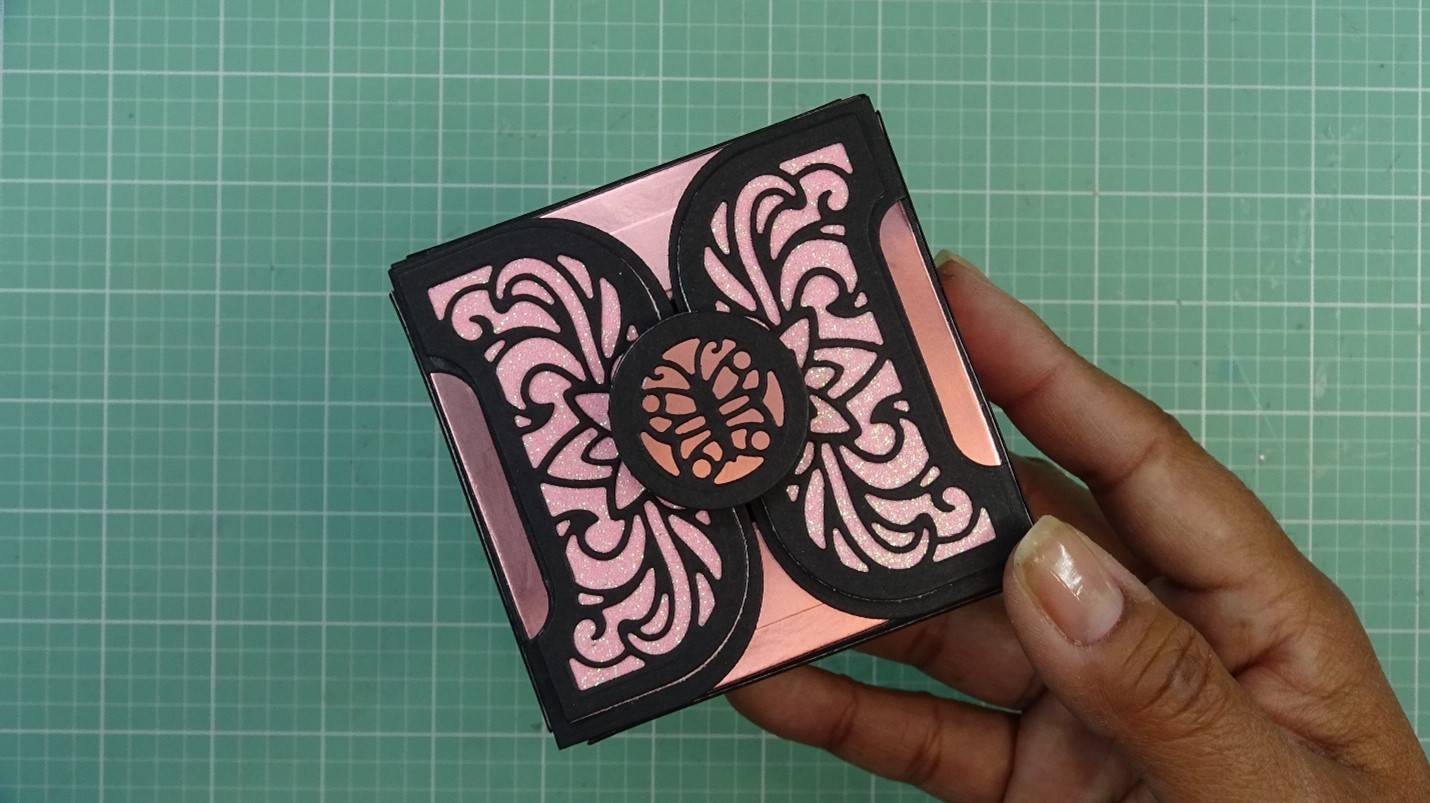
After adhering the decorative pieces to the flap, you will cover portions of the closure. We will cover this with the circular decorative topper we just die cut, and I will again cut another full circle from the Baroque Rose.
Step 7
Just as before, layer your decorative piece over the background piece. I also placed dimensional adhesives to the back of the decorative circle, giving some dimension when placed.
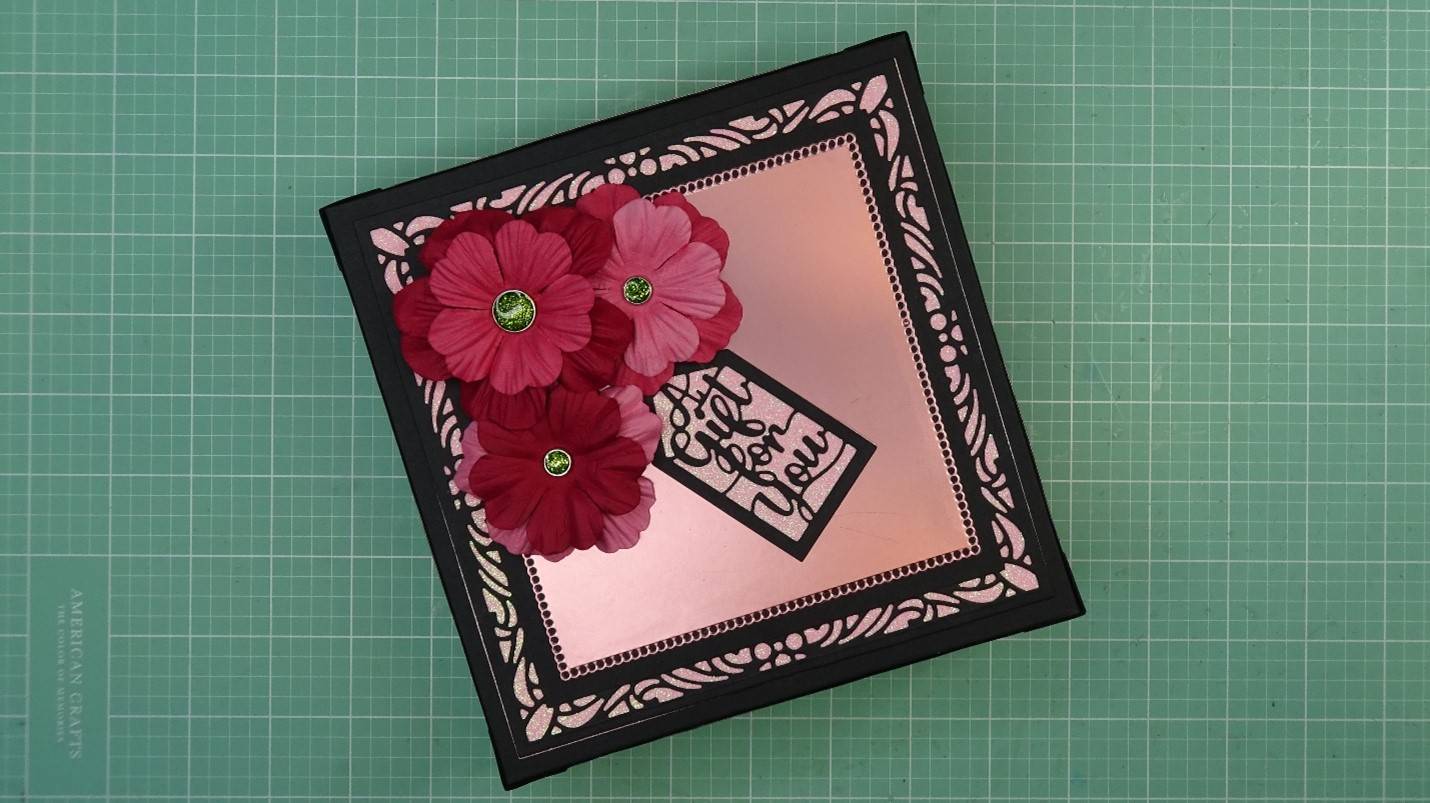
There you have it! A gorgeous, substantial, gift box that will stand alone or go inside the larger Magnificent Mortice Gift Box! Spectacular!!!

Buy The Craft Project


