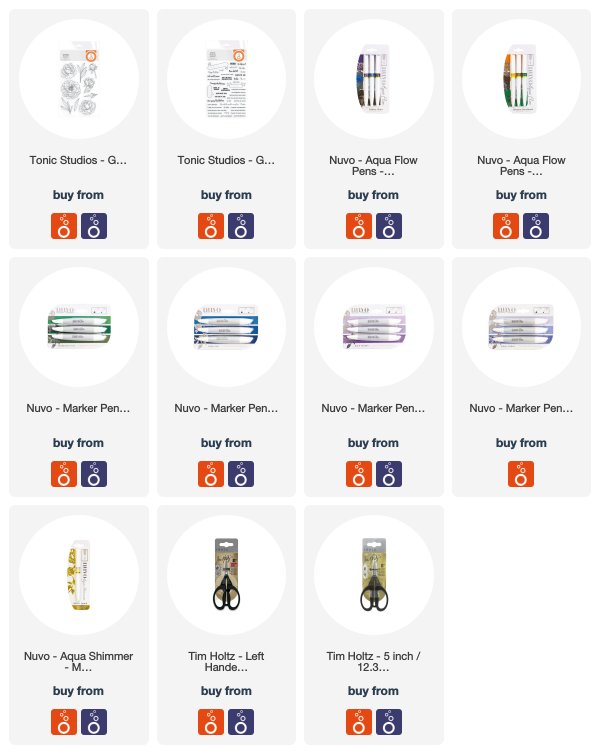
Hello Crafters!
It’s Kelly here and I’m excited to share with you a fun way to bring our new Peony Bloom stamp to life. In today’s card I’ll be combining my Nuvo Aqua Flow Pens with my Nuvo Alcohol Markers. This allows me the free flow of watercolor that I love with the more detailed coloring that makes my heart happy
- Start with watercolor paper. This makes such a difference.
- Stamp and mas your images to create a bouquet you’re happy with.
- Lay down color with your Aqua Flow Pens just over the petals.
- Feel free to layer like colors. I used Wild Phlox, Indigo Dawn, and French Wine for my first layer.
- Pick up clean water with your paintbrush and paint around your flower. Color will only flow where the water is. Make sure you only lay down as much water as you want color.
- Take your wet paint brush to the petals and watch the color blend, It’s magical!
- Resist the urge to “paint” the entire image.
- Wet the color and touch it to the outside boundary you created. Then let the water do the work.
- Do the same with the leaves. It’s okay if your flower is still damp it’ll let the colors from the leaves and the flowers mix a little. I used Spiced Ginger and Evergreen Fern for mine.
- Working in layers is a great way to get bold color. After my first layer was dry I went back in with some Azure Blue and more Indigo Dawn to get more of a blue violet.
- Once that layer was dry I added some spatters of gold using the Midas Touch Aqua Shimmer. So pretty! I also loaded up the center of the flower.
- To be sure everything was completely dry I heat set the panel before going in with my Nuvo Alcohol Markers.
- 431, 436, and 443 were used for my petals to match that blue-violet color.
- I only added shading in the darkest parts. The plan isn’t to completely cover that gorgeous watercolor it’s to enhance it.
- I used 413, 415, and 417 to do the same for the leaves.
- Last I stamped the banner from Celebrate Sentiments and added my sentiment inside.
- I shaded the banner with 485, 487, 49, and 491.
- I fussy cut the banner out and then used my black brush script pen to go around the edges. This creates a smoother look
- I popped up the banner on foam and called it done!
You can watch the entire process in the video below
Thank you so much for joining me!
I hope you’ll give this technique a try soon!
Kelly


