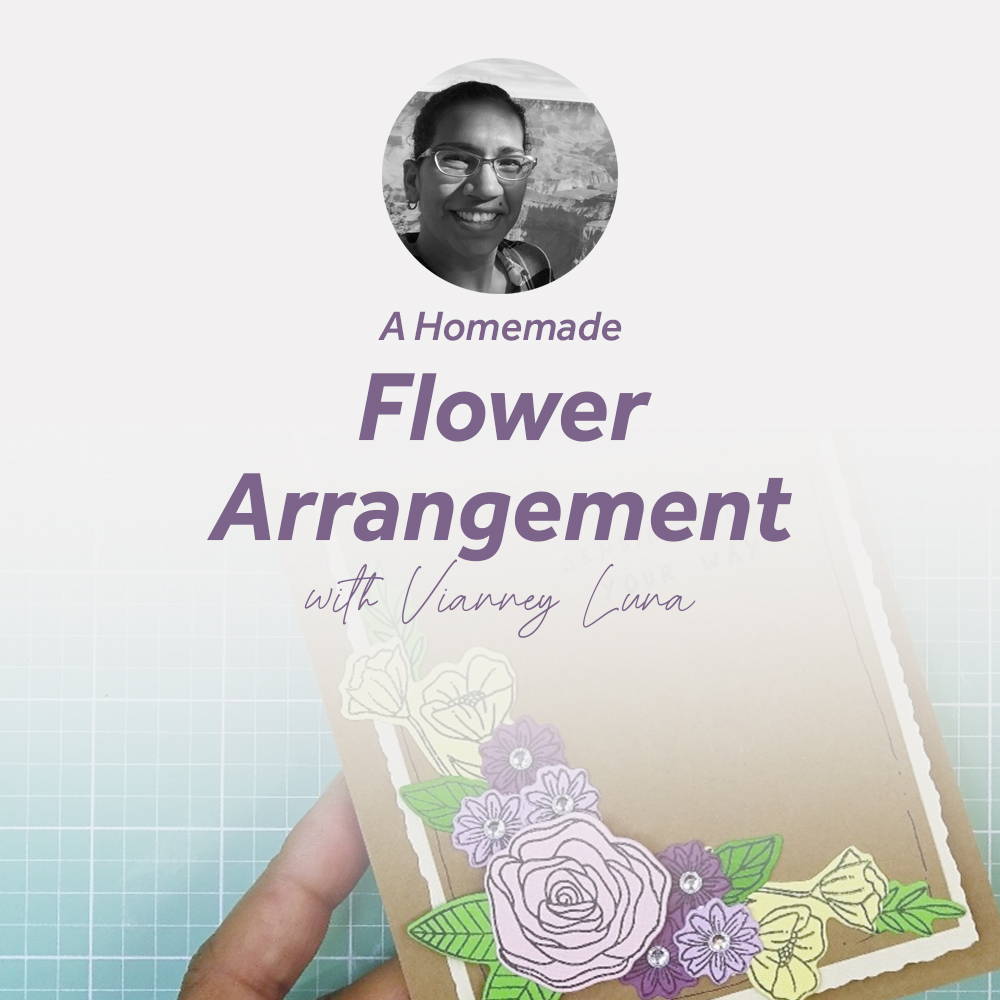


Hello! My name is Vianney, and today we will be playing with the beautiful new Tonic stamp and die set, A Flower for All Seasons! I’ll show you how to color the images without coloring at all! Grab your set, some kraft card, scraps of colorful papers, ink, and basic supplies. Let’s get started!
Part one - Stamping, “Coloring,” and Die Cutting the Floral Images
Step 1

To begin, let’s stamp the flower and leaf images. I have chosen several colors of papers, use whatever colors you love. This is how we will “color” our images! I like to use at least two different colors of green paper for the leaves, and several colors for the different flowers.
Step 2
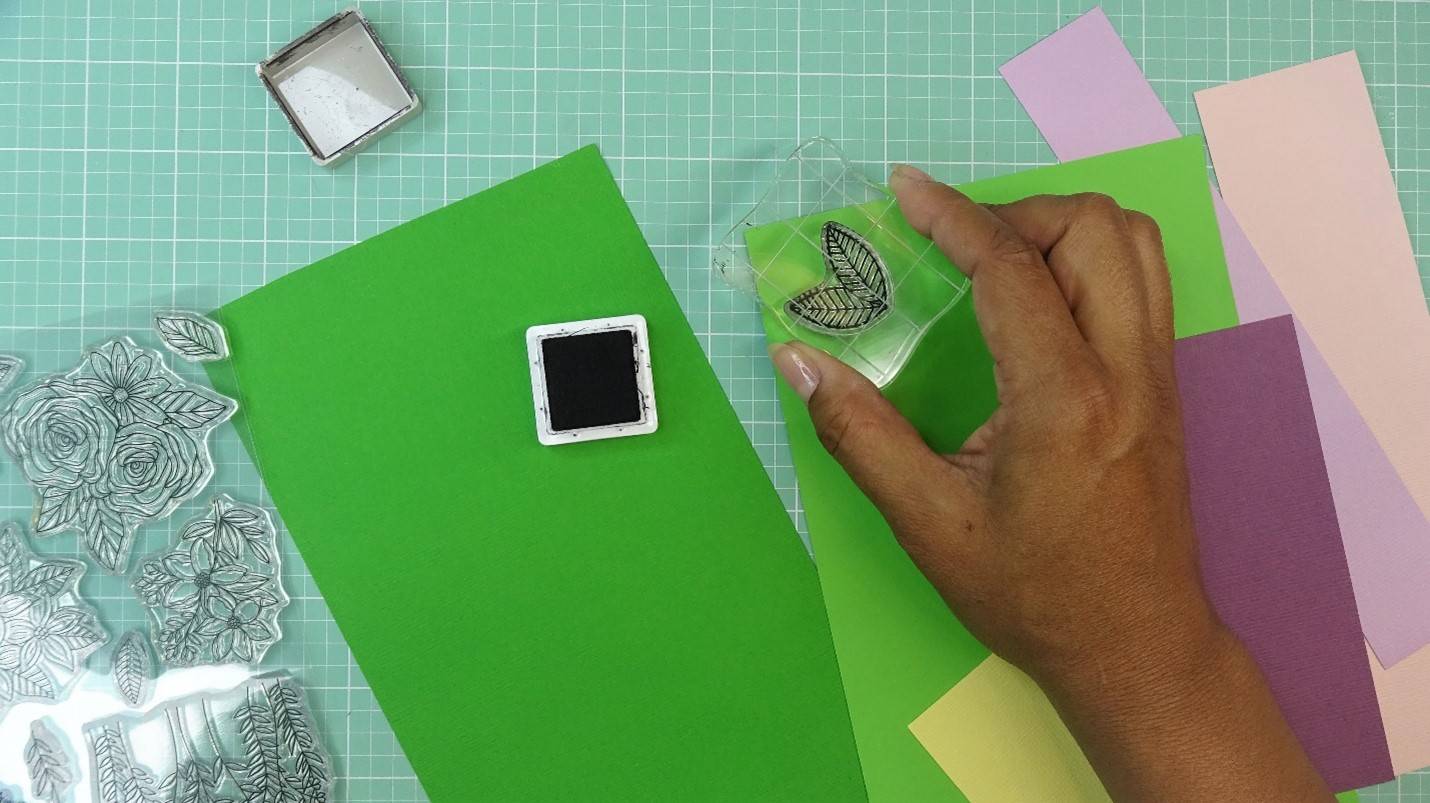
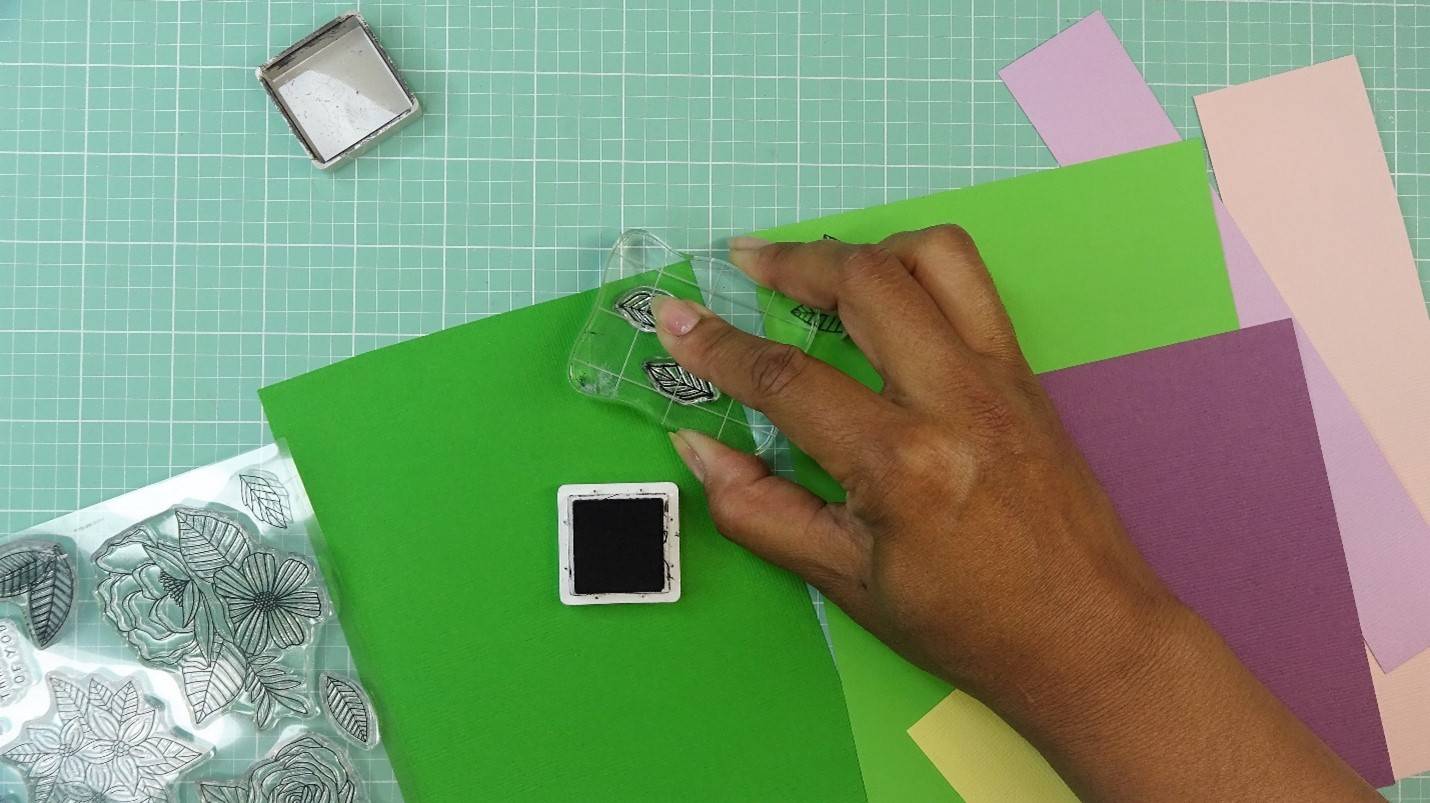
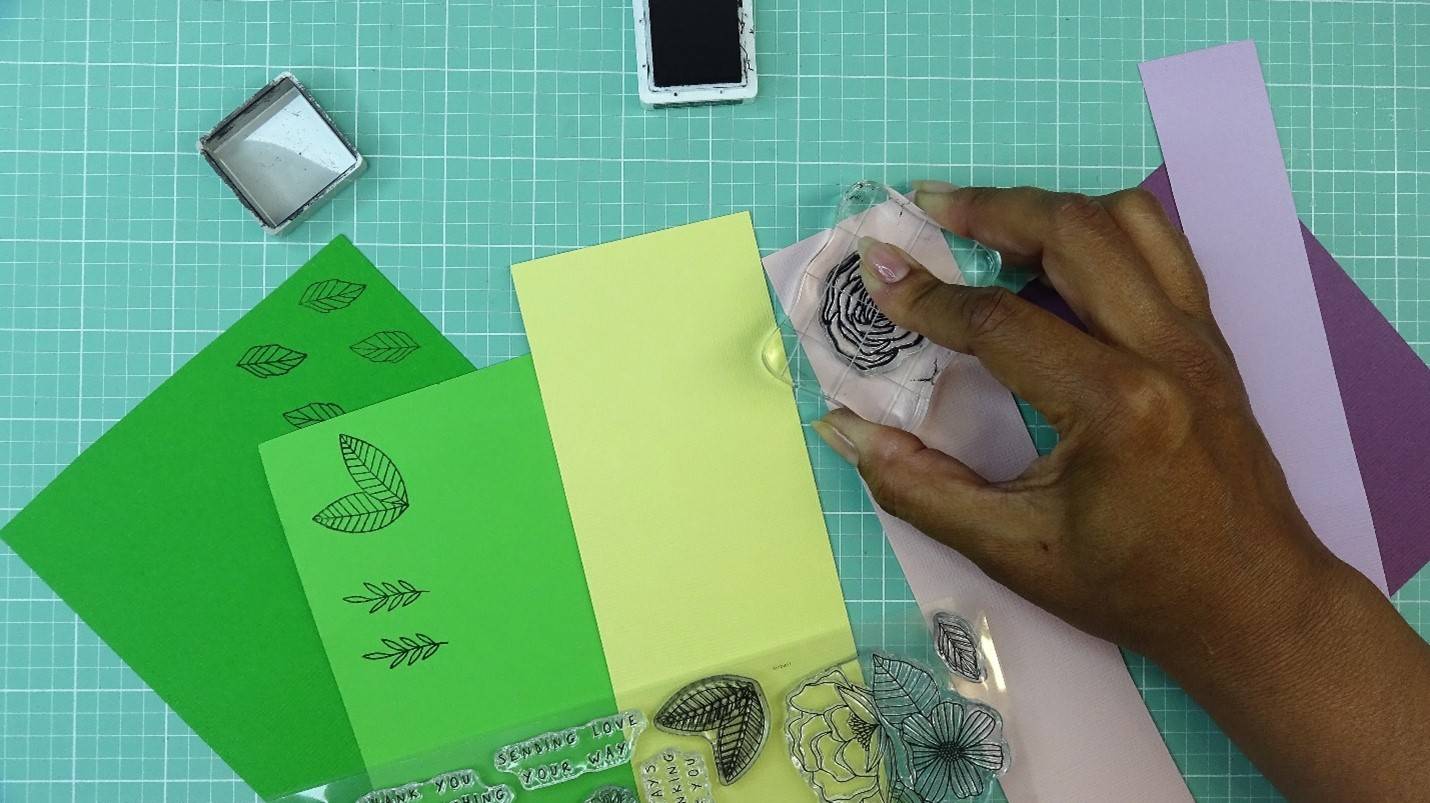
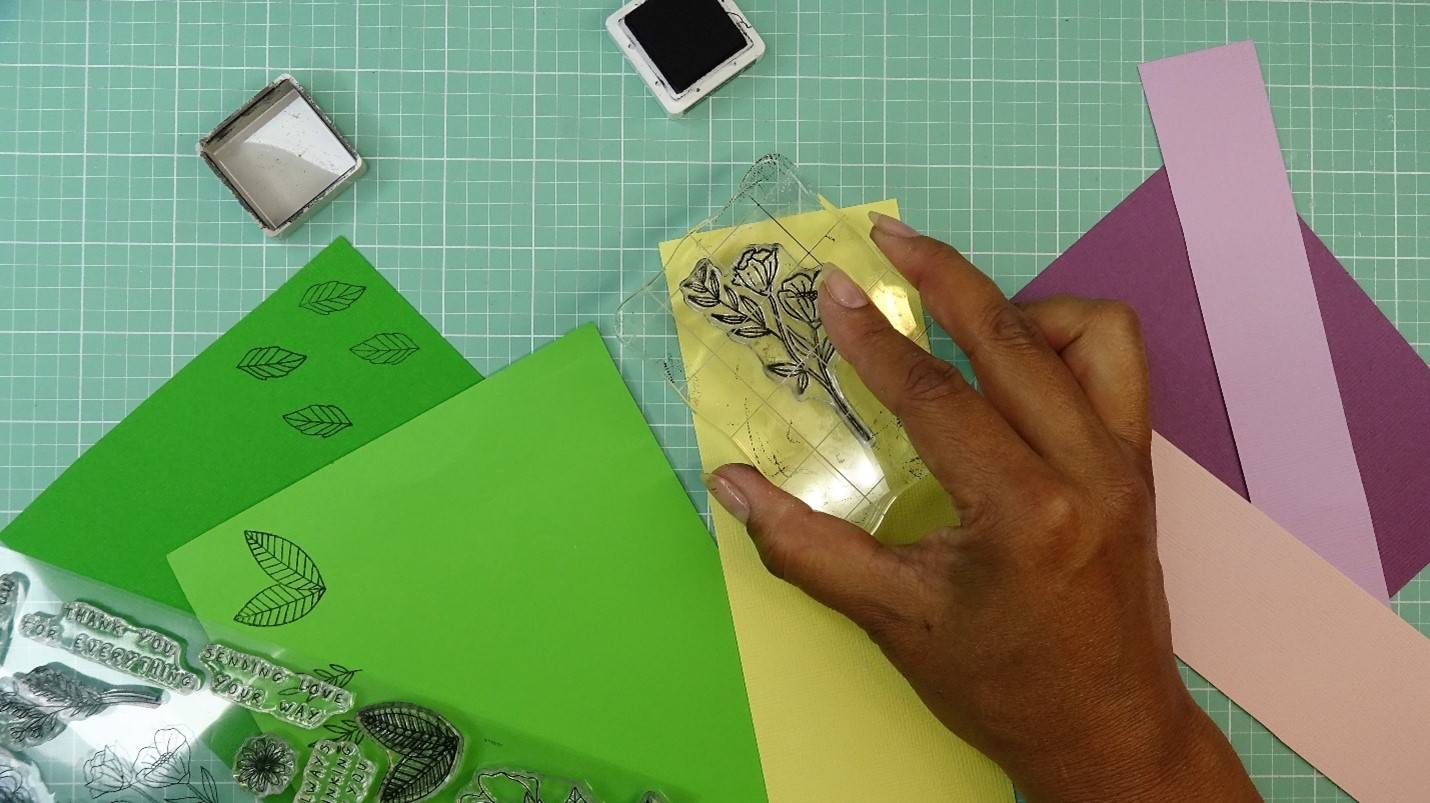
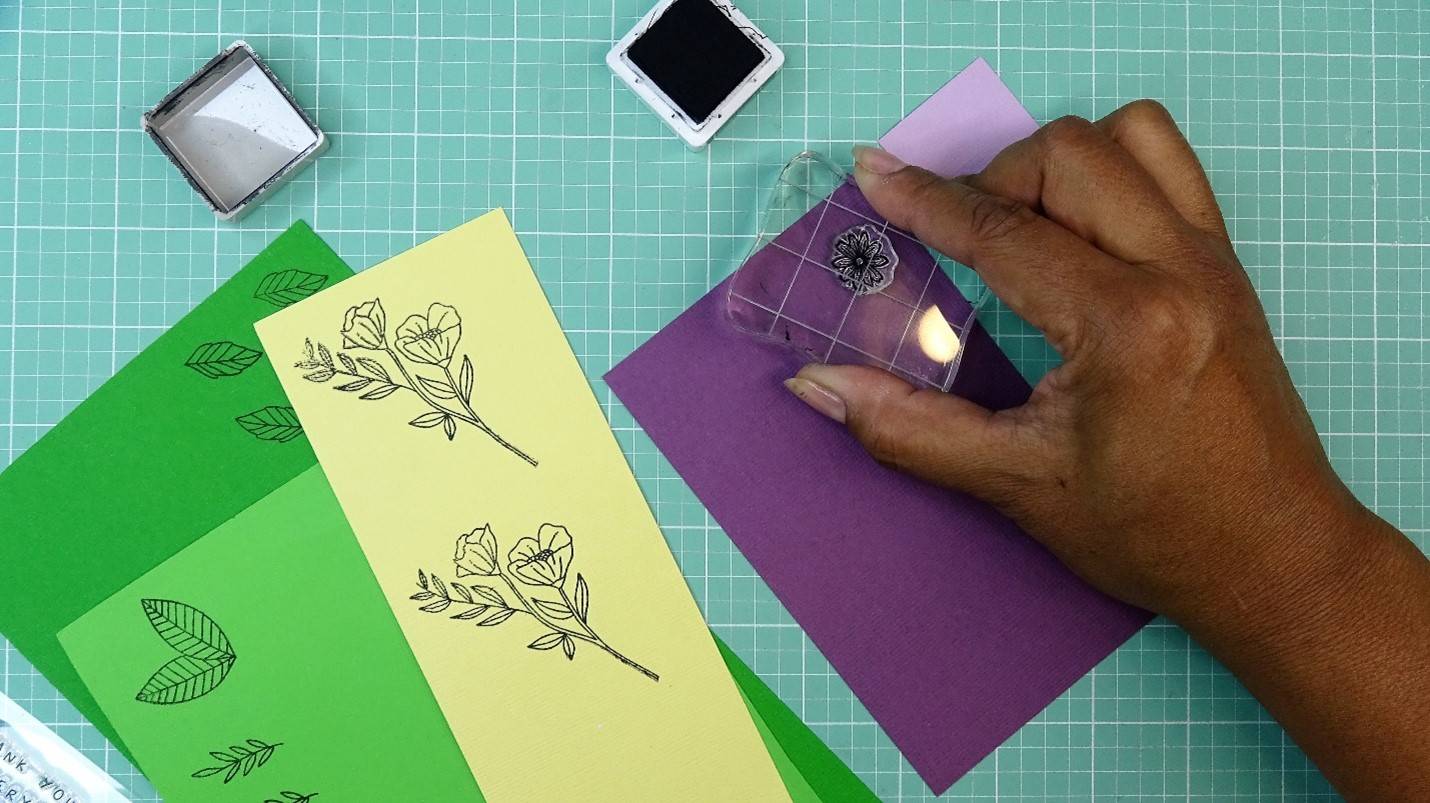
Stamp several different leaf and flower images. I try and stick to using the single flower images for this technique, but I did use the poppy bouquet. I will trim it down later.
Step 3
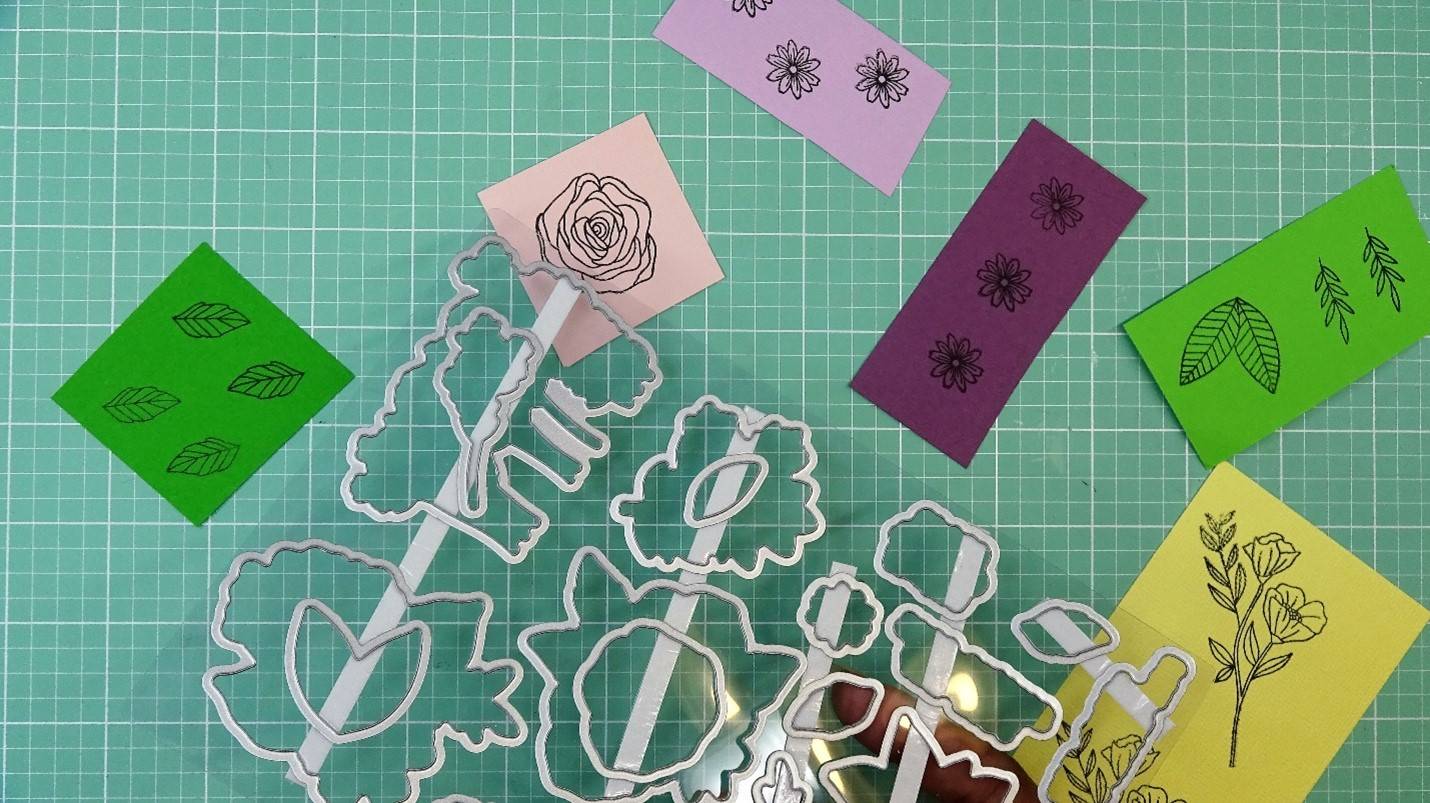
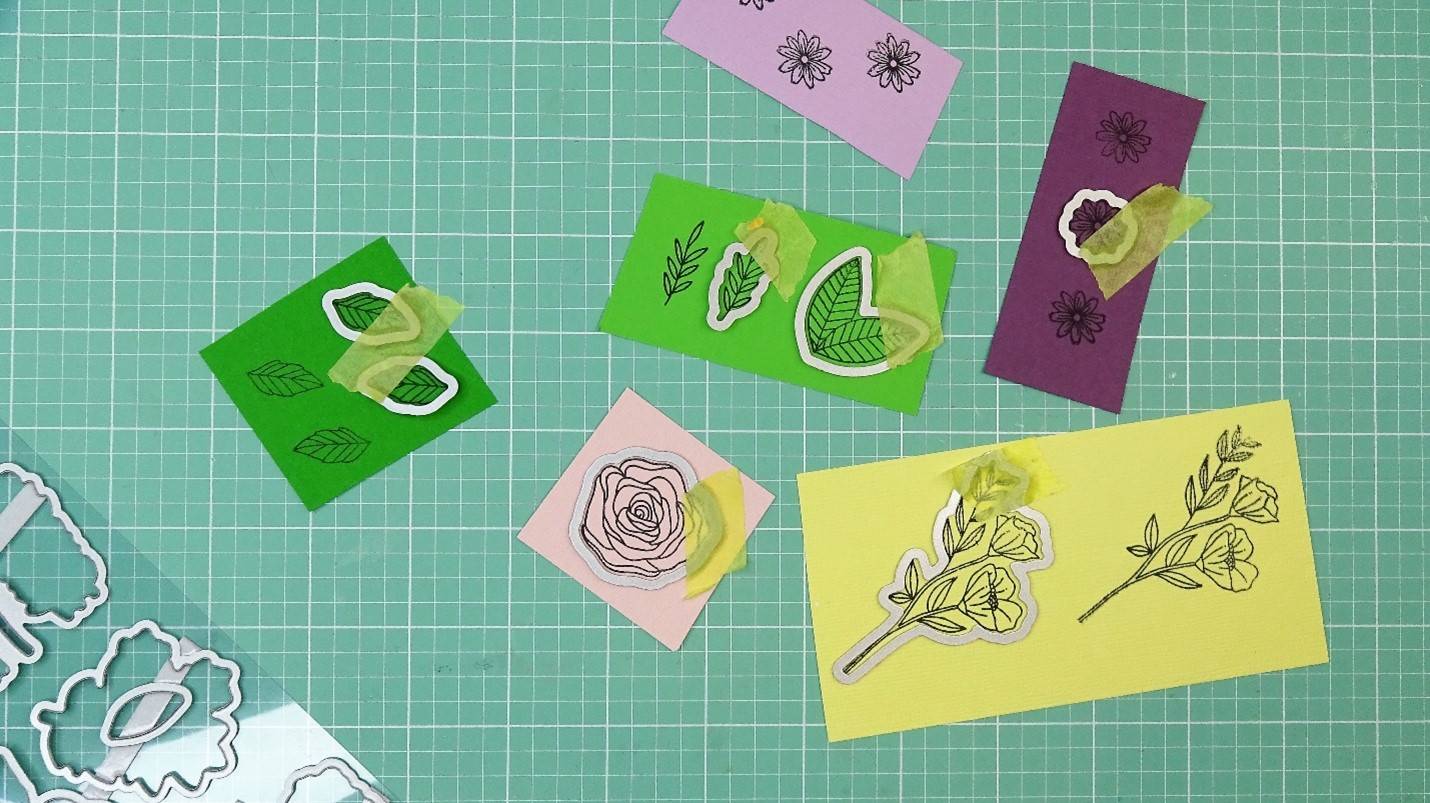
We will then go ahead and die cut the stamped images. The dies are very easy to match up with the images. Tape to secure the dies to the paper and run through your die cutting machine.
Step 4
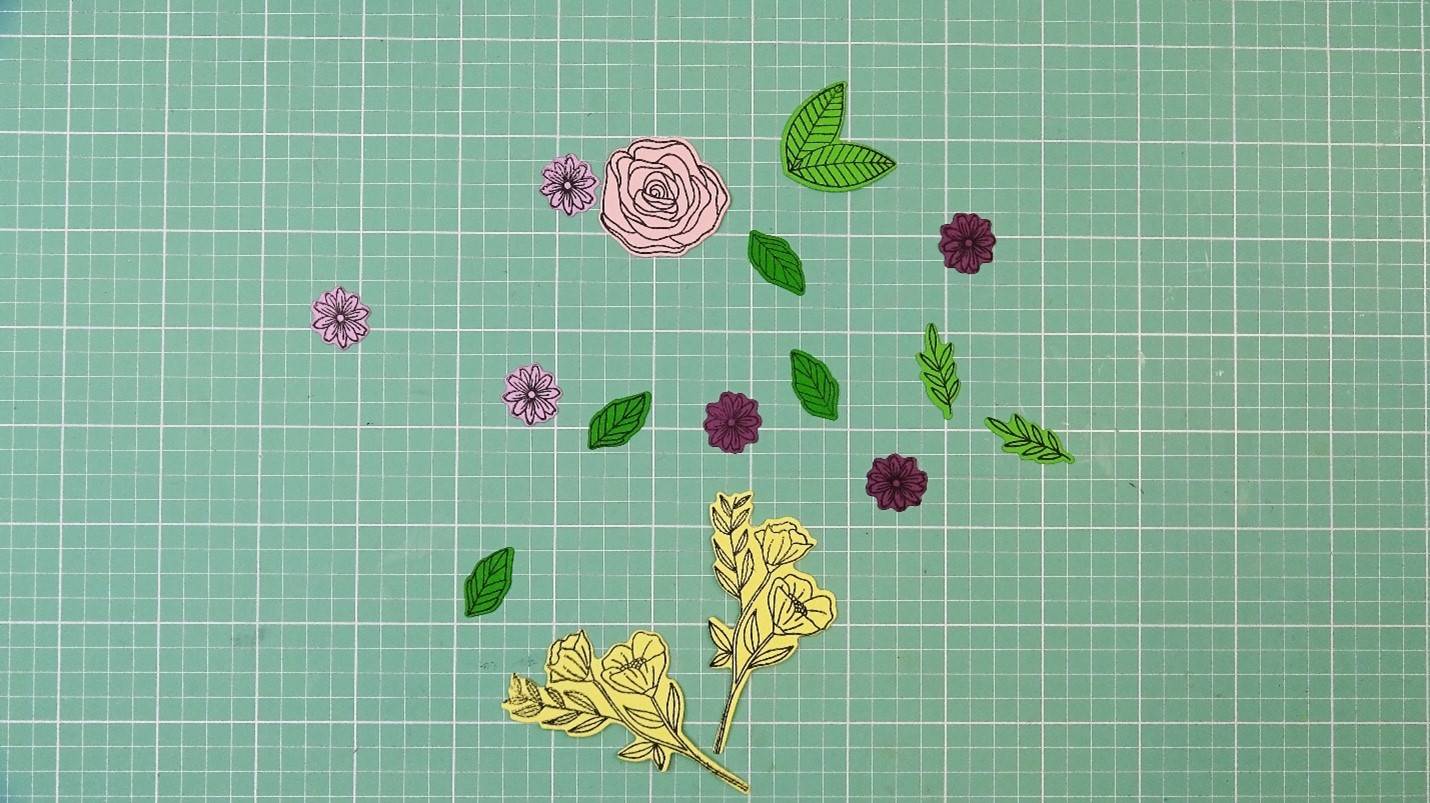
Place your beautiful die cut images to the side while we make our Z-Fold card base.
Part 2 - Creating the Z-Fold Card Base and Topper
Step 1
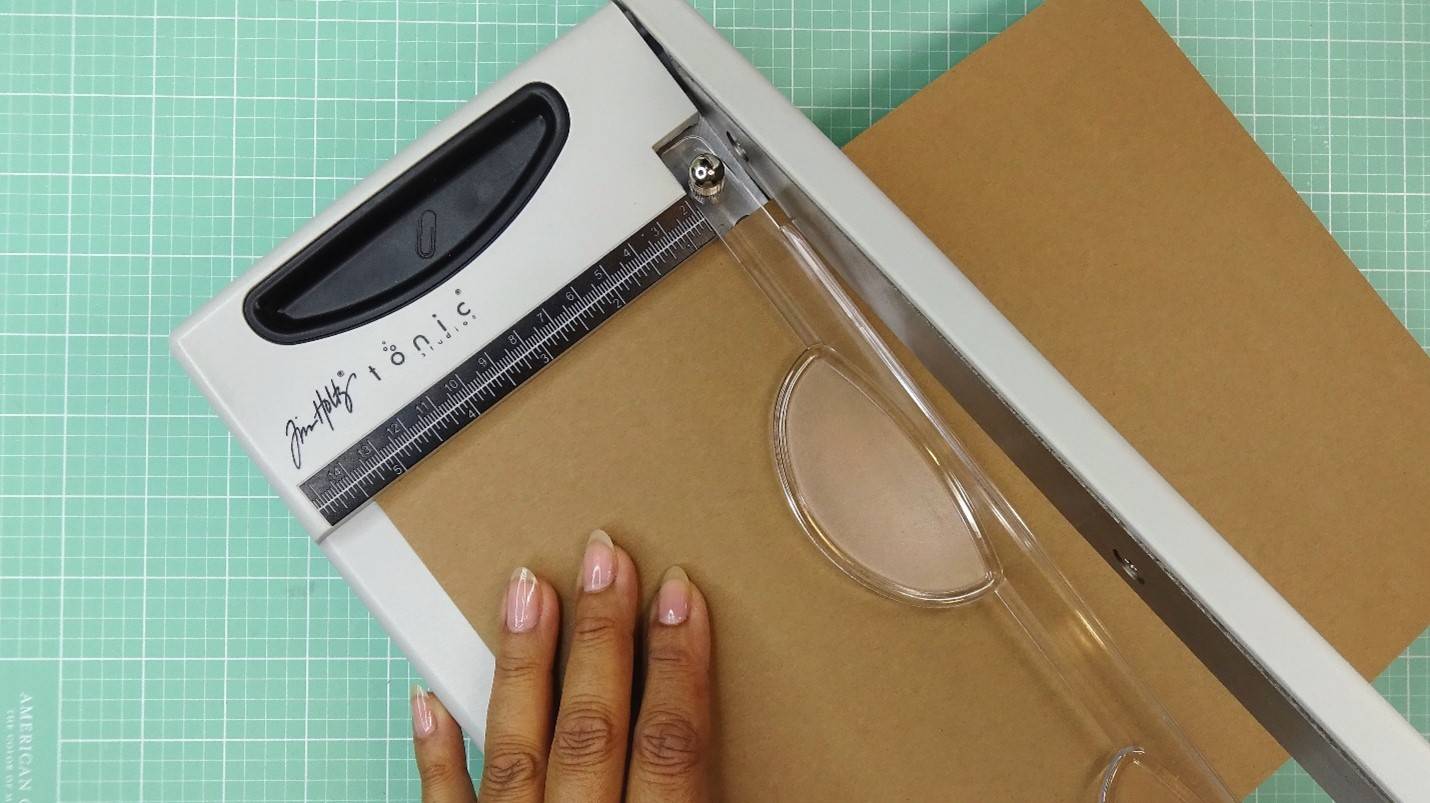
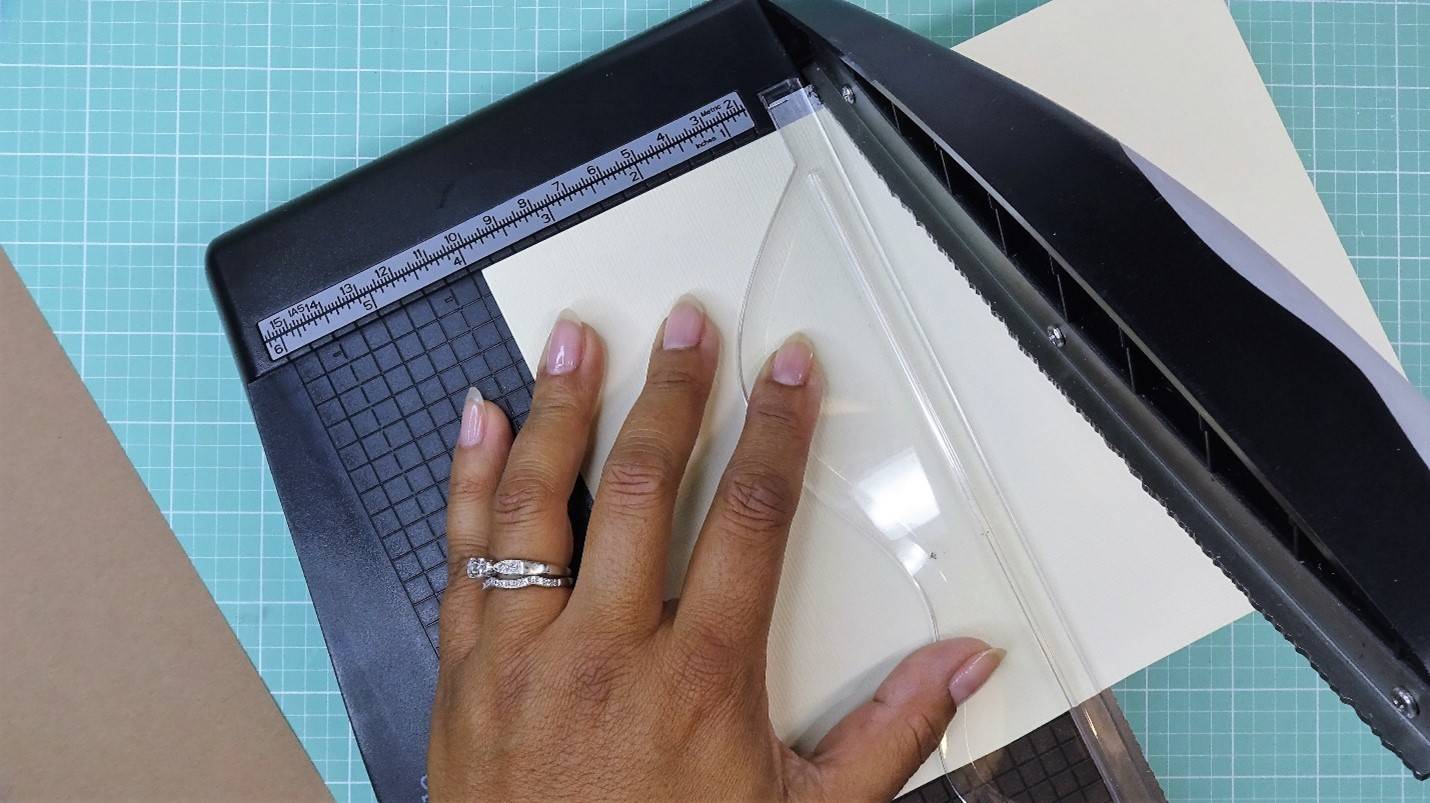
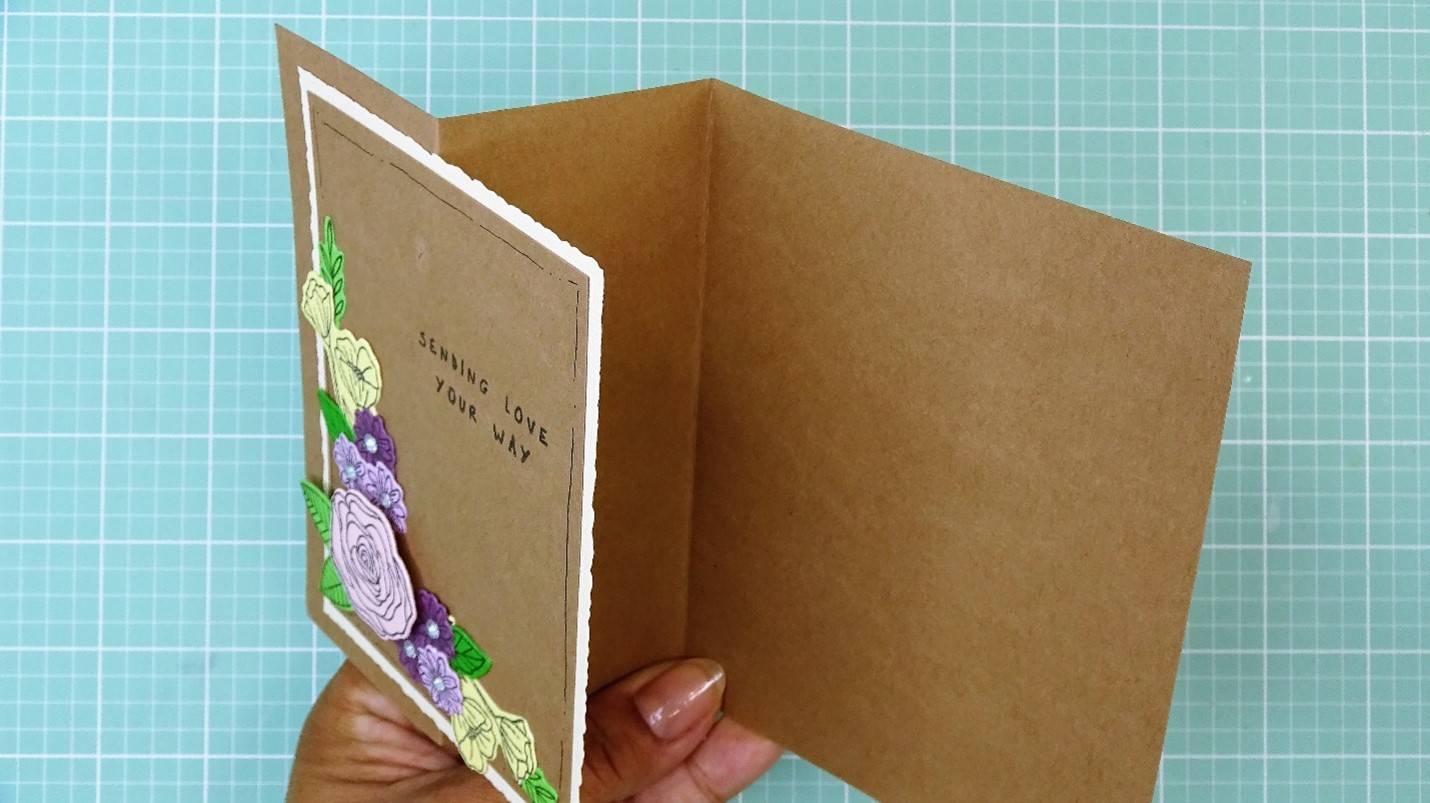
Cut an A2 card base from kraft card stock. This would be 5 ½” by 8 ½”.
Step 2
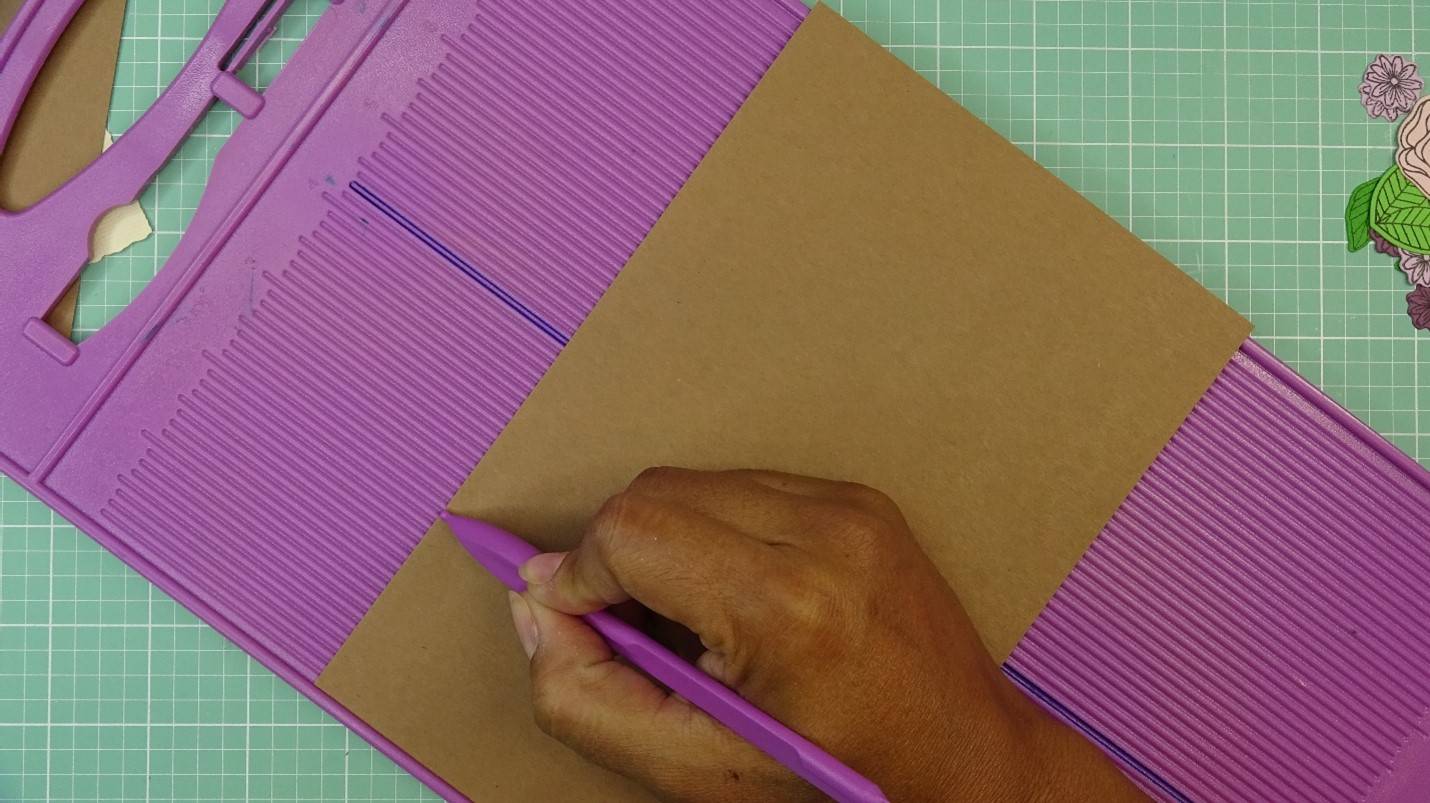
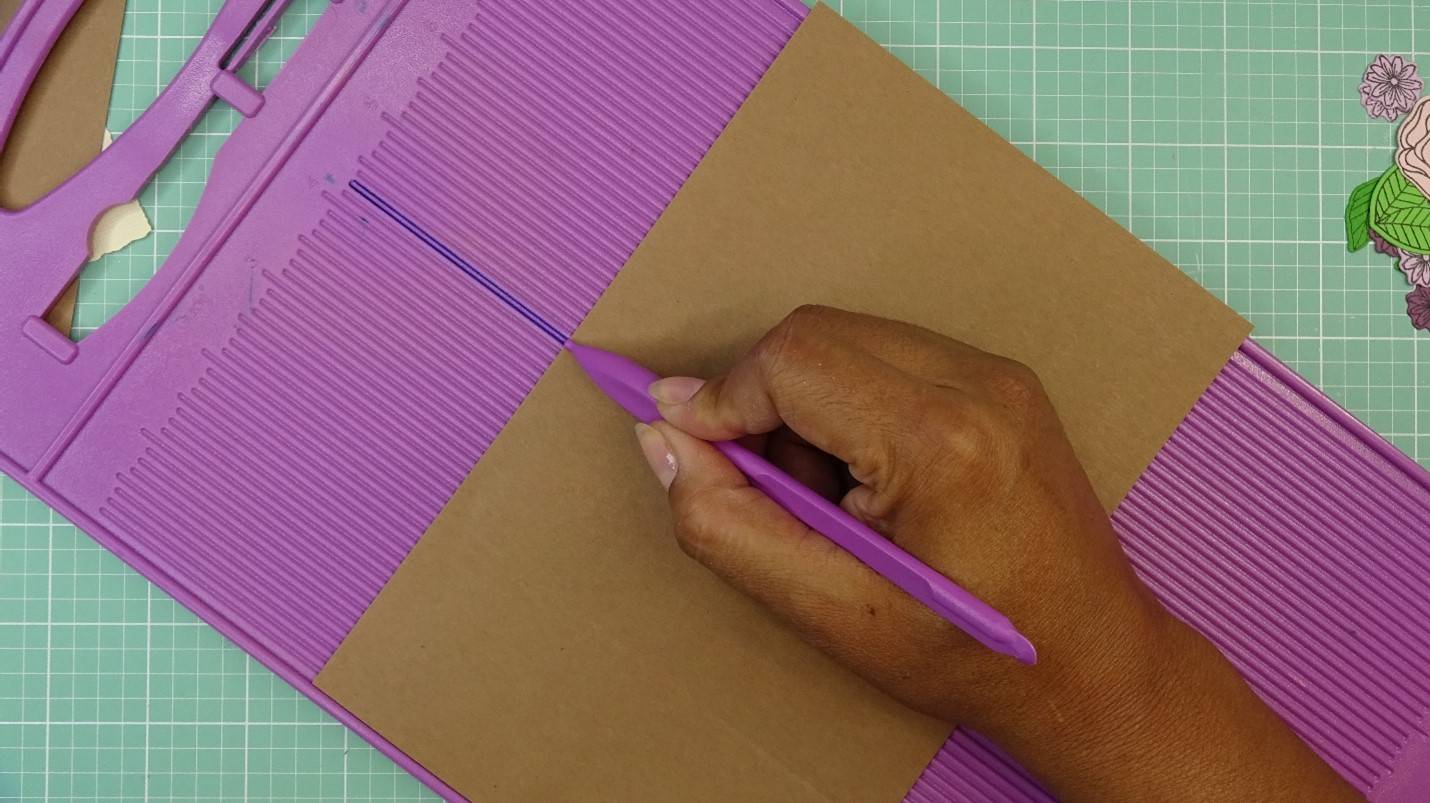
To create the Z-Fold card, score the card base at 2 1/8” and 4 ¼”.
Step 3

Go ahead and fold on the 4 ¼” score line, bone fold for a crisper look.
Step 4

Fold the card back on the 2 1/8” score mark, bone fold for a crisper look. Put the card base to the side.
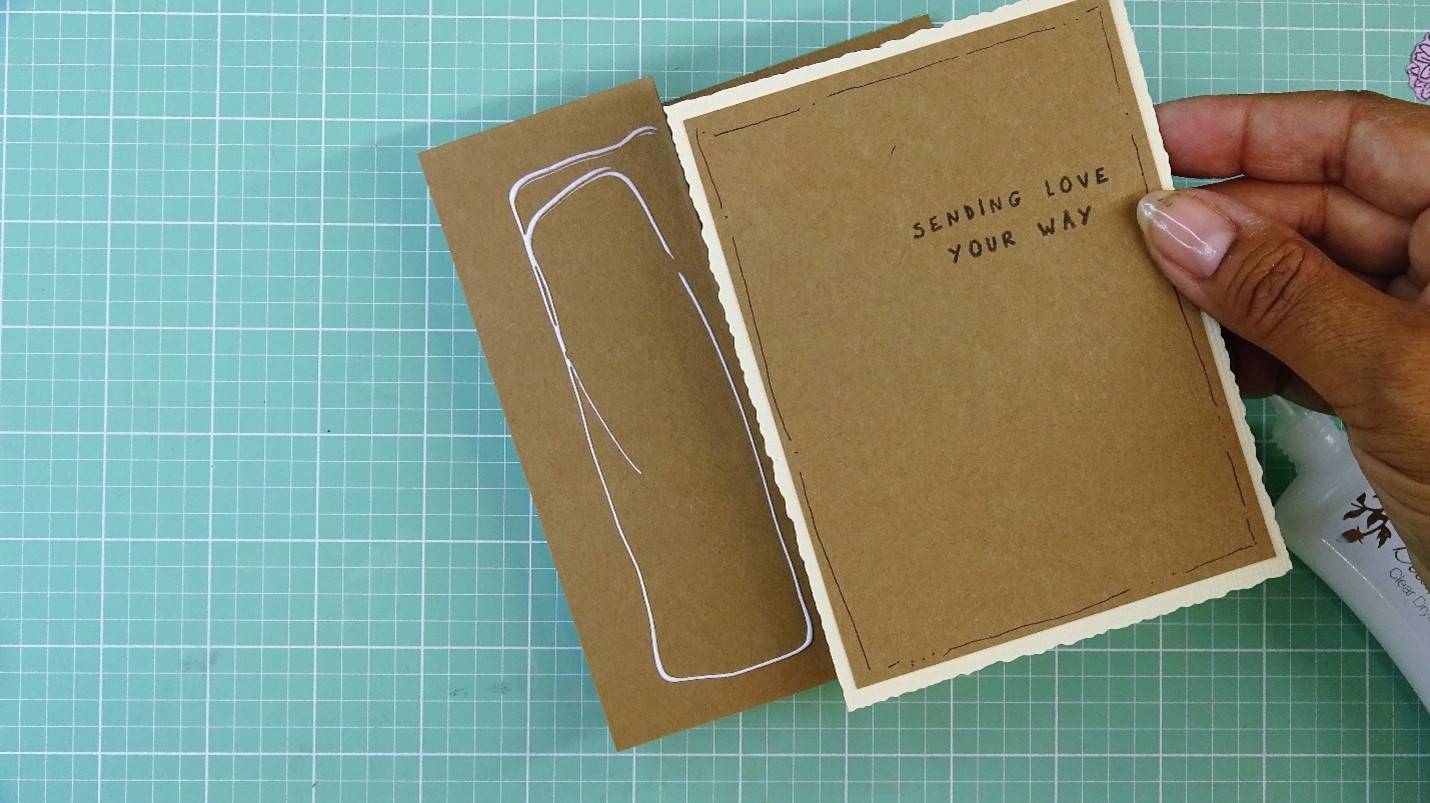
Step 5
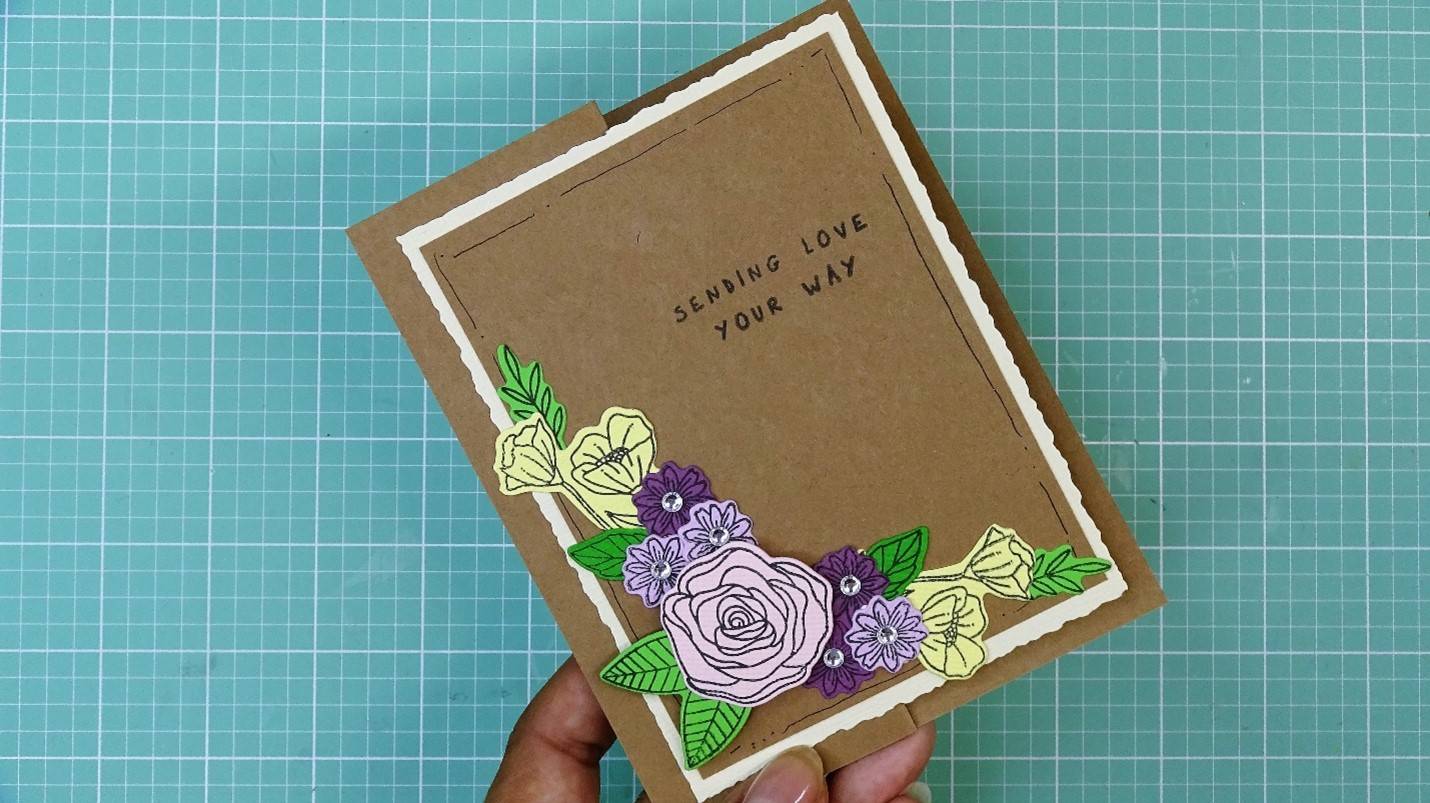
We will also add a topper to our Z-Fold card, so I will use the deckle edge trimmer to cut a mat at 3 ¾” by 5”. I chose cream colored Craft Perfect paper for this.
Step 6
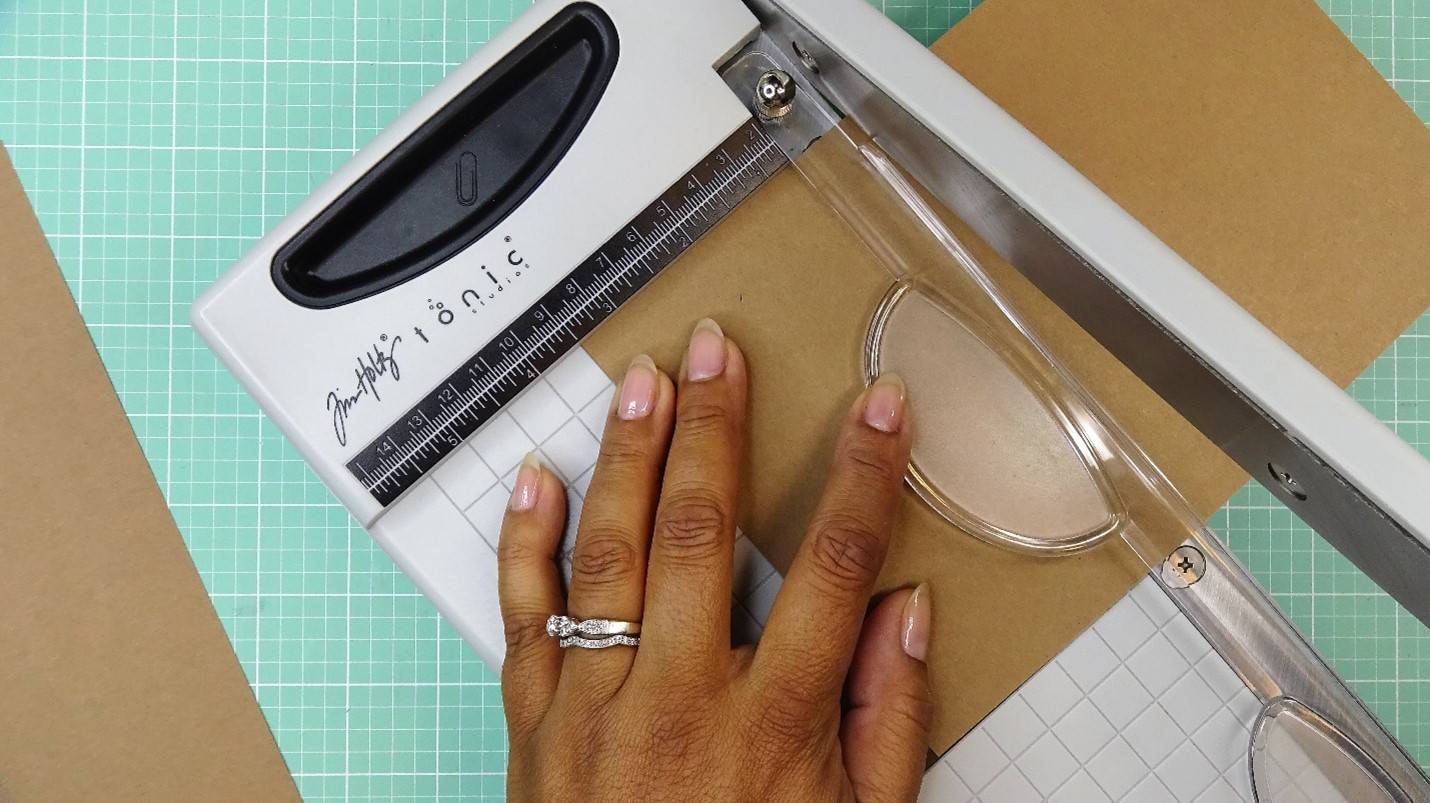
We will top the cream paper with another piece of kraft cut at 3 ½” by 4 ¾”. I used a straight-edge trimmer for this.
Step 7
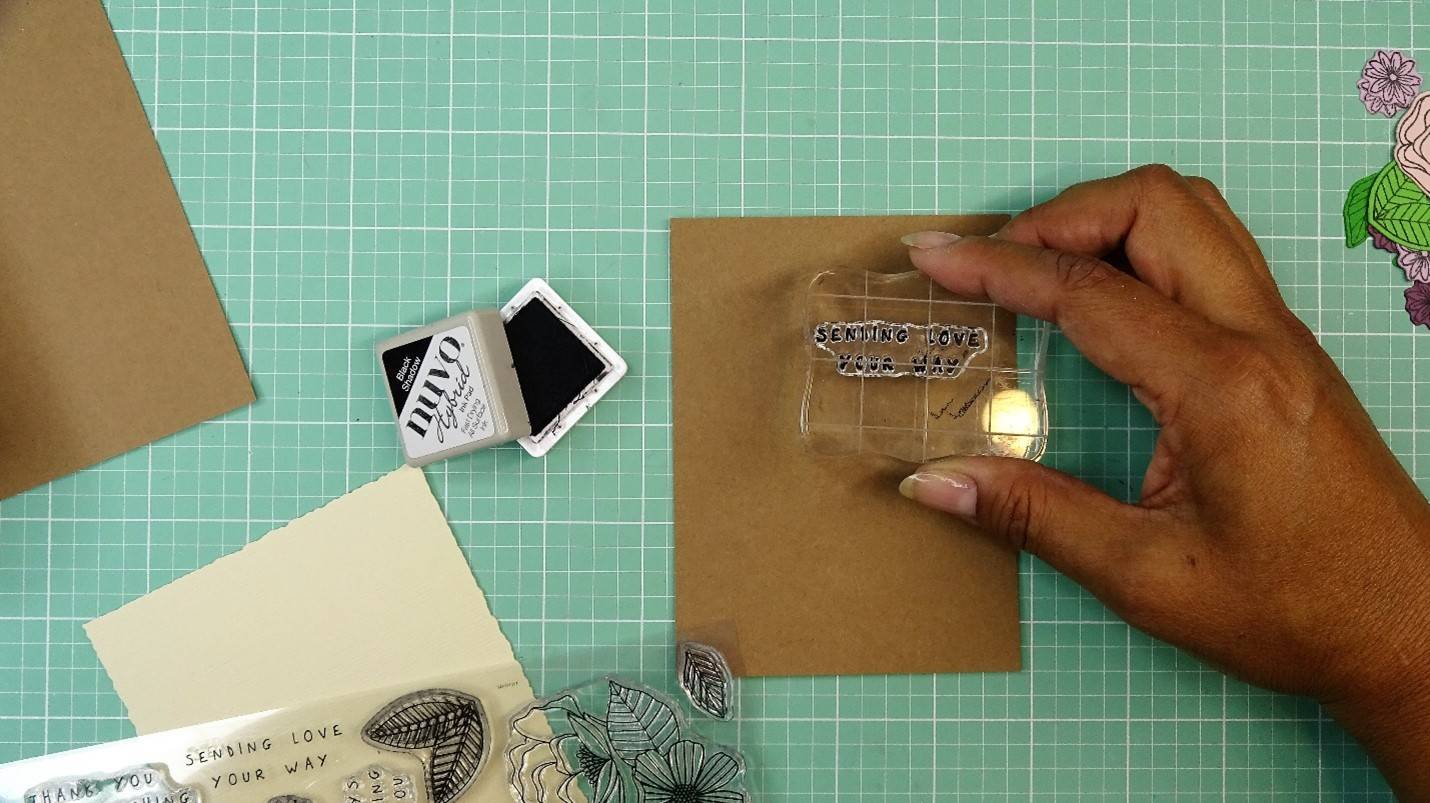
To decorate the topper card a little bit, I will stamp a sentiment.
Step 8
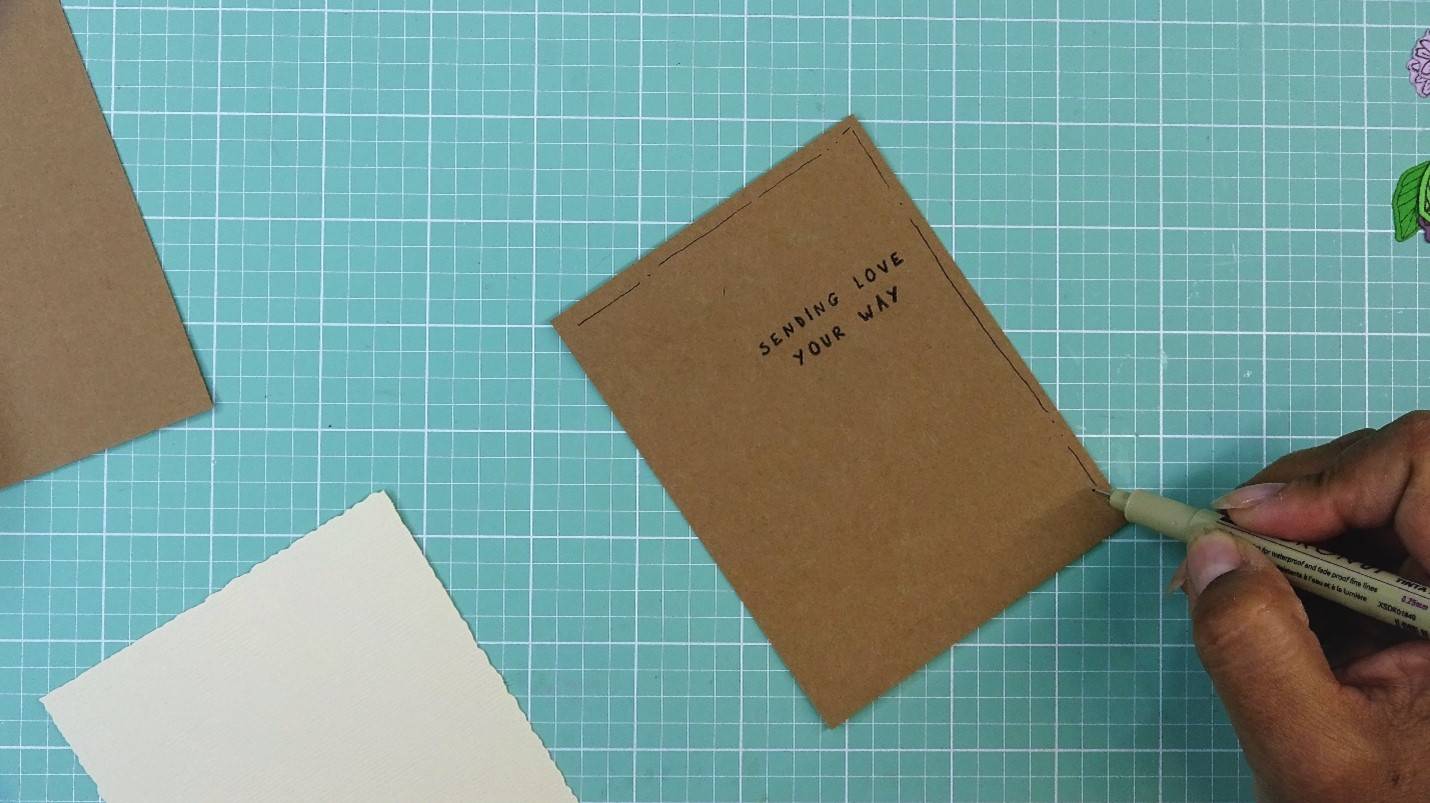
Then, I took an archival pen and added some rustic looking lines and dots all around the edges of the card.
Step 9

I will then glue the two pieces of card together before adhering them to the Z-Fold card base.
Step 10

Now, I will glue the topper to the card base. Just adda bit of glue to the folded back flap…being careful not to glue the card shut
Part 3 - Adding the Floral Images and Finishing Touches
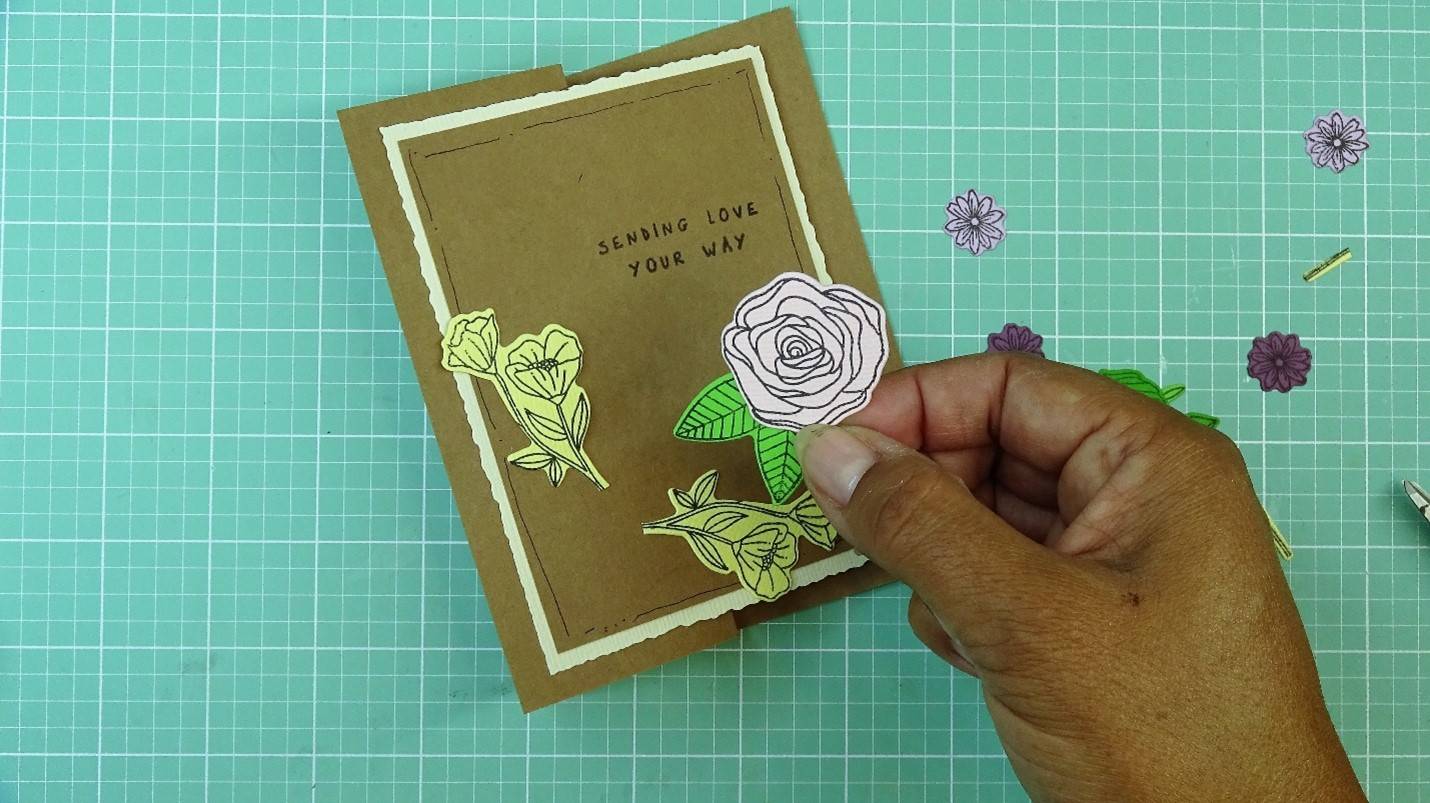
Step 1
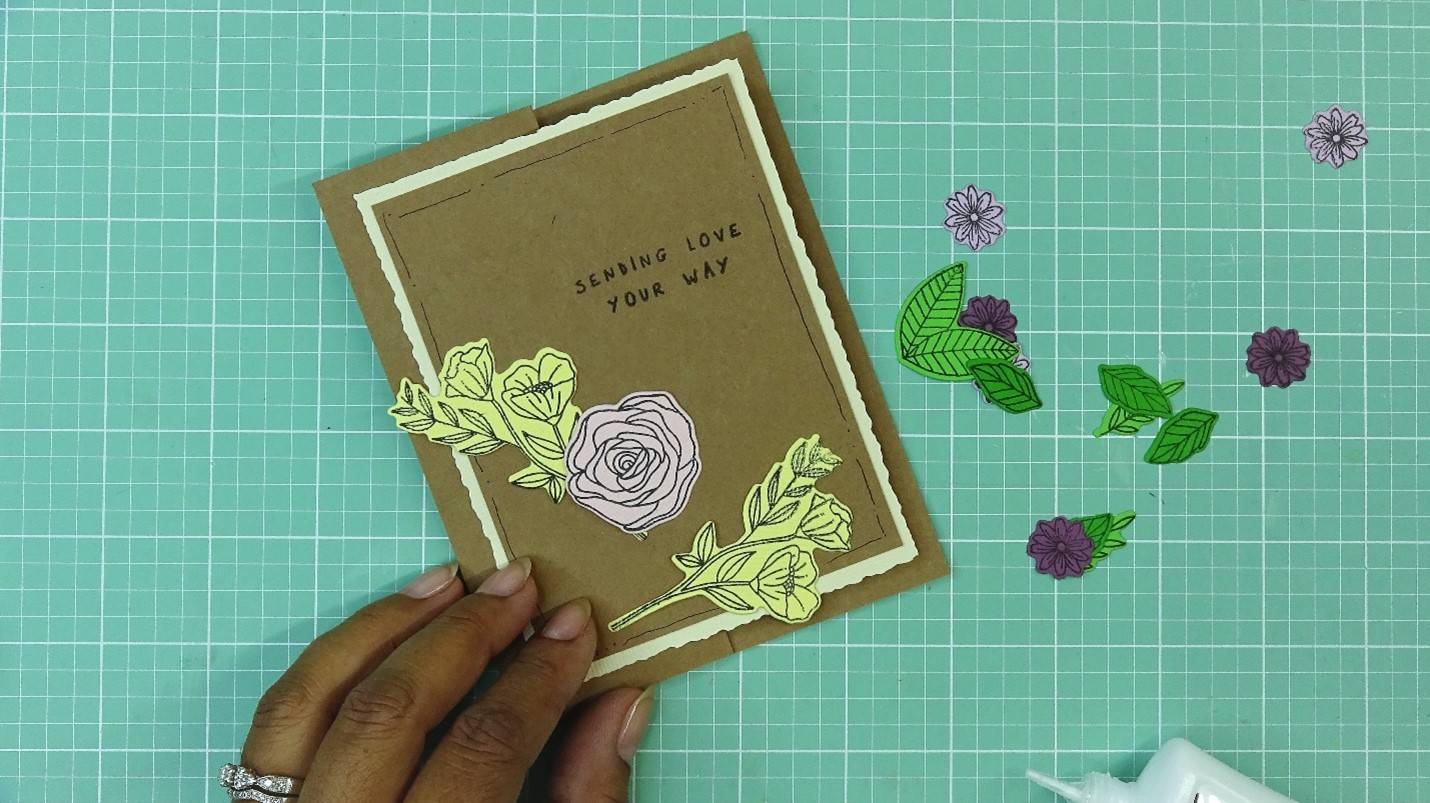
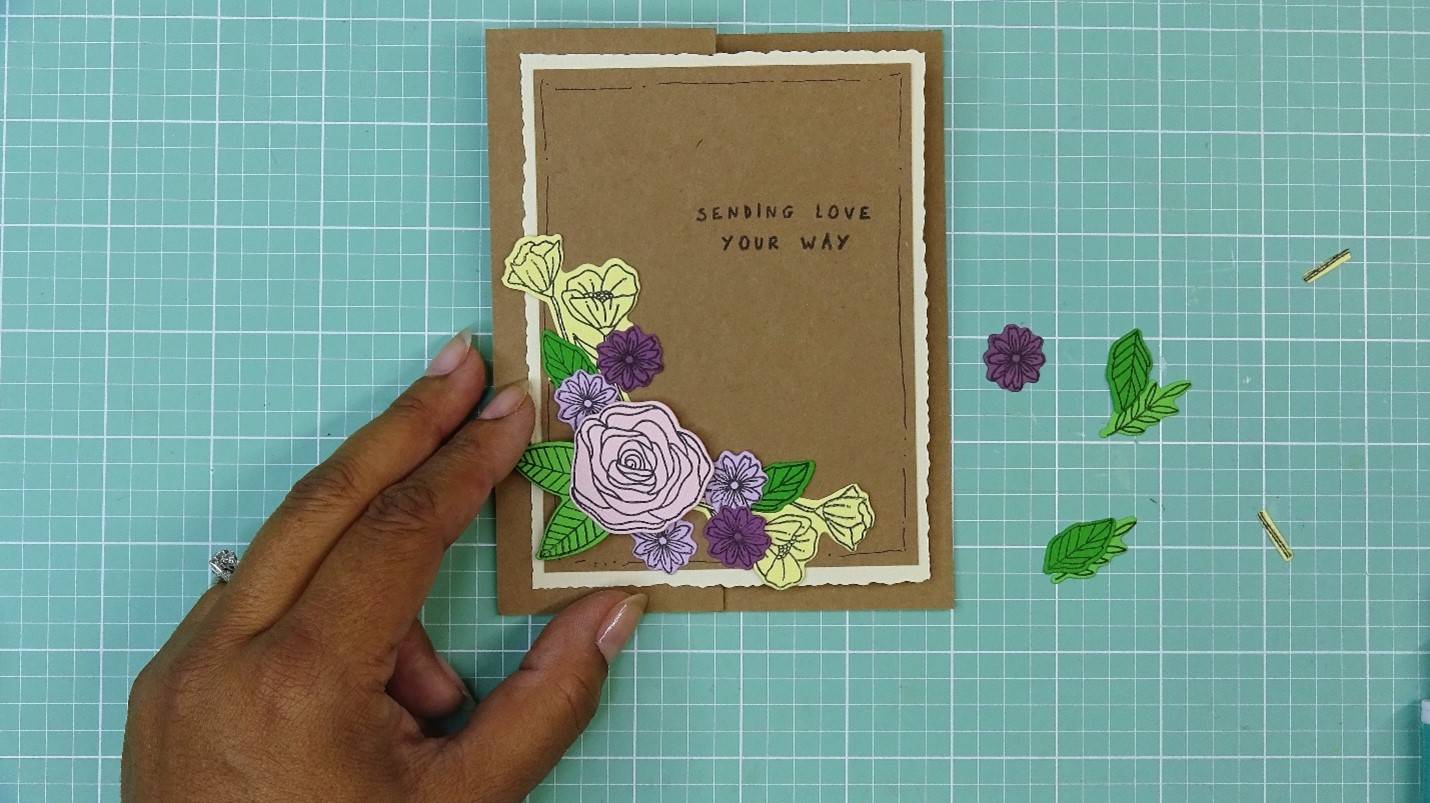
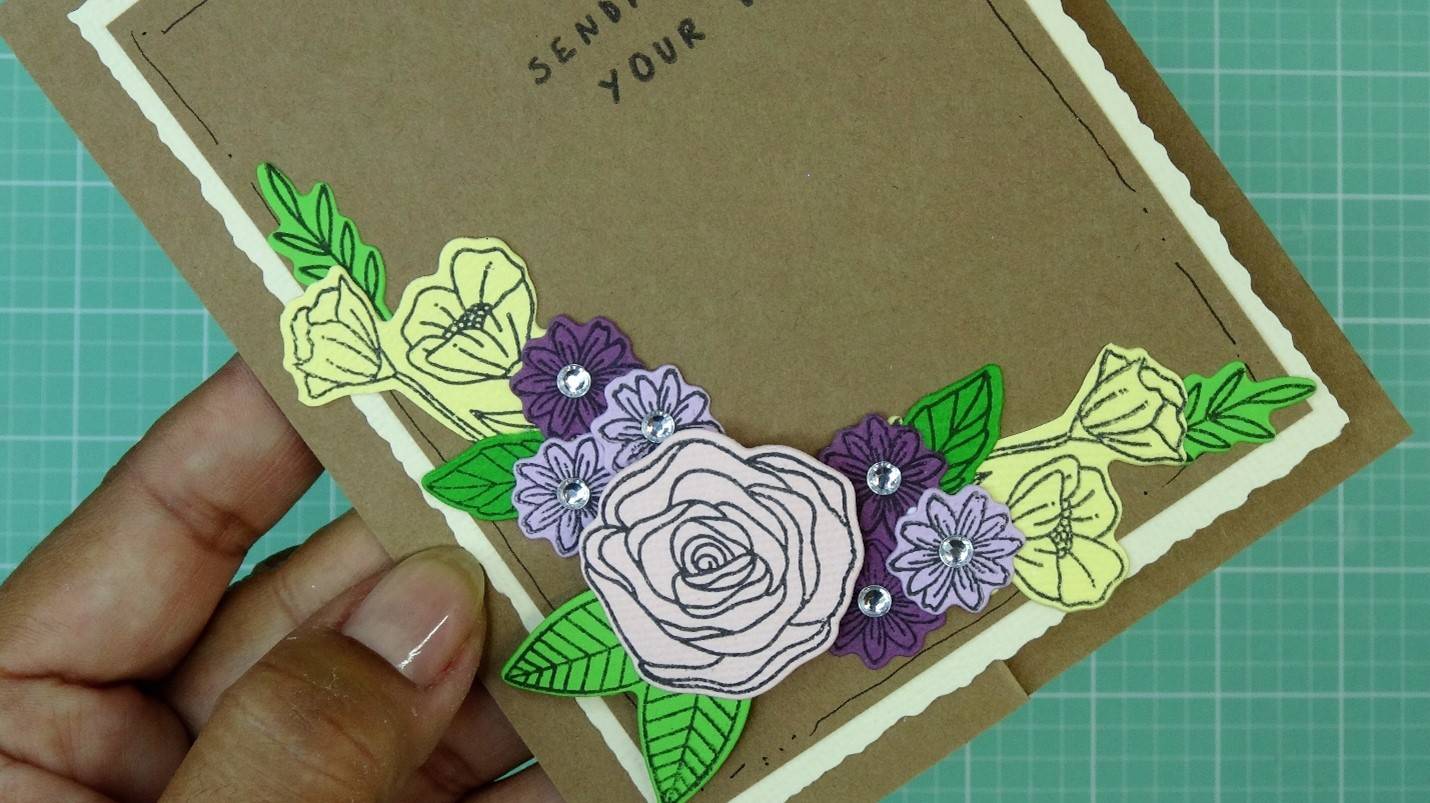
Now, we get to play with our die cut images. Arrange them on the card topper in a way that pleases your eye!
Step 2
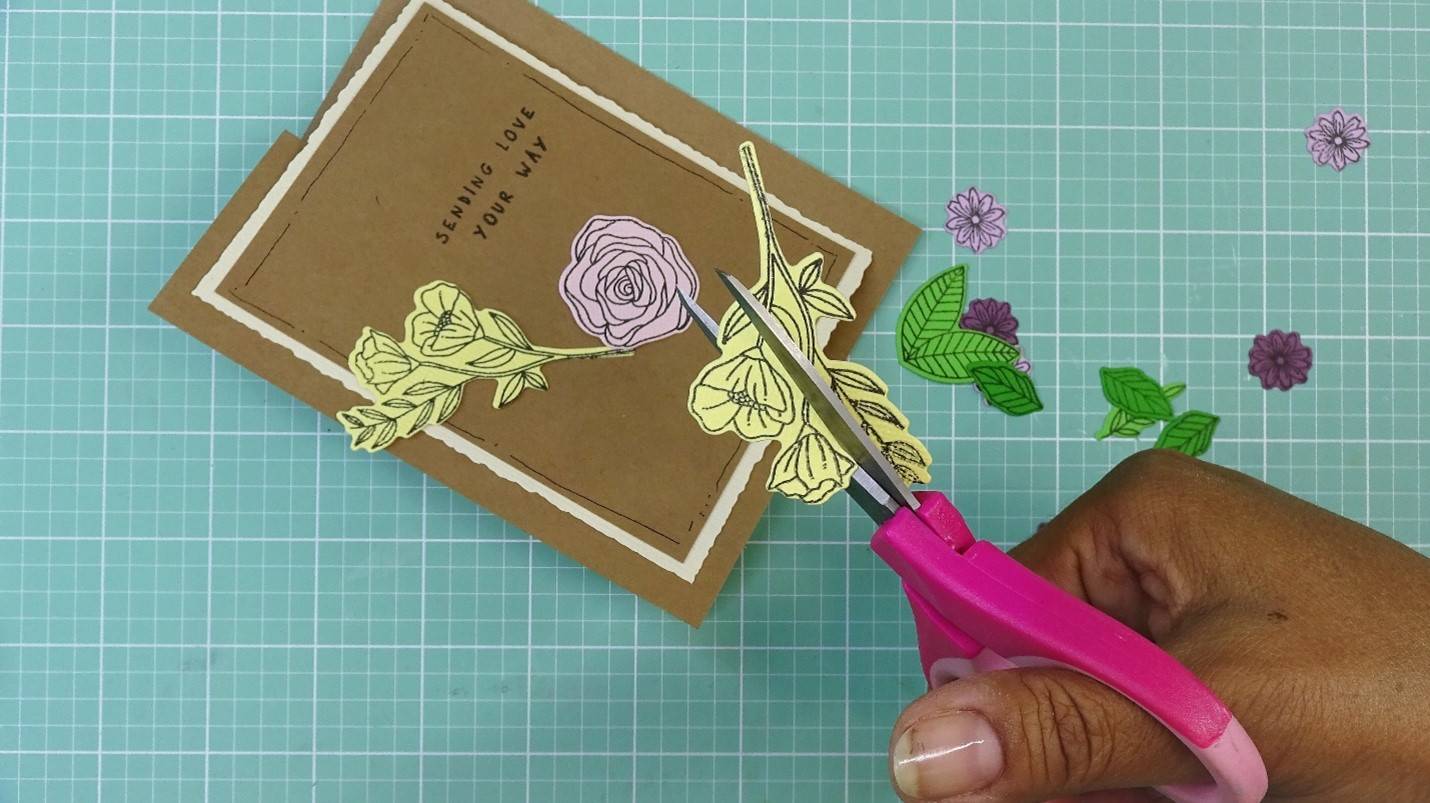
As I mentioned earlier, I will trim away the leaves on the poppy bouquet. This way I get the height of that image without yellow leaves. I then glued them down.
Step 3
I like to glue the double leaves image to the back of the rose so it works as one piece.
Step 4

I will go ahead and add dimensional adhesive to the back of the rose and then will tuck the other images in behind it.
Step 3
Once I am happy with the arrangement, I will glue everything down.
Step 4
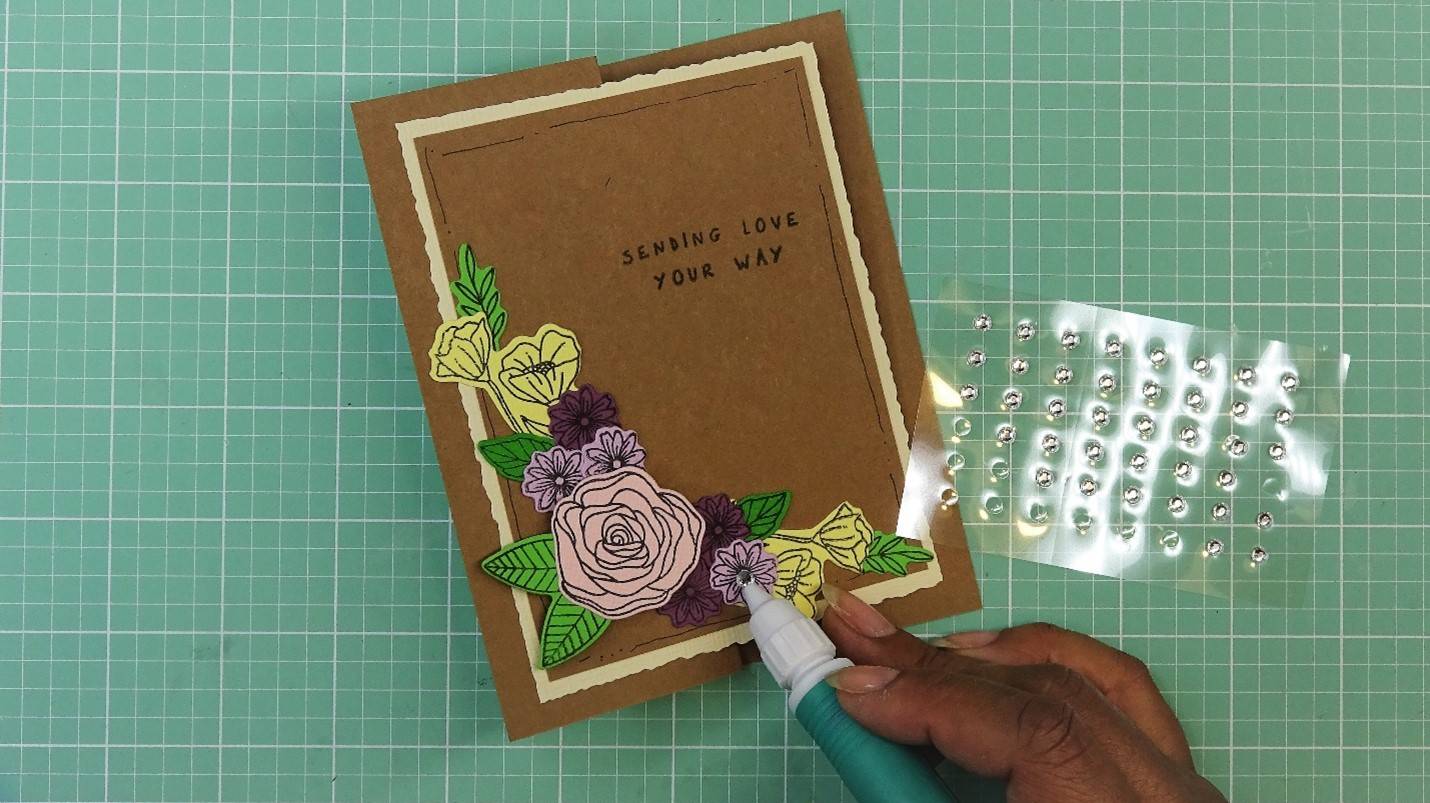
I will add some acrylic rhinestones to the centers of the smallest flowers as a finishing touch!
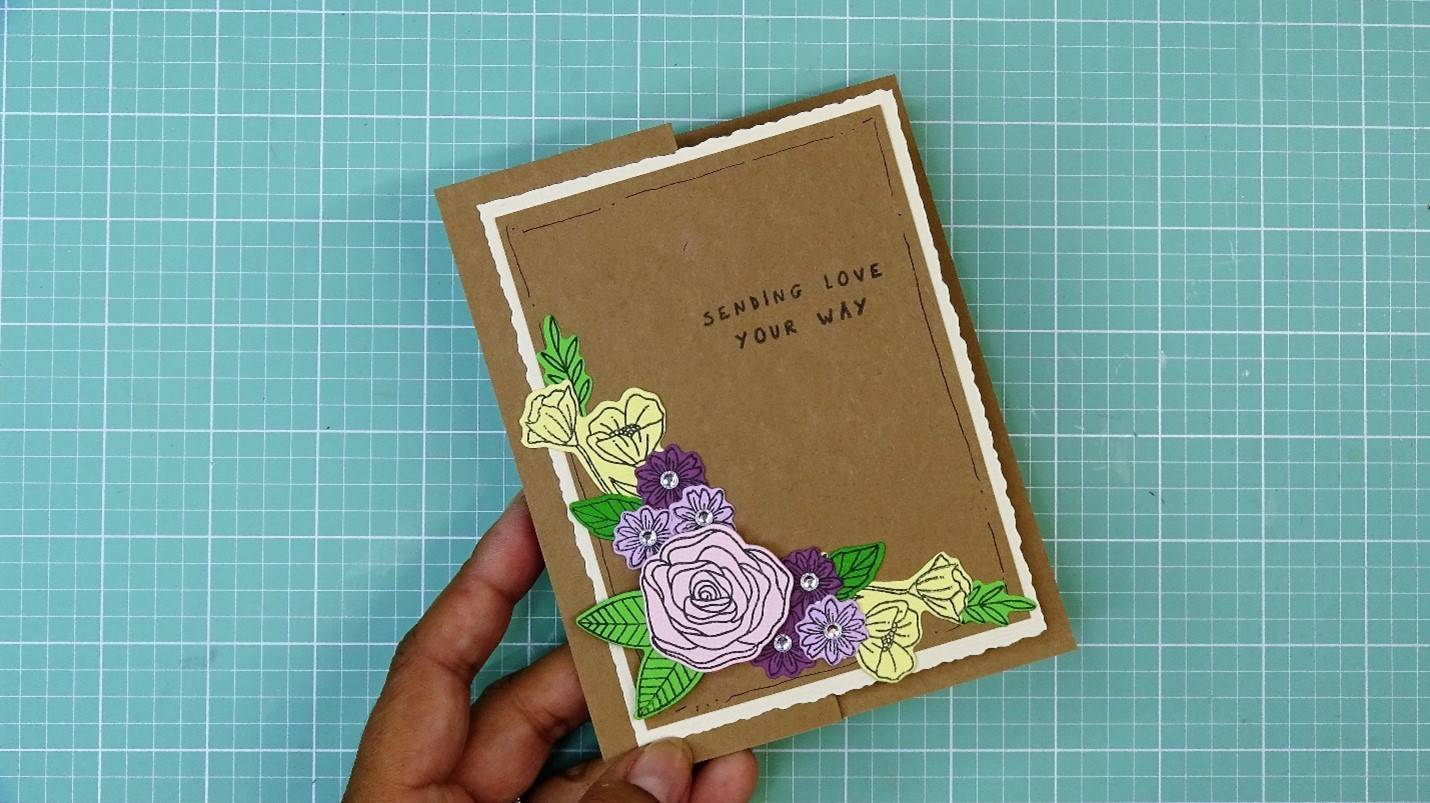
There we have it! A beautiful card made simply by stamping the floral images on pretty paper colors. I hope you try this technique to make your own gorgeous cards! Thank you for spending some time with me.

Buy The Craft Project
