

What you will need:
- Dies and papers from Tonic Magazine Issue Two
- Lolly’s box template
- Smooth Card White 300 GSM for box construction
- Classic Card Denim Blue
- Classic Card Mustard Yellow
- Mirror Card Gold Pearl
- Nuvo Deluxe Adhesive
- Double sided redline tape
- Craft Magnets Large: two
- Craft perfect foam squares
Step 1

With Smooth Card White, cut the largest die and burnish the score lines. This makes the box bottom, back, and front flap.
Step 2
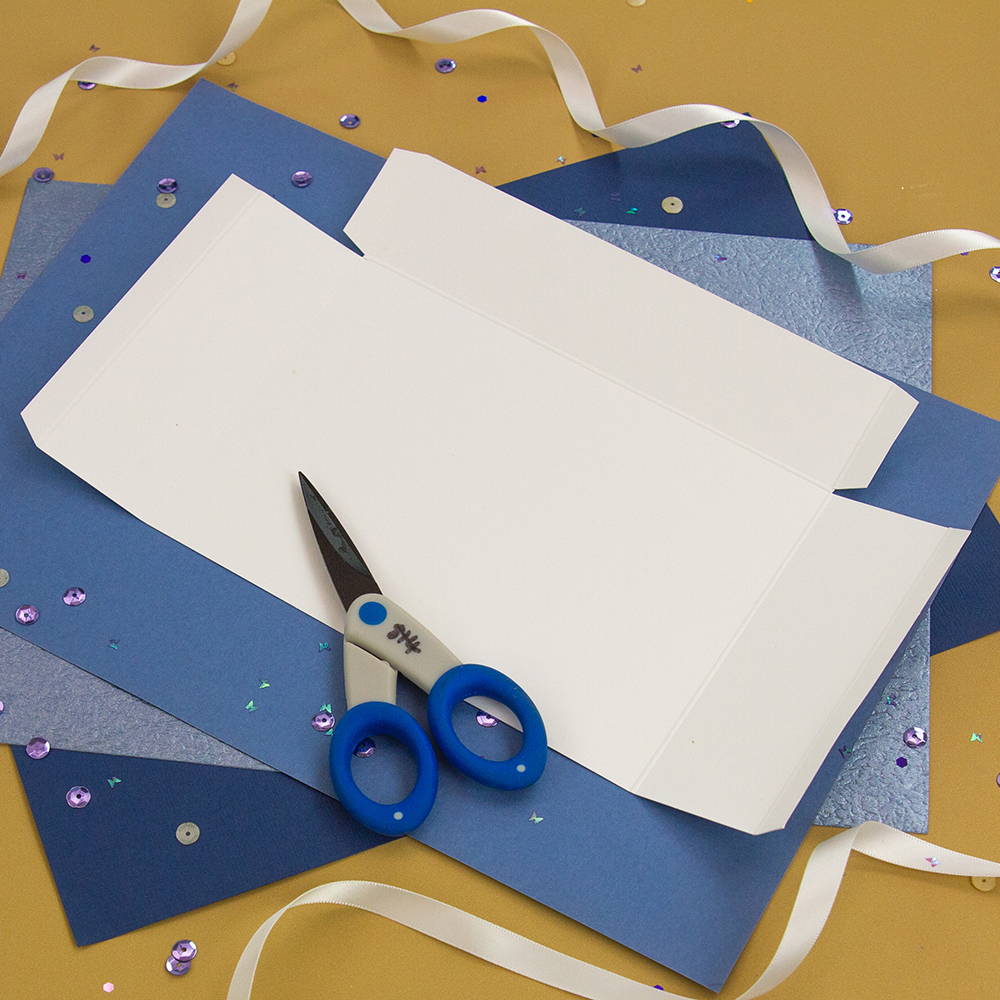
Lolly’s template for the front, bottom, and sides of box: cut 27 cm by 16 cm rectangle. On long side score at 1 cm, 5 cm, 22 cm, and 26 cm. On short side score at 12 cm. Once all scoring is done, score an additional 1 cm away from the longest rectangle on the bottom of the box (see pattern). Cut on black lines and burnish on red dotted lines.*
Step 3
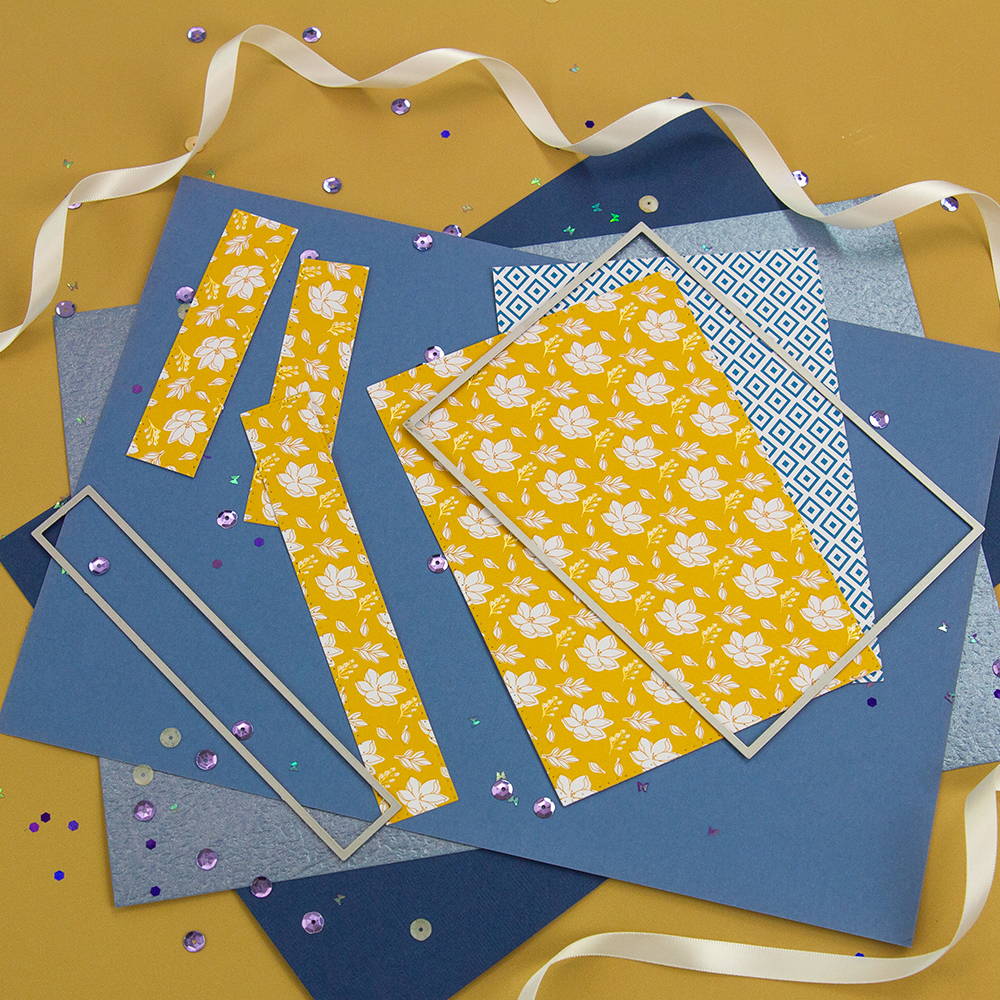
Using patterned paper of your choice, cut two large rectangles for front and back of box. Cut three of the slim rectangles in the same pattern.
Step 4
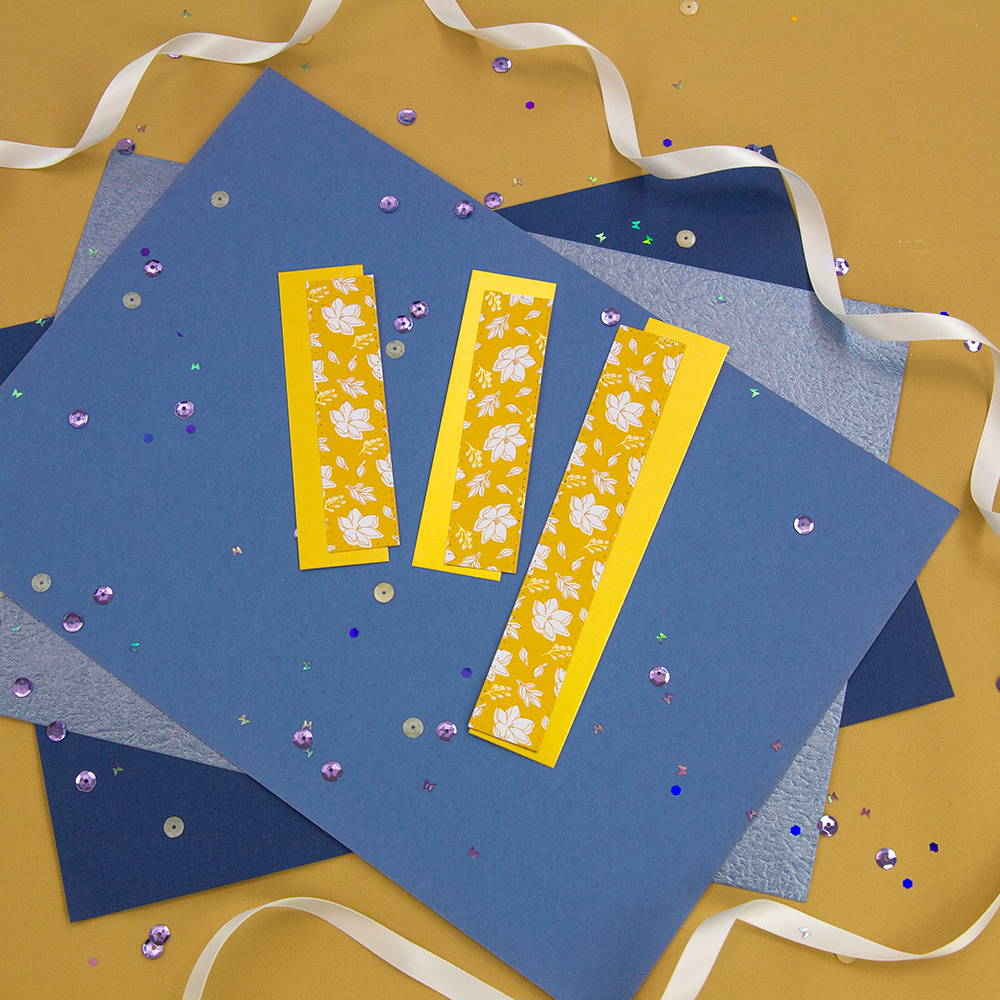
For accents: In Gold Pearl, cut one 16 X 3 cm panel for the top of the box and two 11 X 3 cm panels for the sides. Glue one patterned paper slim rectangle on the longer gold strip. For the side panels, cut the remaining two slim patterned rectangles to 10 cm in length and glue to the shorter gold panels.
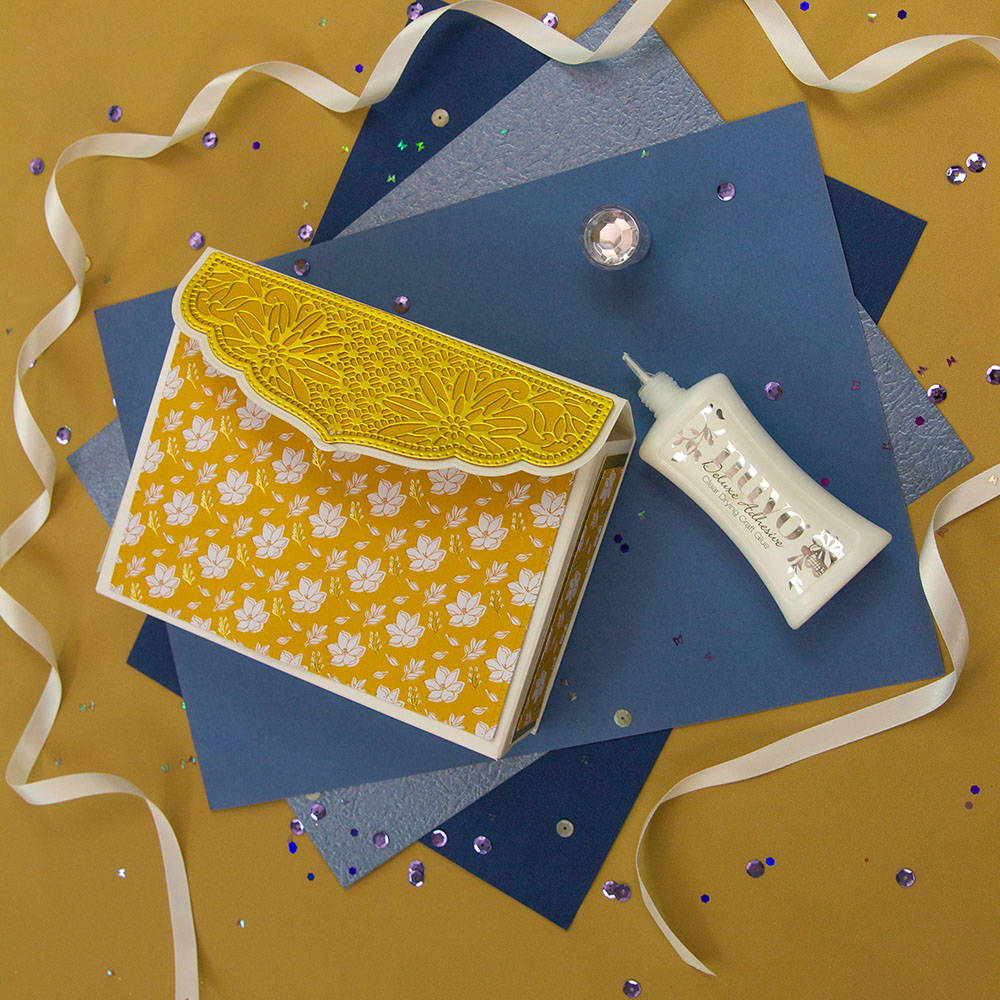
Step 5

Lid flap: Cut out the solid panel die in Mustard Yellow cardstock. Use the solid flap panel and decorative panel to cut out Gold Pearl cardstock. Glue the gold die cut onto the Mustard Yellow and glue then to the box flap.
Step 6

Glue top and side panels to the box forms.
Step 7

Glue the large patterned rectangle to the back of the box. Before gluing the front panel, attach one magnet with redline tape, securing it 8 cm from the top of the box front, in the center (8.5 cm from the side). Add more redline tape to the top of the magnet and glue the remaining large patterned rectangle to the front of the box.
Step 8
Assemble the box, gluing box front flaps to the back, starting with the narrow flap on the die cut piece, gluing it to the bottom edge of the template piece.
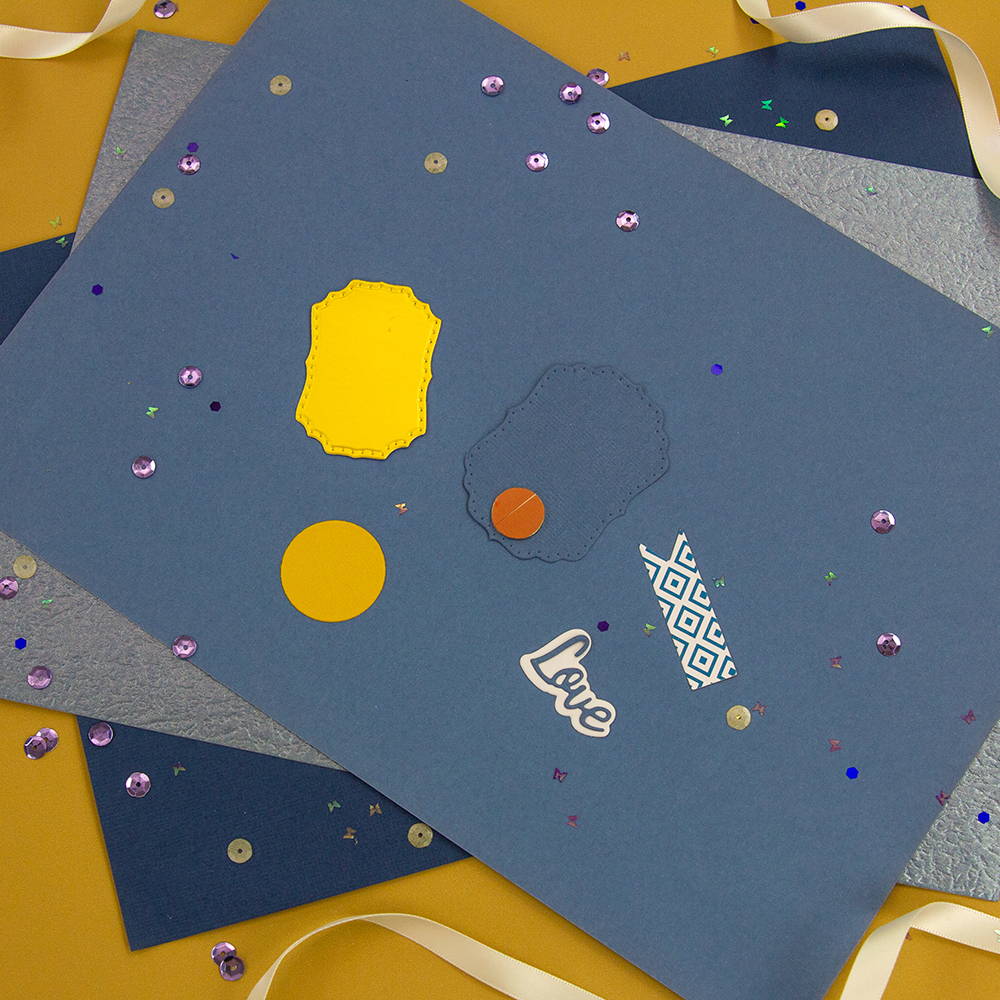
Step 9

Closure: Cut out a large medallion die with Denim Blue and the smaller medallion die with Gold Pearl. Cut out the flower center in Mustard Yellow, the fishtail banner in patterned paper, and the “love” sentiment in Denim Blue and its shadow in white.
Step 10
Lay the blue medallion piece over the box and lay the magnet over it for placement. It will find it’s mate and line up. Position the blue piece so the magnet is in the bottom 1/3 of the medallion while leaving a border so the gold medallion will cover the magnet. Adhere the magnet onto the blue piece with redline tape.
Step 11
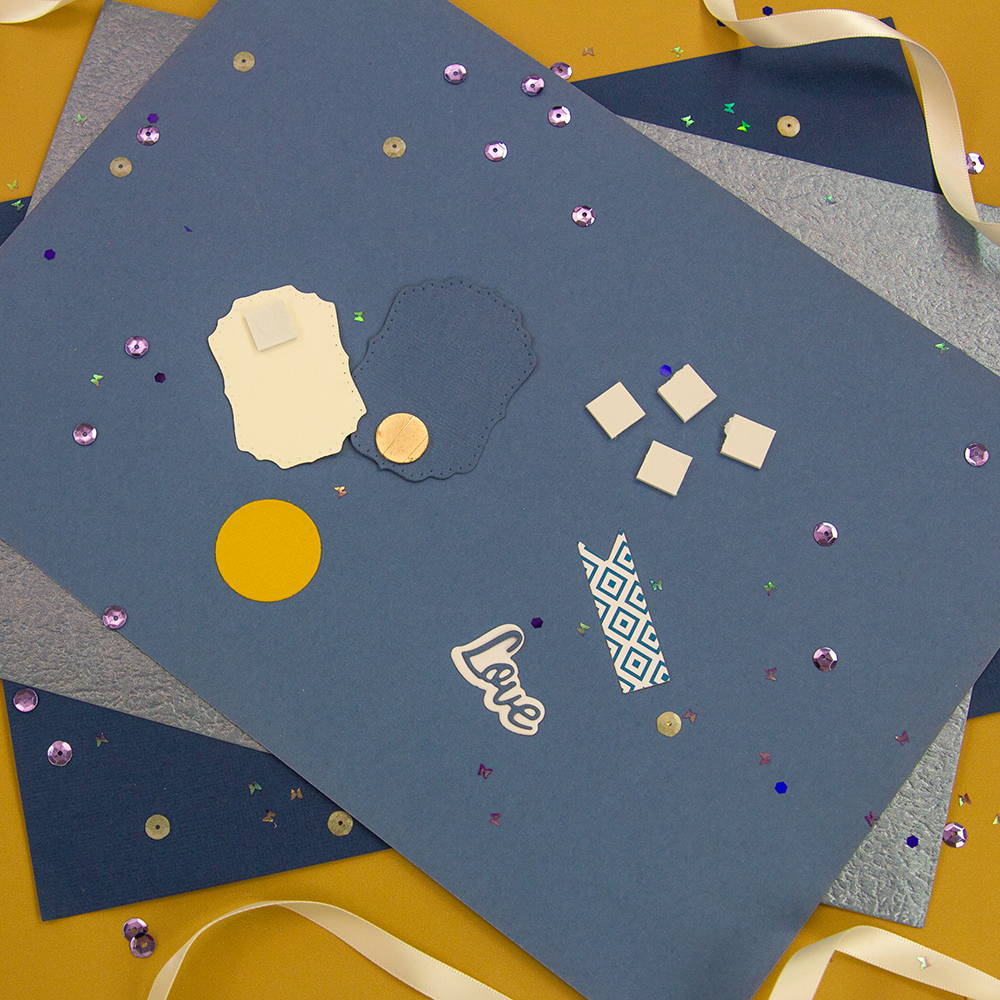
Add redline tape to the top of the magnet and one foam square to the top 1/3 of the medallion. Peel the foam and redline tape and apply the gold medallion over them, centering over the lower medallion.
Step 12

Glue the sentiment to its shadow. Glue them to the center of the flower and add the fishtail banner to the back. Apply to closure medallions with foam squares.
Step 13

Line up the lid with the box, making sure it’s squared. Match the magnets in the medallion and box, and glue the top portion of the medallion to the box flap.
Buy The Craft Project
