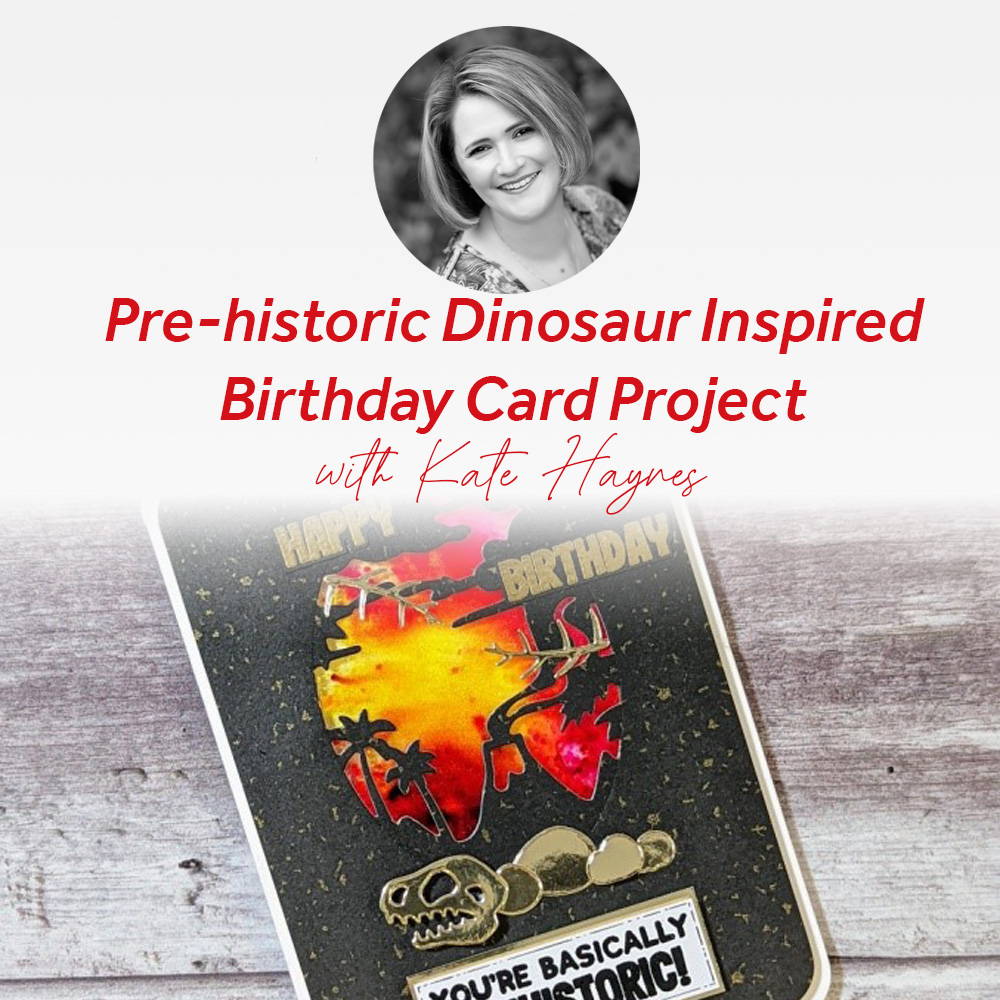

Hello crafty friends! It’s great to be back on the Tonic blog today and sharing with you the latest addition to the Stamp Club collection; Rawsome Dinosaurs. Stamp Club is my personal favourite launch in the Tonic calendar and this month’s set is no exception, by far! As a mum to two young dino-loving boys, I was beyond excited to see this set and it didn’t disappoint. Ideal for birthday and celebration cards for all dino-loving children with its cute characters; gorgeous scene building dies and ‘punny’ sentiments make this stamp and die set combination so incredibly versatile, as it offers so much more beyond.
Can you tell I love it?!... I hope you do too!
What you will need
- Stamp Club: Rawsome Dinosaurs Stamp & Die Set
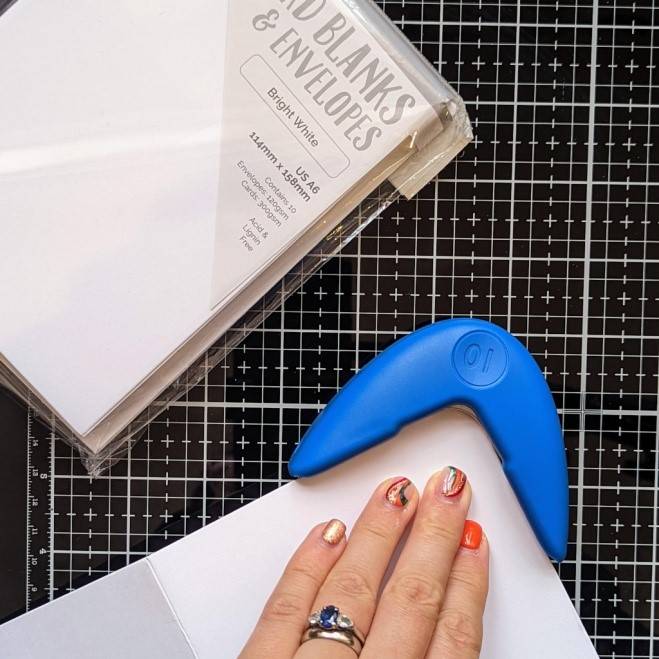
- Craft Perfect A6 Card Blanks (Bright White)
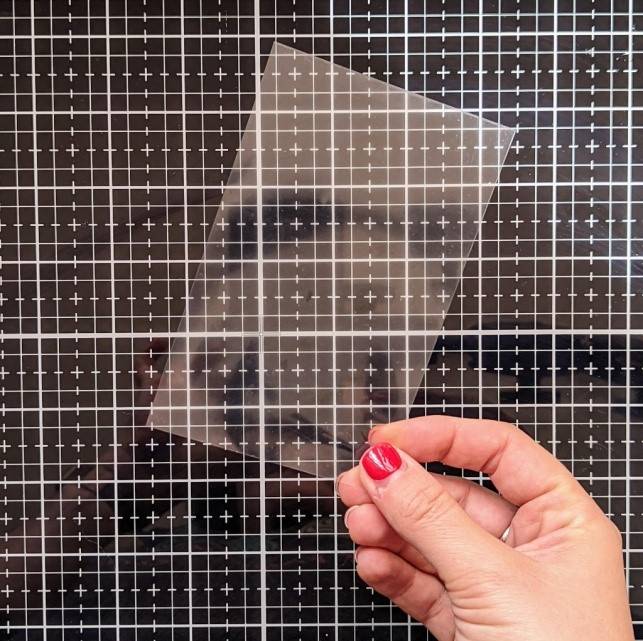
- Acetate sheet or scrap acetate from old packaging.
- Tonic Craft Tacky Glue
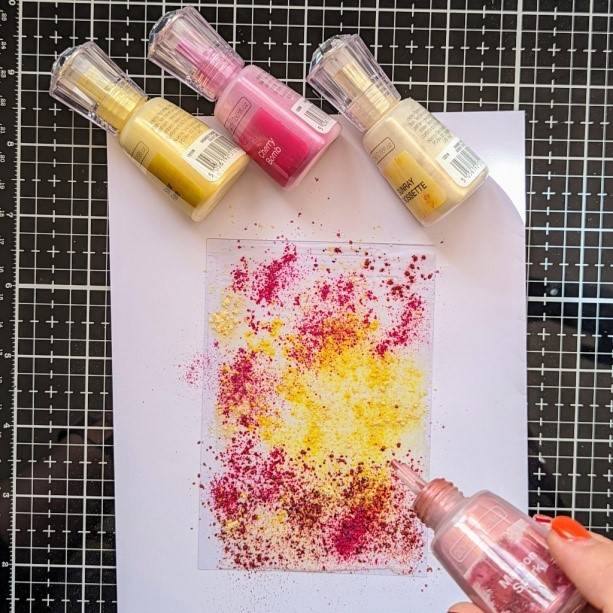
- Nuvo Shimmer Powders - Sunray Crosette, Solar Flare, Cherry Bomb & Maroon Spark
- Craft Perfect - Cosmic Vista (Speciality Card) & Venetian Gold (Mirror Card)
- Tonic Studios Dedicated Corner Rounder - 10mm
- Nuvo Clear Mark Embossing Pad
- Nuvo Embossing Powders - Carbon Sparkle & Classic Gold
- Foam pads, such as Craft Perfect Dimensional Foam Pads - 25mm
- Nuvo Deluxe Adhesive
Extras:
- Water Spray bottle
- Flat paintbrush
- Small, fine detail scissors
- Ruler & Black Fine liner Pen
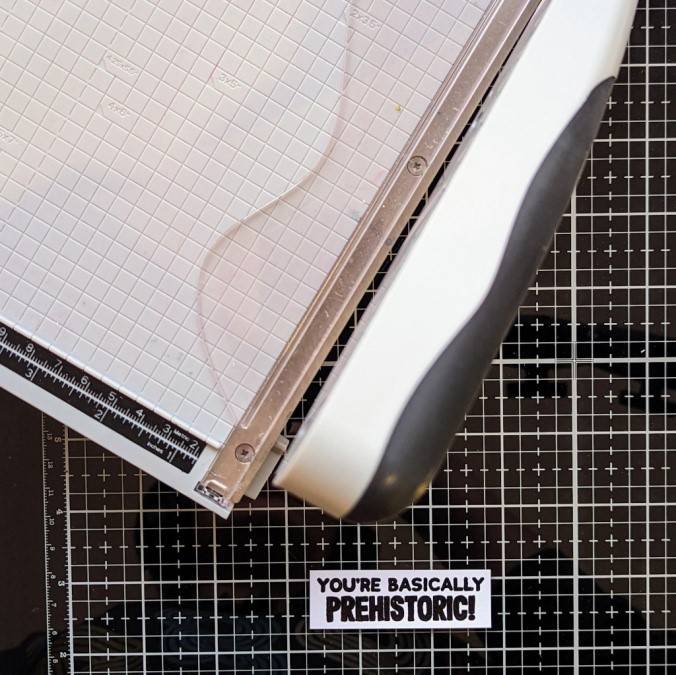
- Trimmer / Small Guillotine
- Tonic Tangerine Die Cutting Machine
- Heat tool
- Smooth white cardstock
Step 1
Cut a piece of Smooth White Cardstock and Kraft Card, each measuring 5.5 x 5.5” (to fit a 5 x 5” aperture)
Step 2
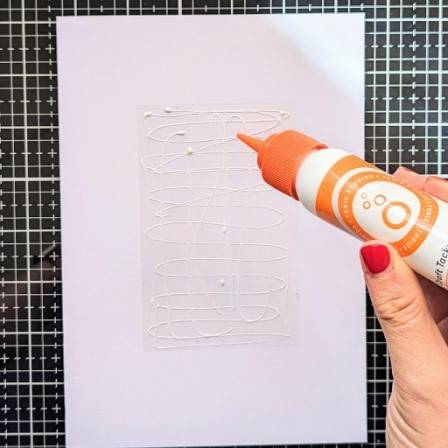
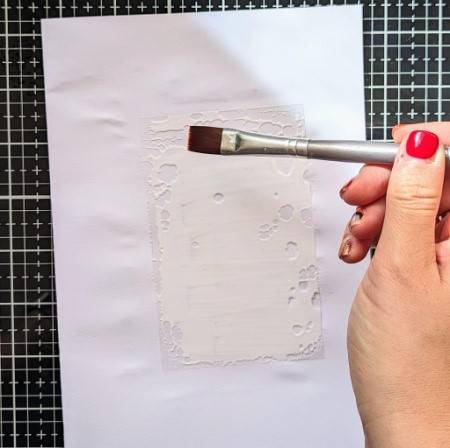
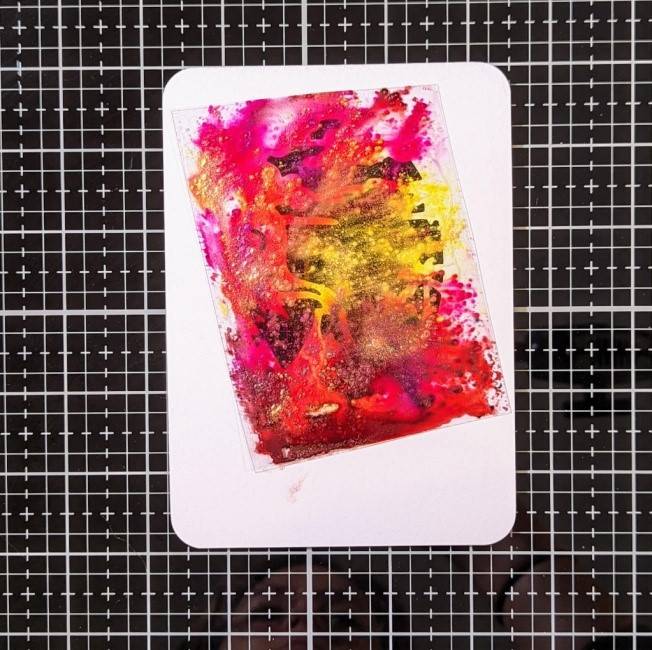
Apply an even amount of Craft Tacky Glue all over the acetate. Spritz with water and evenly spread all over with a flat brush.
Step 3
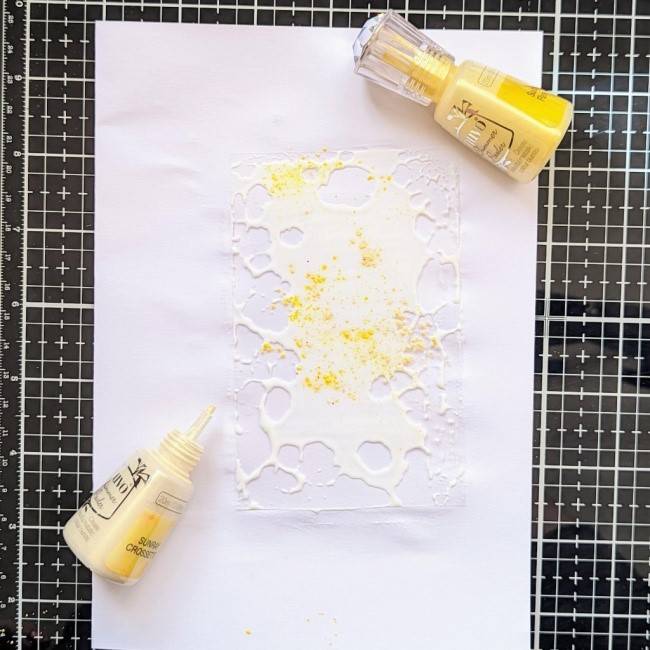
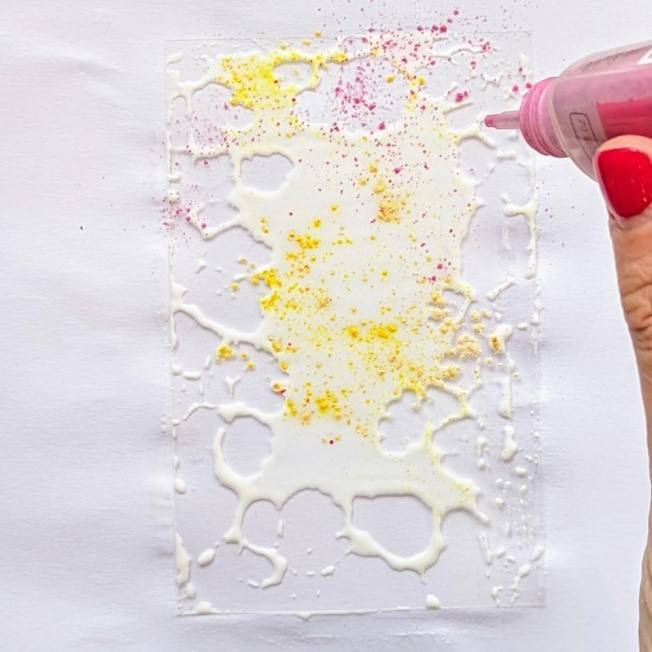
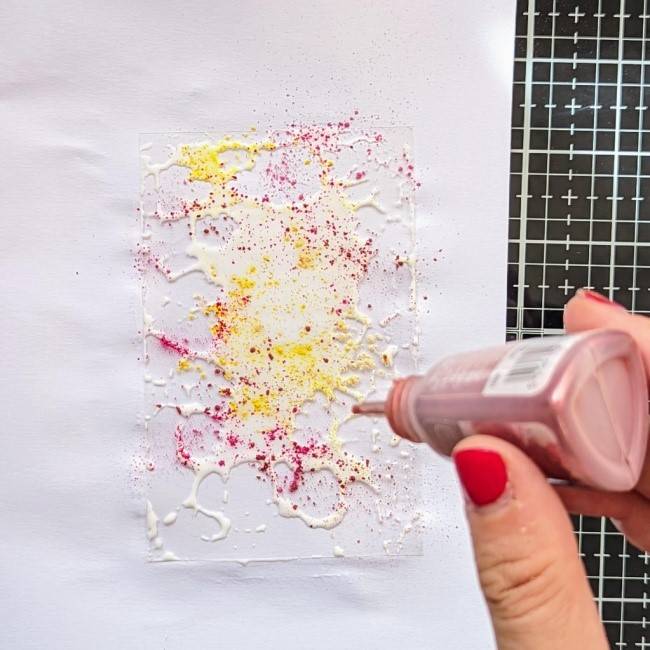
To create your sunset/lava eruption background, start by applying the two different shades of yellow Nuvo Shimmer Powders to the glue layer (more towards the centre and a little at the top). Next add some pink (more so towards the top) and then red and pink (towards the bottom).
Step 4
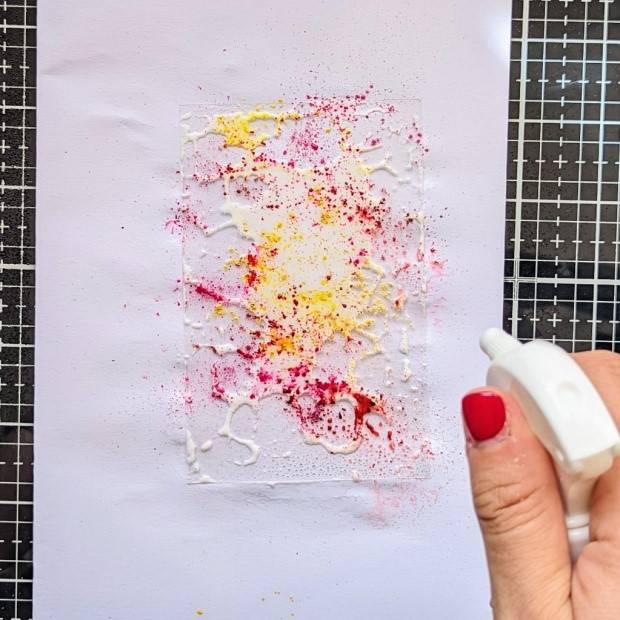
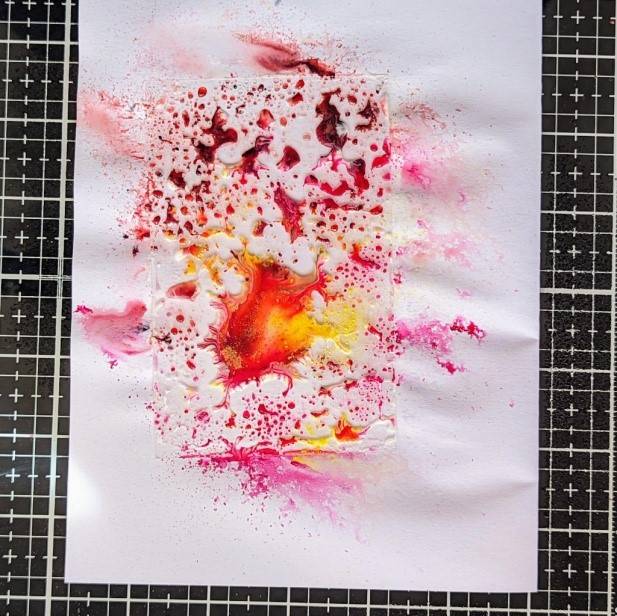
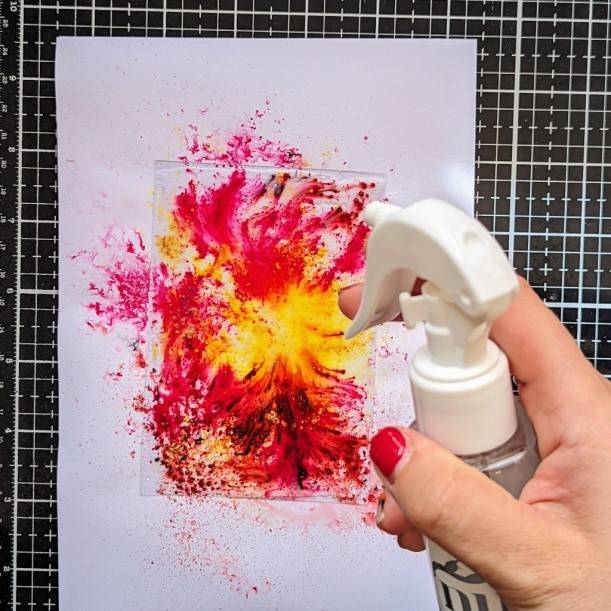
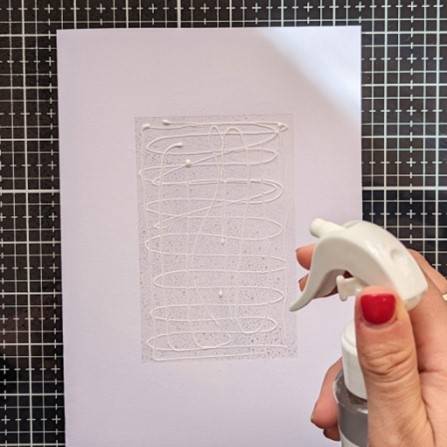
Spritz with a light mist of water and assess whether you like the effect. If not, repeat the process, adding more shimmer powders followed by a little more water. Leave to fully dry naturally, preferably overnight.
Note: The more water to glue ratio, the more likely ‘pooling’ is to happen, where areas of colour separate and bigger ‘clear’ gaps are more prevalent.
Step 5
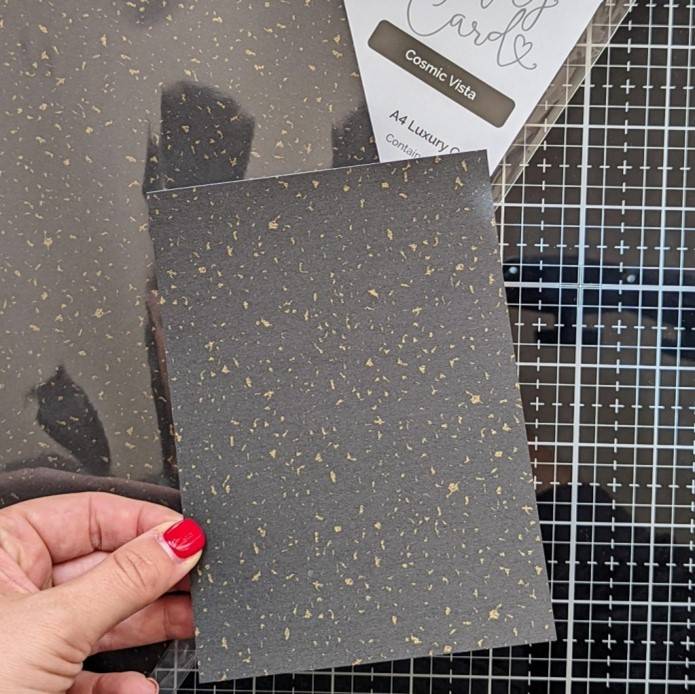
Cut a piece of Craft Perfect ‘Cosmic Vista’ Speciality Card to measure 10.7 x 15 cm
Step 6
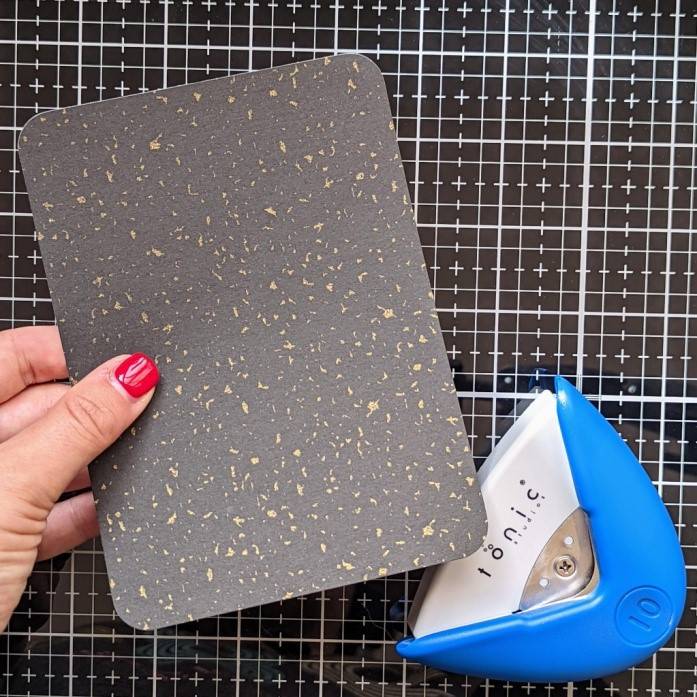
Round off all four of the corners.
Step 7
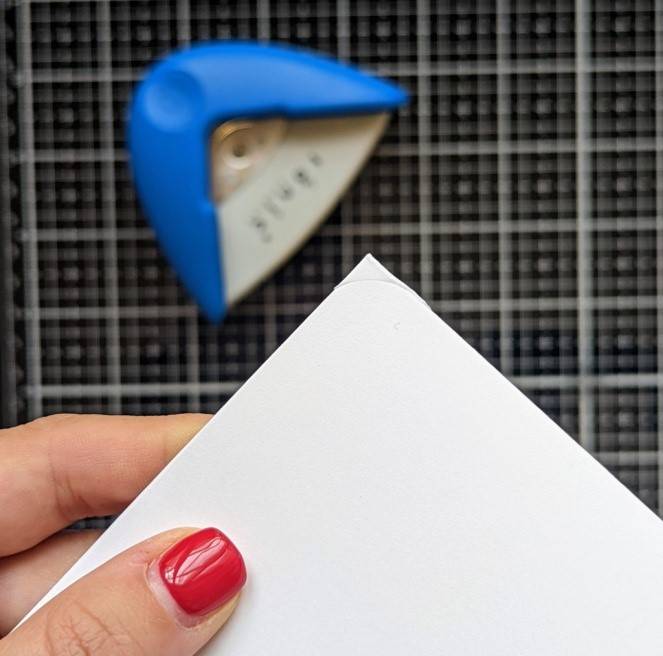
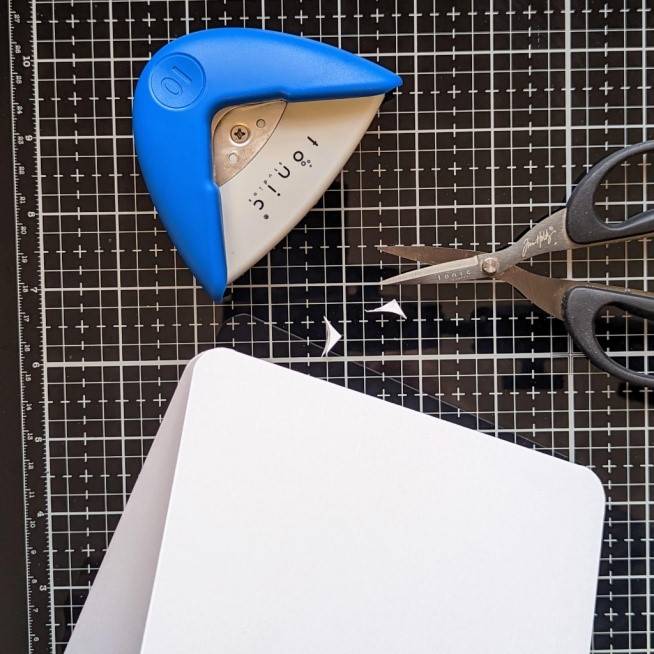
To round the corners of your card blank, use the tool to imprint a mark (you need to keep the card blank closed for rounding the edges on the fold) You will find it is too thick for the tool to cut, so instead, mark the card with the tool and then trim the rounded edge by hand with scissors.
Step 8
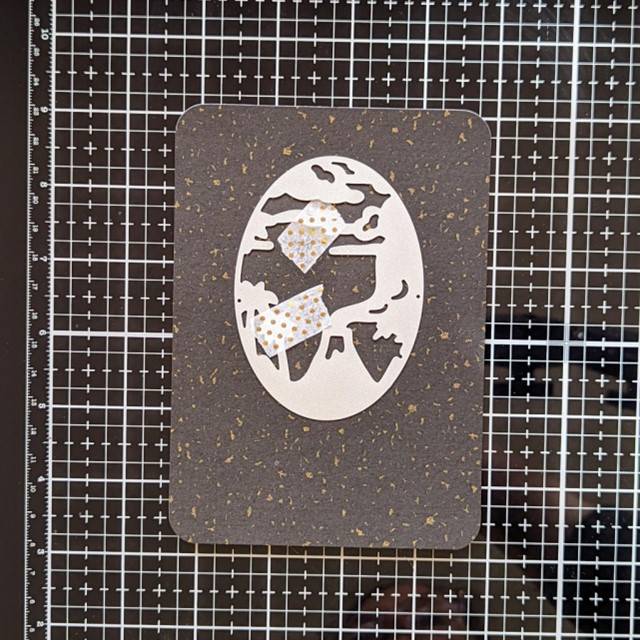
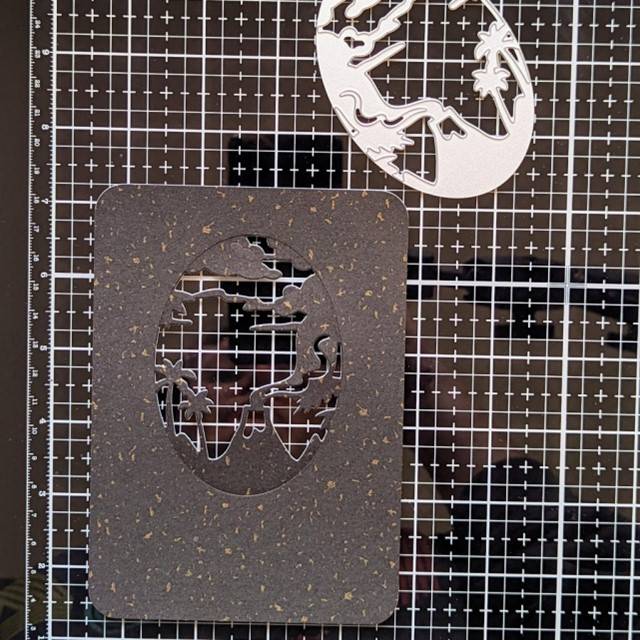
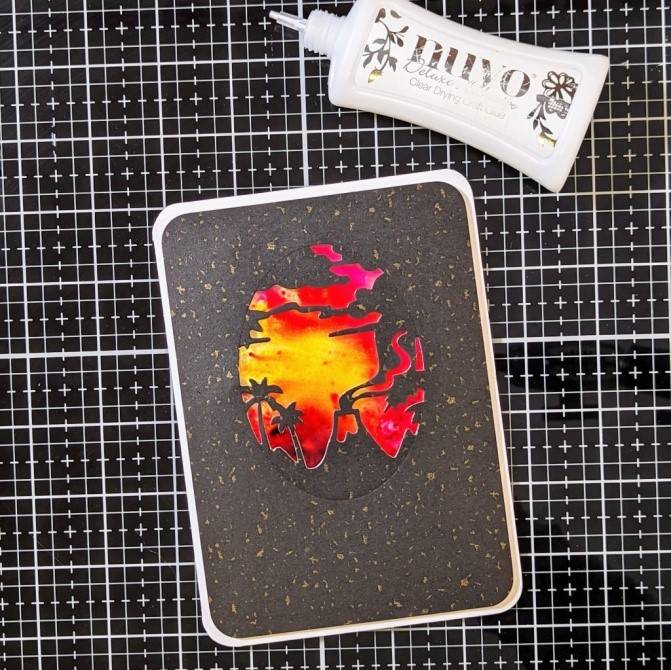
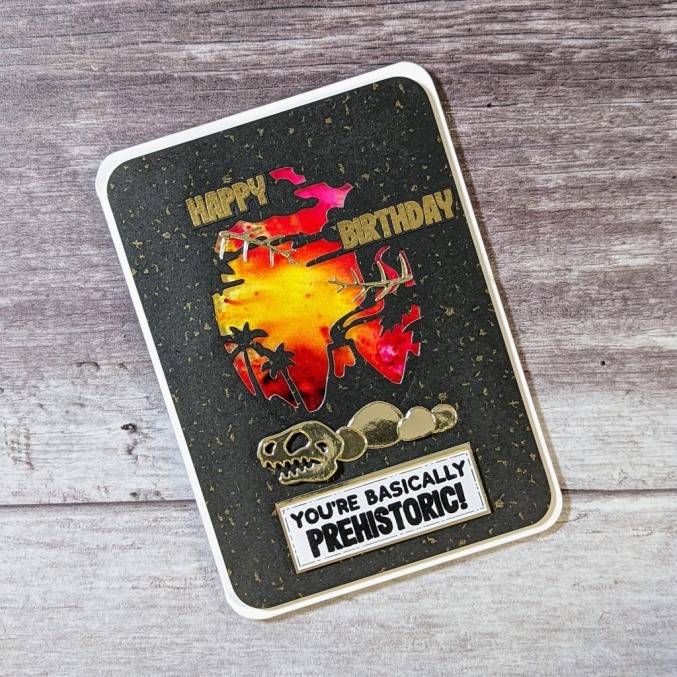
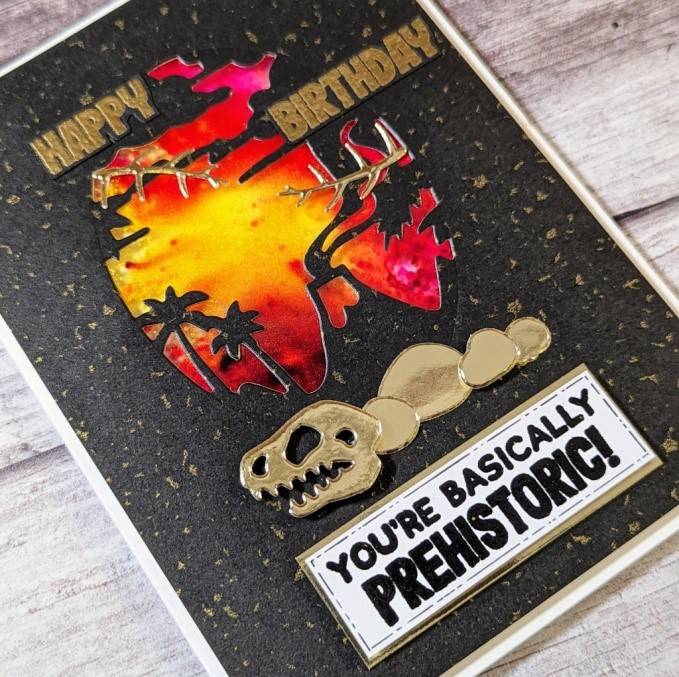
Position the verso volcano scene die in the centre of your black rectangle and then slightly up towards the top. Secure in place with tape and run through your die cutting machine.
Step 9
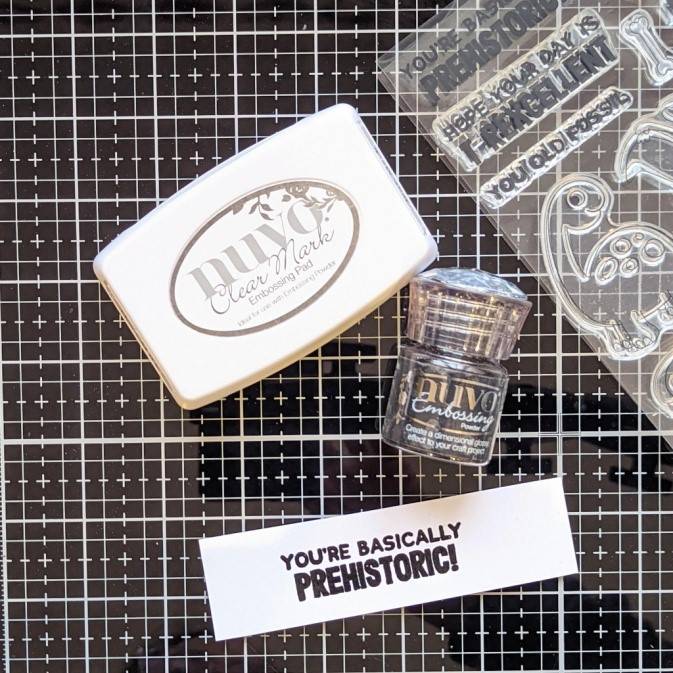
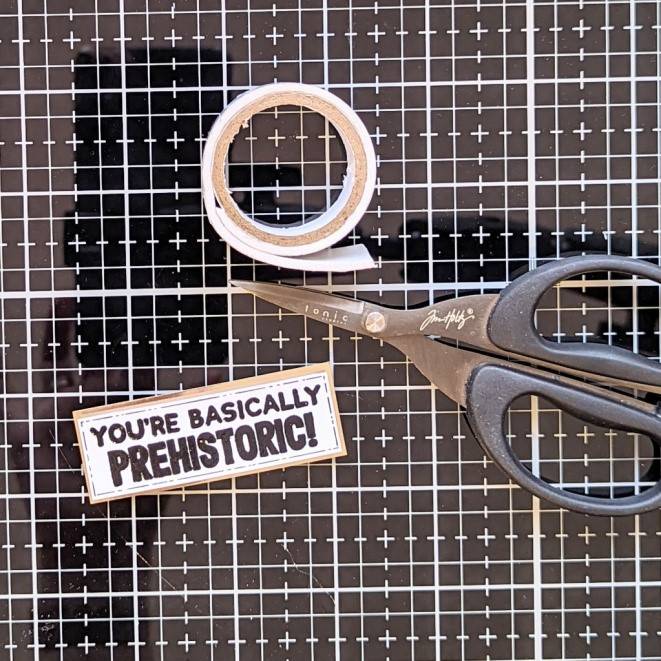
In Clear Mark Ink, stamp the sentiment onto white cardstock and heat emboss in ‘Carbon Sparkle’ embossing powder. Trim to leave a small white border.
Step 10

As an optional extra, add a thin black line to create a border around the edge of the sentiment.
Step 11
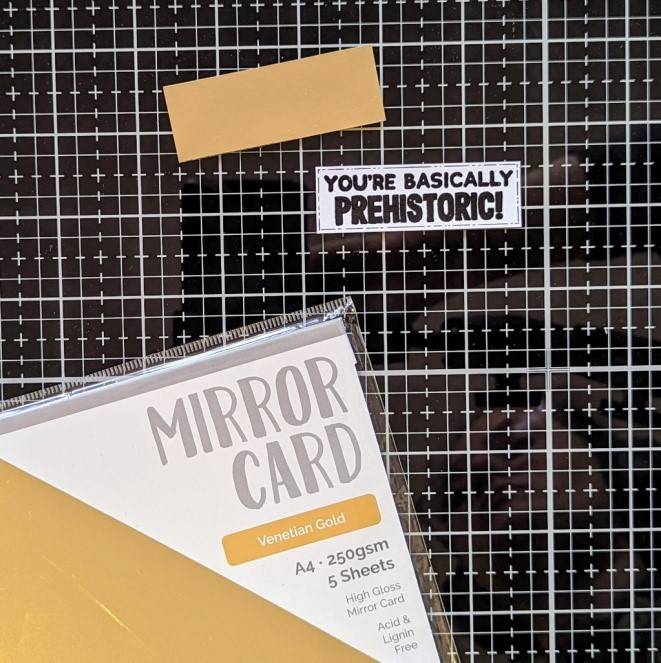
Out of ‘Venetian Gold’ cardstock, cut a rectangle slightly larger in size to your sentiment, to create a thin border. Attach the sentiment to it by mounting it onto foam adhesive.
Step 12
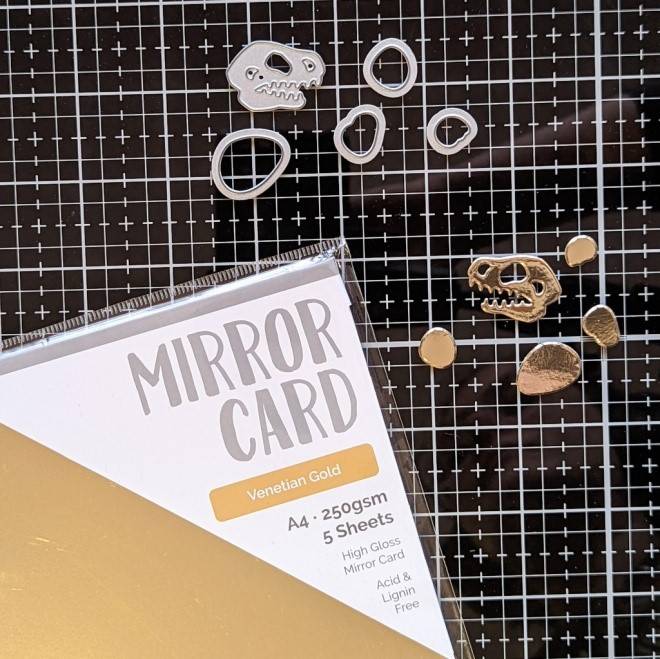

Using the above die shapes, cut the ‘skull’ and four ‘rock’ shapes out of the Venetian Gold cardstock.
An optional extra is to cut two of the above ‘corner’ shapes out of gold cardstock also. This however, is only for the small ‘vein’ cutouts as they resemble branche,s but if you don’t want the wastage, it’s not entirely necessary.
Step 13
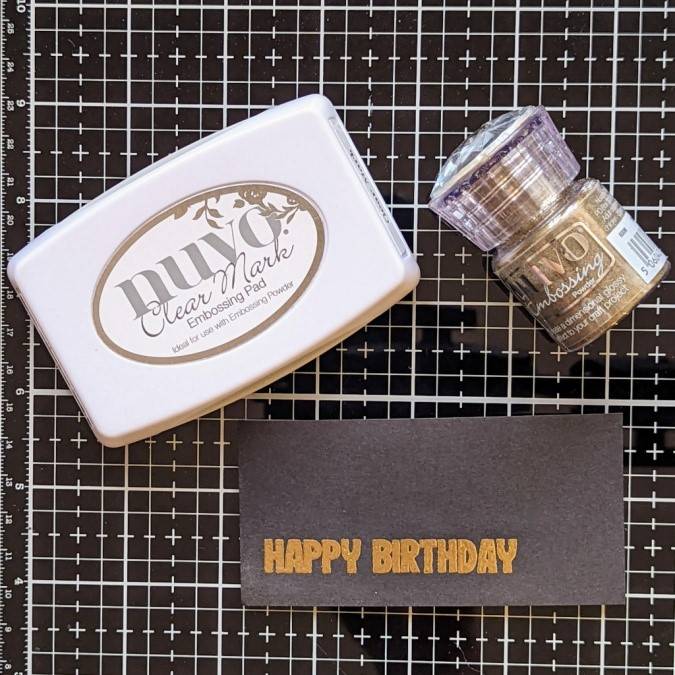
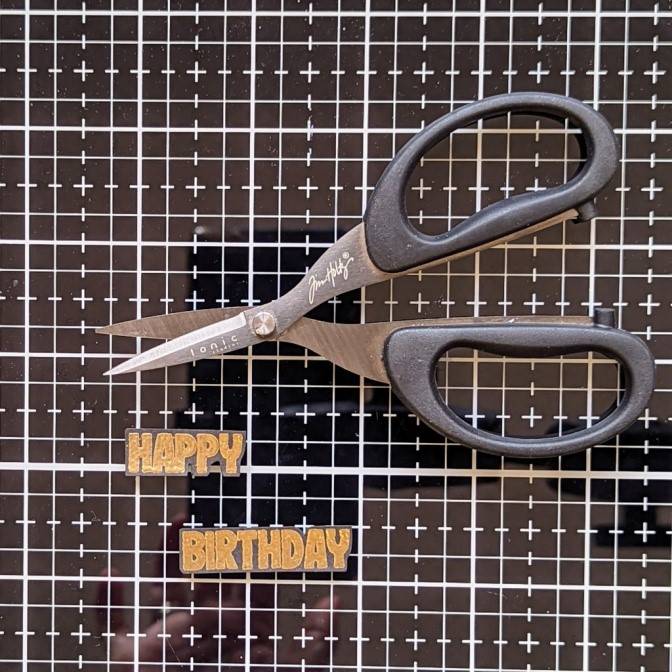
Stamp and heat emboss the ‘Happy Birthday’ sentiment in gold embossing powder. Fussy cut around, as closely as you can, separating the words.
Step 14
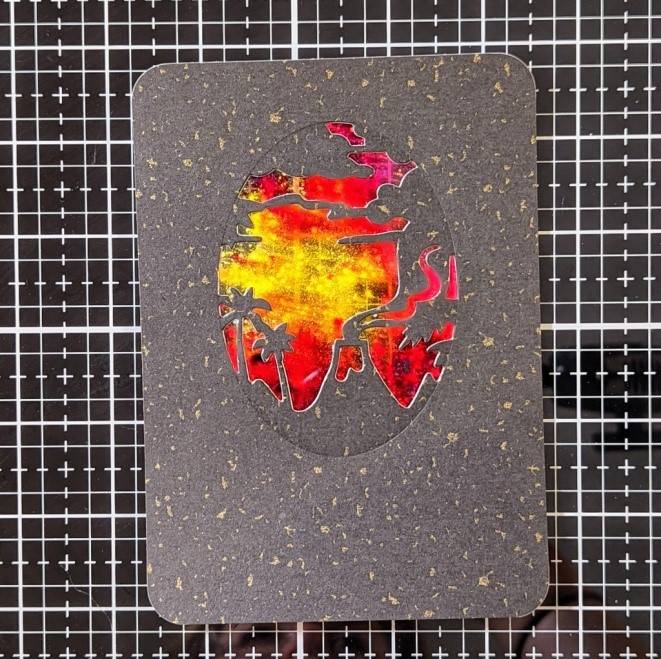
Place the volcano scene over the top of your shimmer powder acetate sheet and play around with its positioning until you have a composition you are happy with.
Step 15
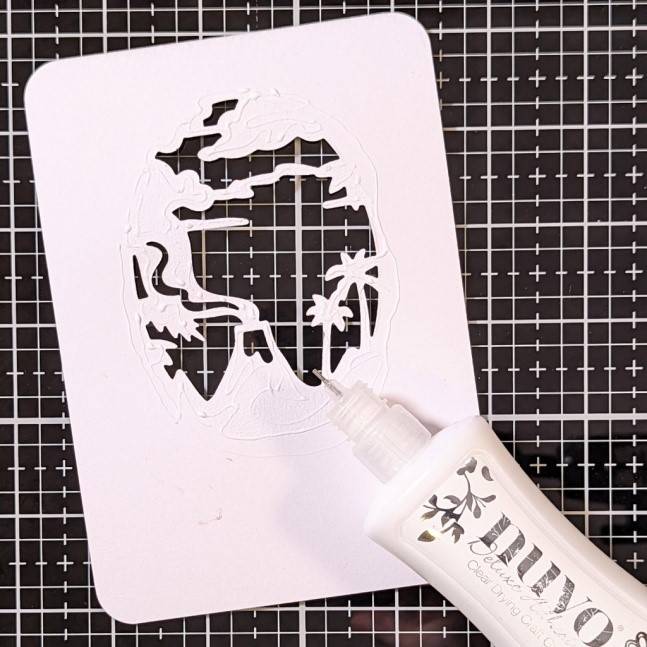
Apply a small amount of adhesive around the edge of the oval and on some of the extra details, such as the smoke, clouds and trees. Remove any excess glue before applying the acetate panel as it can squidge out the sides and will therefore be visible on the acetate.
Attach the acetate panel into place. - I had to turn my panel at a slight angle to achieve a composition I was happy with, therefore I needed to trim off some overlapping excess.
Note: The exposed shimmer powder side of the acetate should be facing up at this point, so that the (smooth) side is what is showing through the panel window)
Step 16
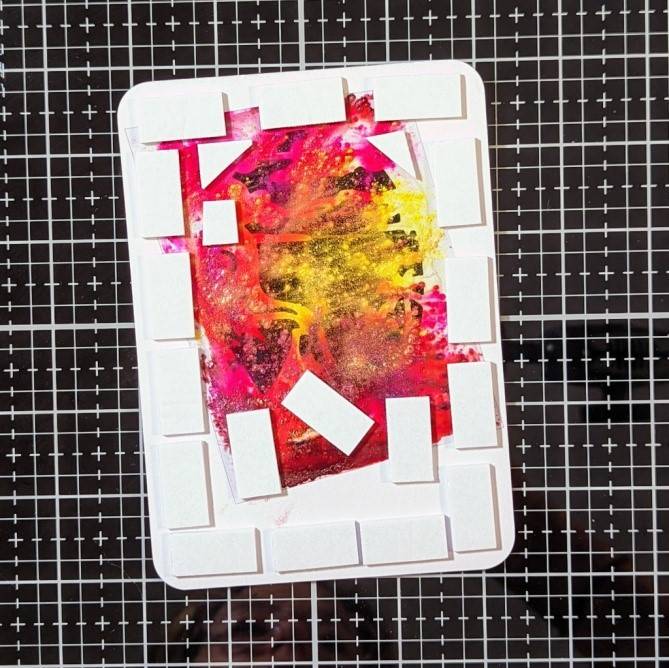
Apply foam pads around the edge of the panel and on the parts of the window where they won’t show through. Attach to the card blank.
Tip: I also use wet glue on top of my foam pads to give myself a little extra ‘wiggle room’ in achieving an even border (Otherwise, I’m never particularly accurate!!)
Step 17
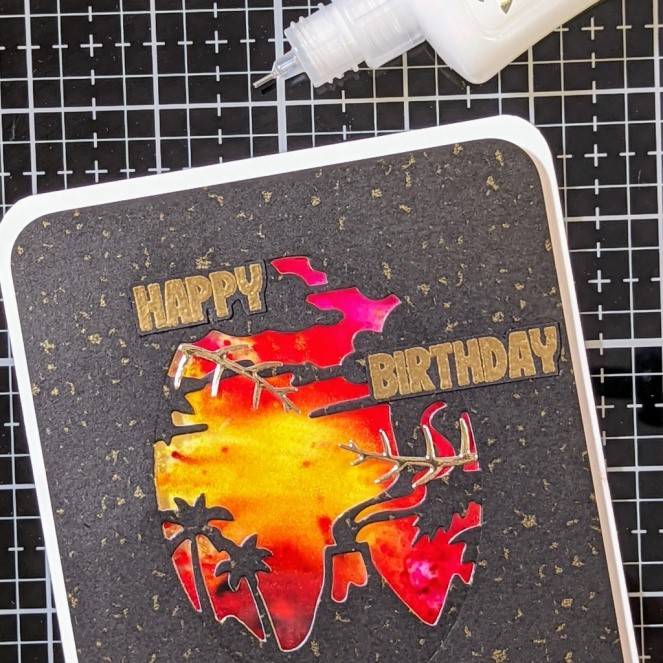
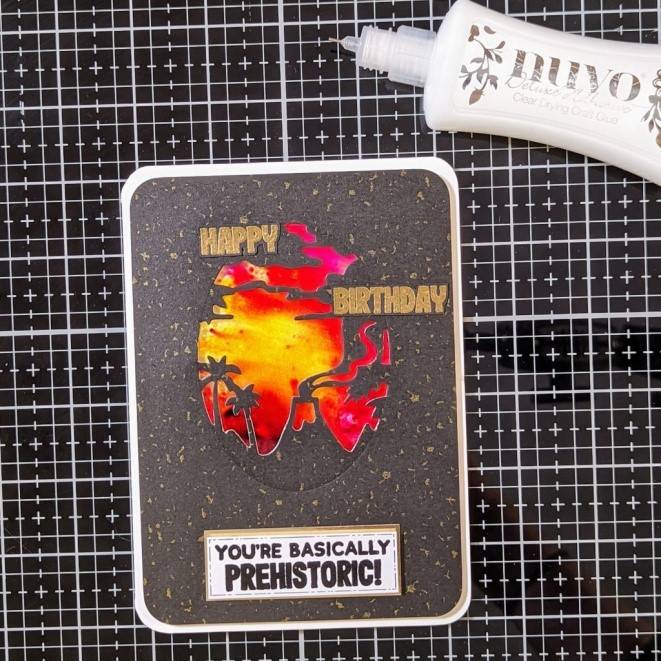
Attach the ‘Happy Birthday’ sentiment and the mini branches, as shown. Also, glue the second sentiment into place towards the bottom.
Step 18
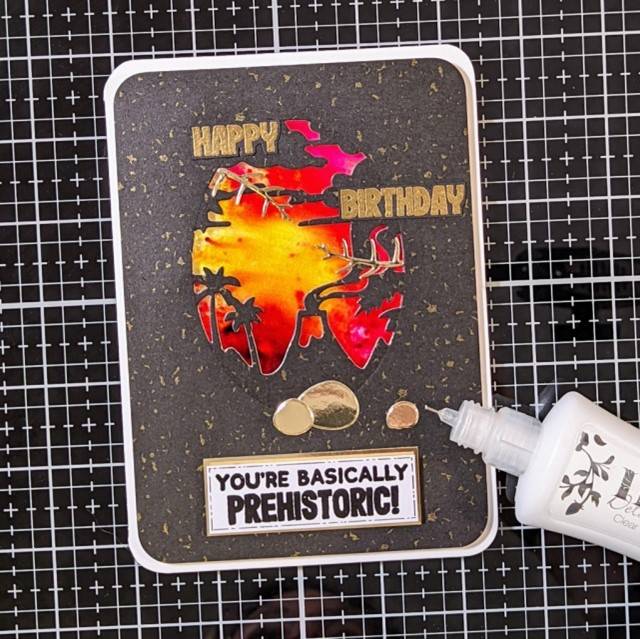
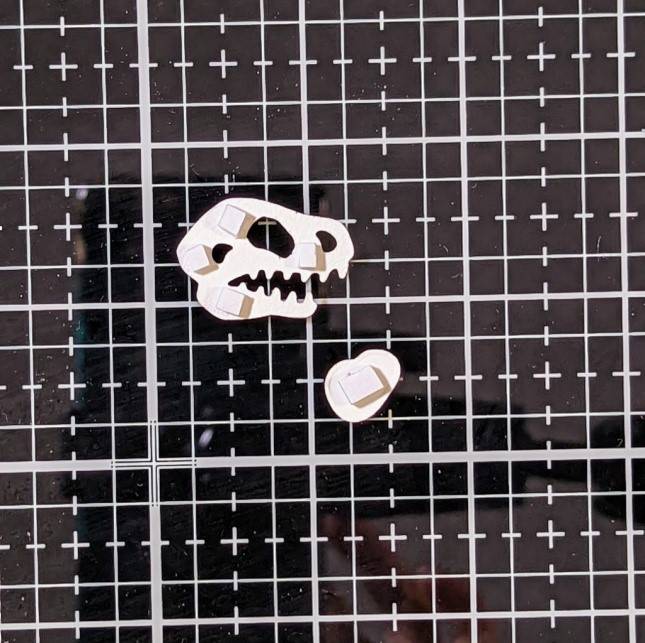
Glue three of the die cut stones directly onto the cardbase, as shown. Trim down some foam adhesive and apply to the back of the skull die cut and one of the small rocks.
Step 19
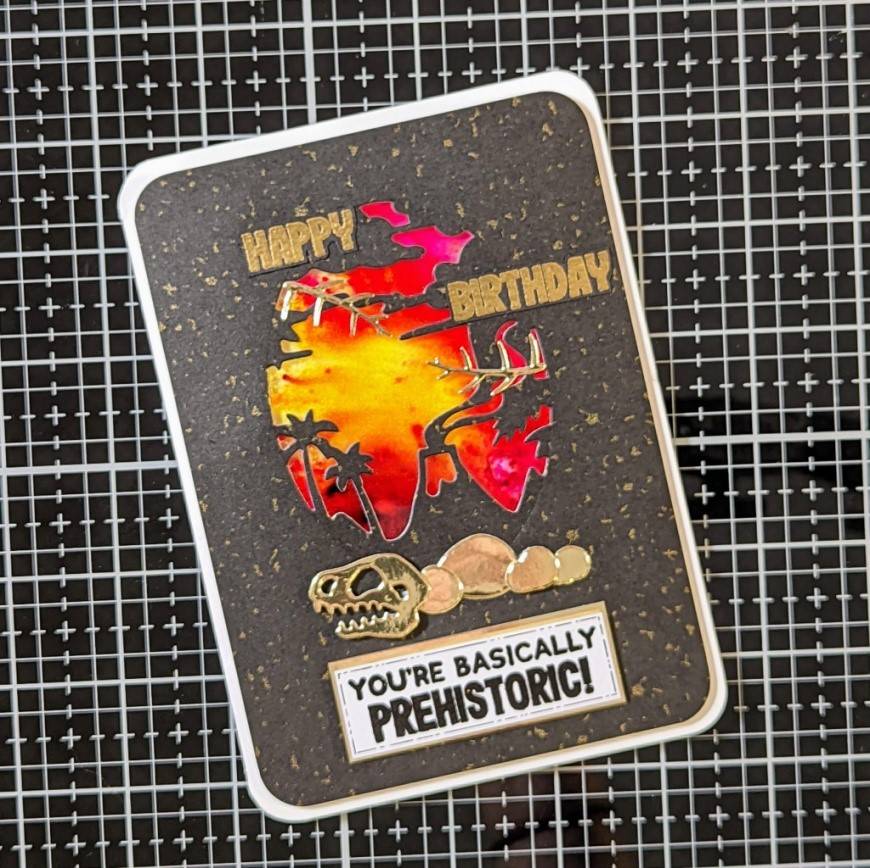
Attach to overlap the rocks, as shown, to finish off!
Thanks for joining me here on the Tonic blog today. If you’d like to see some of the additional fun I had using this set, please come and find me on Instagram @monsters_ink_studio
Happy crafting lovelies,
Kate x
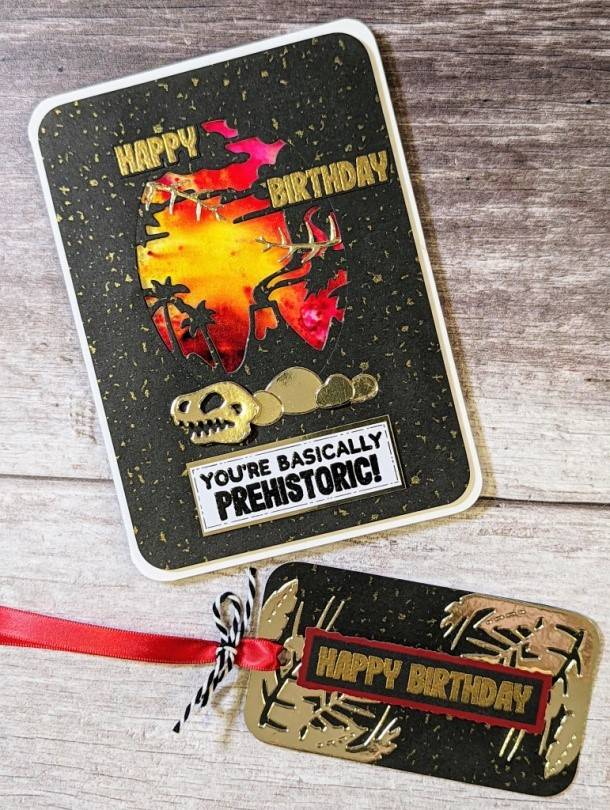
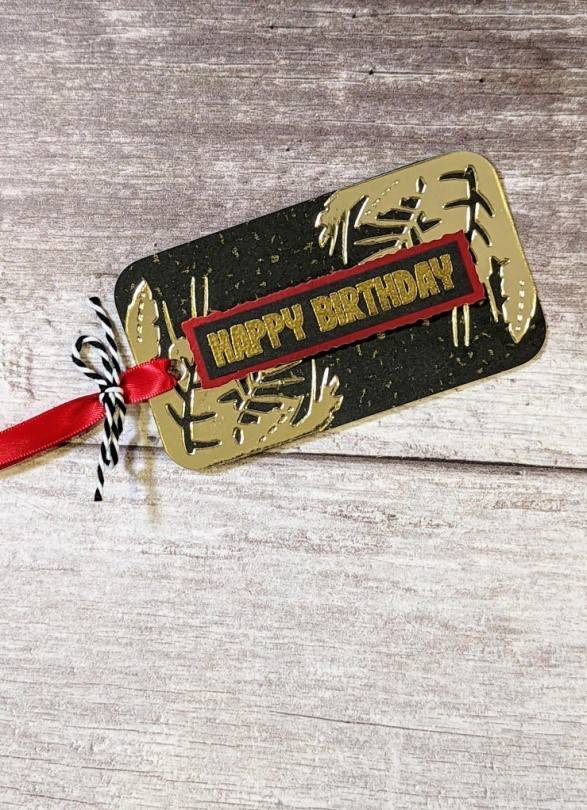
PS. Not wanting the leftover corner die cuts to go to waste, I also created this very quick and simple, coordinating gift tag: A basic rectangular shape, which I tied in by rounding off the corners and finished off with Craft Perfect Satin Ribbon (9mm Chilli Red) and Baker’s Twine (Jet Black).
Buy The Craft Project
