

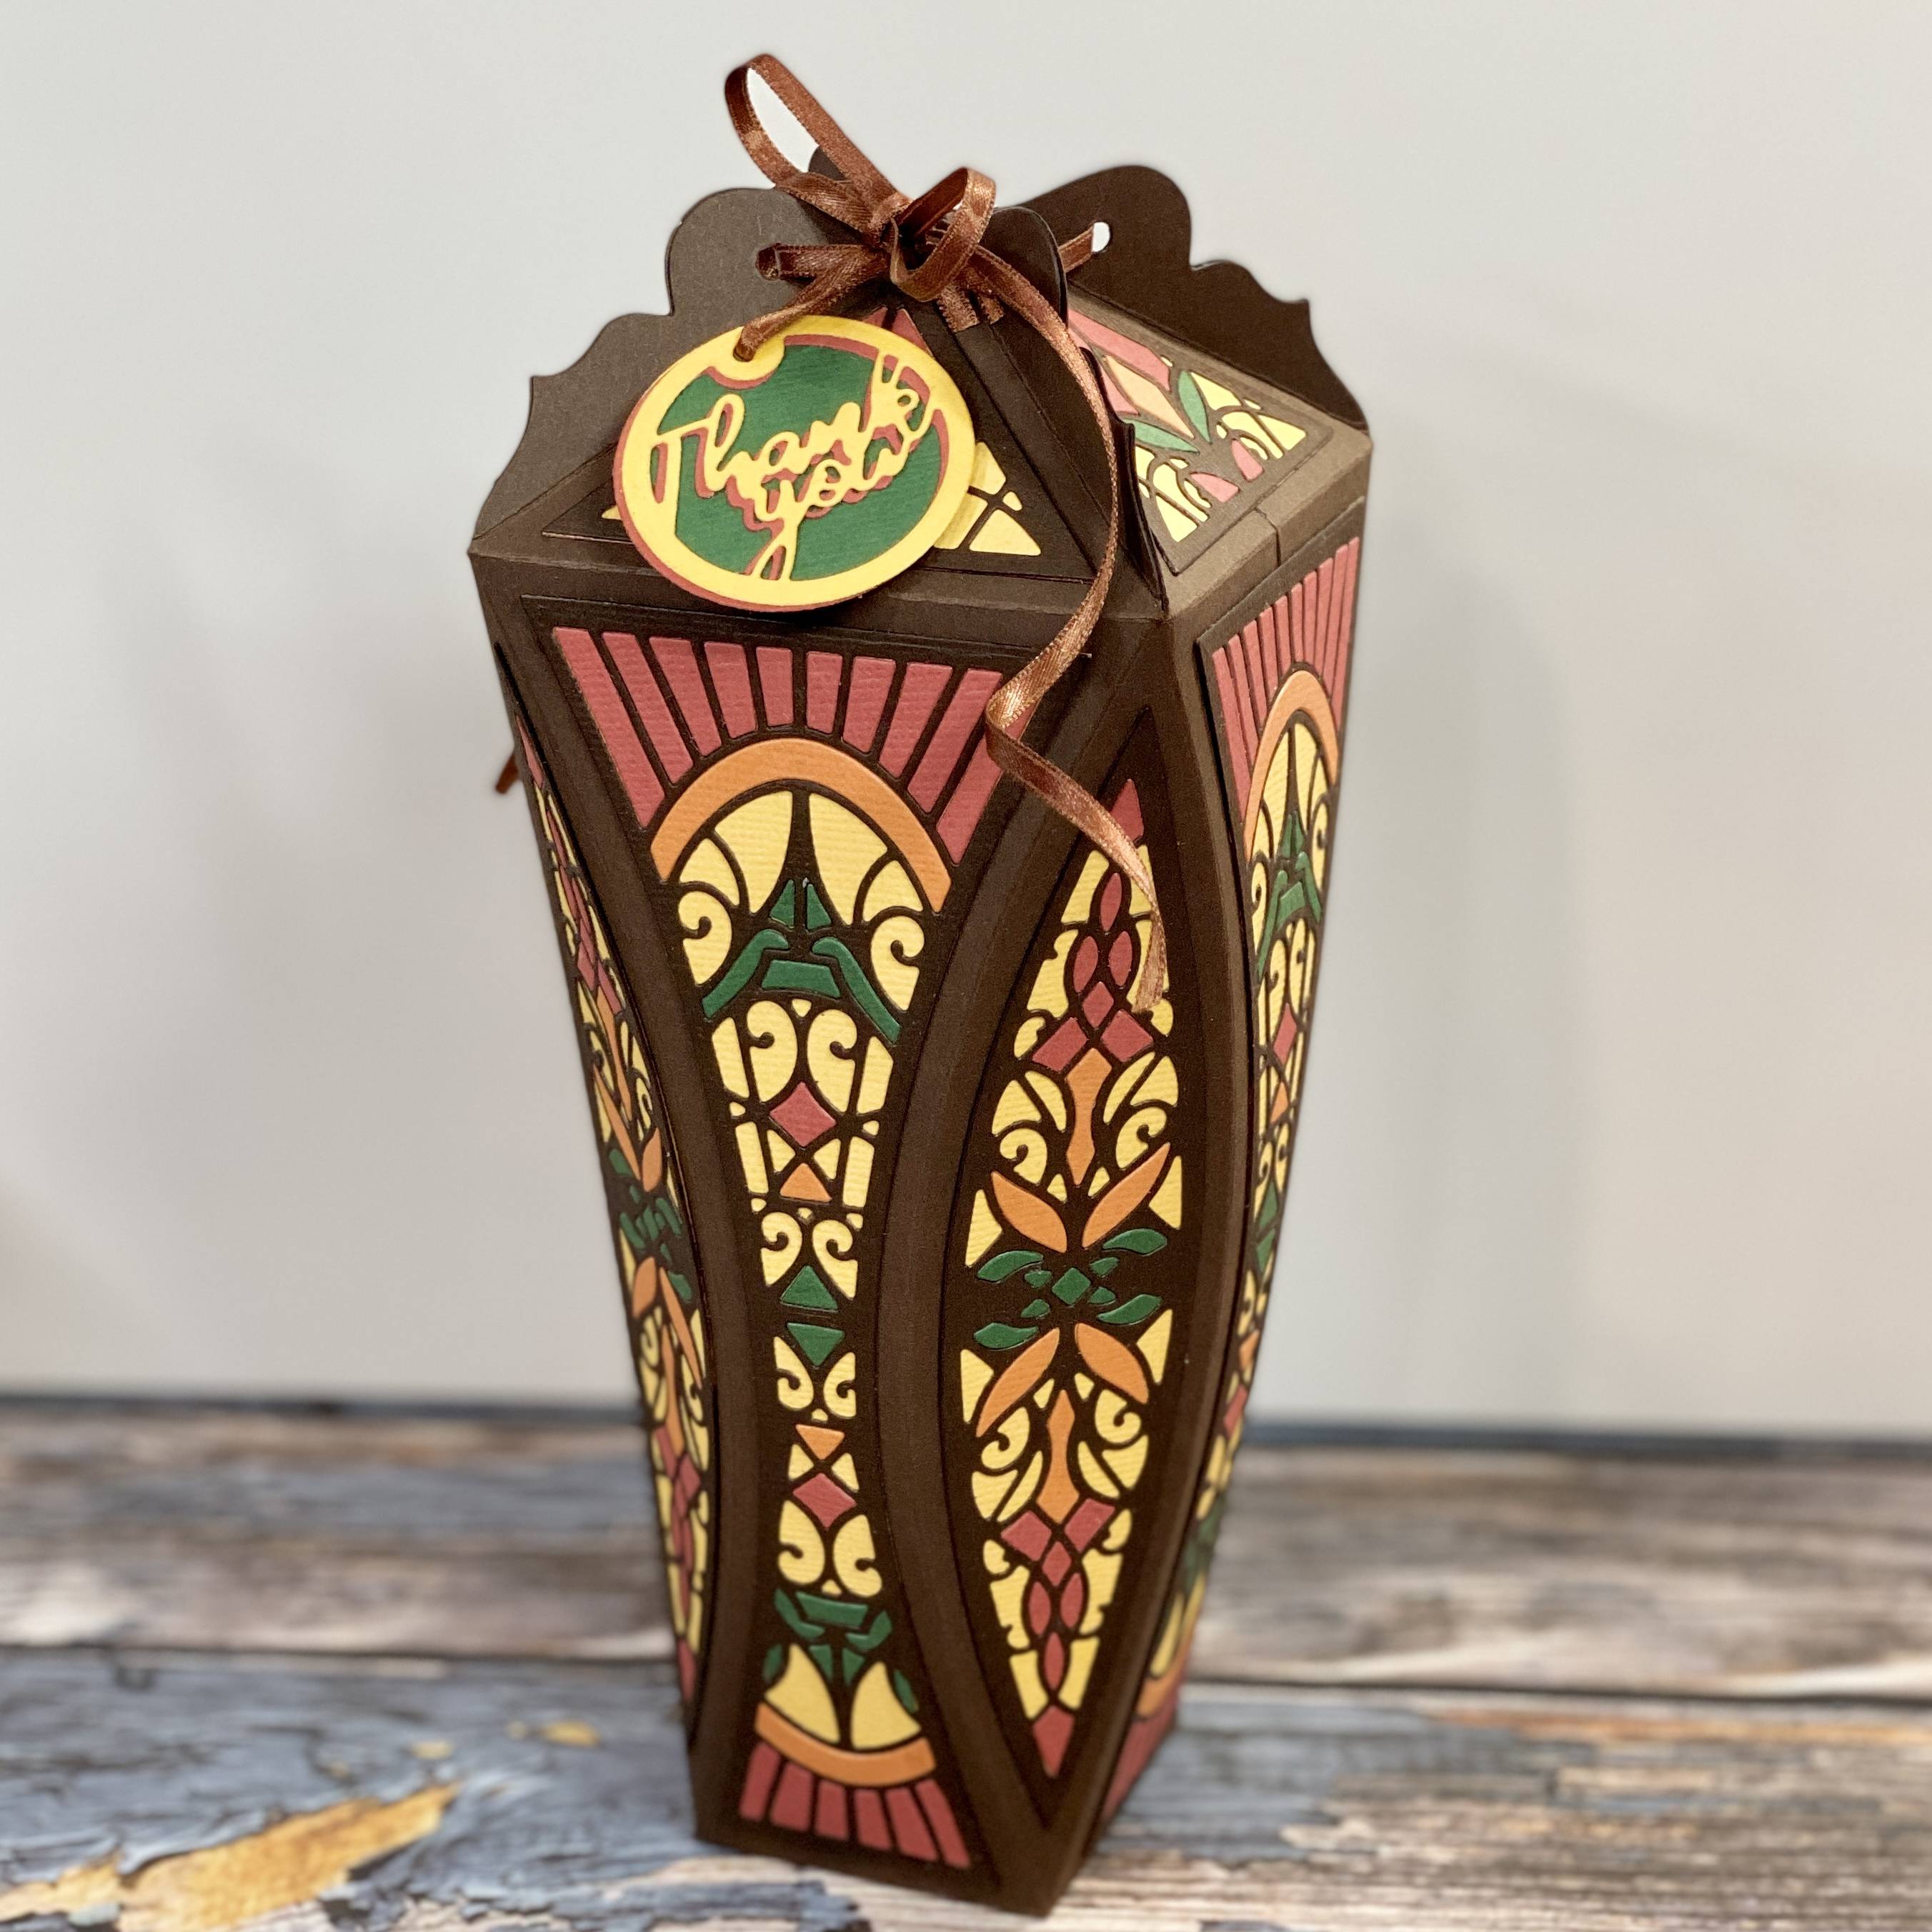
Hi everybody! Today I’m sharing a paper piecing step-by-step tutorial using the new Elegant Arched Edge Gift Box. This set includes 19 dies designed to create the most exquisite, unique gift box! Contains every die you need to create your very own Elegant Arched Gift Box, including dies to create the base, a selection of decorative panels and even includes tags to give your box that personal touch! Ideal to fill with treats but perfectly sized to house a miniature gift bottle!
Paper piecing takes time, patience and more patience but the effect is absolute beauty! Let’s begin.
To make the Arched Edge Gift Box, you will need the following:
- Elegant Arched Edge Gift Box
- Tangerine Die Cutting Machine
- Nuvo Deluxe Adhesive
- Craft Perfect Red Liner Tape
- 240 GSM Dark Brown Card for the base
- Craft Perfect Classic Card - Brick Red
- Craft Perfect Classic Card - Pumpkin Orange
- Craft Perfect Classic Card - Marigold
- Craft Perfect Classic Card - Avocado
- Craft Perfect Classic Card - Espresso
- Brown ribbon
- Tim Holtz Pokey Tool
Step 1
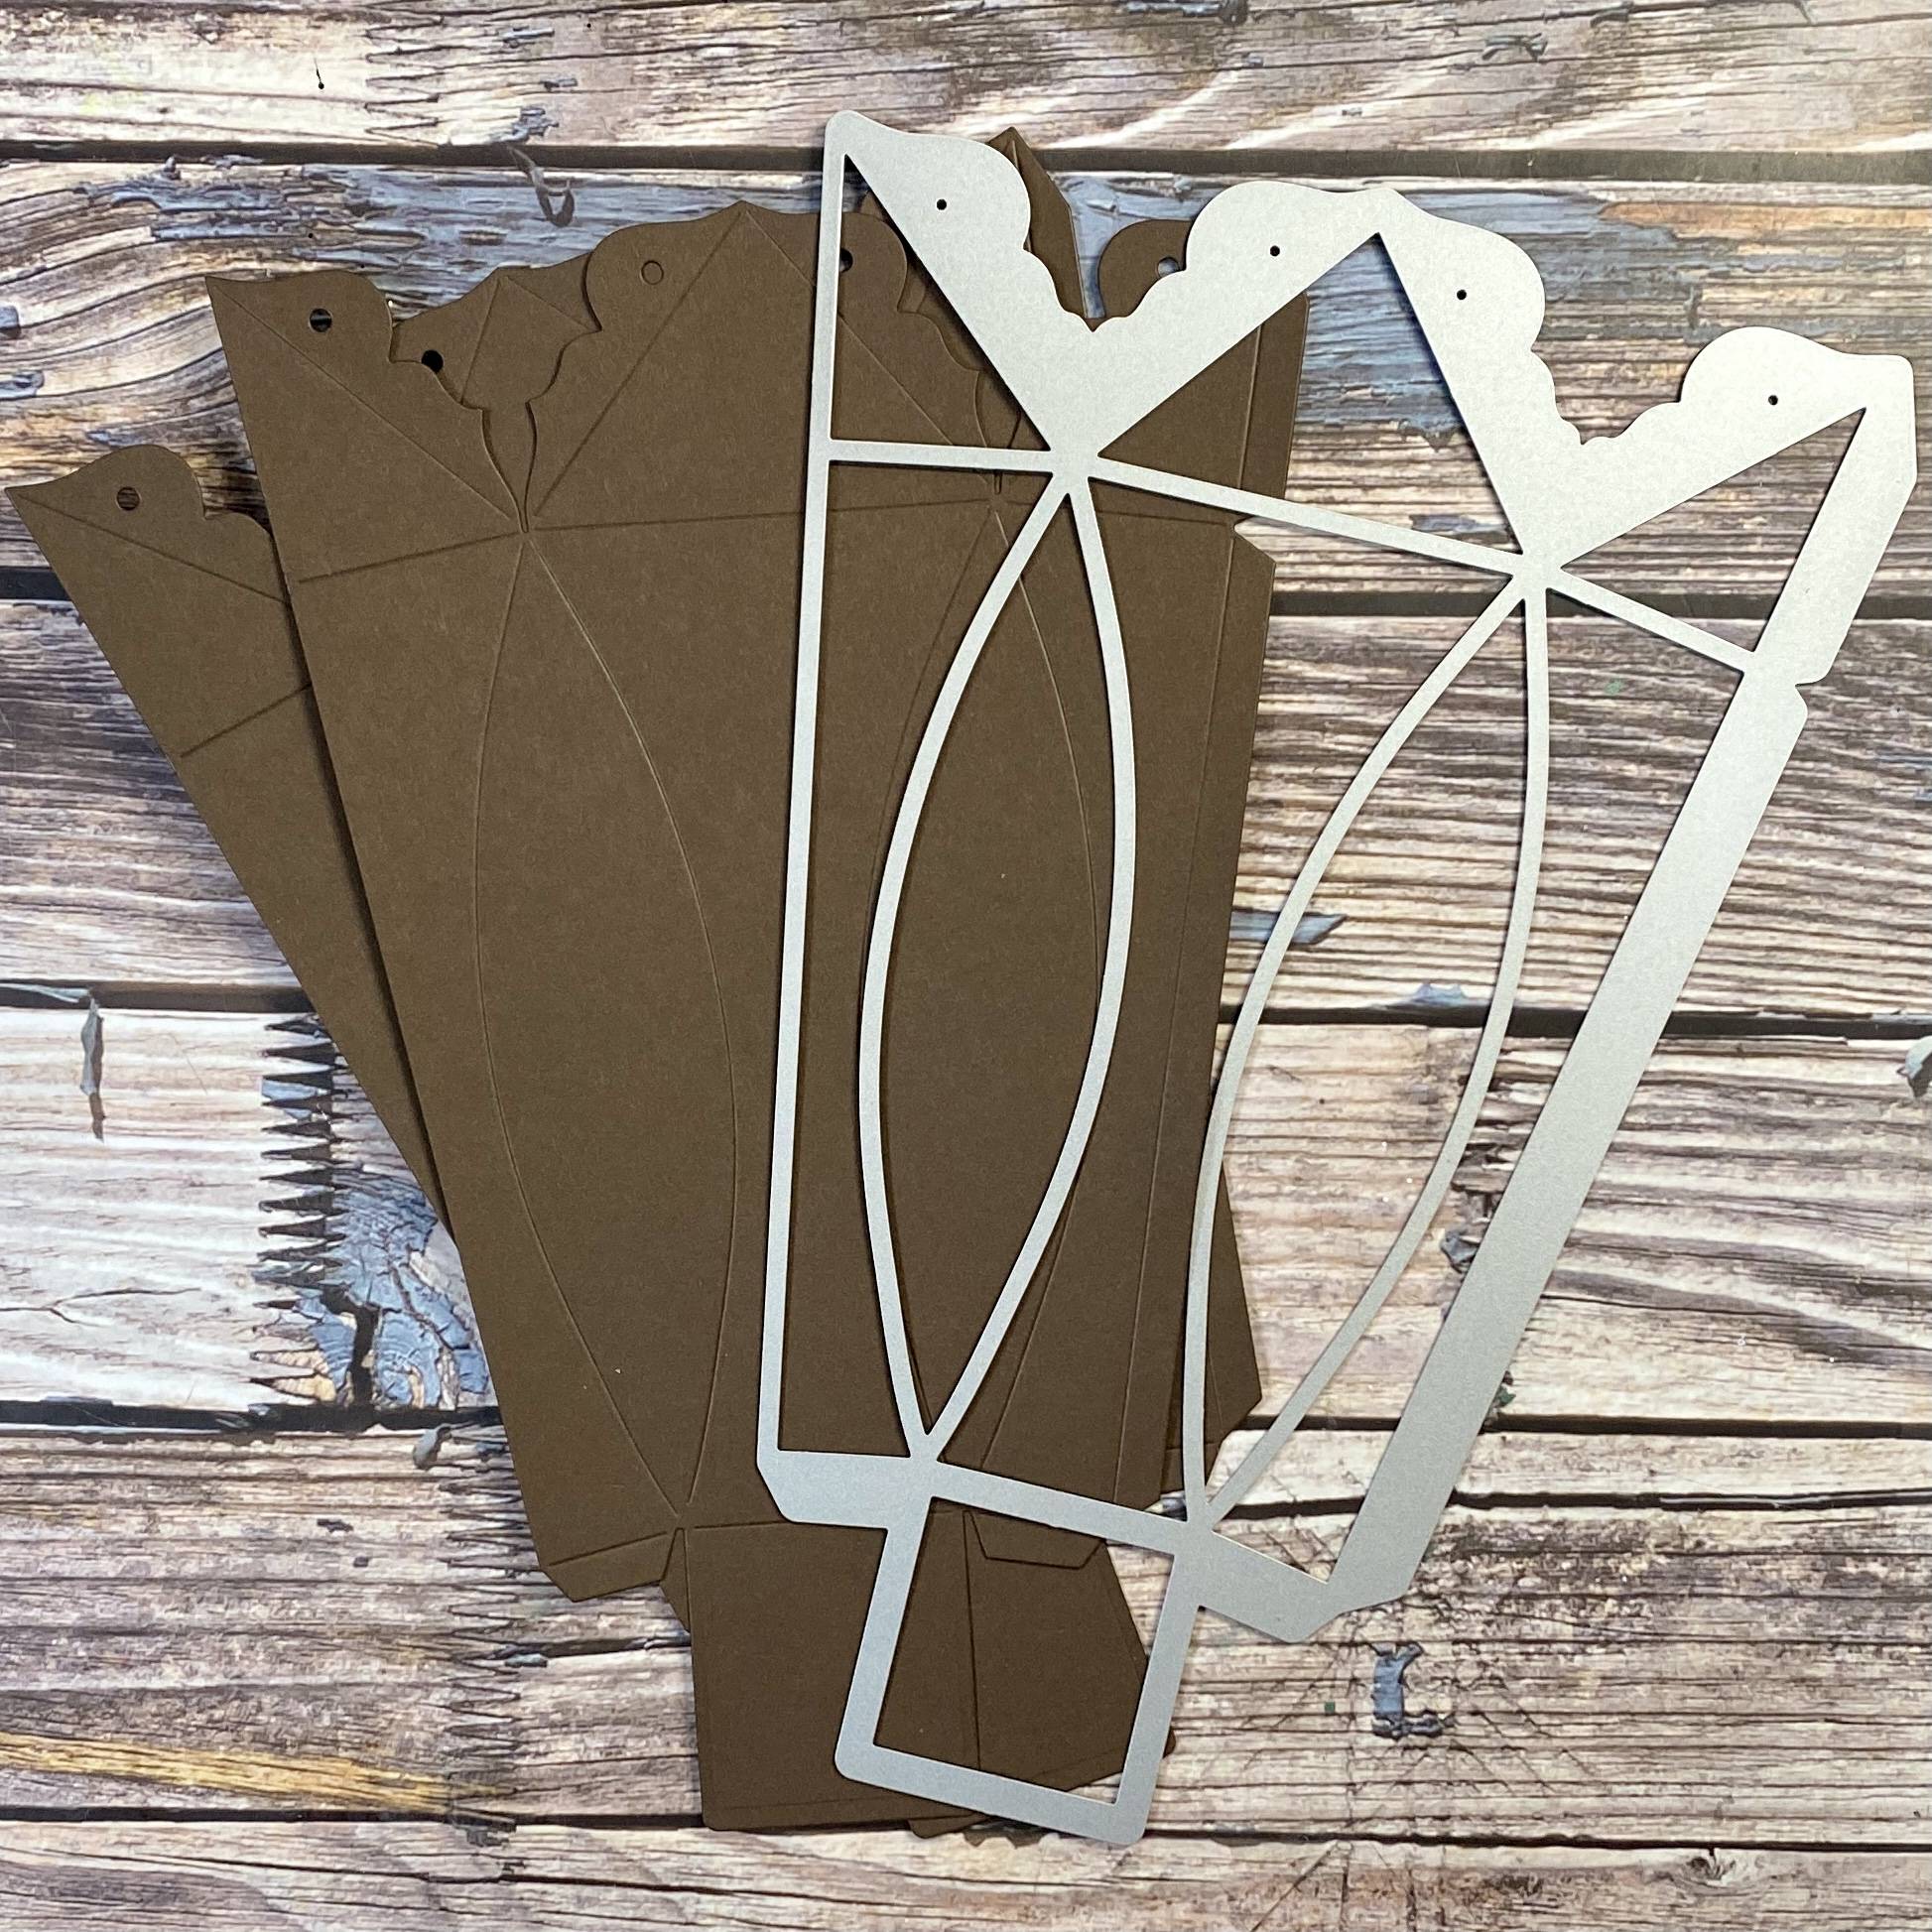
Cut two outside panels in 240gsm dark brown card.
Step 2
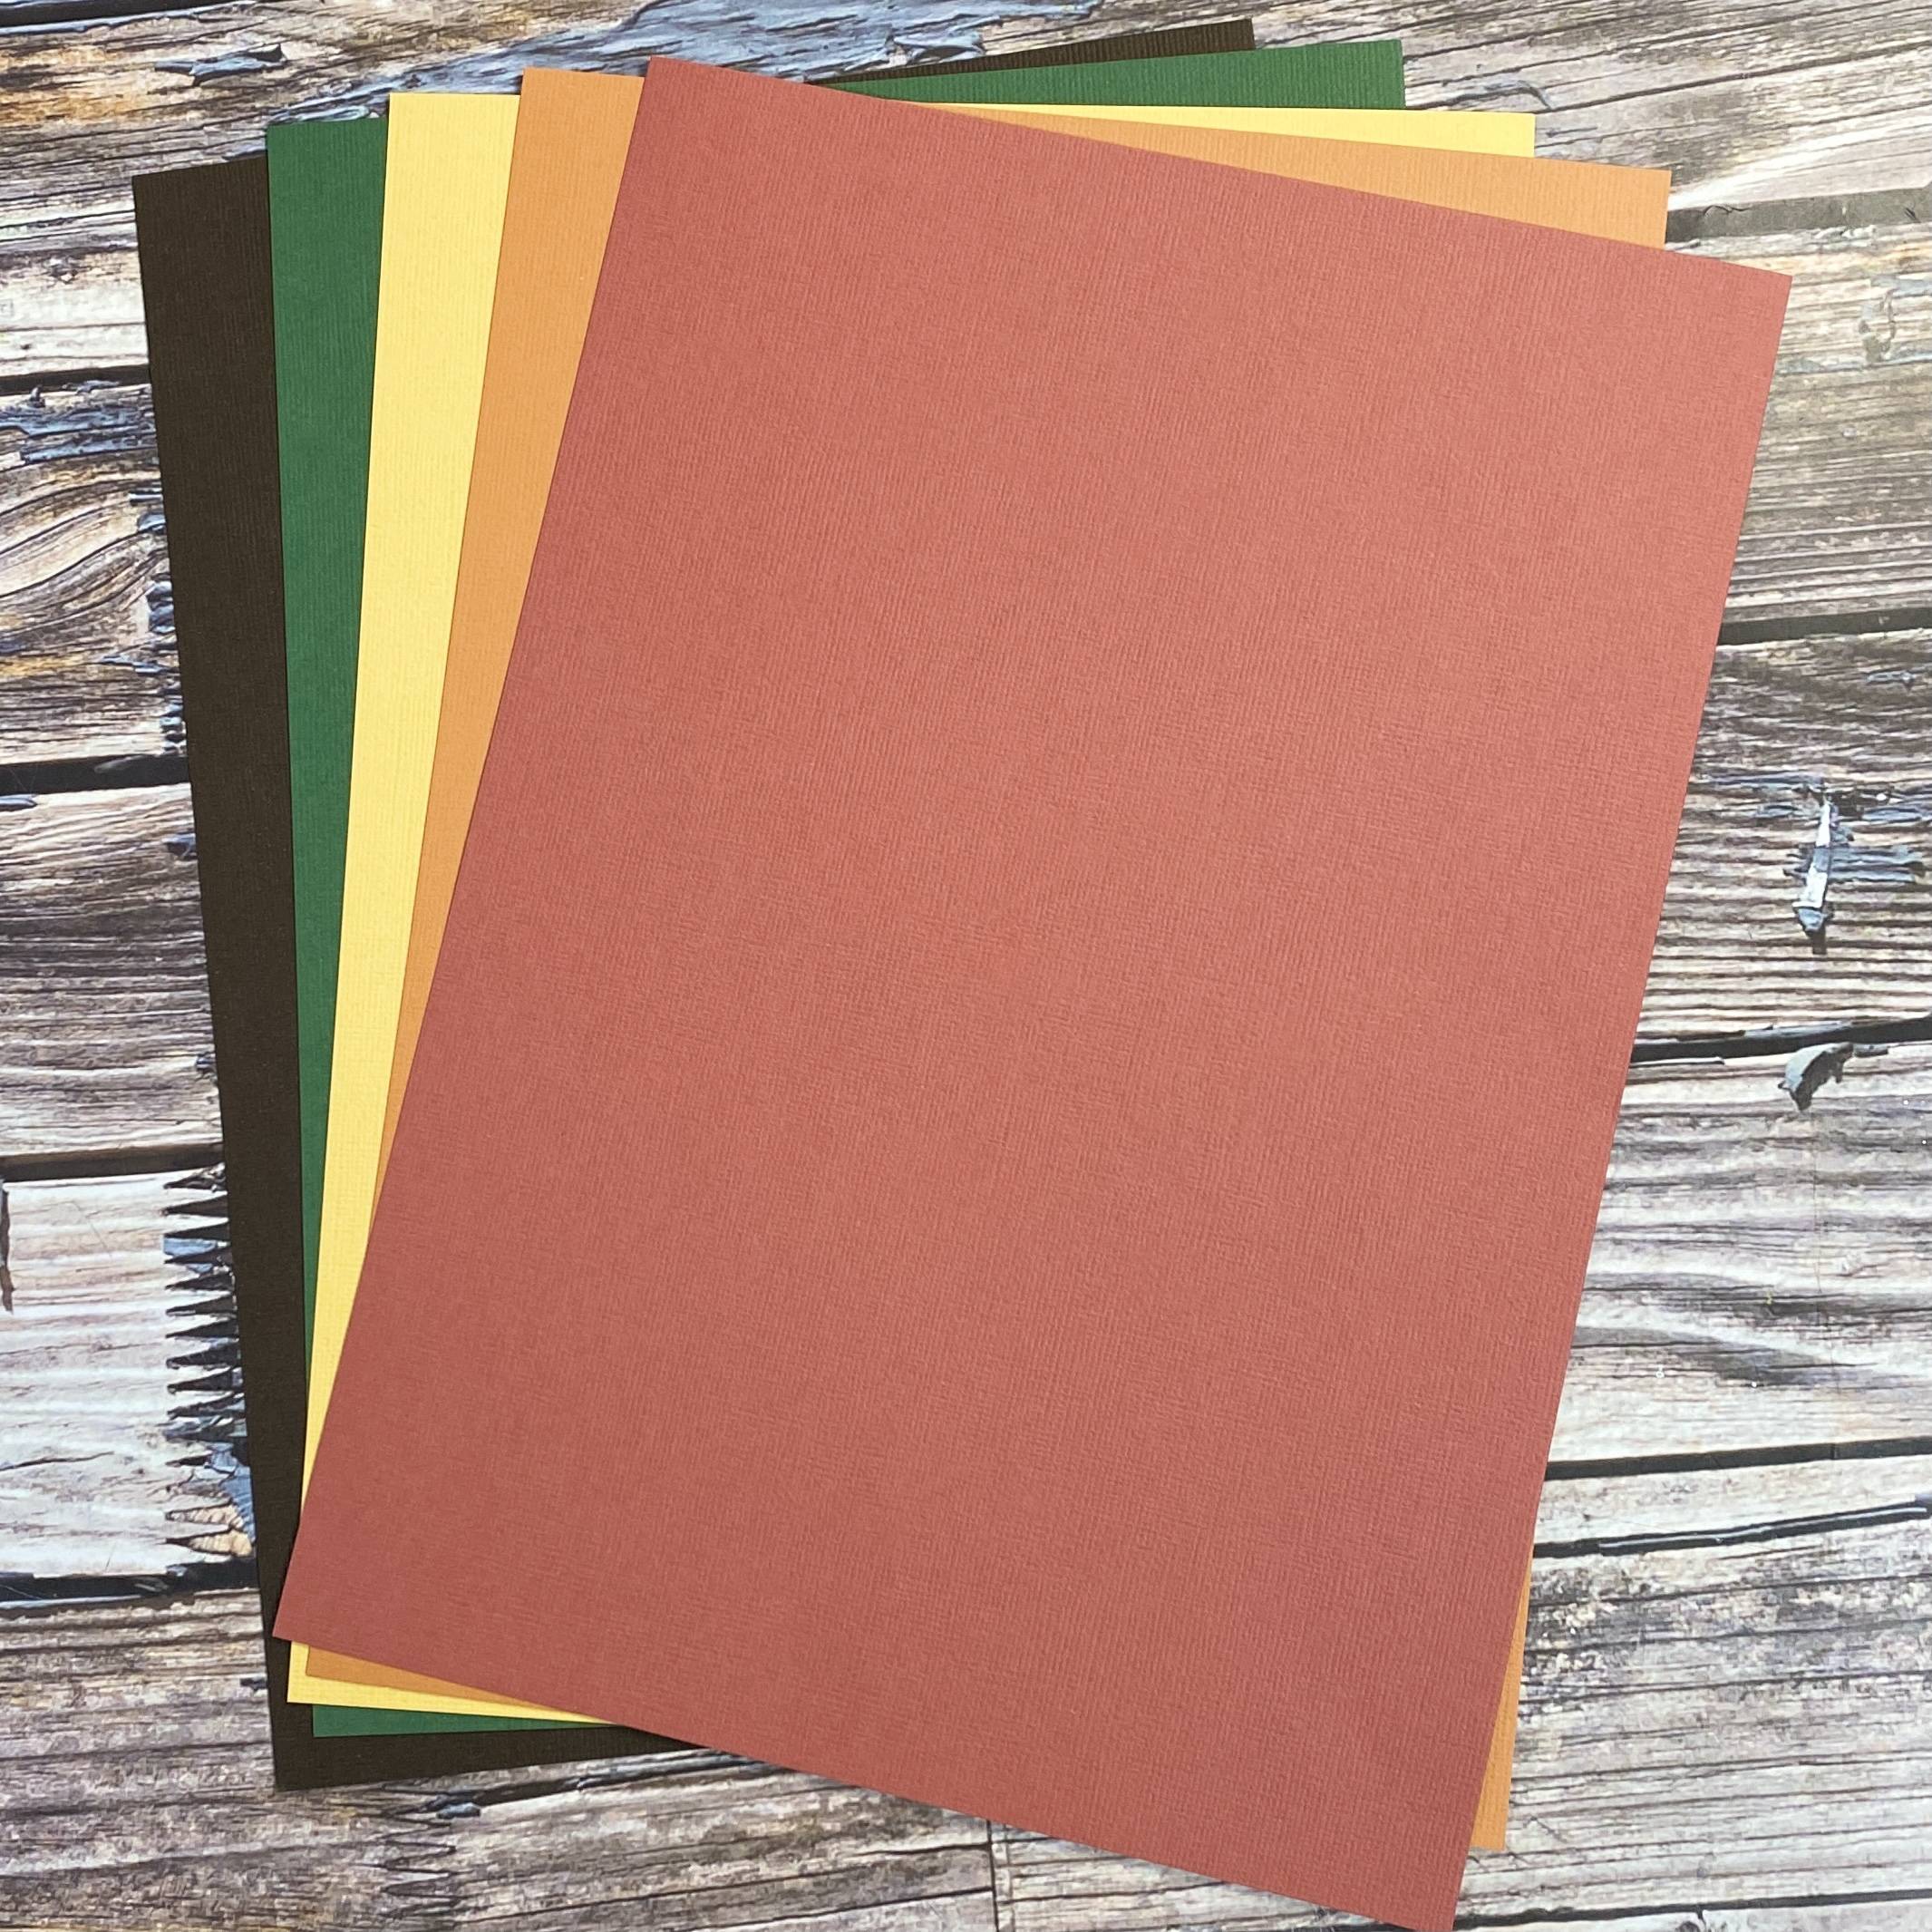
Select your Autumnal colors for paper piecing.
Step 3
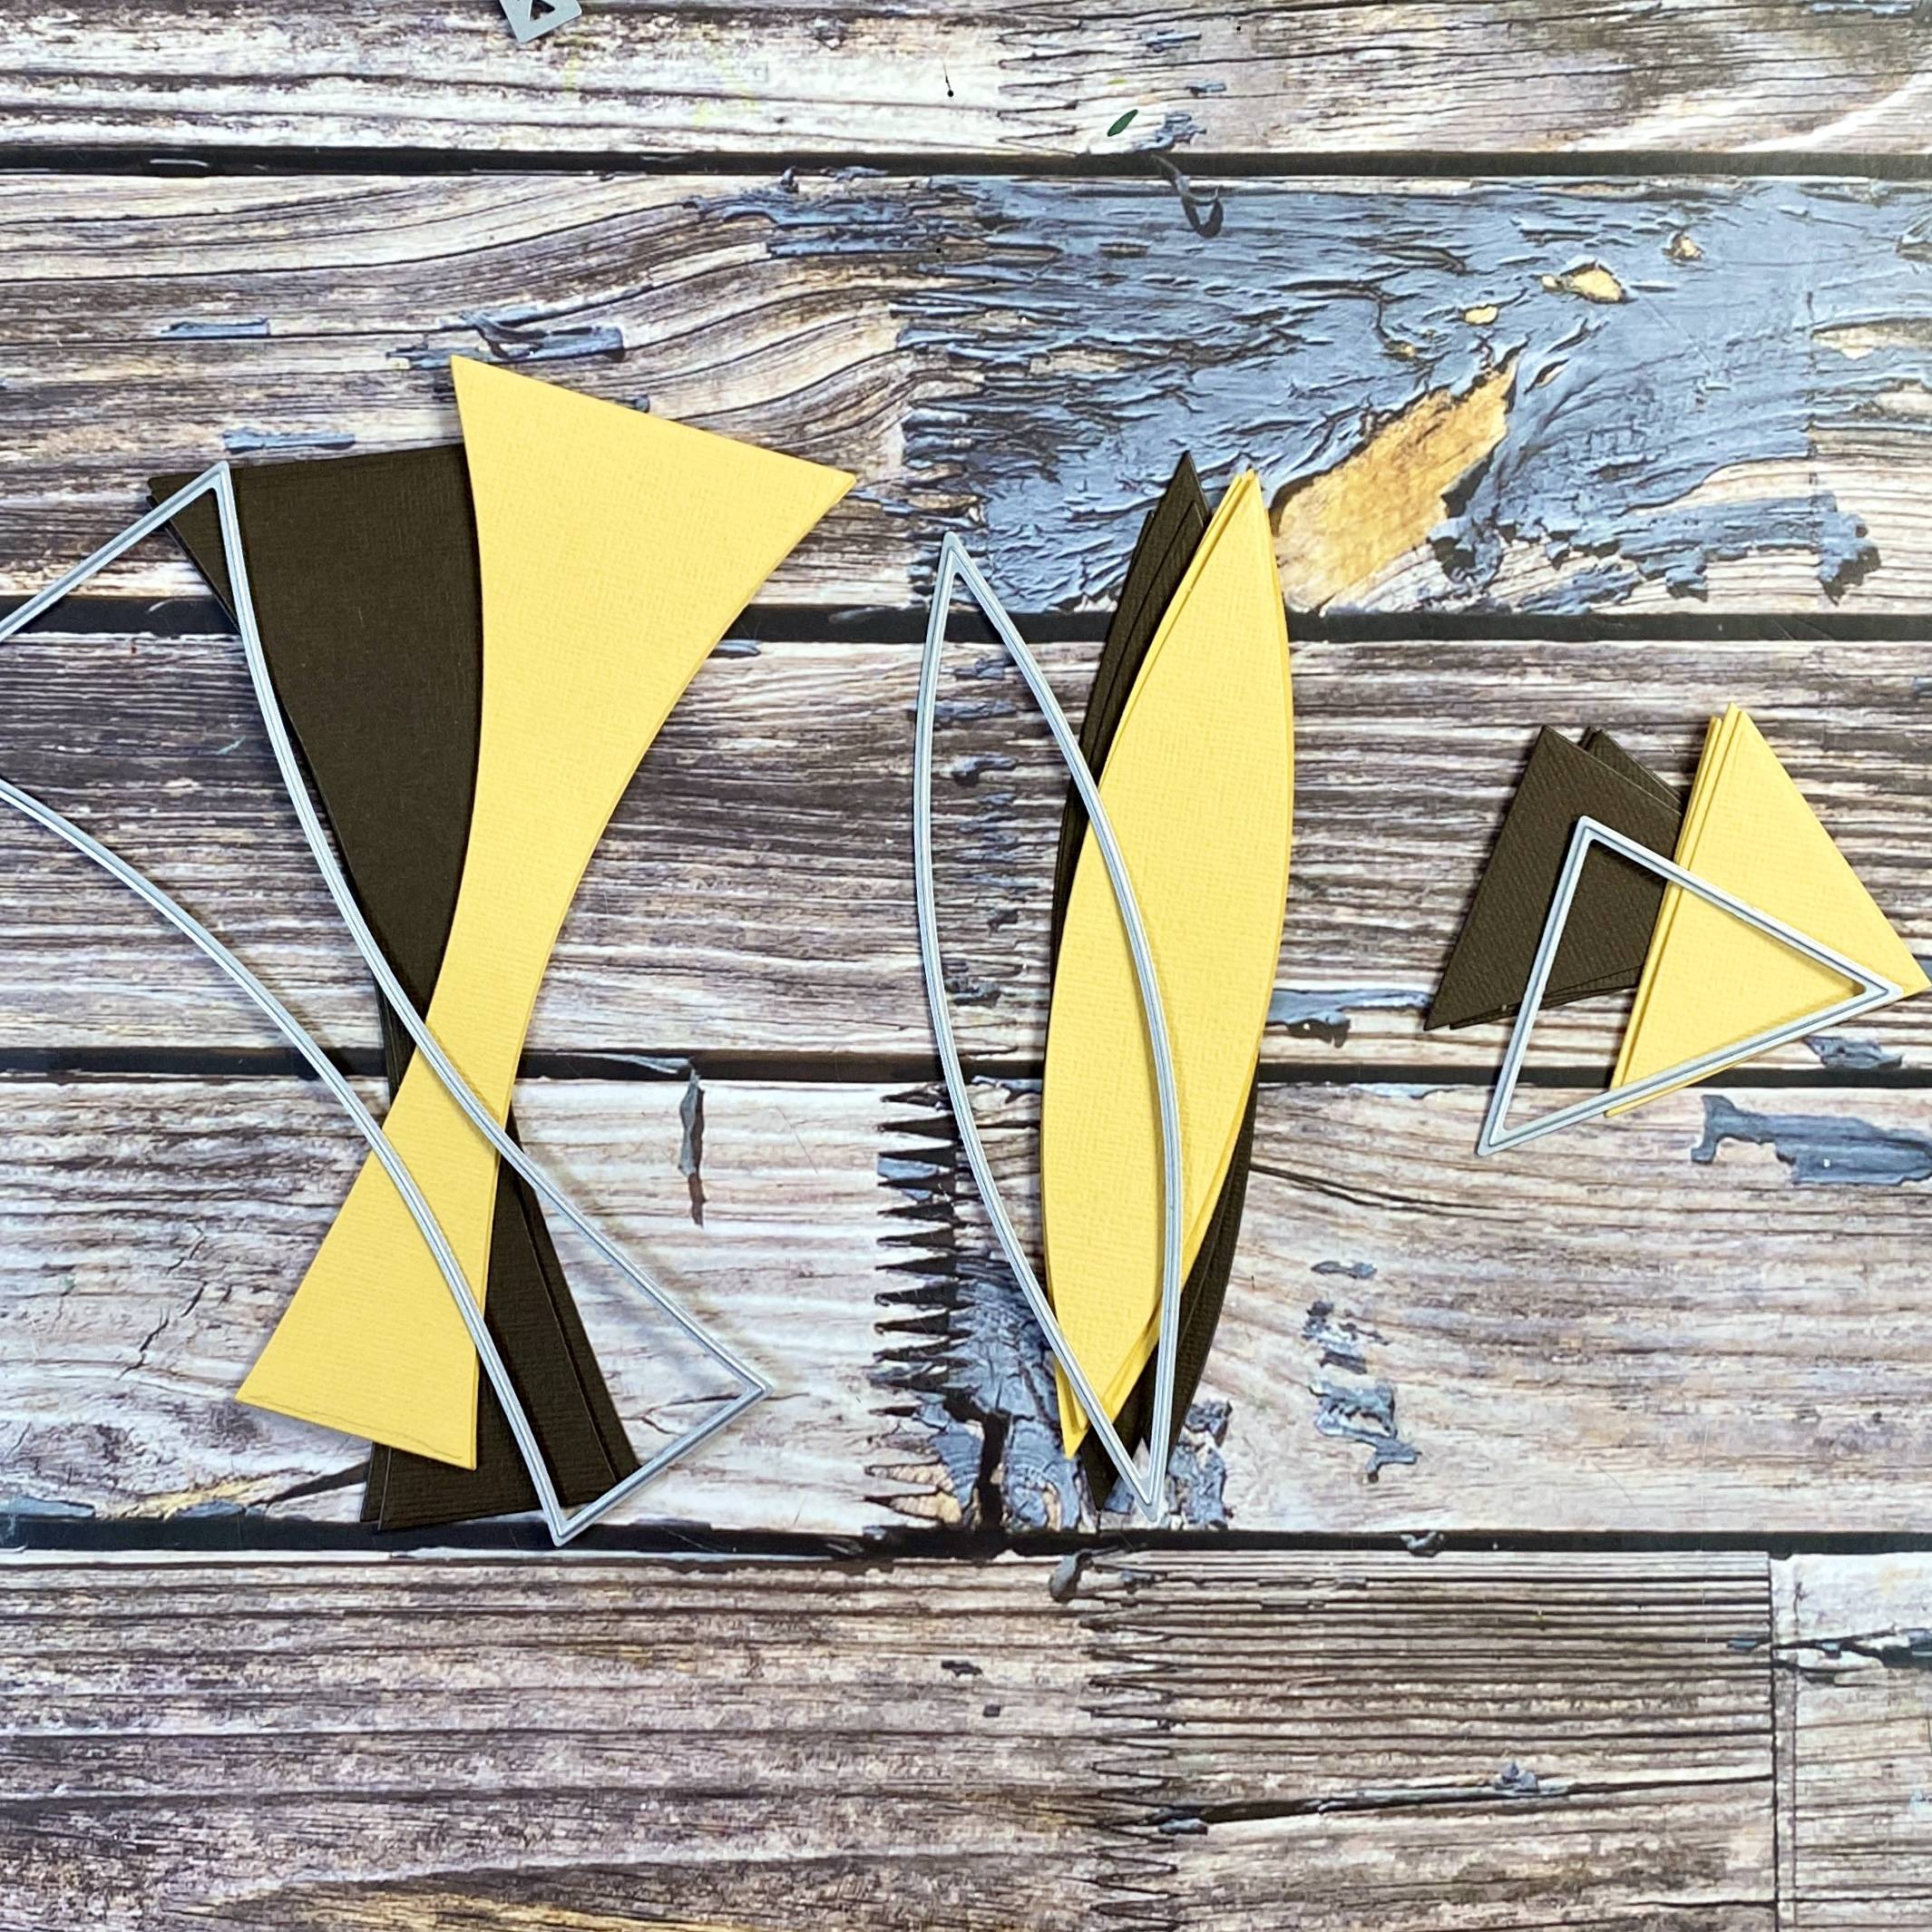
Die cut each shape four times in Espresso and Marigold.
Step 4
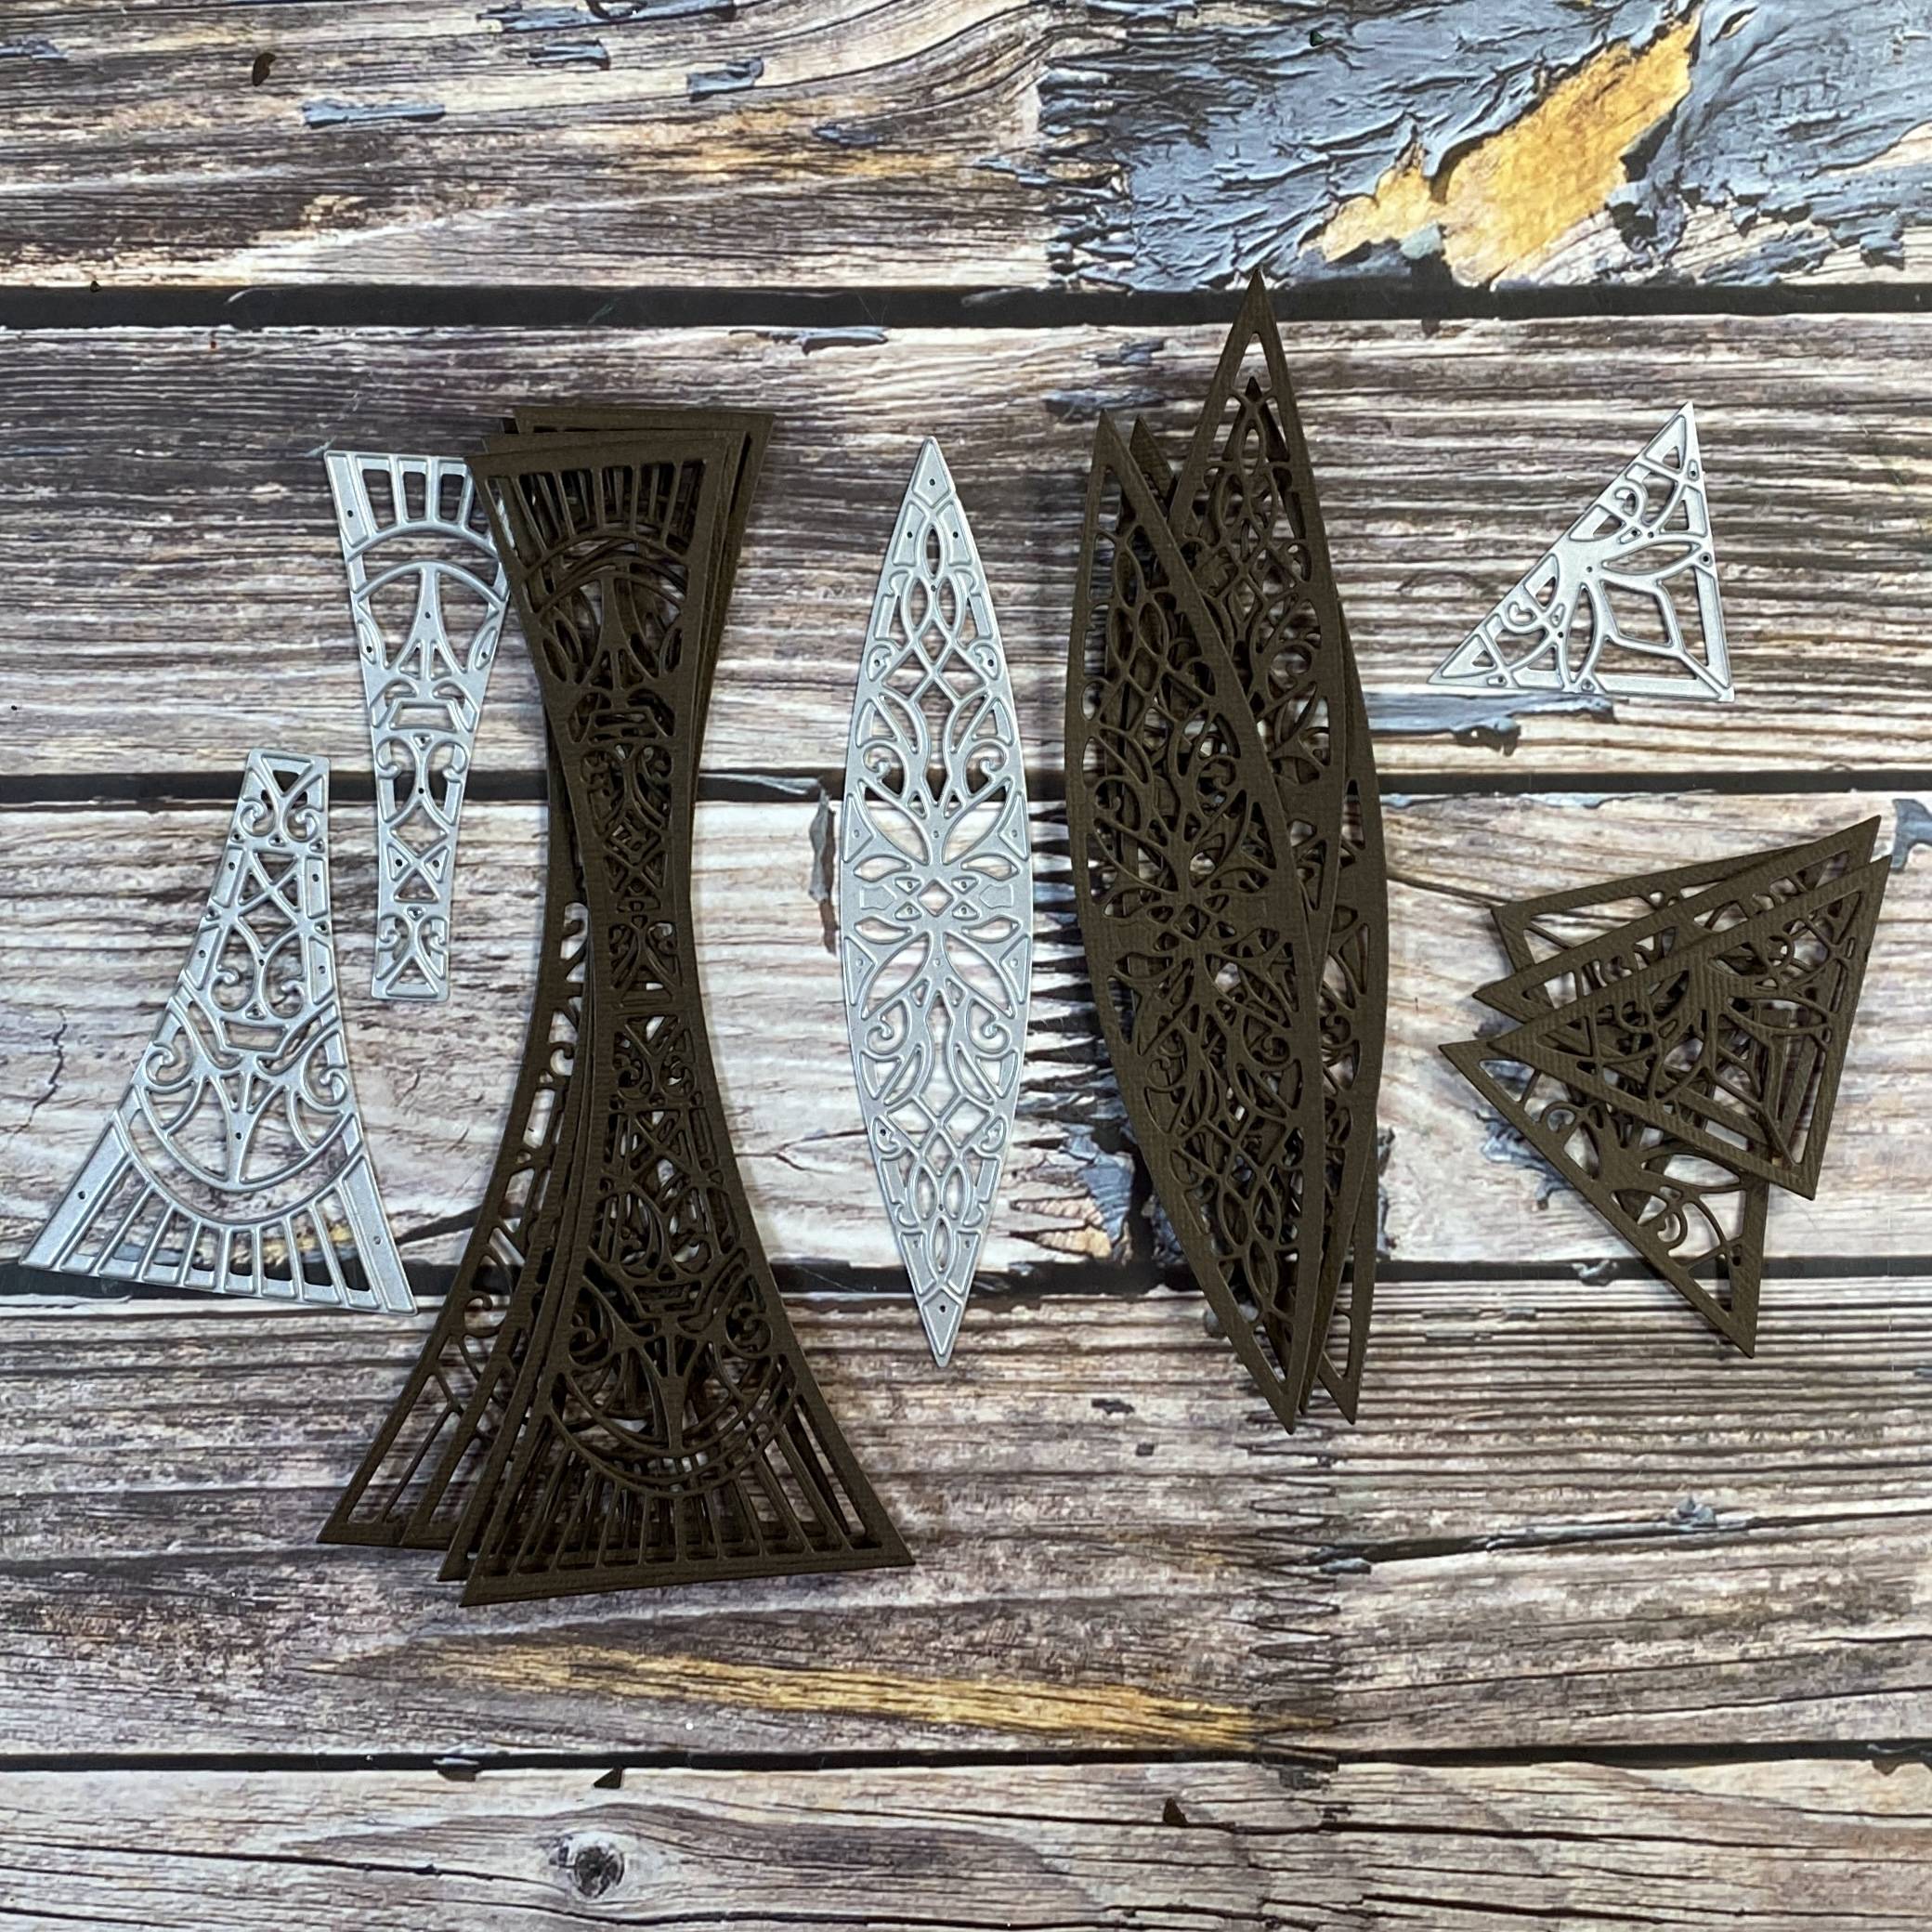
Use the intricate detail dies to cut into the espresso card.
Step 5
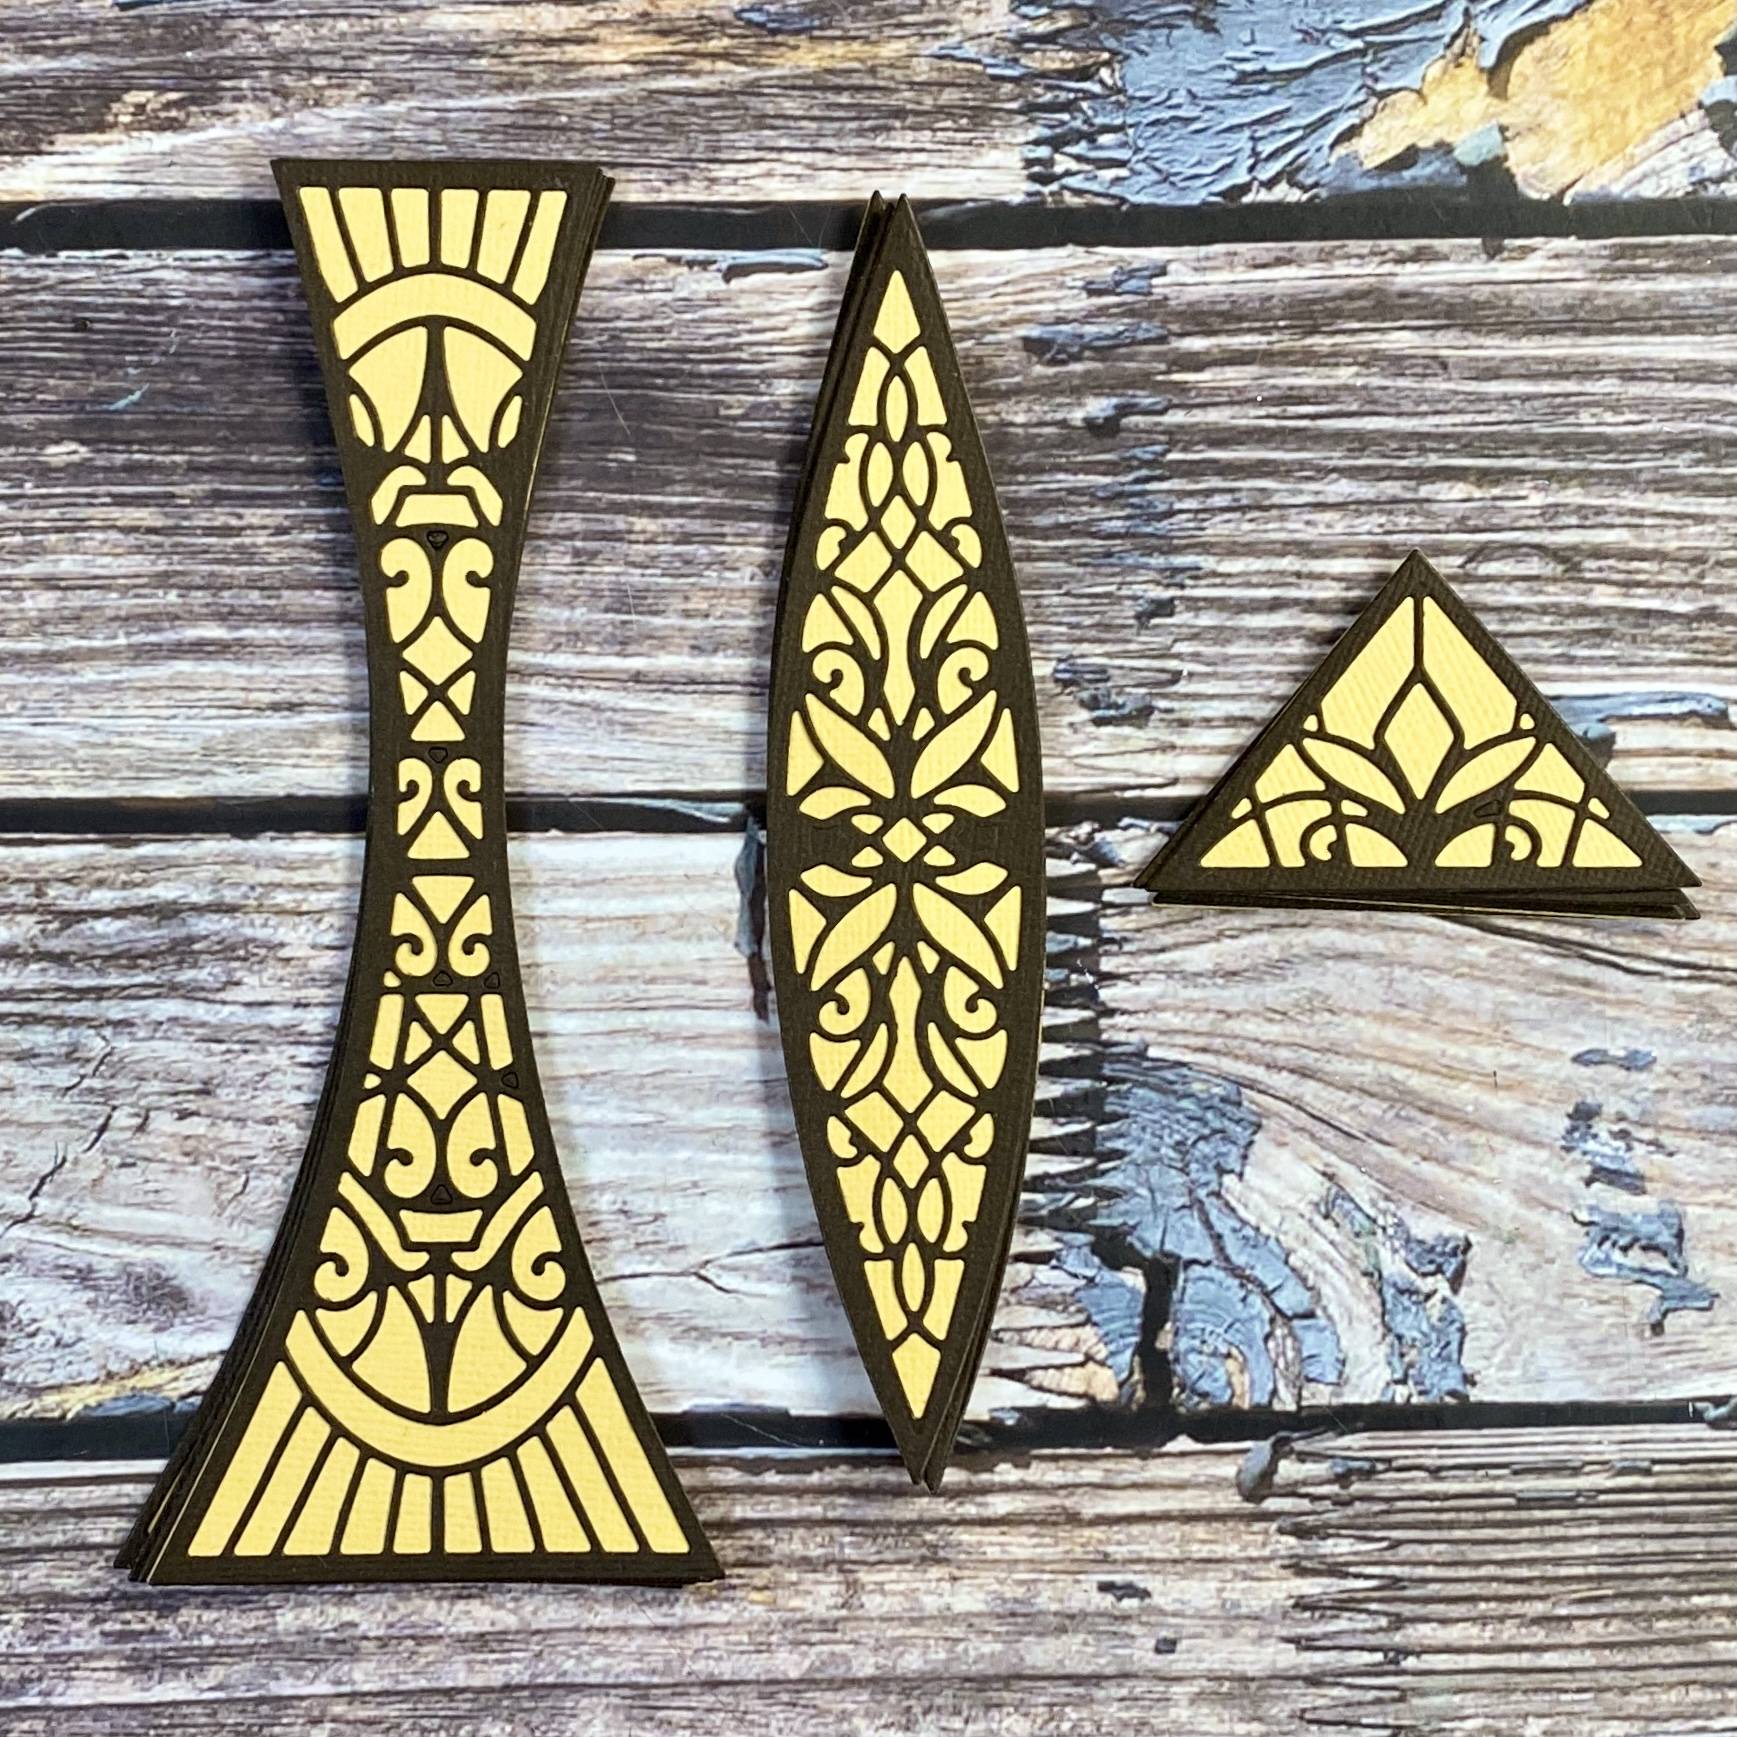
Adhere all your panels.
Step 6
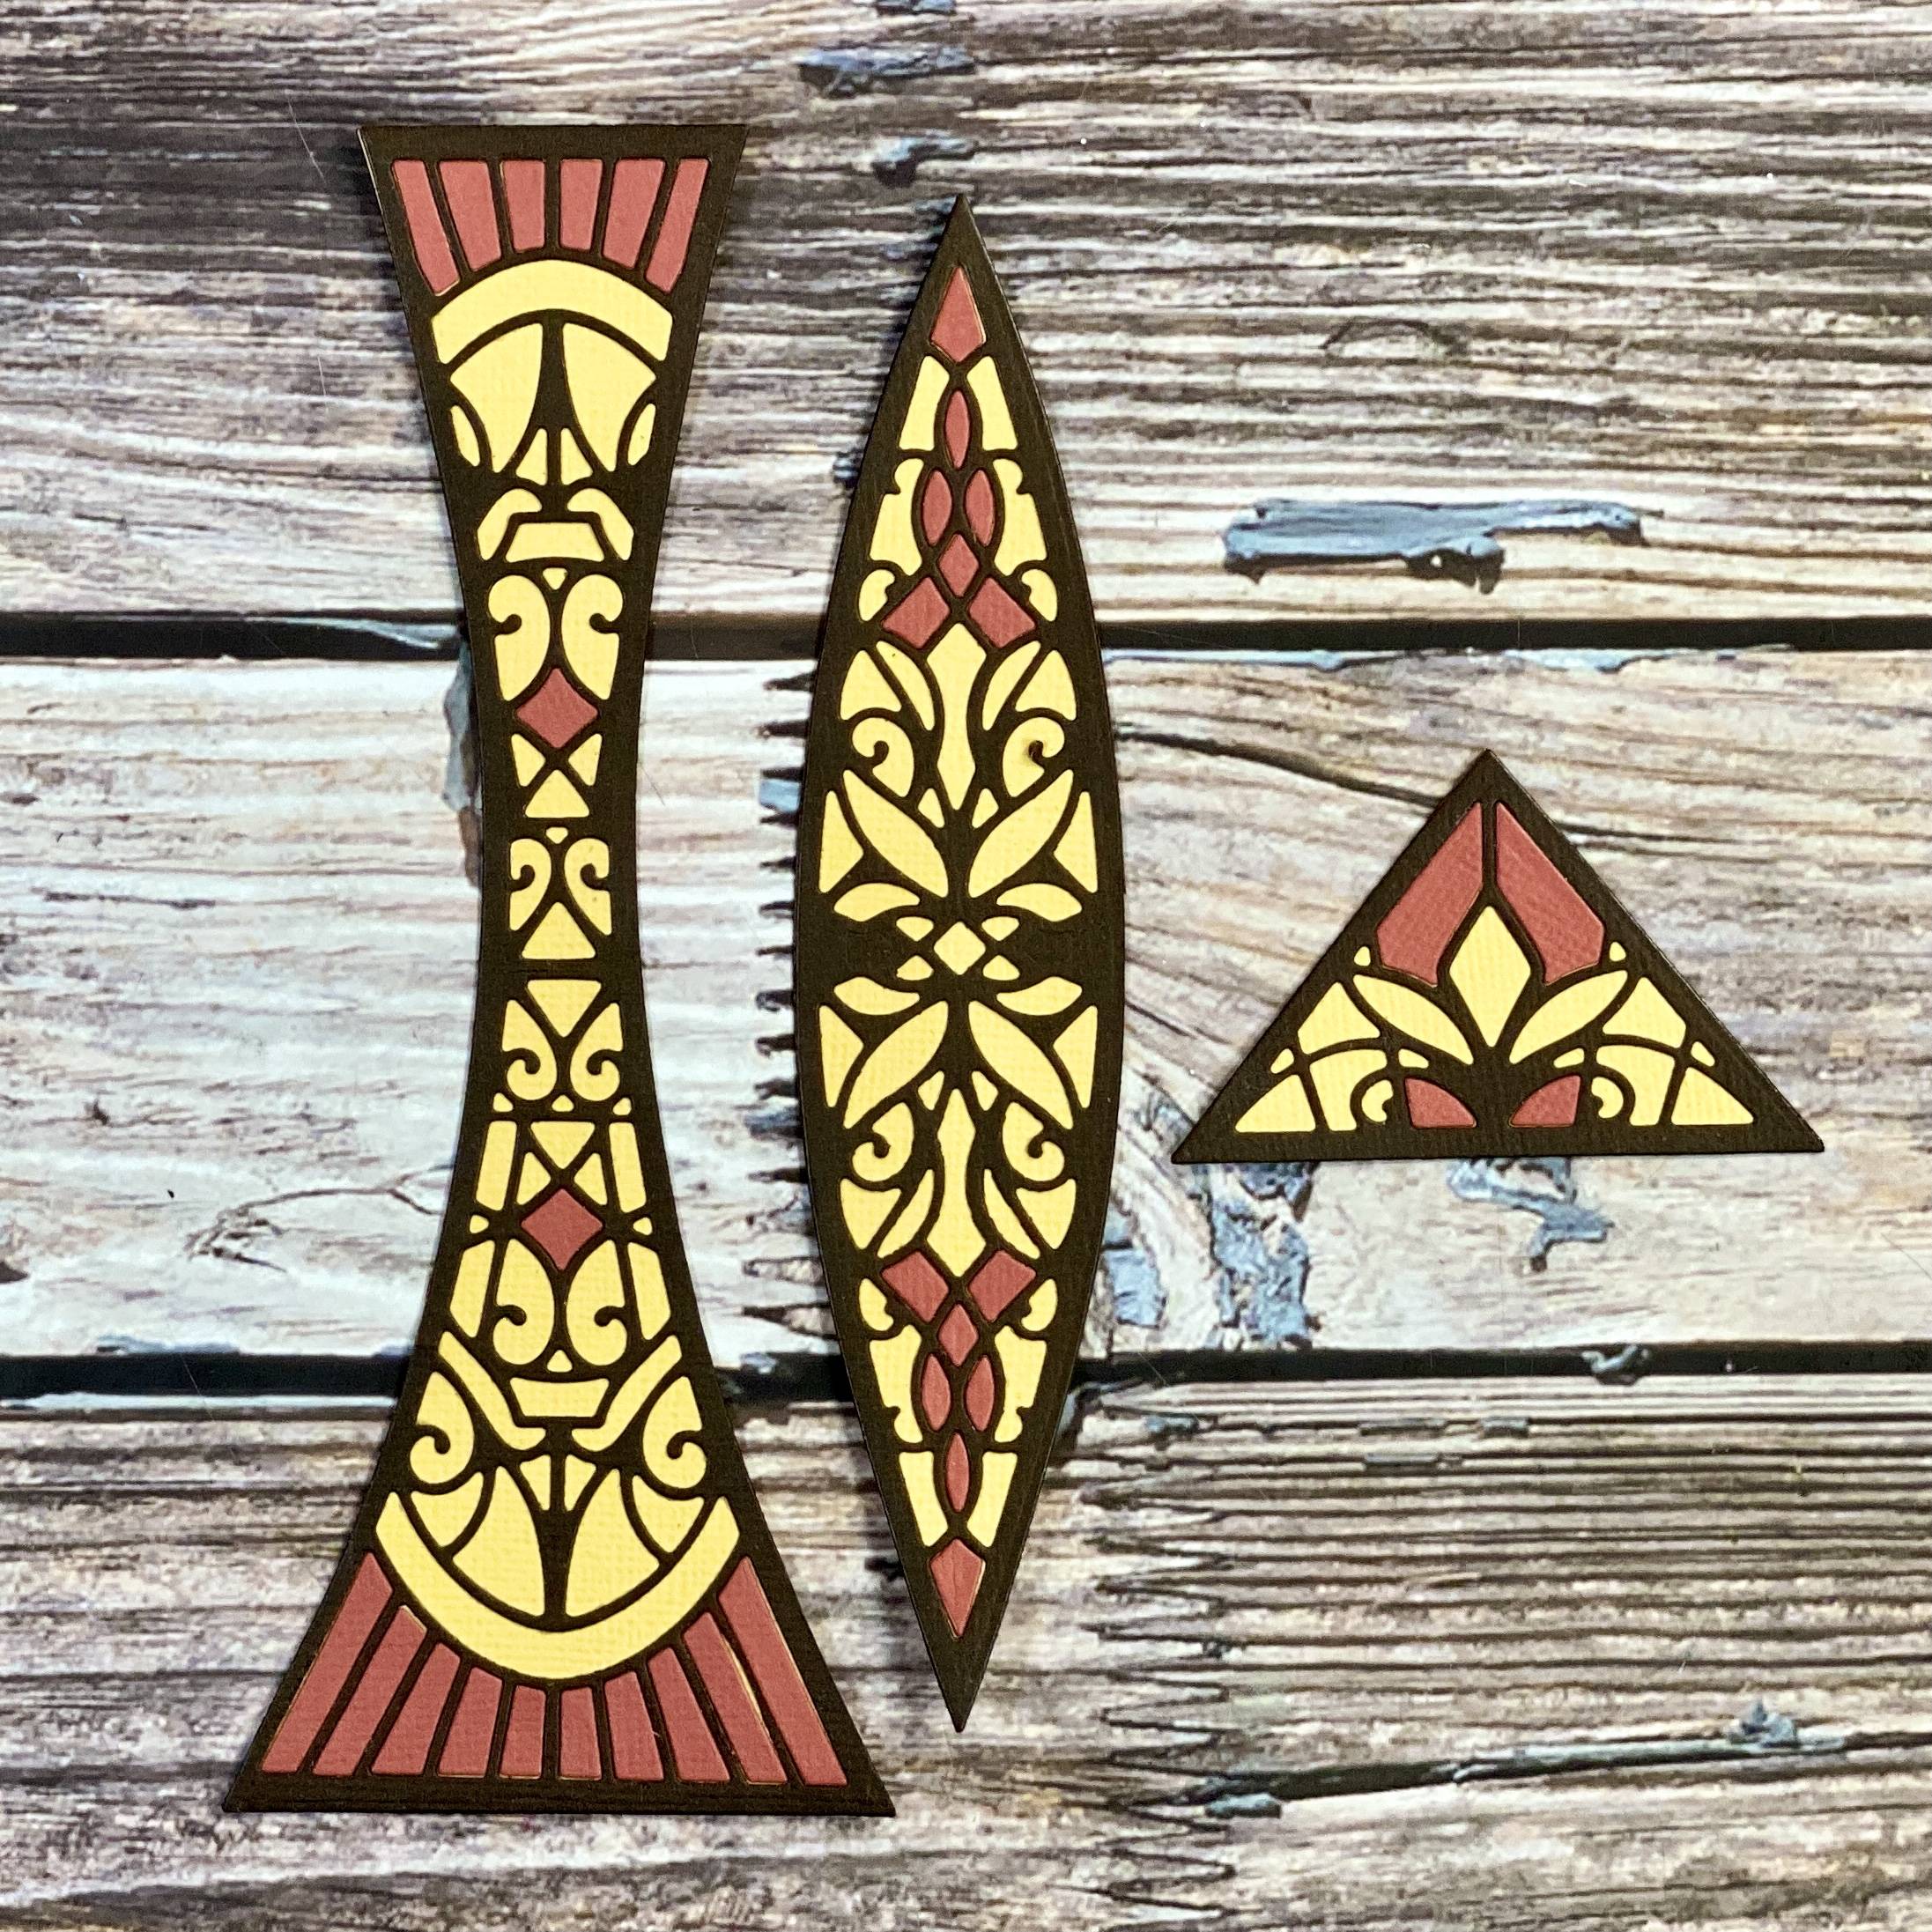
Begin paper piecing with Brick Red. I like to add each color to all the panels as I find this is the most efficient way to work.
Step 7
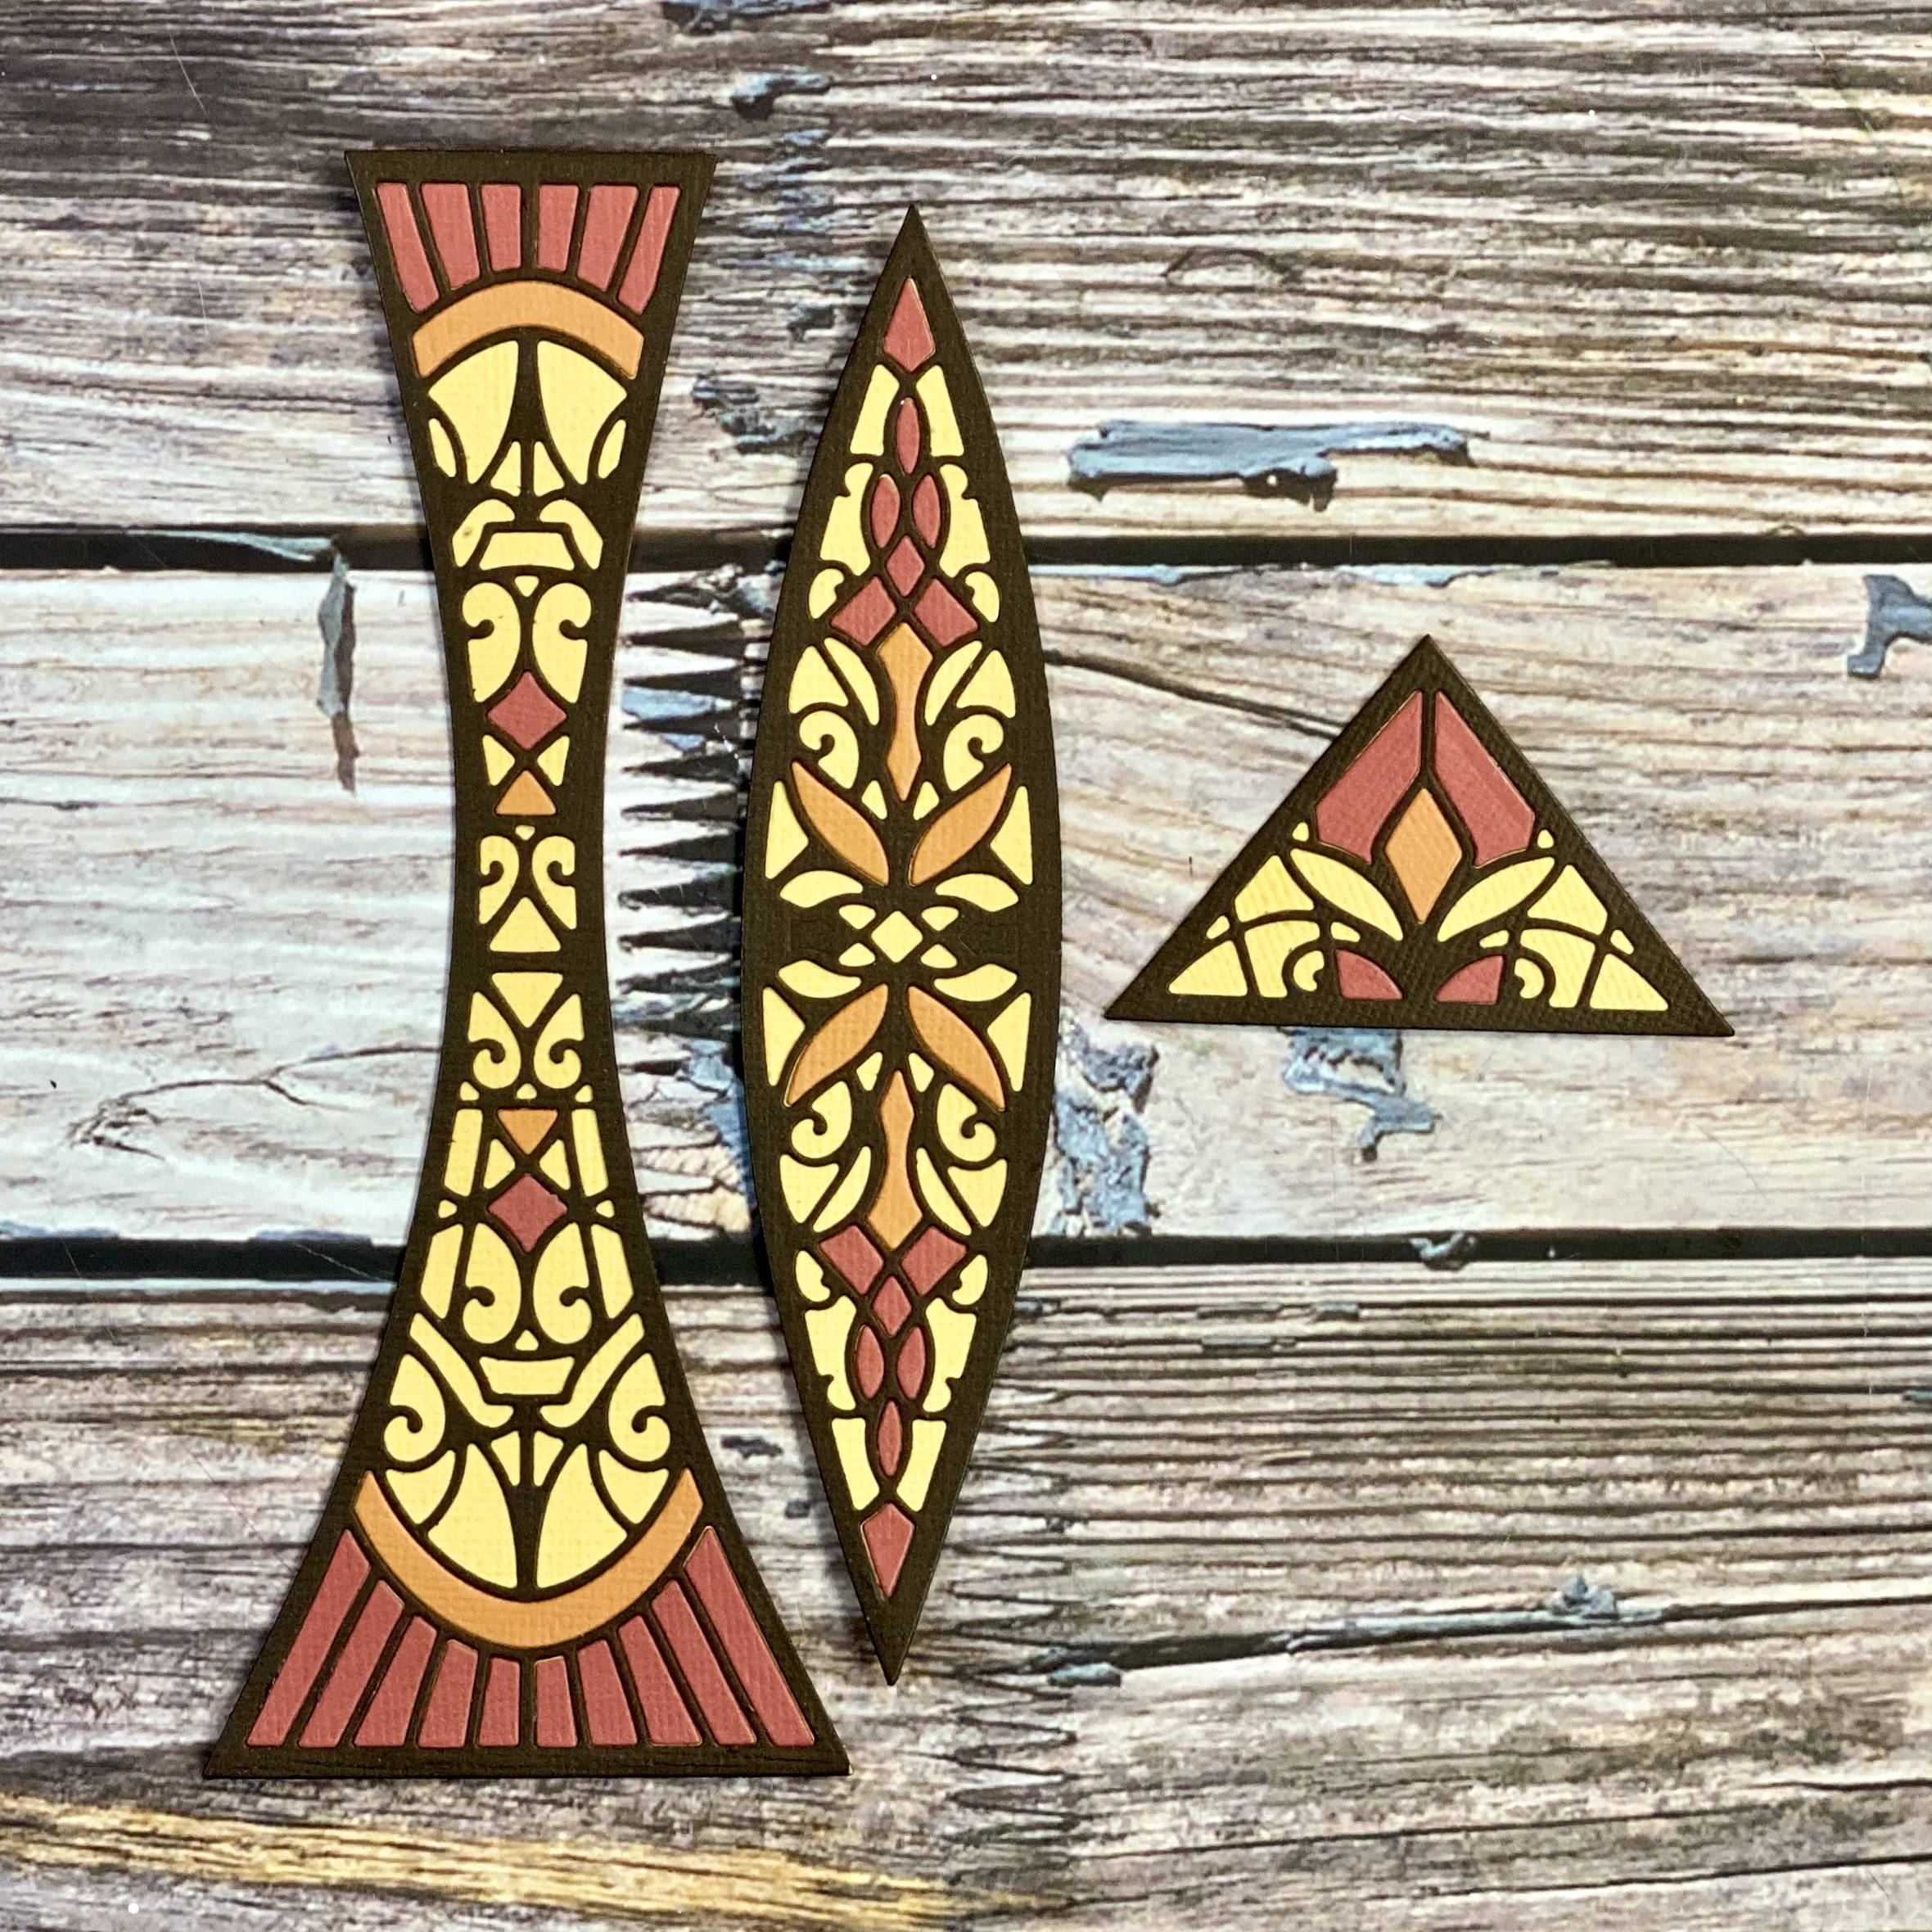
Next add the pumpkin card for the next level of paper piecing.
Step 8
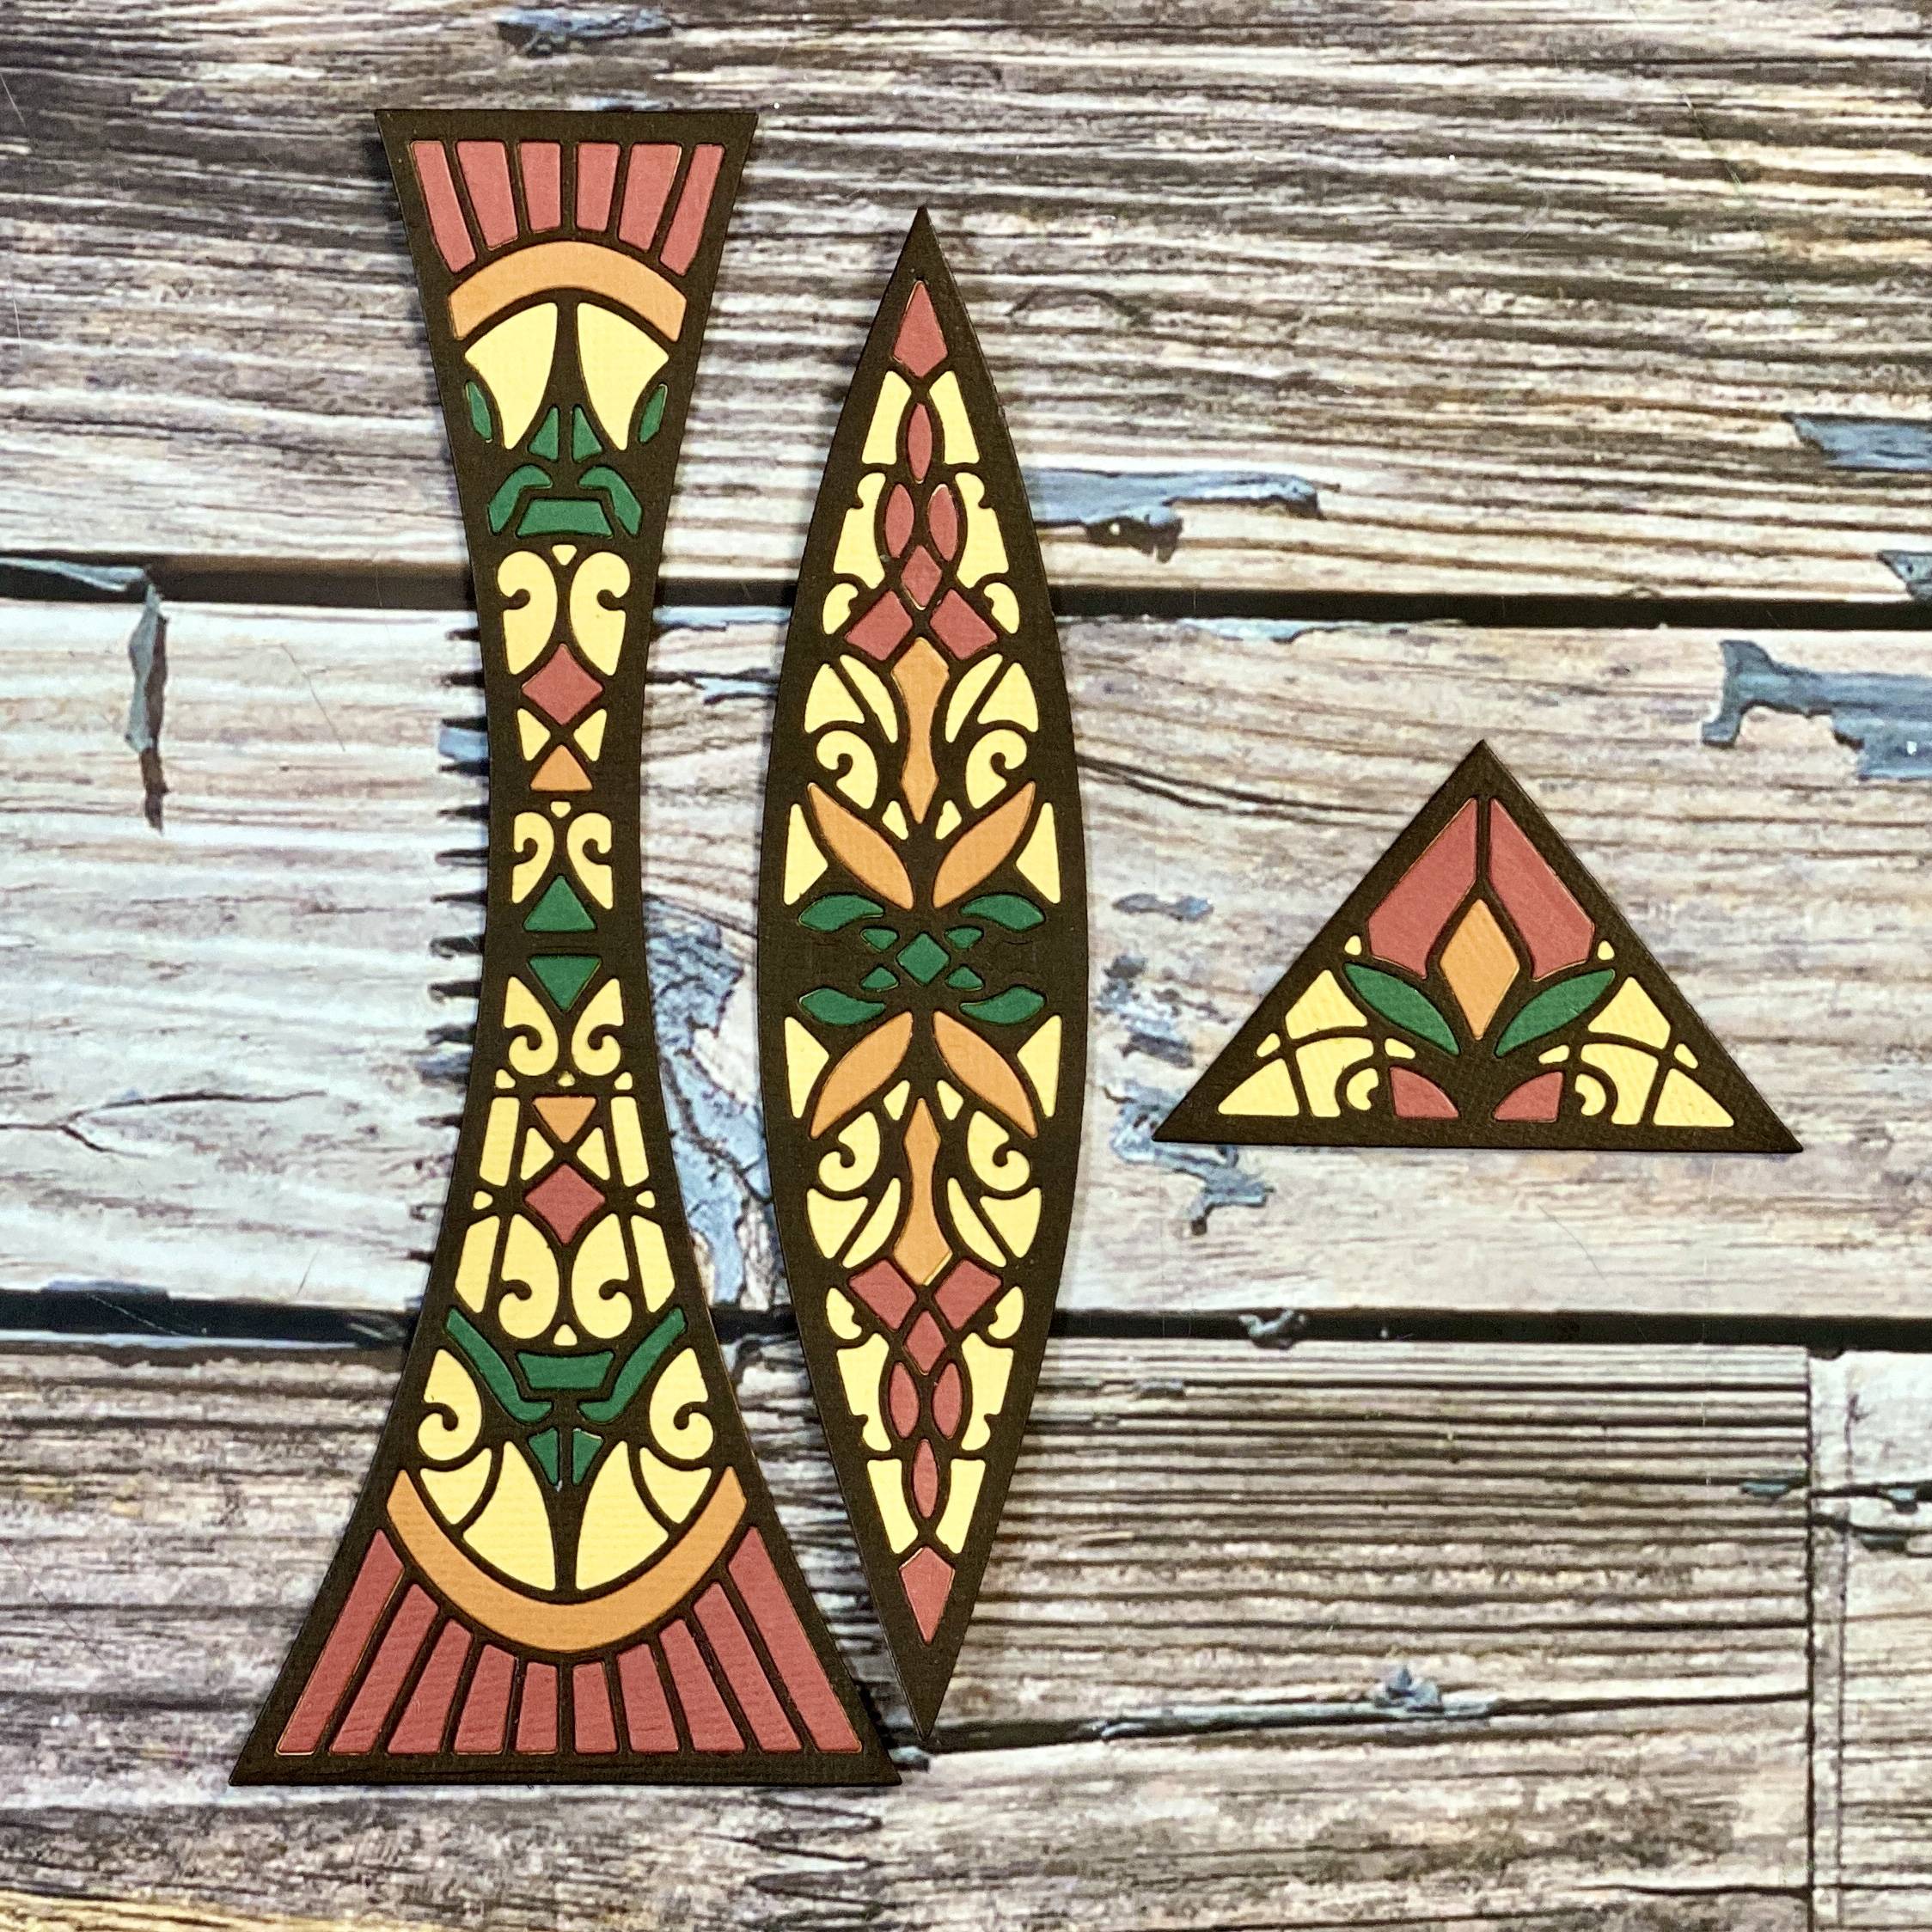
Finally add your Avocado card to finish the pattern.
Step 9
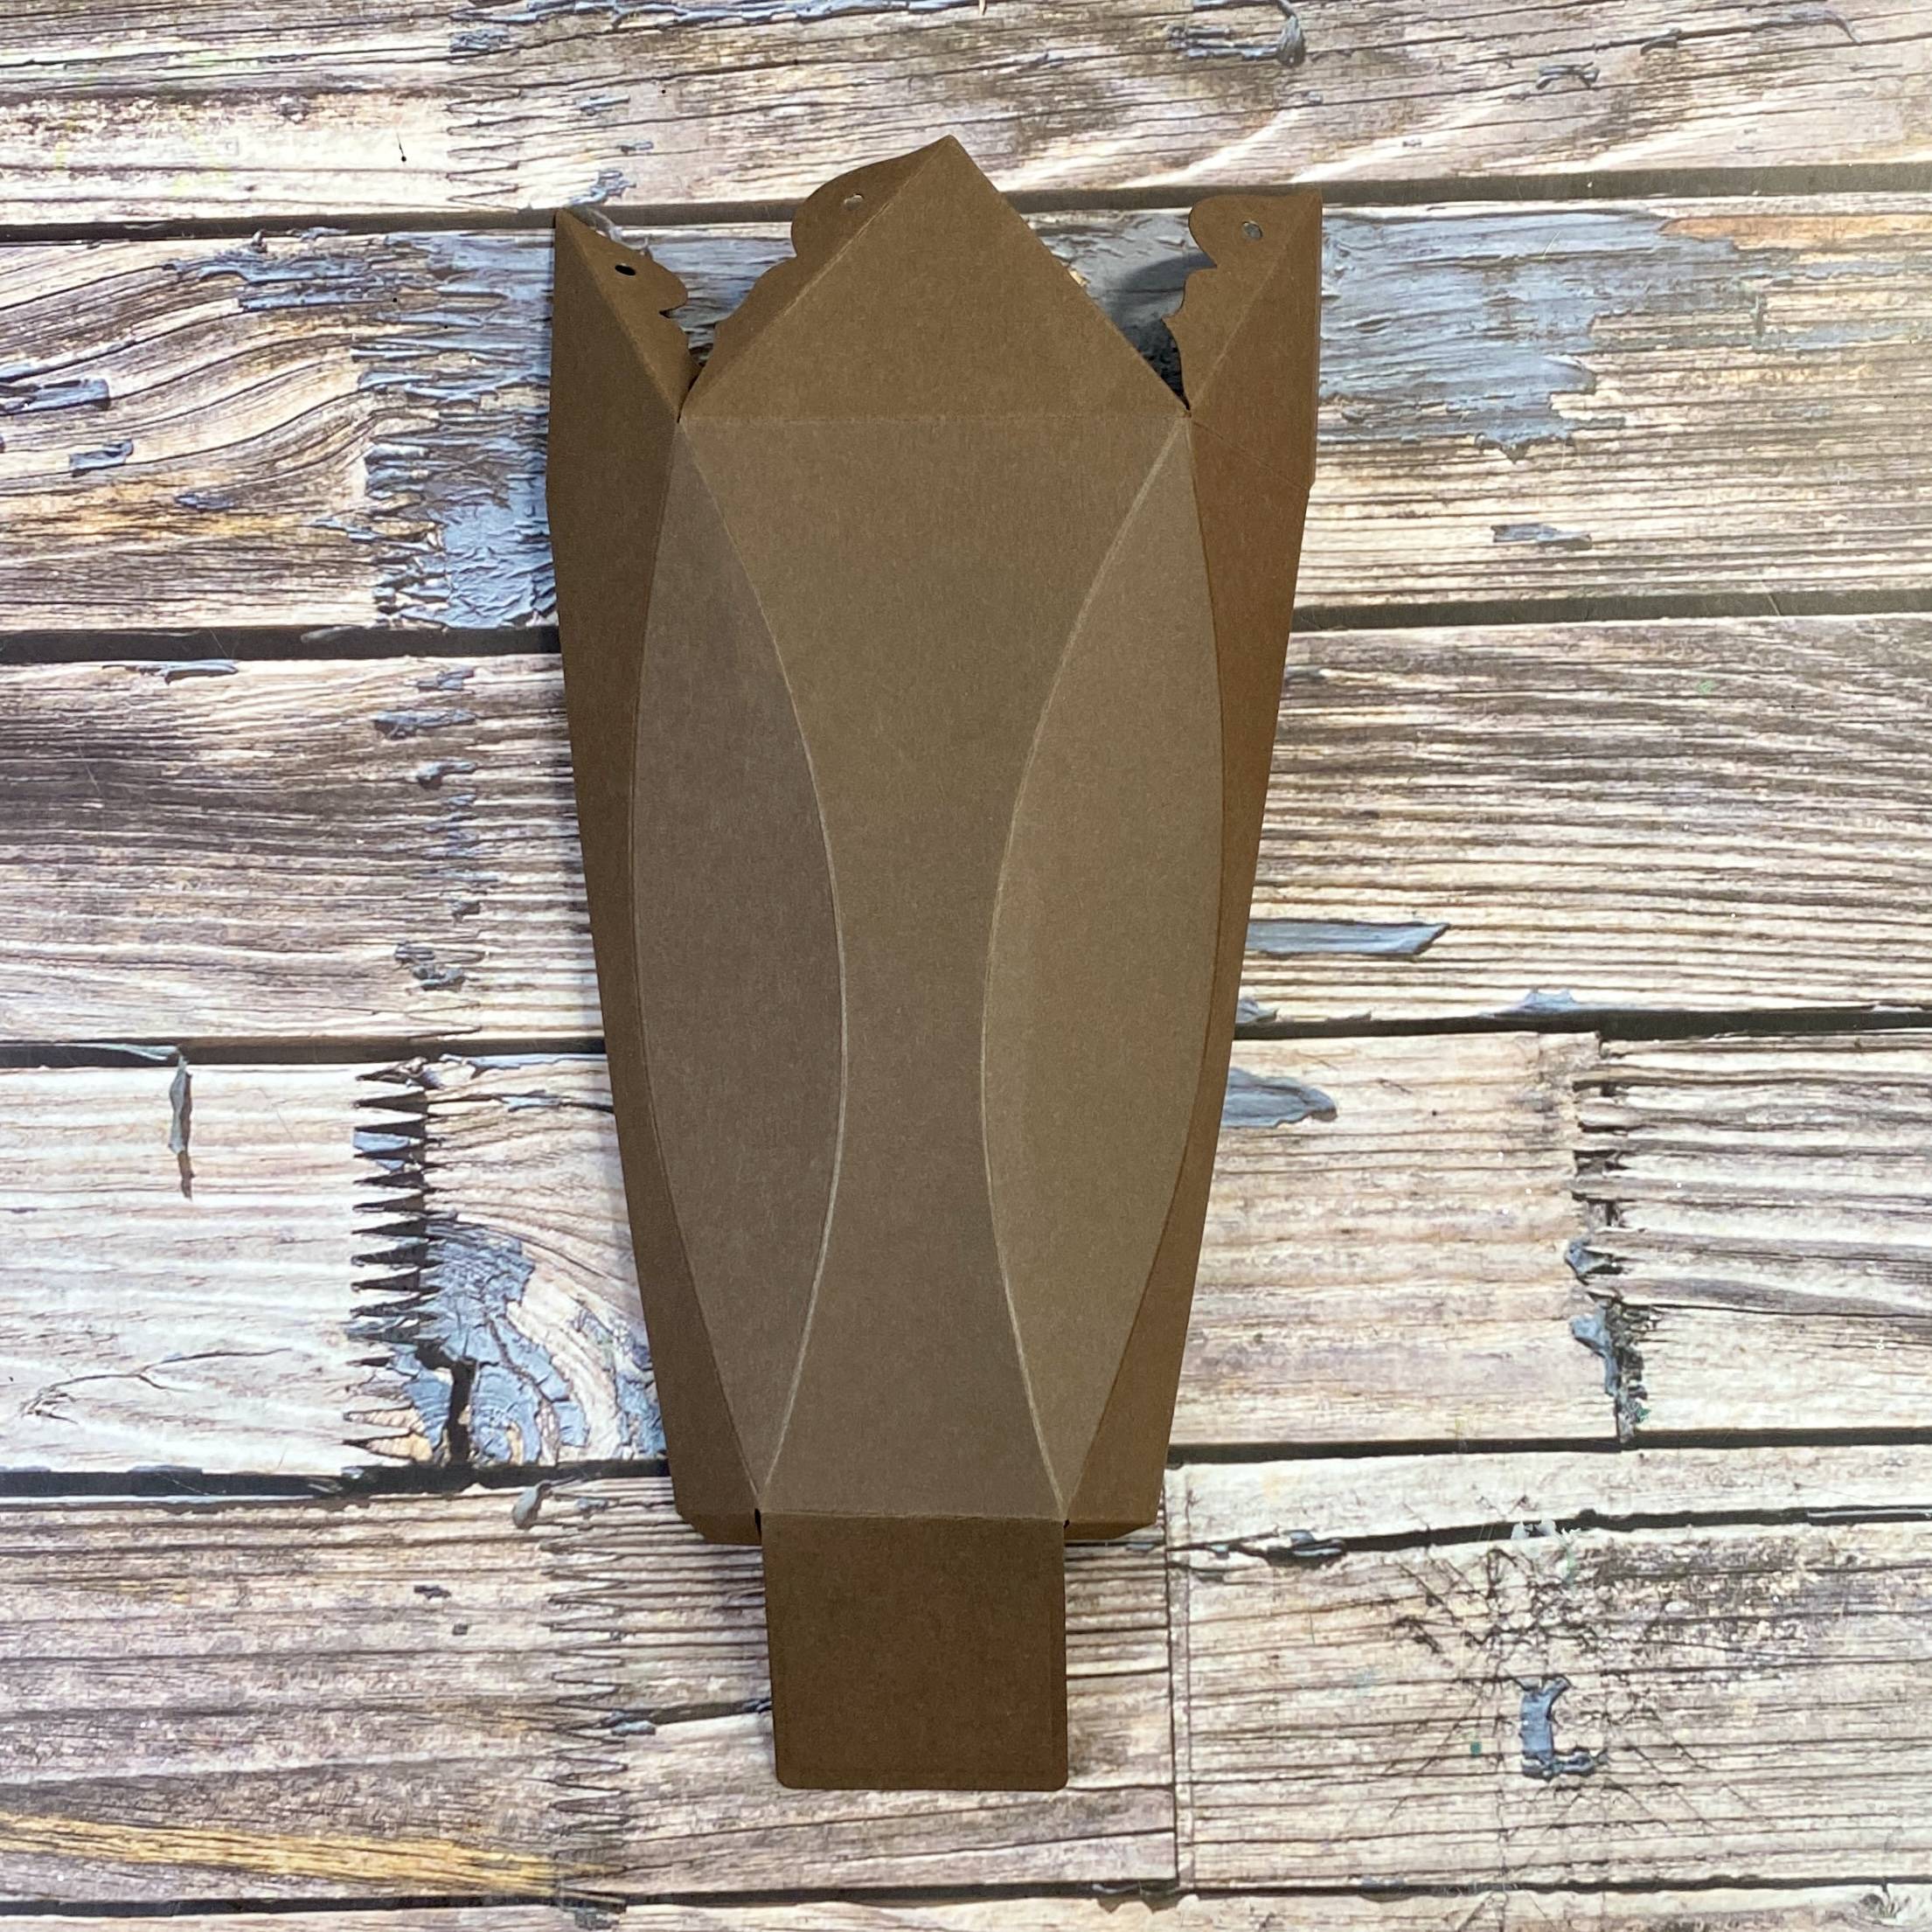
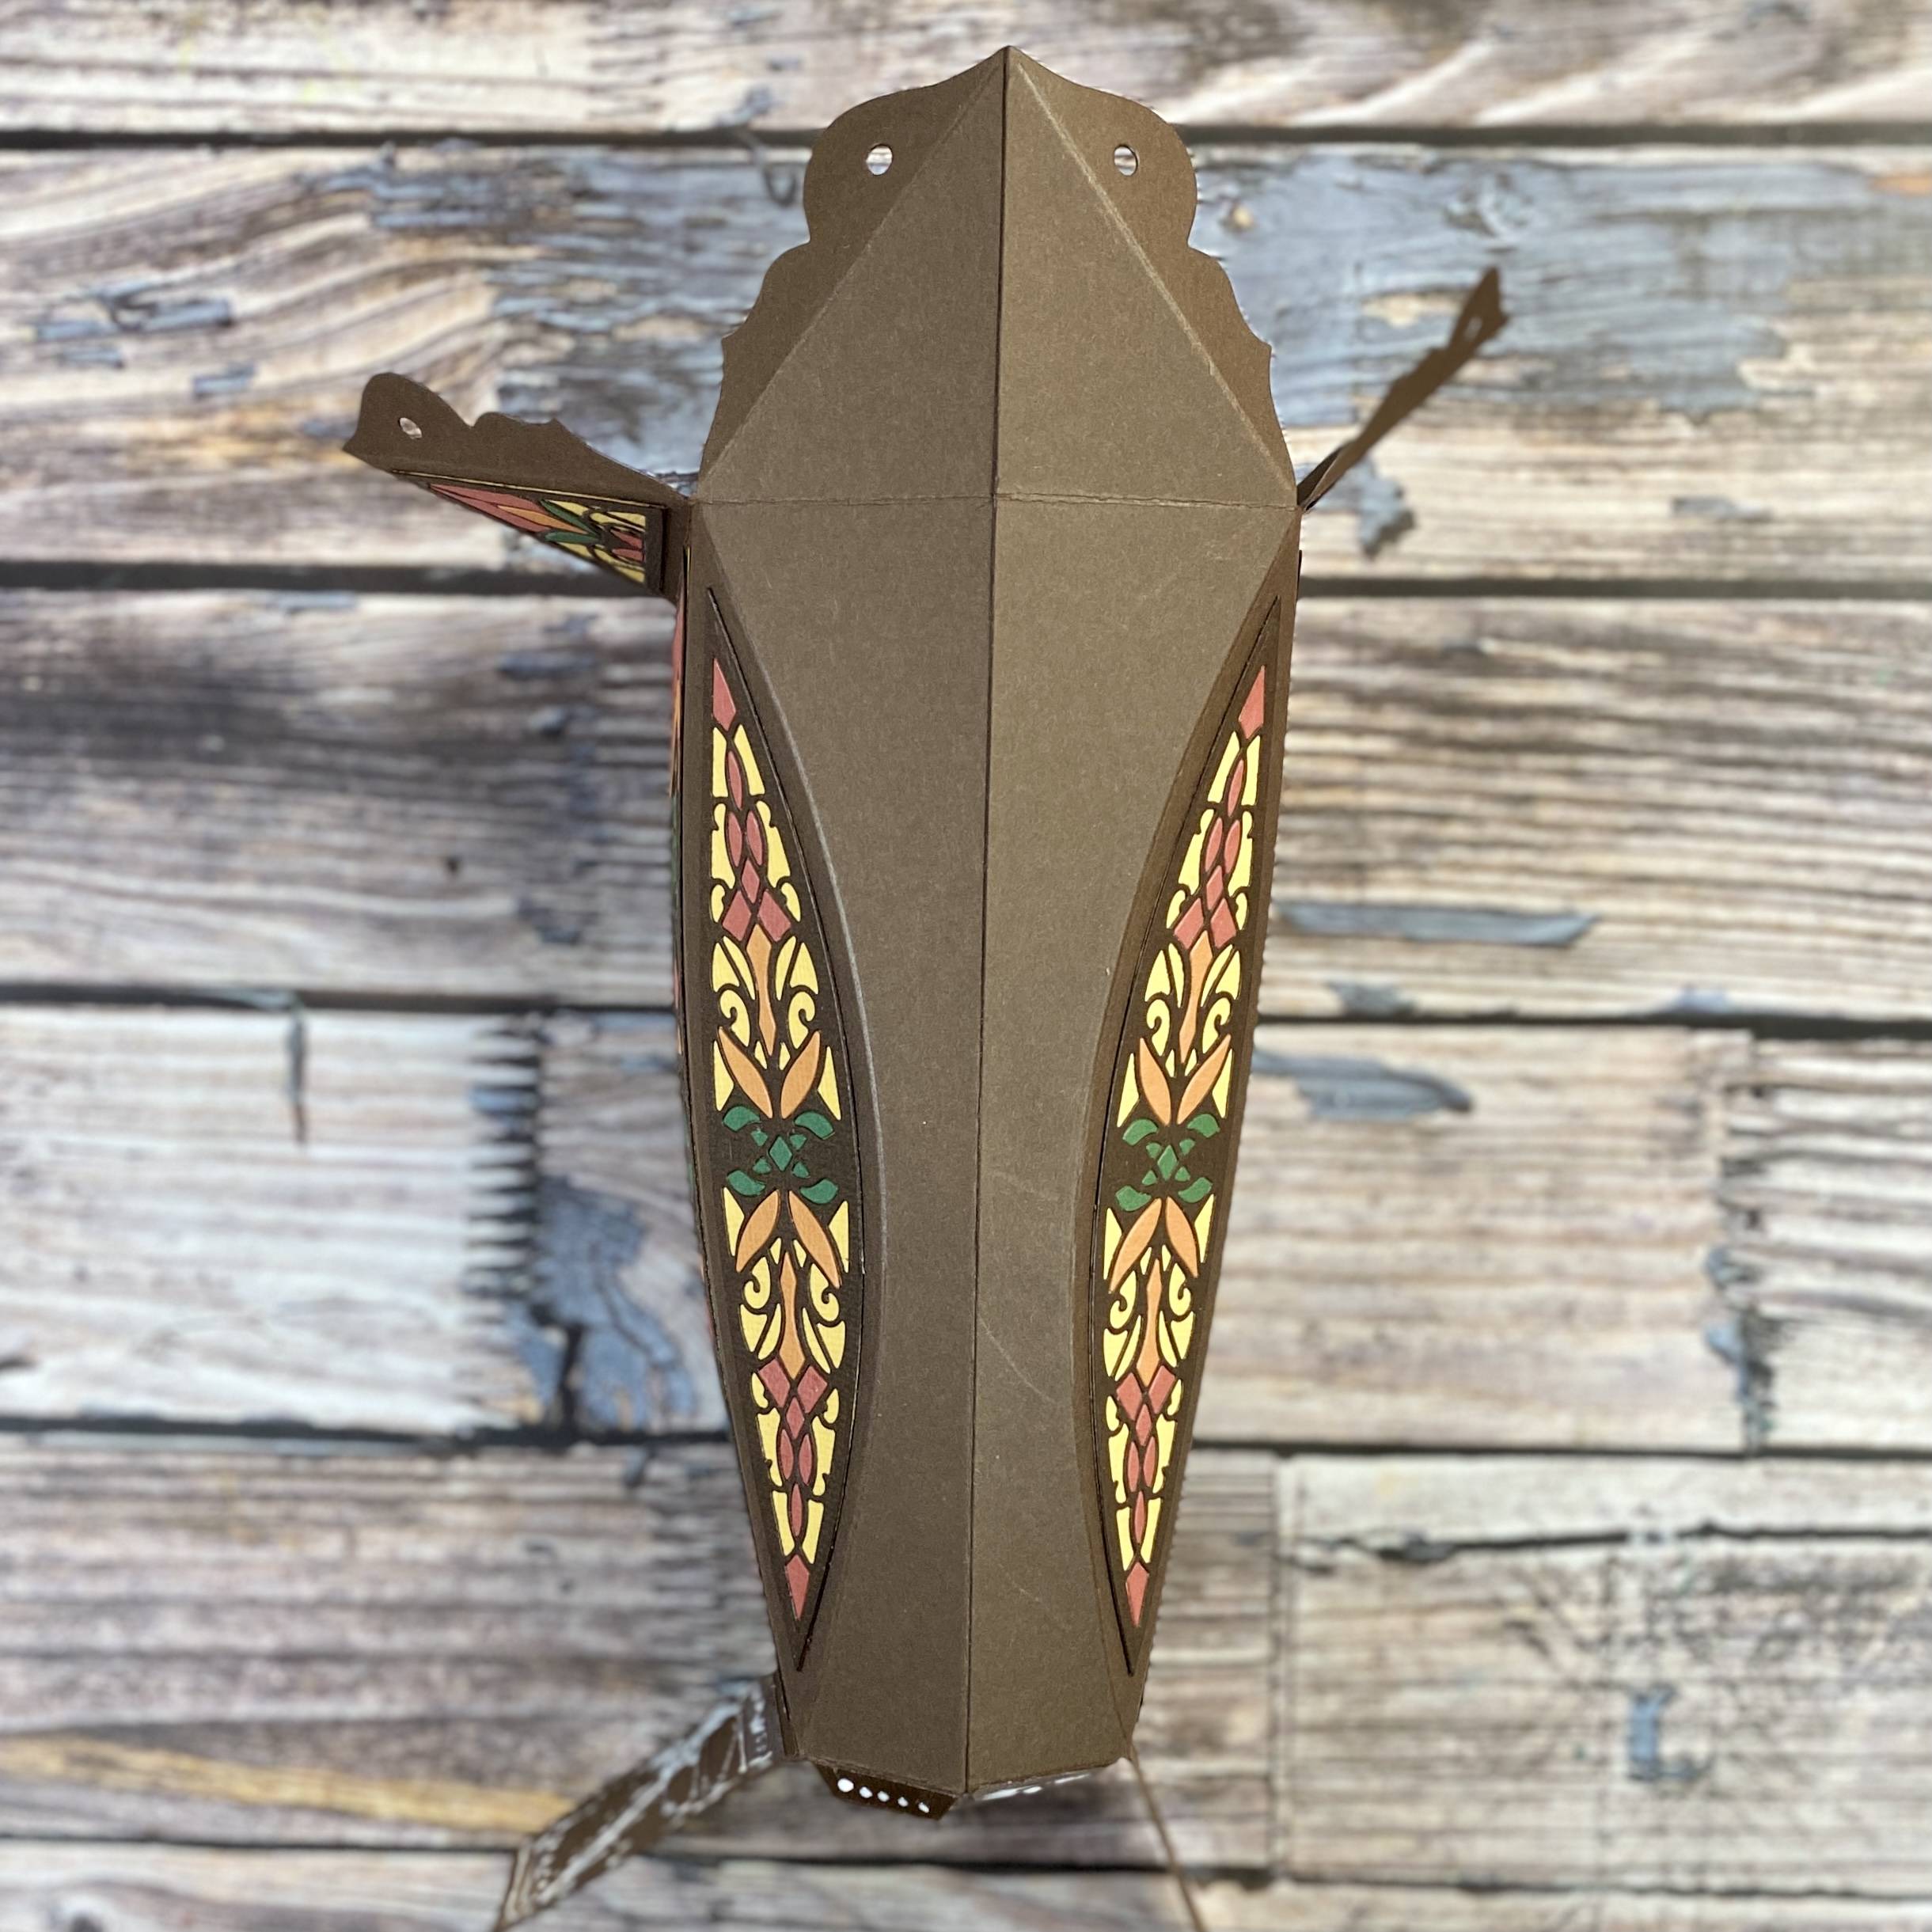
Gently fold all the score lines on both outside panel pieces. Take extra care with the curved lines as this may take some gentle persuasion. I fold on the score lines both ways until a crisp line is evident.
Step 10
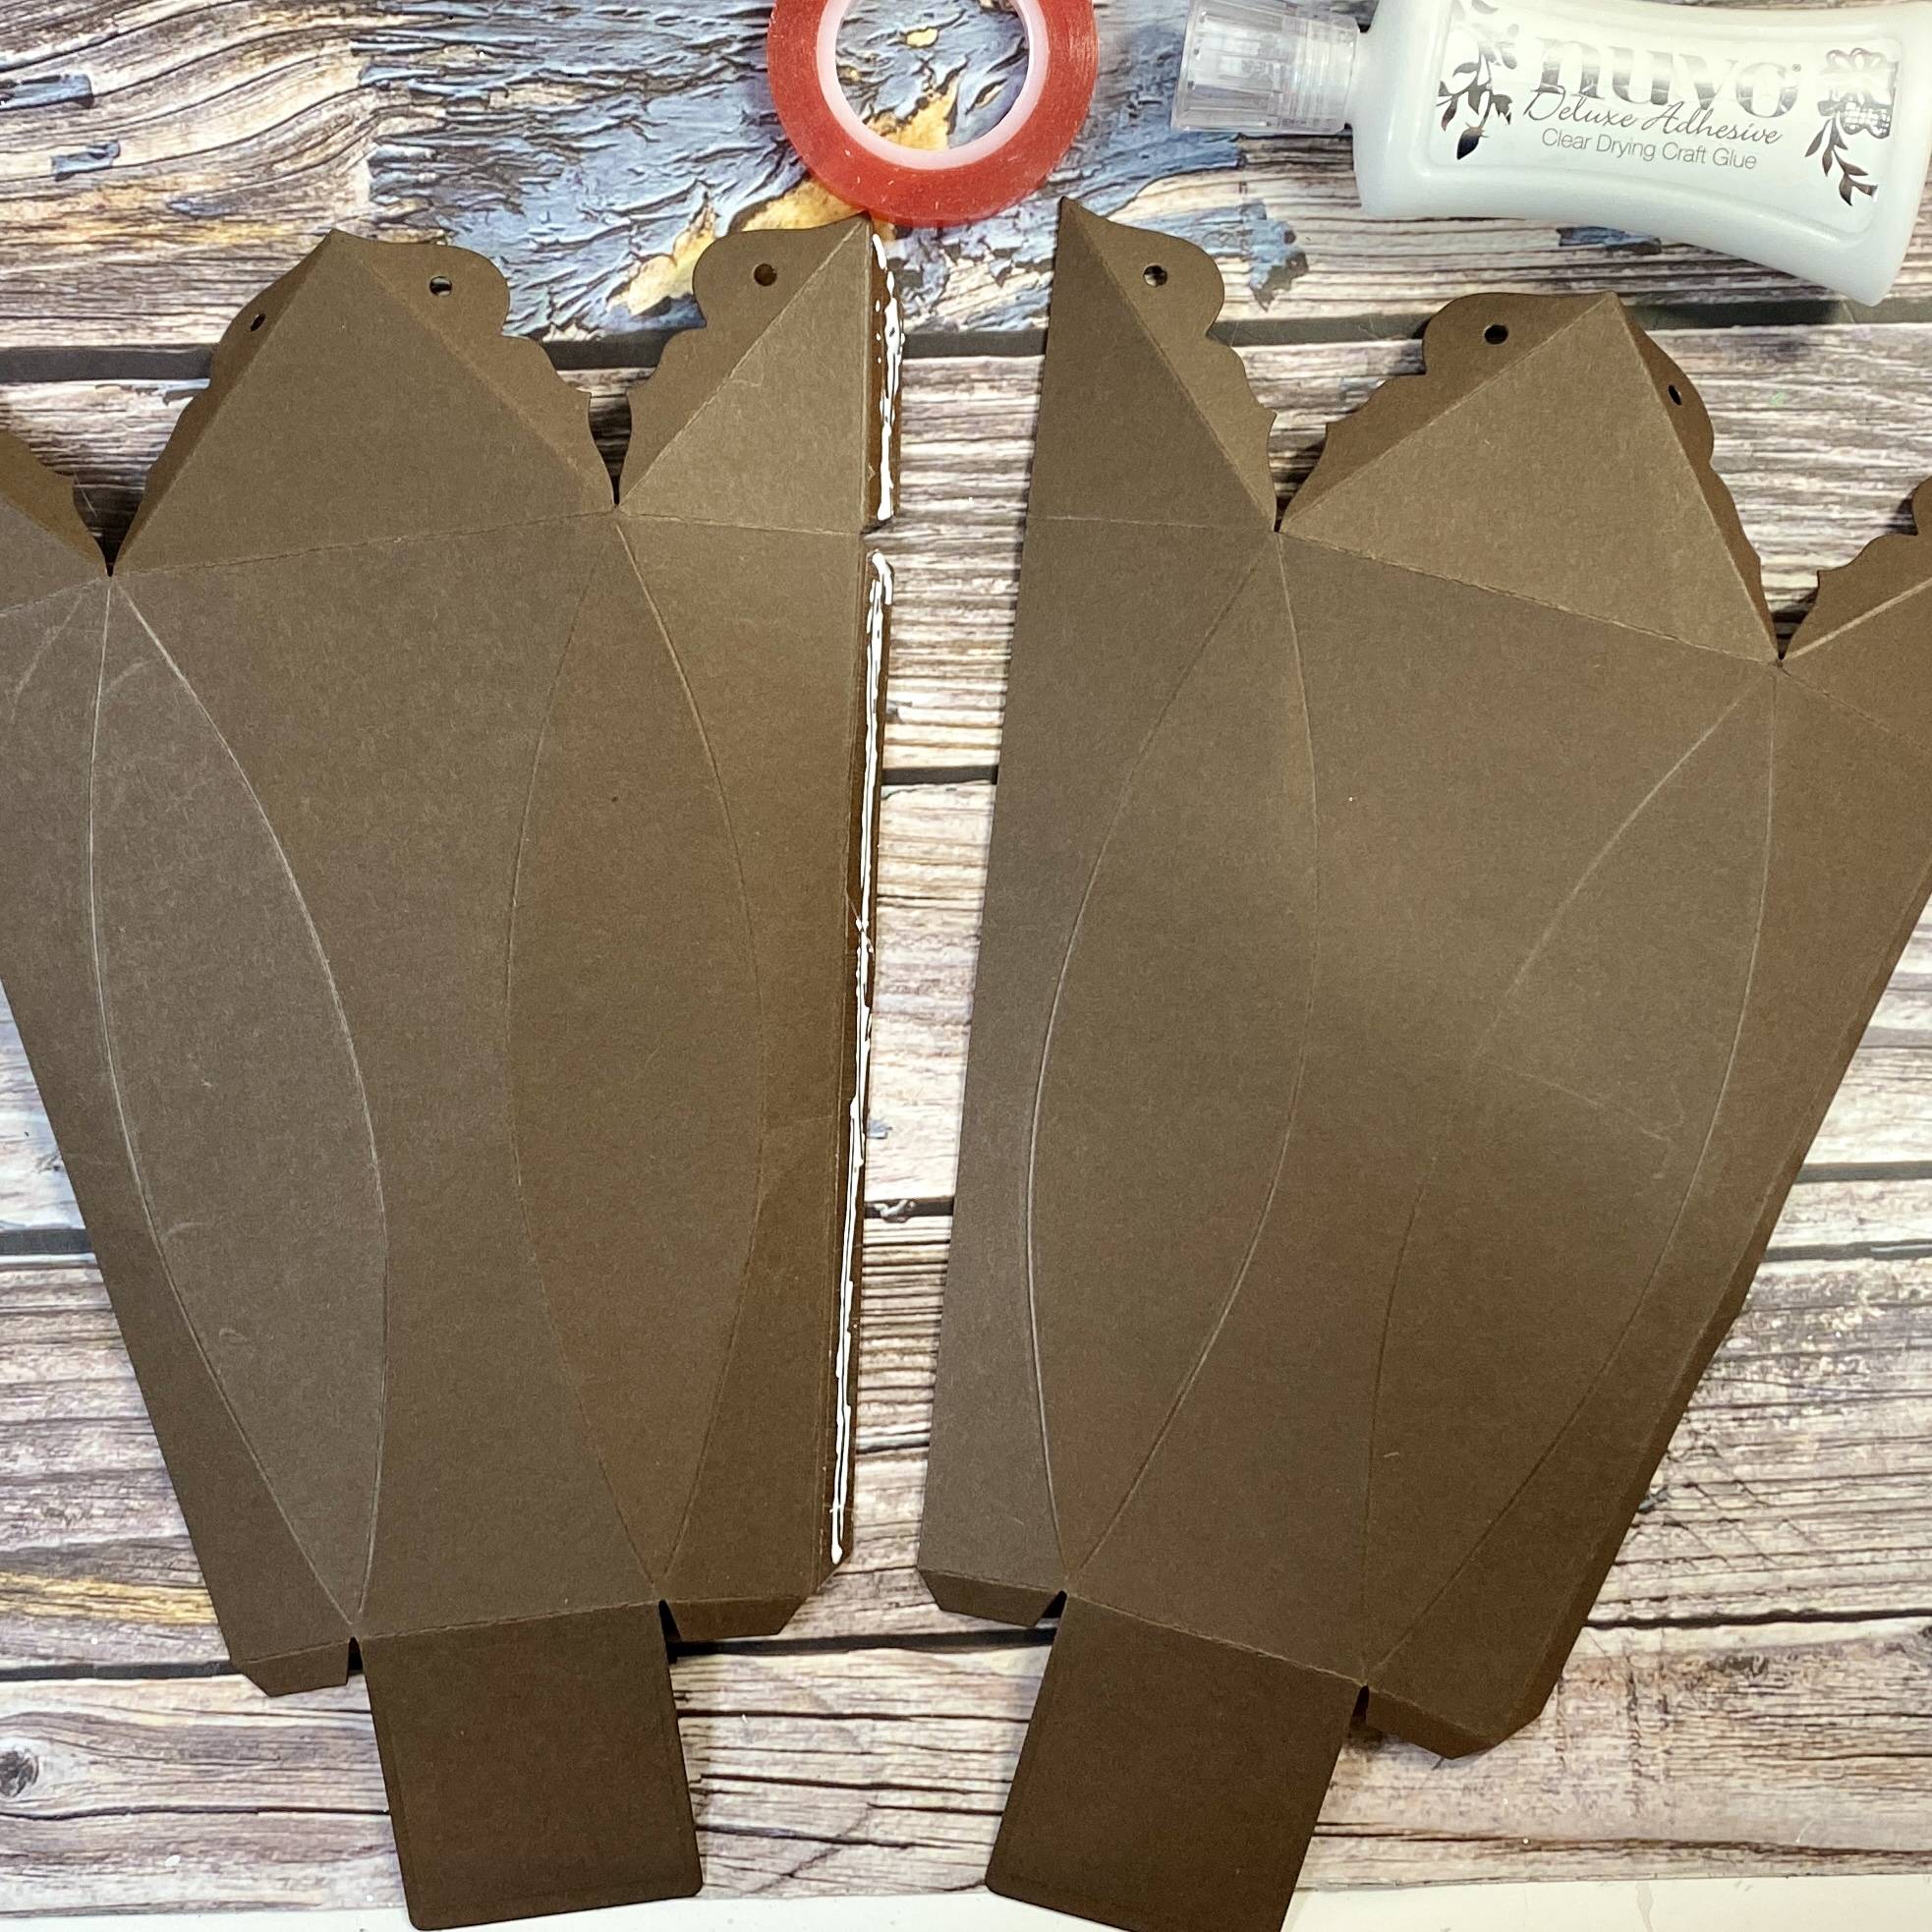
Add red liner tape plus wet adhesive. The red liner tape will give an instant grab but the wet glue gives permanence.
Step 11
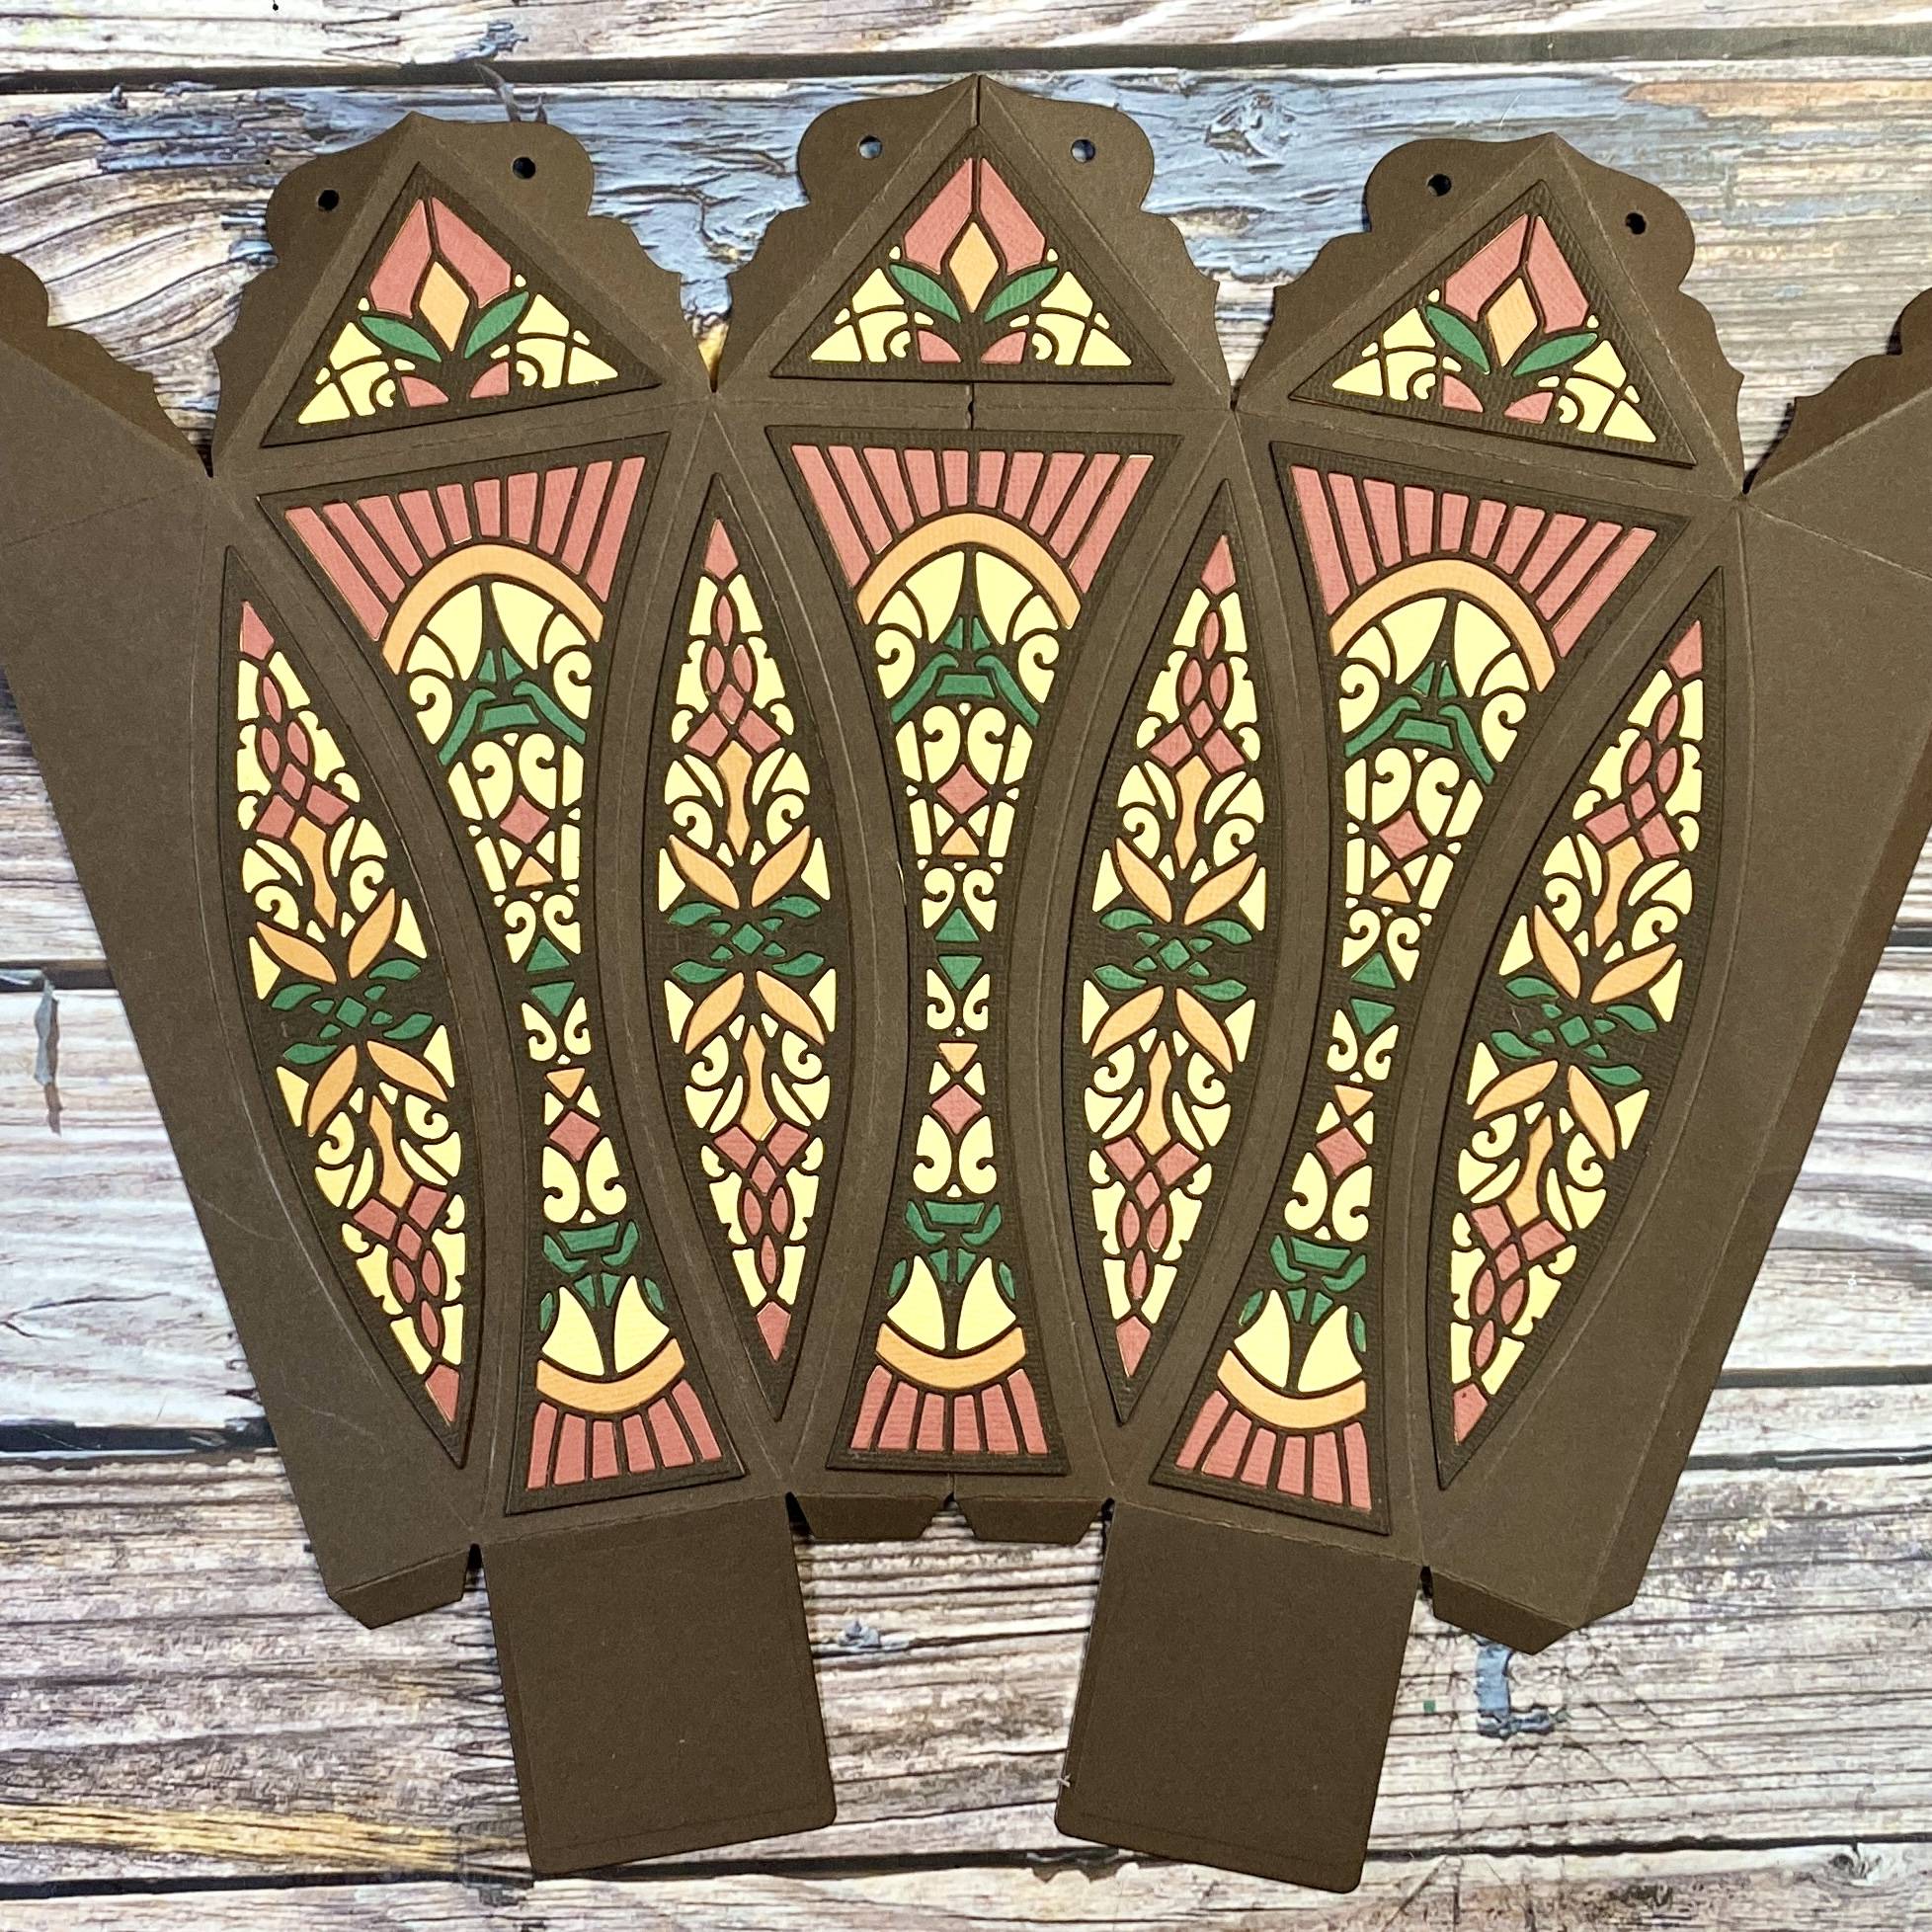
Add all your paper pieced panels to the outside of your box.
Step 12
Repeat Step 10 to close the box.
Step 13
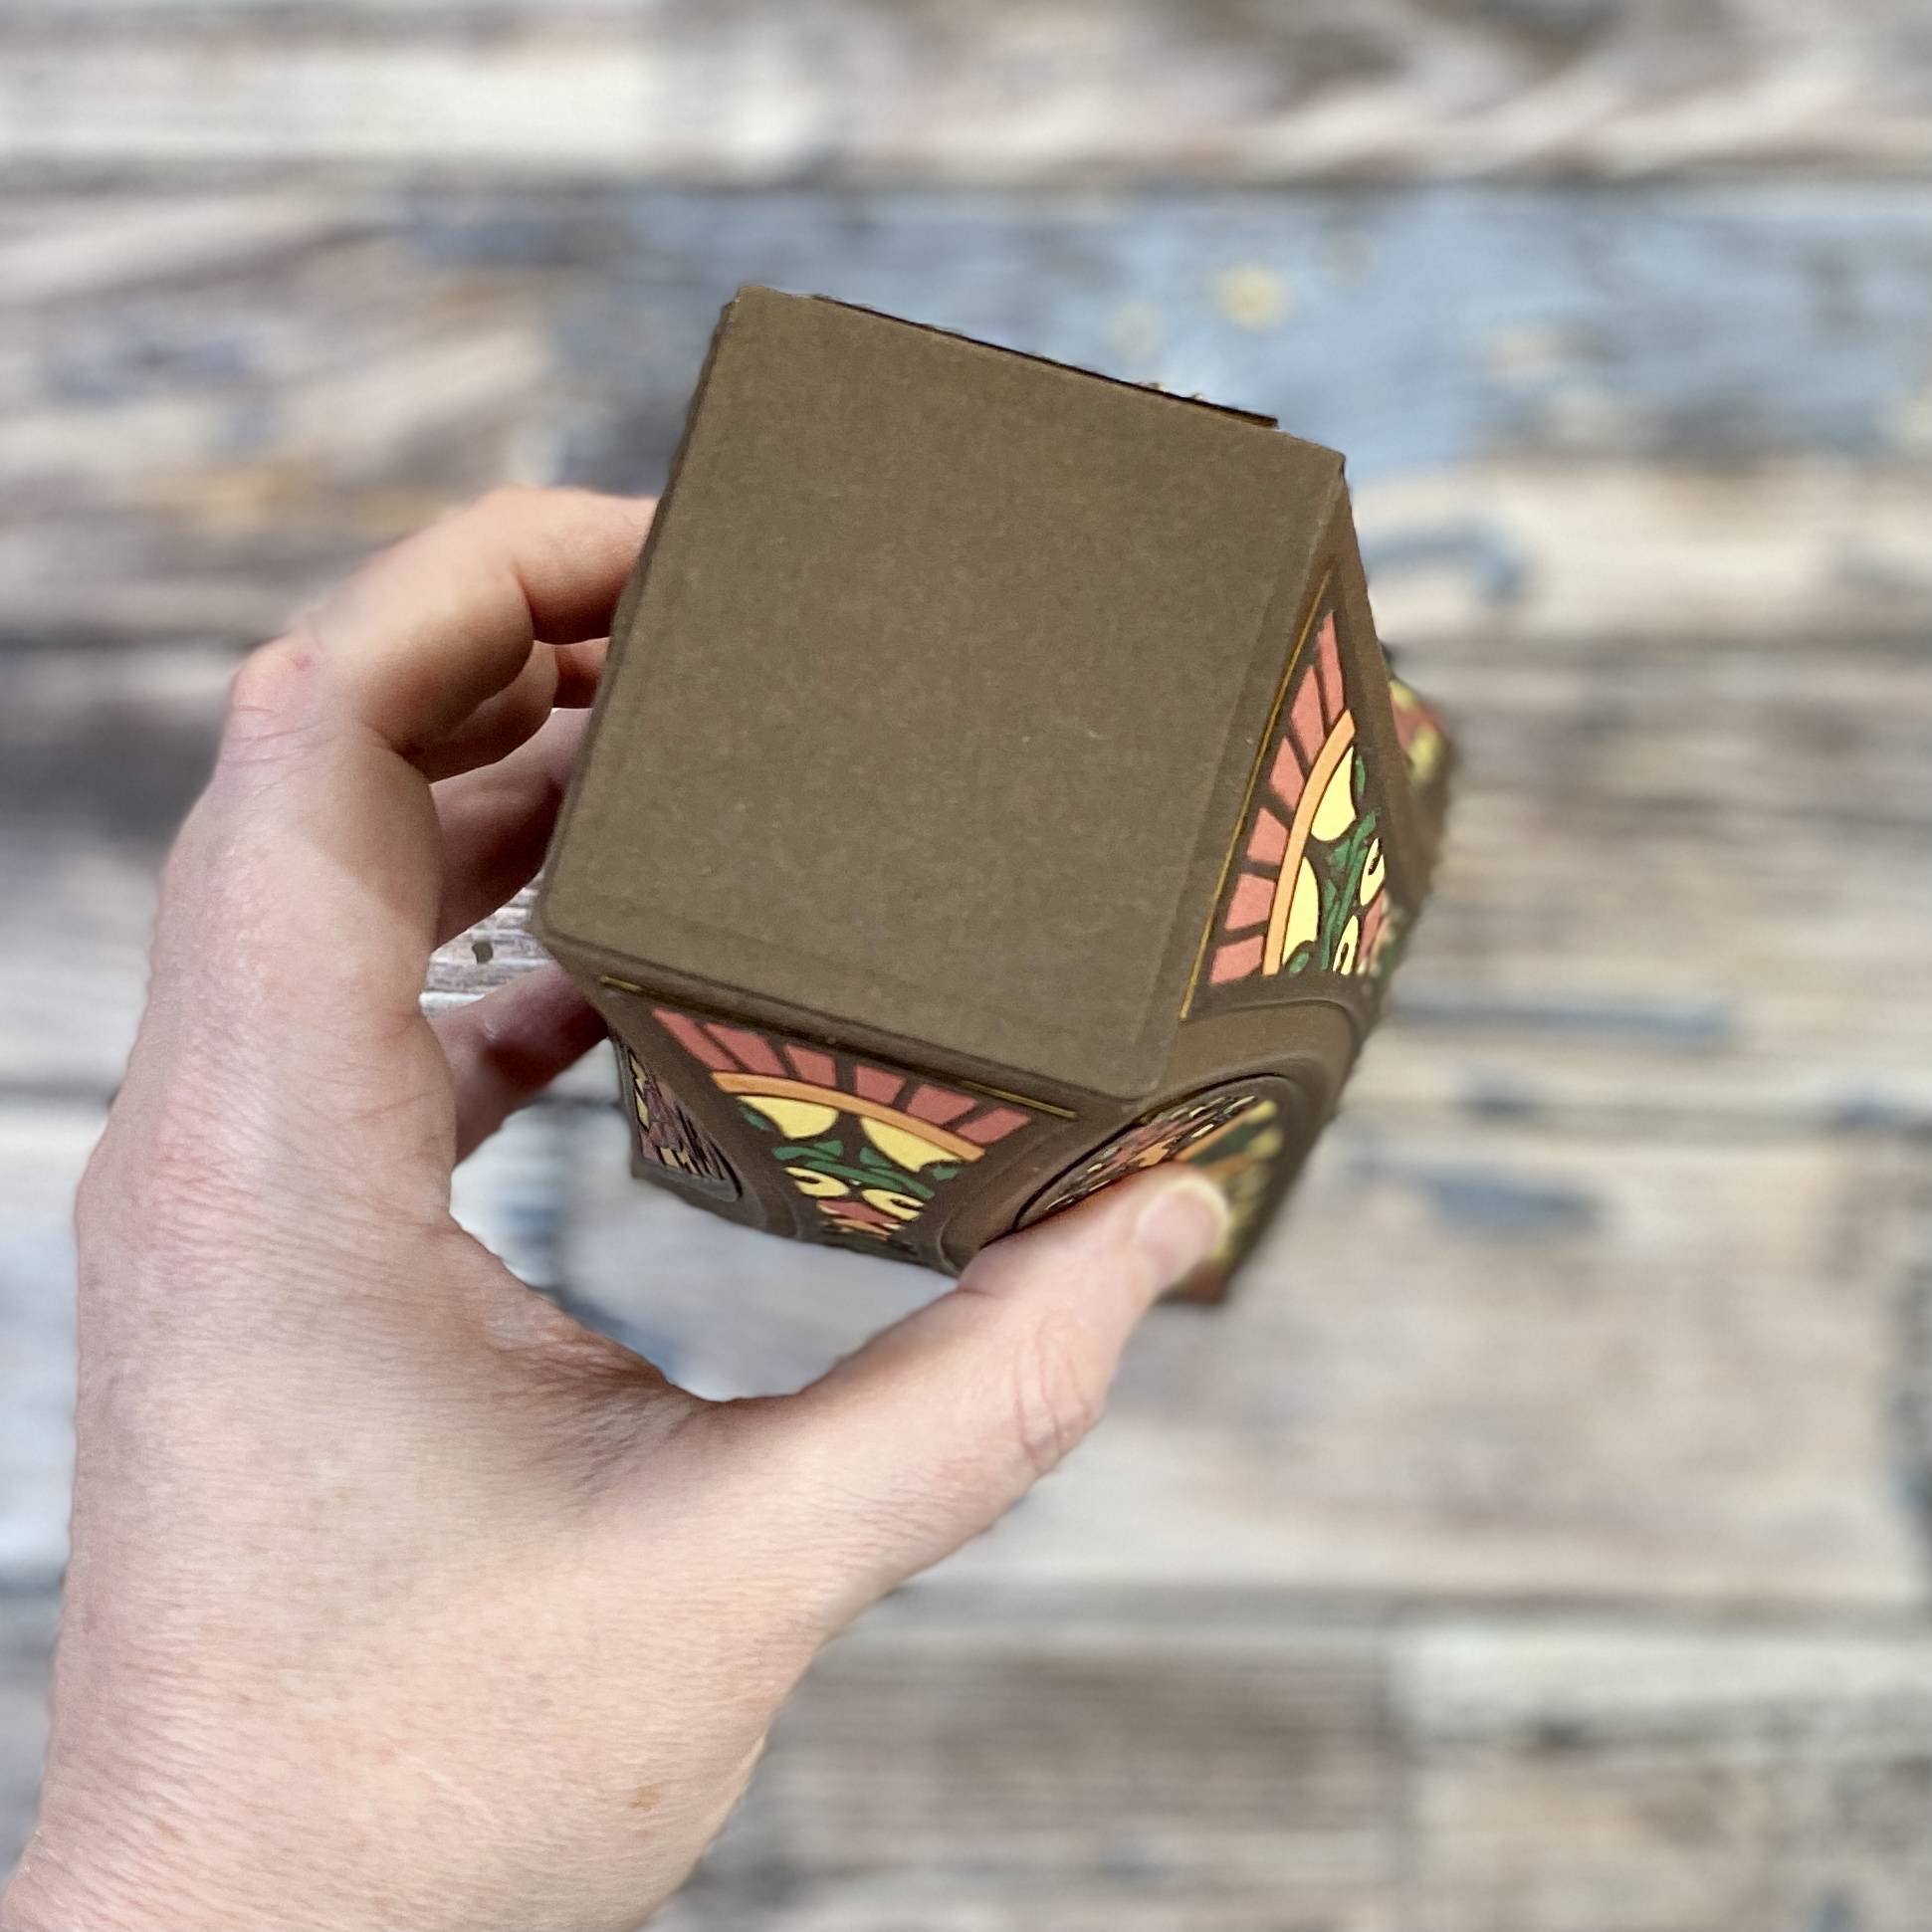
Add both adhesives to the bottom glue tabs and adhere.
Step 14
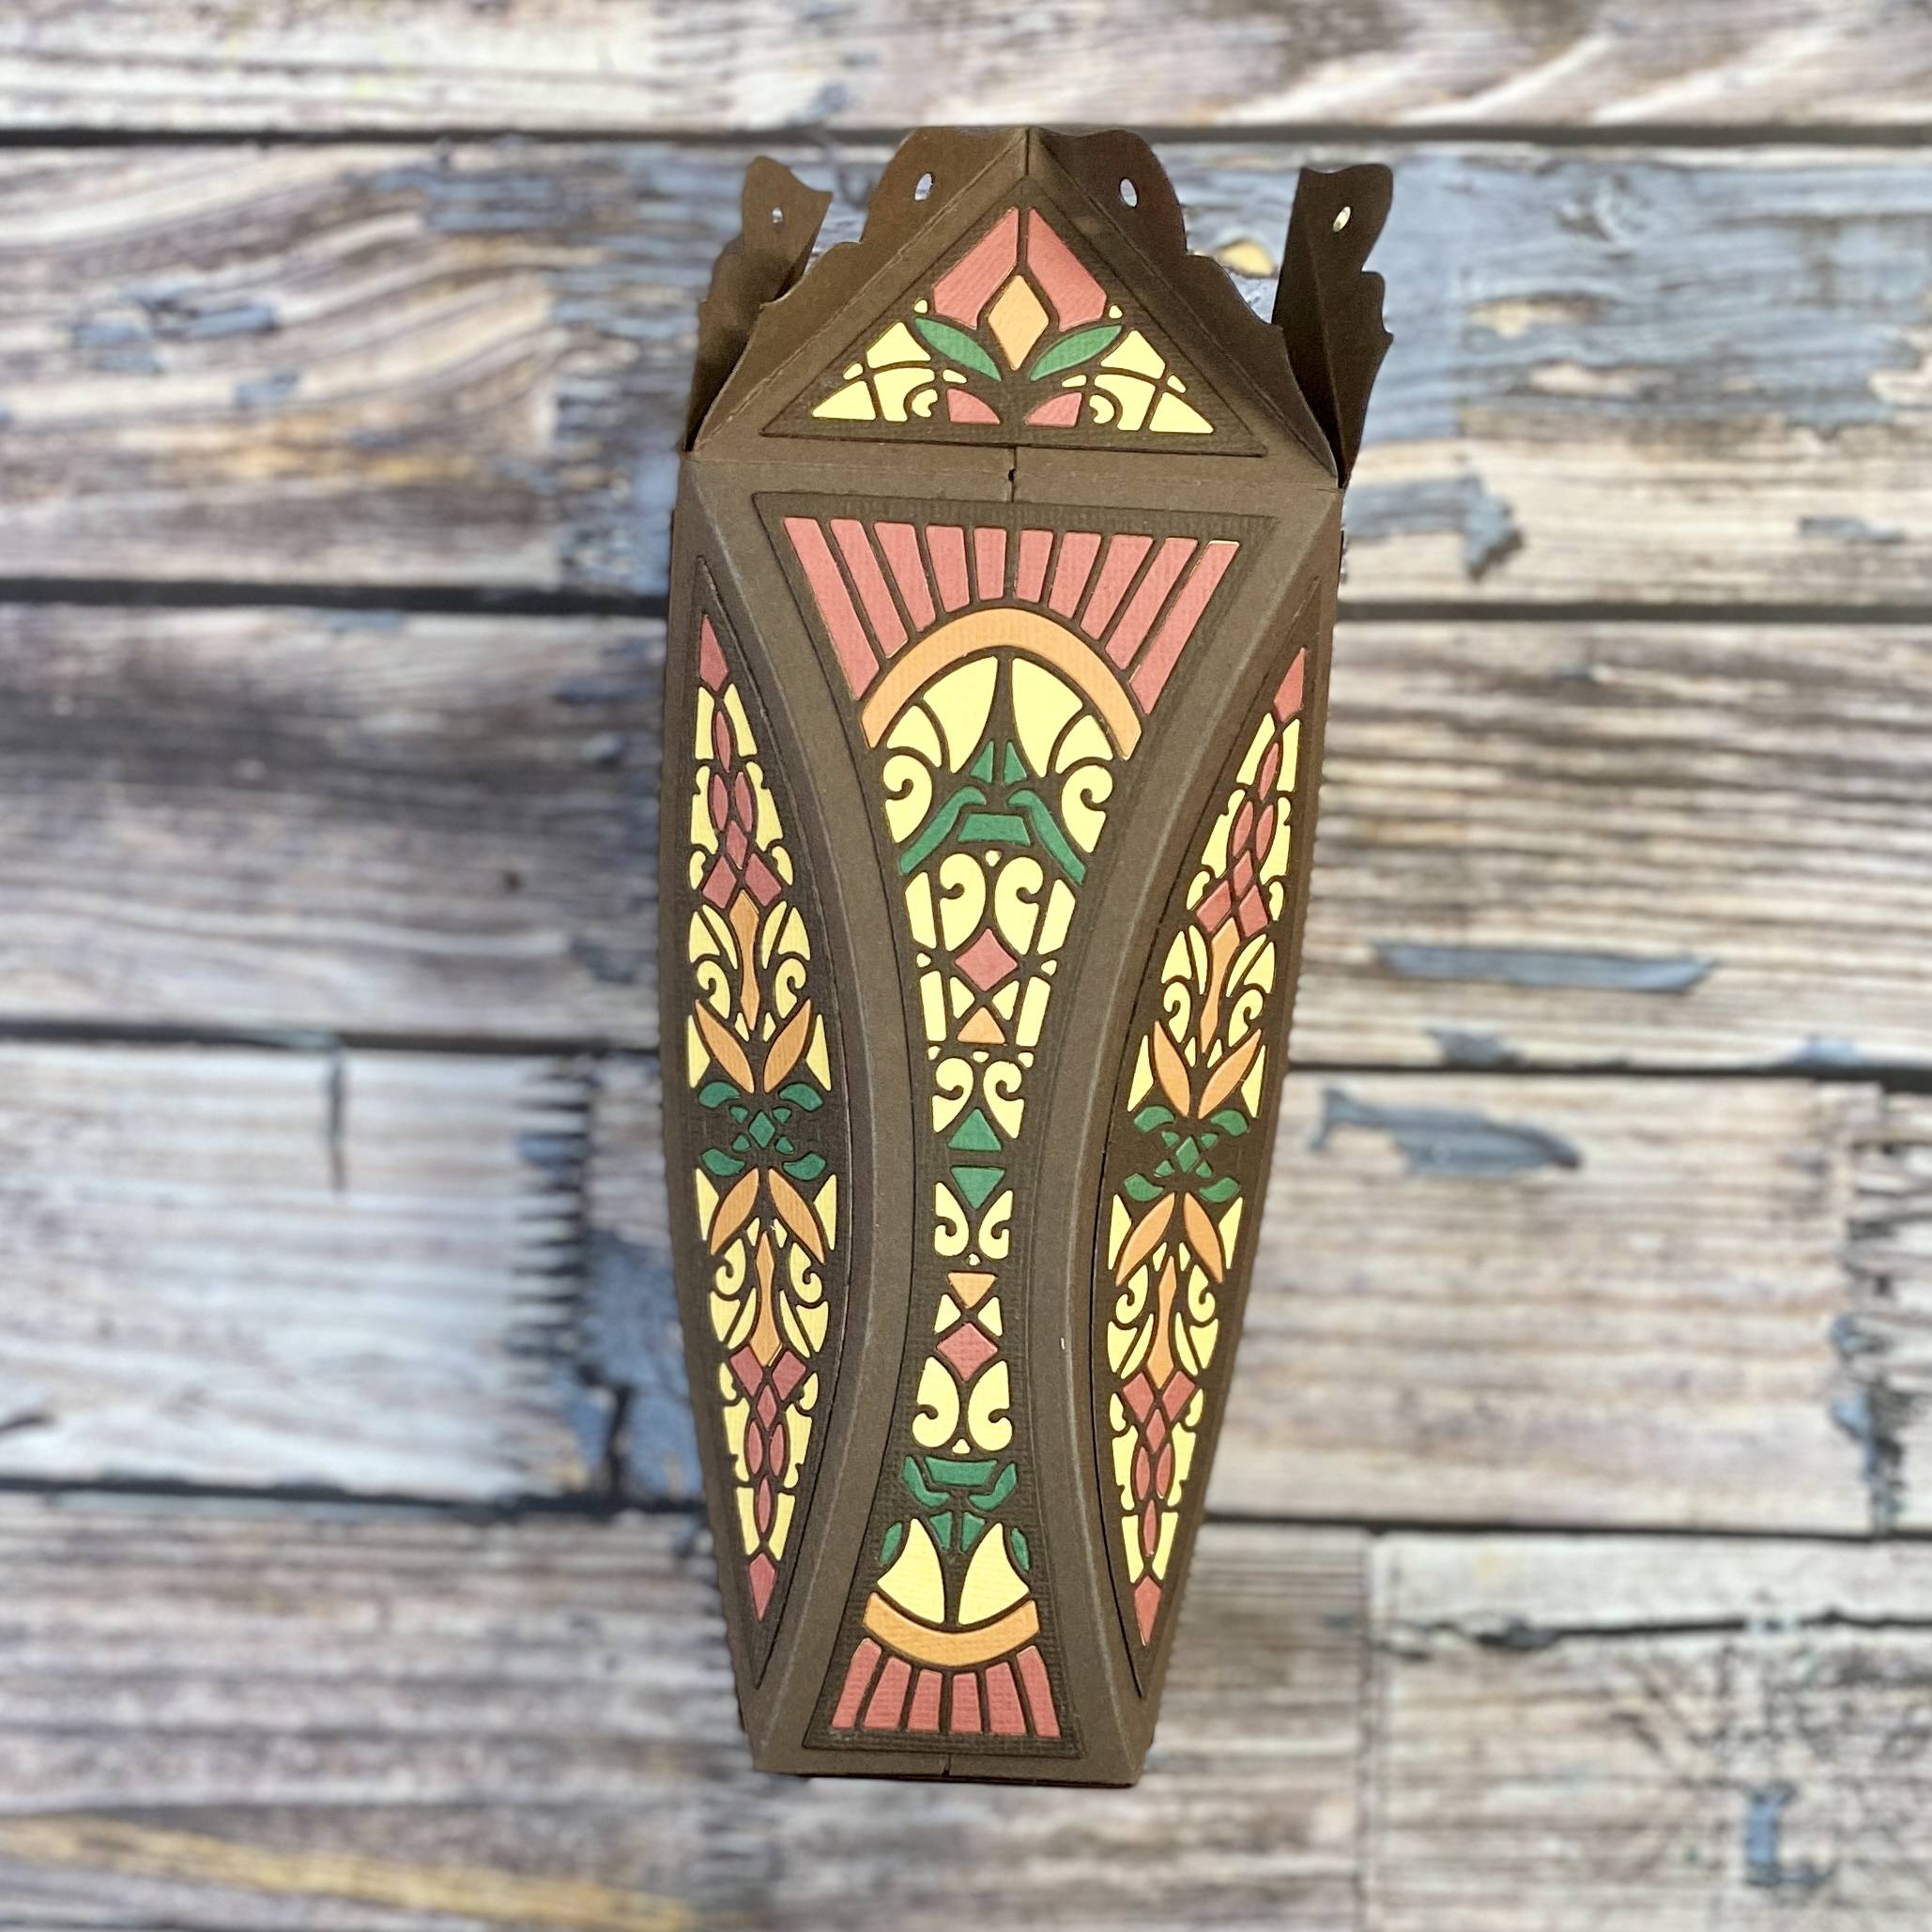
Your box should now look like this.
Step 15
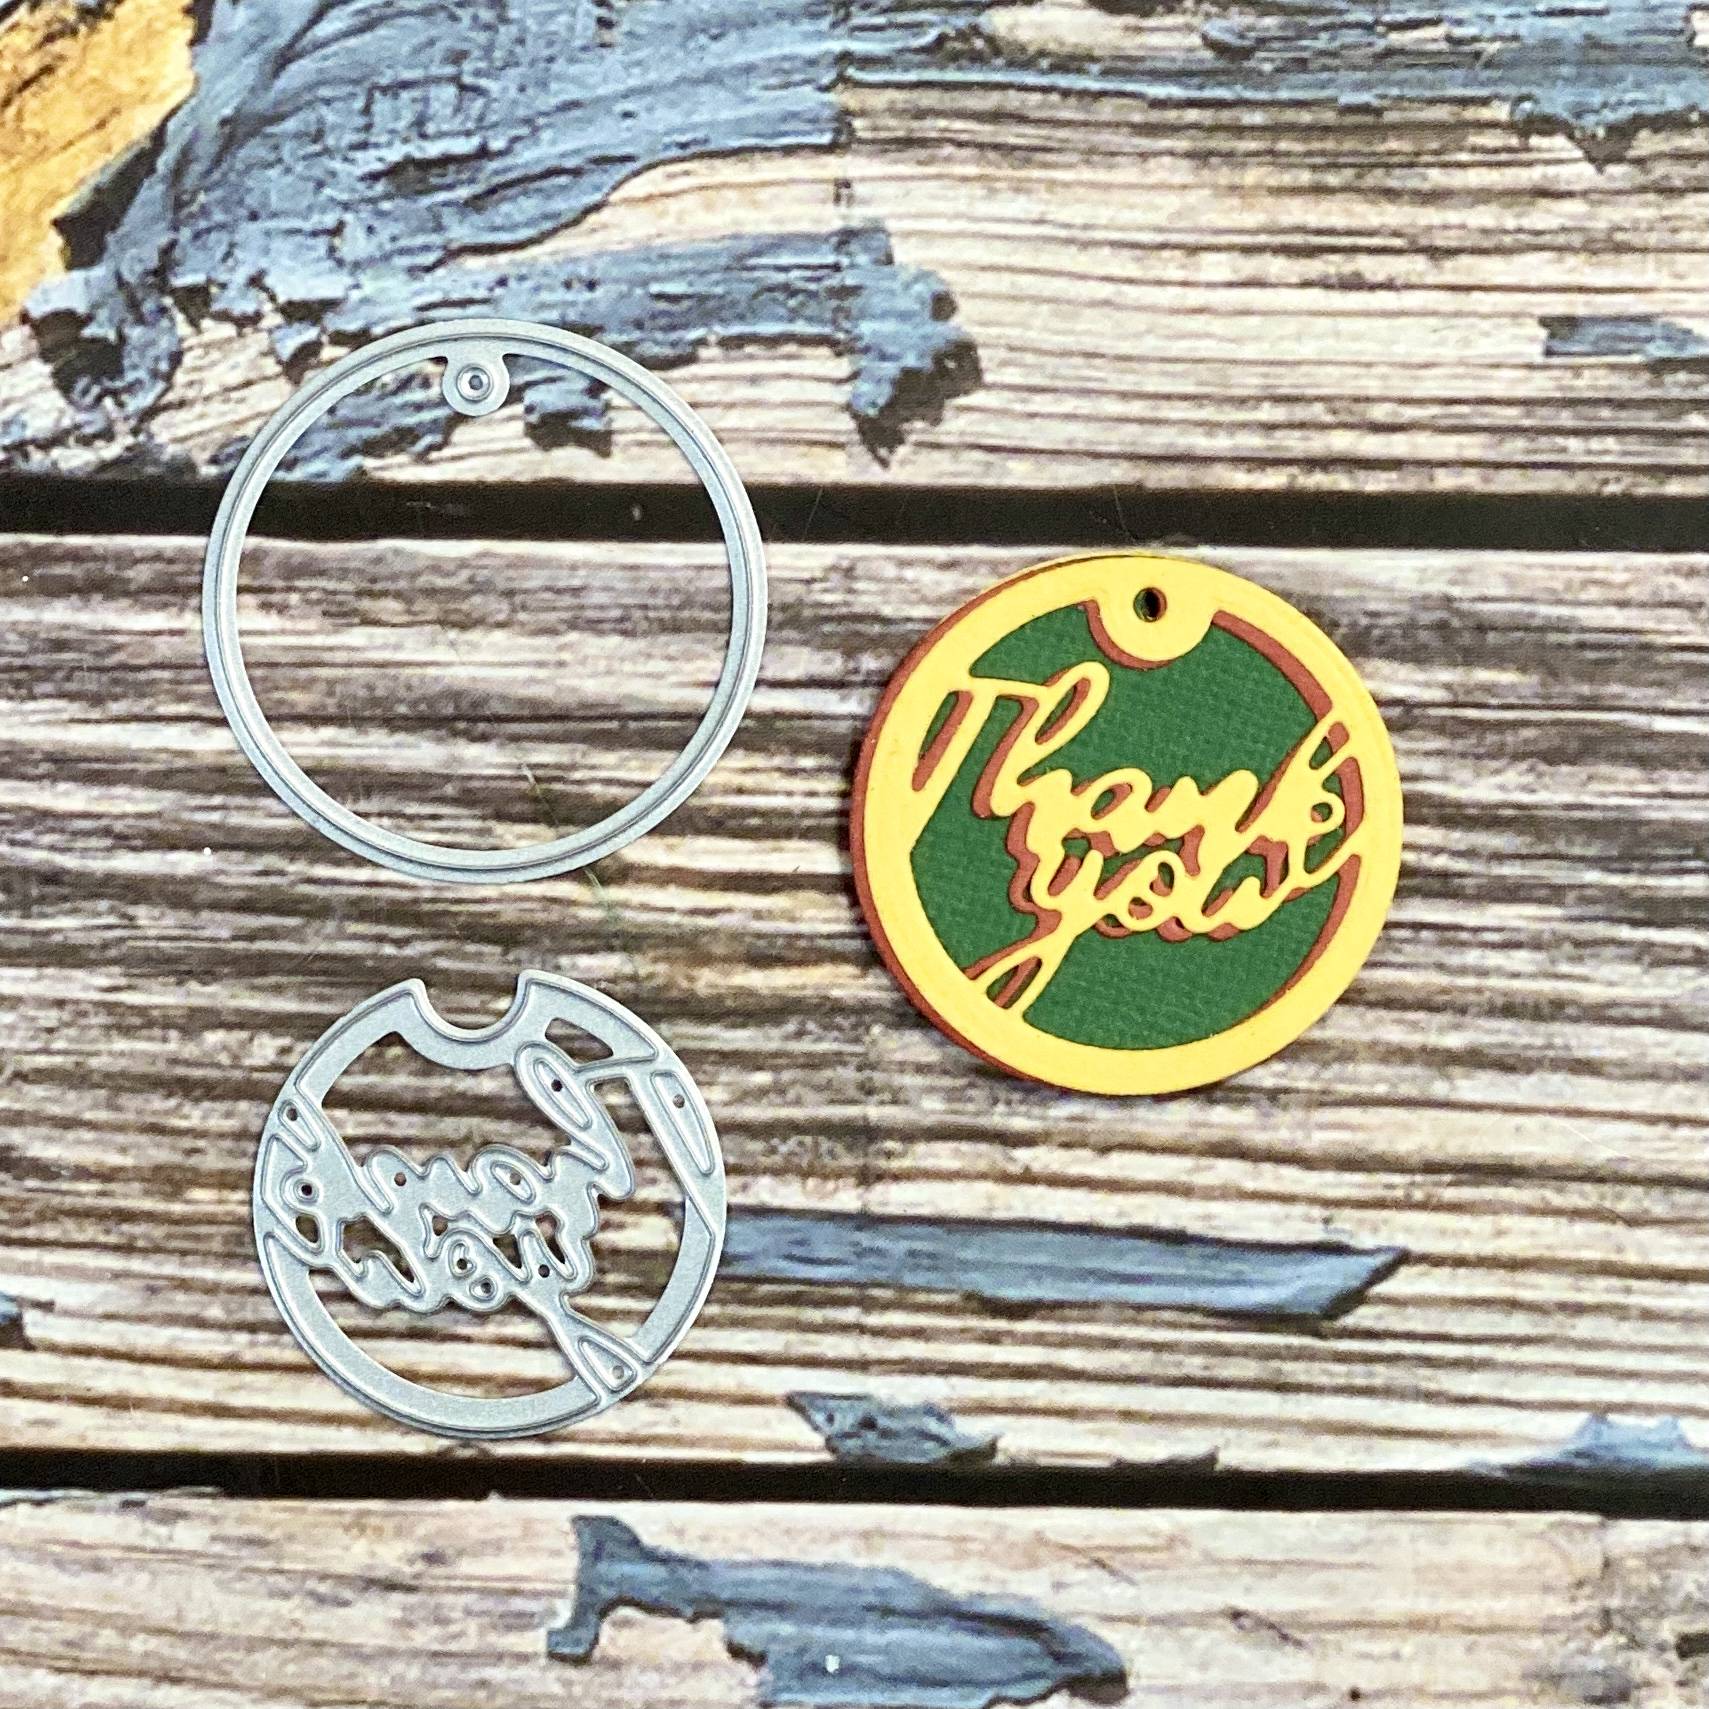
Die cut the circular tag sentiment.
Step 16
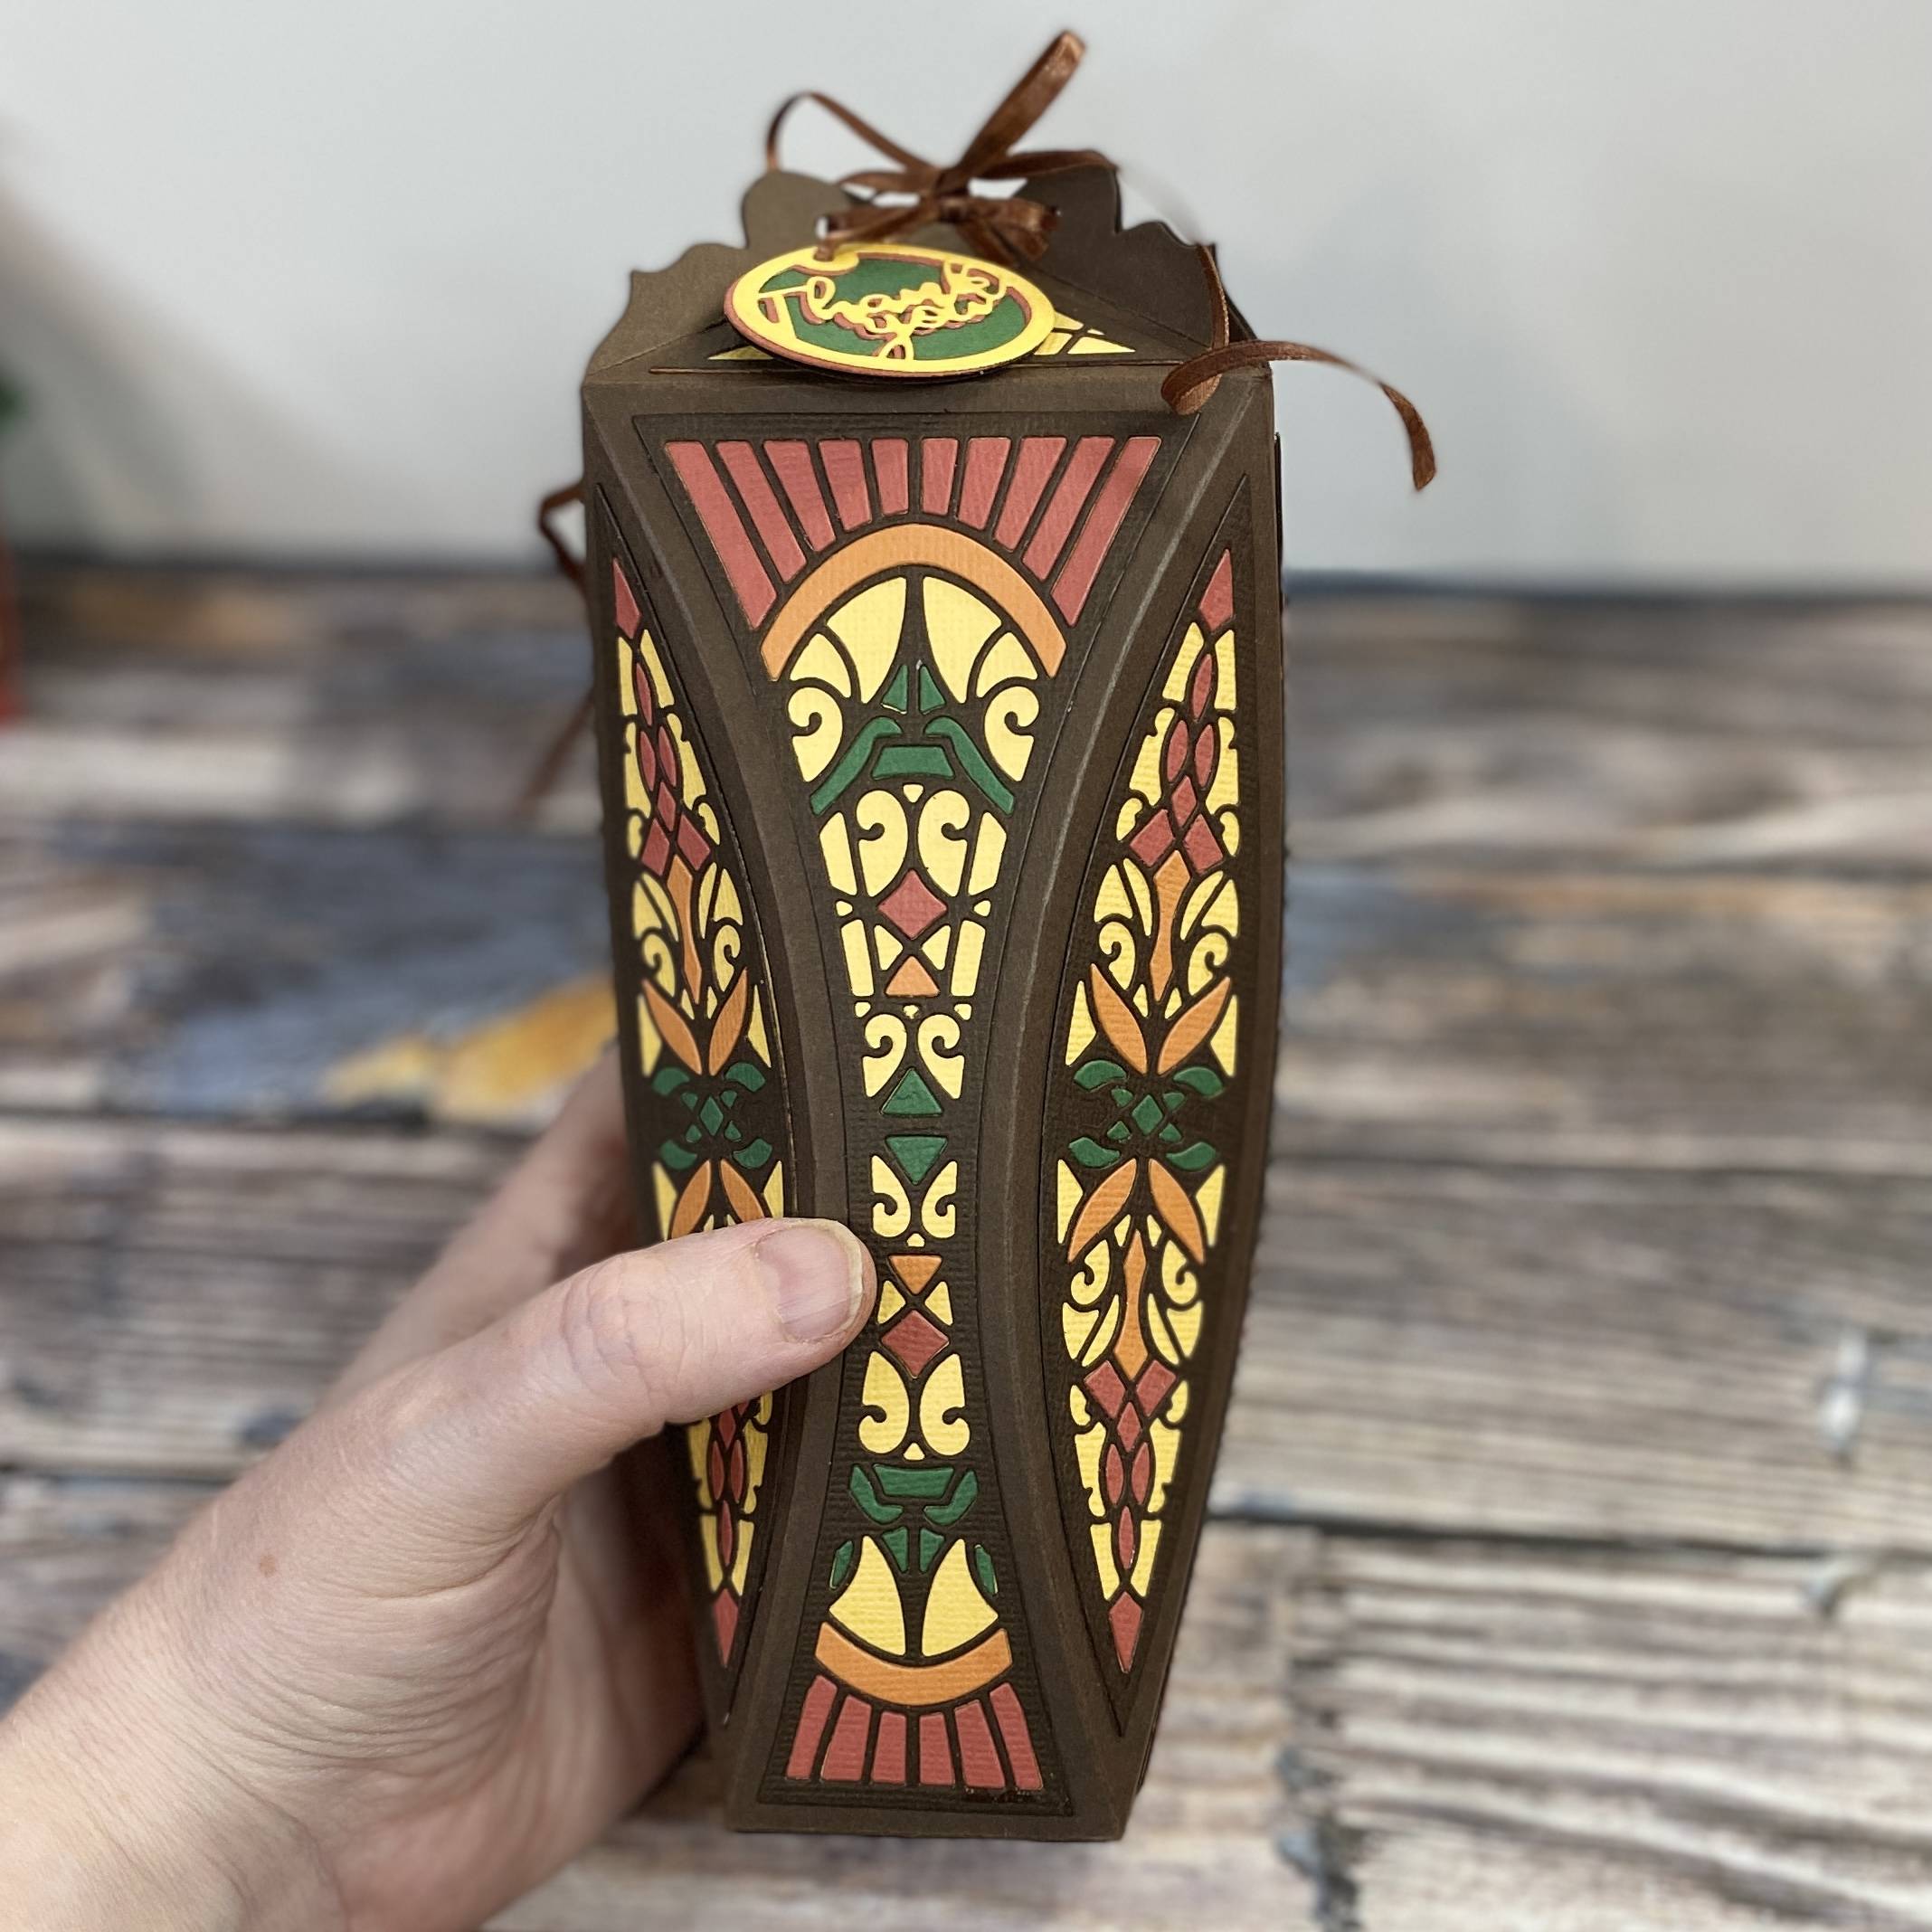
Add brown ribbon and attach your sentiment tag to complete your project.
Thank you so much for joining me today. Happy crafting!
Love of love,
Jen xx
Buy The Craft Project
