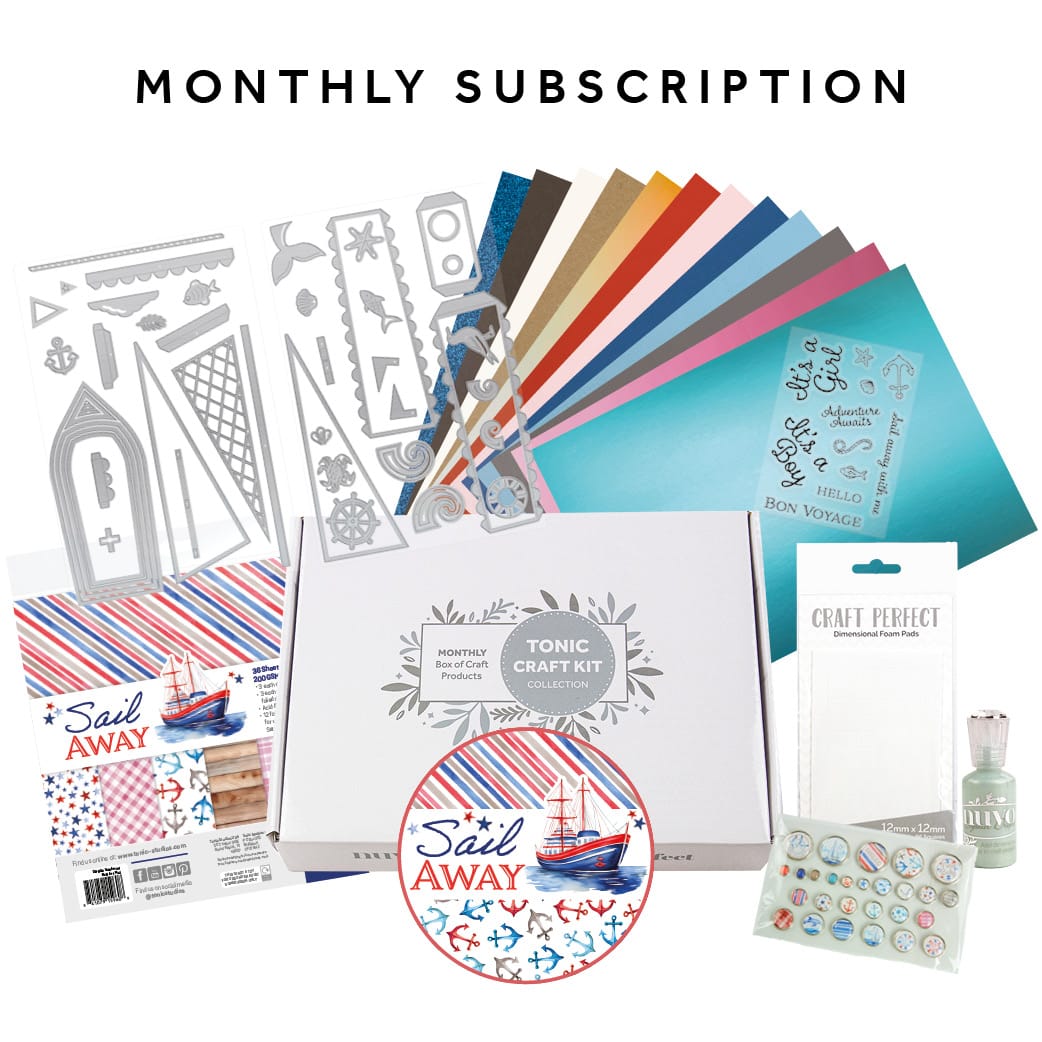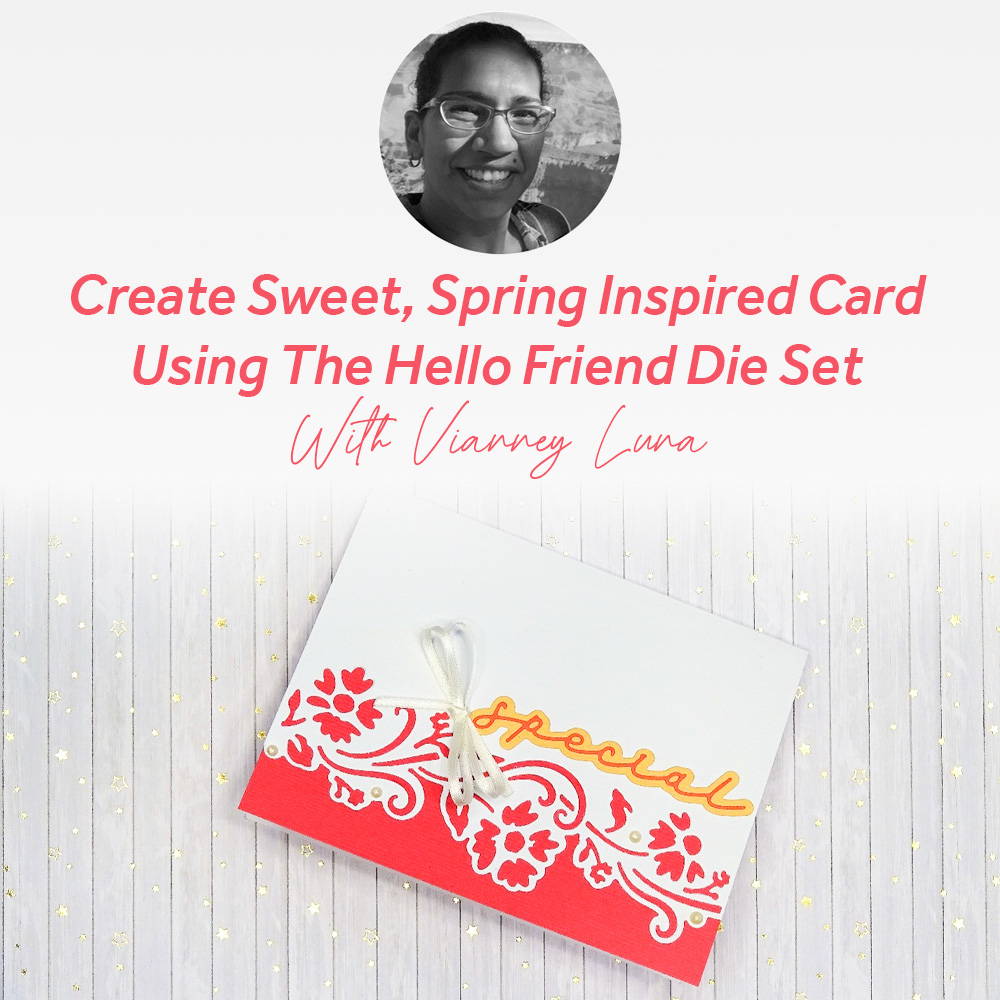
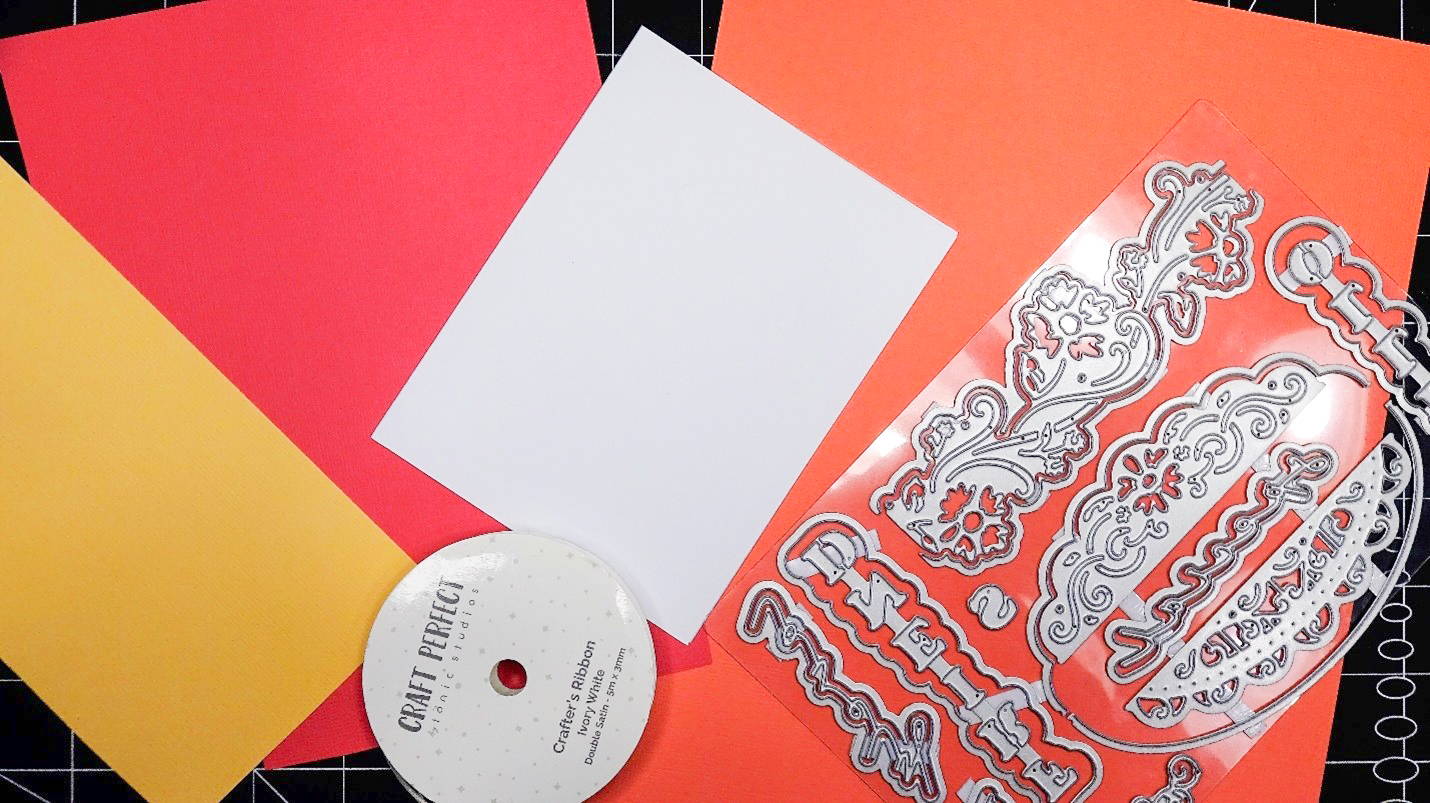
Hi, everyone! Today we will be using Tonic Studios’ new “Hello Friend” Designer’s Choice to create a die cut border card! I will be using Craft Perfect cardstock in Apricot Orange, Coral Pink, and Fuchsia Pink, a white A2 size card base. The card is then topped off with a bow made from 3mm Ivory White crafter’s ribbon and Lemon Twist Dream Drops! Let’s get started on this fresh and juicy, Spring-inspired, card!
Part 1 - Adding Die Cut Border to Card Base
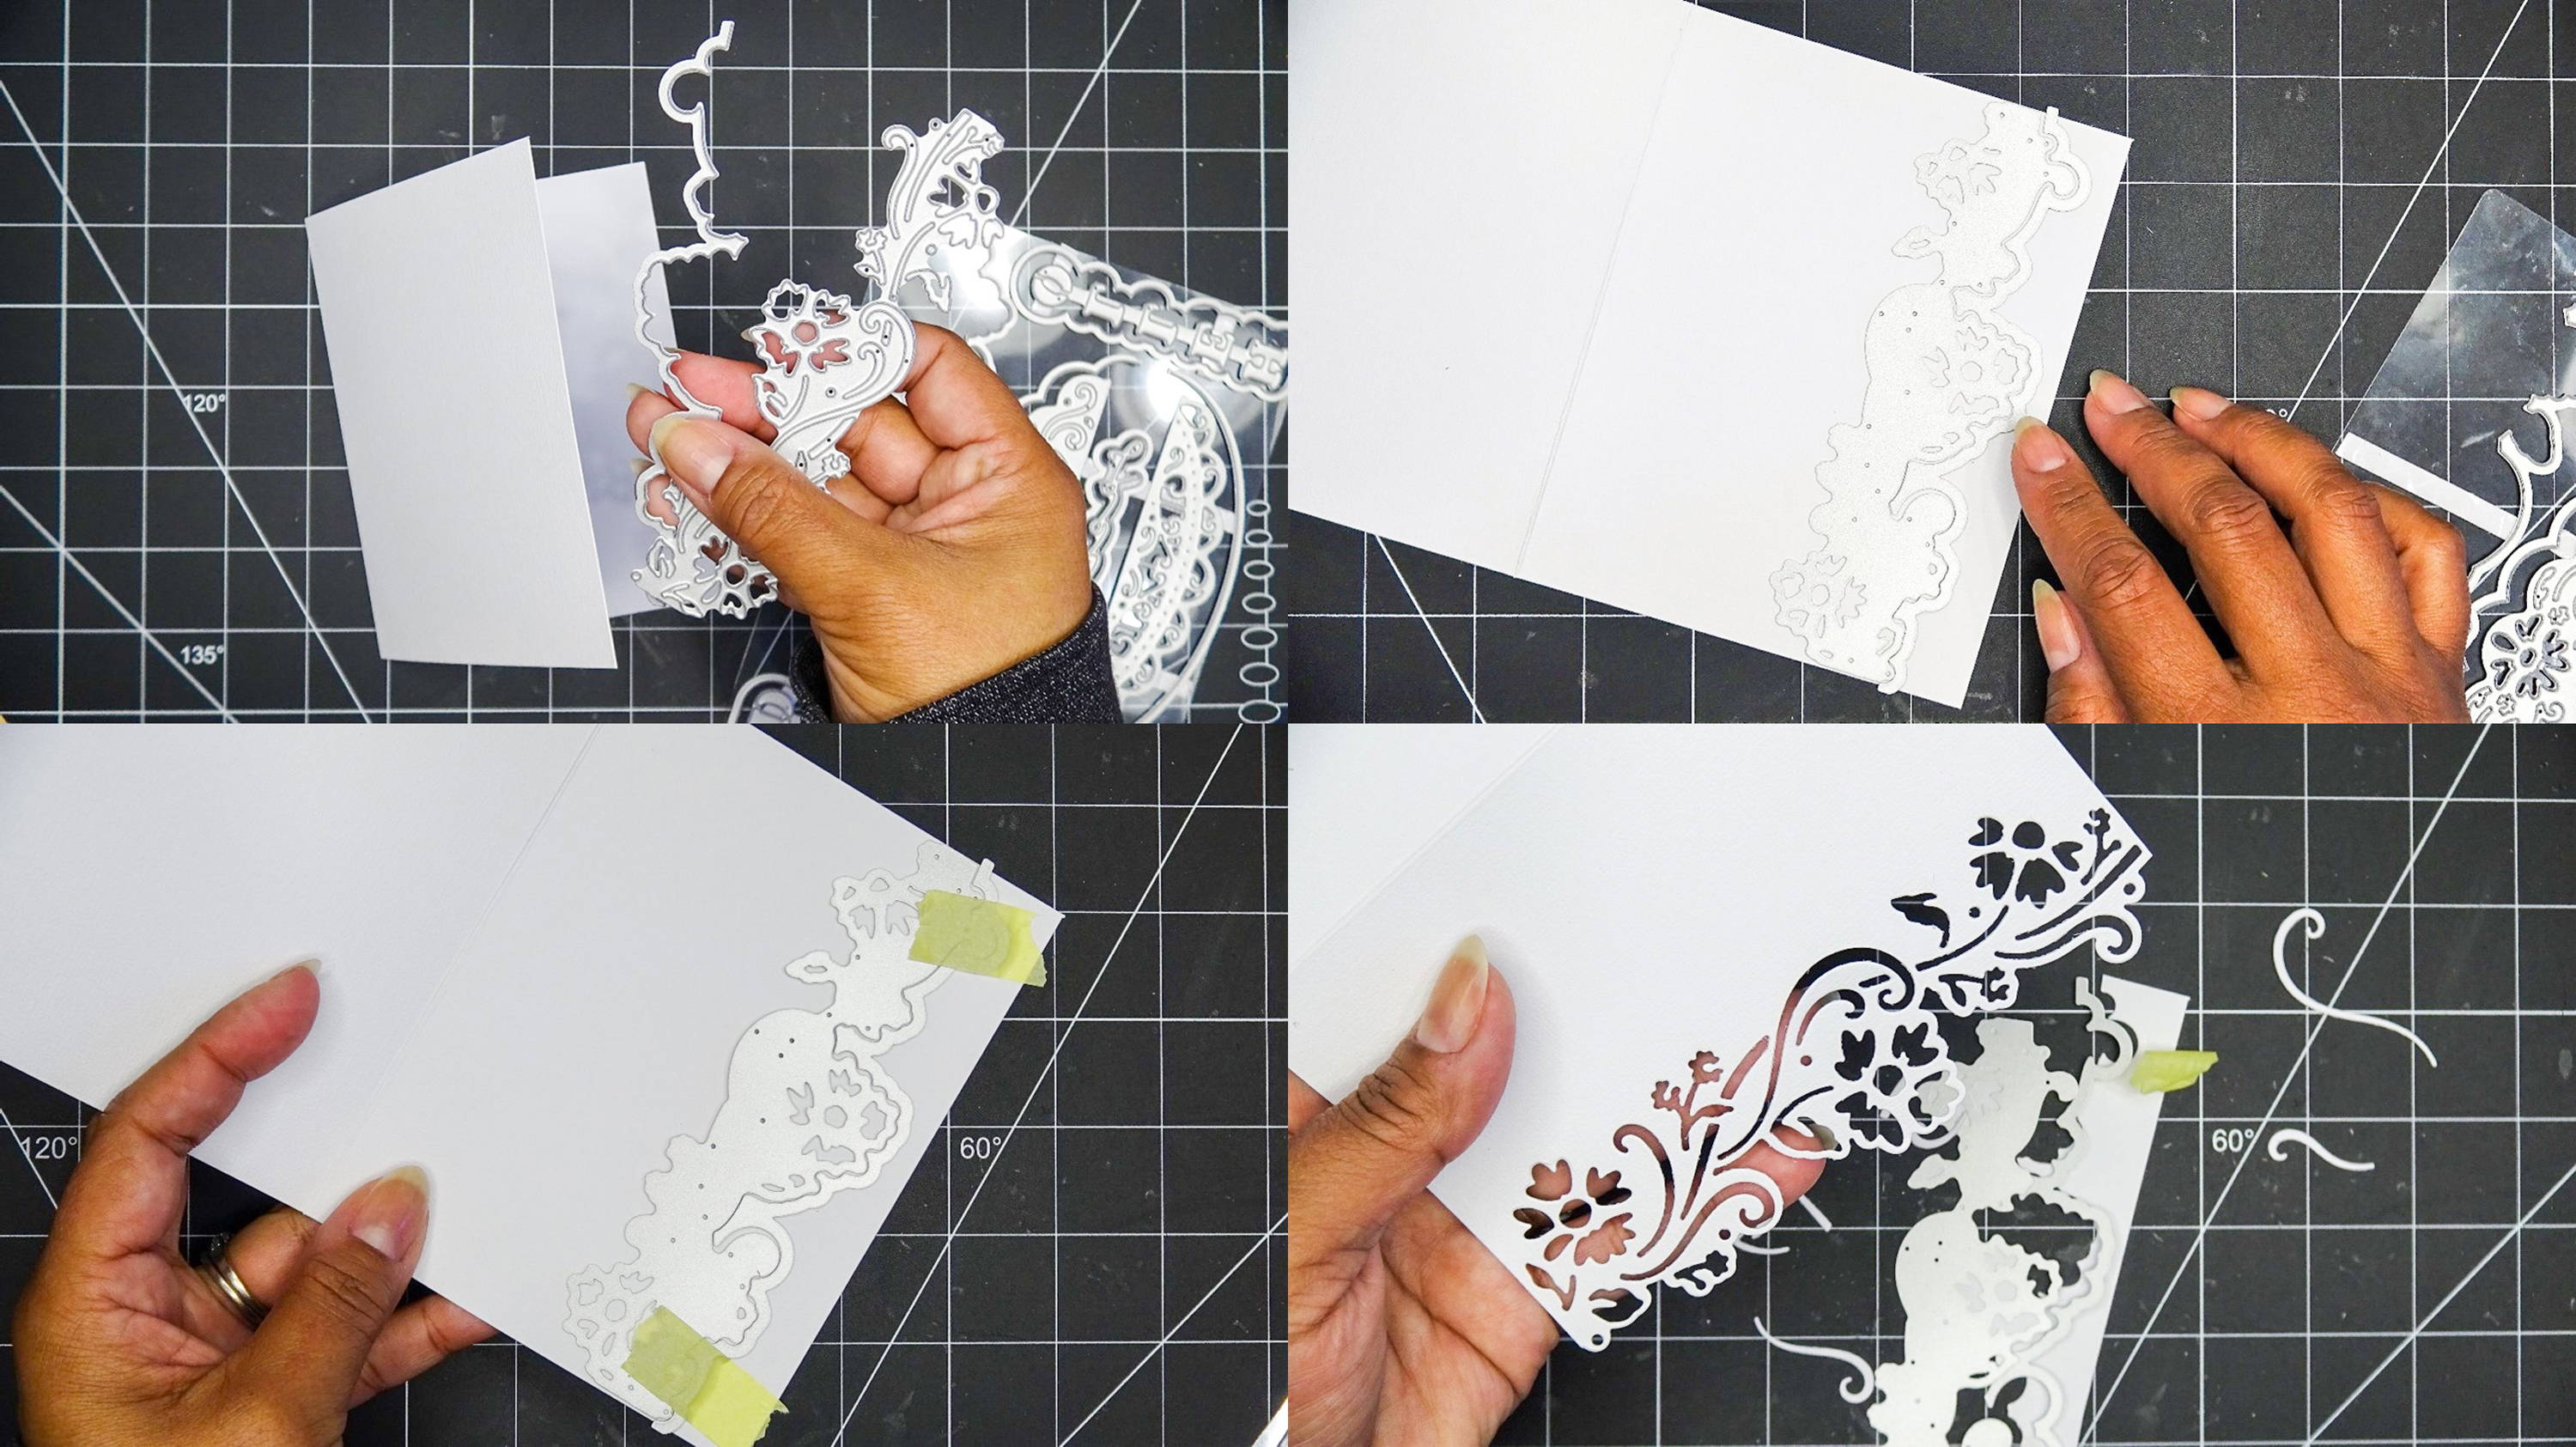
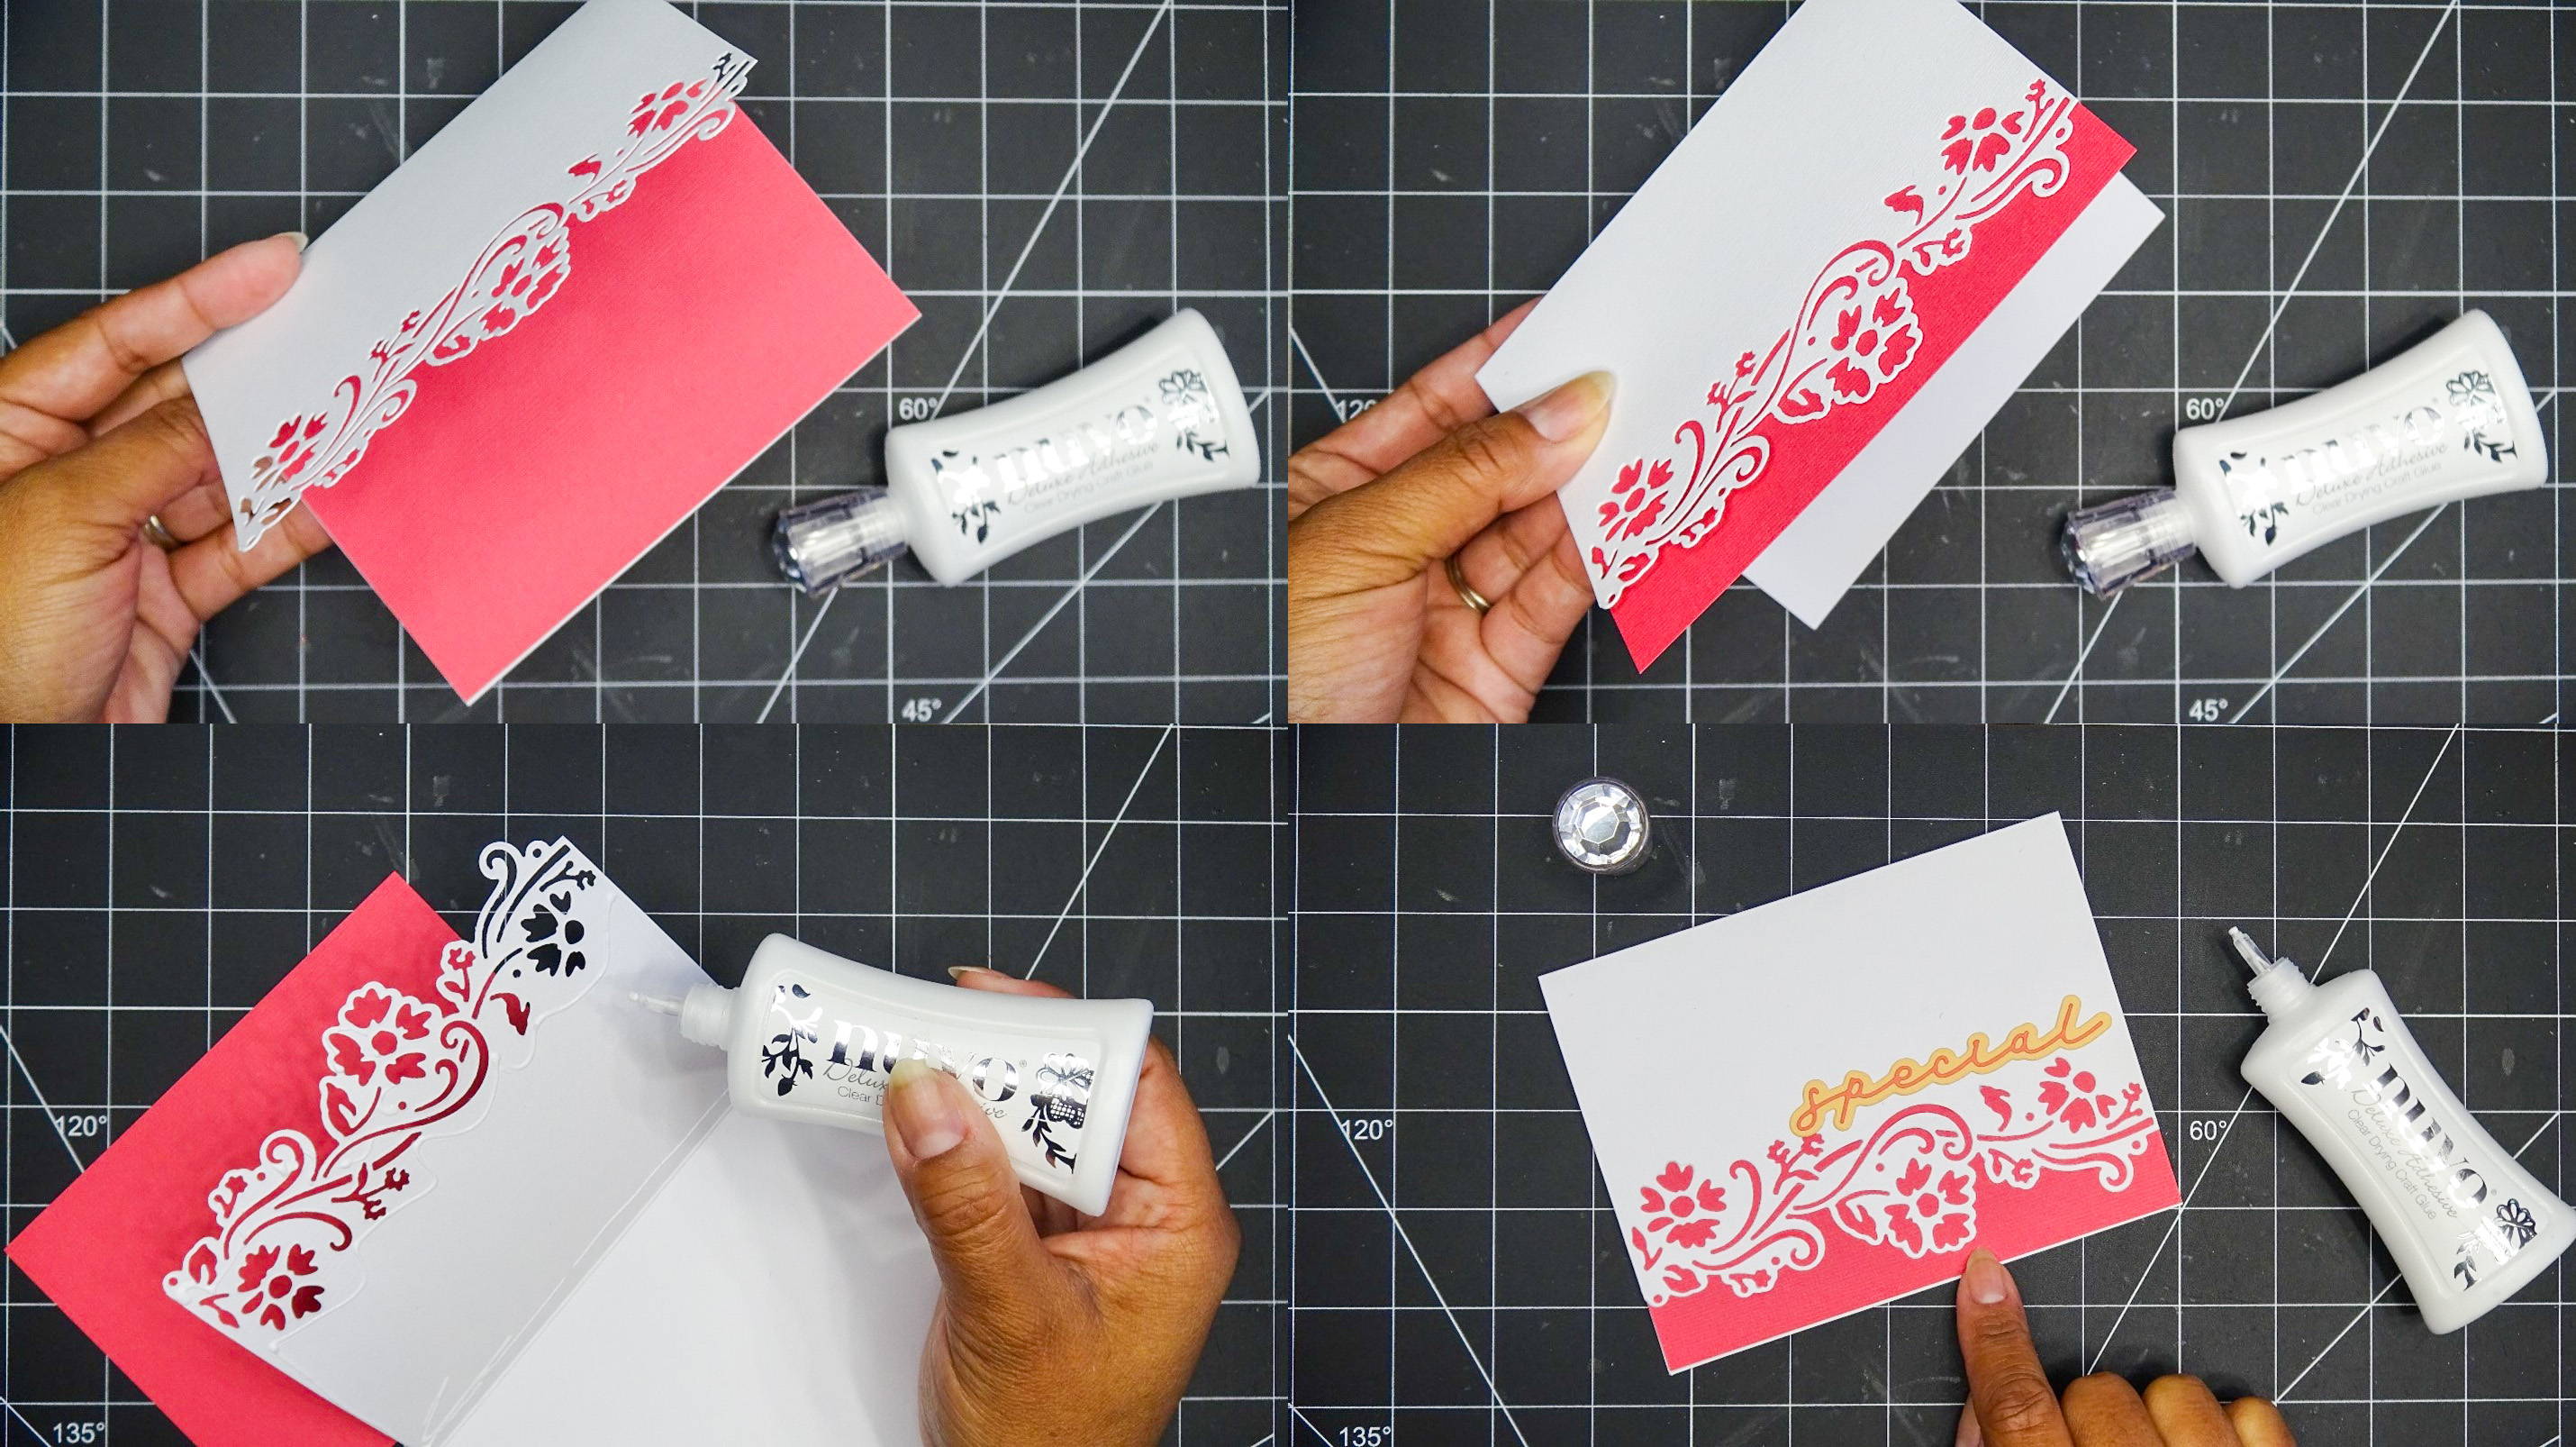
1) First, we will die cut directly into our card base. We will do this using the 5 ½” inlay die and one of the border dies.
2) Open your card base, and place the inlay die and border die on the front edge. Place as high or low on the card front as you like. I placed them about ½” from the bottom edge.
3) Secure your dies with tape, and run through your die cutting machine. You will be left with a perfectly die cut border! Place the card base aside.
Part 2 - Cutting a Mat for Inside of the Card
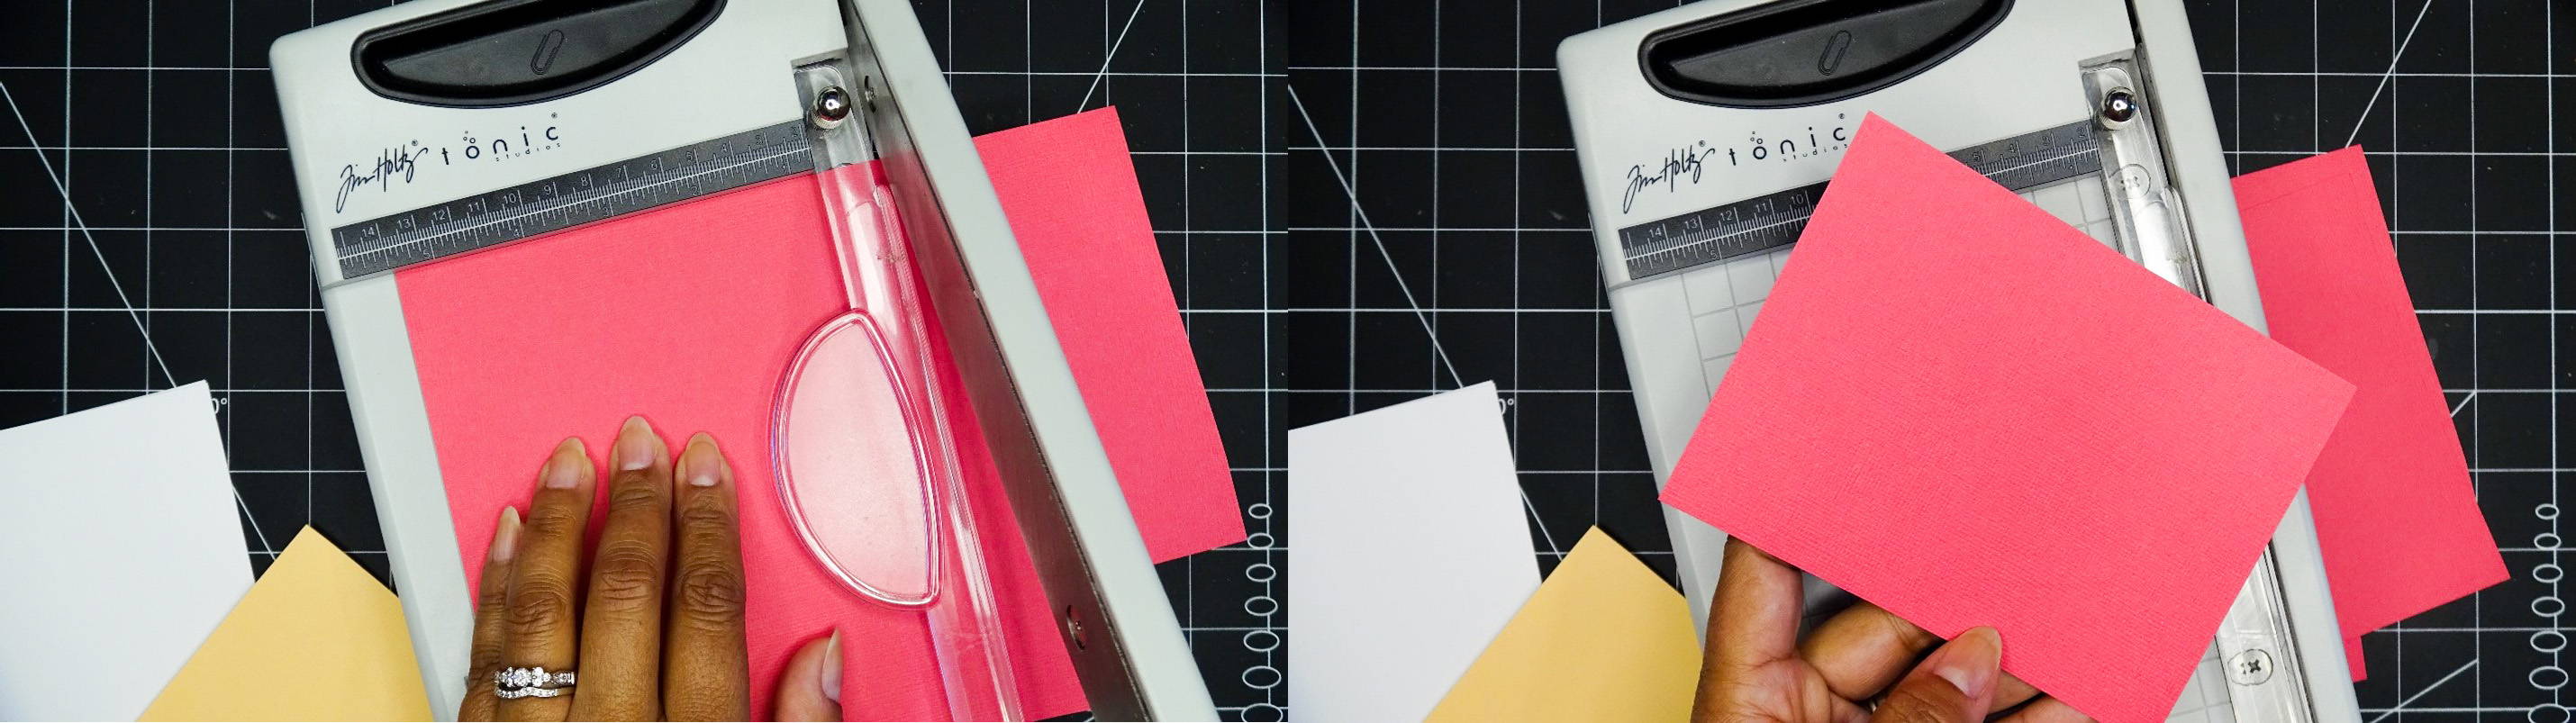
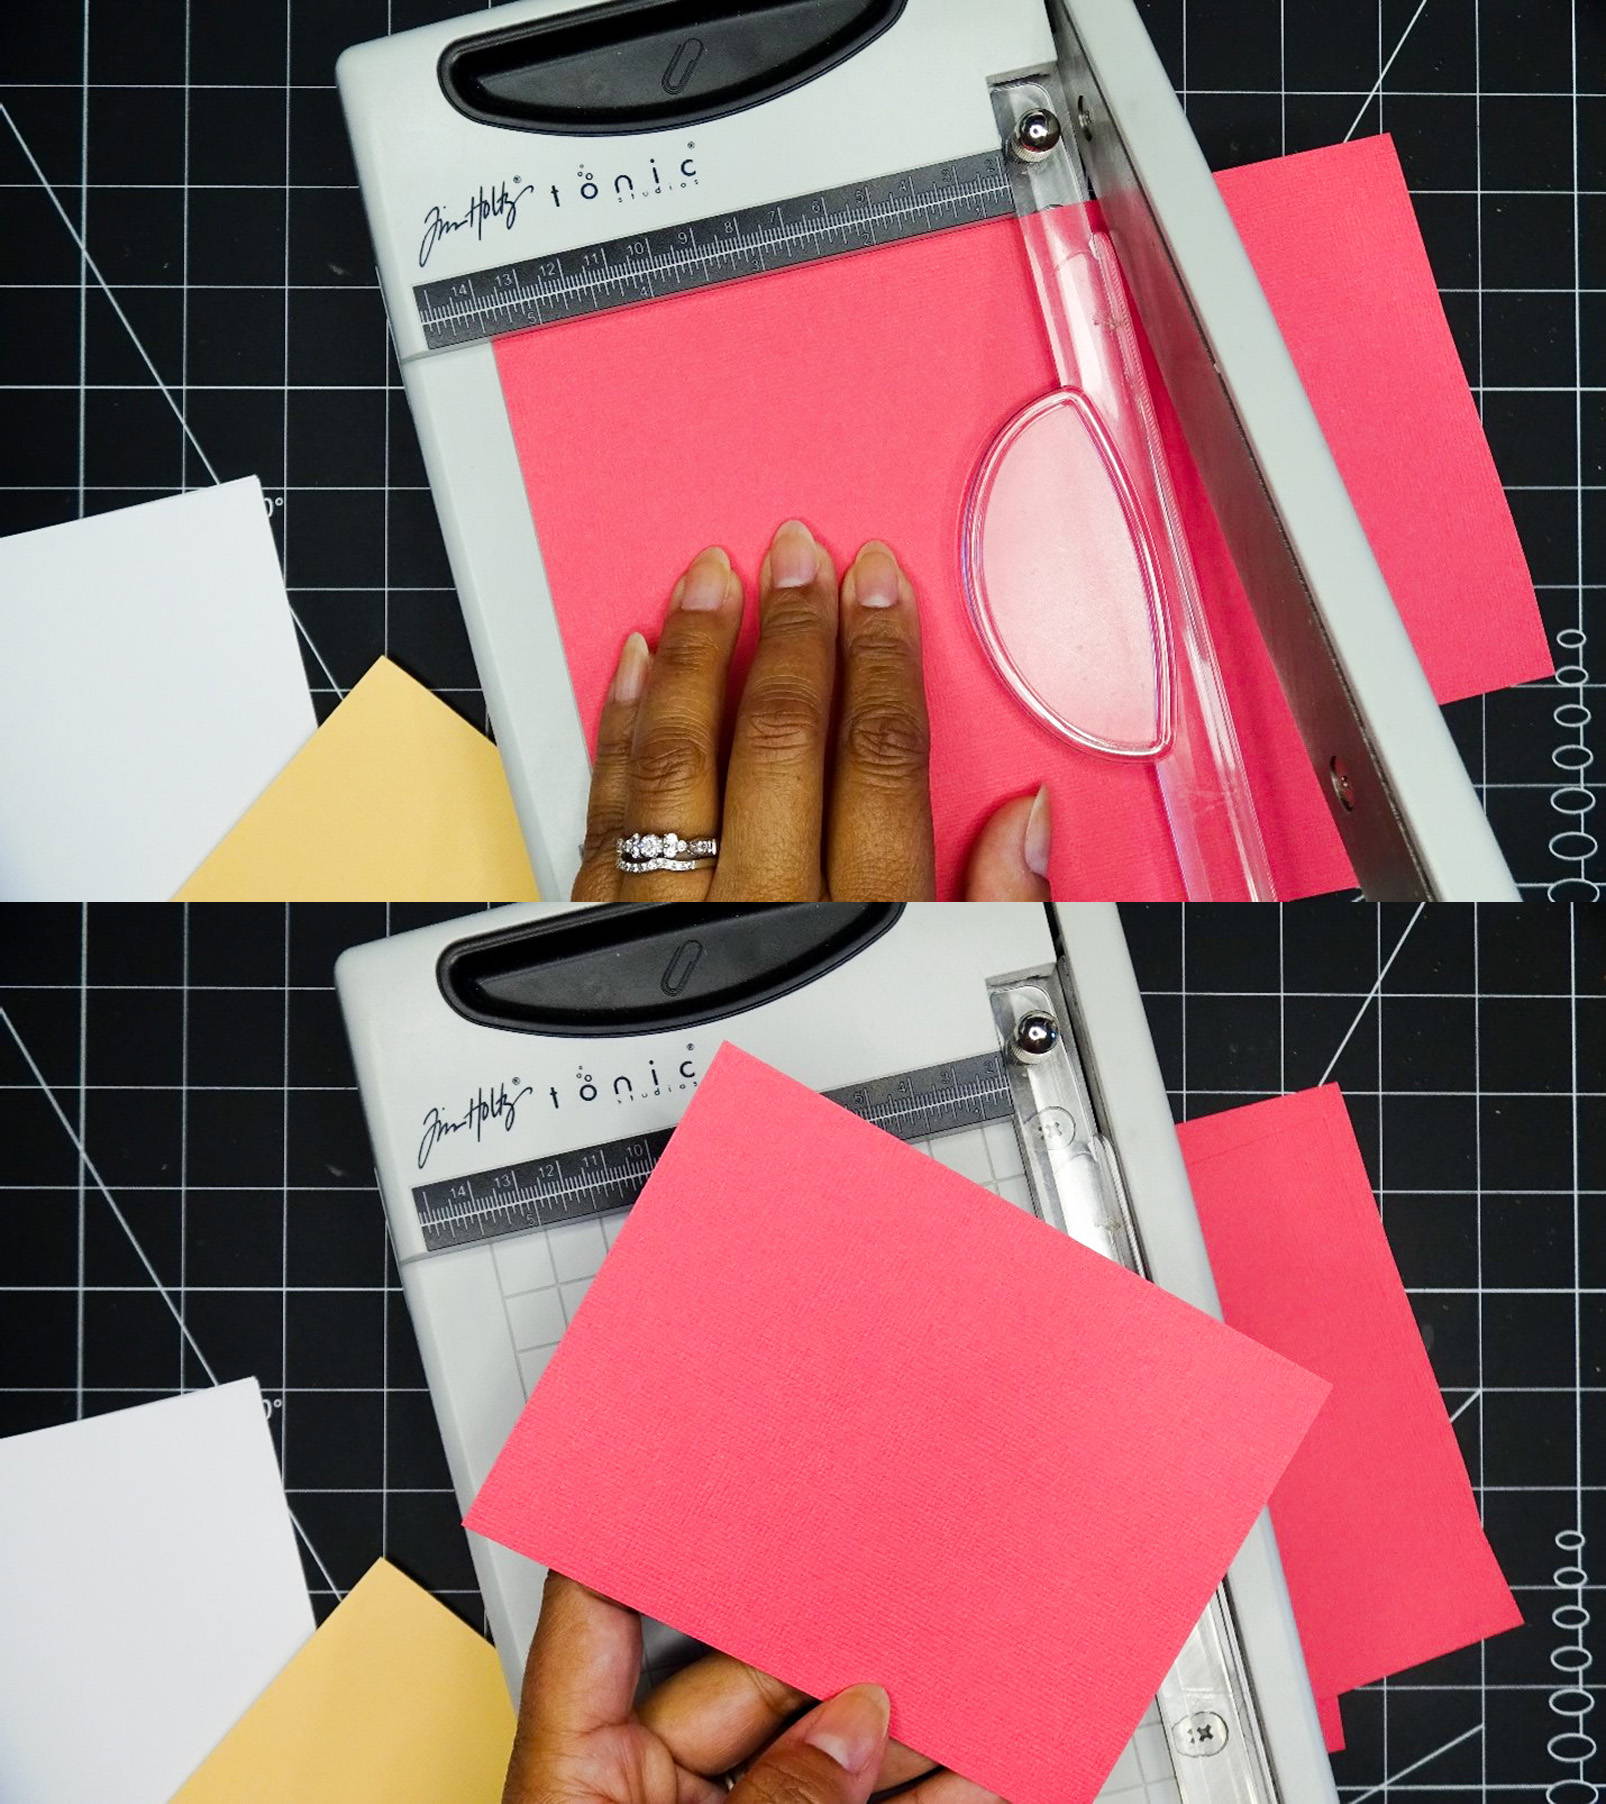
Take a piece of Fuchsia Pink cardstock, and cut to 4 ¼” by 5 ½”. I cut the 4 ¼” side as a scant 4 ¼” so it will mat inside the card base better. Put aside.
Part 3 - Die Cutting the Sentiment
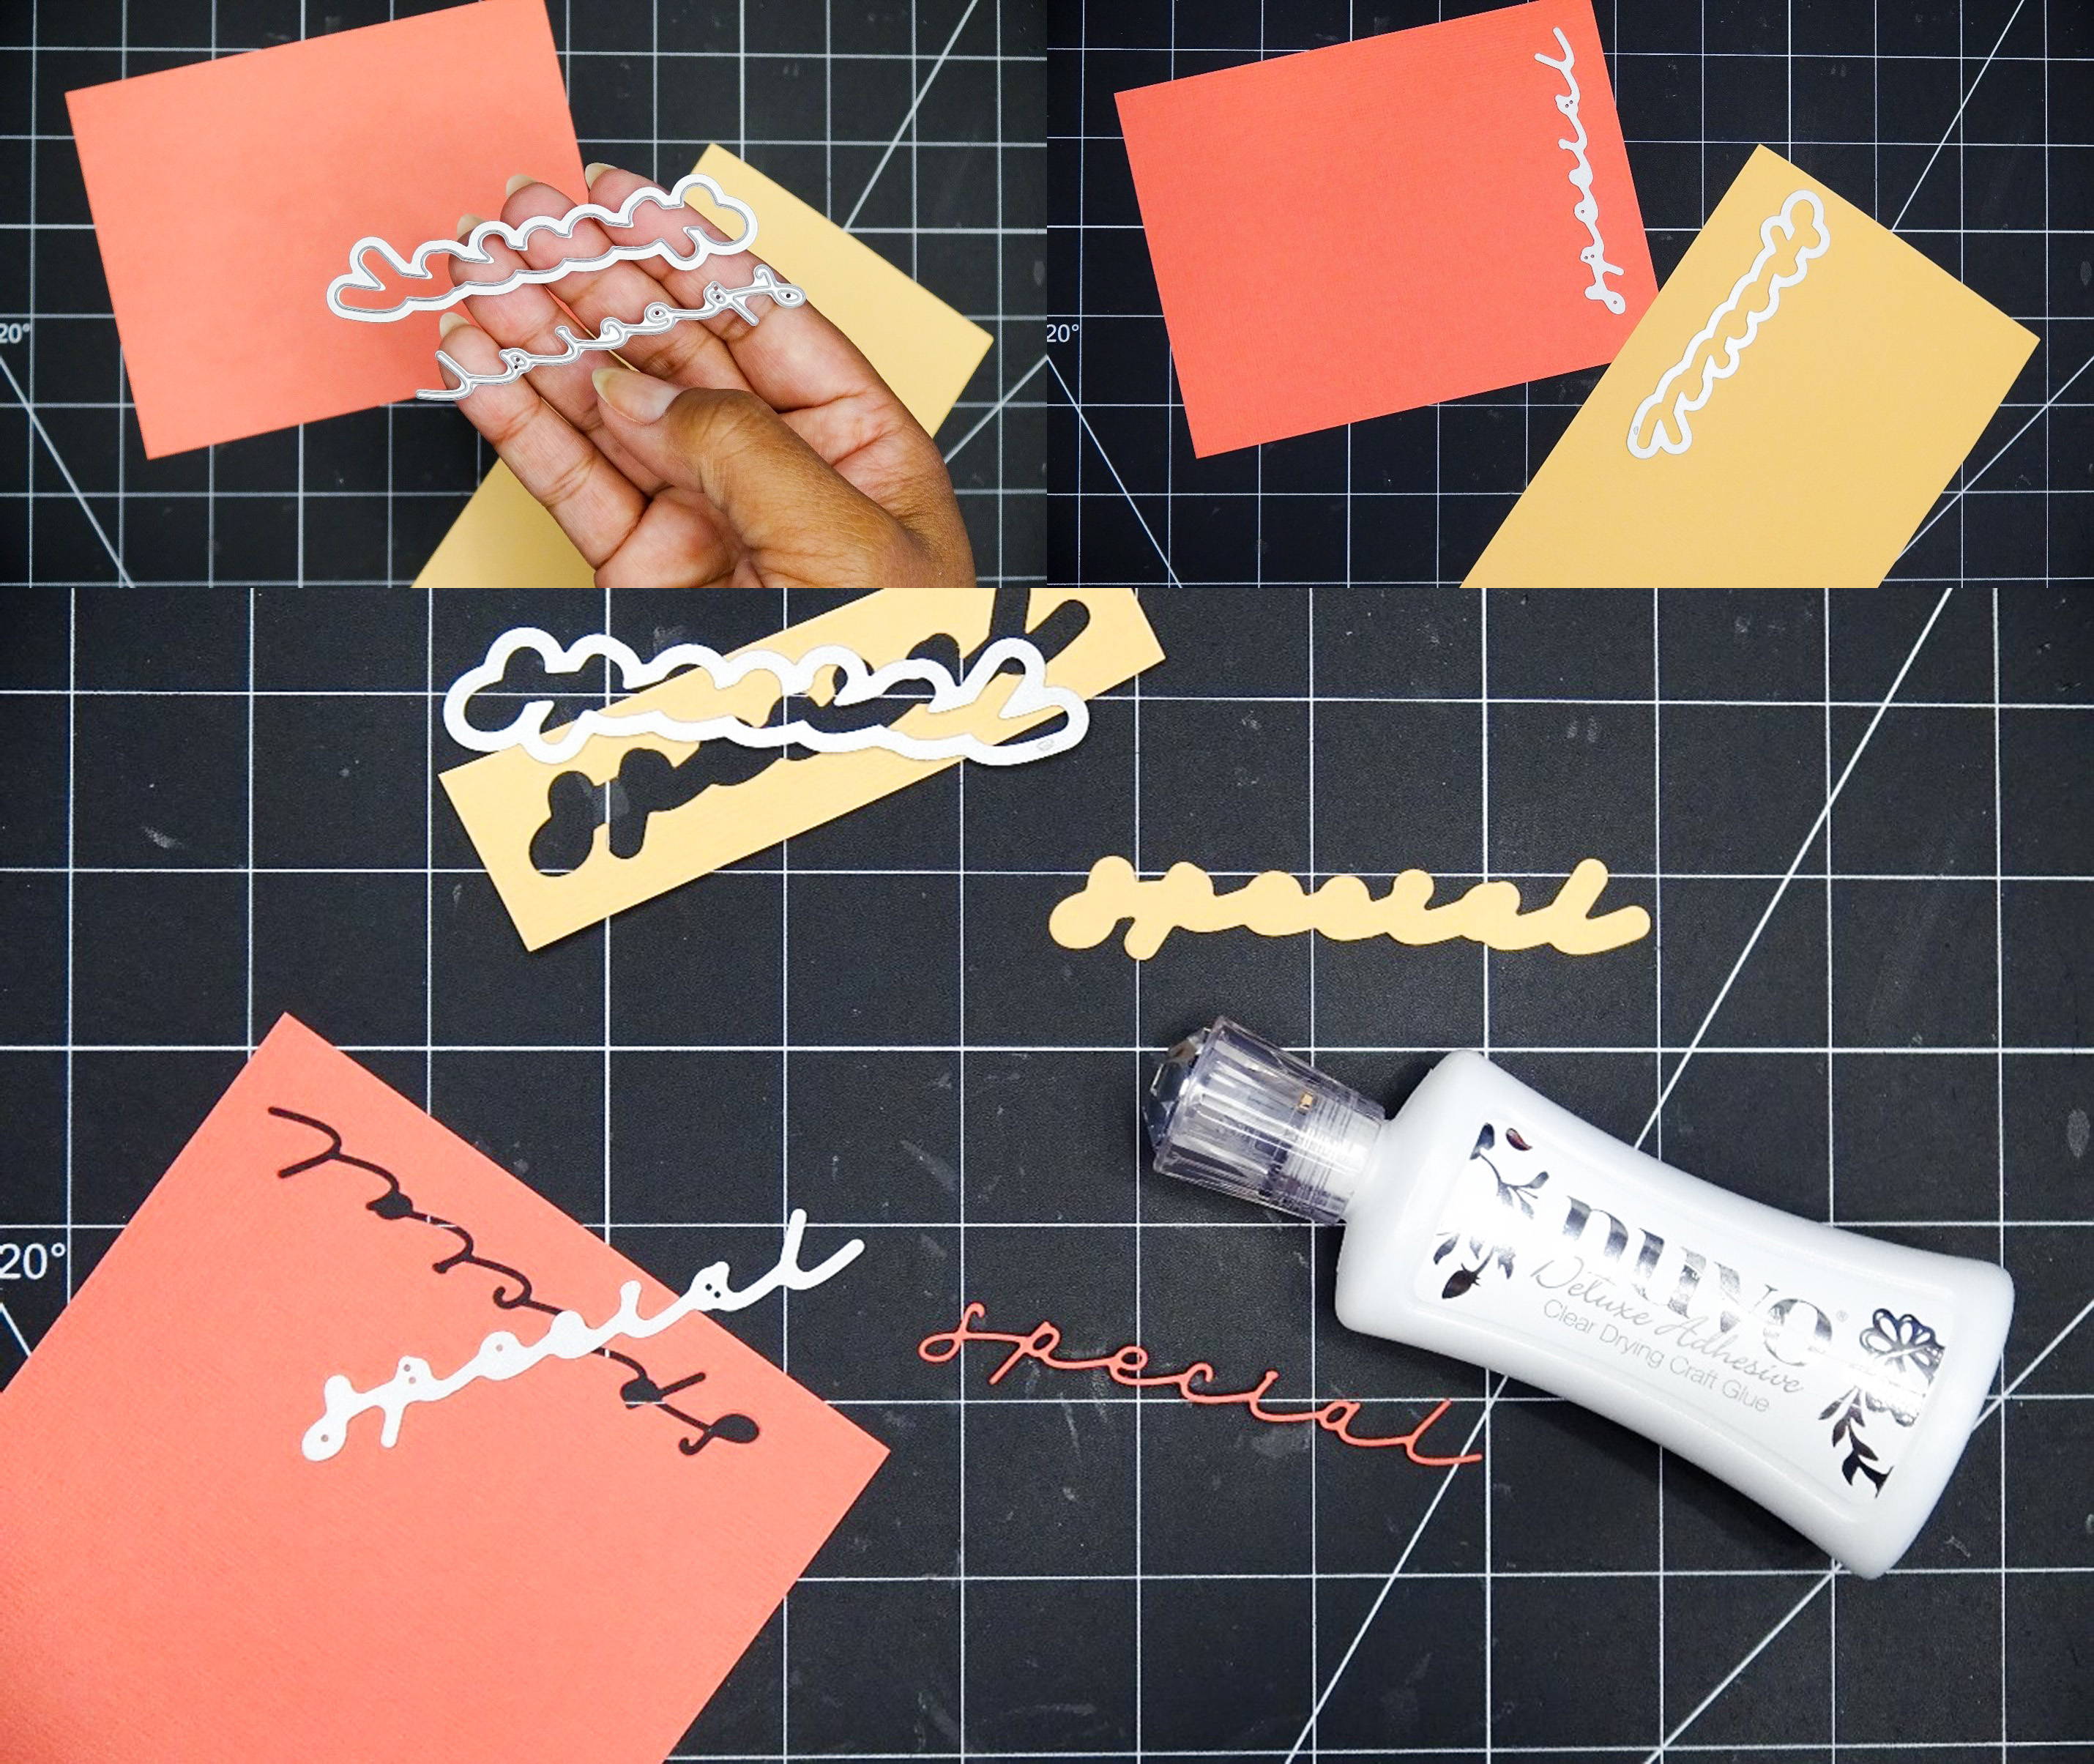
1) Cut your sentiment from coordinating cardstock. I chose to use the “special” die and its outline die. I will cut the sentiment from the Coral Pink cardstock, and the outline die from Apricot Orange.
2) Adhere the sentiment to the outline die cut. Set aside.
Part 4 - Putting the Card Together
1) Take your card base and inside mat and adhere them. You can adhere the fuchsia mat to the inside of the card, or under the die cut flap. You will get different looks depending on where you adhere the mat.
2) I chose to glue my mat to the die cut flap.
3) Then, adhere the sentiment where you like. This same card base can be used in portrait or landscape orientation.
Part 5 - Add Finishing Touches

1) I will top my card with a ribbon bow and dream drops! First, take a length of ribbon in front of and over your index finger. Then wrap it behind your index finger and in front of your middle finger.
2) Next, wrap the ribbon tail under your middle finger, then over and behind your index finger again.
3) Bring the tail over and across the ribbon loops you have wrapped around your fingers.
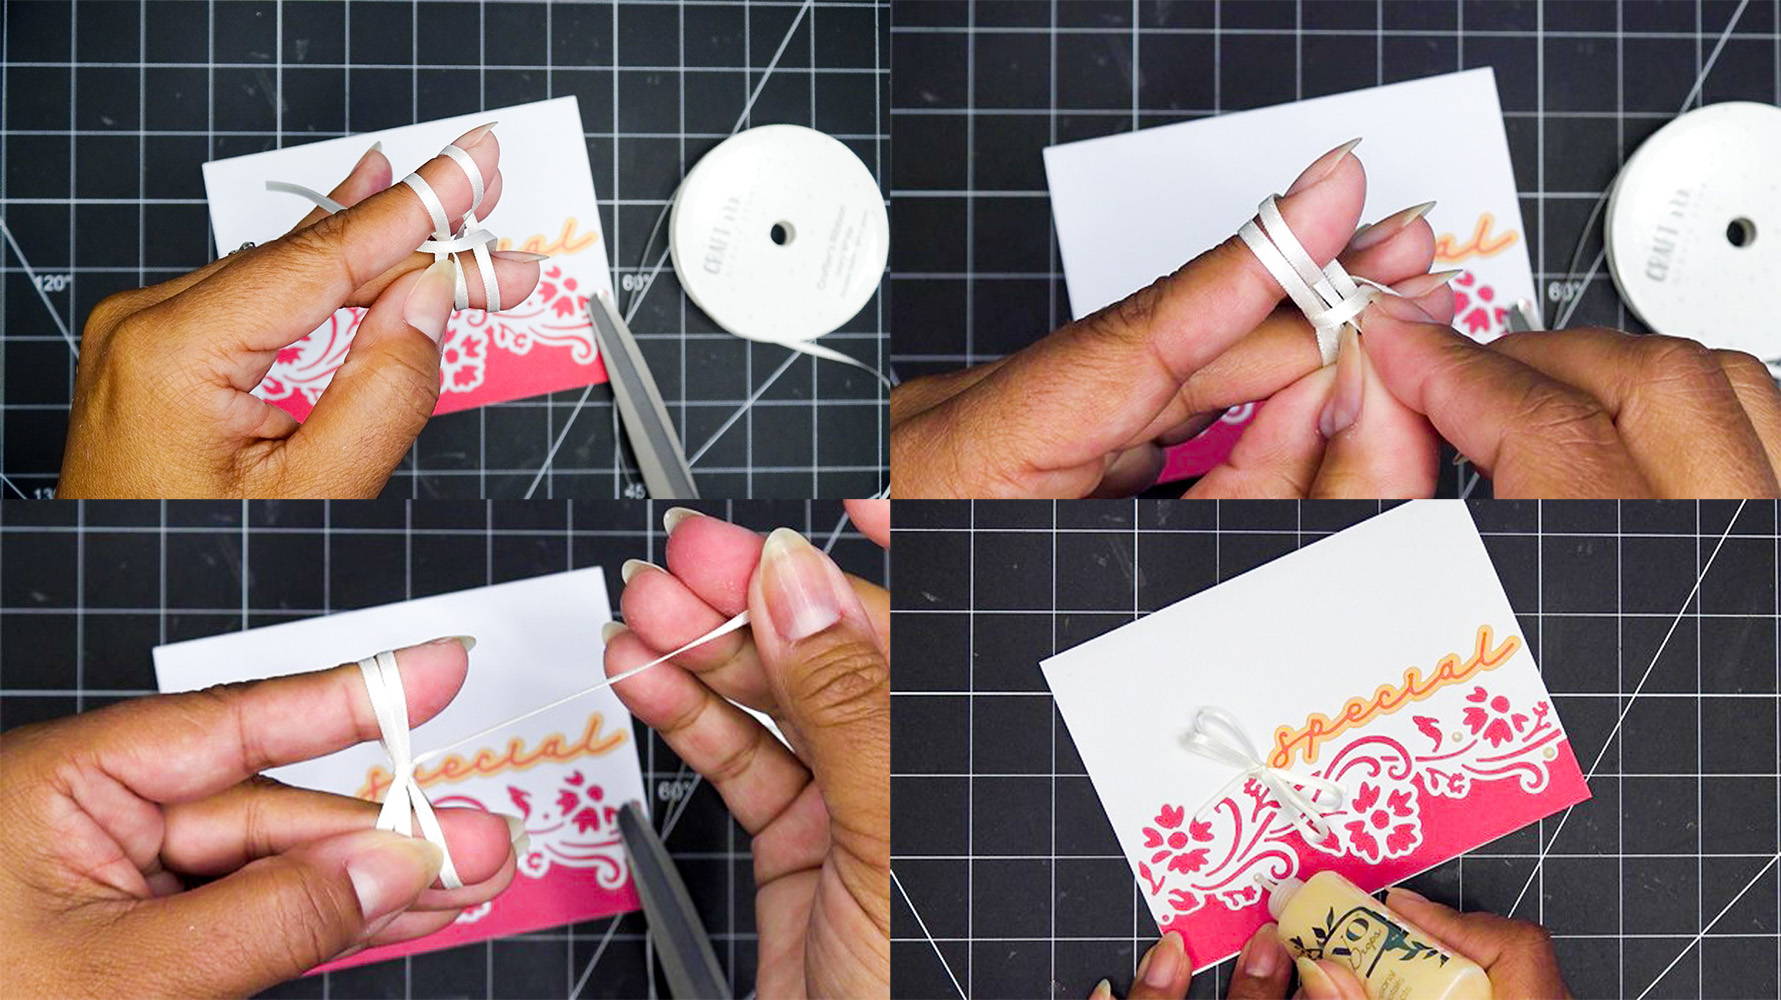
4) Push the tail through your fingers, let it come out behind your hand.
5) Now take the tail and thread it through the loop just created across the ribbon loops.
6) Lastly, pull the ribbon end tight, remove the loops from your fingers, and trim ribbon ends.
7) Adhere your bow to the card, and top the card off with the Nuvo Dream Drops.
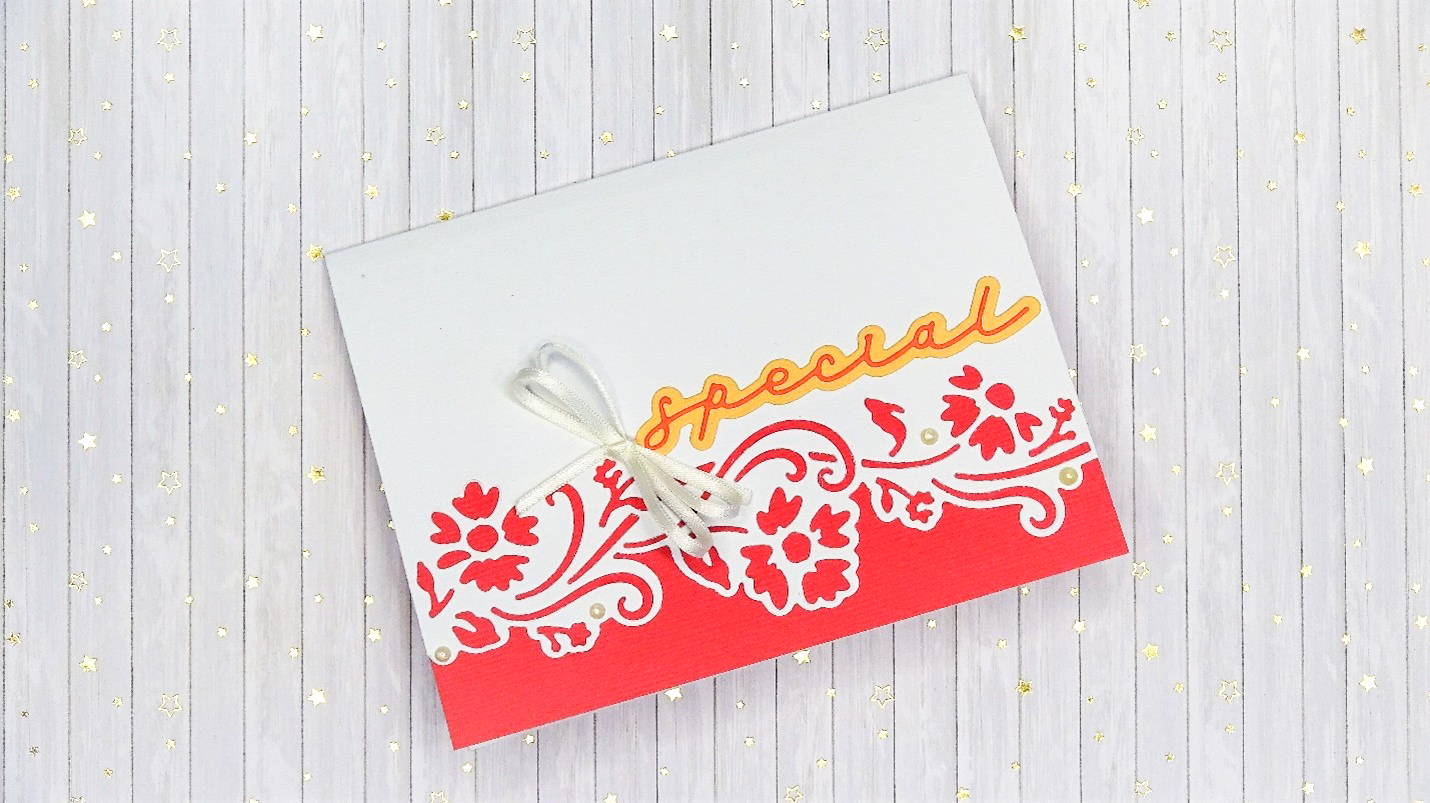
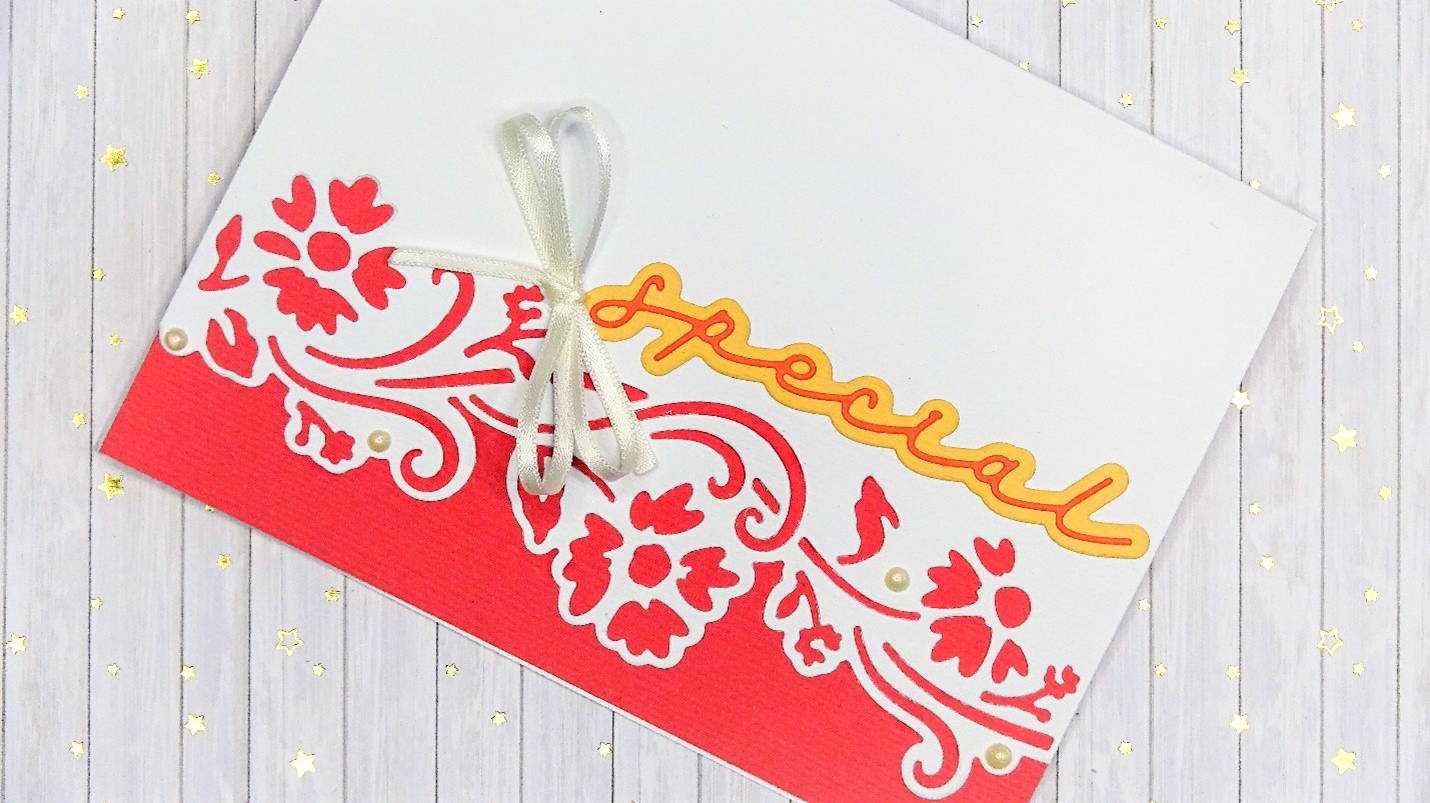
Thank you for spending some time with me, and have fun creating your sweet, Spring-inspired, card!
Buy The Craft Project