
Hi crafty friends and thanks so much for visiting the Tonic blog today.
Have you ever considered how you could use your Nuvo on anything other than cardstock?
I have been a Nuvo addict from my very first bottle of Crystal Drops and my intrigue and obsession soon expanded into all of the various mousses, powders, glitters, gels, inks and pastes that make up part of the gorgeous Nuvo collection, especially when I discovered how they all work so beautifully together, either stand alone, or combined. I really enjoy having a play with different techniques, combinations and surfaces they can be used on, so for today’s blog I decided to try out decorating some basic, simple, wooden Christmas hanging shapes (found in many high street craft stores or a well known online retailer who have smiles on their boxes!) using some of my favourite Nuvo products.
What you will need
- Shimmer Powder - Maroon Spark
- Crystal Drops - Bright Gold
- Embossing Powder - Glacier White
- Glimmer Paste - Nephrite Nebula
- Dream Drops - Rudolph’s Nose
- Embossing Powder - Sugared Strawberries
- Expanding Mousse - Worn Linen
- Crackle Mousse - Egyptian Gold
- Hybrid Ink - Black Shadow
- White Pigment Ink
- Clear Mark Embossing Pad
- Jewel Drops - Iceberg Blue
- Craft Perfect Cardstock - Majestic Gold (Pearlescent) & Marina Mist (Mirror)
- Craft Perfect 3mm ribbon - Chilli Red & Ivory White
- Sentiments from Tonic ‘Christmas Cheer’ Stamp & Stencil’ Set
- Basic wooden Christmas shapes
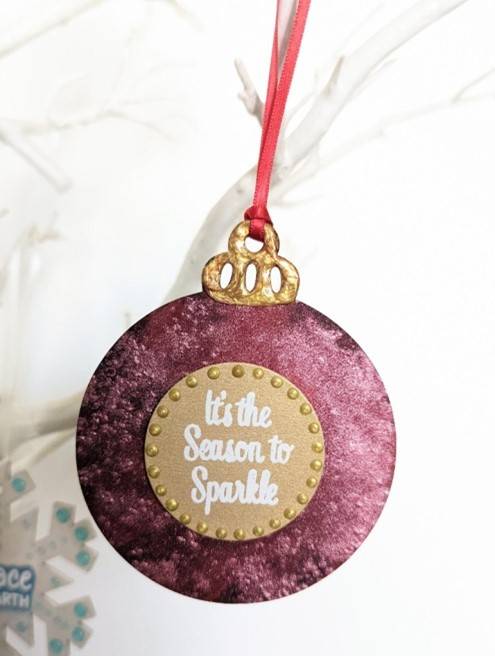
Shimmer Powder Bauble
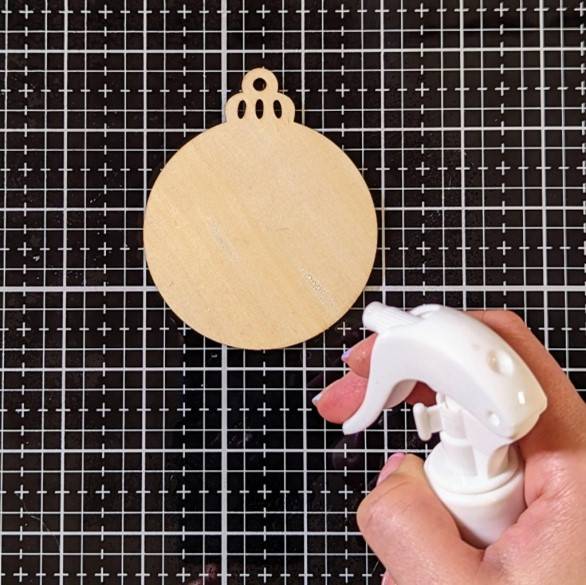

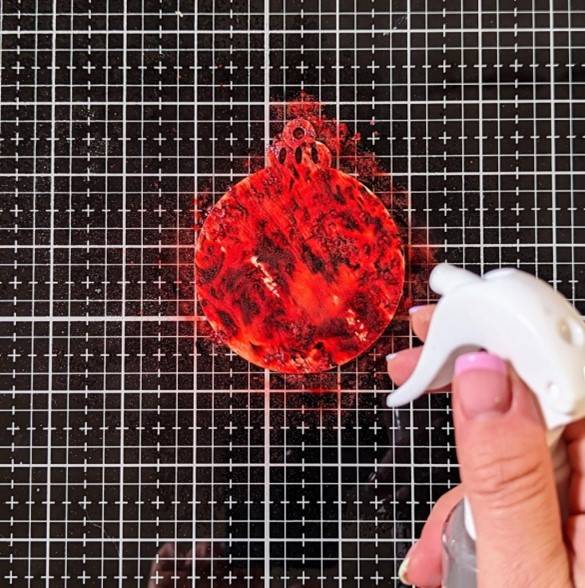
For this one, I sprayed a little water directly onto the wooden surface, applied the Shimmer Powder and added further water. I then repeated the process a second time where patches appeared.
Step 1
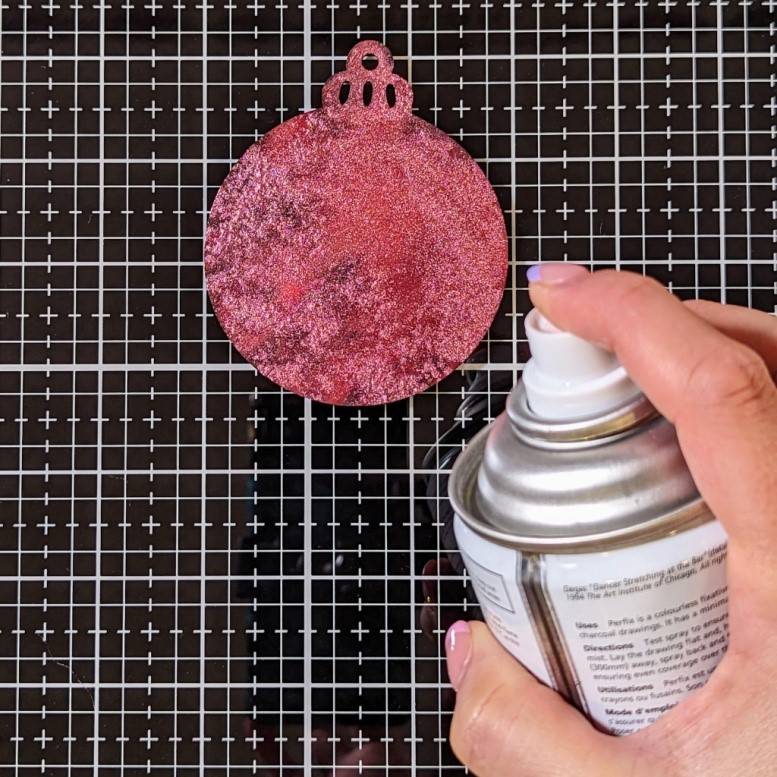
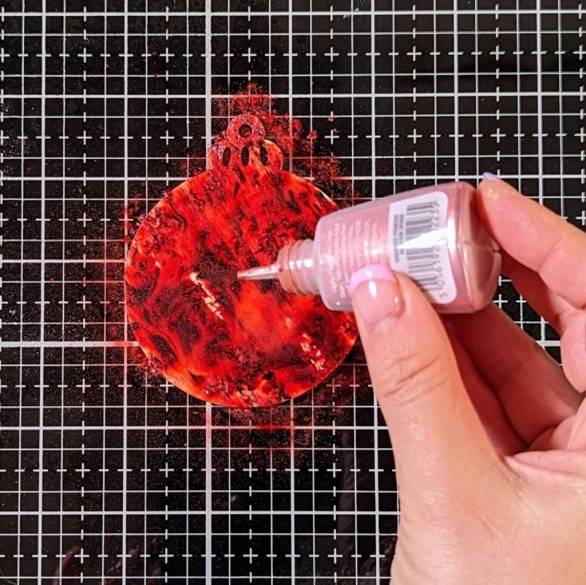
Left to dry naturally, I then fixed the powders into place with an artist's fixative spray (but a cheap hairspray works perfectly for this too!)
Step 2
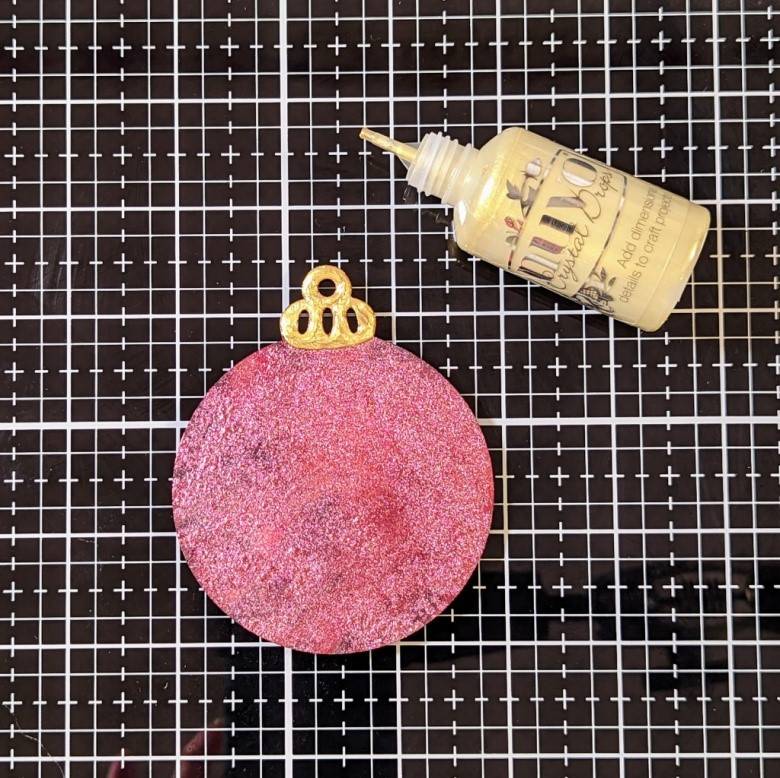
Using ‘Bright Gold’ Crystal Drops, I picked out the bauble ‘hanger’ detail and allowed it to dry.
Step 3
Step 4
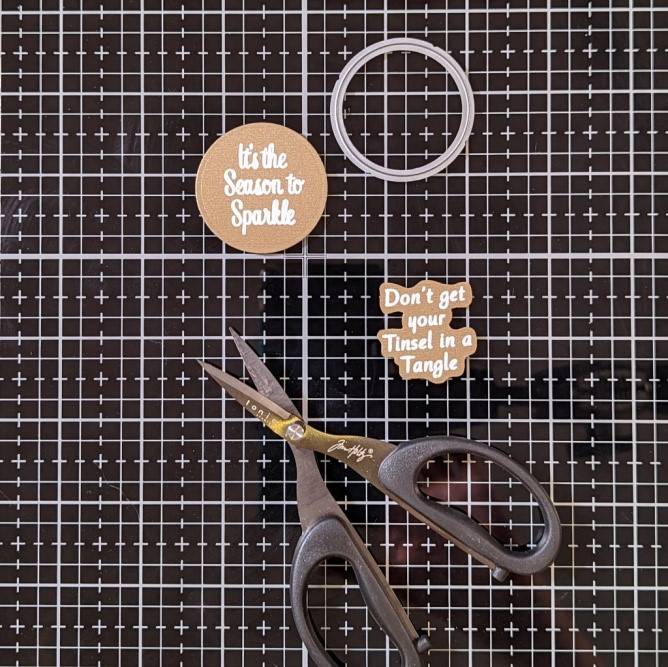
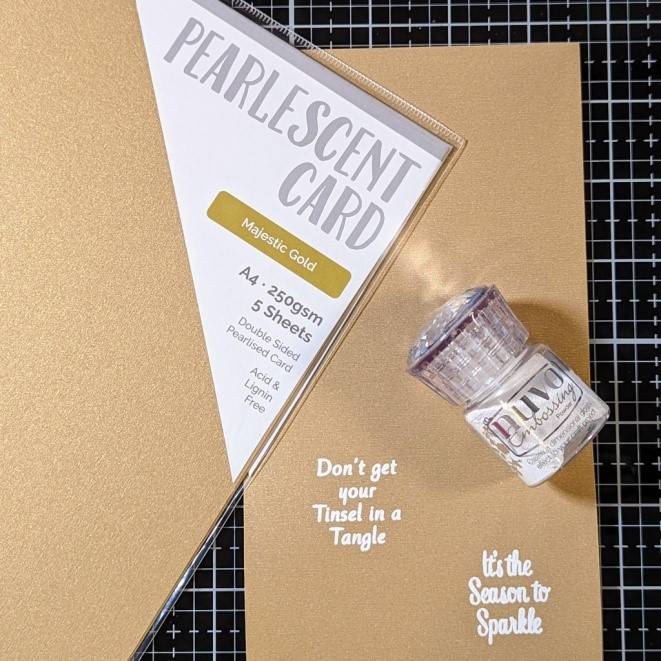
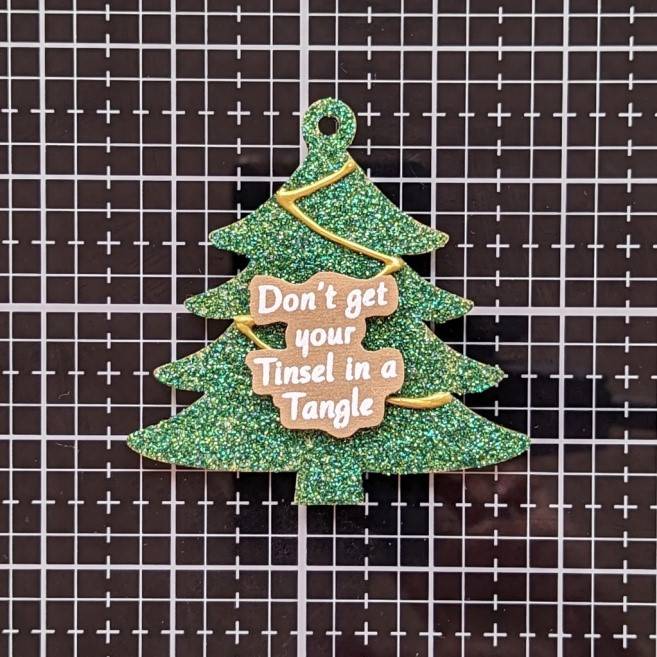
On ‘Majestic Gold’ Pearlescent Card I stamped out the sentiments in Clear Mark and heat embossed in white embossing powder. The ‘It’s the Season to Sparkle’ sentiment I cut out using a round die and fussy cut ‘Don’t Get Your Tinsel In A Tangle’.
Step 5
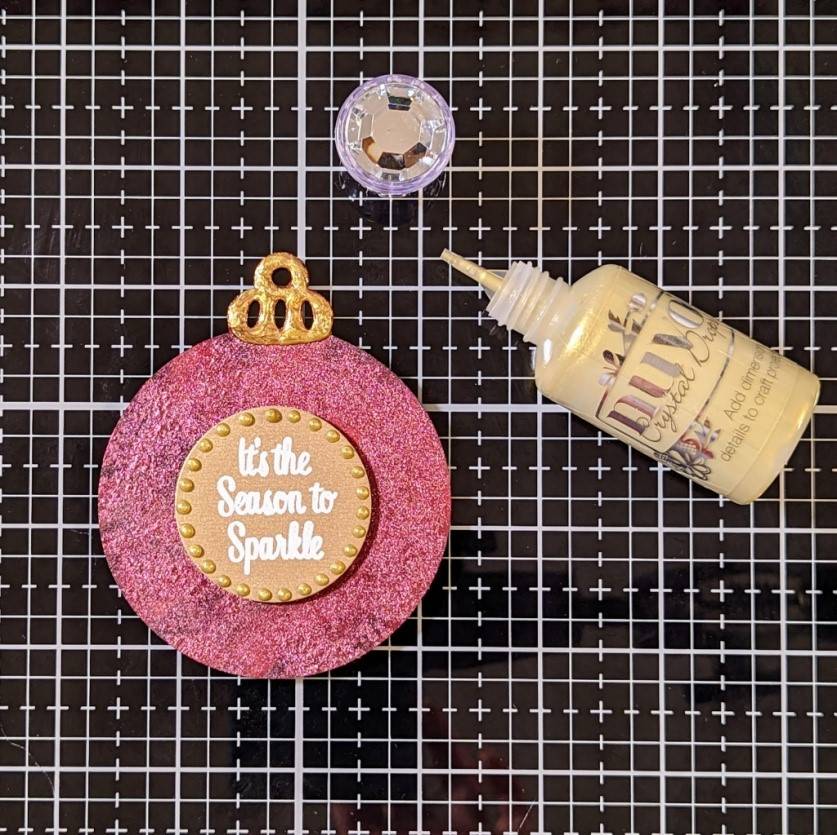
I attached the sentiment to the centre using foam pads and then decorated the edge with gold drops.
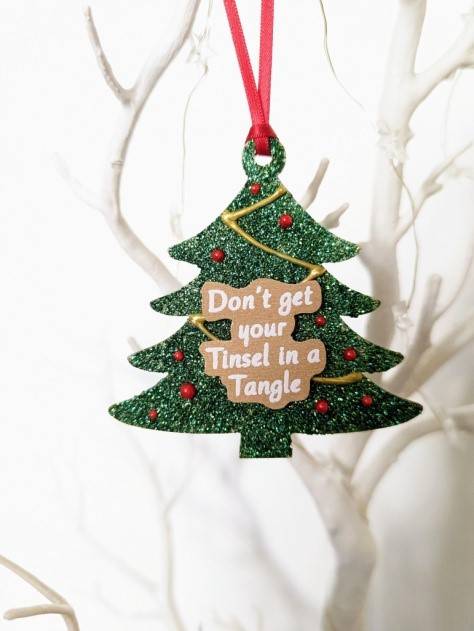
Glimmer Paste Christmas Tree
Step 1
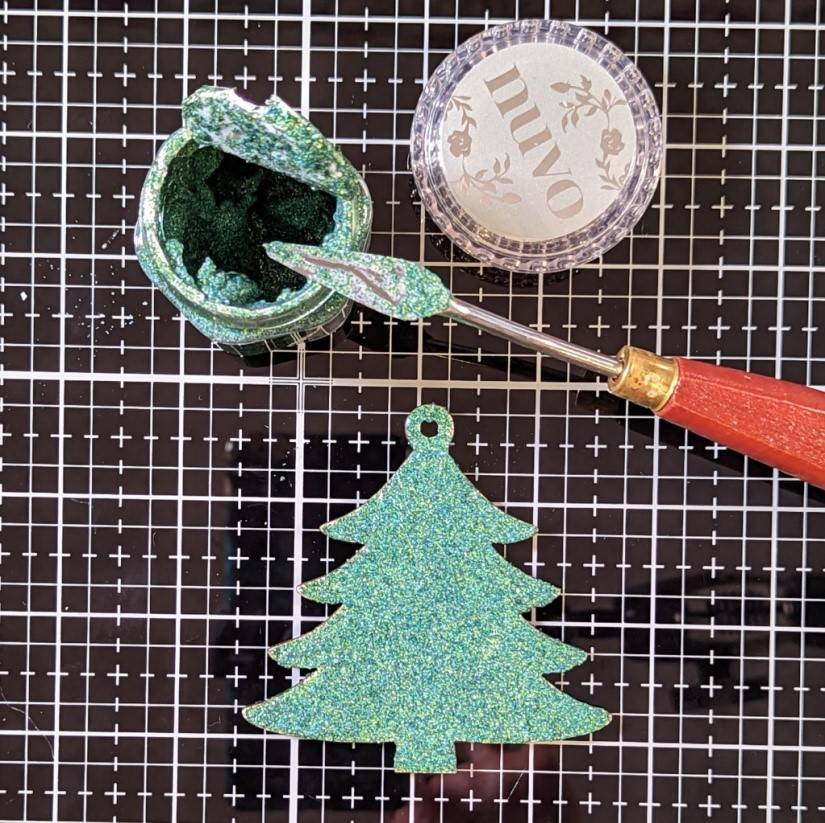
Here I applied ‘Nephrite Nebula’ Glimmer Paste using a small metal spatula with point.
Step 2
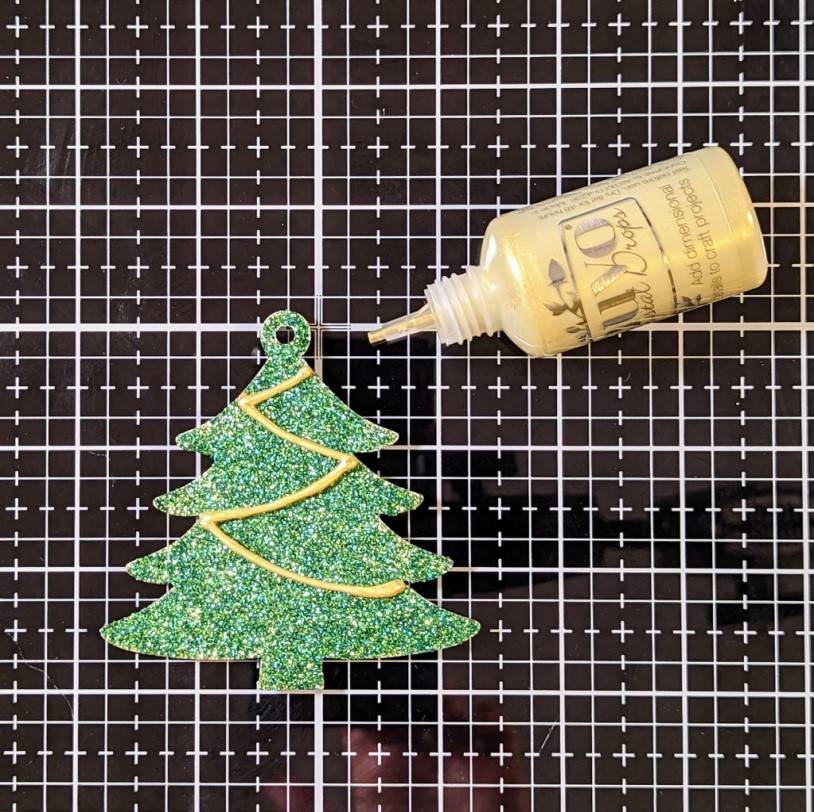
Once dry, I then added a tinsel line in gold crystal drops and set aside to dry once more.
Step 3
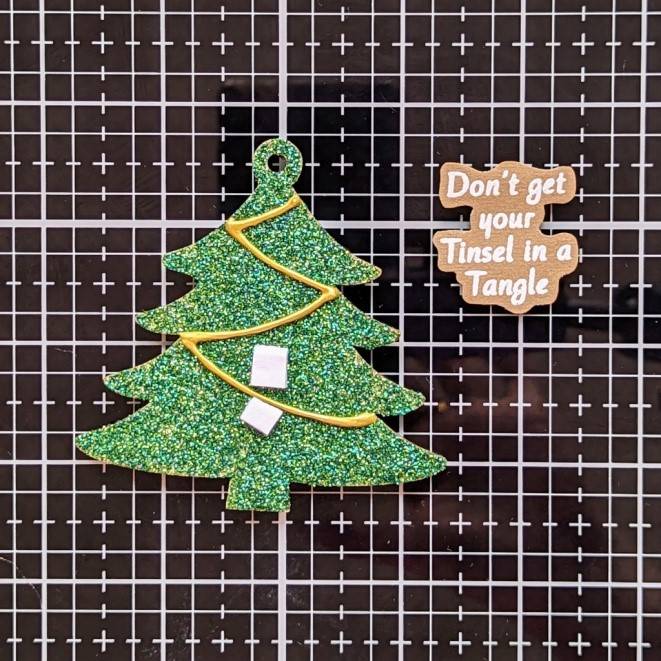
Either side of my bottom Nuvo Drop tinsel line, I stuck small pieces of foam fixers for adding the fussy cut sentiment to.
Step 4
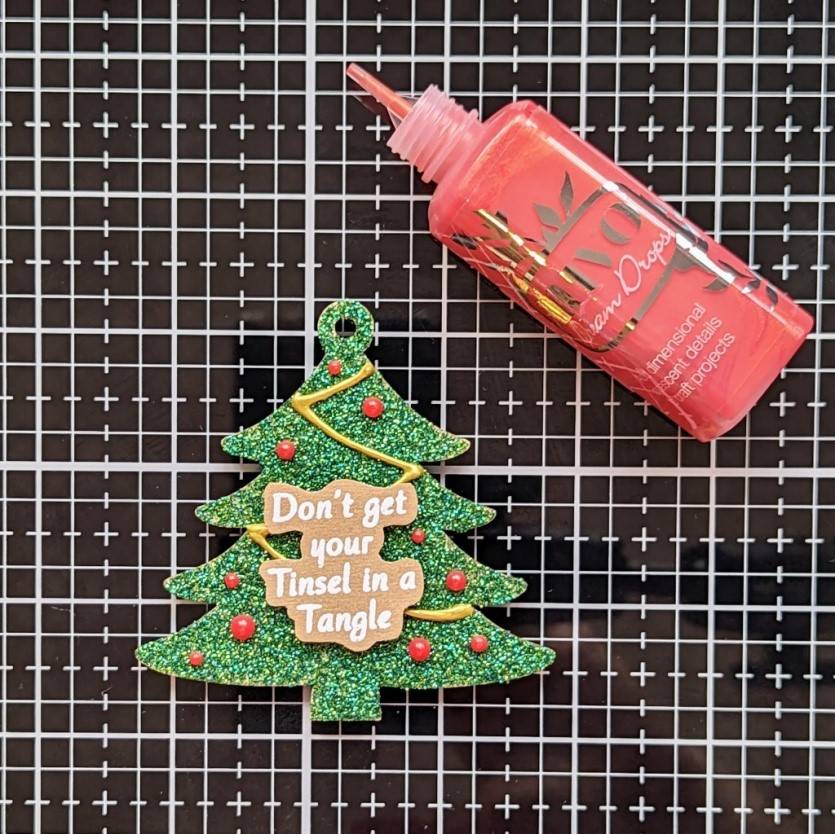
Finishing off with some red Dream Drops for baubles.
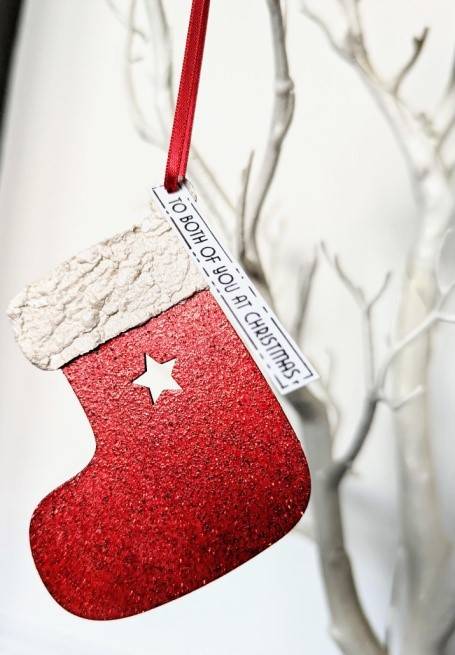
Embossed Christmas Stocking
Step 1
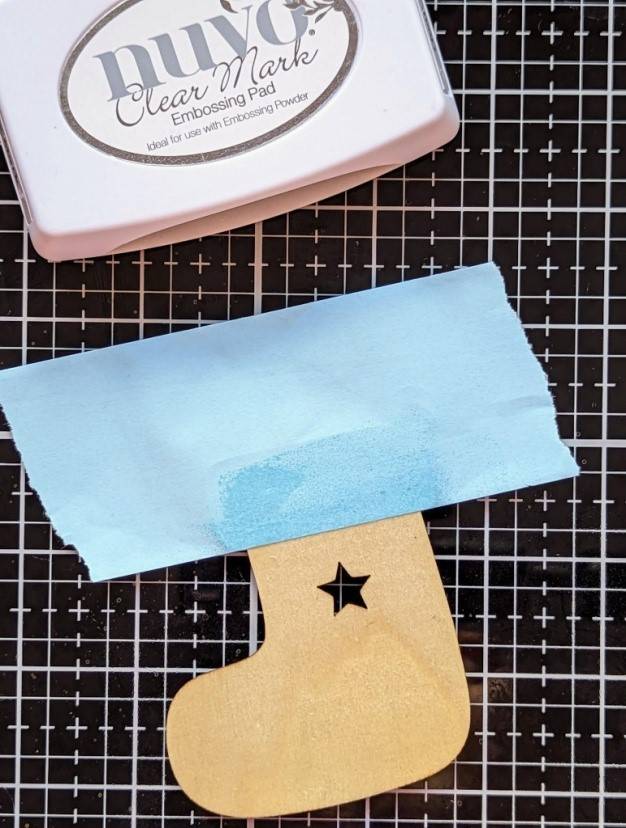
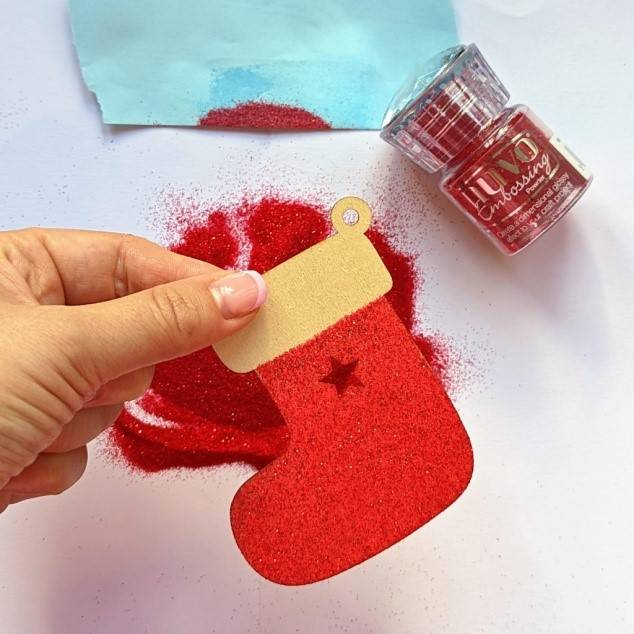
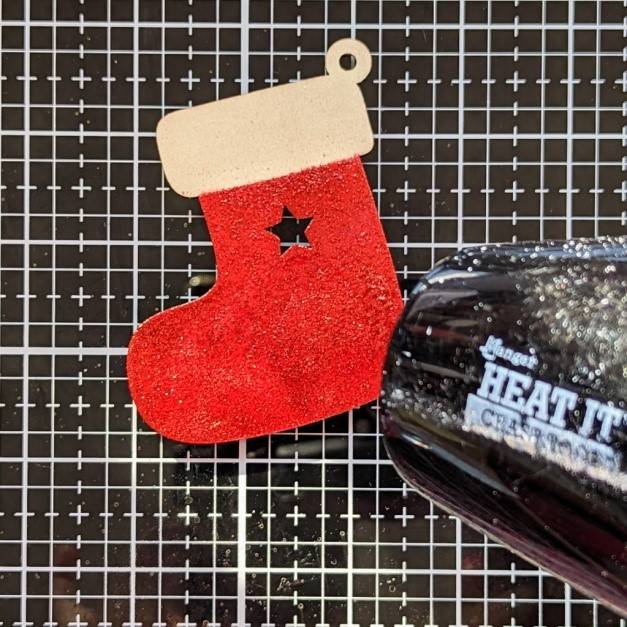
With the stocking, I started by masking off the ‘cuff’ at the top and then applied Clear Mark which I then covered in ‘Sugared Strawberries’ Embossing Powder and heat set after removing the tape.
Step 2
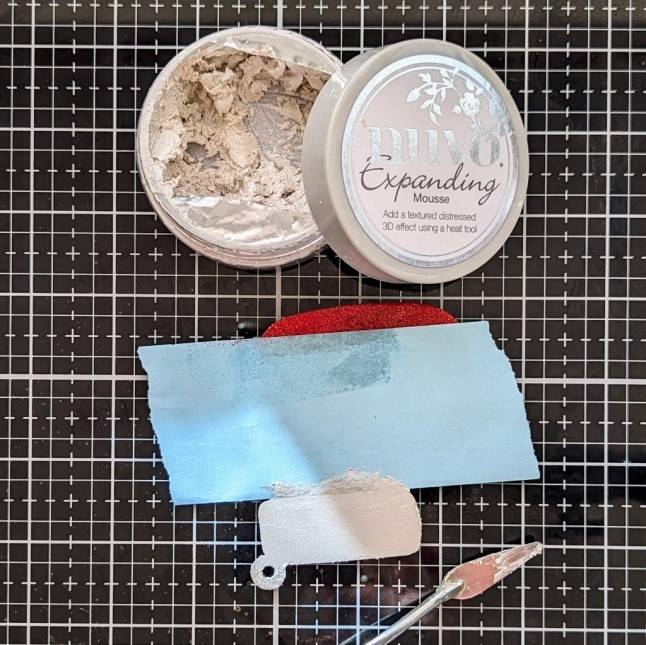
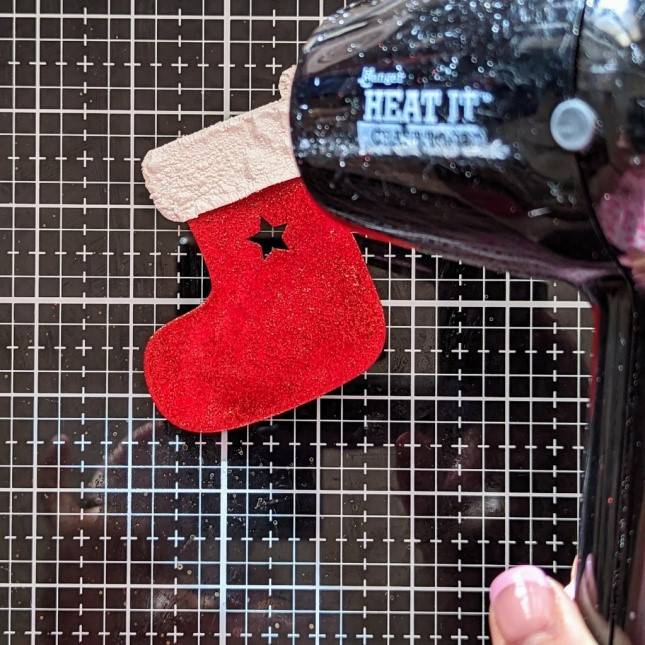
Reapplying the tape on the opposite side, I applied ‘Worn Linen’ Expanding Mousse using a small spatula, removed the tape again and heat set the mousse.
Step 3
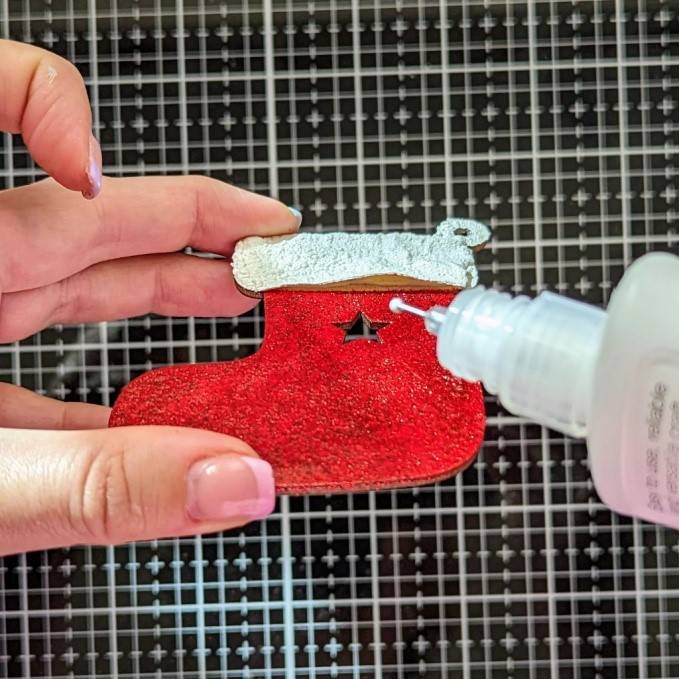
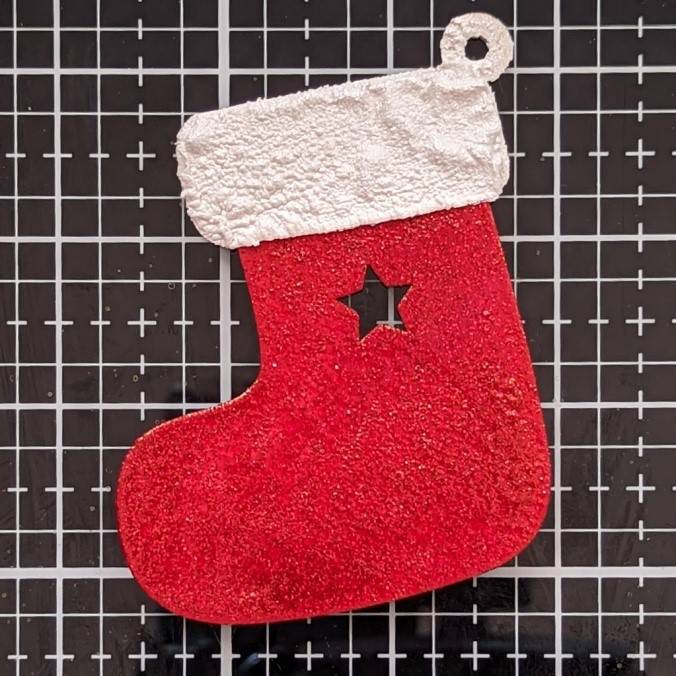
On the edge that meets the embossing powder I did get a little bit of lifting but this was easily fixed with some wet glue with a fine precision tip applicator.
Step 4
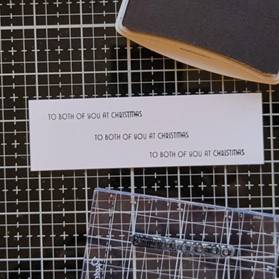
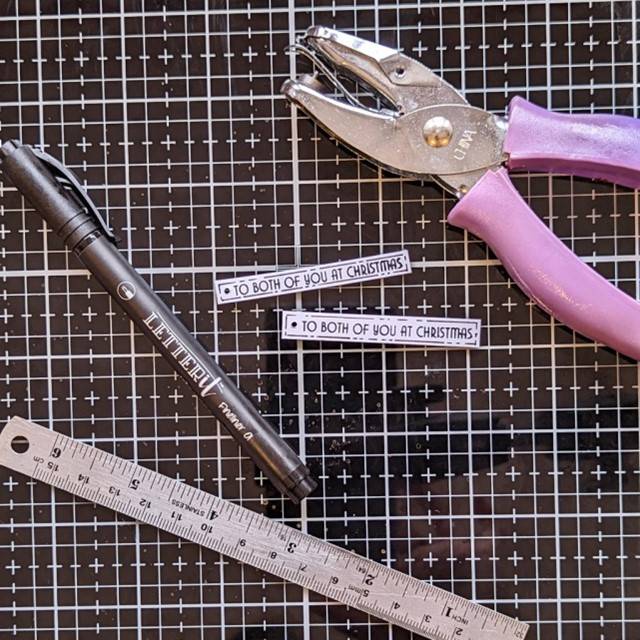
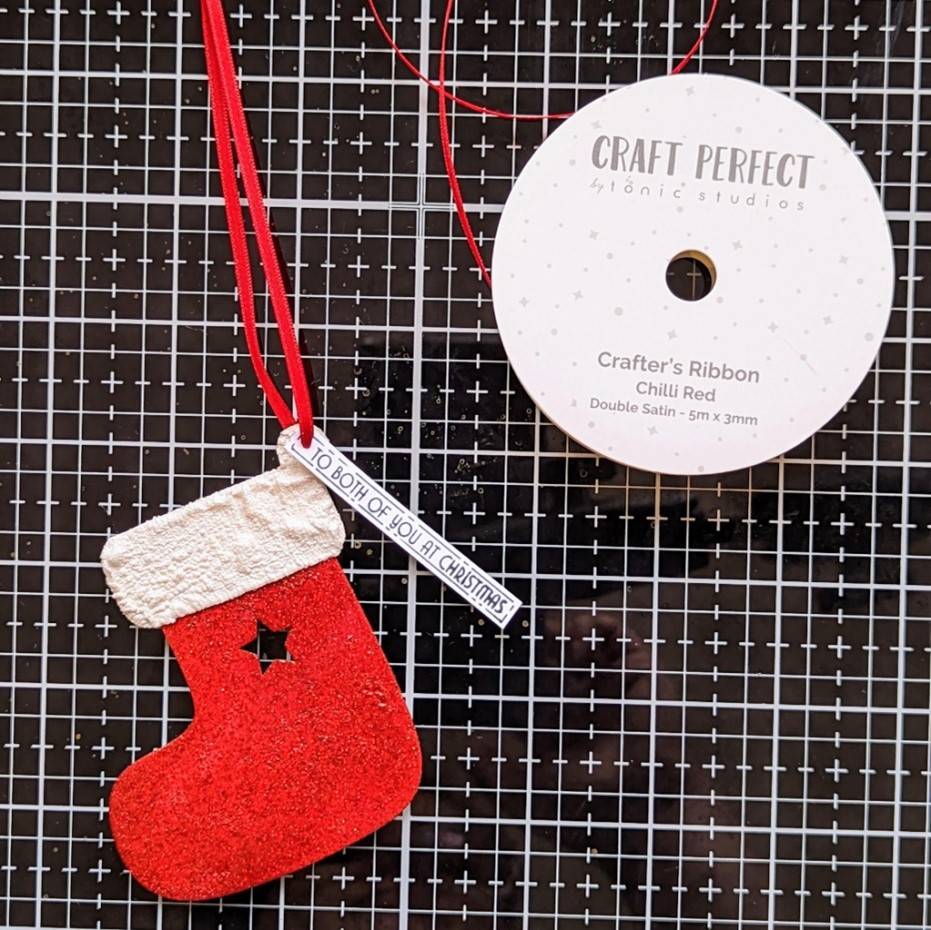
I finished off by stamping out the sentiment in black ink (I often do this a few times in case of mistakes) and trimmed down using long handled scissors. I added a thin border in fineliner pen and punched a small hole at the end to thread my ribbon through, before attaching the ribbon to hang the stocking from.
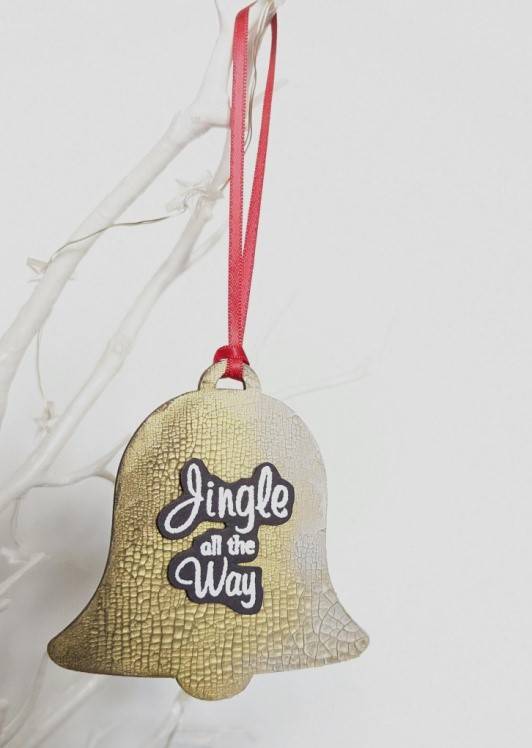
Crackle Mousse Bell
Step 1
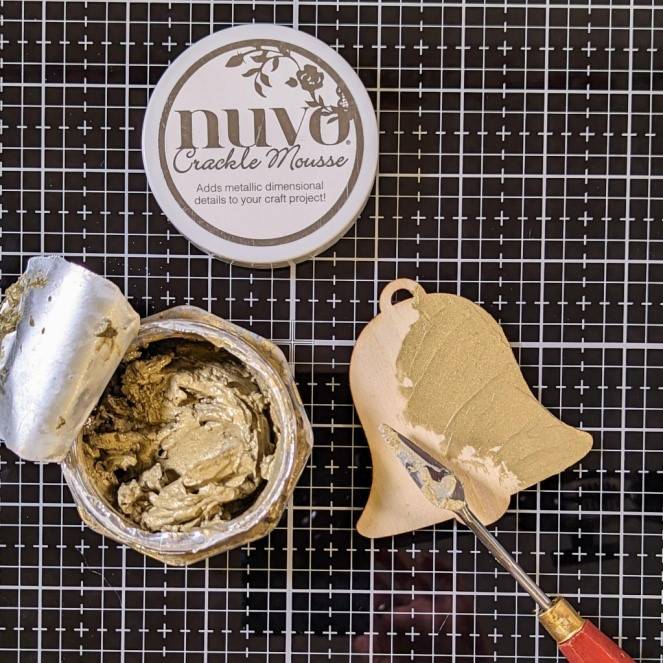
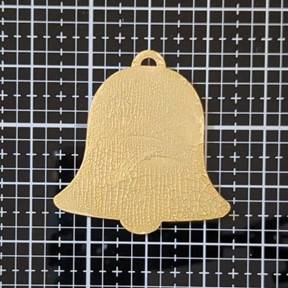
Using my small spatula again, I applied a relatively thin layer of Crackle Mousse to the bell shape, smoothing over the surface. I then left this to dry naturally for the crackles to do their magic and take shape!
Step 2
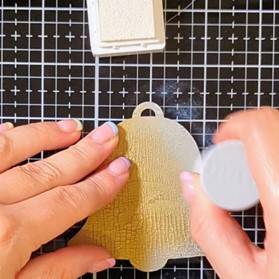
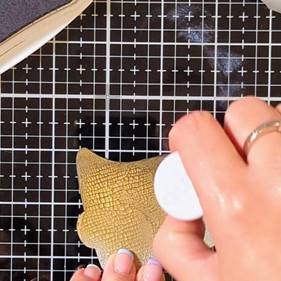
To add a little extra definition to the crackles and make the bell appear a little more 3D, I added some ink over the top: White pigment ink down one side and black hybrid ink down the other. Both with a blending dauber.
Step 3
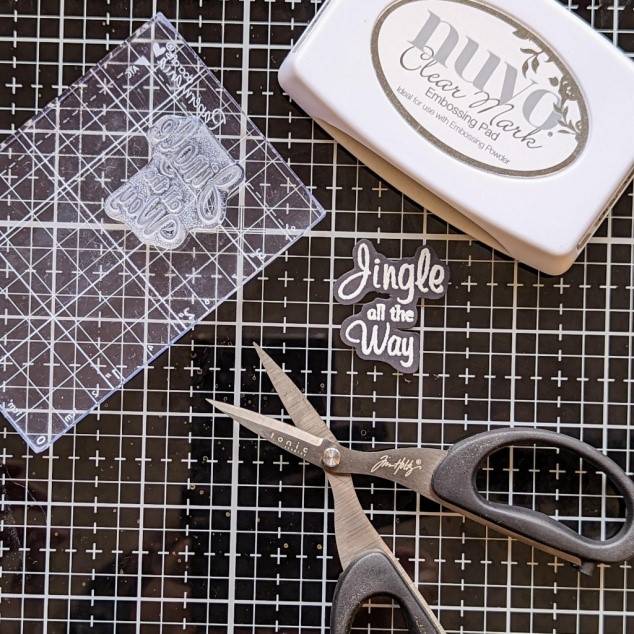
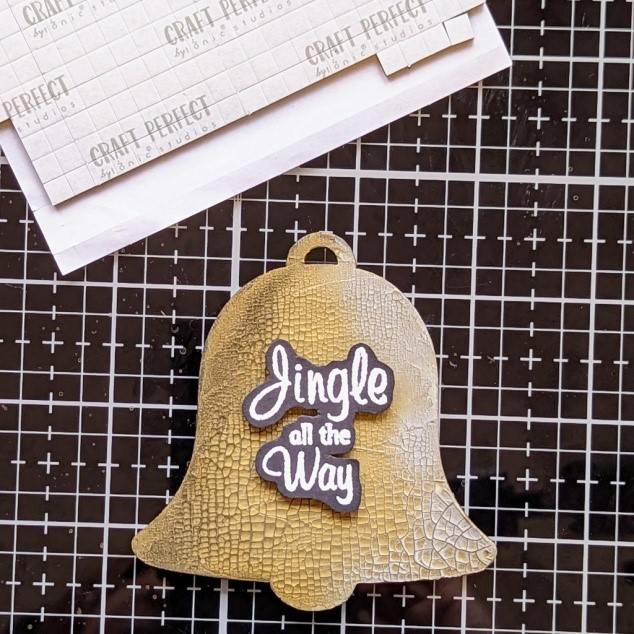
To finish off I heat embossed the ‘Jingle all the way’ sentiment in white embossing powder onto black cardstock, fussy cut it out and attached using foam pads.
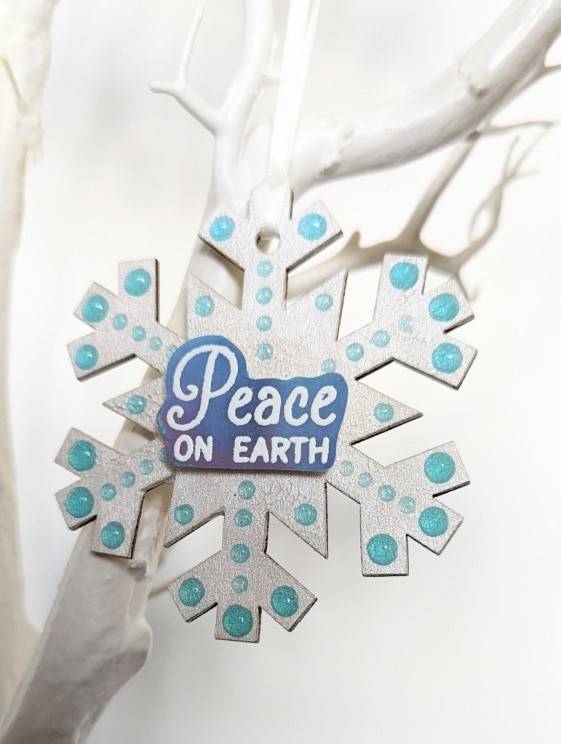
Expanding Mousse Snowflake With Jewel Drop Detail
Step 1
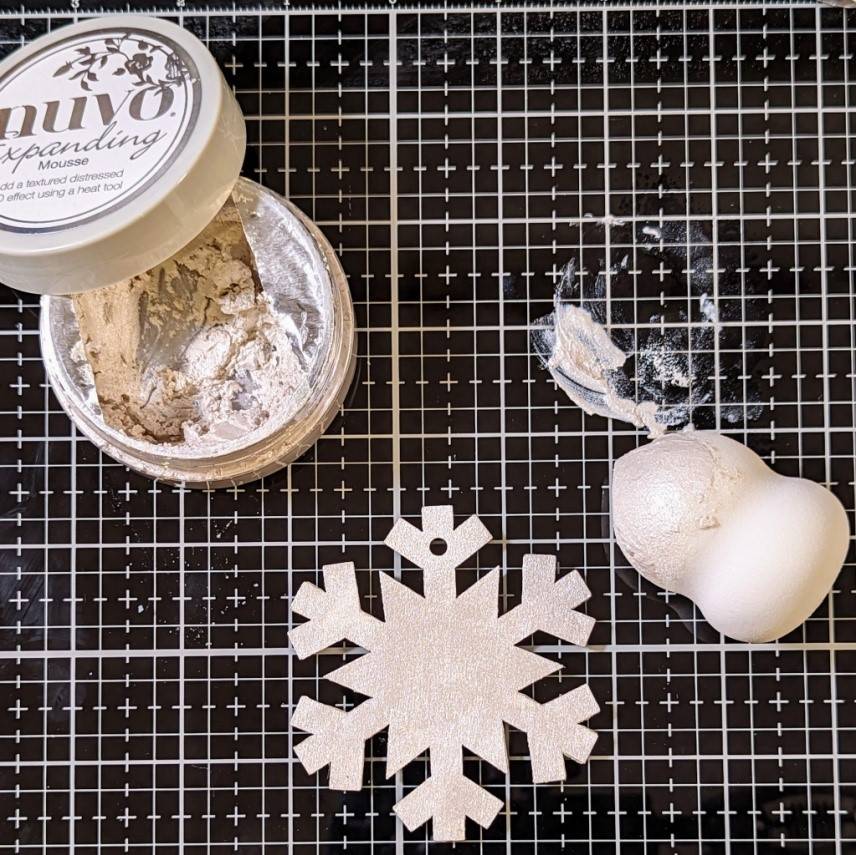
Did you know that Expanding Mousses can also be used like regular Nuvo Embellishment Mousses if left to dry naturally rather than be heat set?!
Here I applied some of the mousse using a sponge applicator and left it to dry. (It has a very short drying time).
Step 2
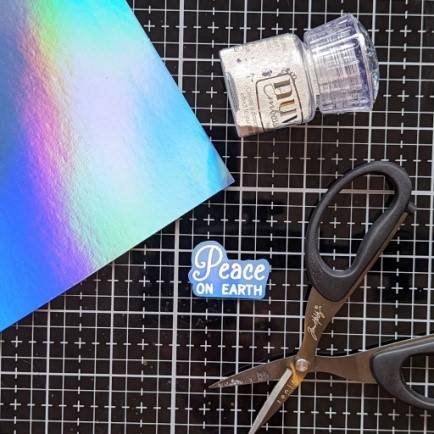
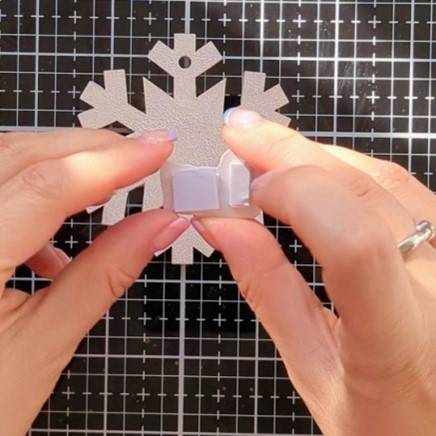
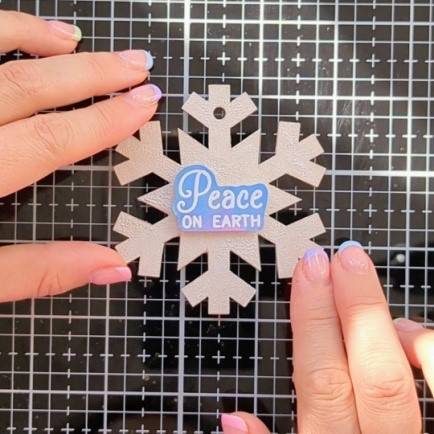
I then heat embossed the ‘Peace on Earth’ sentiment onto foiled cardstock and fussy cut.
(TIP: Allow your heat tool to heat up properly first as the mirror effect on foil card can be affected and turn ‘cloudy’ if exposed to heat for too long. This way the embossing powders melt a lot more quickly and the exposure time is greatly reduced).
I then attached the sentiment to the centre of the snowflake using foam fixers.
Step 3
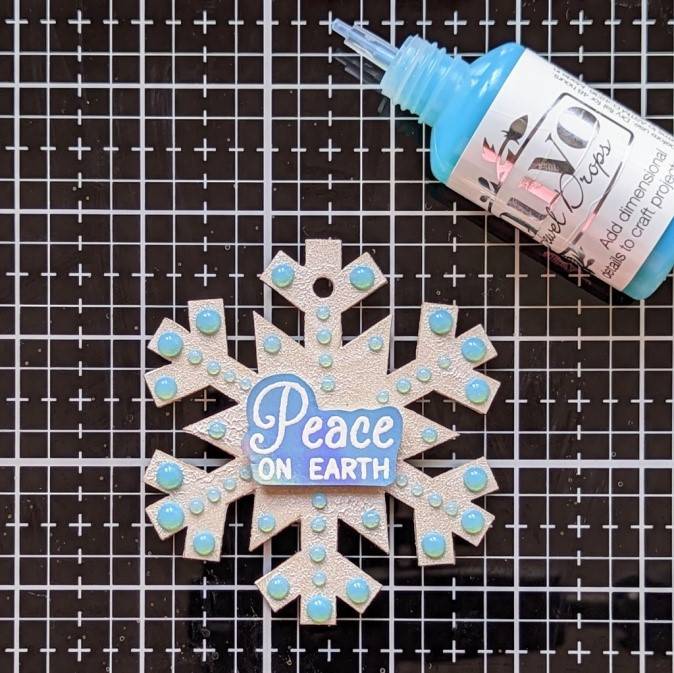
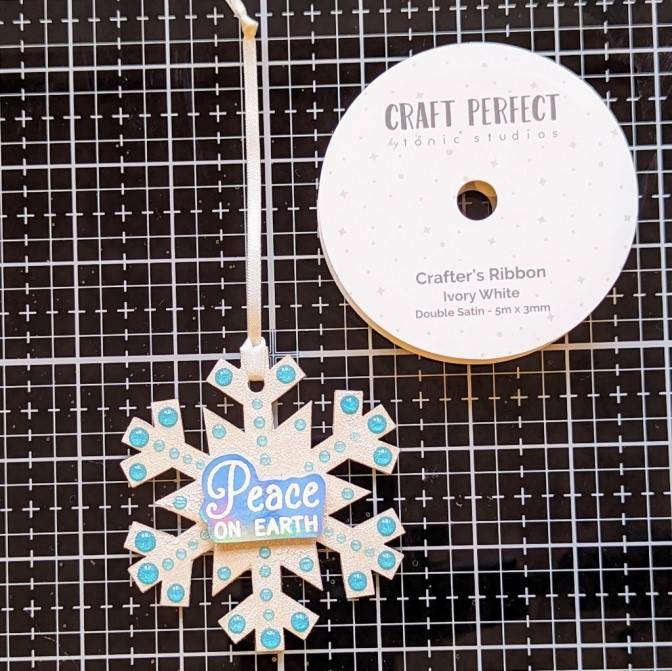
To give it it’s final ‘frosty’ finish, I applied numerous ‘Iceberg Blue’ Jewel Drops and once dry, attached to an ‘Ivory White’ 3mm ribbon.
I hope this has inspired you to have a play around with your Nuvo and try a little ‘mix-and-match’ with the different mediums!
As always, thank you so much for stopping by and taking the time to read my blog.
Wishing you all some very merry and happy Christmas crafting!
Kate x
To find me for other inspiration please head over to my Instagram page
@monsters_ink_studio
Crafting Essentials
