

If you loved the original Seasonal Shop Windows, you’re going to love these Christmas ones :D There’s so many more different accessories to decorate the shop base with, and they’ll coordinate fabulously with the elements from the Seasonal set too :D And this new base is also different, it has a scalloped top to the arch and a different set of lower windows so there’s even more options when picking which dies to use :D Below I’ve done a detailed step by step of how to assemble the basic shop window; this will work exactly the same for the previous Seasonal set too!
Not only are all the pieces brilliant for the Shop Windows, they’re also great for using on your cards too :D And to show an example of that I’ve done a quick step by step of a card idea for you too :D Enjoy
Step 1

I’ve used different colours and types of card so you can easily identify which piece I’m talking about, but for yours you can cut everything from the same colour :D You will need 2 of the main piece, 2 of the interior window piece (you can add more or less as you like) with the windows cut in (again you can change this) and one base piece (if you want the base).
Step 2
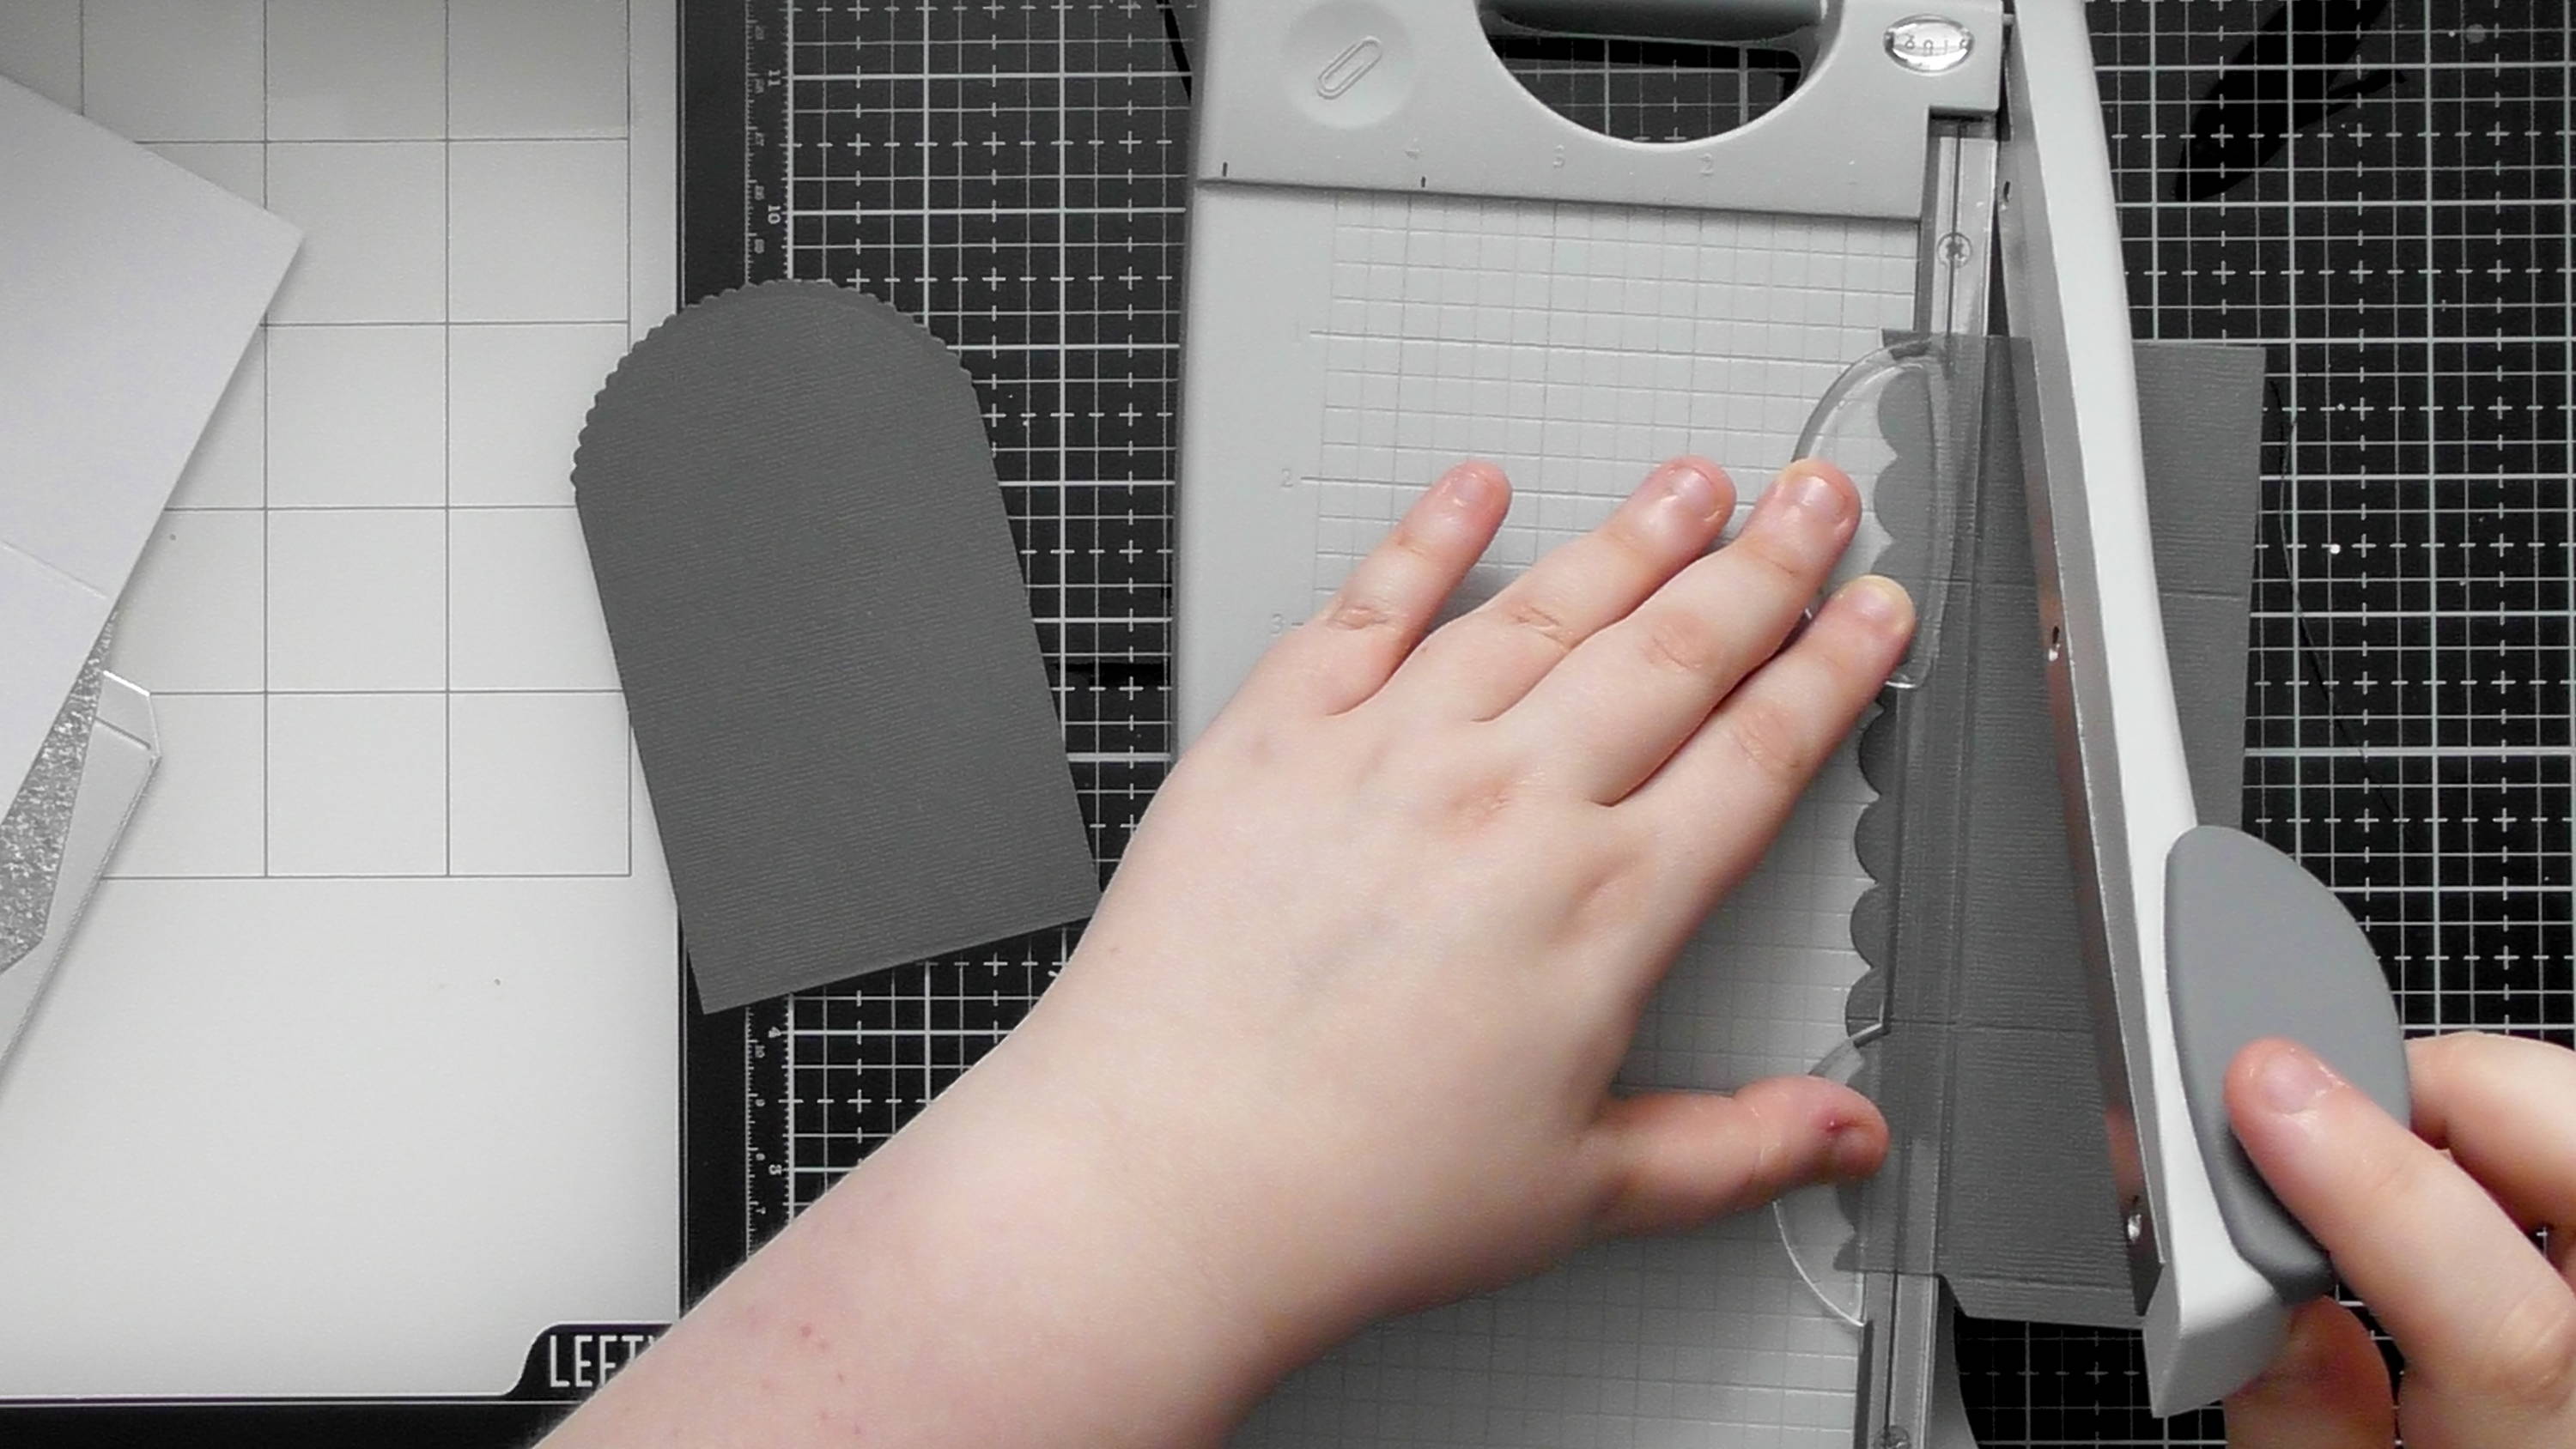
Take one of main panels, and trim off the large arch section, and the three scalloped pieces too.
Step 3
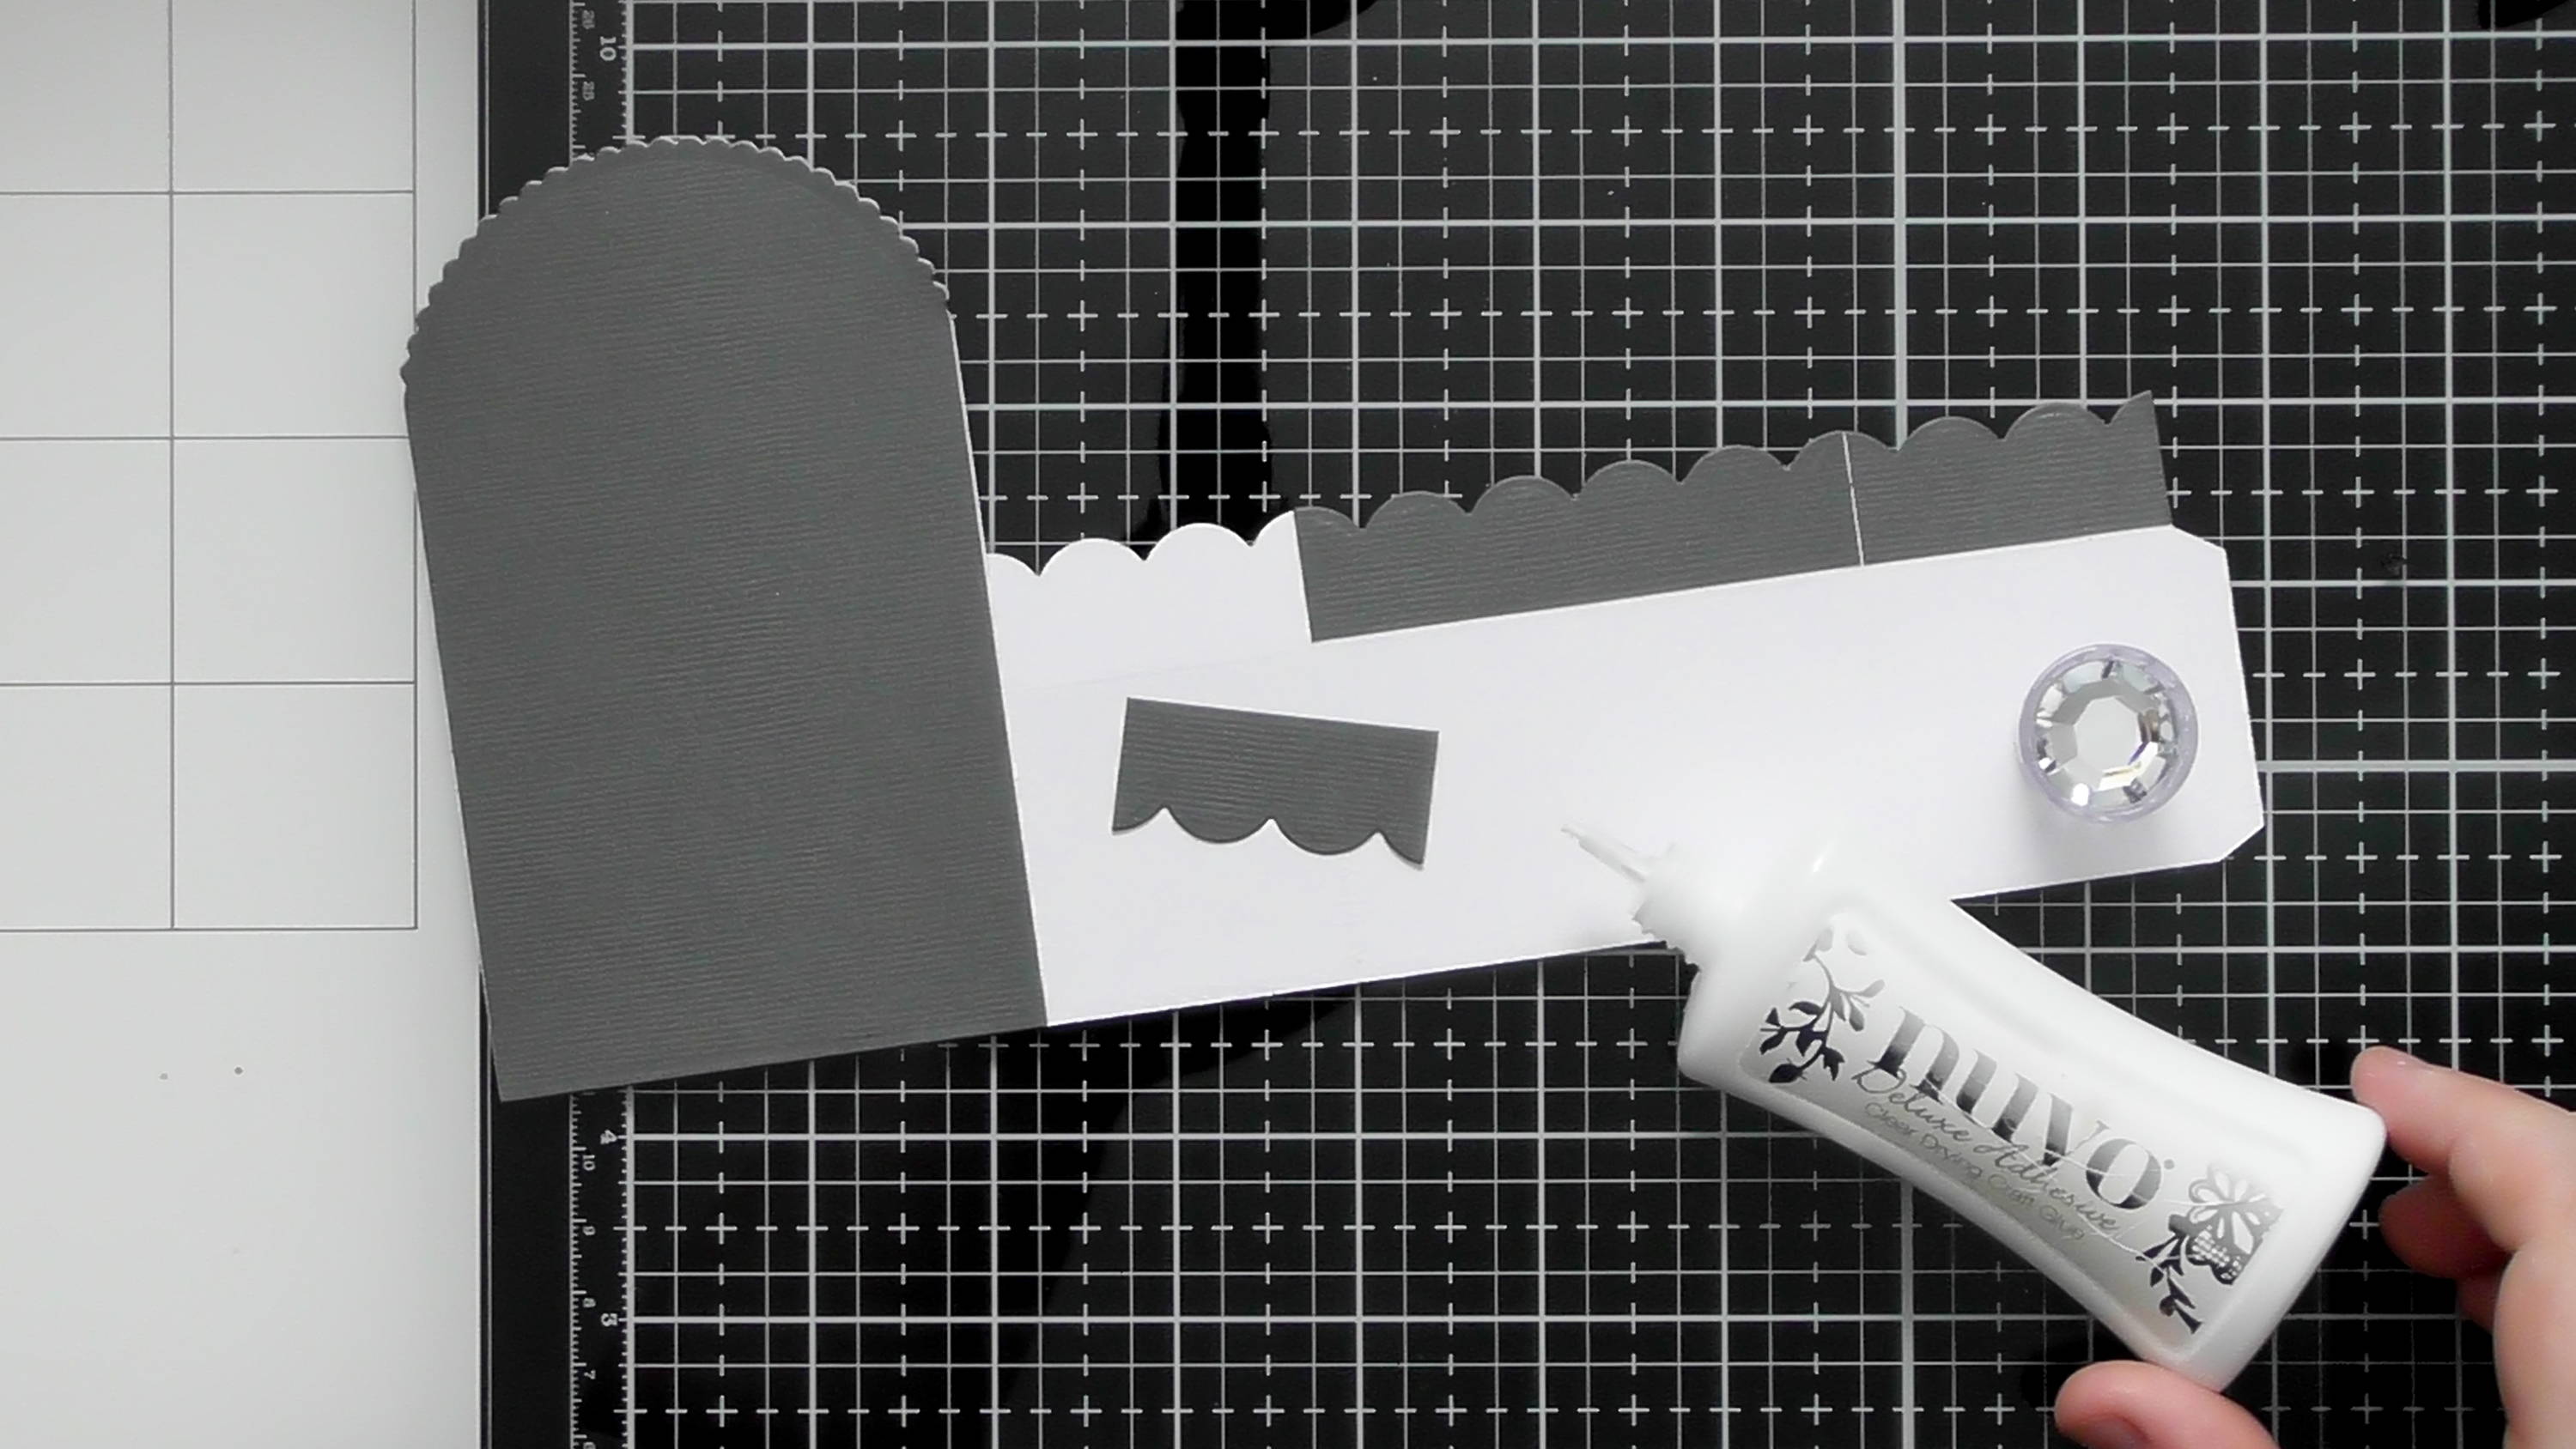
You then want to adhere these to the un-professional side of your other main panel die-cut. As we fold the box you’ll be able to see both sides of the card, and I think this is the best way to hide the back of the card.
Step 4

Add adhesive as shown to these 3 pieces.
Step 5
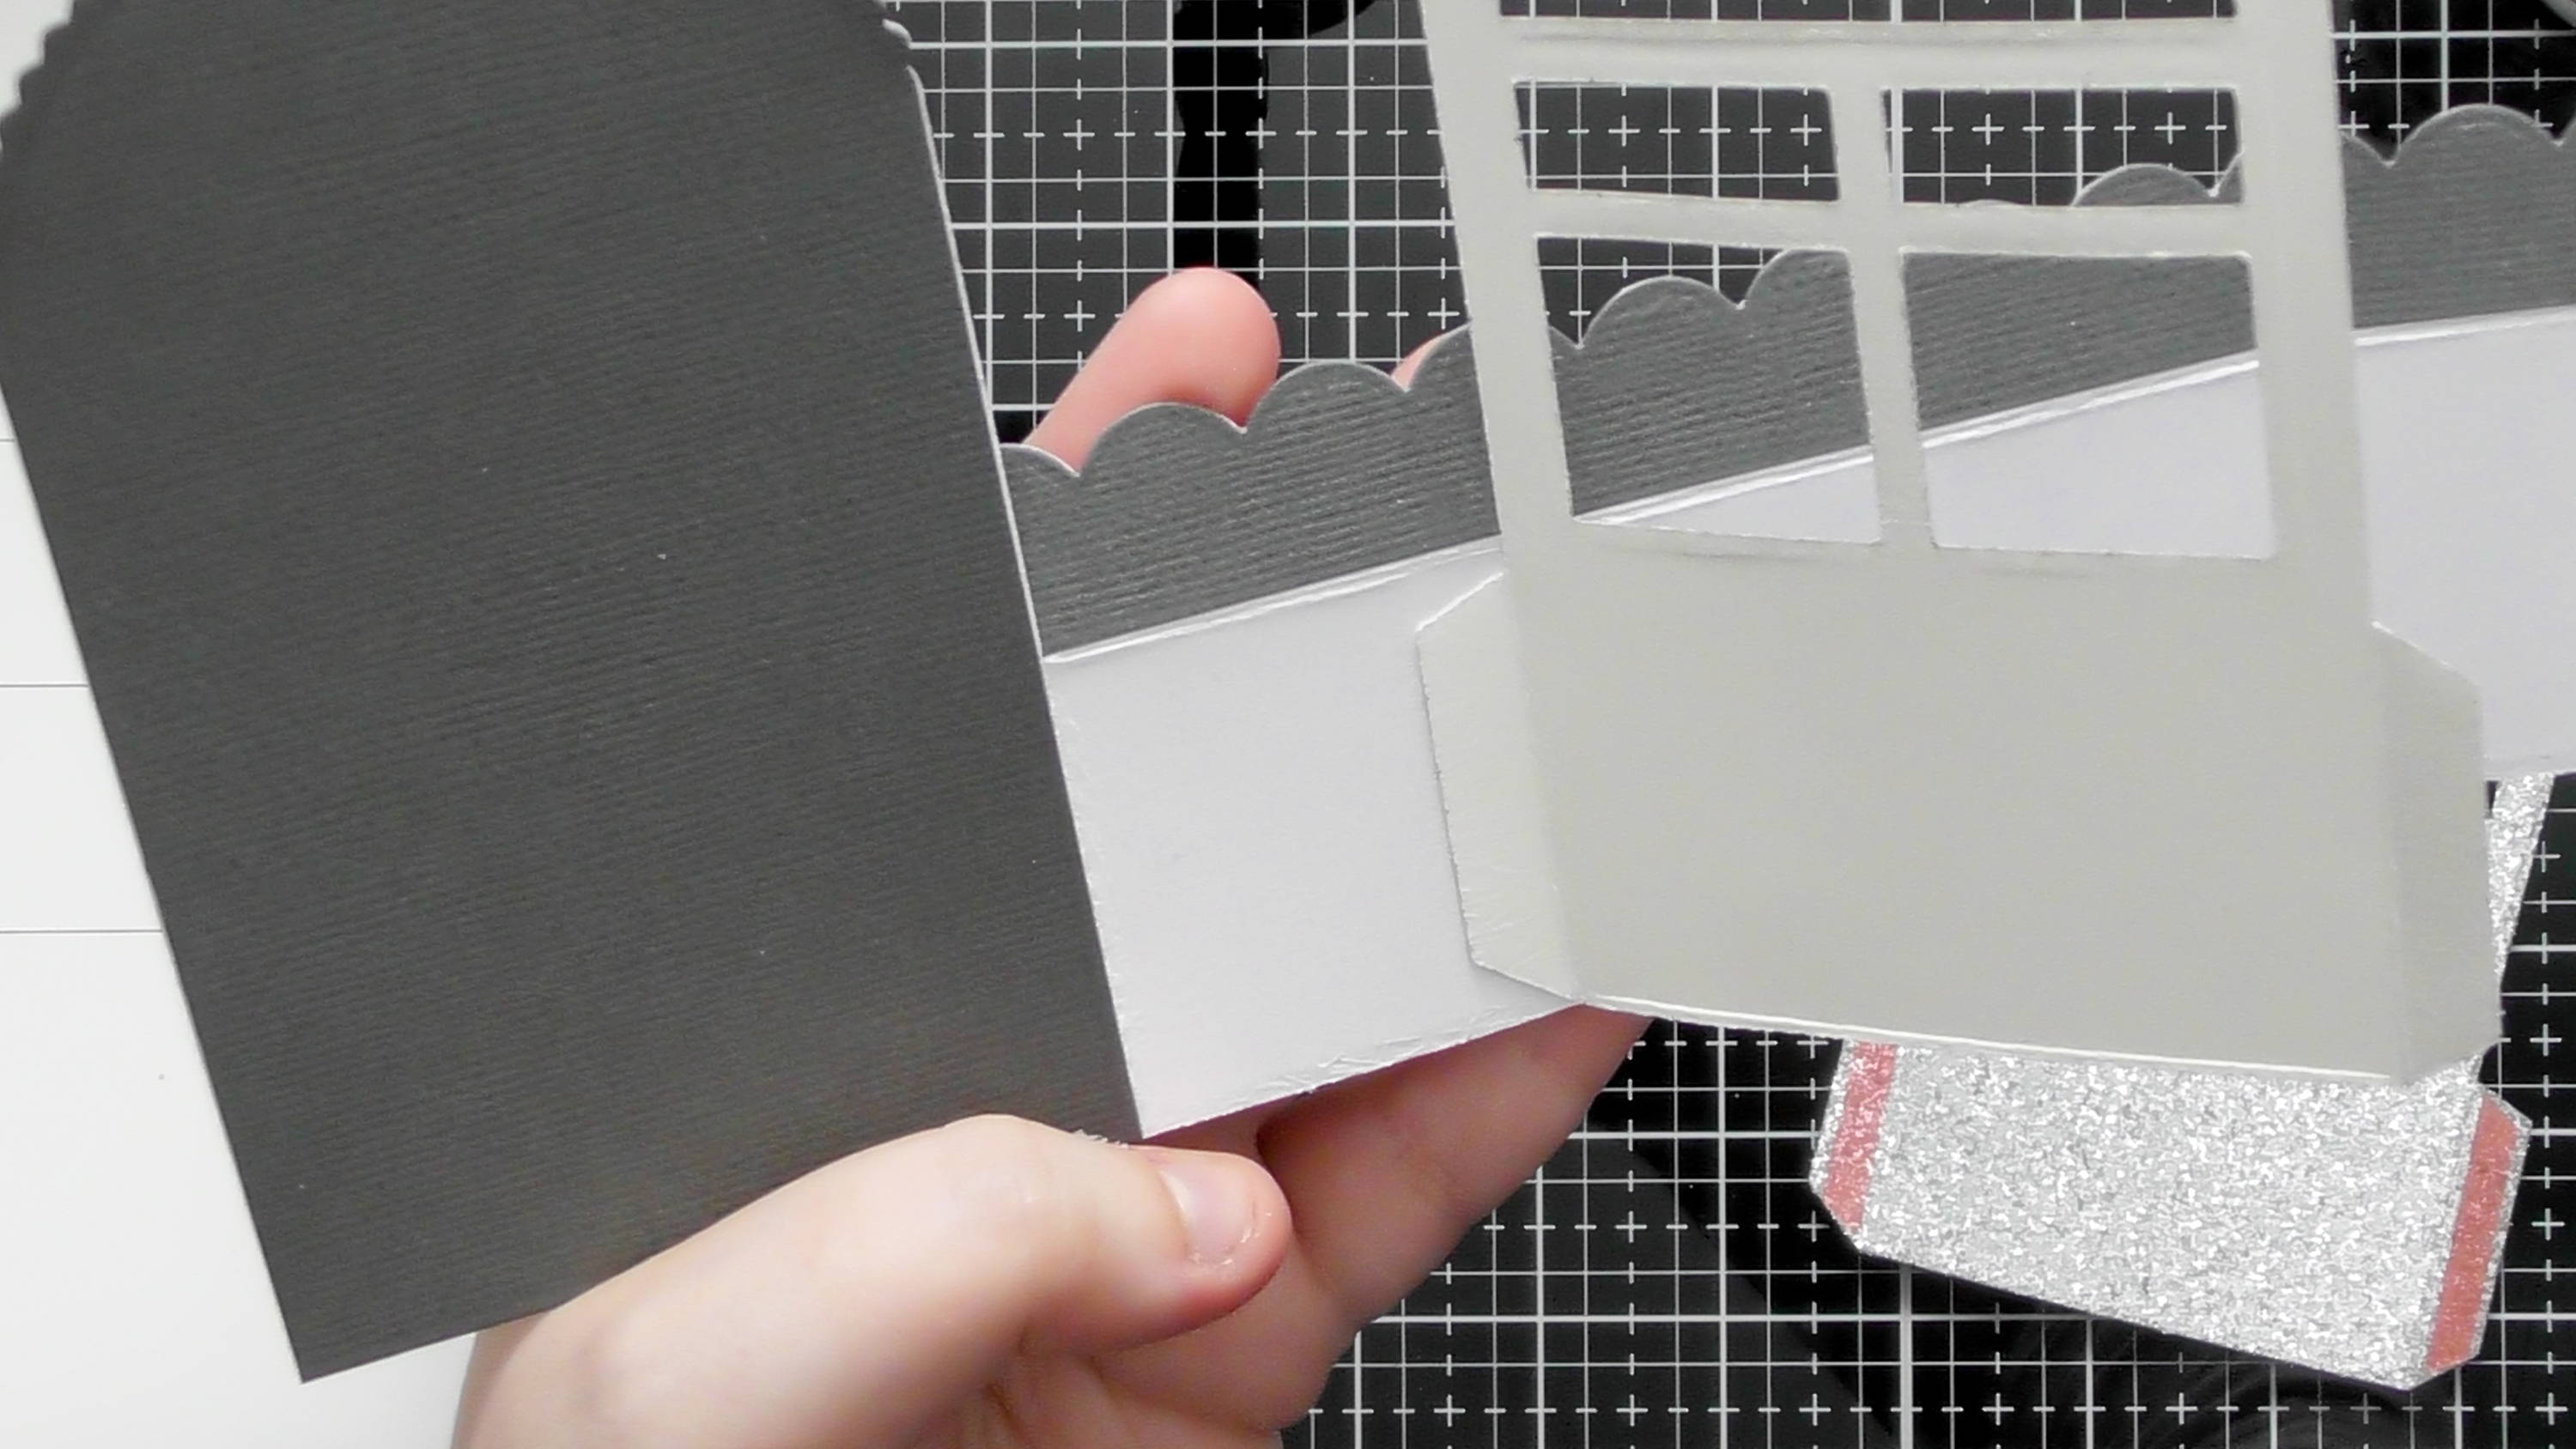
The easiest way to assemble the main shop window base is to stick one side of your interior panel down first while the box is dismantled. As shown, make sure the professional side of your interior panels is facing forward.
Step 6
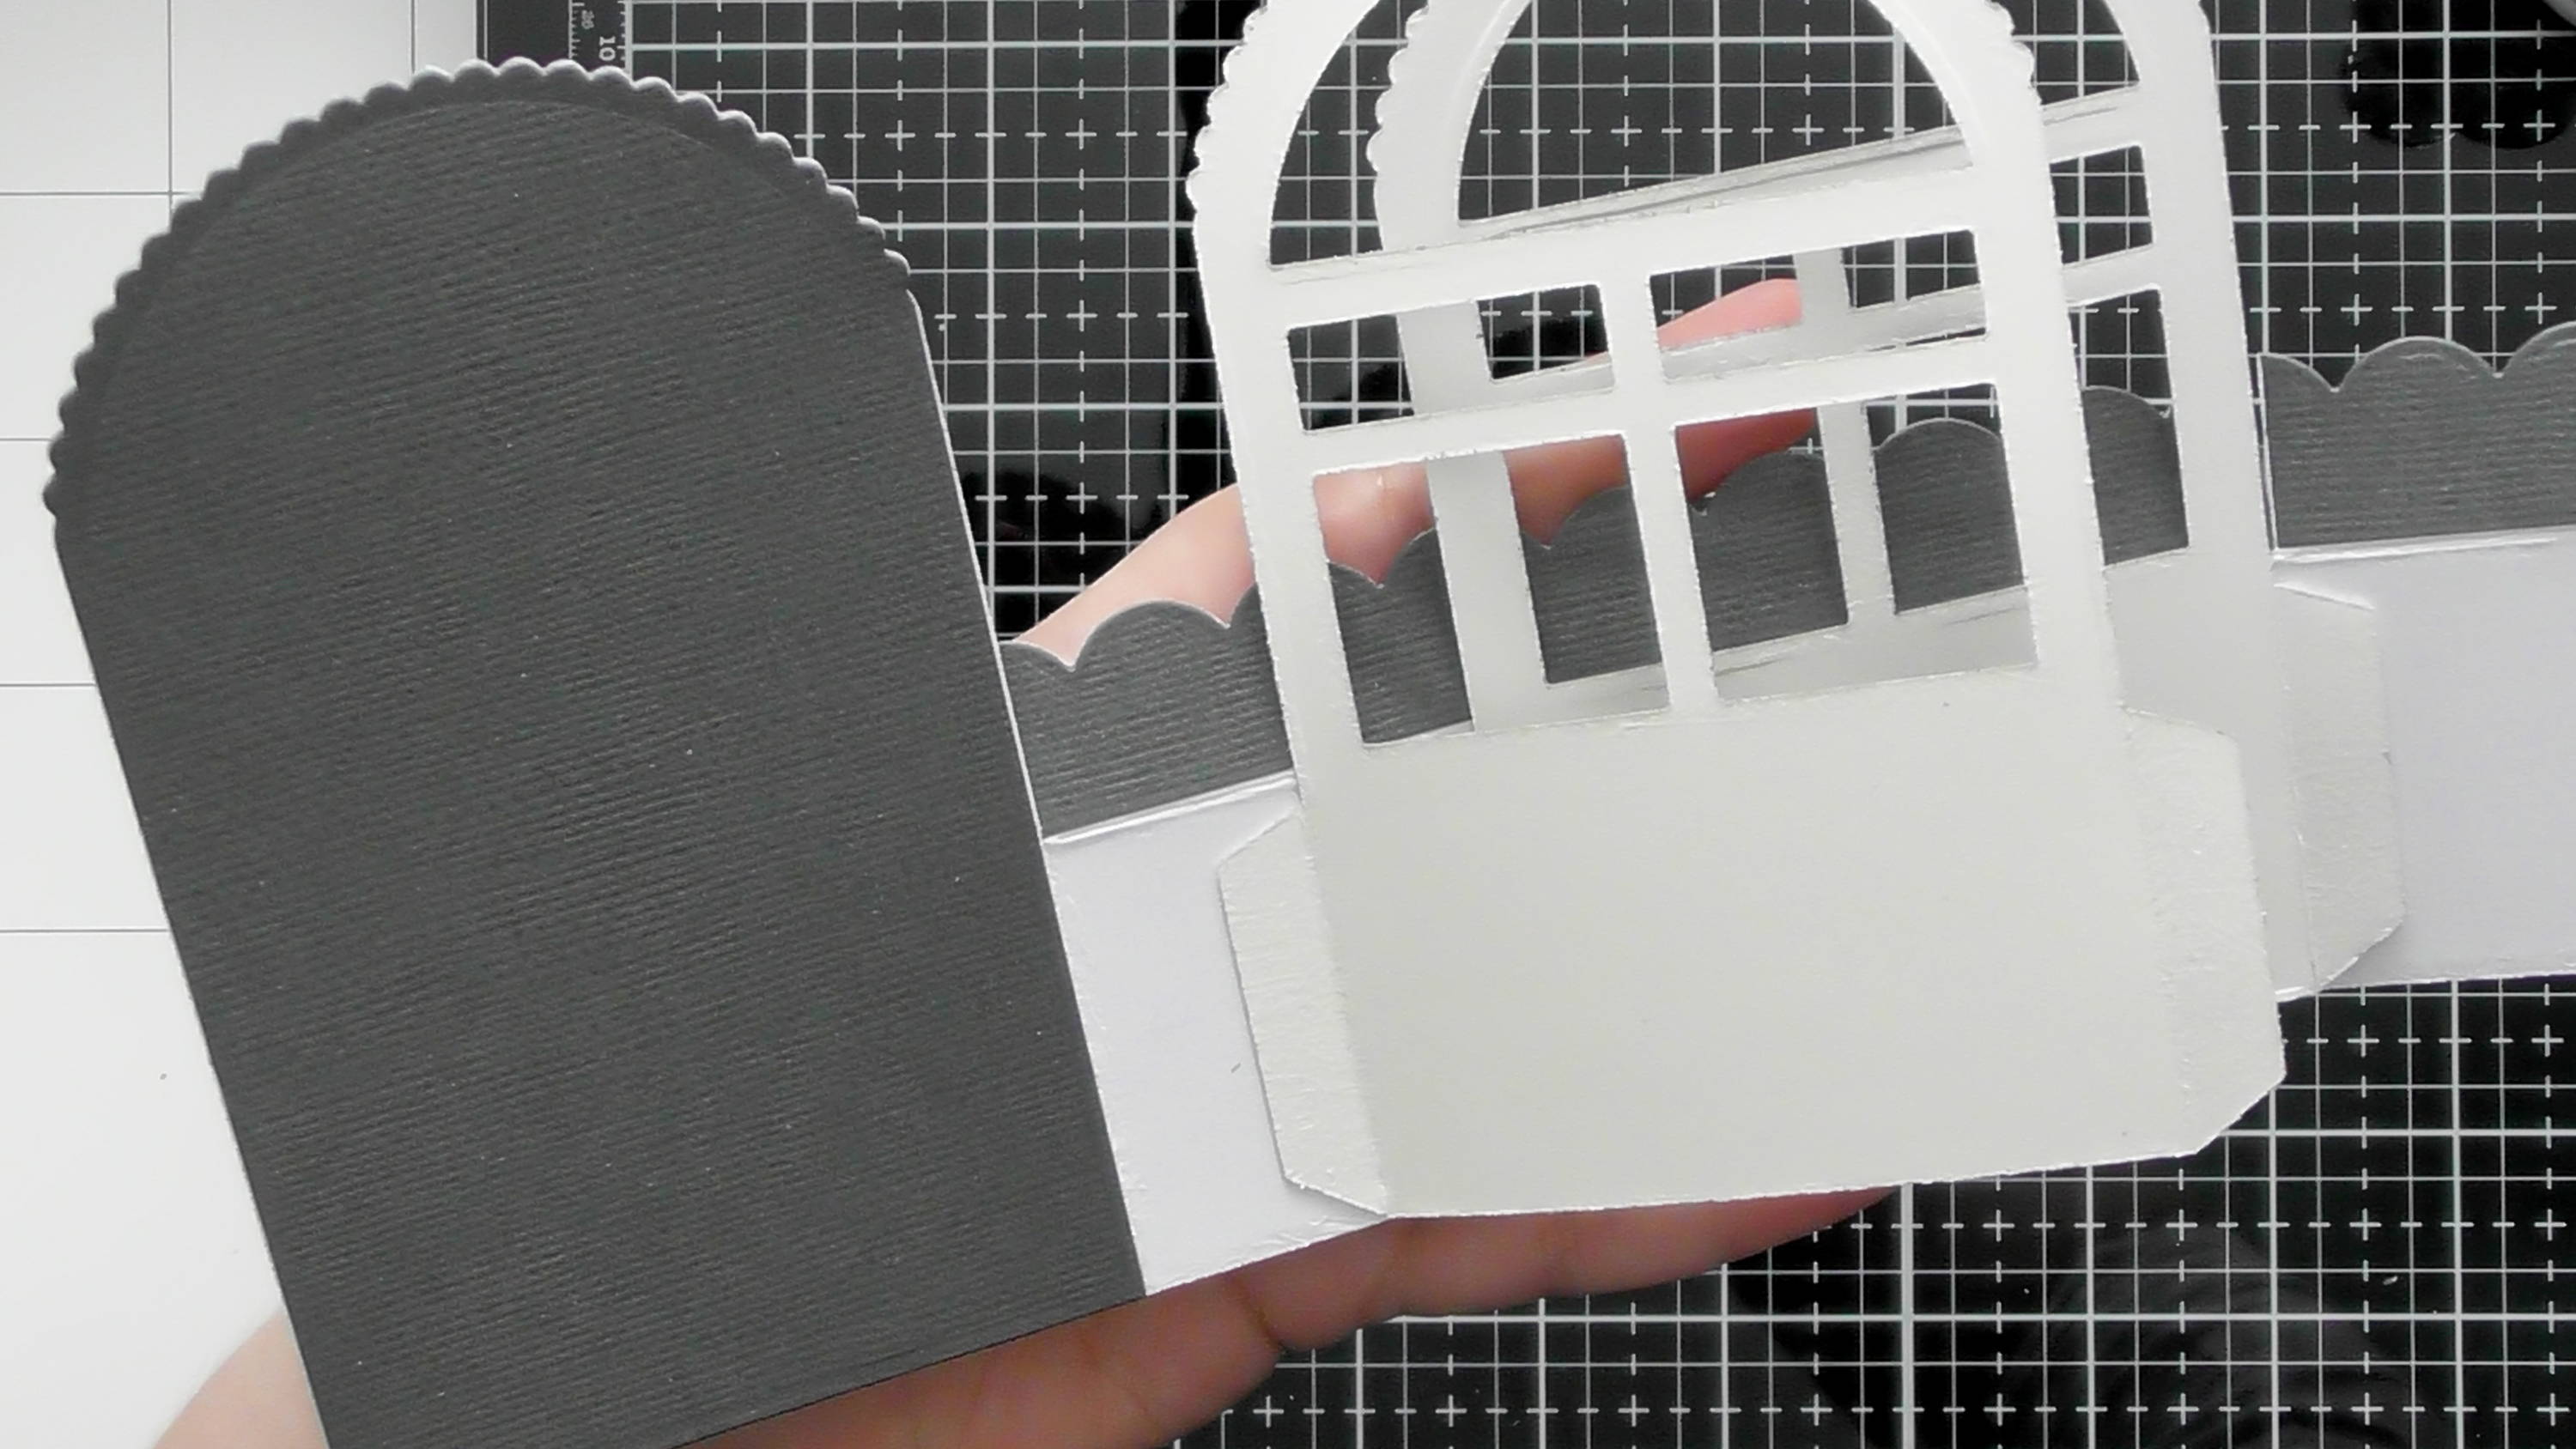
Then take the second panel and adhere one glue tab as shown too, again make sure the professional side is facing forward and you also want to make sure the bottoms are all level too.
Step 7

Now lay your piece out like this, and you can see the professional/pretty side of my pieces is facing up. Remove the backing from the tape of the two interior window pieces.
Step 8

Fold the front portion over, making sure the all the bottom edges are in line as you press it into place. Assembling it this was ensures that the box will fold flat, so if you wanted that to be an option or you wanted to put it inside a card you know it’ll fold completely flat and would then also fit inside an envelope too.
Step 9

You’ve now just got to secure that final glue tab, seen on the right hand side in the Step 7 photo to the back of the window and there you have it ready to fully decorate.
Step 10

If you want to be more of a decoration rather than a card, you can add the base. Add the adhesive to the tabs as shown in the photo.
Step 11

Then attach it one side at a time to the base of the window
Step 12

It will not fold flat now. But is now ready to be fully decorated with all the extra dies
Bonus Card Make!
Step 1

Cut a piece of white card to 10 x 13 cm for your main piece, another strip that is 10 cm wide, and use your scissors to cut a snow slope. Then die-cut three trees (grass and fern green), one delicate branchy tree (green mirror), 5 snowflakes (silver mirror), a lamp post (black), 2 sets of fairy lights (dark green), both semi-circle sentiments (black), and you’ll also need a scrap of yellow card too.
Step 2

You’ll need these for step 3, a light yellow marker and a glittery Nuvo crystal drop too.
Step 3

Begin to assemble the card as shown, Layer the yellow card behind the top of the lamp post and trim the excess off, add your trees to the card first, overlapping as you see fit, and adding that branchy tree in too, add your lamppost over the top along with the snow slope over that to ground everything, then add your fairy lights to either side of the lamp post. Then take the items from Step 2, and use them to colour the bulbs of the lights and add a glittery finish too.
Step 4

You can also use some of the glitter drops elsewhere on the card too along with a scattering of snowflakes too, then for the sentiment, use your scissors to snip the words Christmas and Wishes out of the 2 semi-circle pieces, mat onto white and cut into a rectangle then simply add to your card. Or alternatively you could pick a sentiment from your stash, I just wanted to show a way of just using what’s in the die set.
Hope you found the full step by step of how to assemble the Shop window helpful and I hope you liked a little bit of inspiration for a clean and simple card using a few of the dies too :D Christine xxx
Buy The Craft Project
