

Hello everybody! Thanks for joining me today as I have a special project I’ve been working on for quite some time and let me warn you, this is a LONG tutorial as it covers a step-by-step for an entire 12 page memory book!
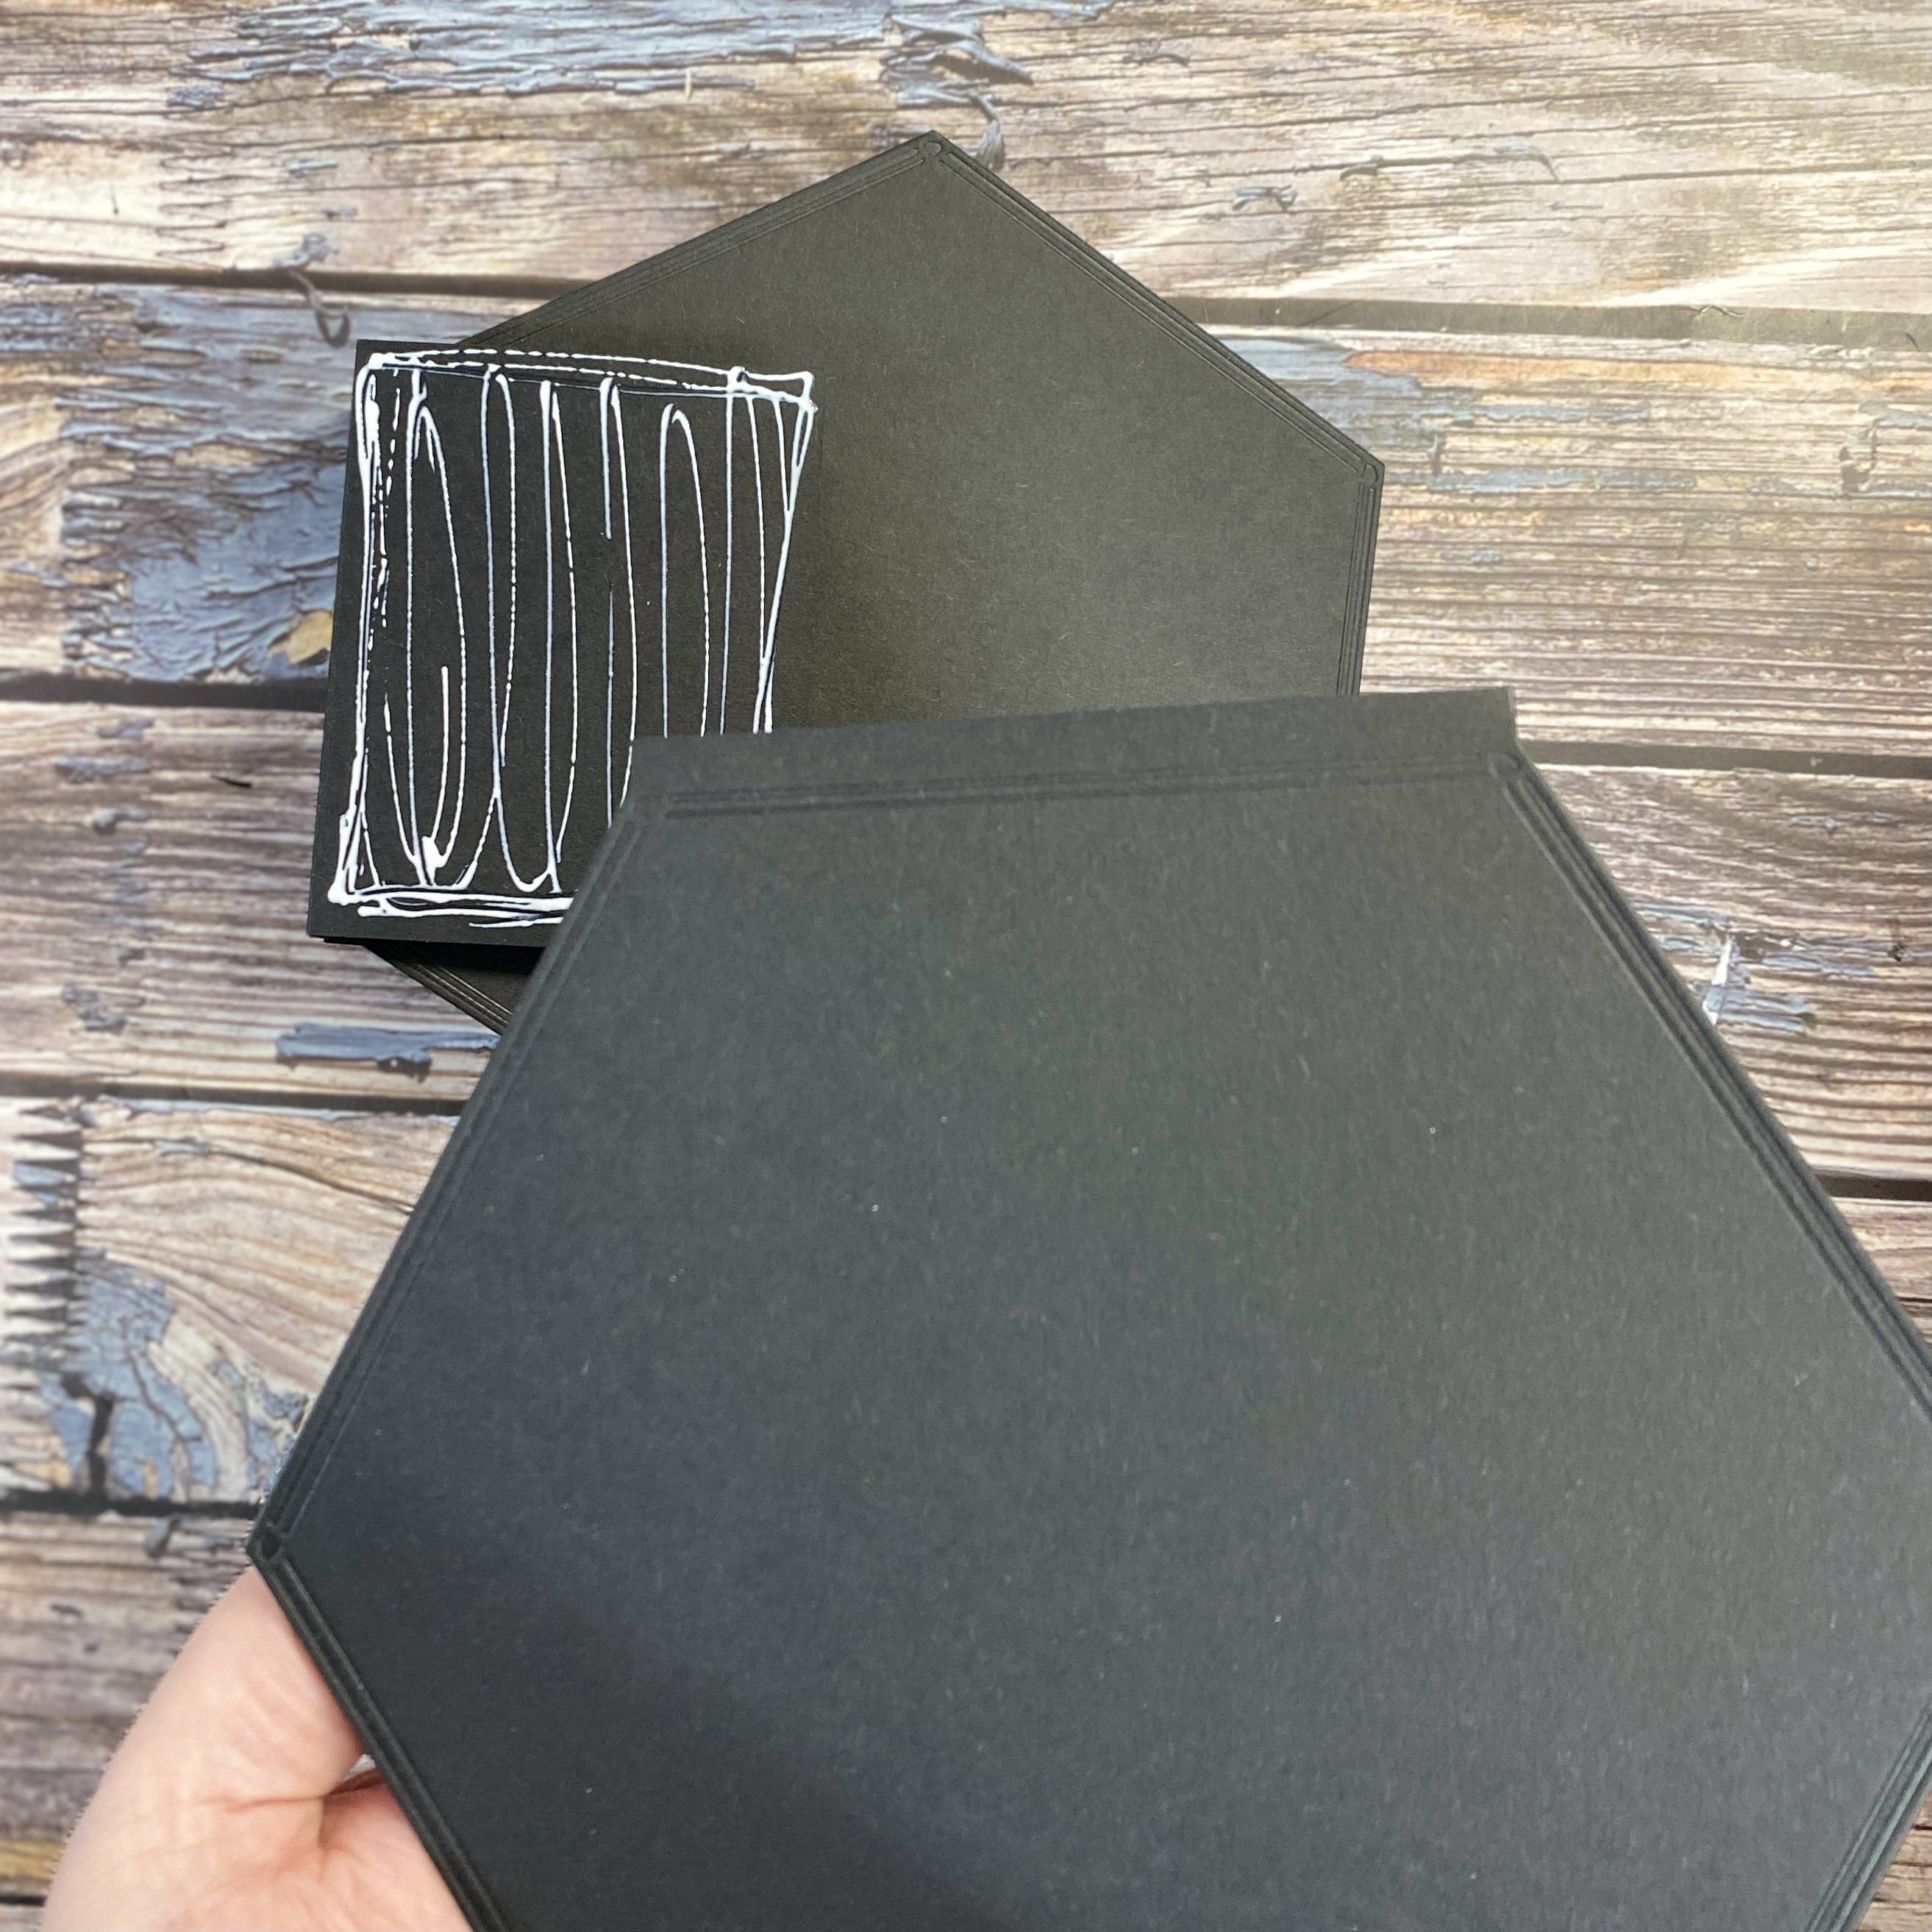
Welcome to the brand new Hexagonal range of My Memory Book Dies. Perfect for creating stand-out, quirky Memory Books, this brand new shape is an absolute essential for every Memory Bookmaker. Also new - the My Memory Book Staggered Stage Spine Creator die set brings two oft-requested spine widths to the crafter's arsenal. Perfect for creating spines for thin gap photo albums, large gap pocketed spreads or even a mixture of the two within the same book - this is another must-have addition to the range.
We’ve created a large and easy to create memory book, focusing on design and aesthetic. Lett’s get started!
THE SPINE
Step 1
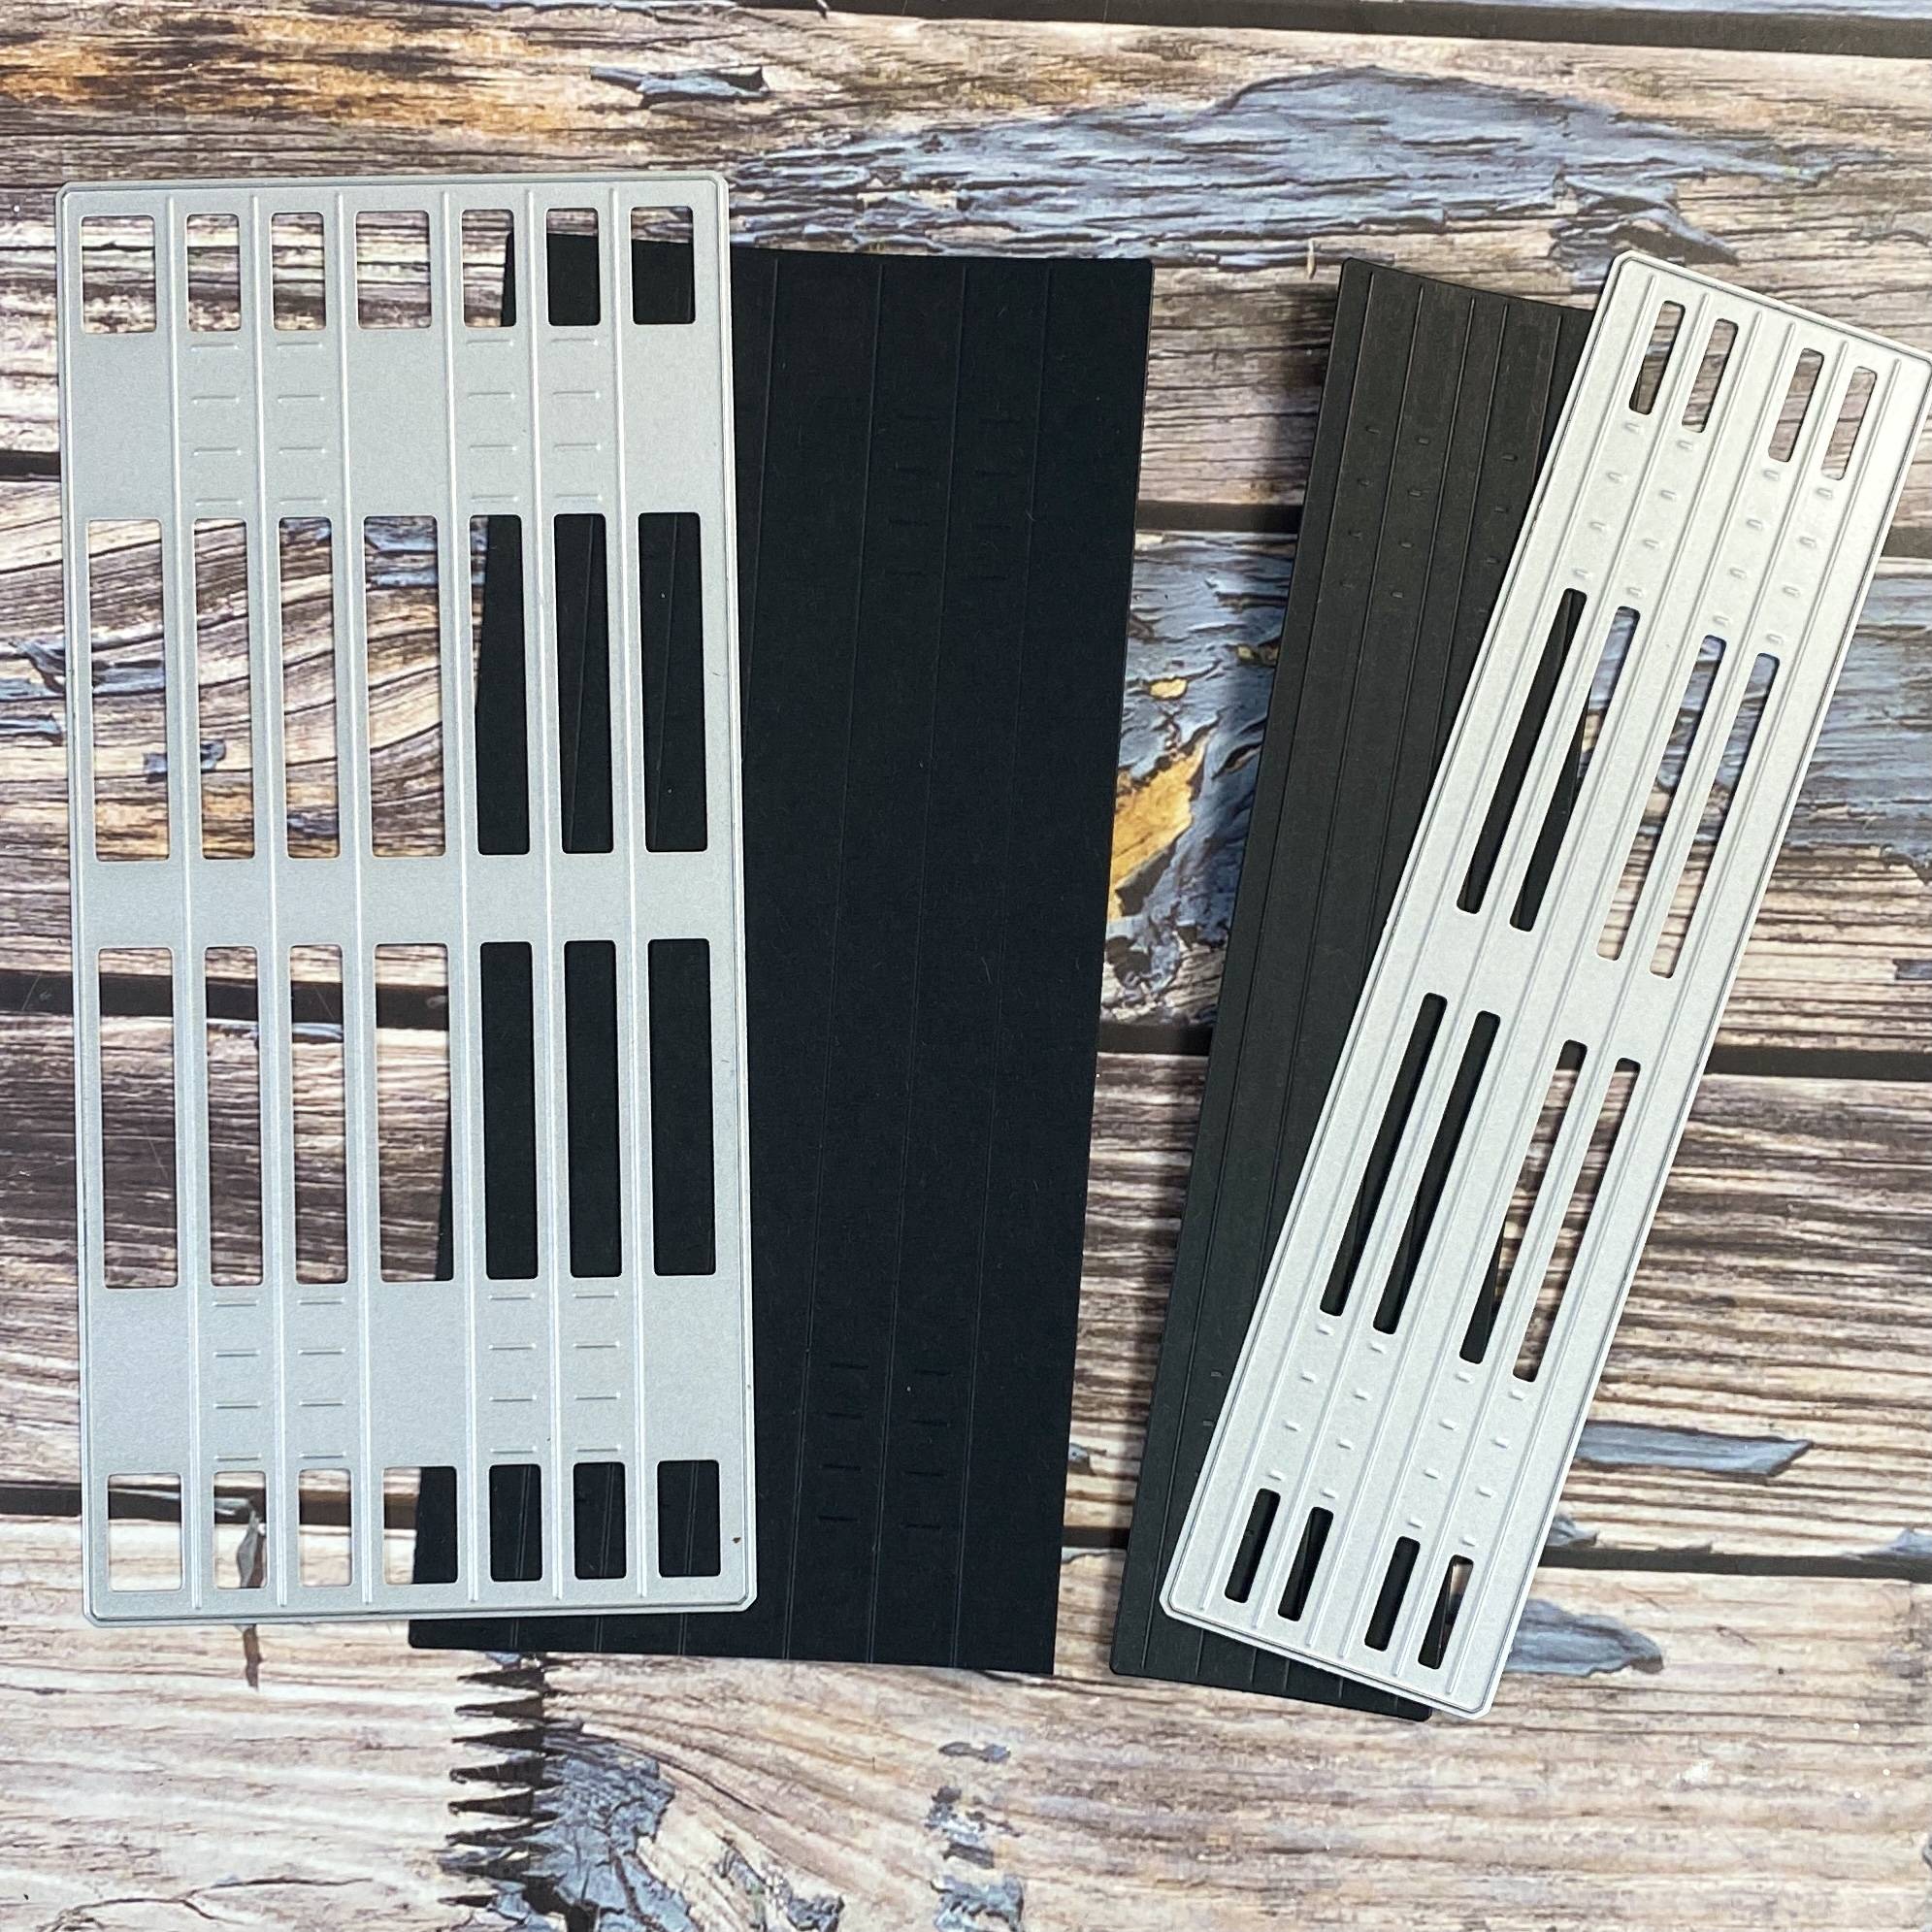
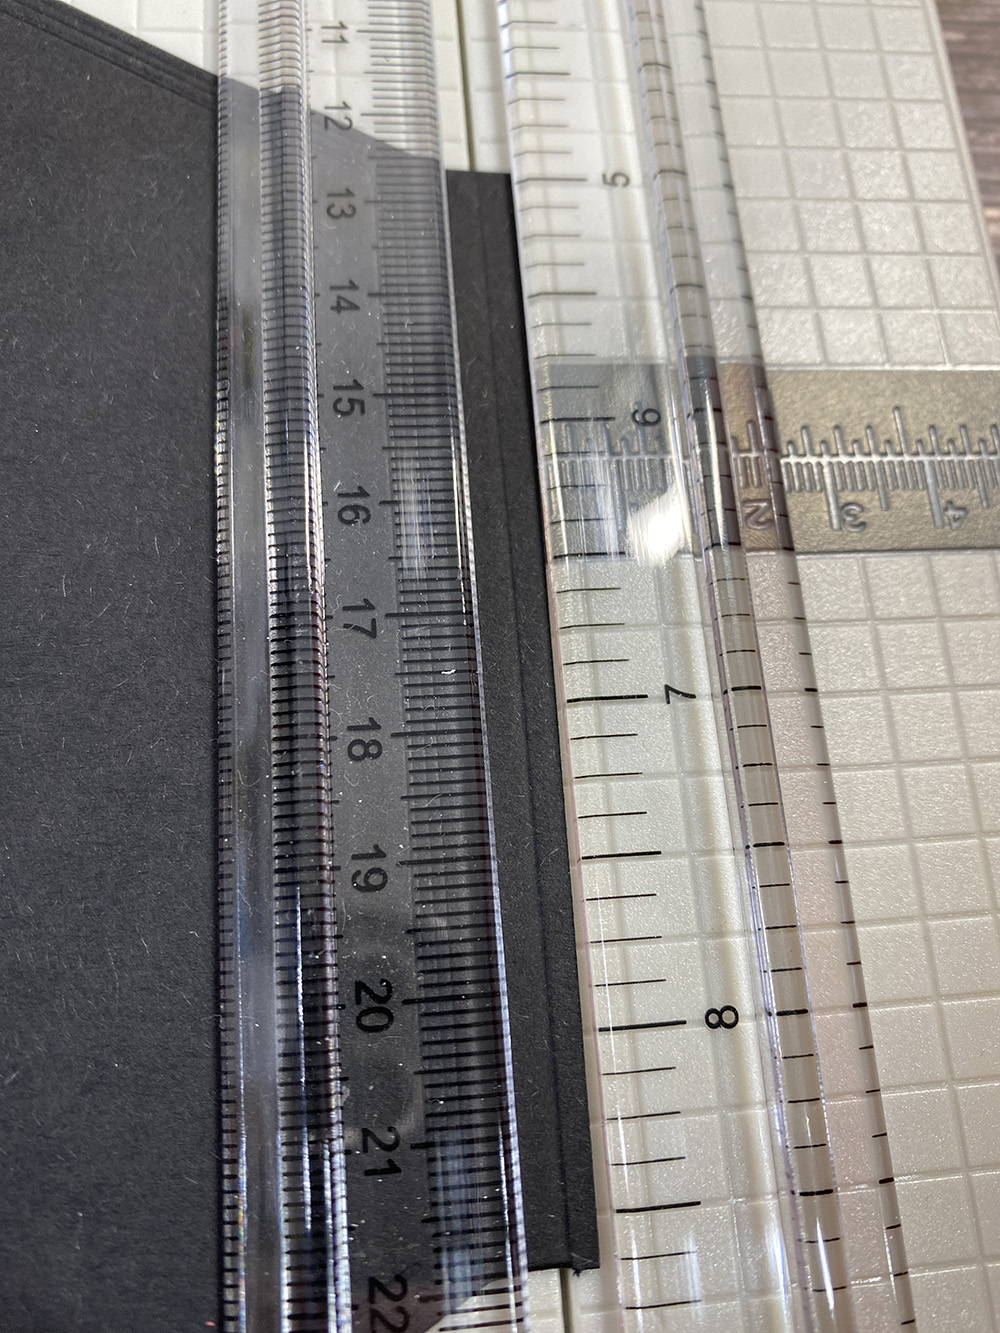
There are two new width spines, one narrow and the other wide.
Step 2
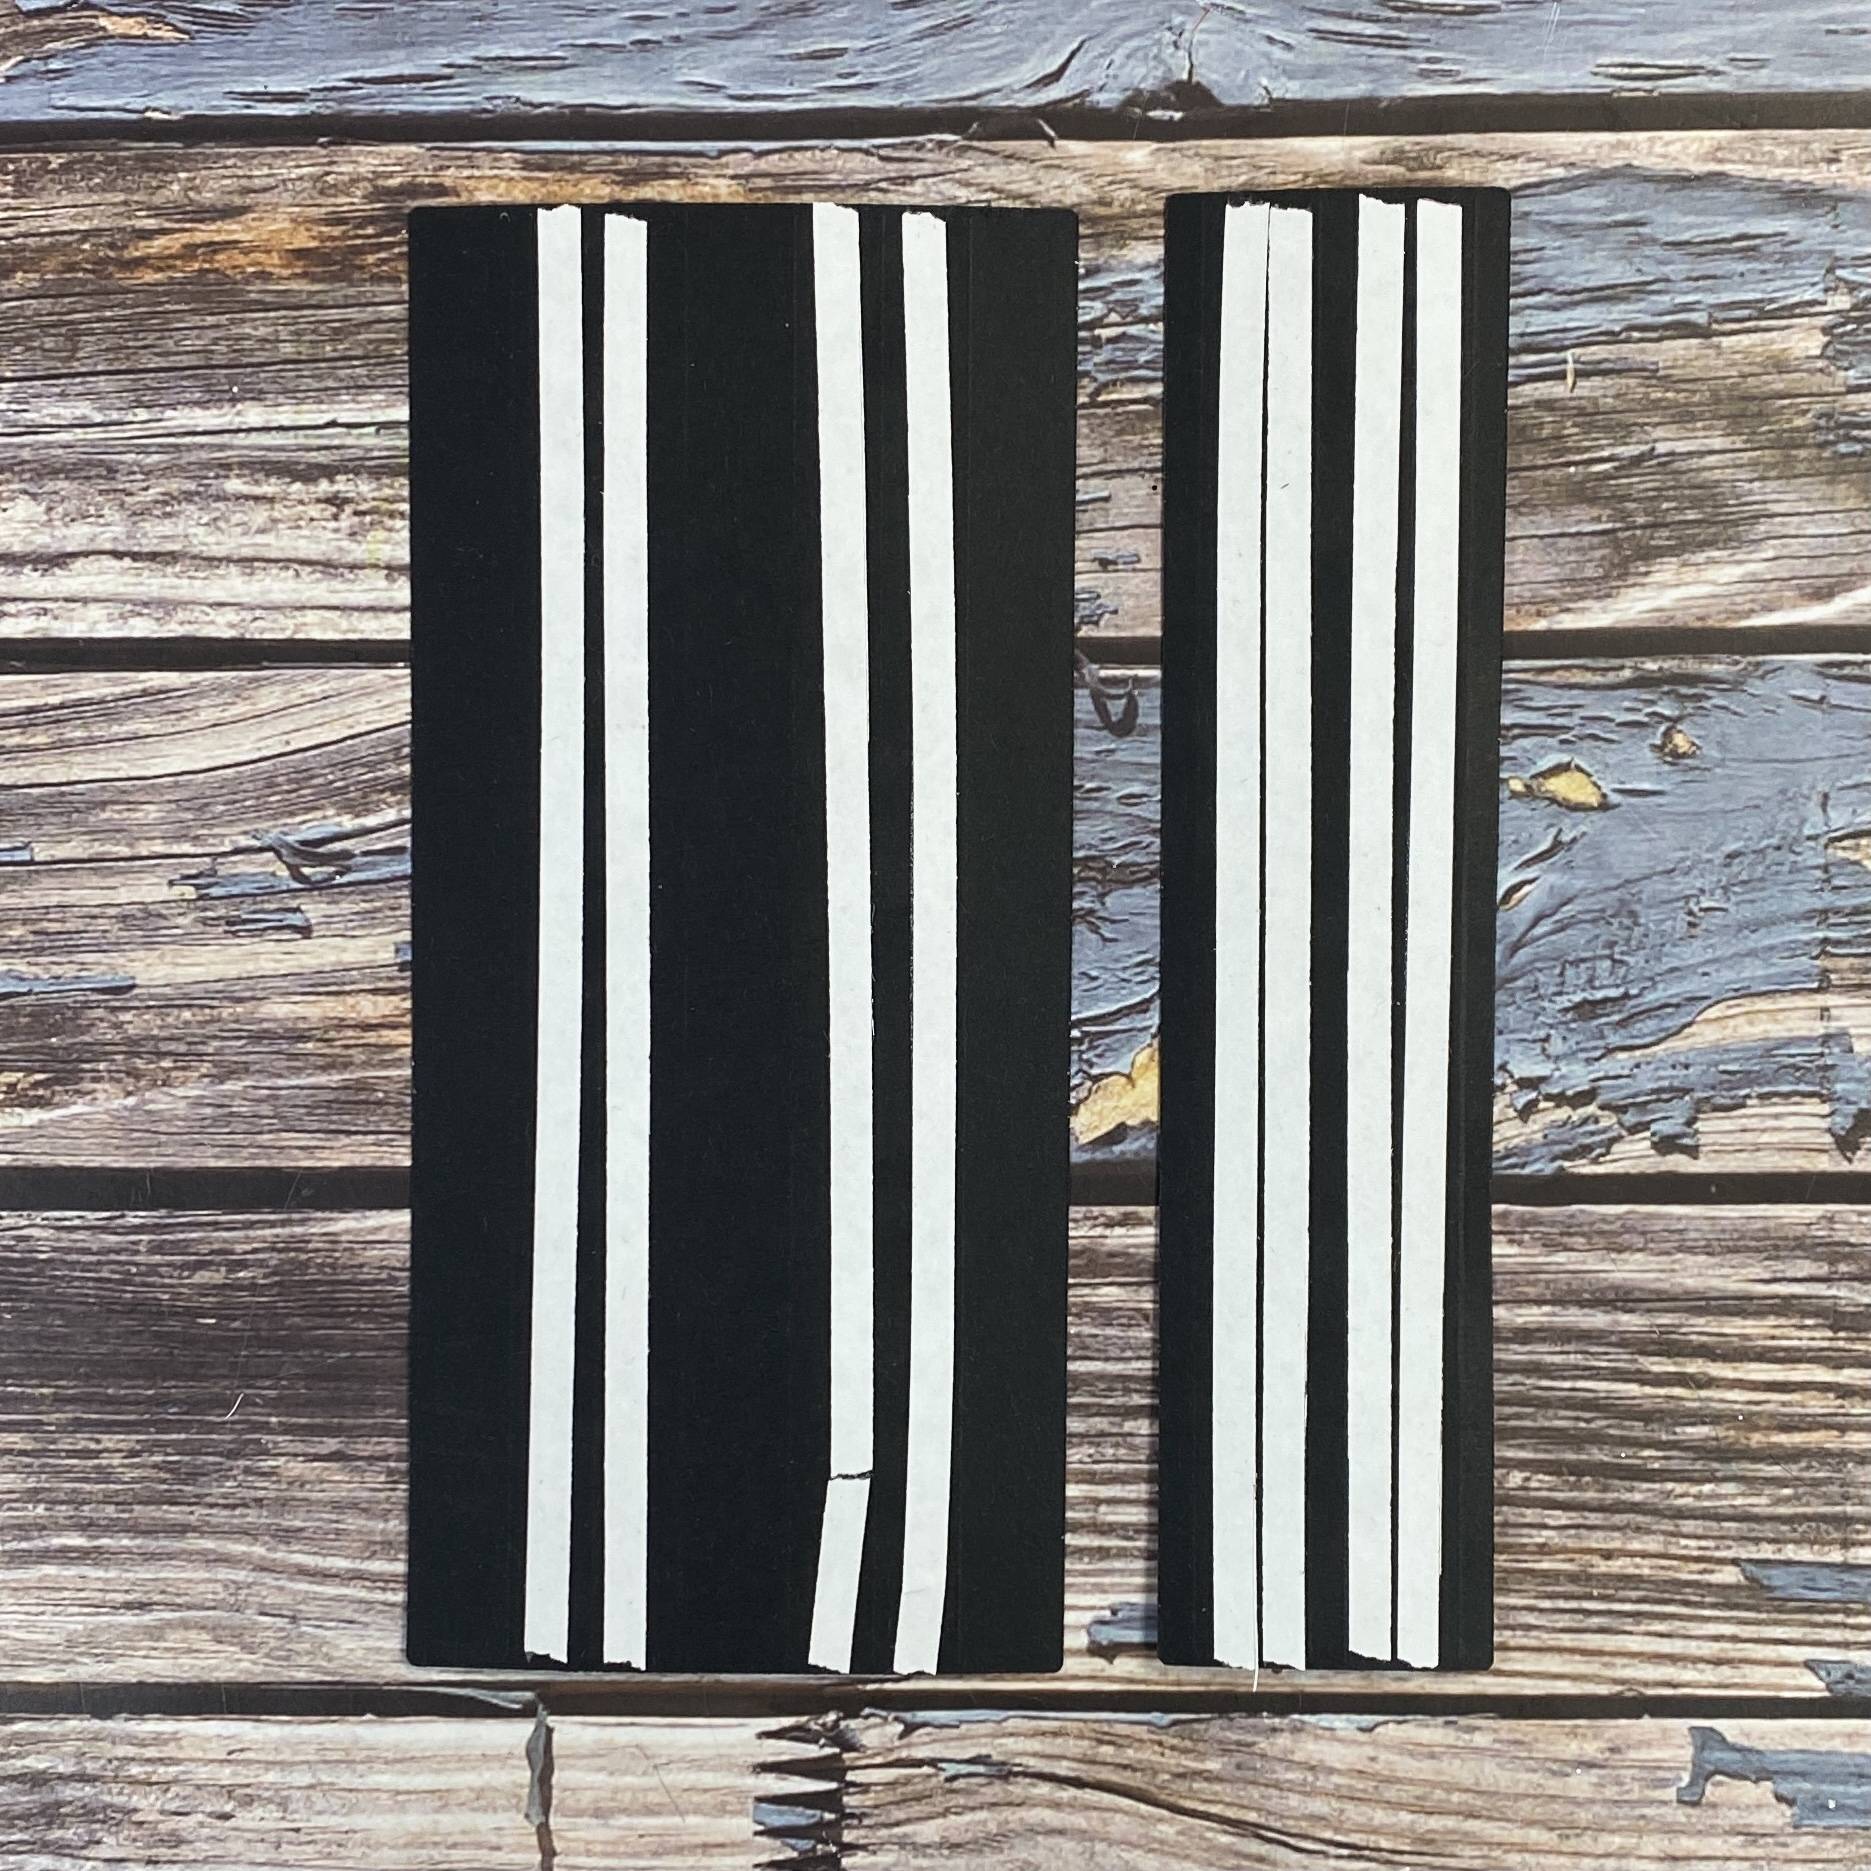
Add double sided tape to the back as shown.
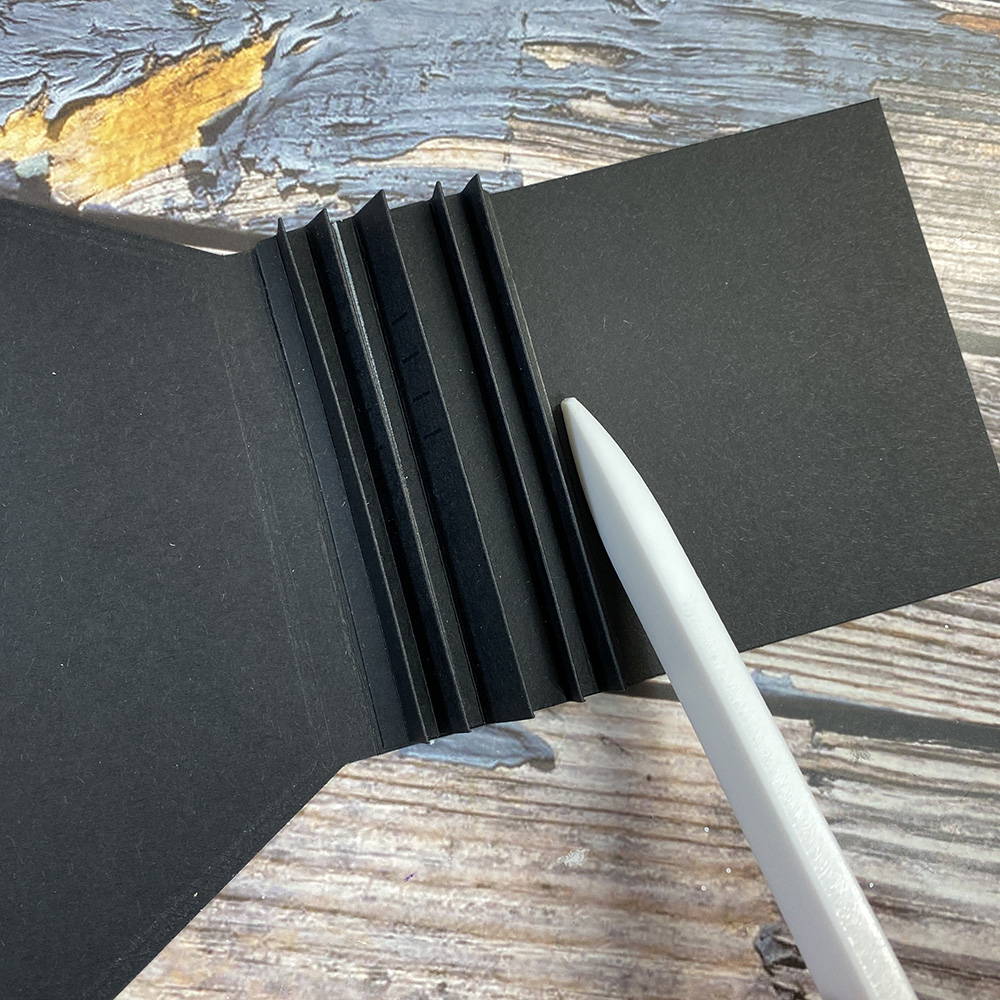
Step 3
Score valley, mountain, etc, etc.
Step 4
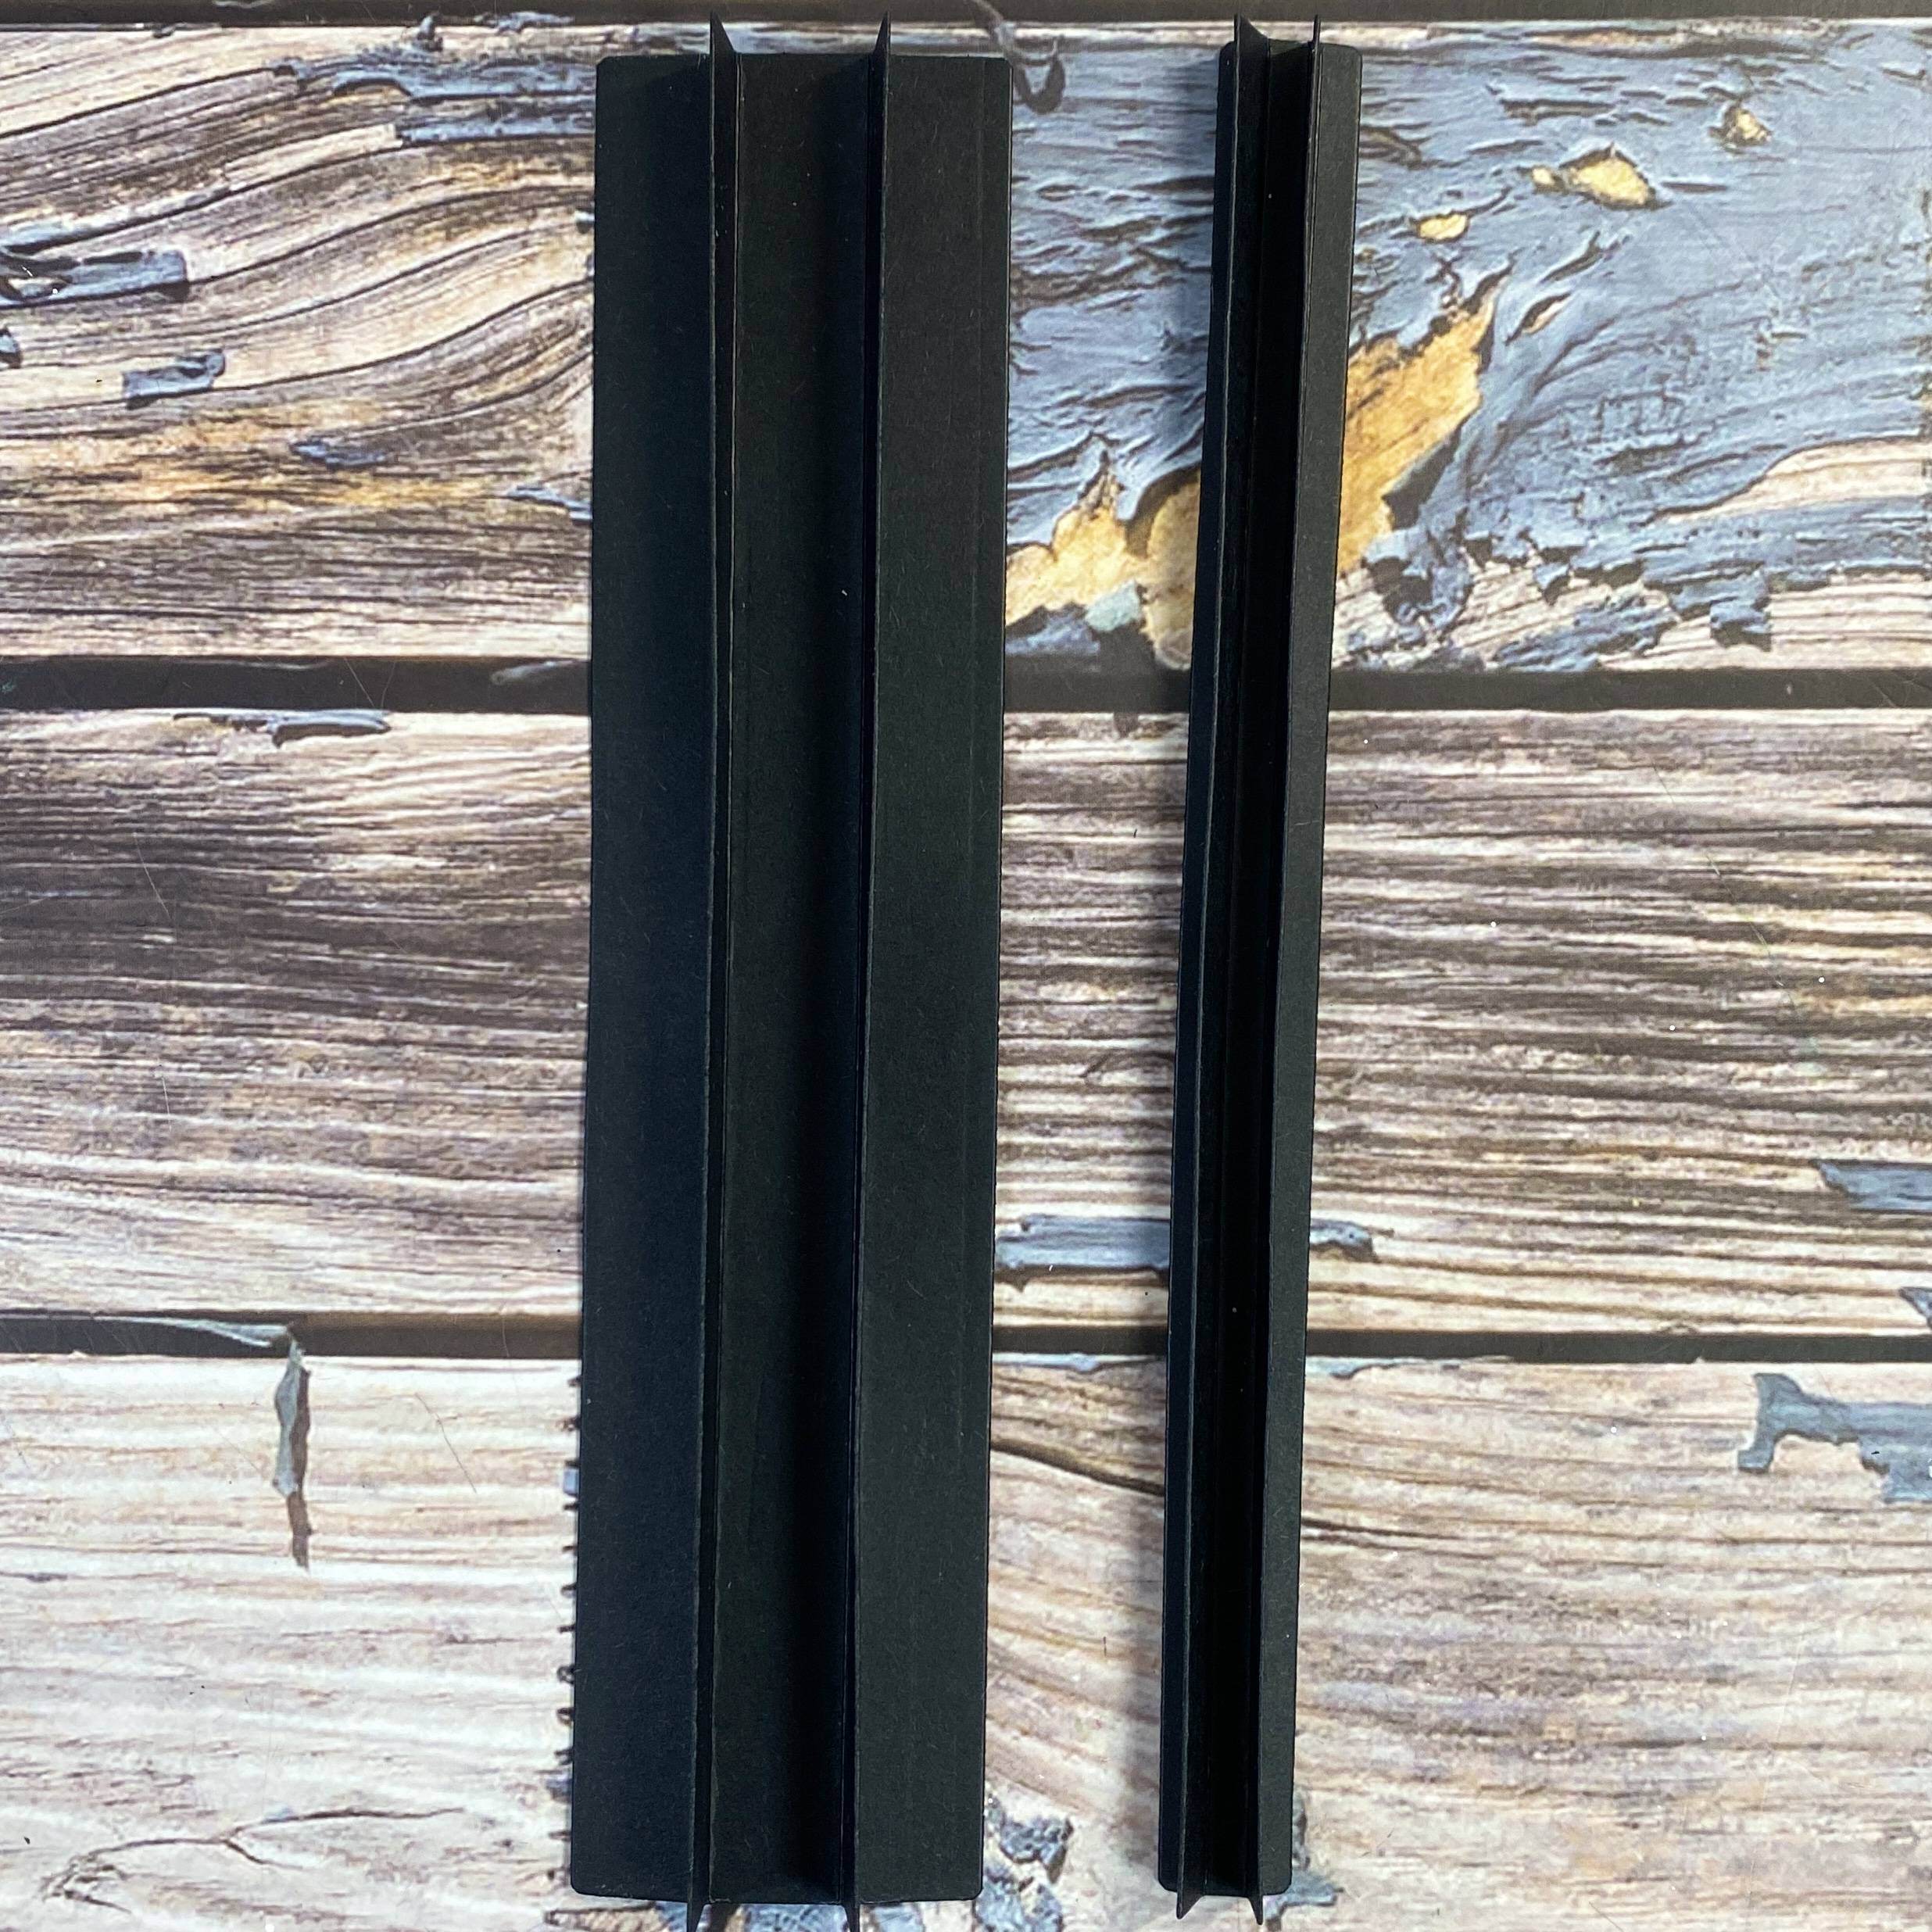
Remove the backing for the double-sided tape, add wet adhesive and adhere.
Step 5
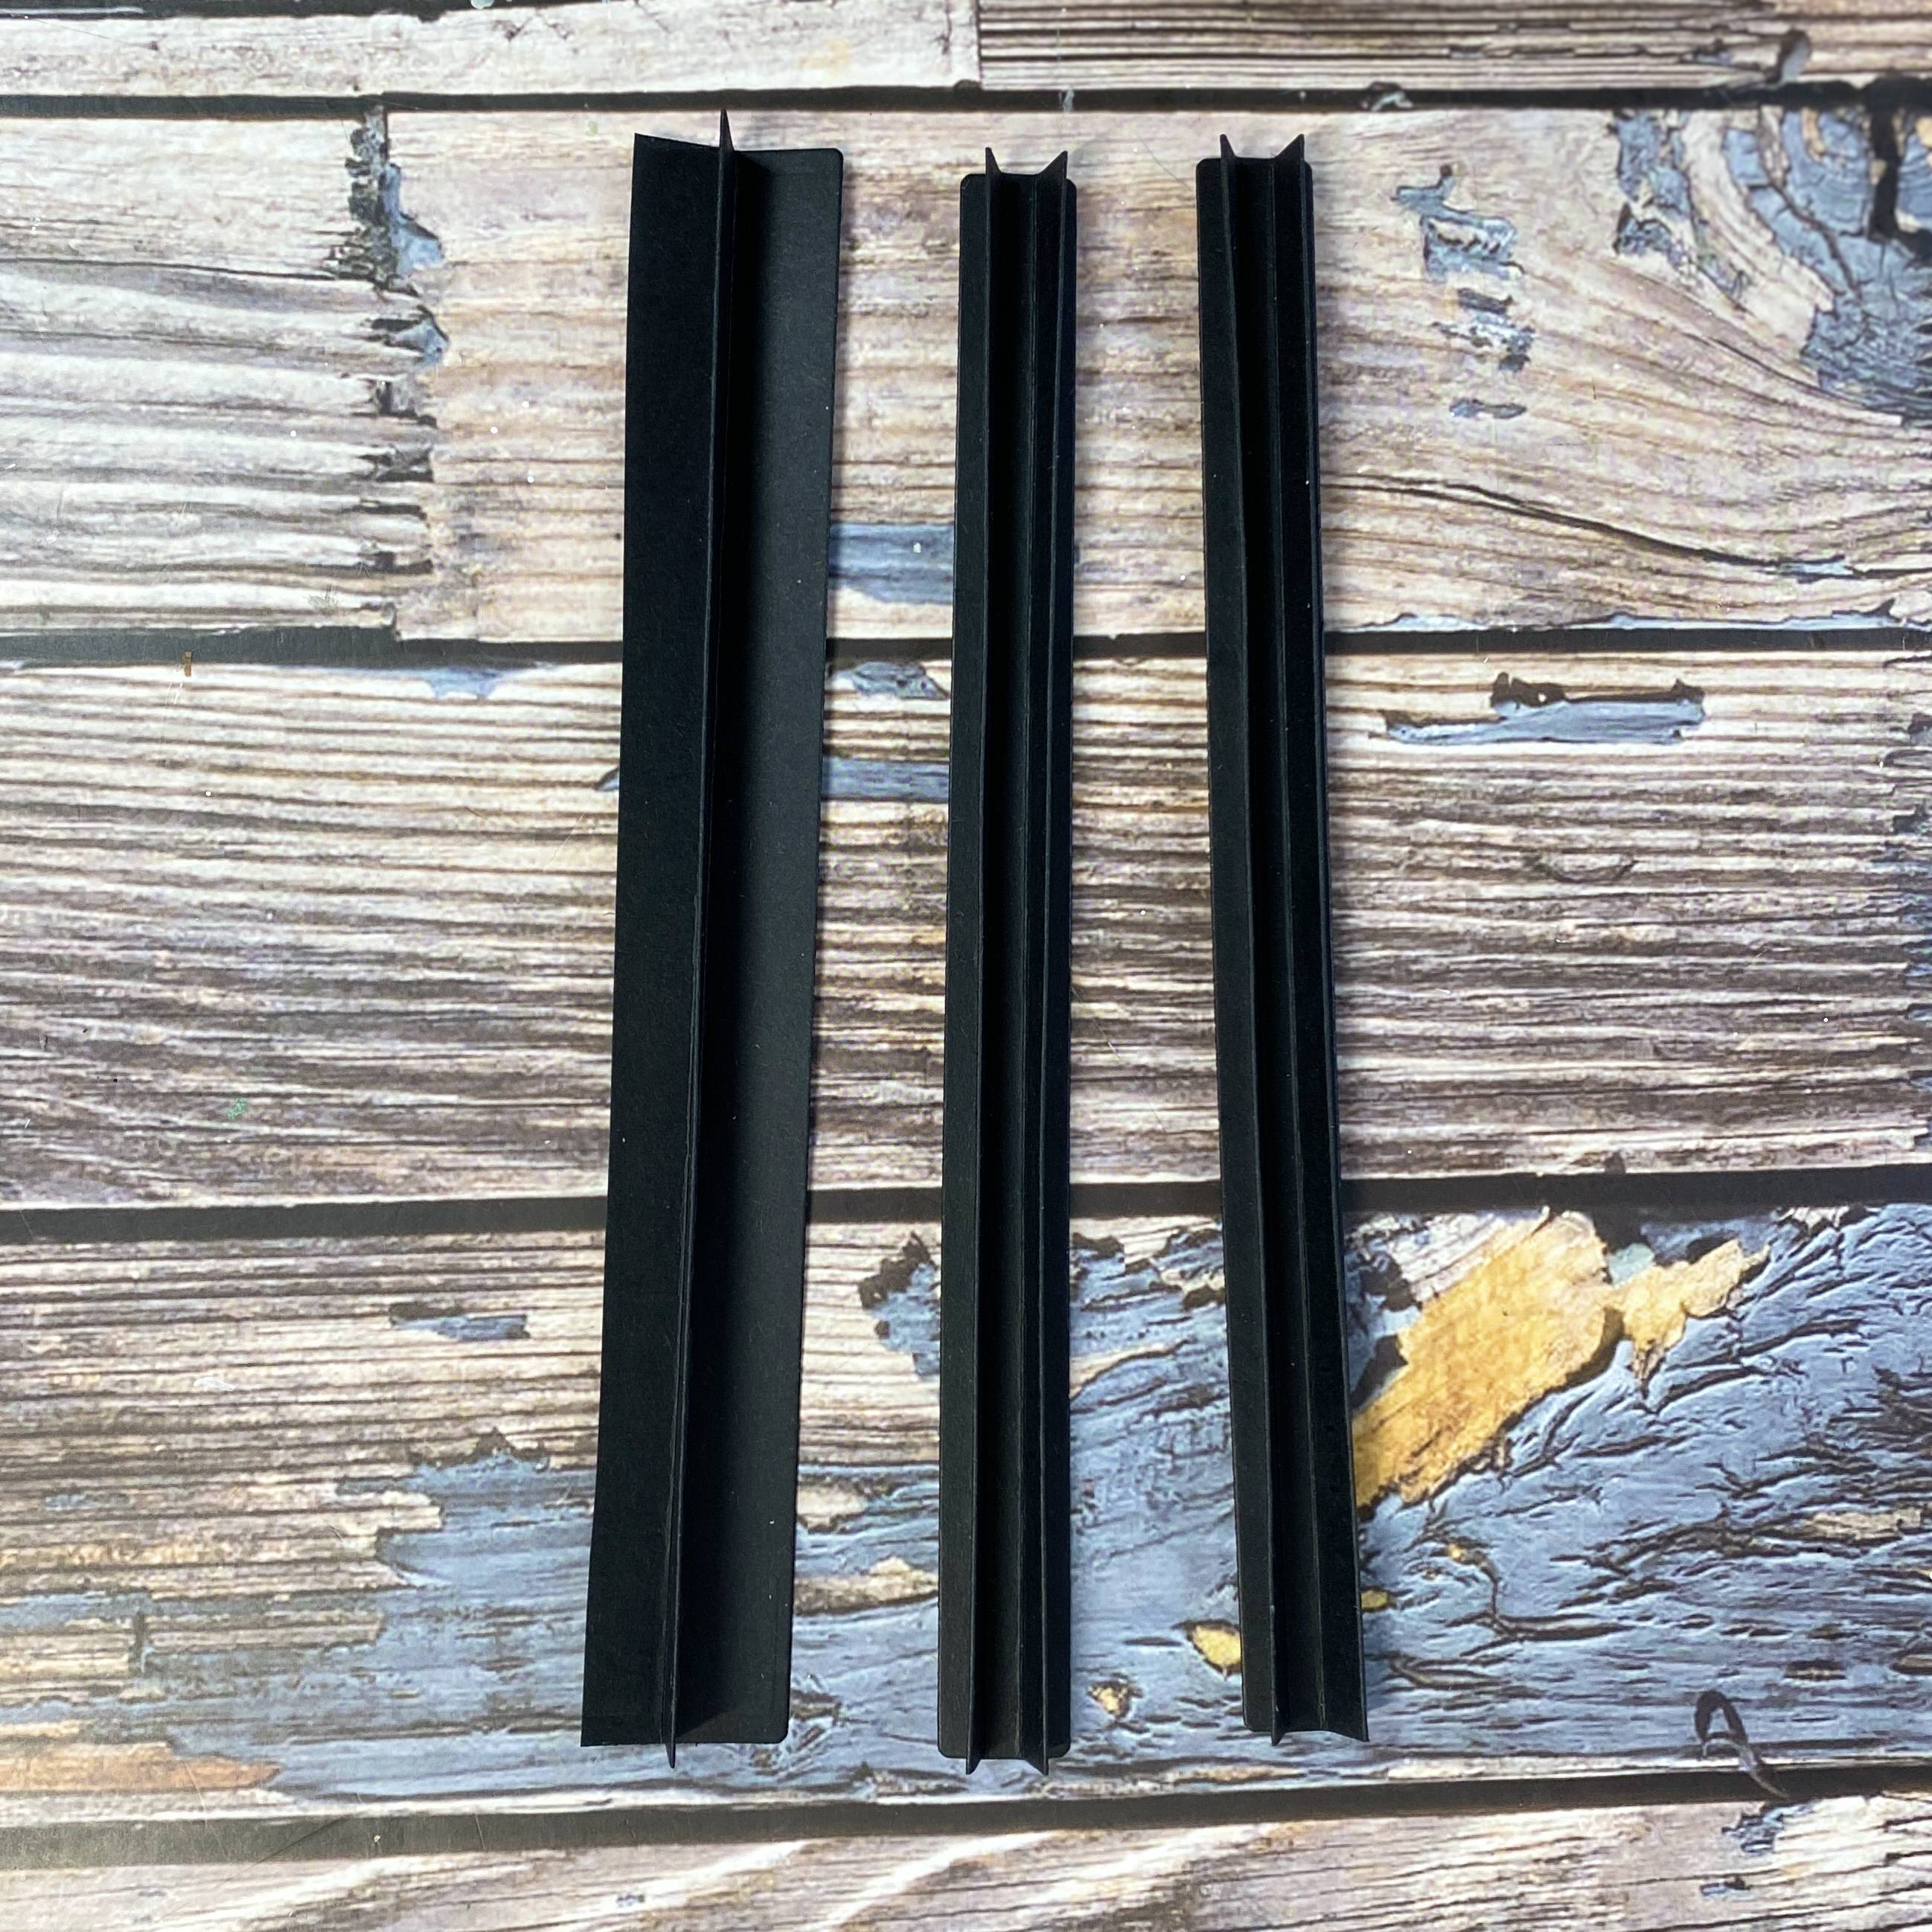
For this memory book. Cut two narrow spines and one wide.
Step 6
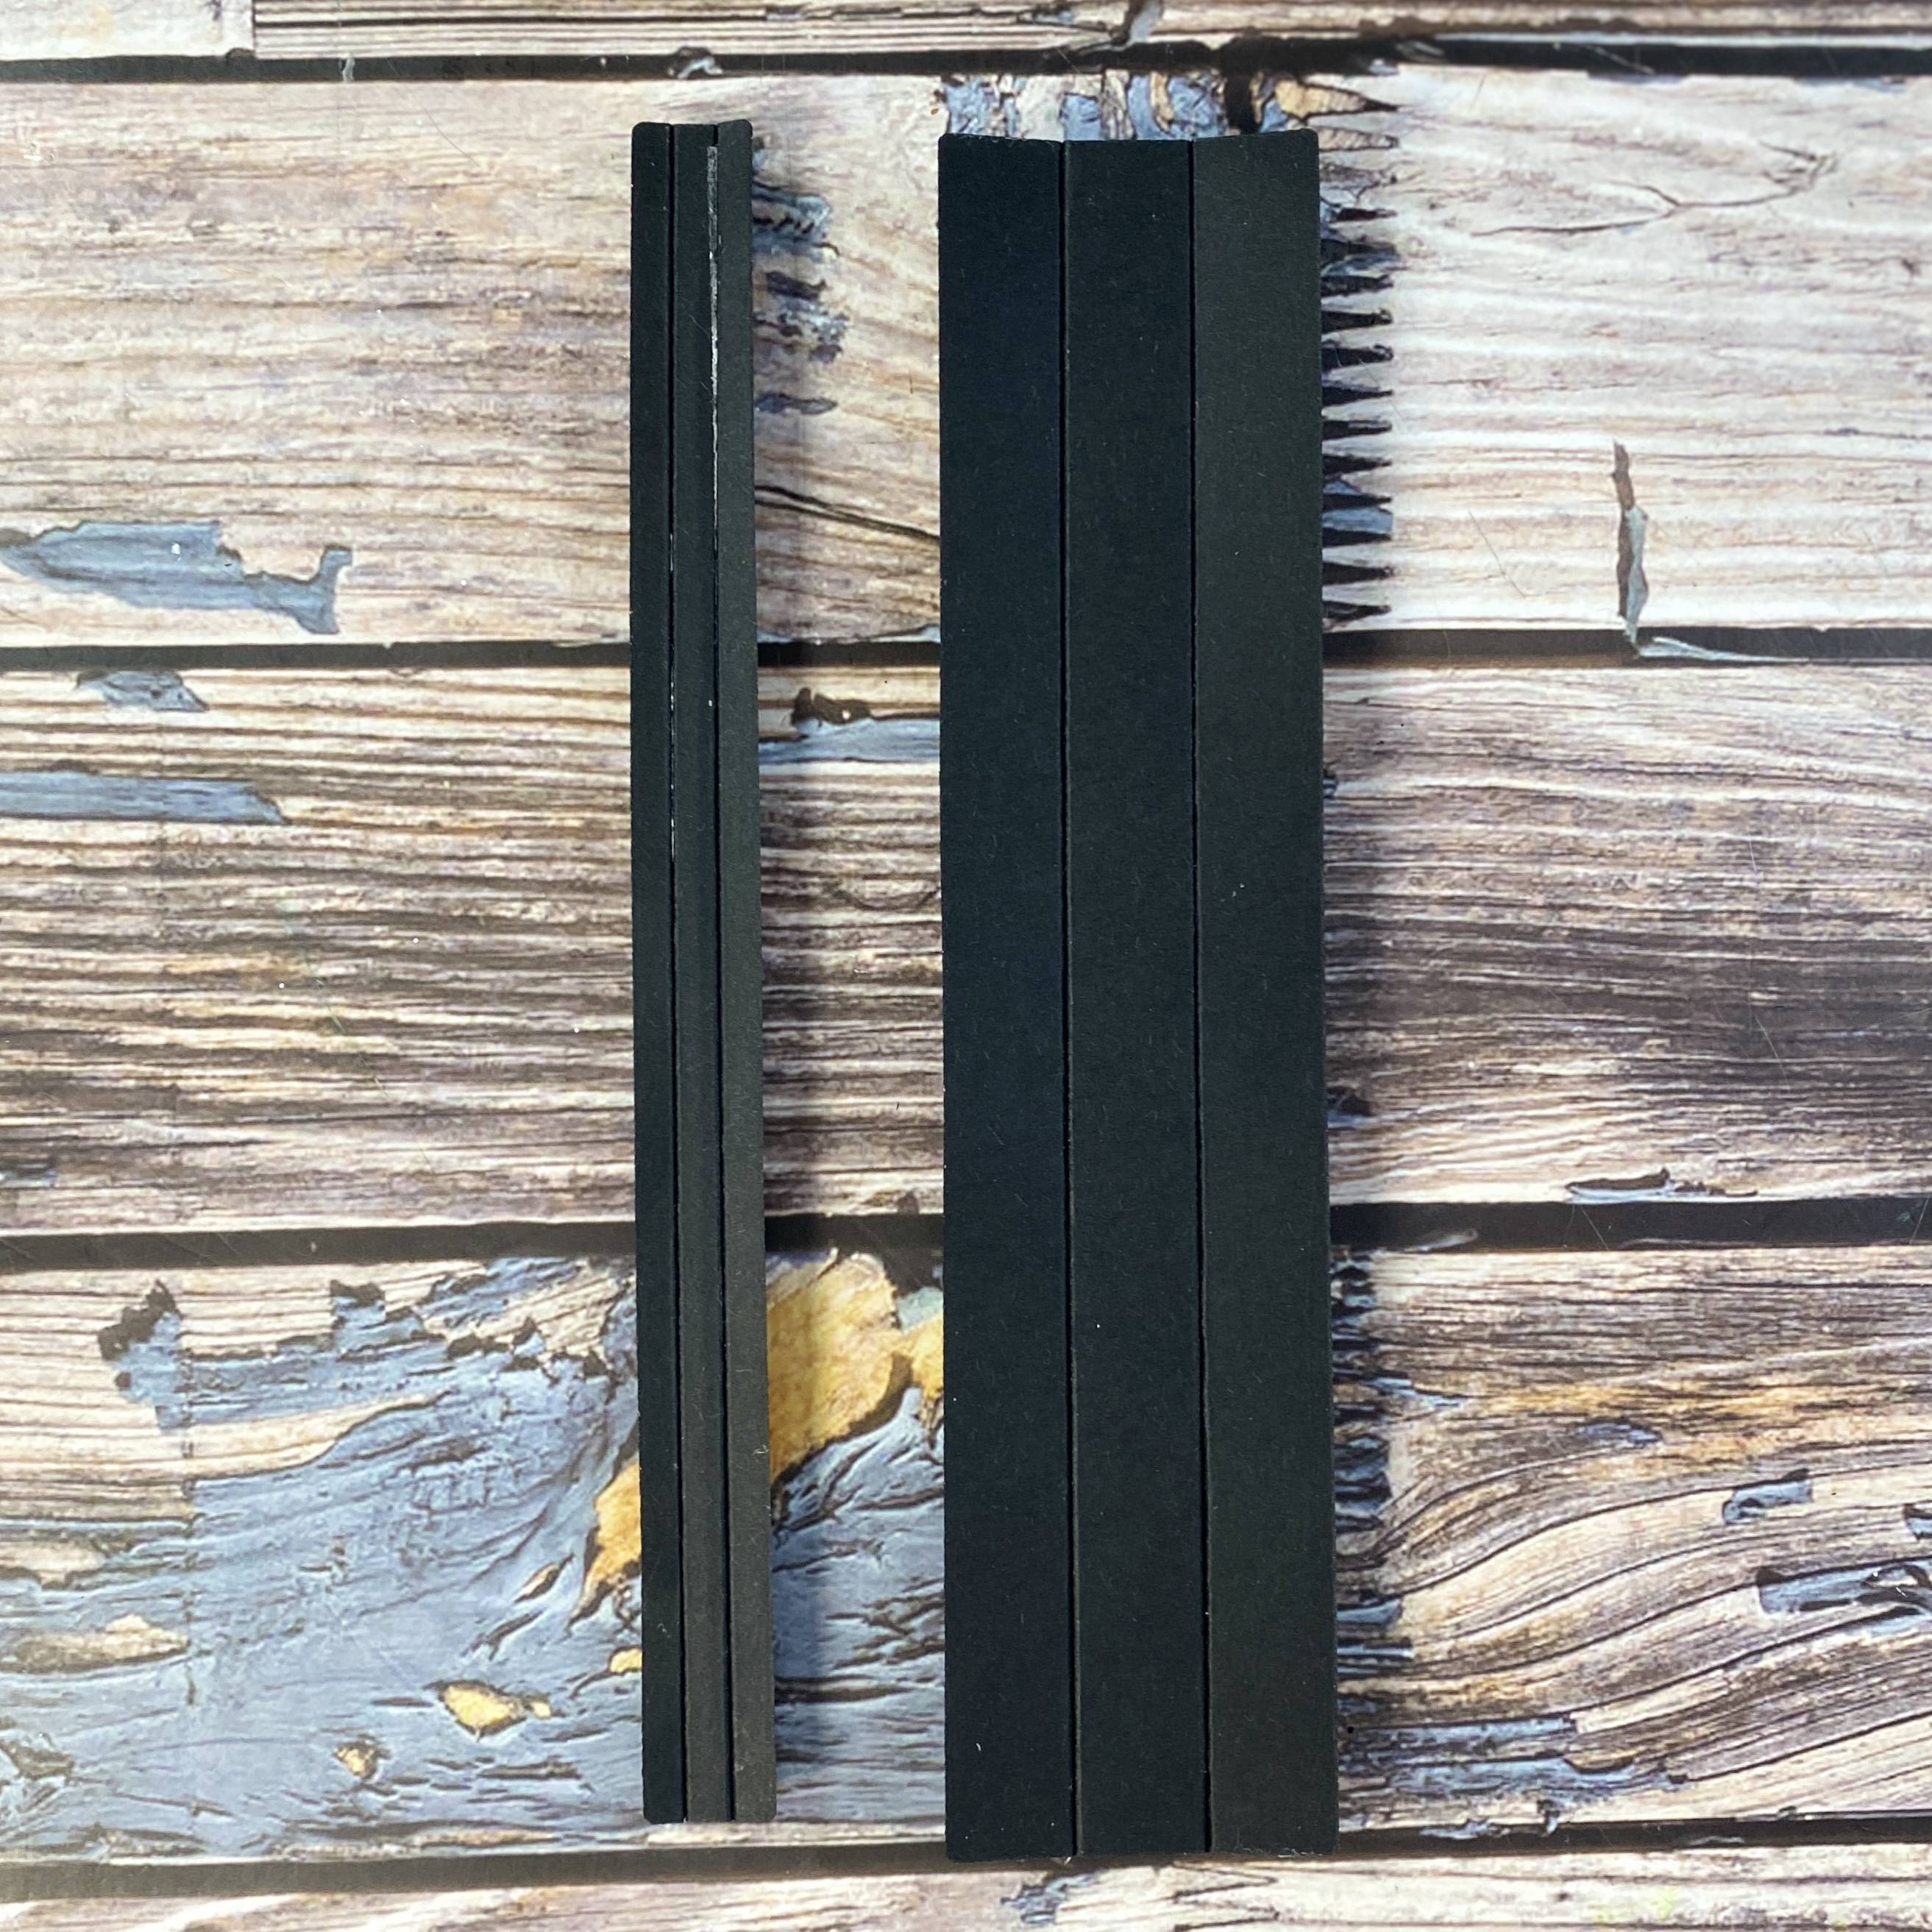
Trim the wide spine so there is one page instead of two.
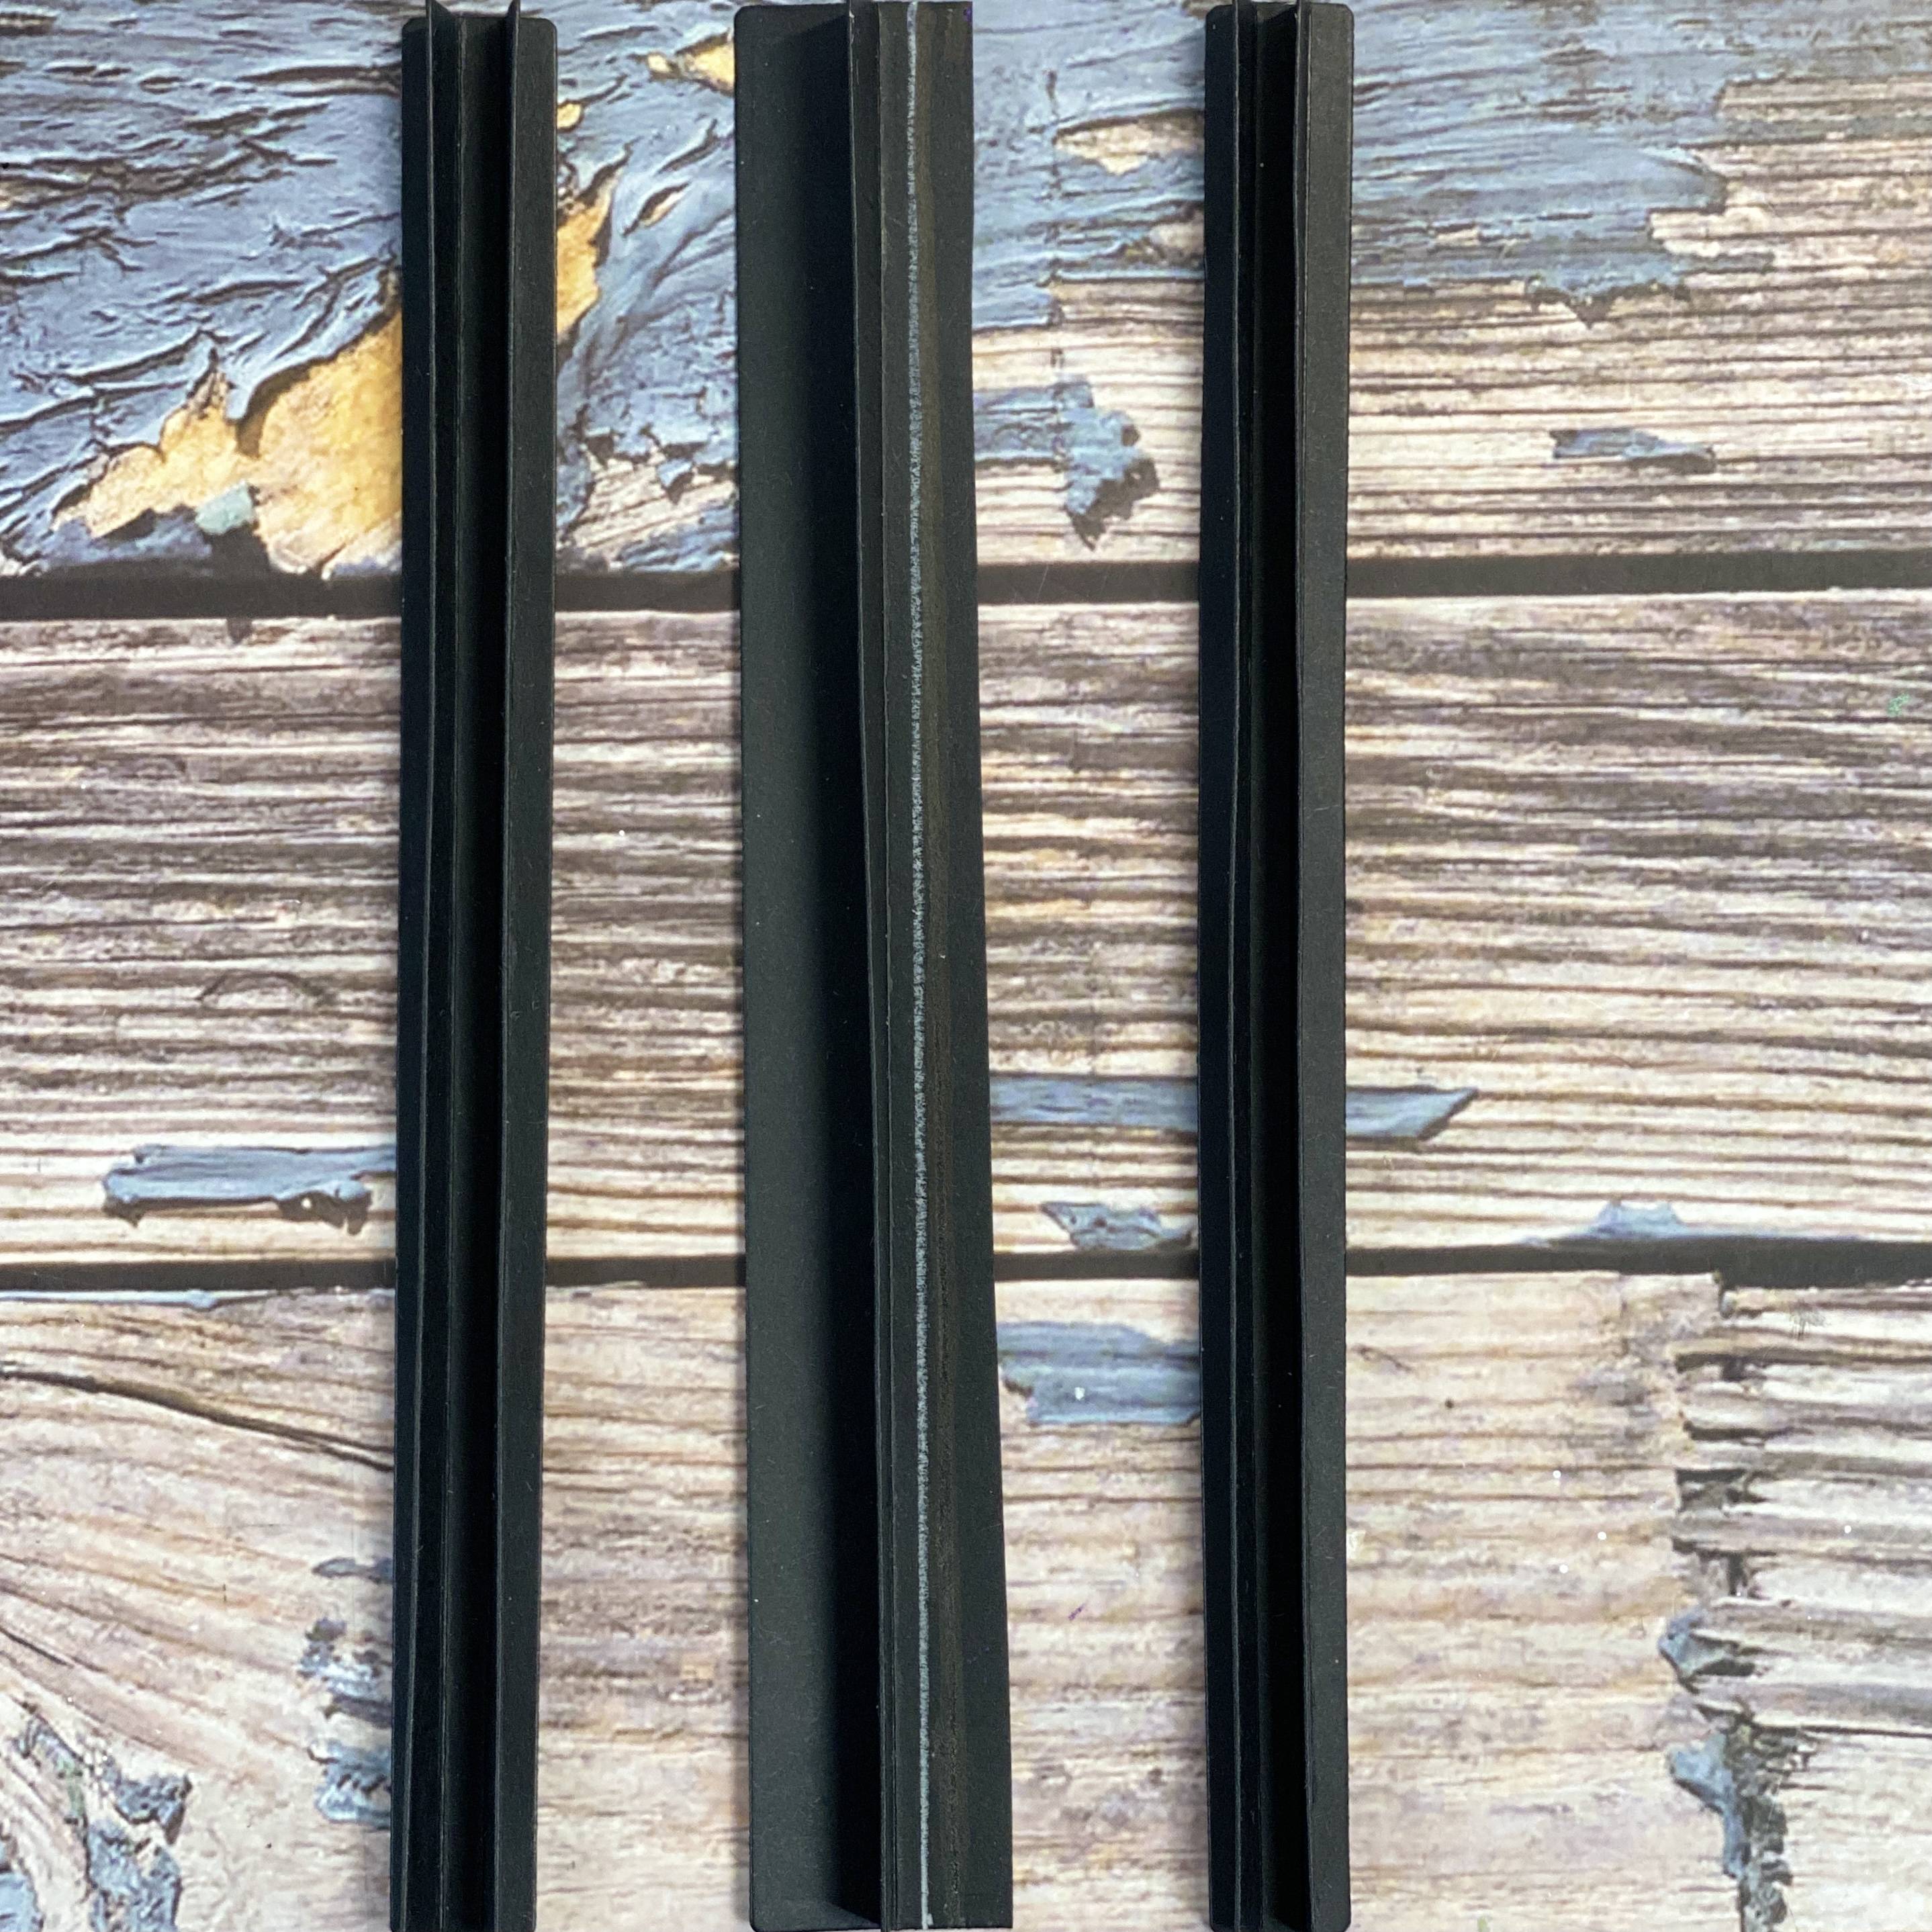
Step 7
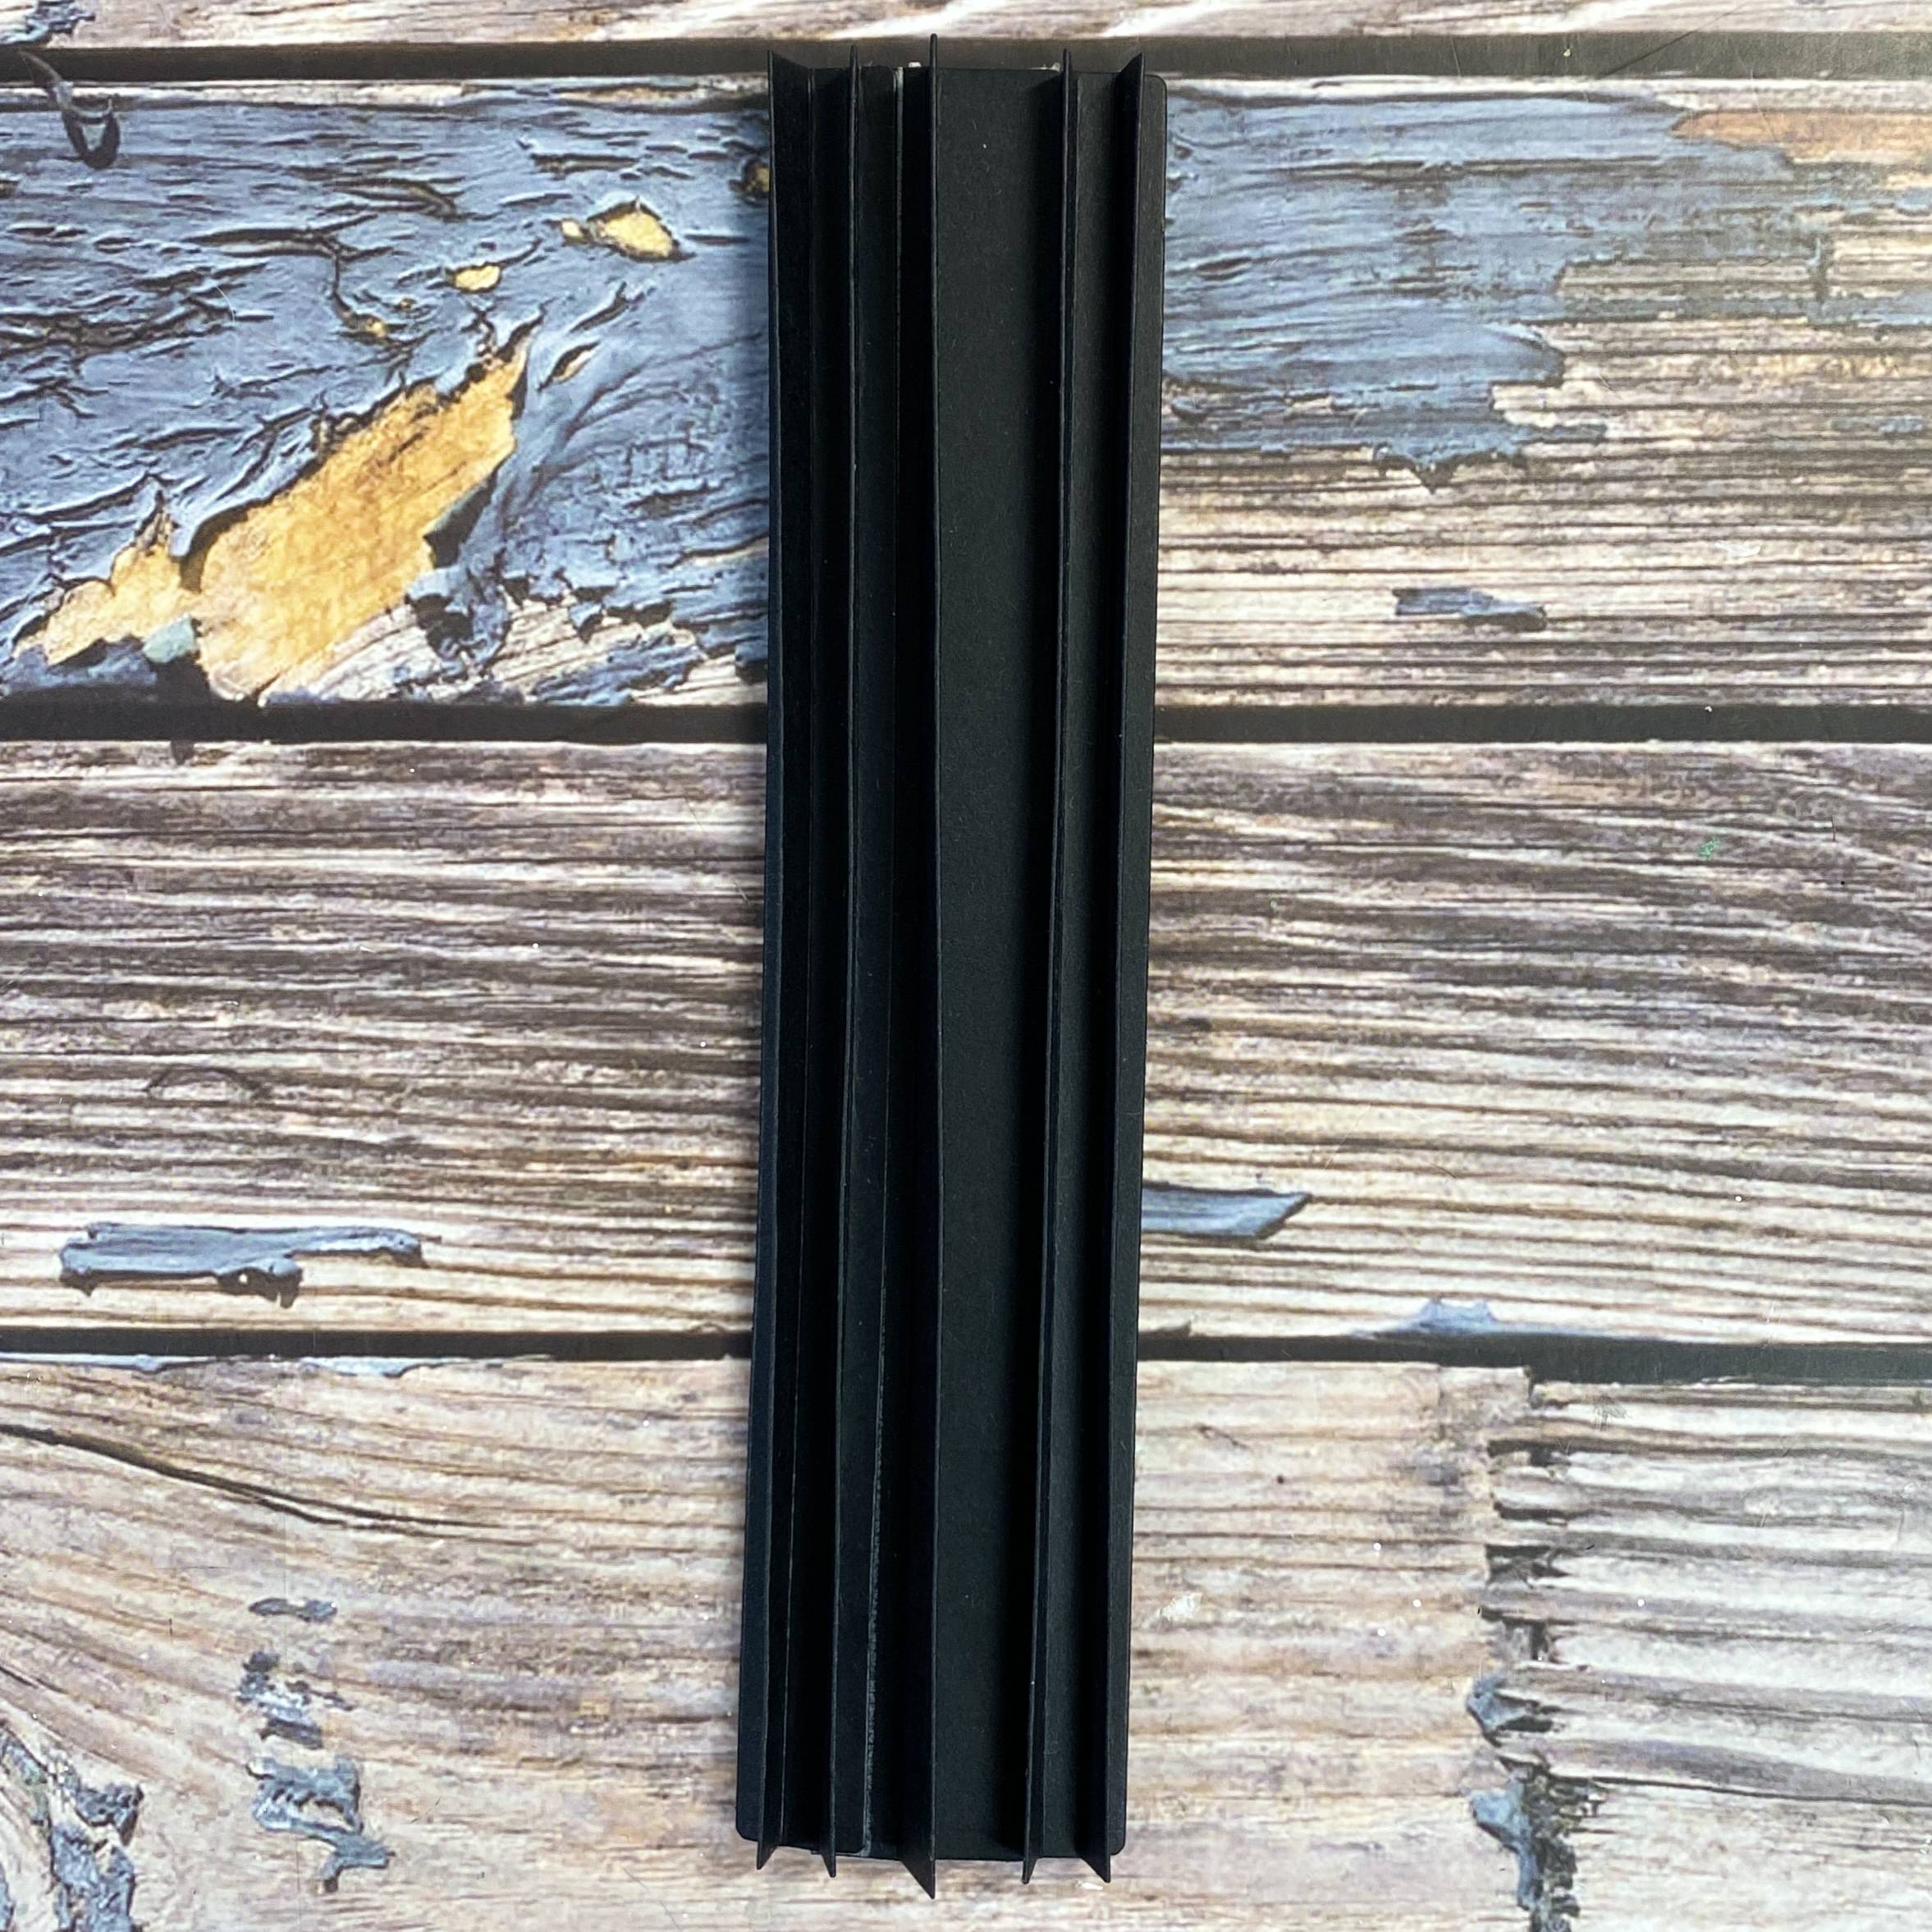
Adhere spines together.
Step 8
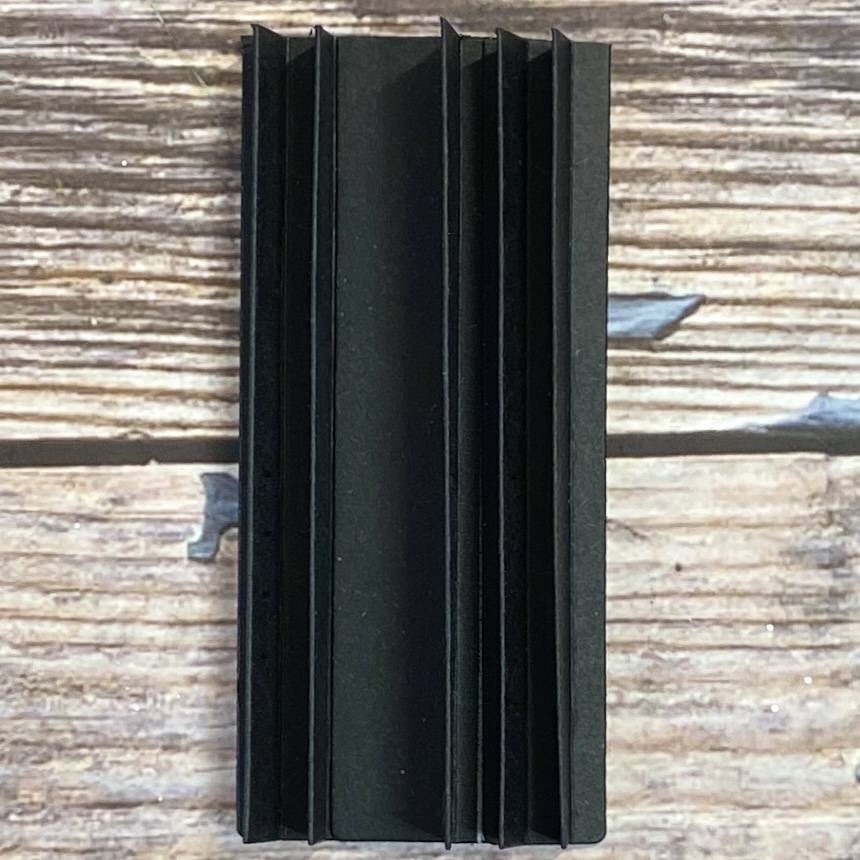
Trim to the length of spine to fit in your memory book once you’ve created the front and back (next steps).
FRONT/BACK/BASE
Step 1
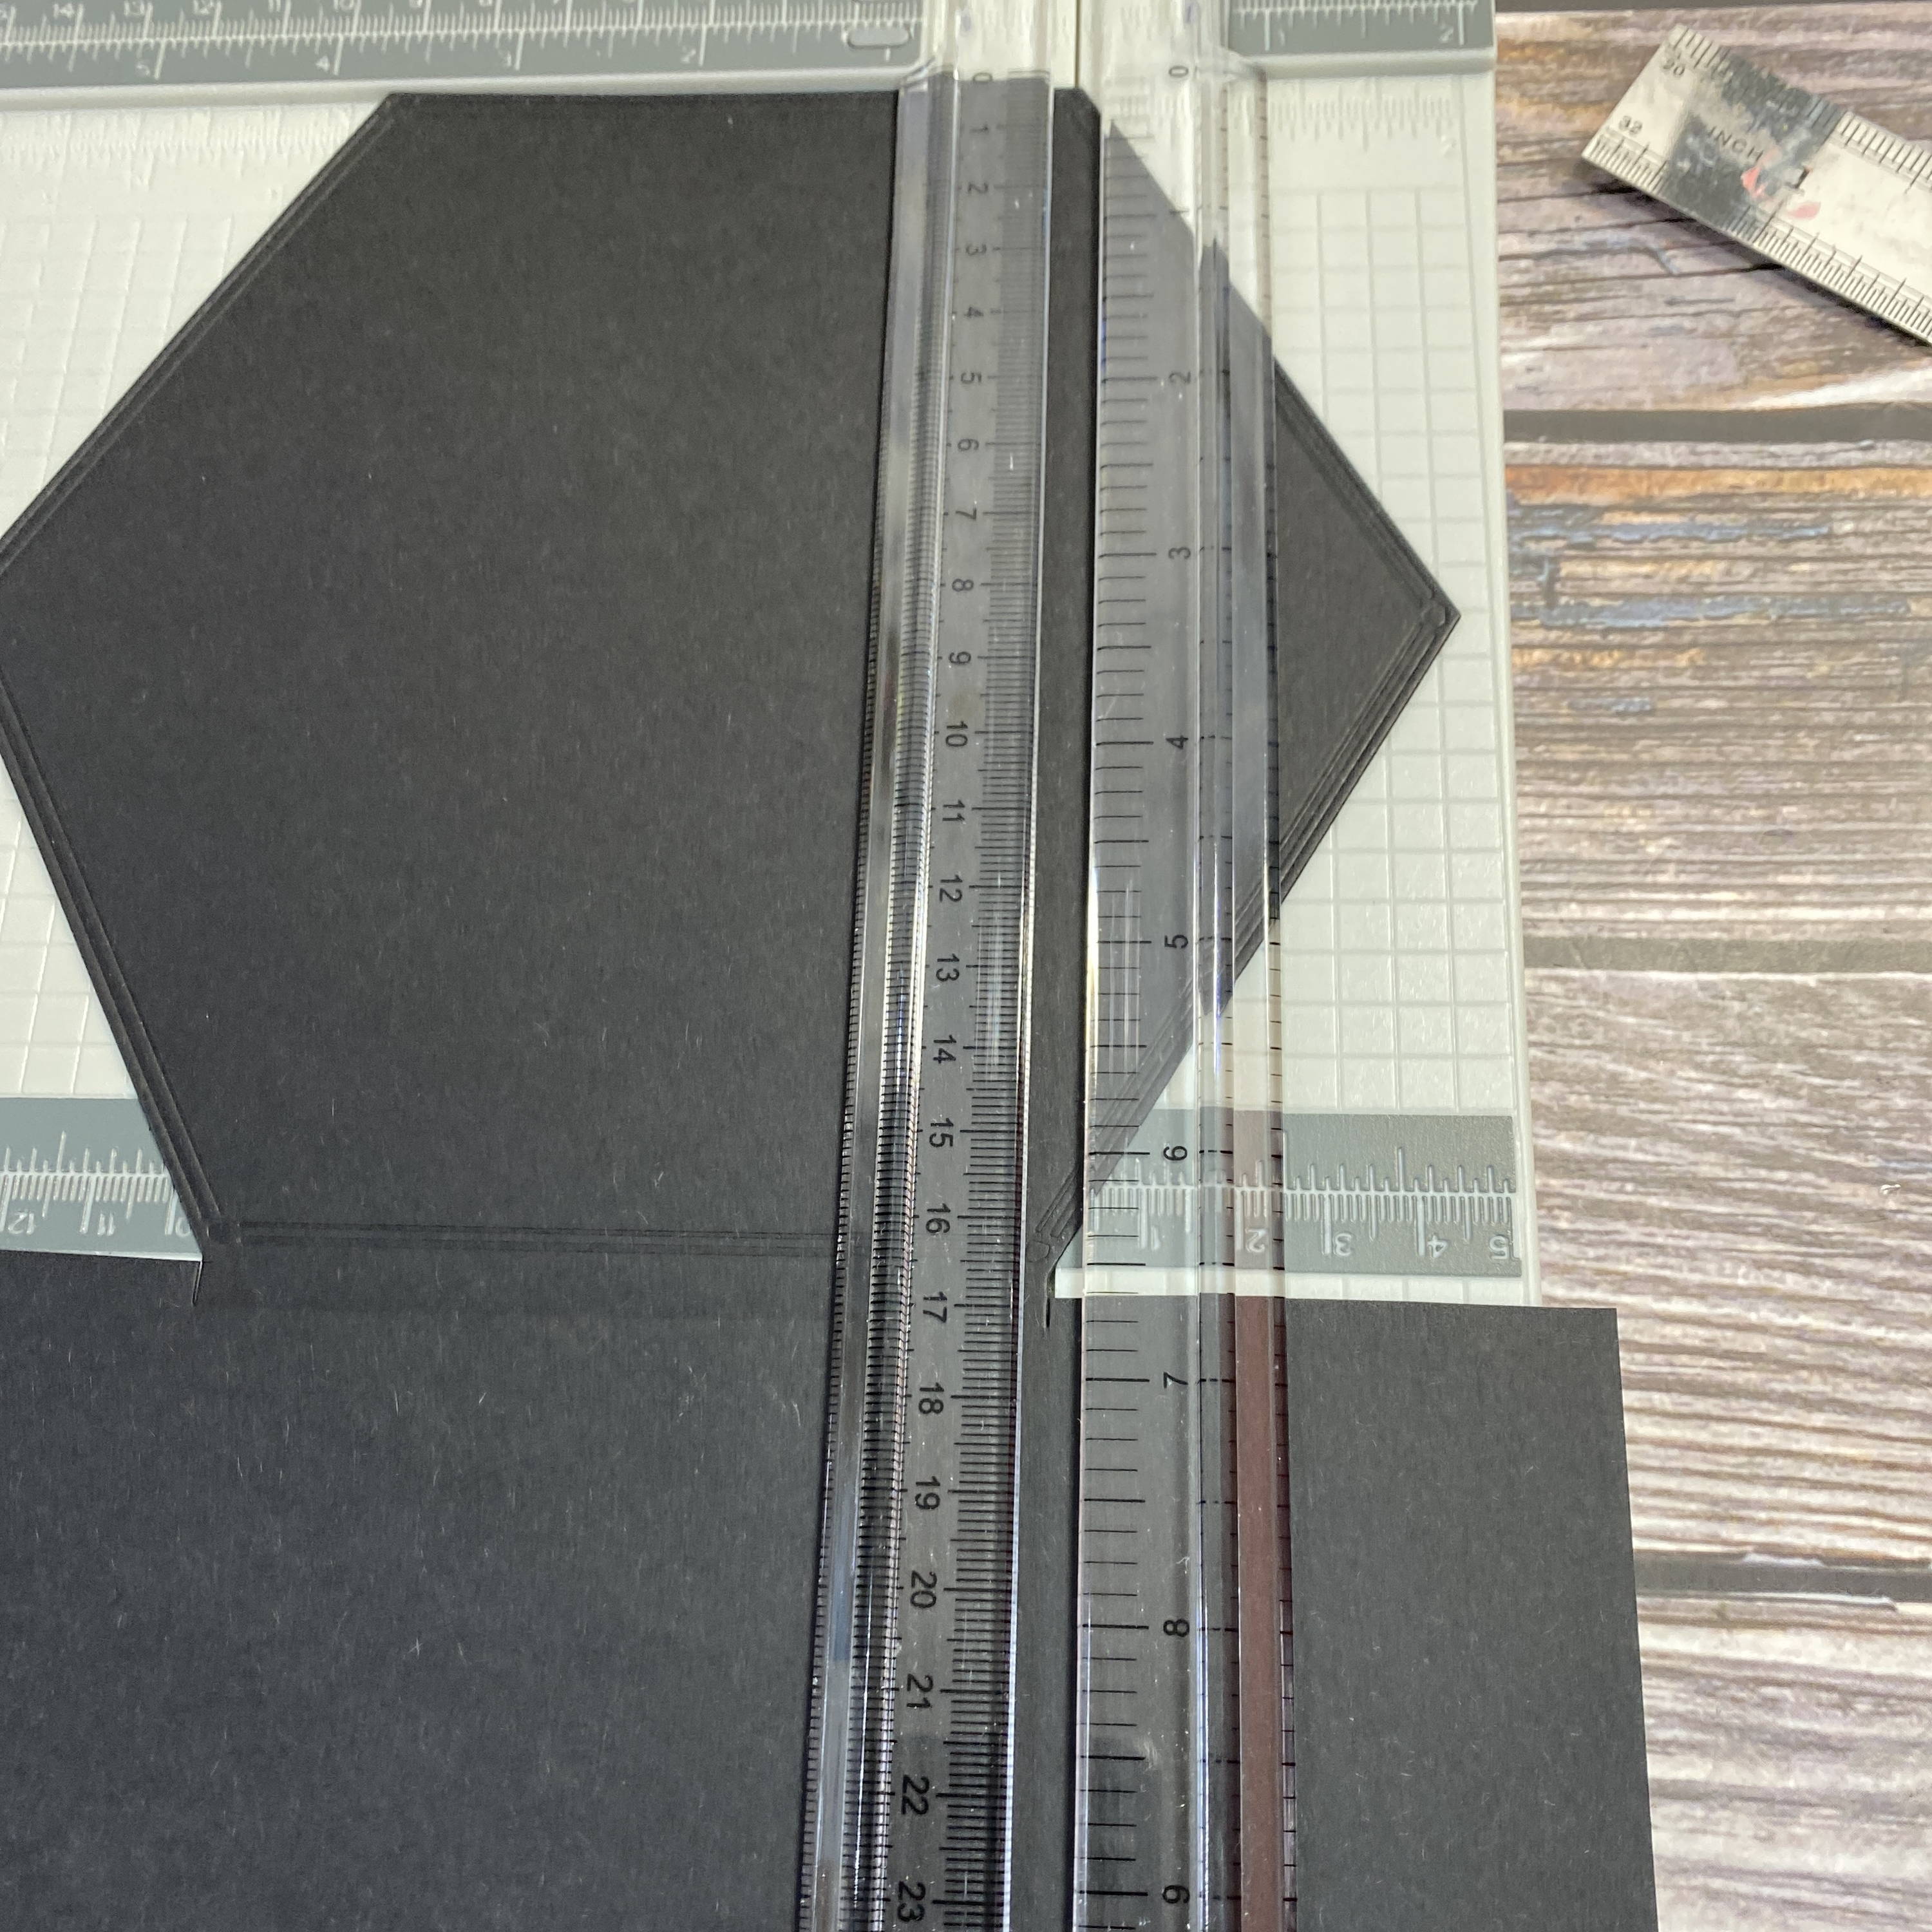
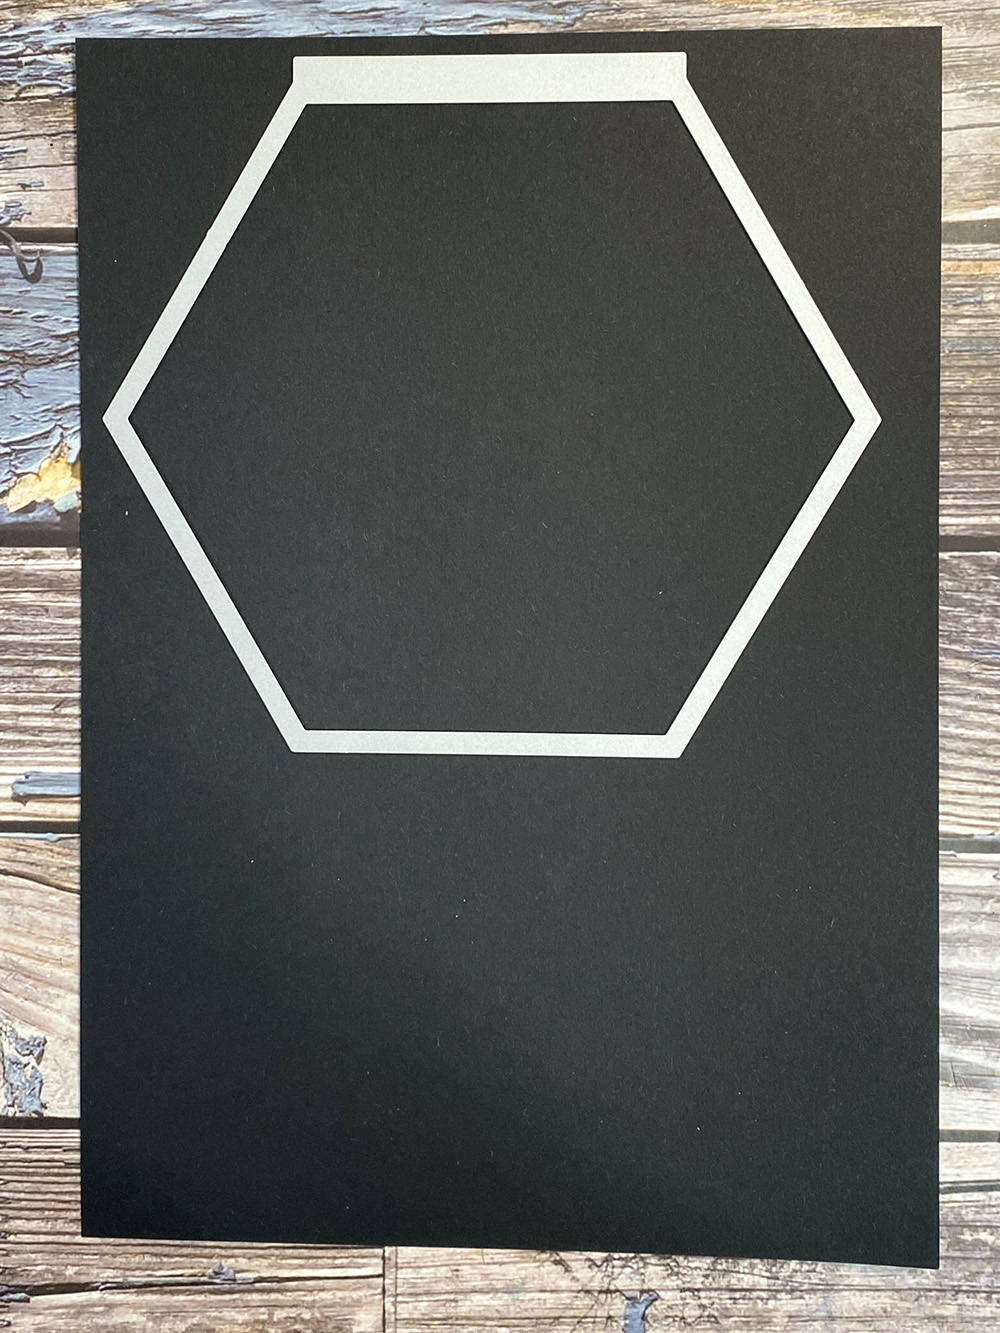
This memory book uses the largest die for the outer pages and covers. Die cut two of the largest dies. Use your trimmer to and cut just at the line shown on both sides.
Step 2
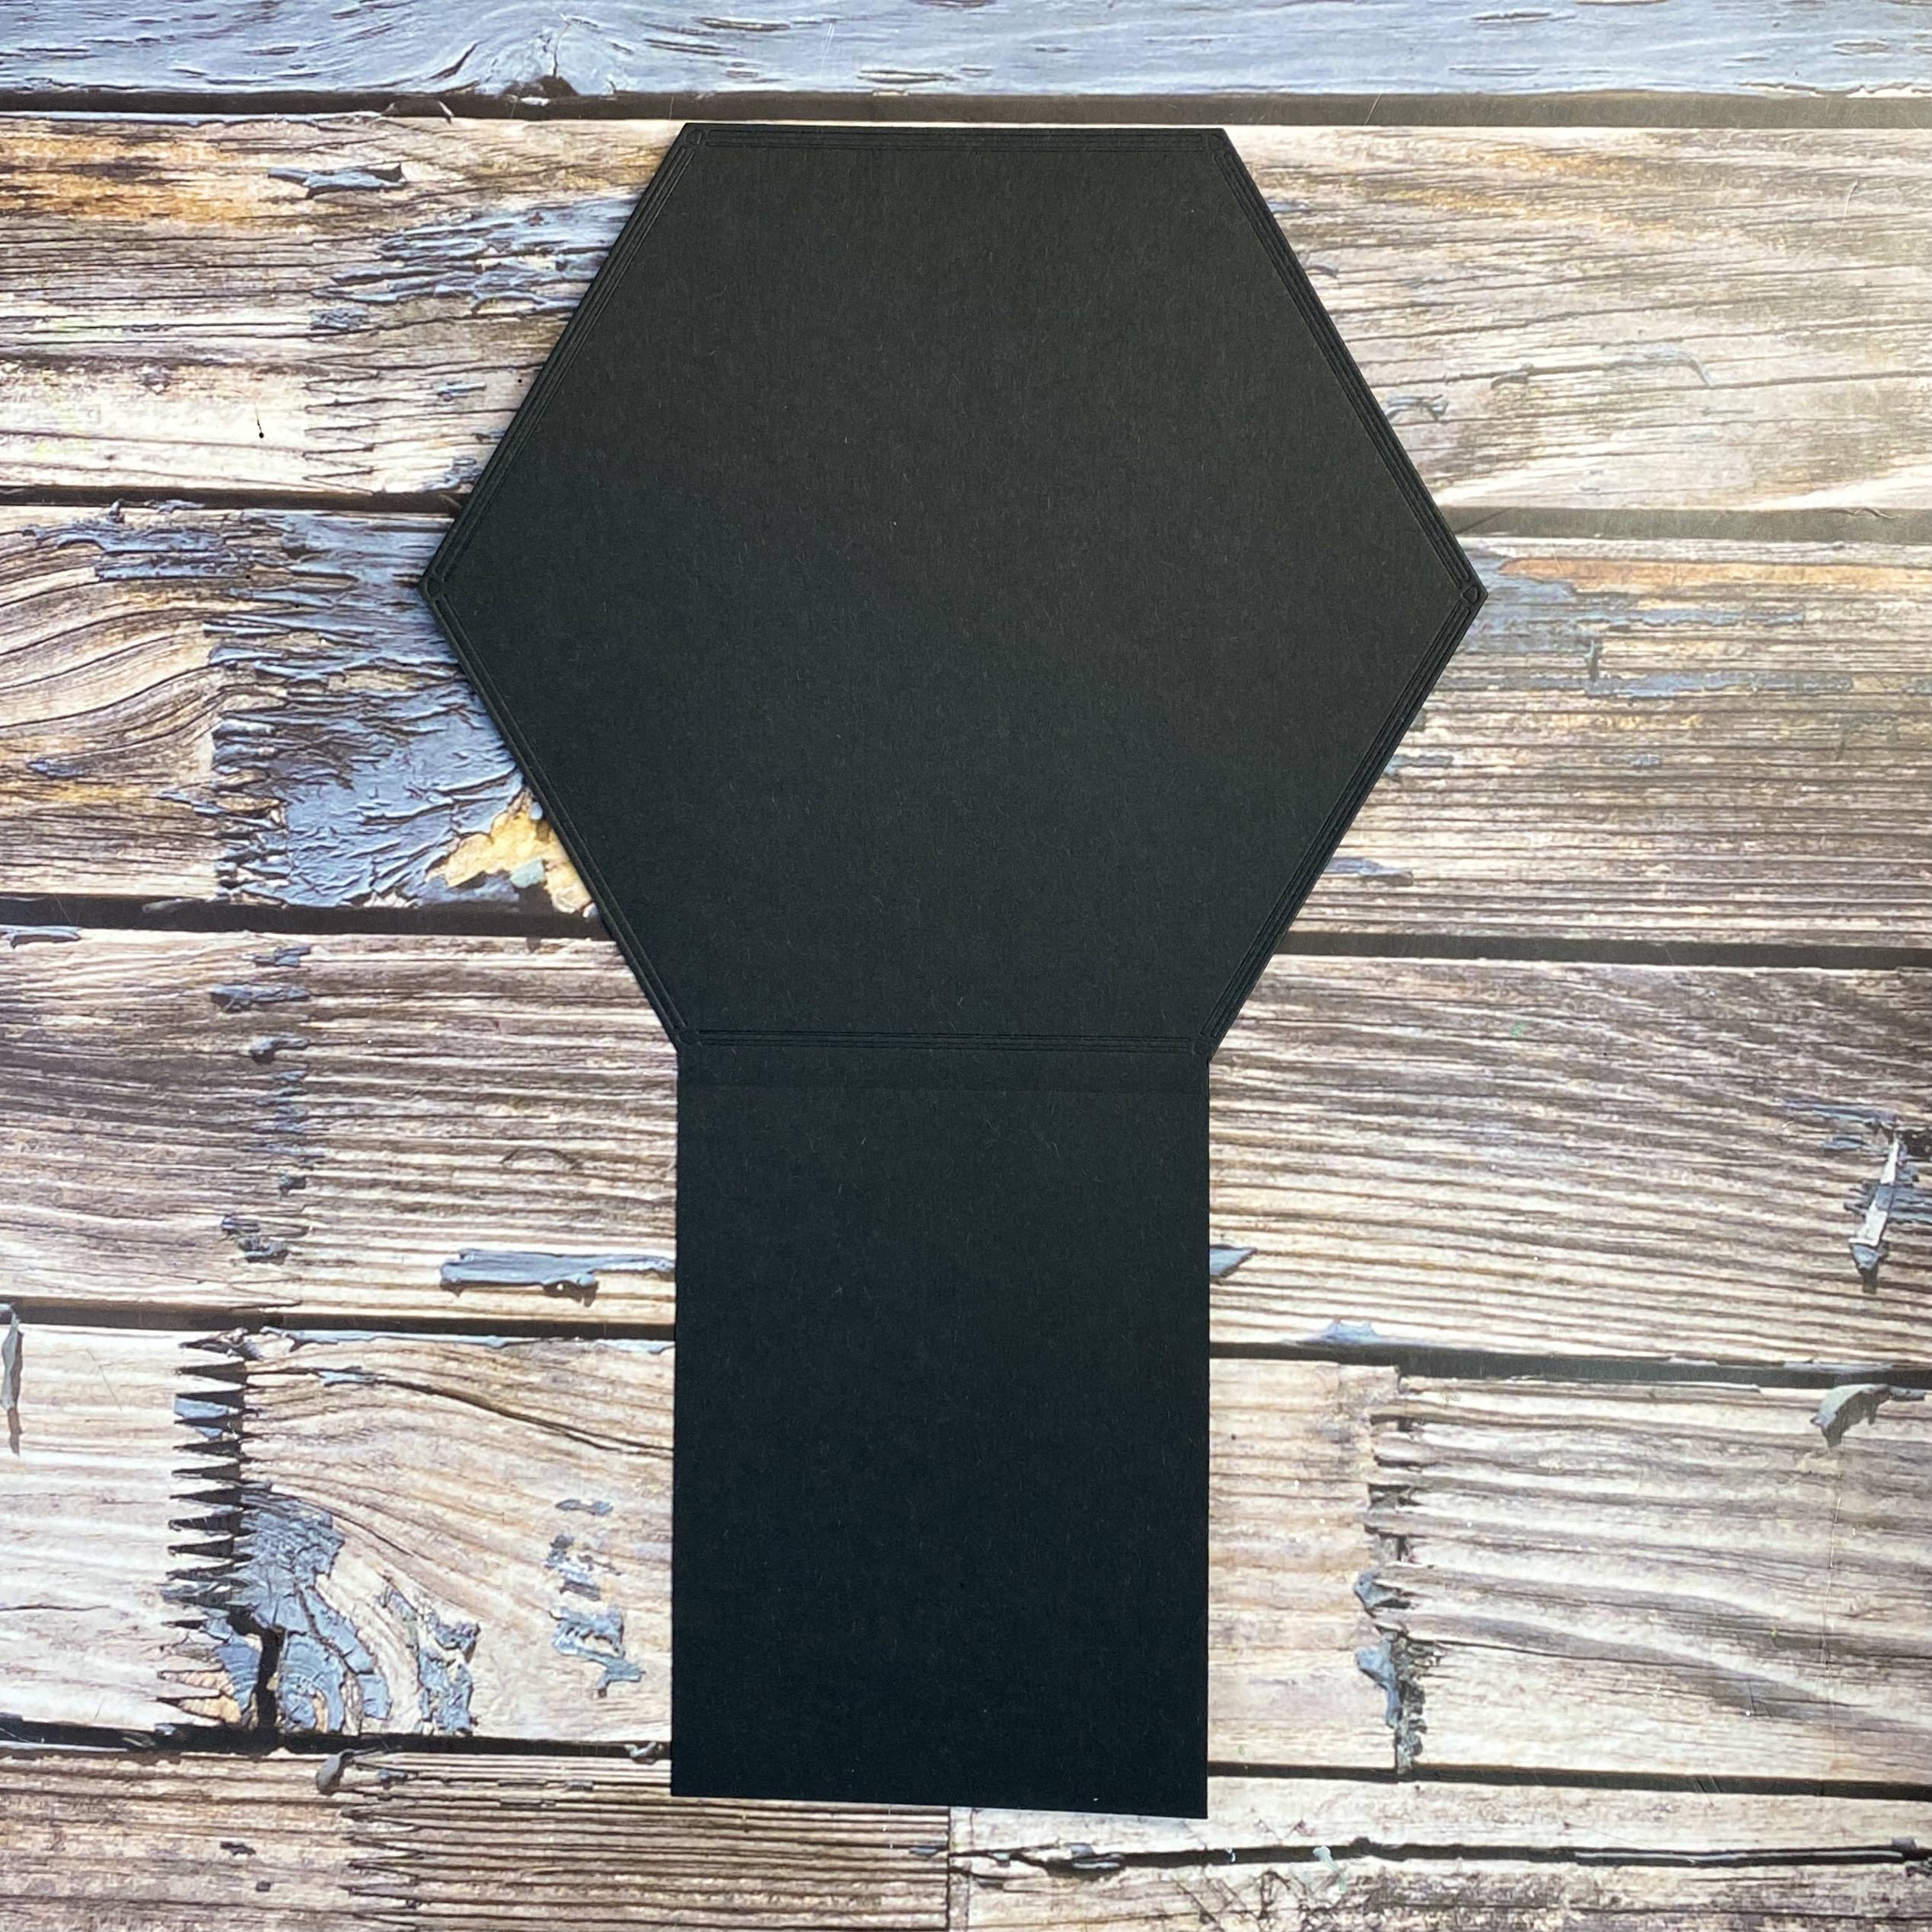
You will be left with a long piece attached to your hexagon which will create your base.
Step 3
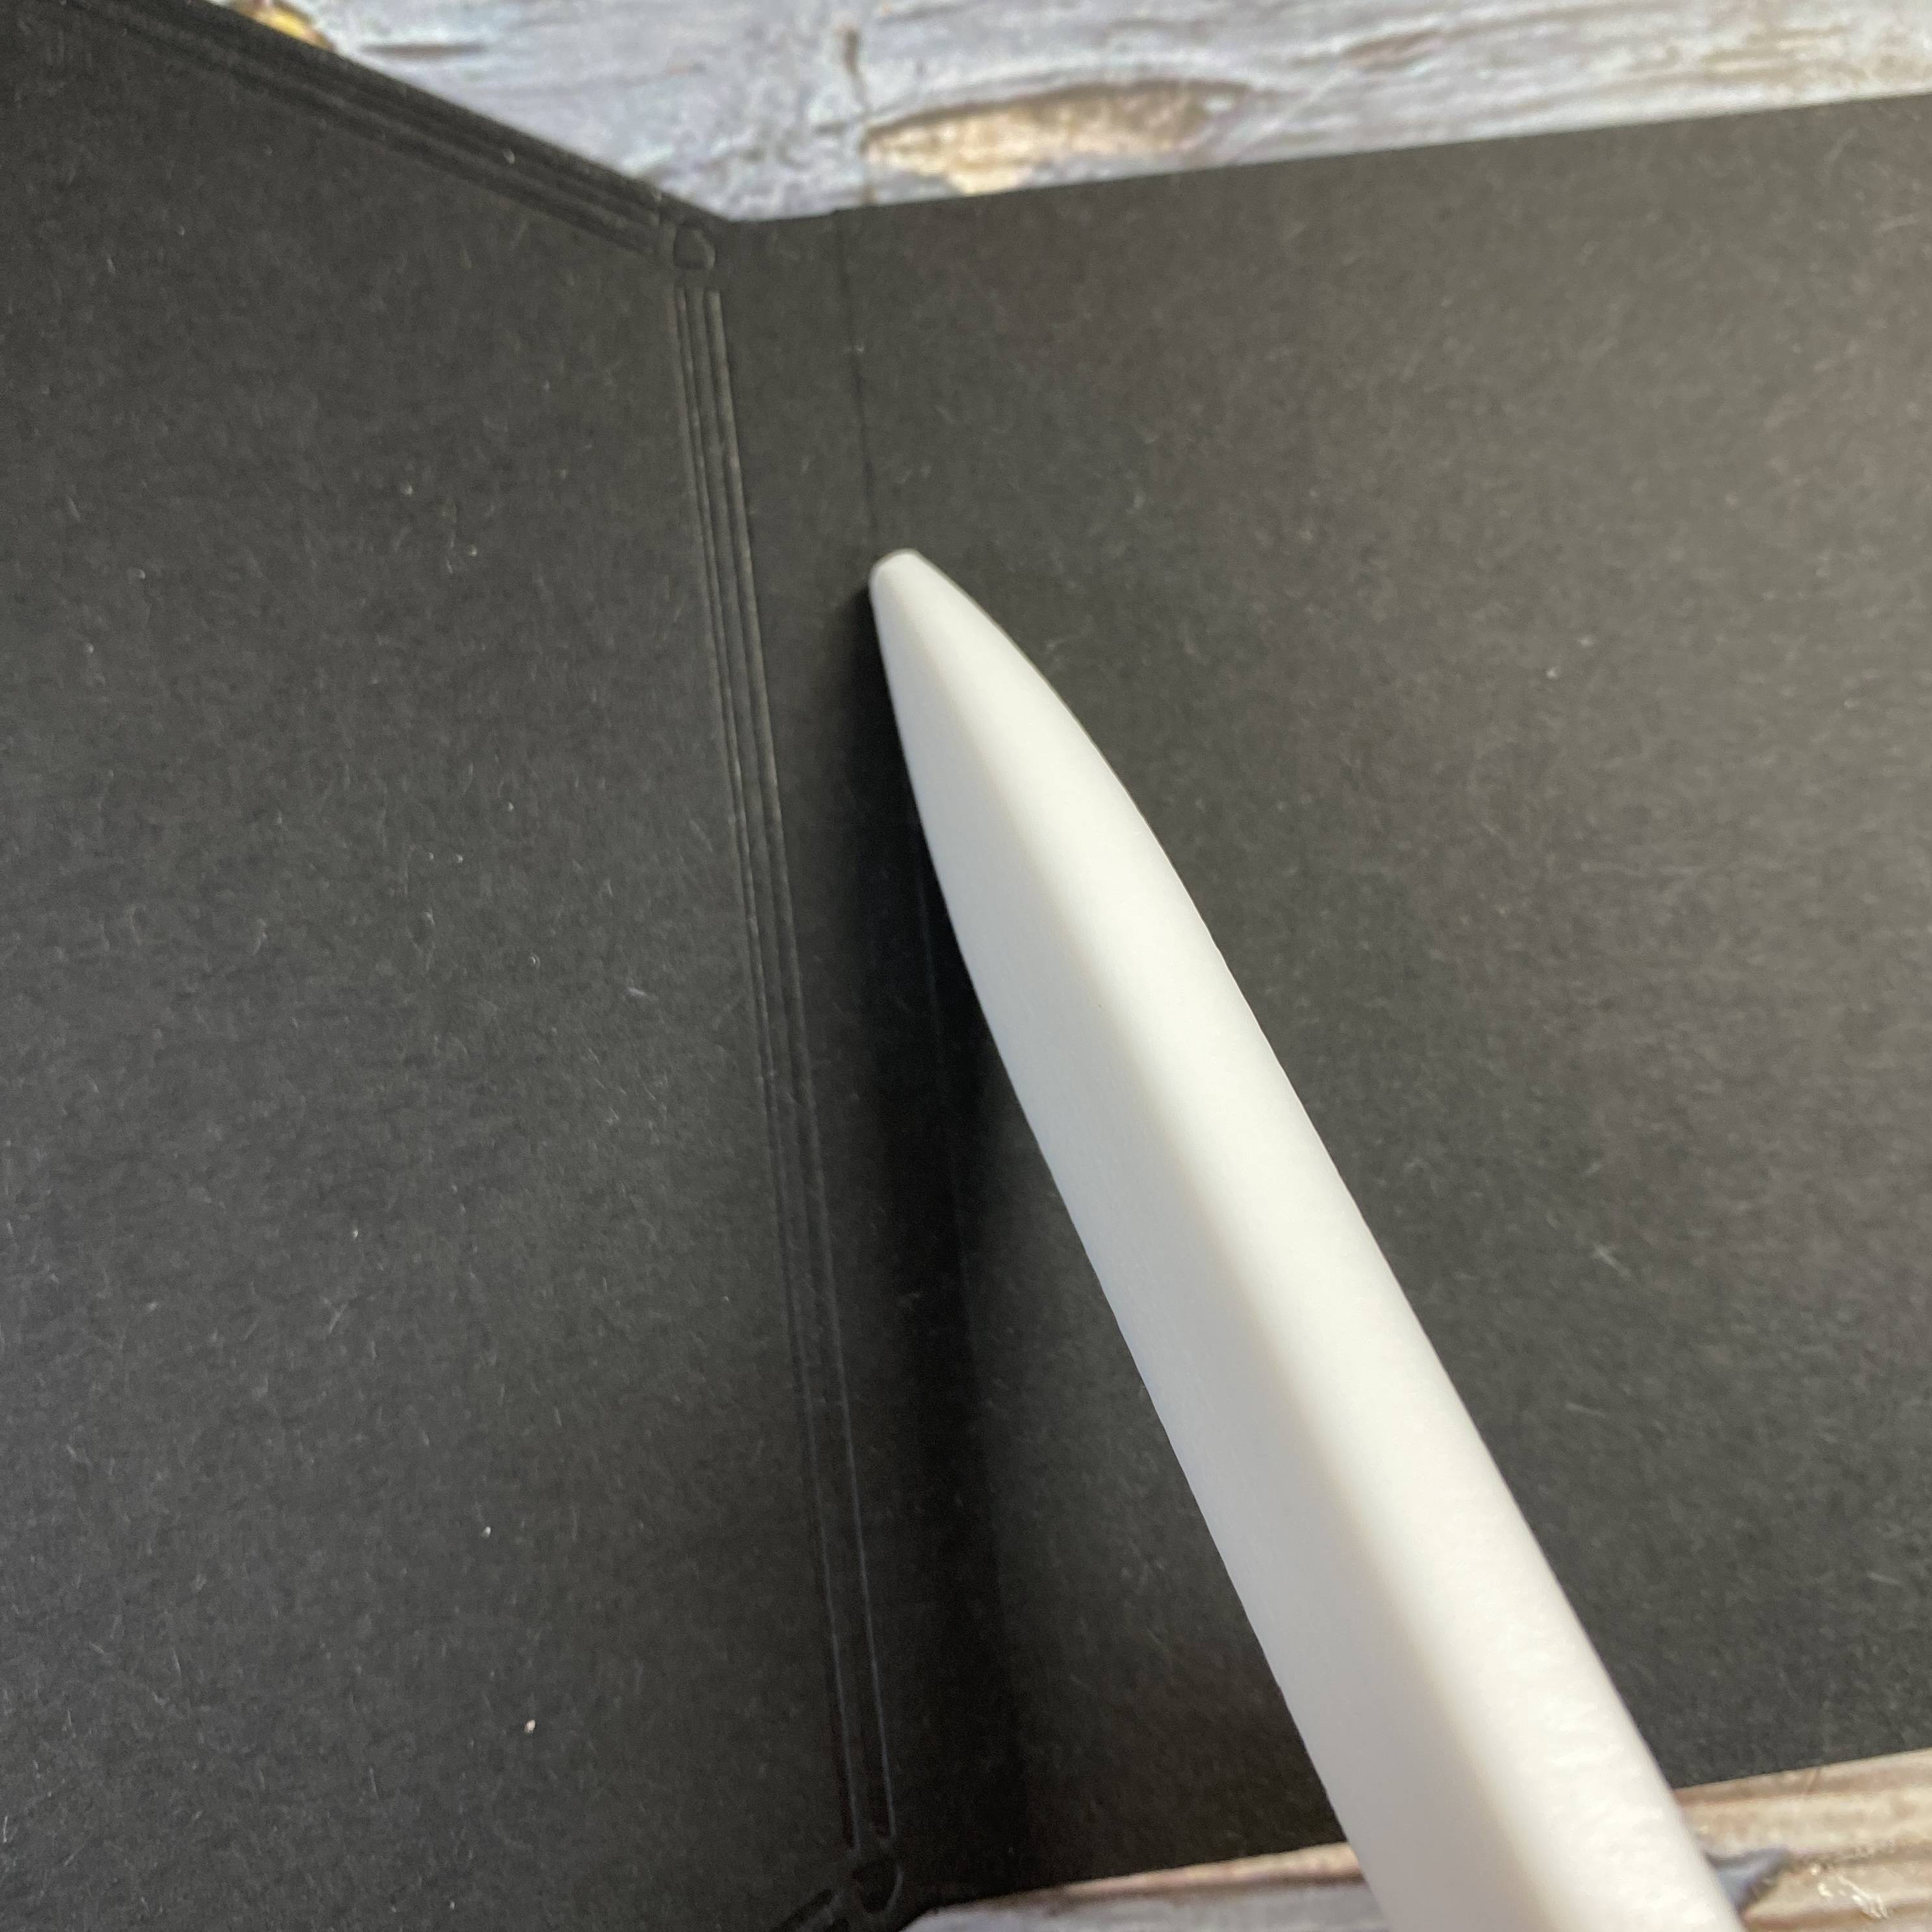
If you look closely you will see a line which you need to score.
Step 4
Trim your spine and score where it ends.
Step 5
Add wet glue as shown and attach your other largest die but be sure to trim all the excess off.
Step 6
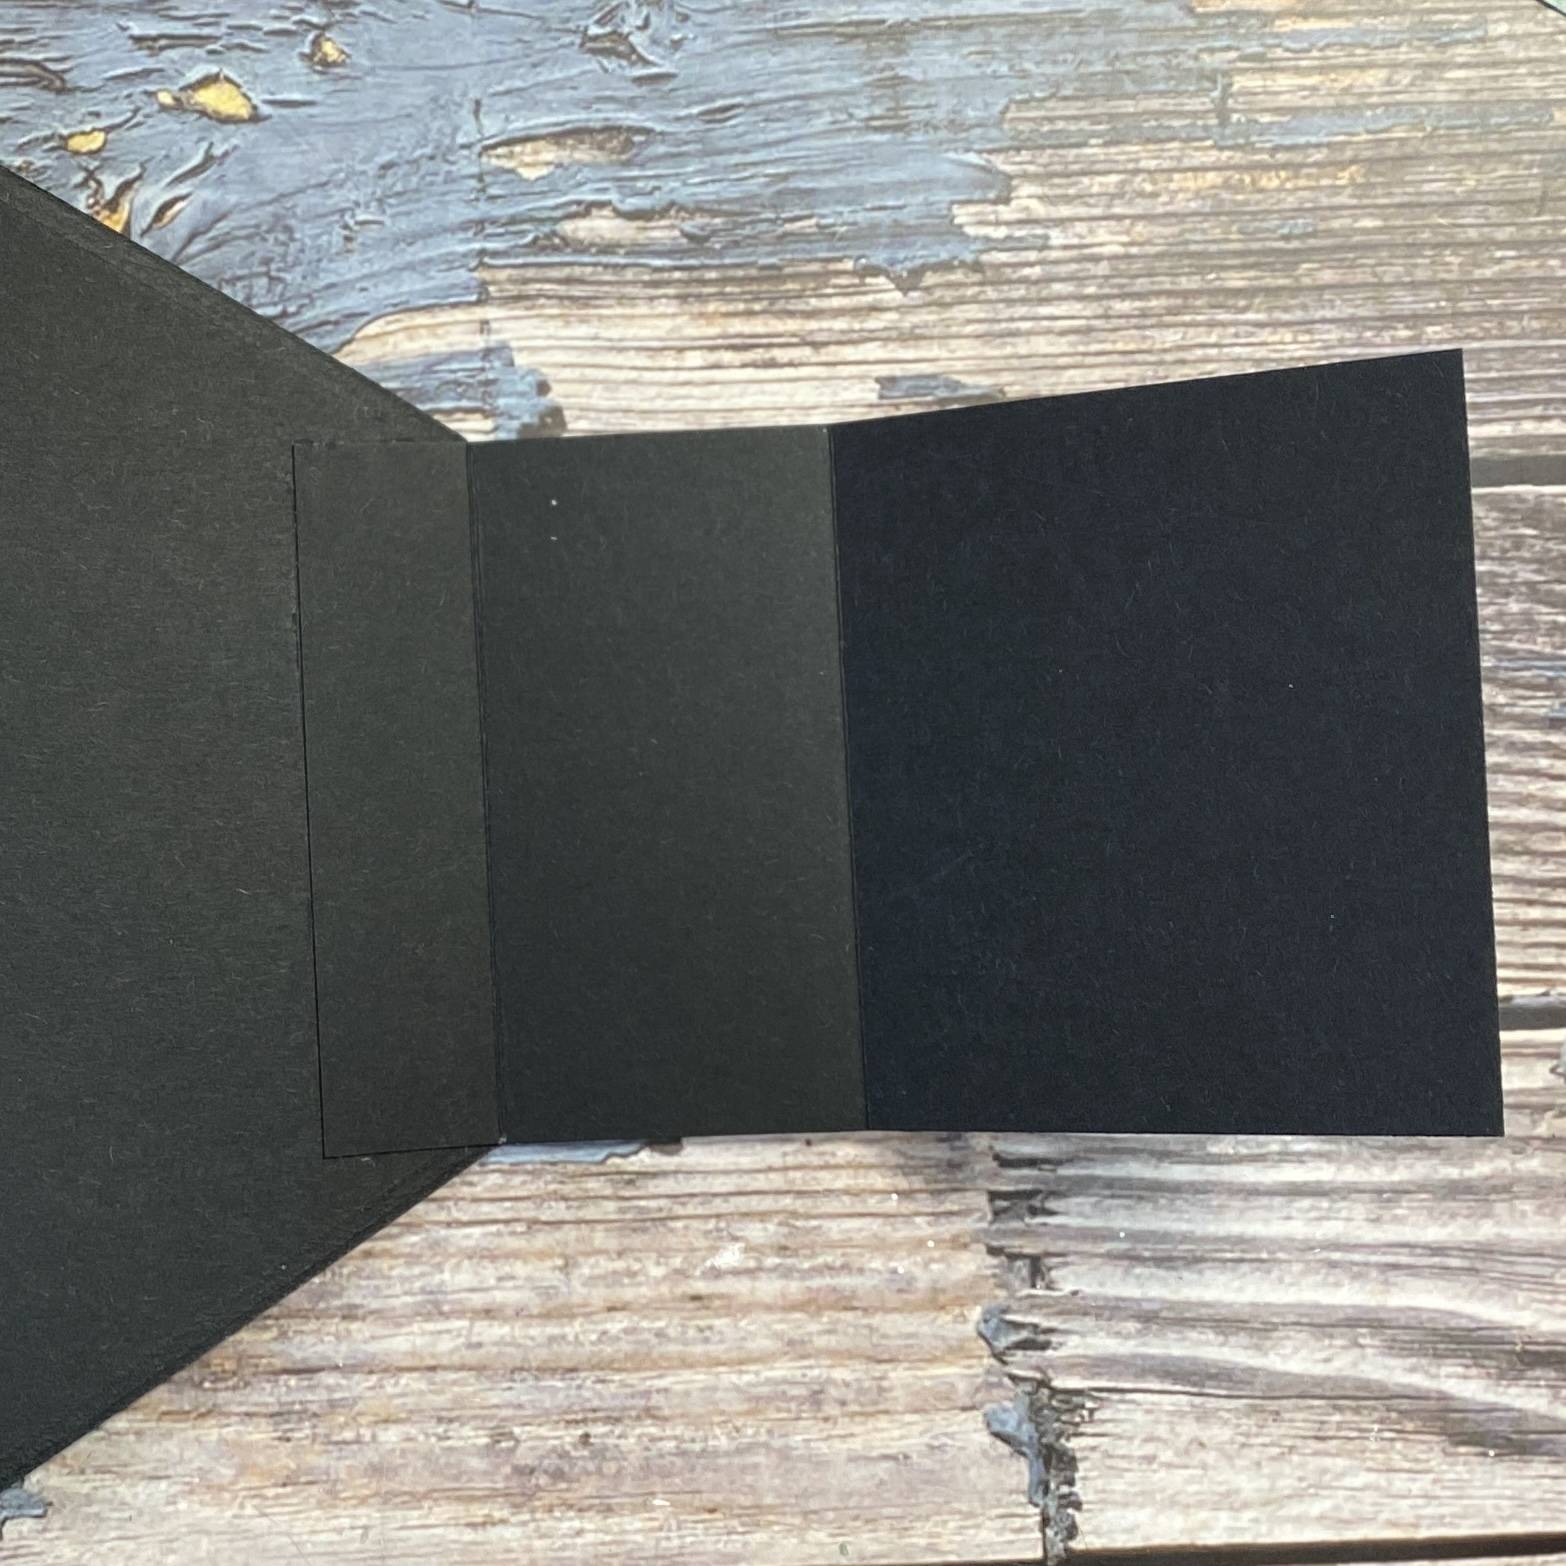
Create another fold the exact same width as your spine and adhere to the other side. This is going to make your closure.
Step 7
Cut another of the largest dies and trim. Add adhesive everywhere EXCEPT where the closure will fit in.
Step 8
Attach to the top of your book and allow to dry completely. You can now slide in your closure.
Step 9

Die cut your layers and closure pieces.
Step 10
Adhere one of the small pieces to the outer spine.
Step 11
Adhere paper pieces to closure.
Step 12
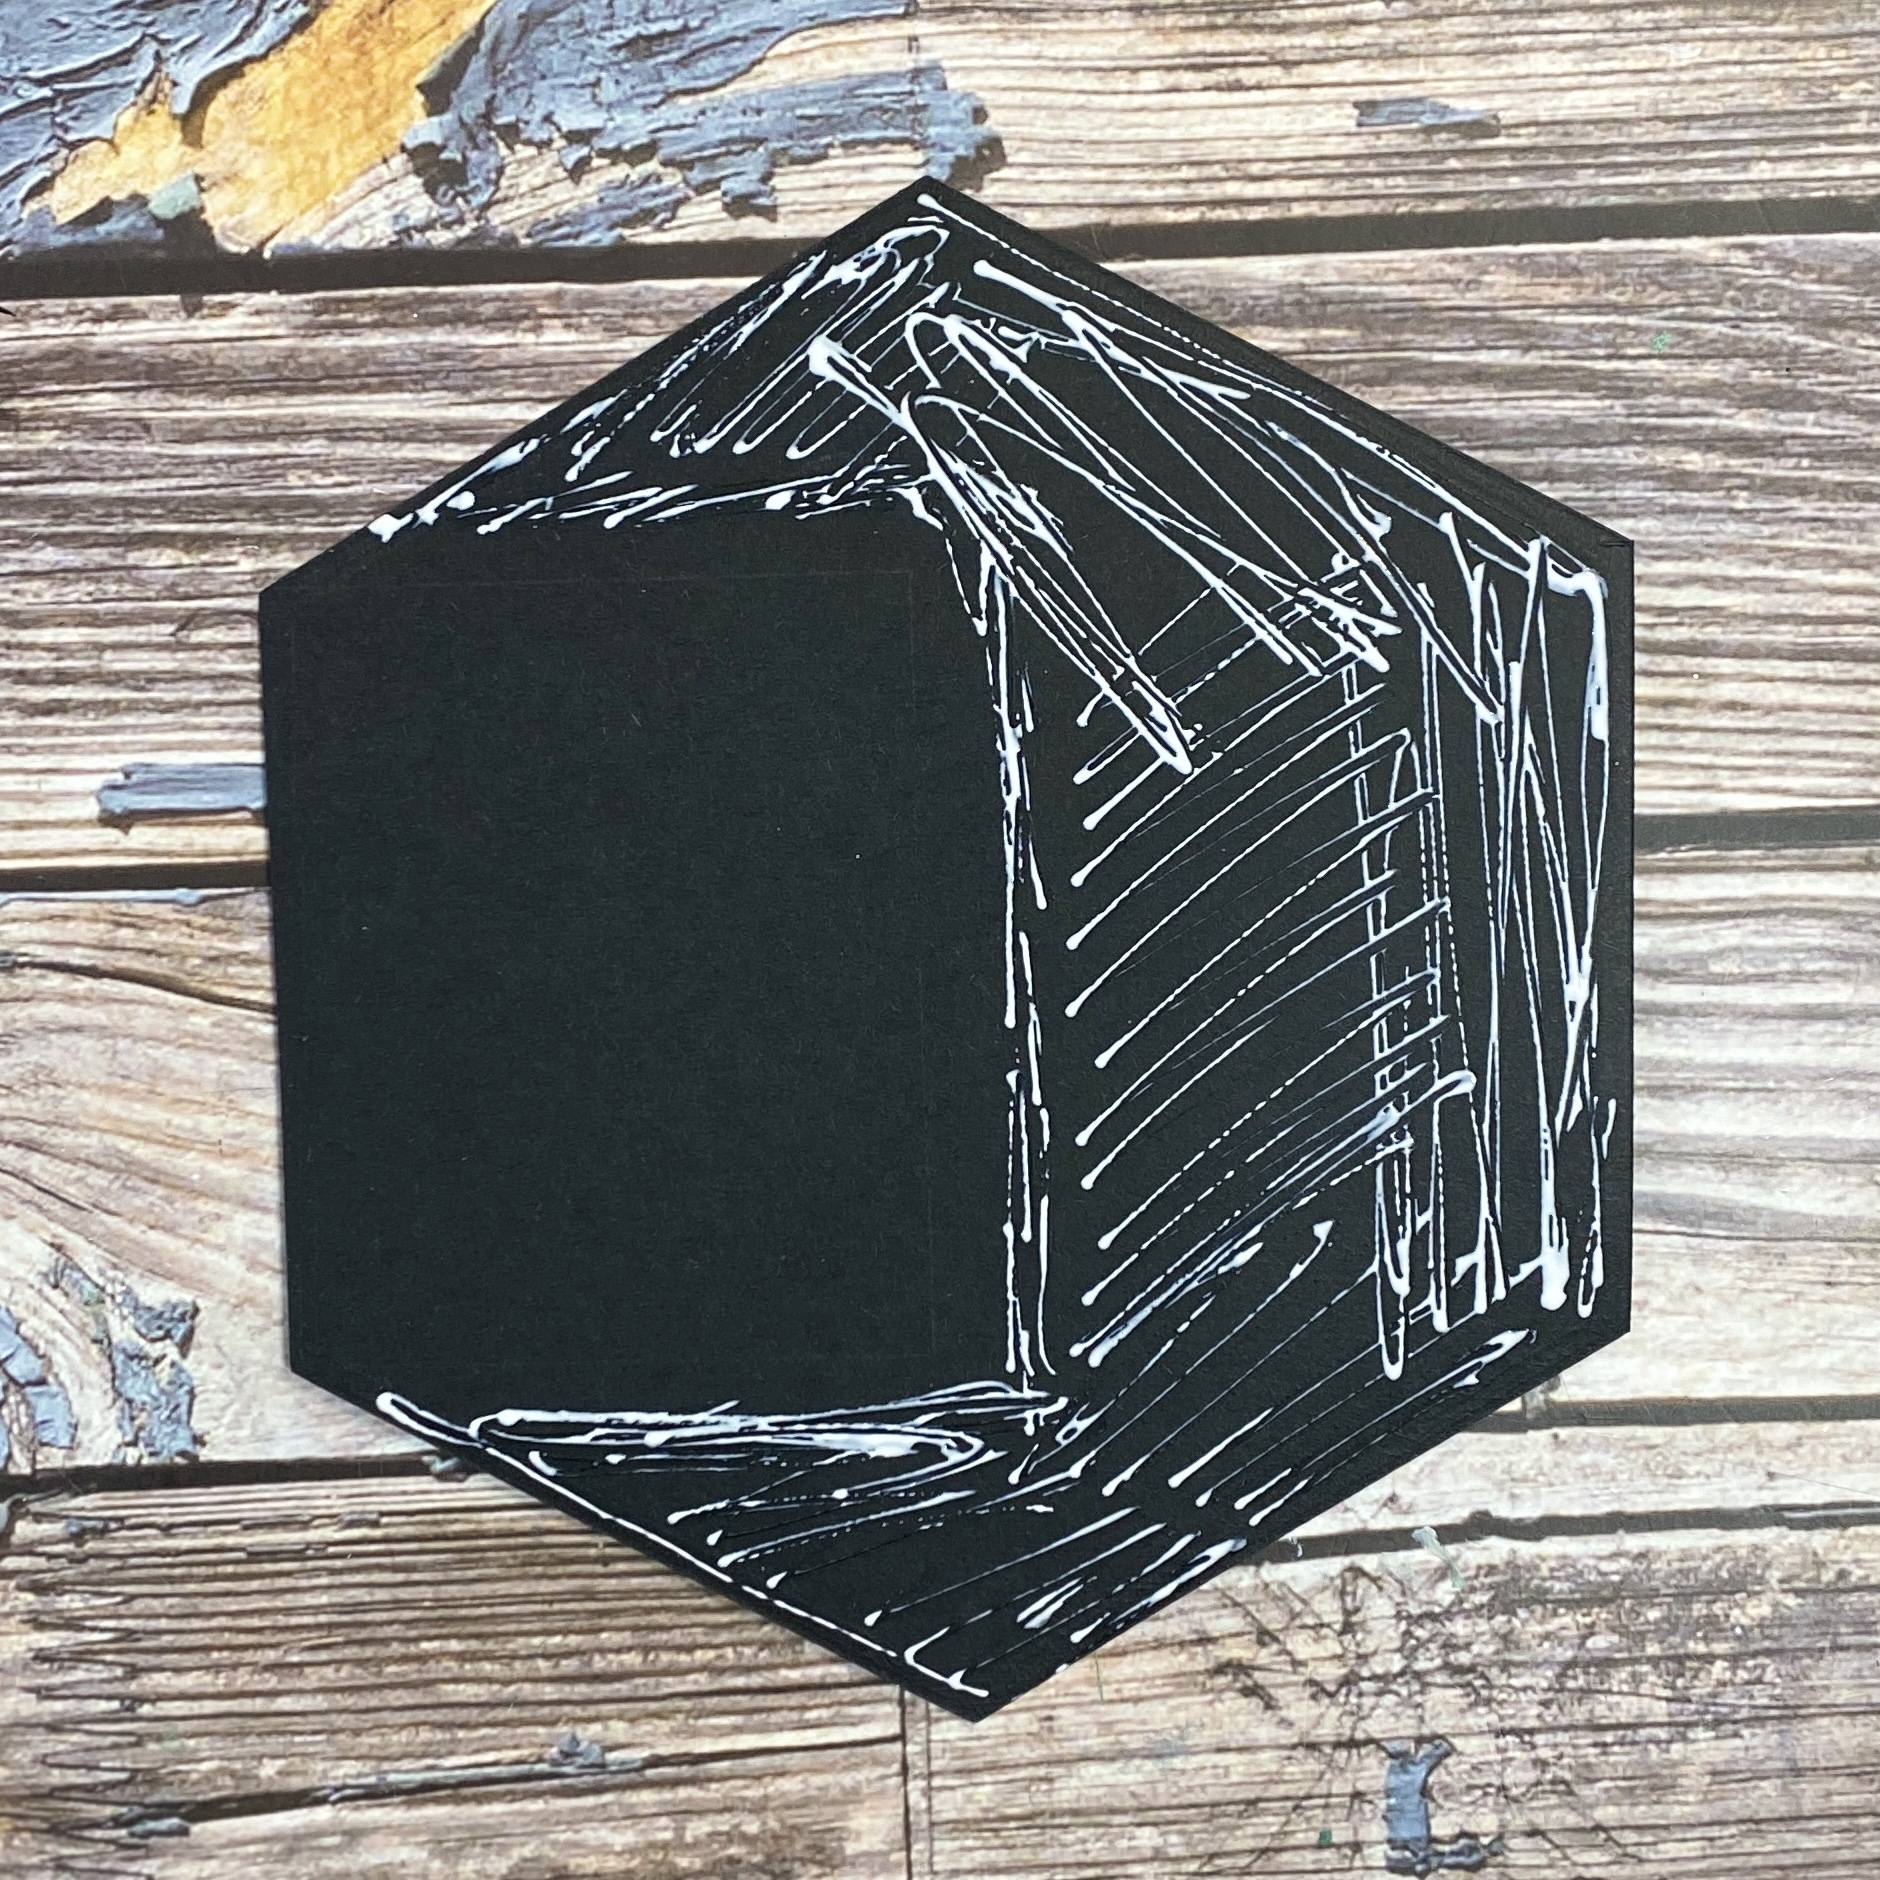
Die cut the bottom of the hexagon in contrasting papers and adhere to the cover.
Step 13
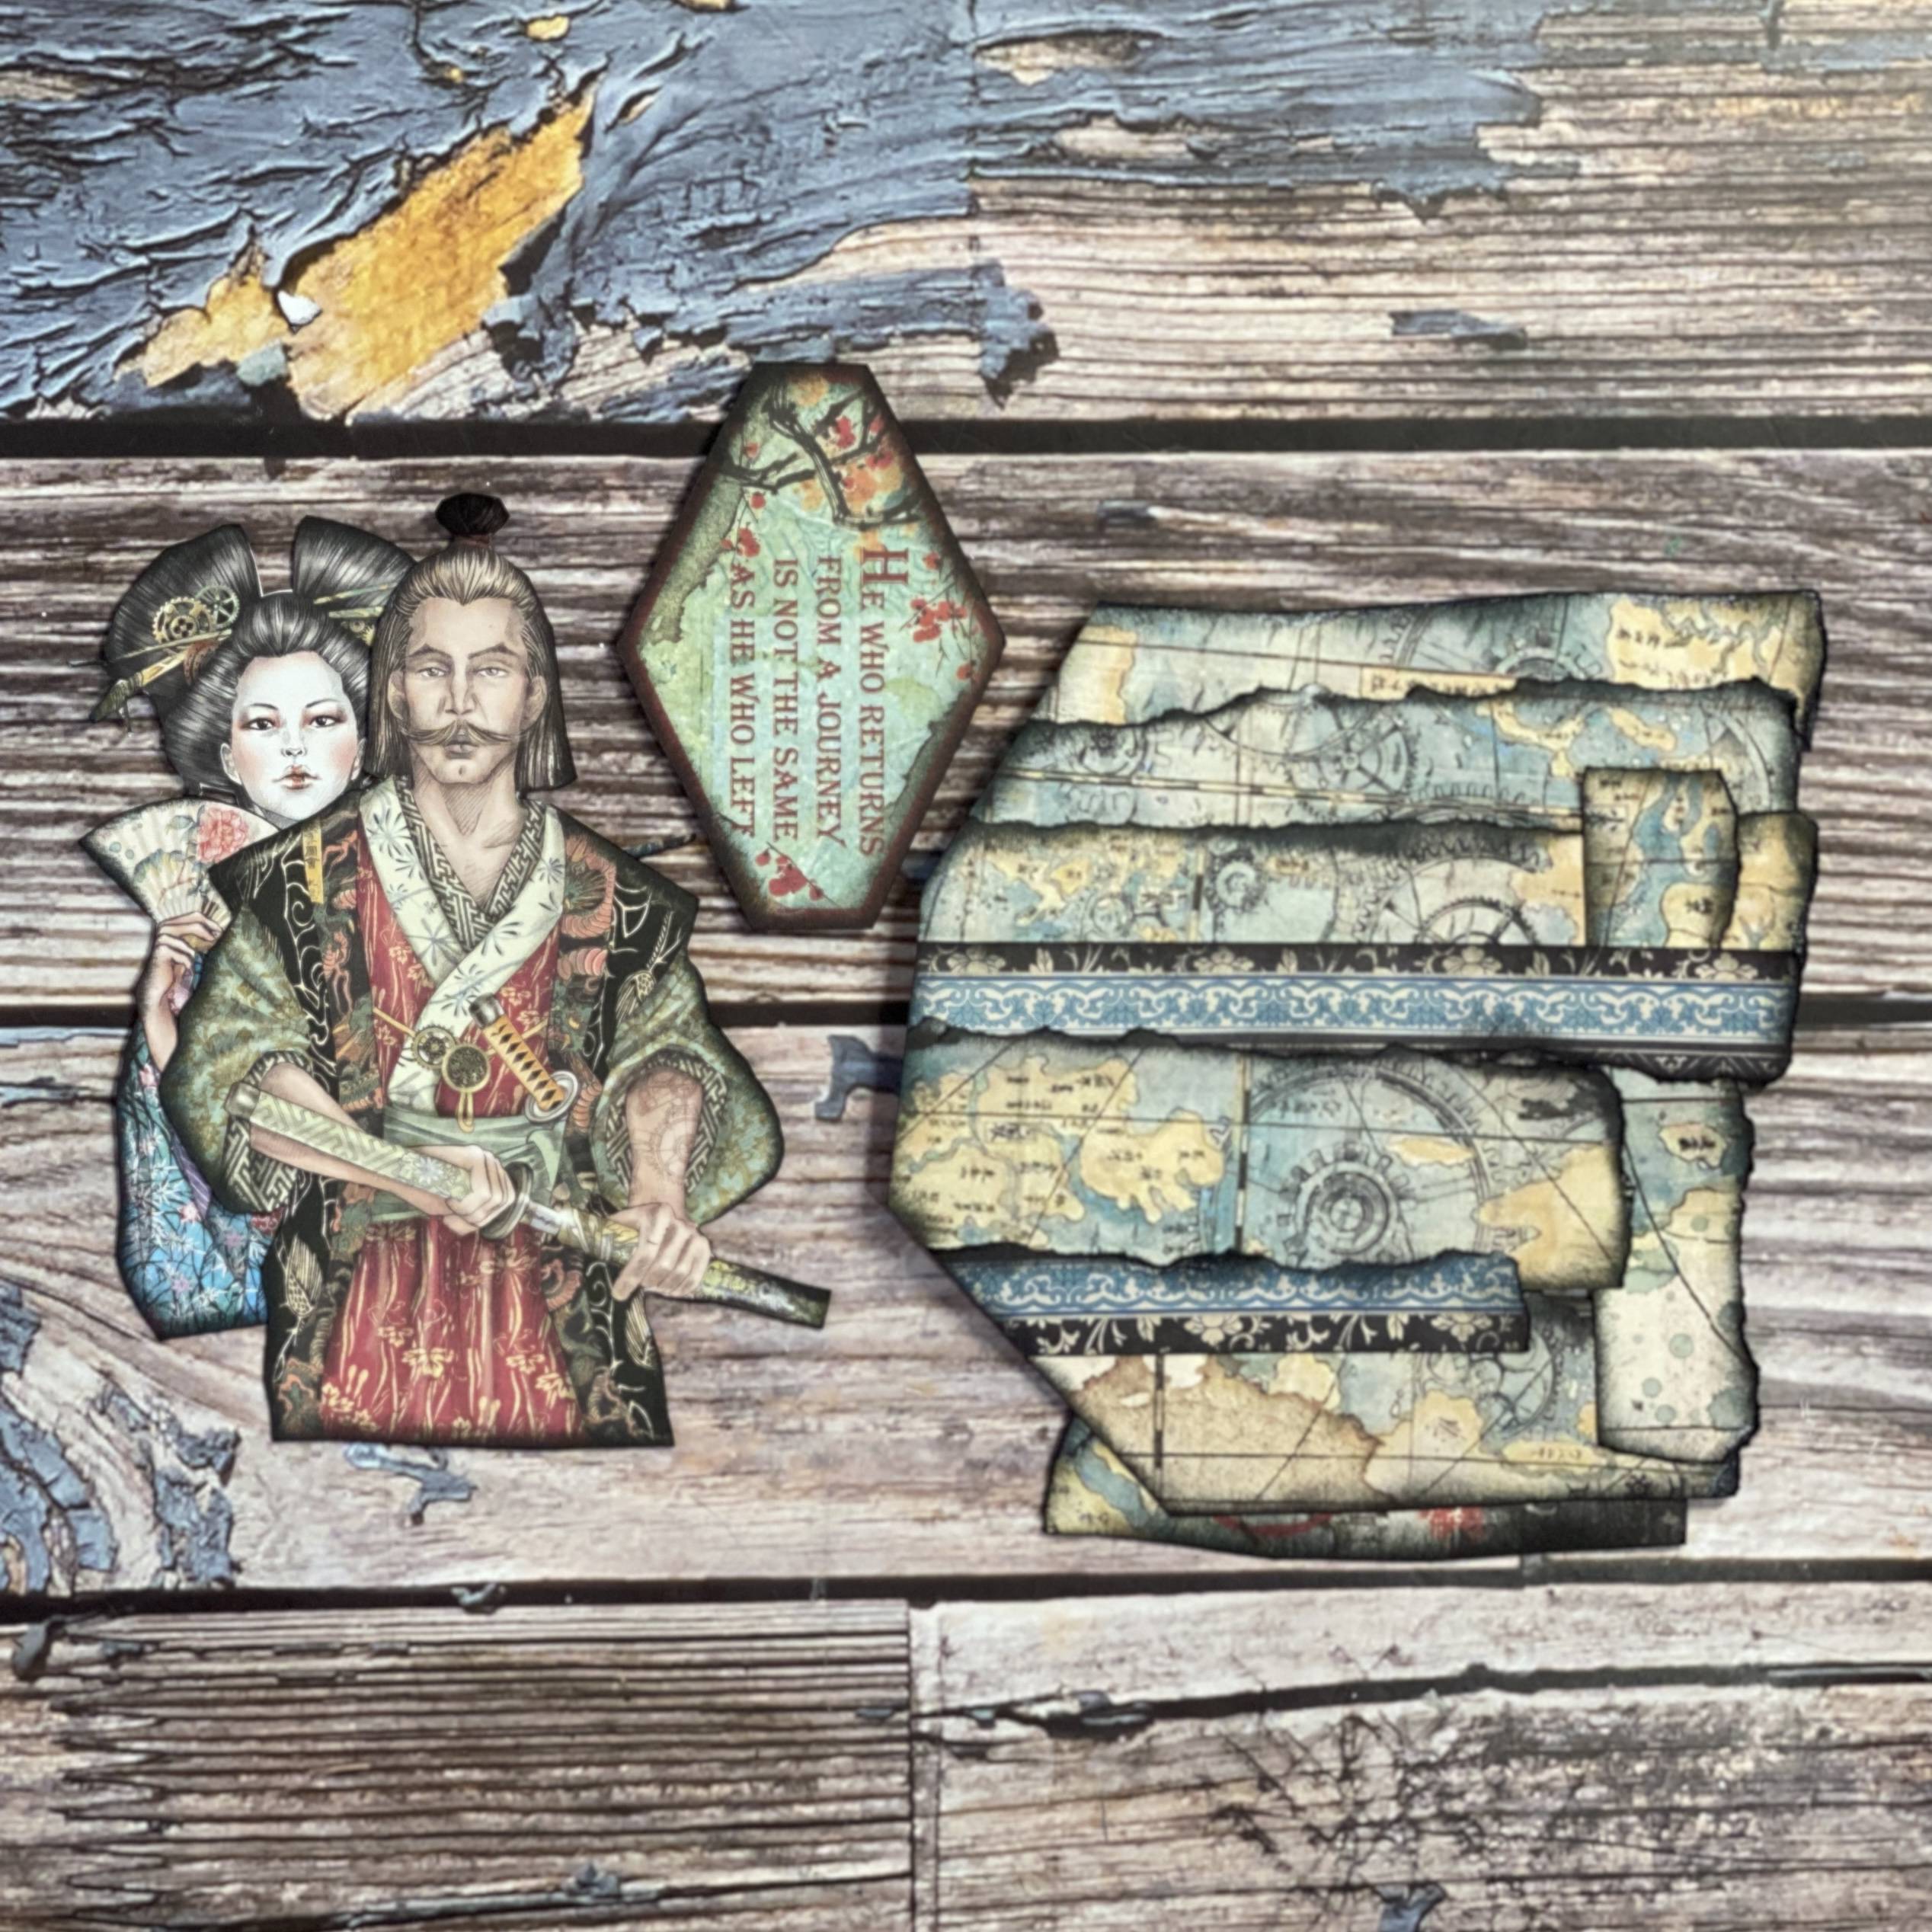
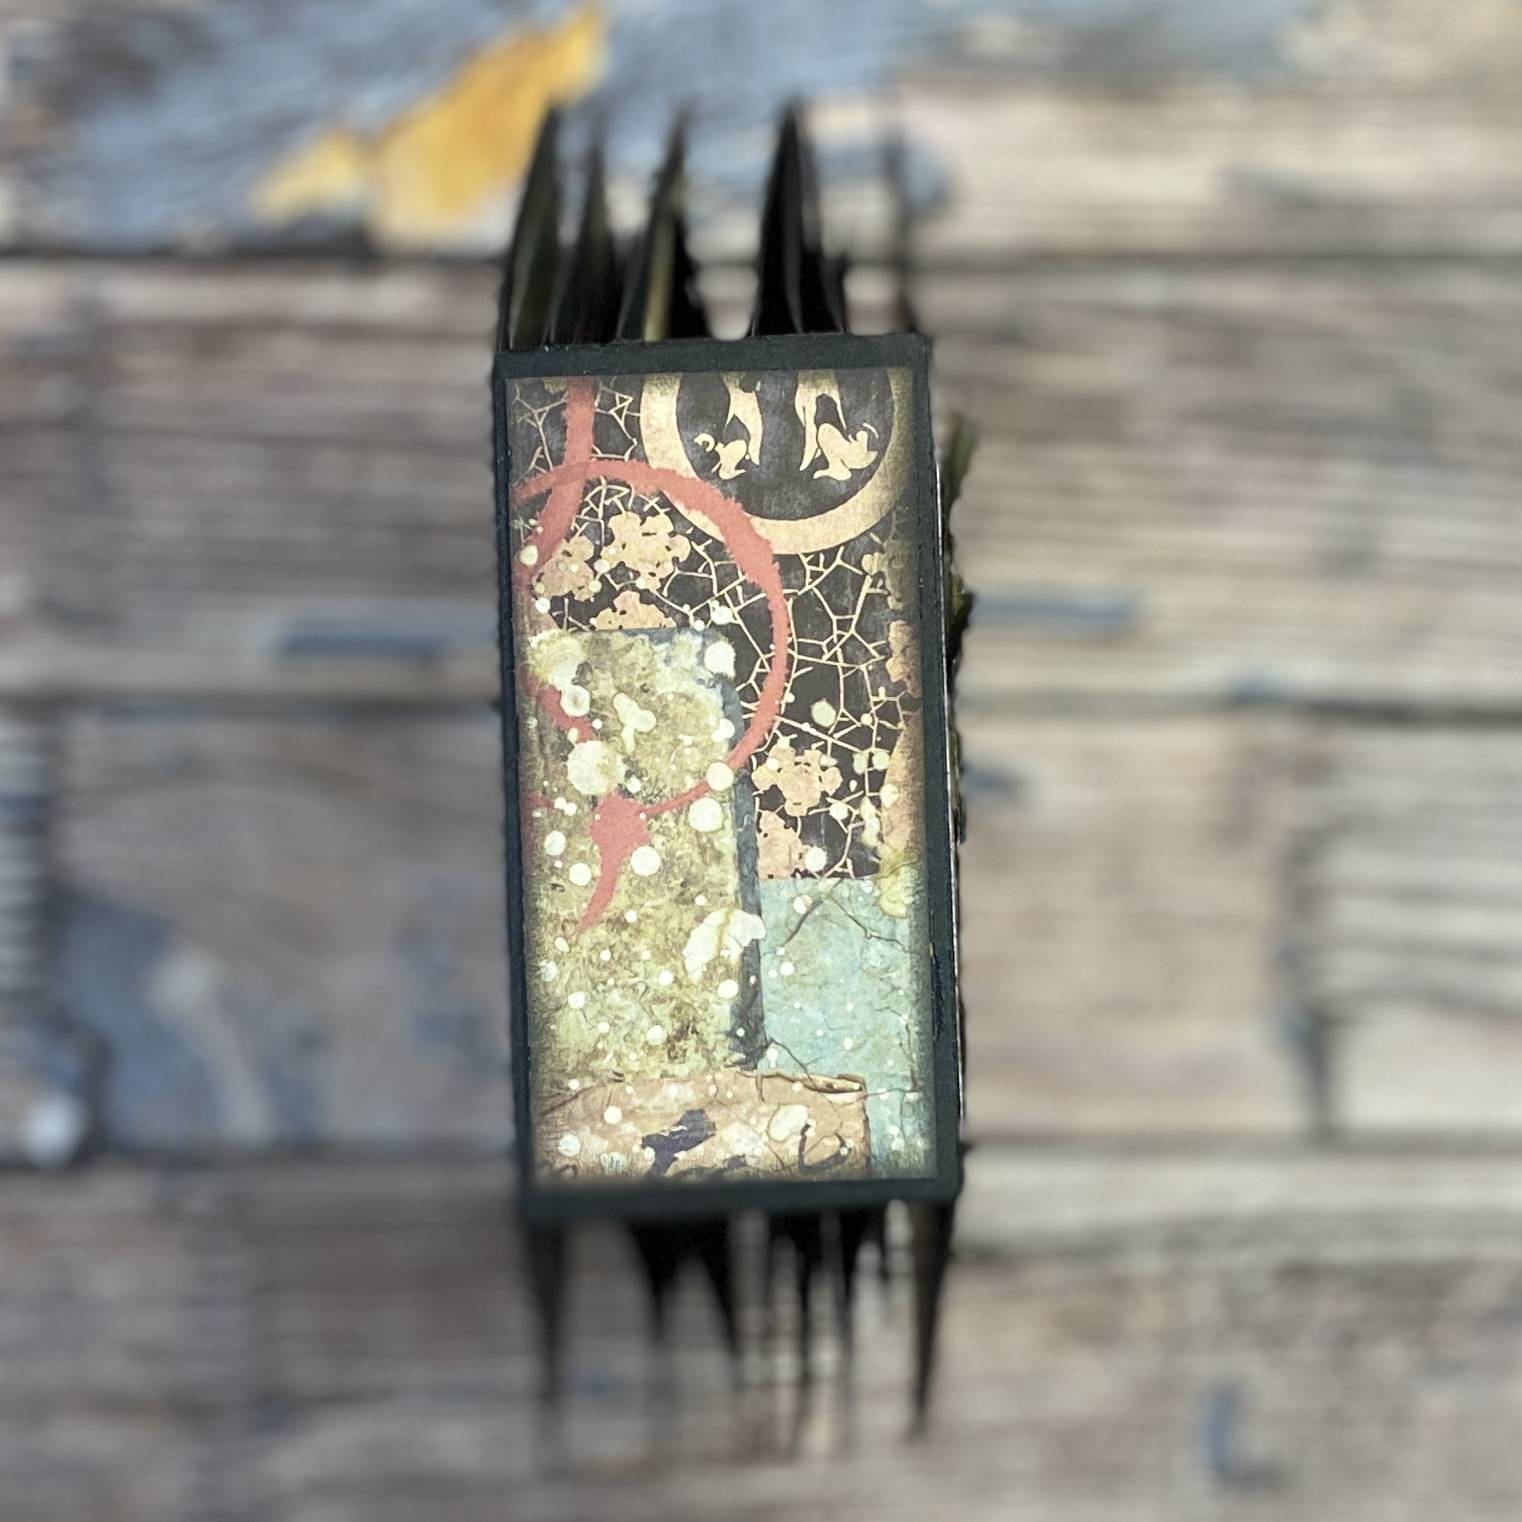
Create your front cover scene by using various elements and pieces of patterned paper.
Step 14

Photos showing the closure and cover scene.
Step 15
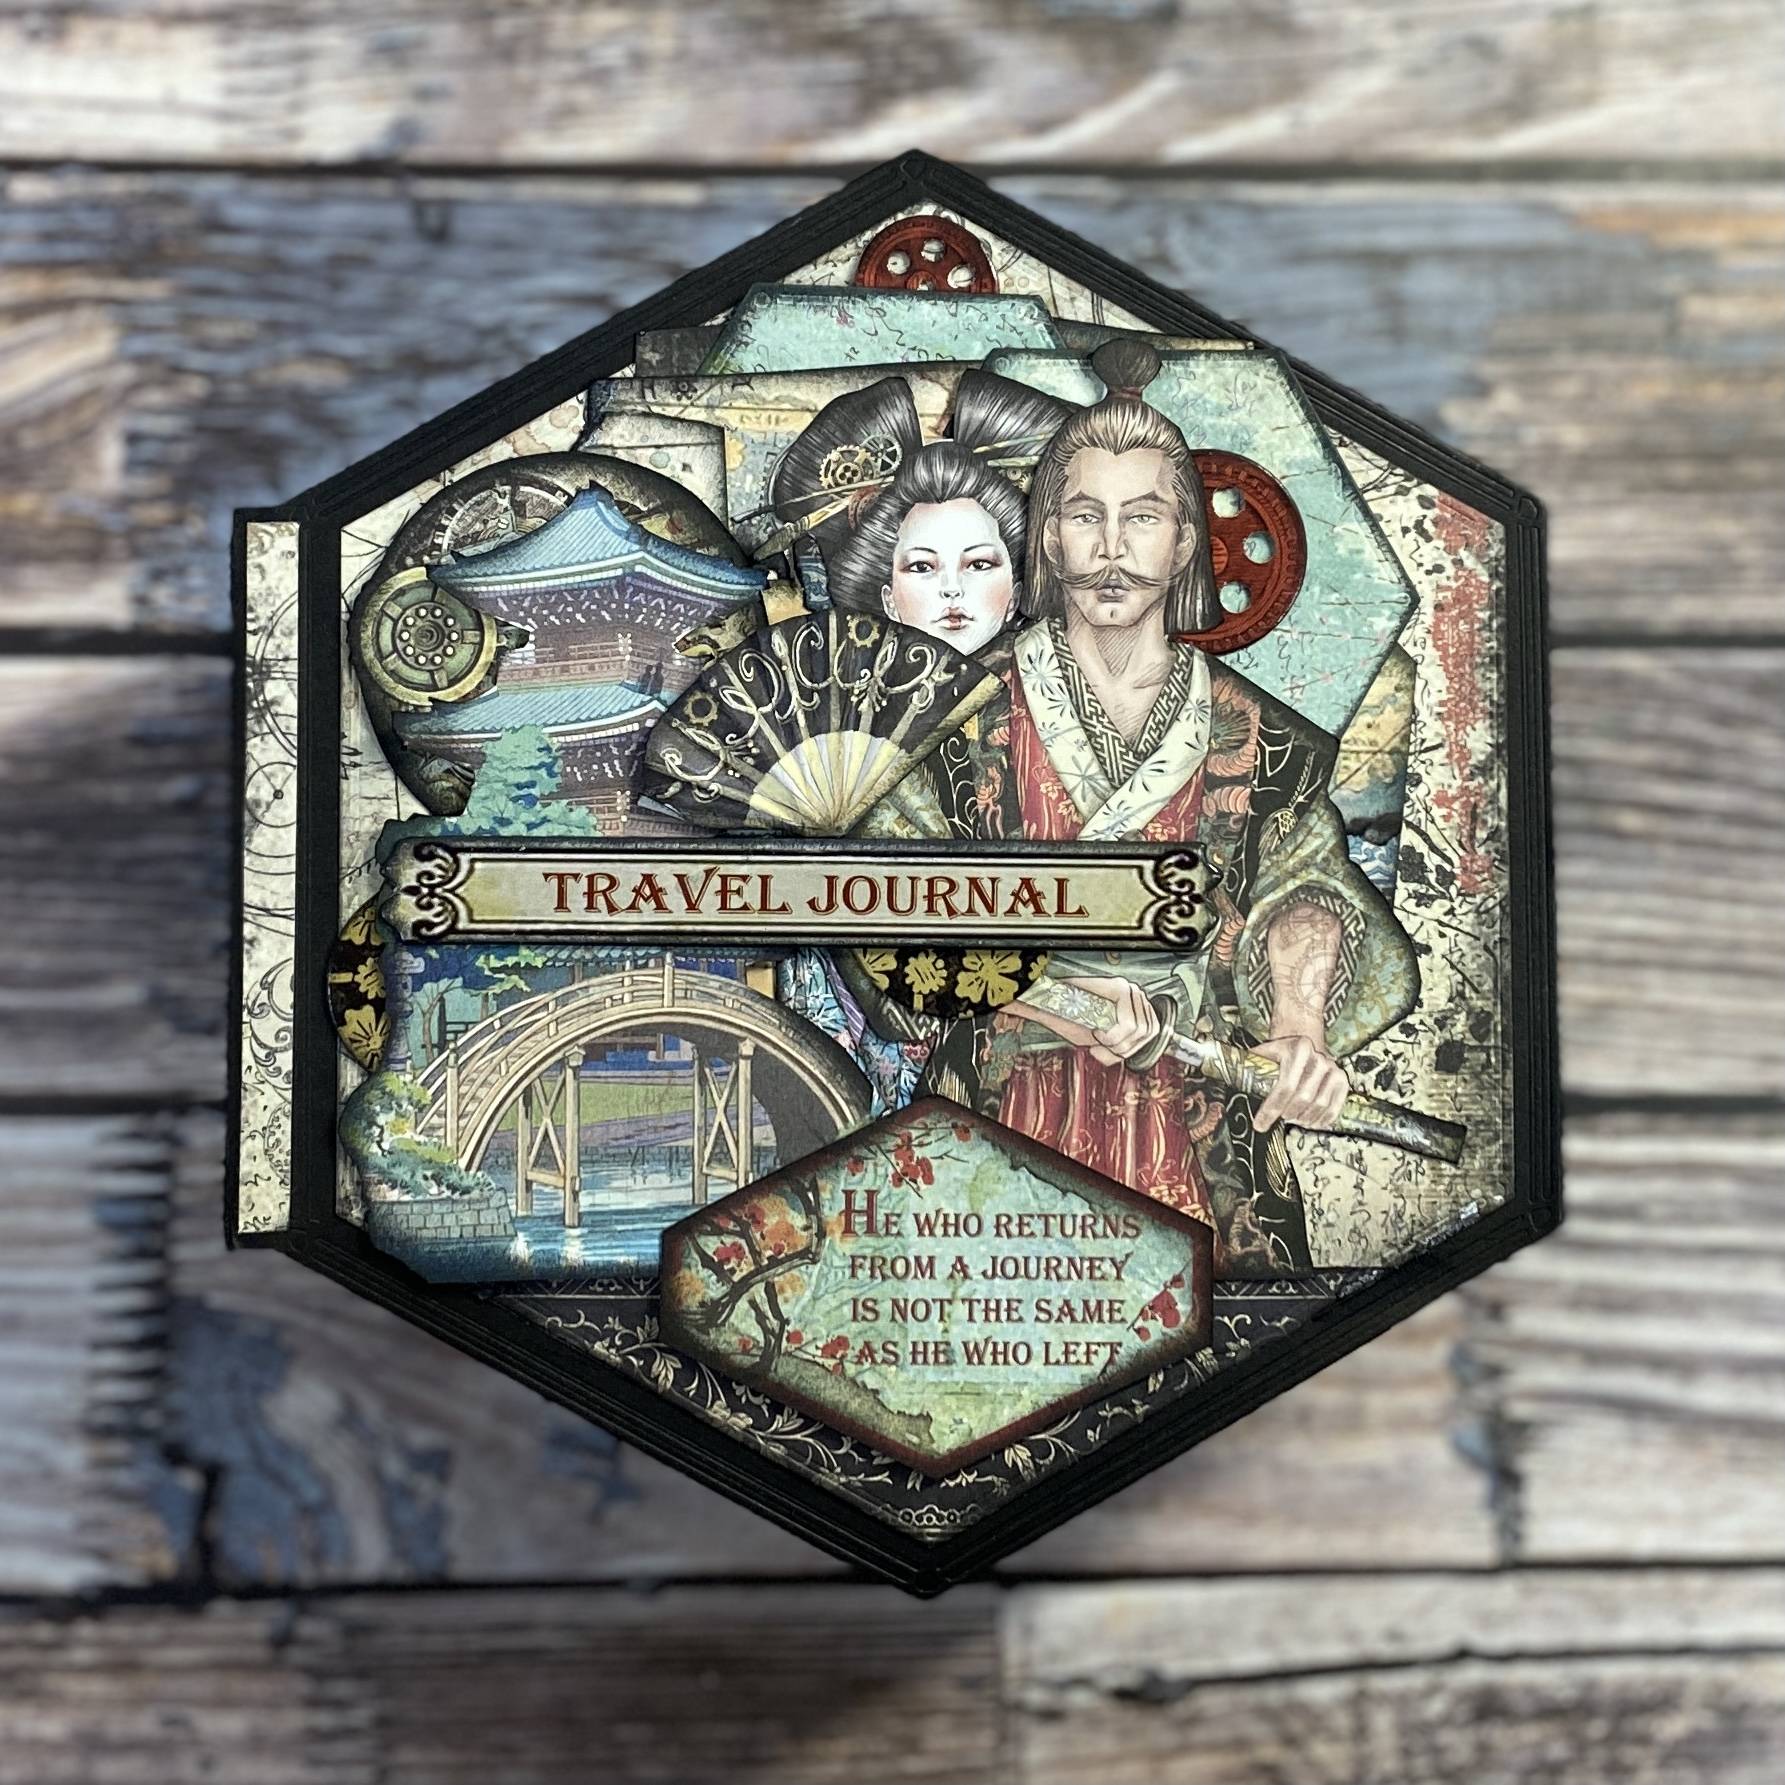
Add sentiments and a few small elements to finish your memory book front cover.
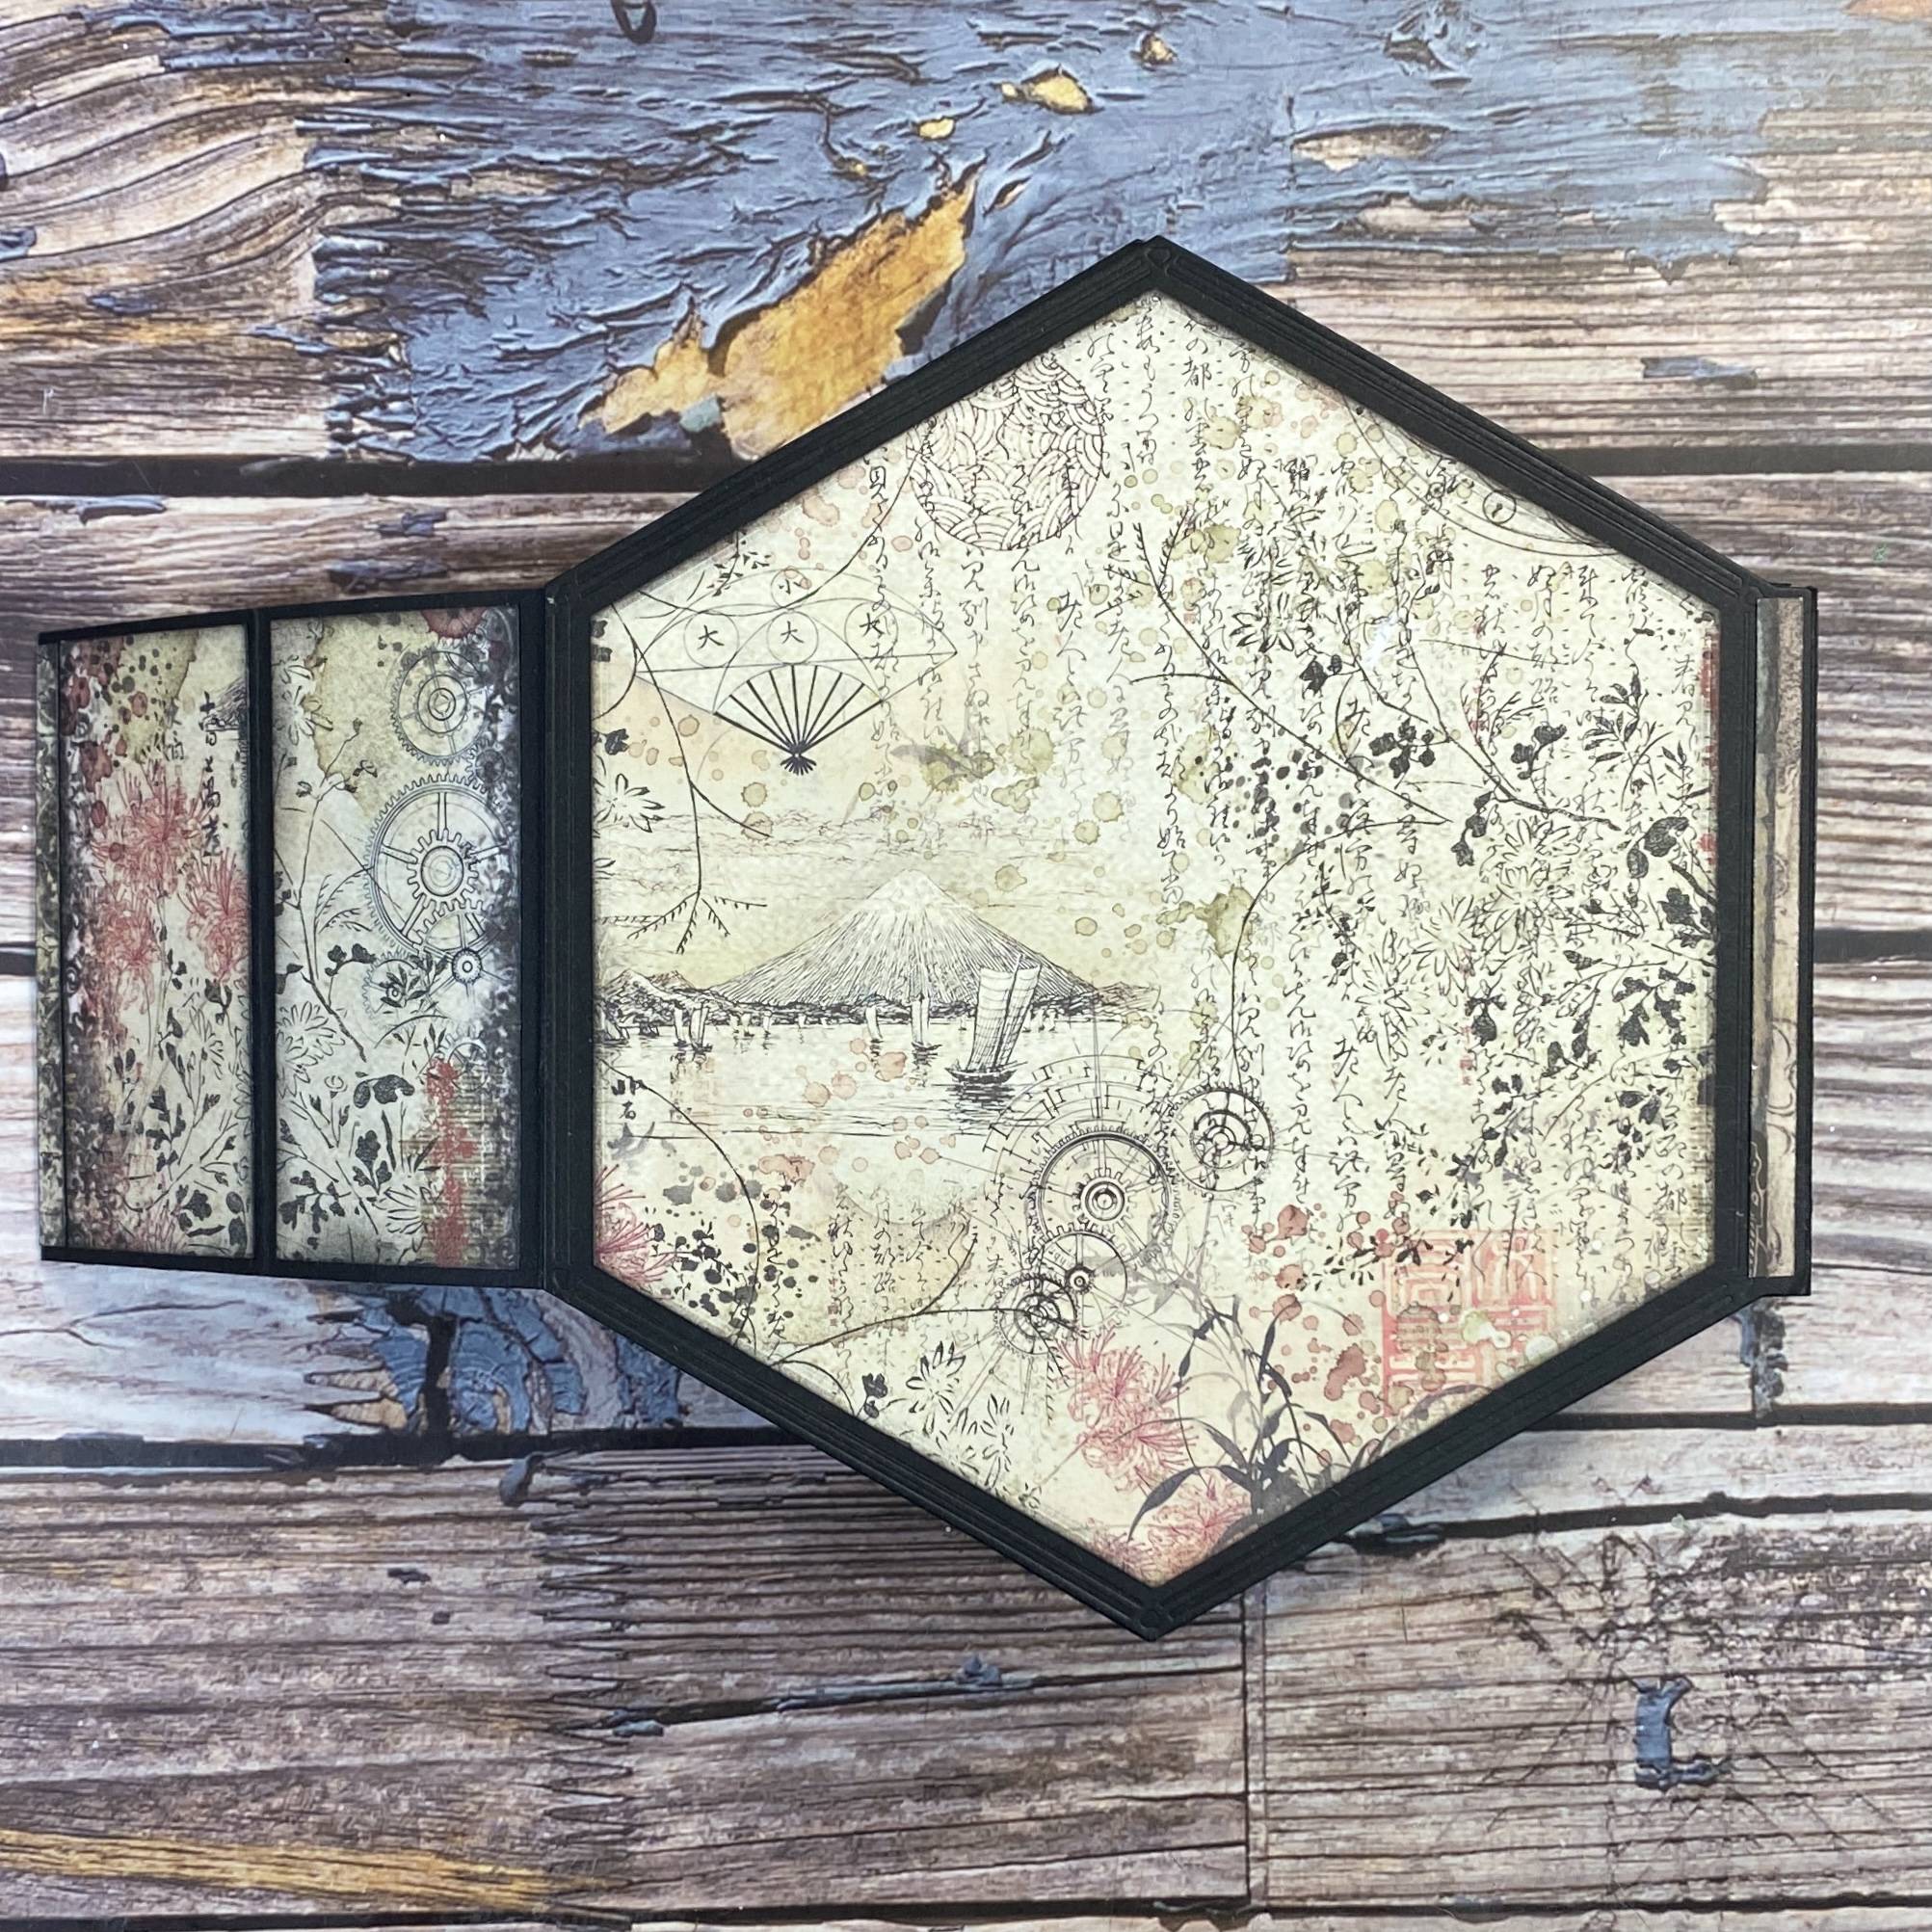
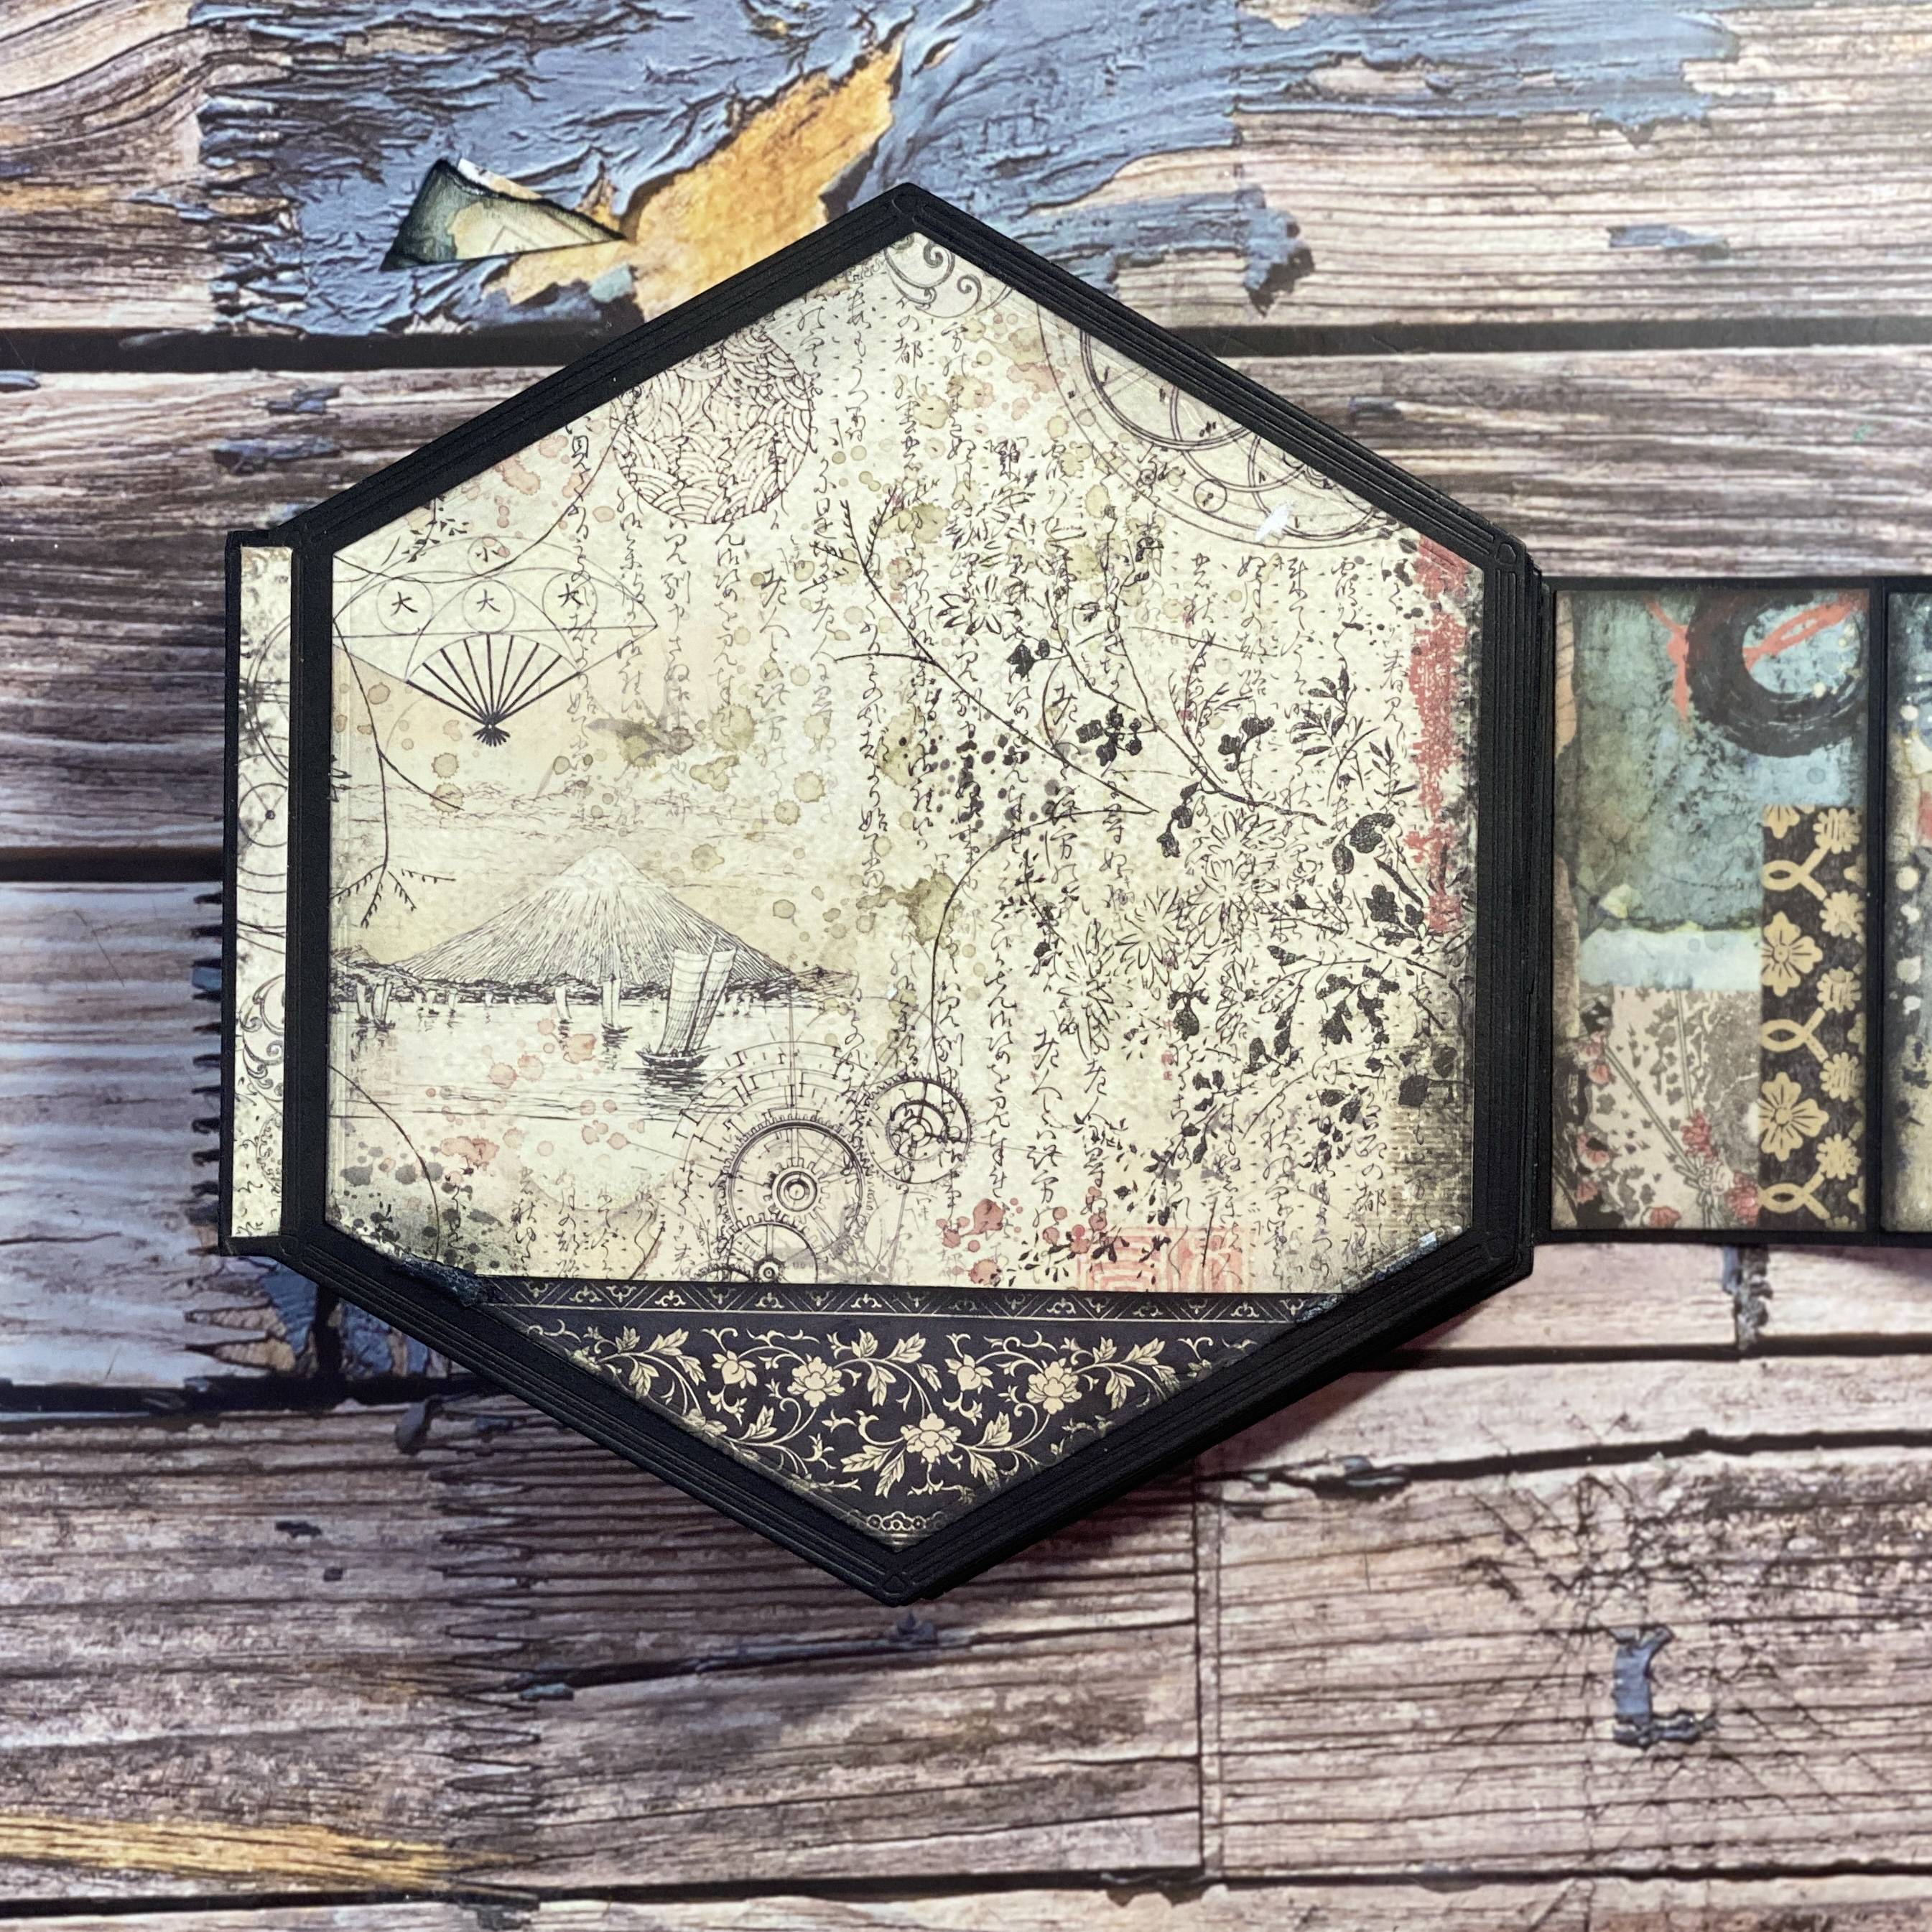
BASIC PAGE CONSTRUCTION
Step 1
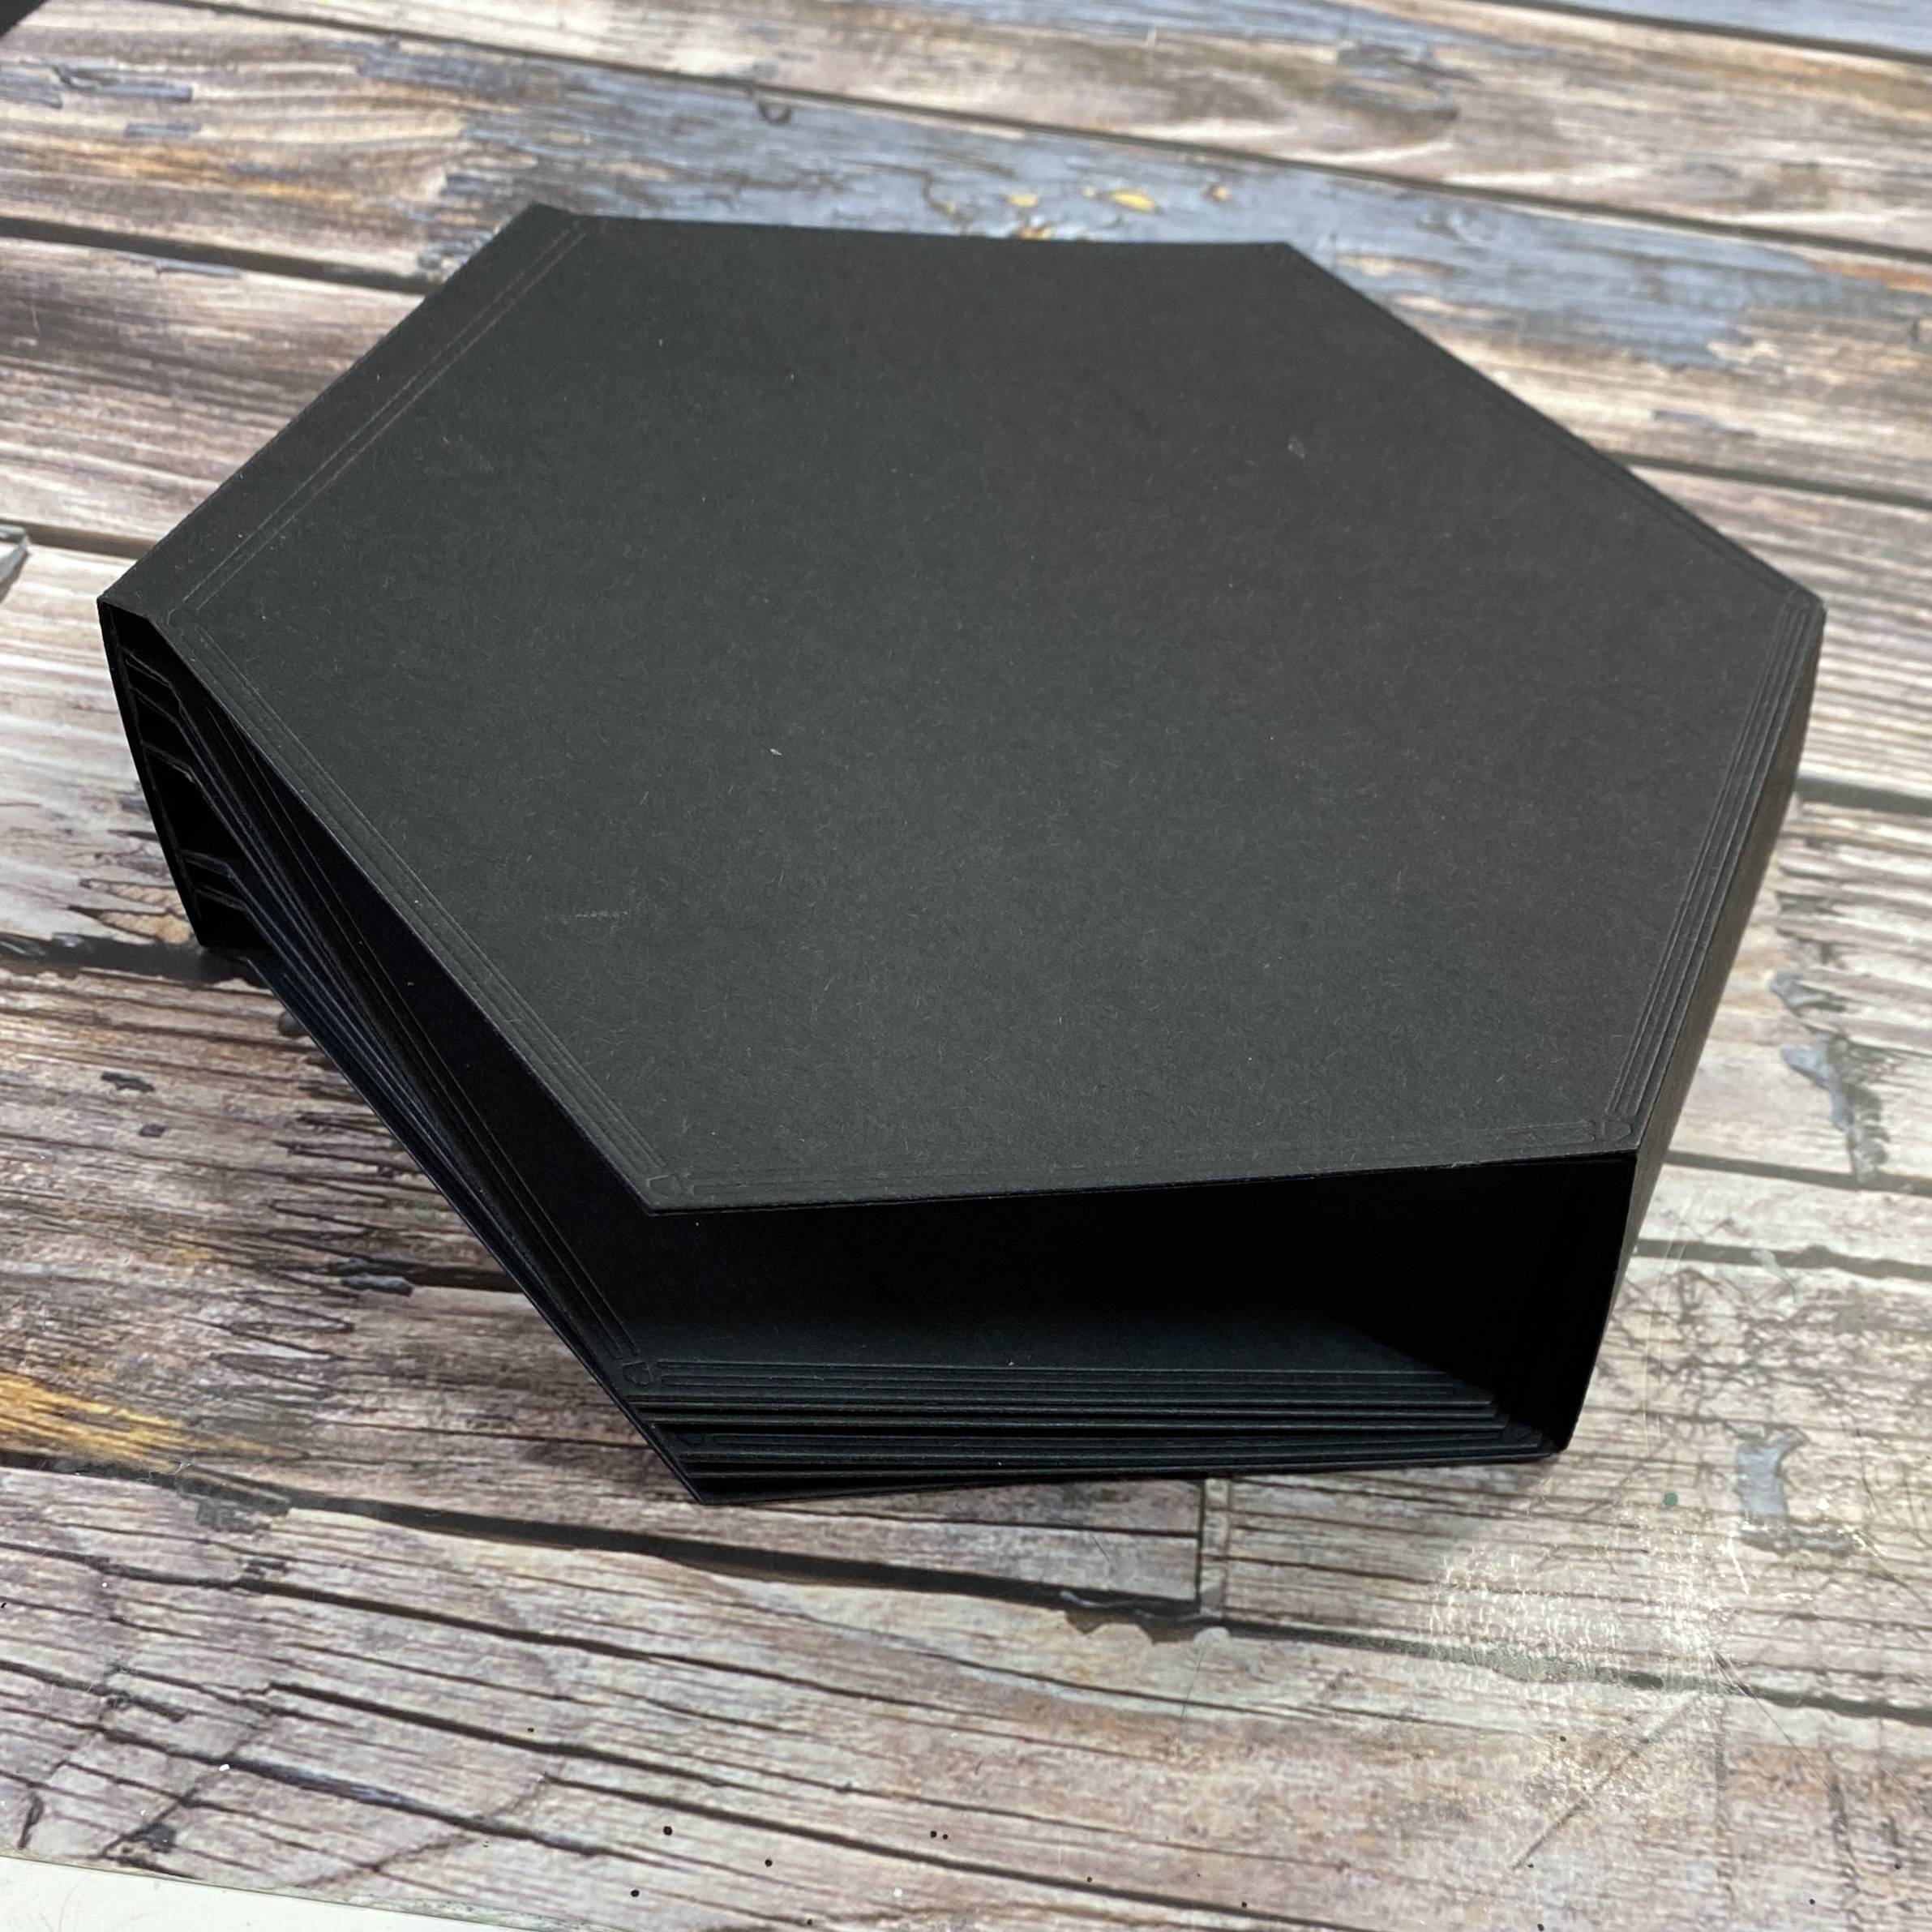
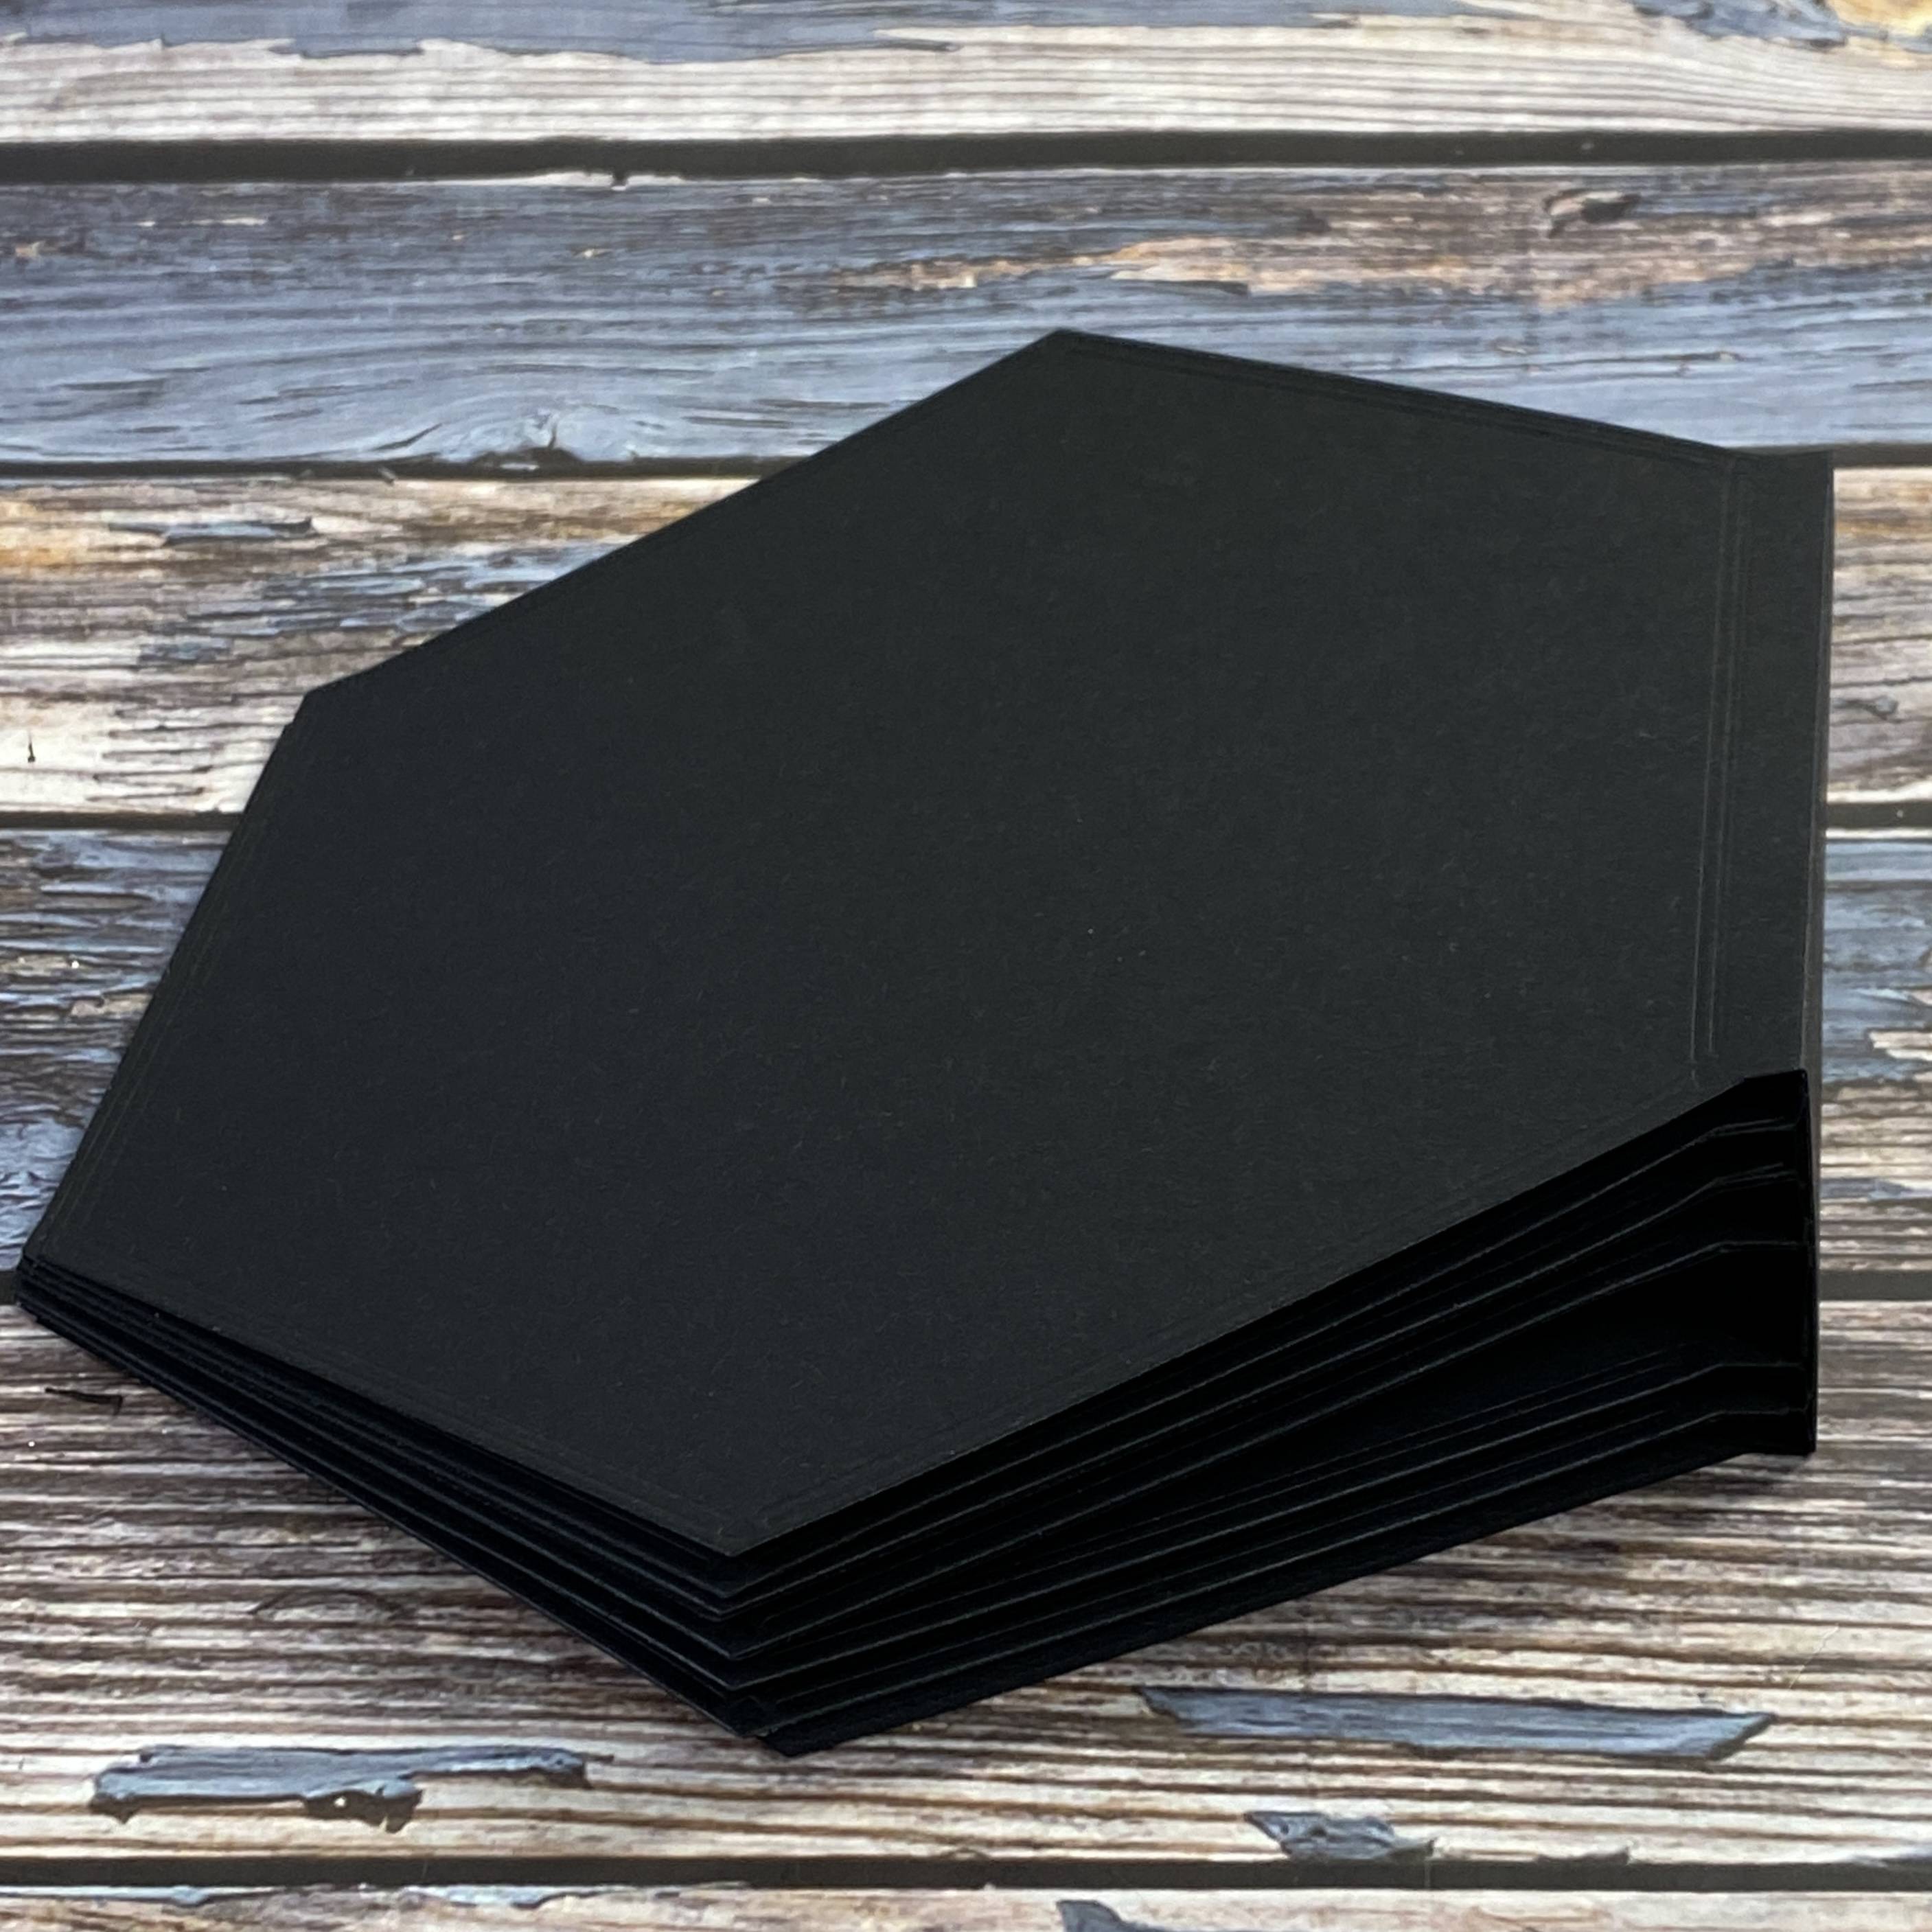
Die cut 10 of the largest hexagons. This will create 5 pages.
Step 2
Trim all ten die cuts to the score line.
Step 3

There will be a lot of card left, which you can use to die cut all your other black layers. This will save you a huge amount of cardstock.
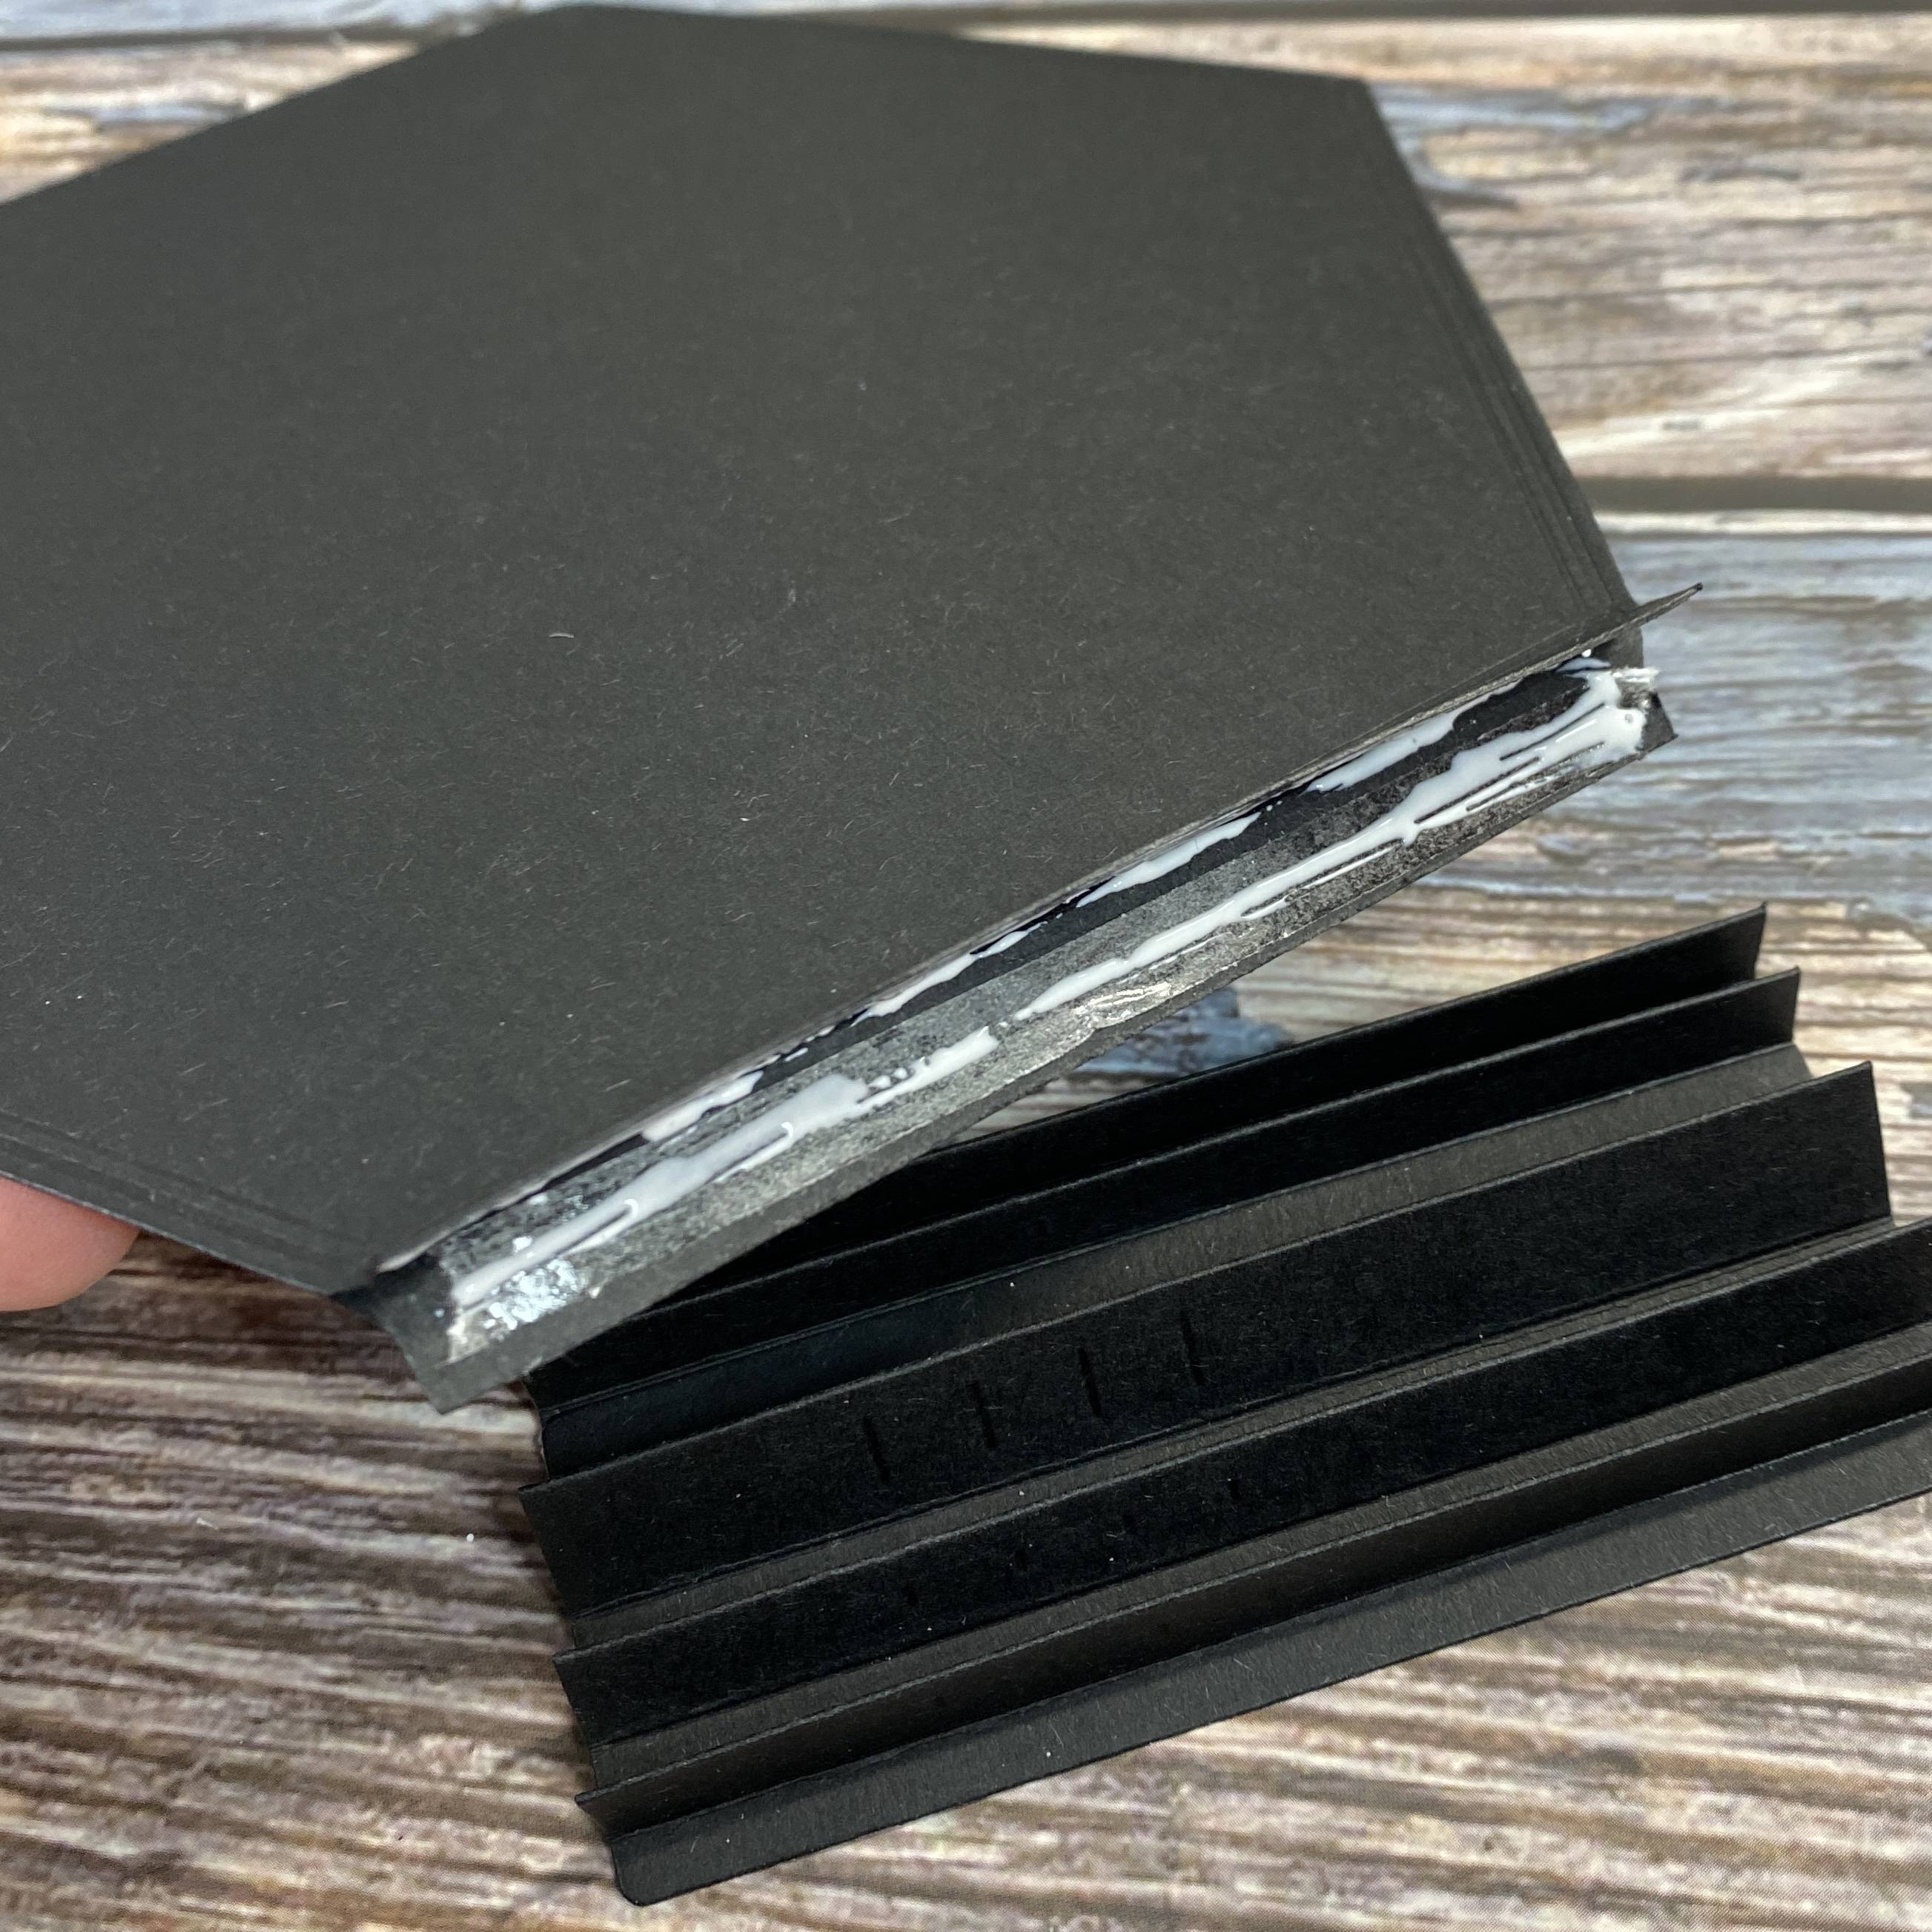
Step 4
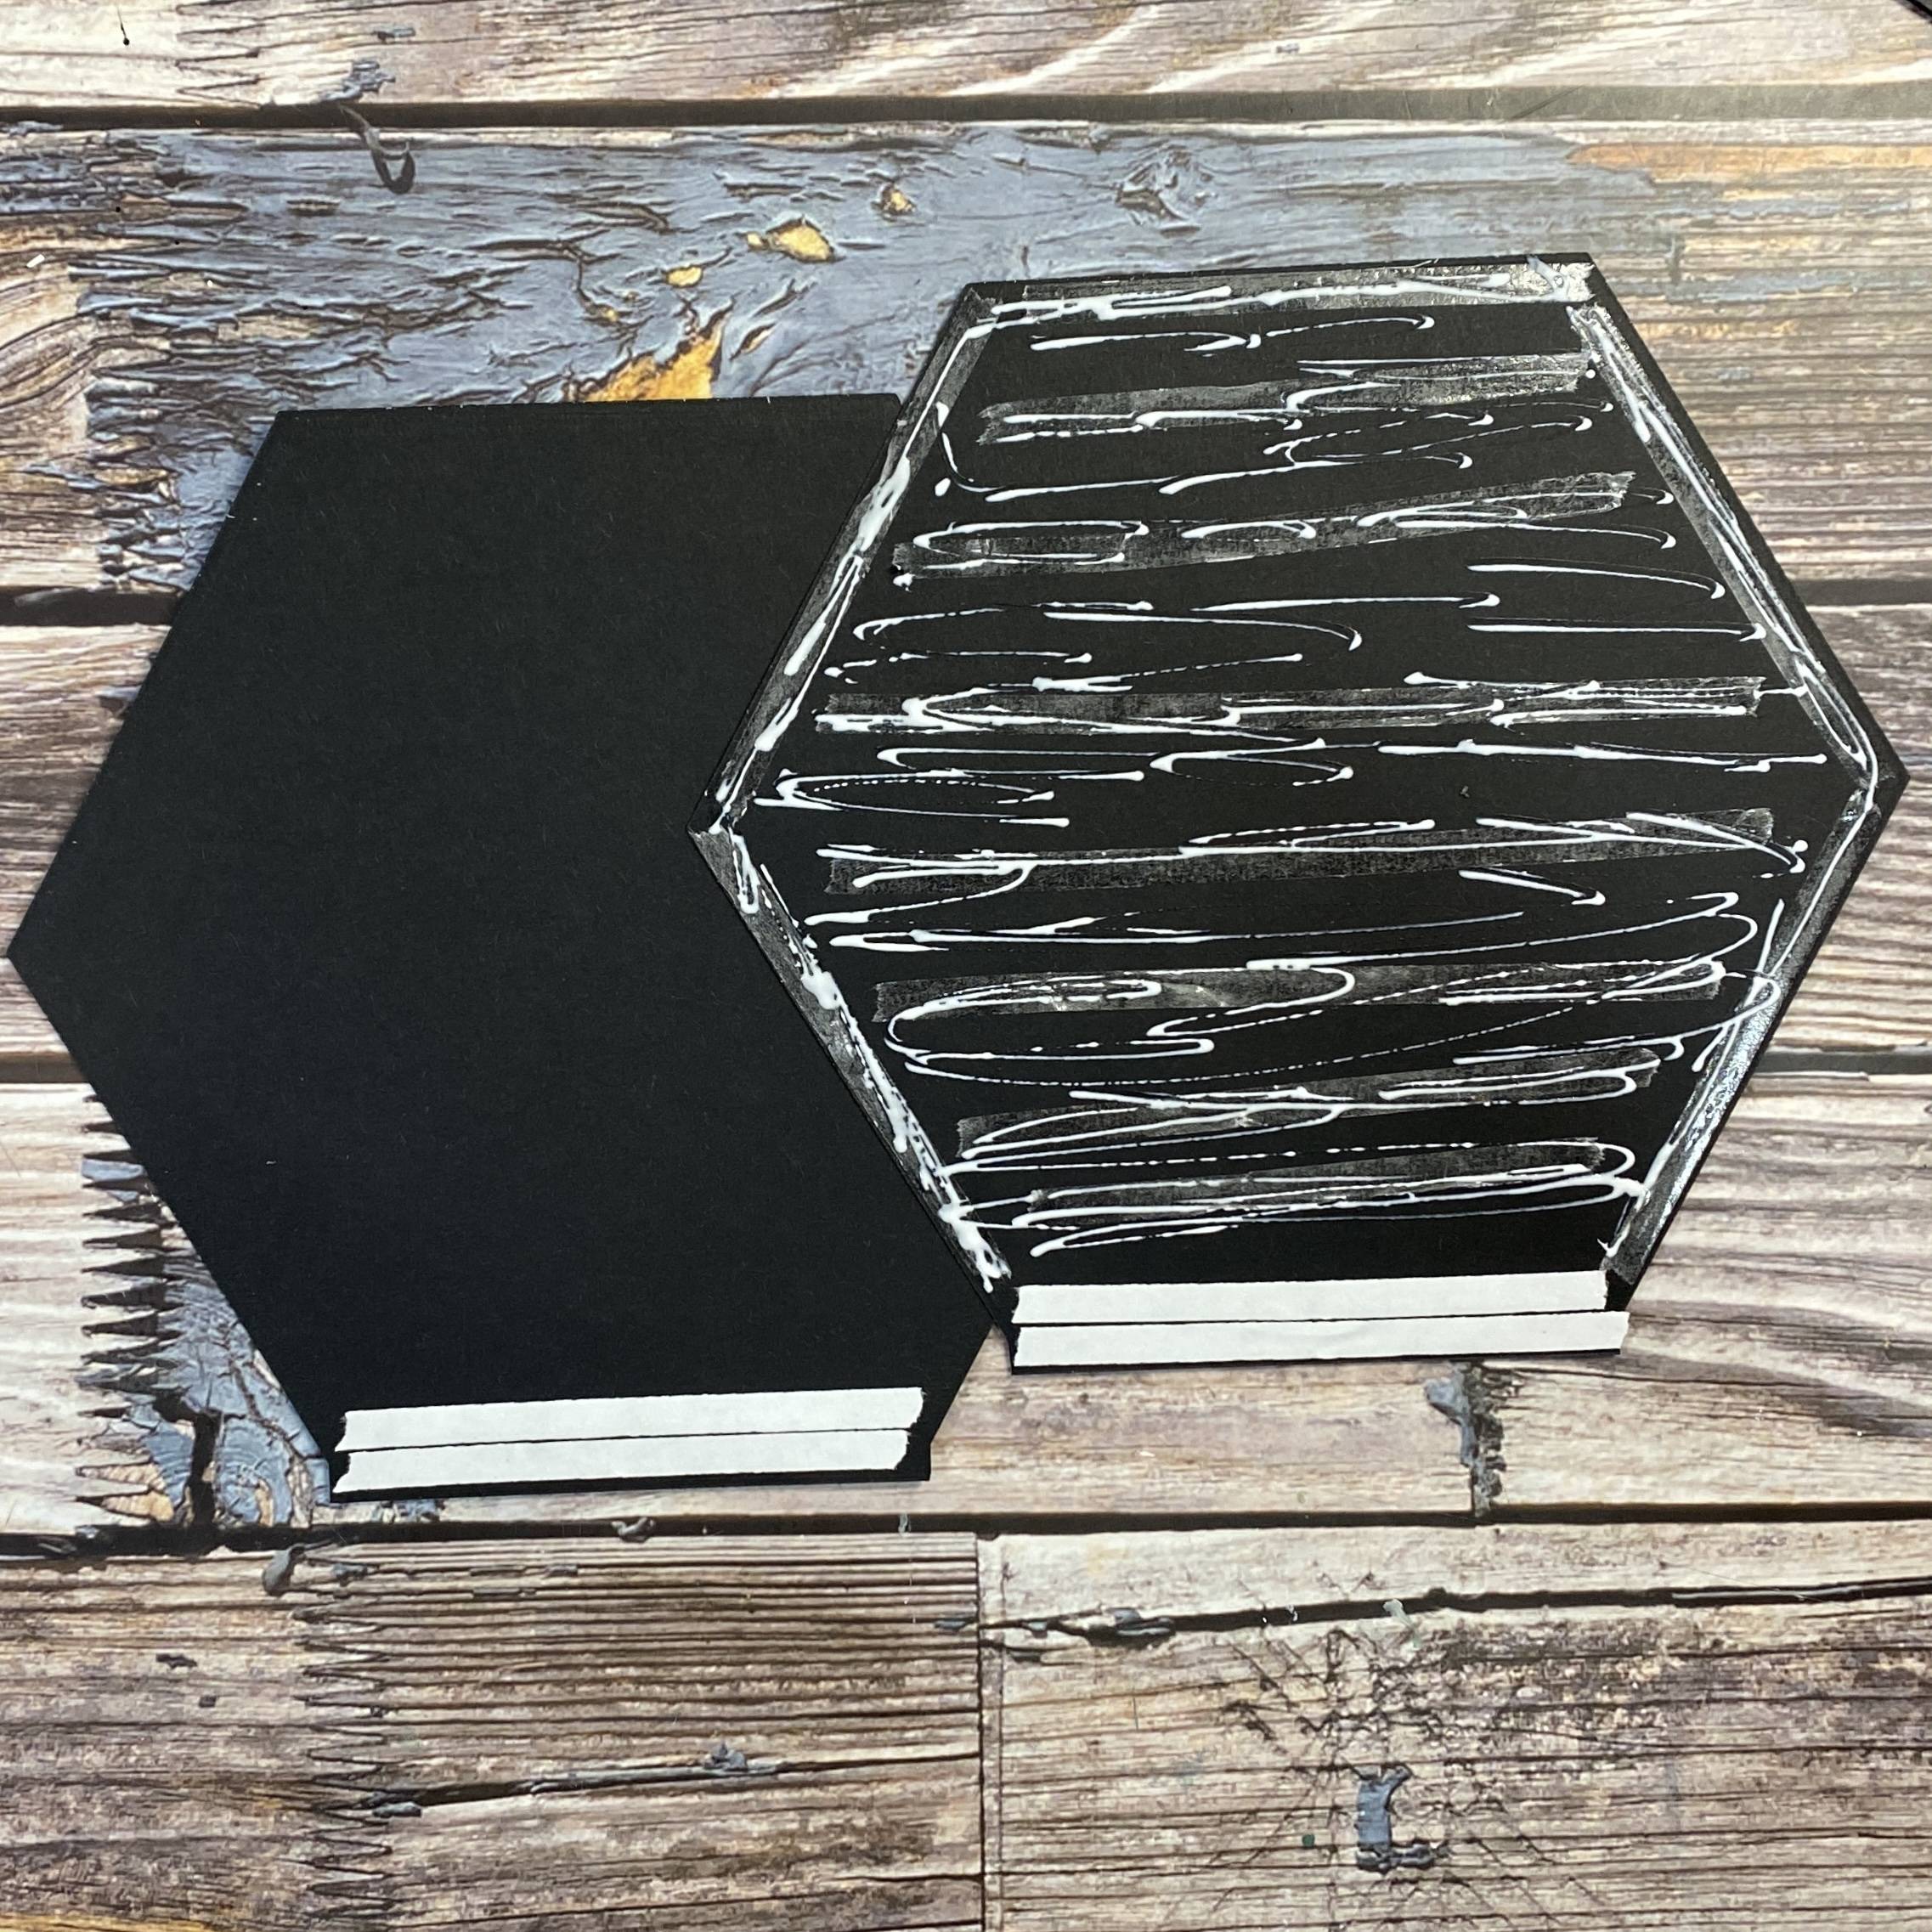
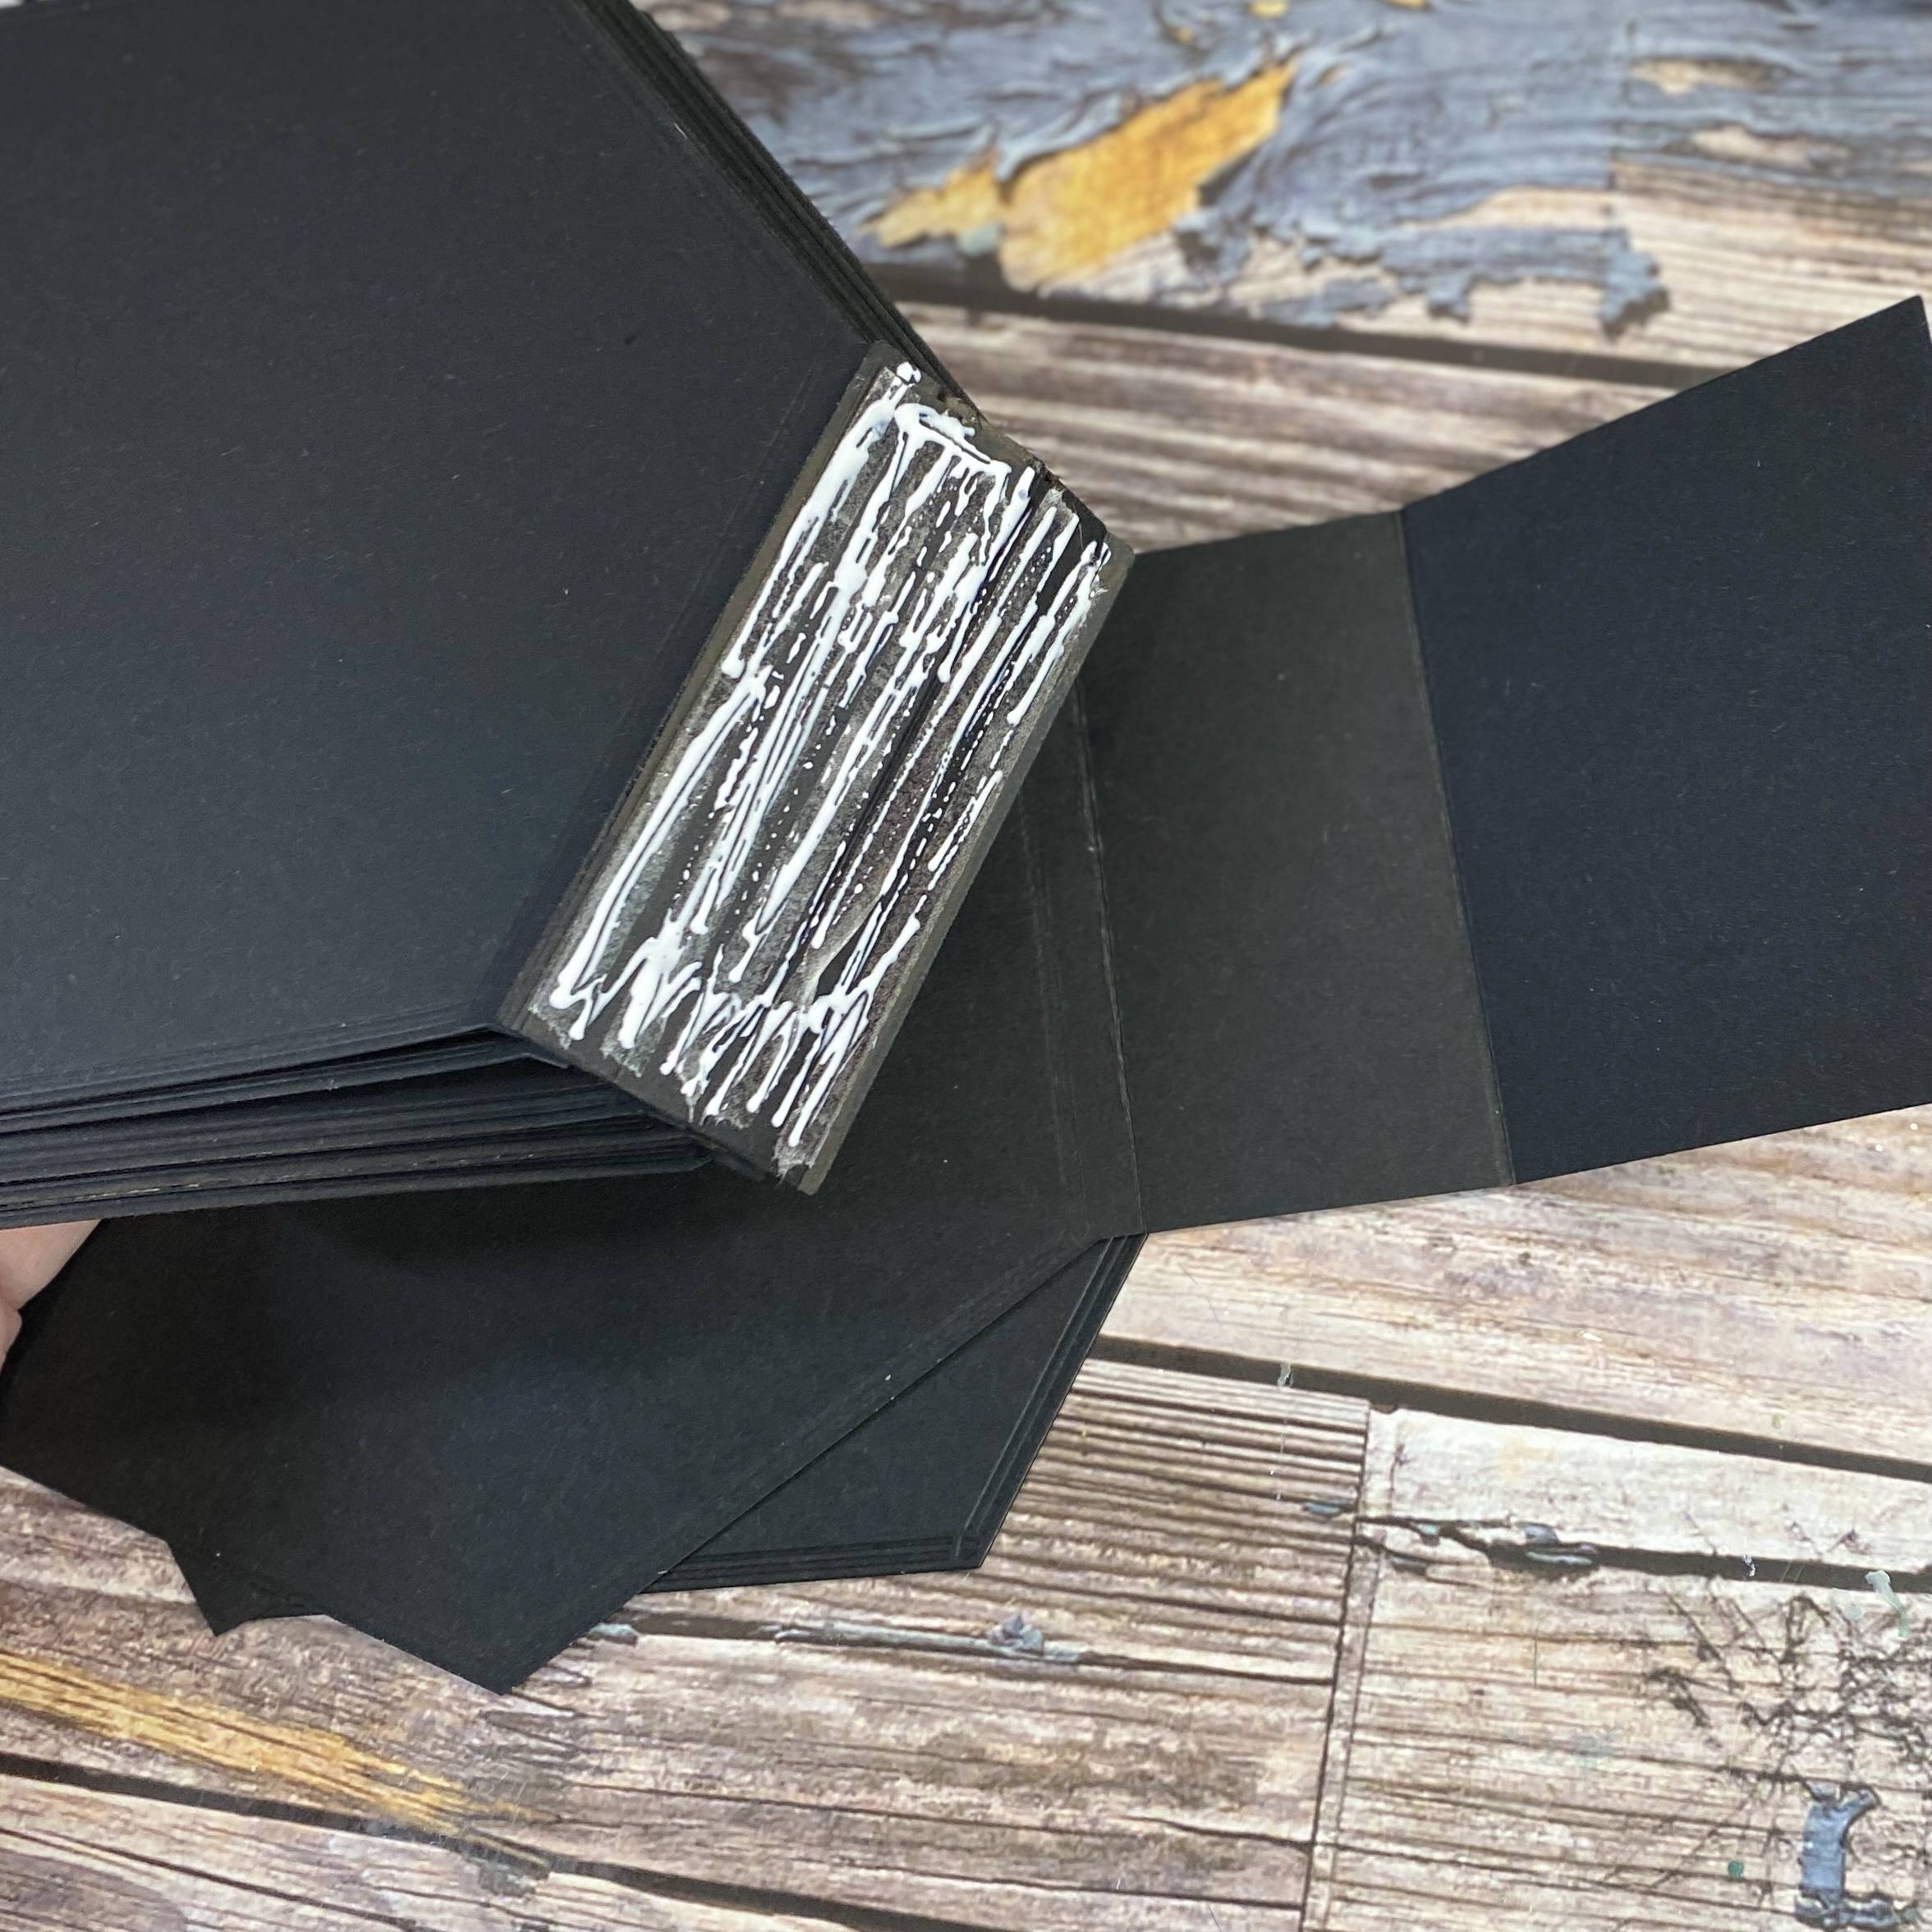
Add double sided tape to just the bottom of the hexagons, up to the score-line but DO NOT remove the tape. Add wet adhesive as shown.
Step 5
Adhere the two hexagons together, taking care not to close it completely.
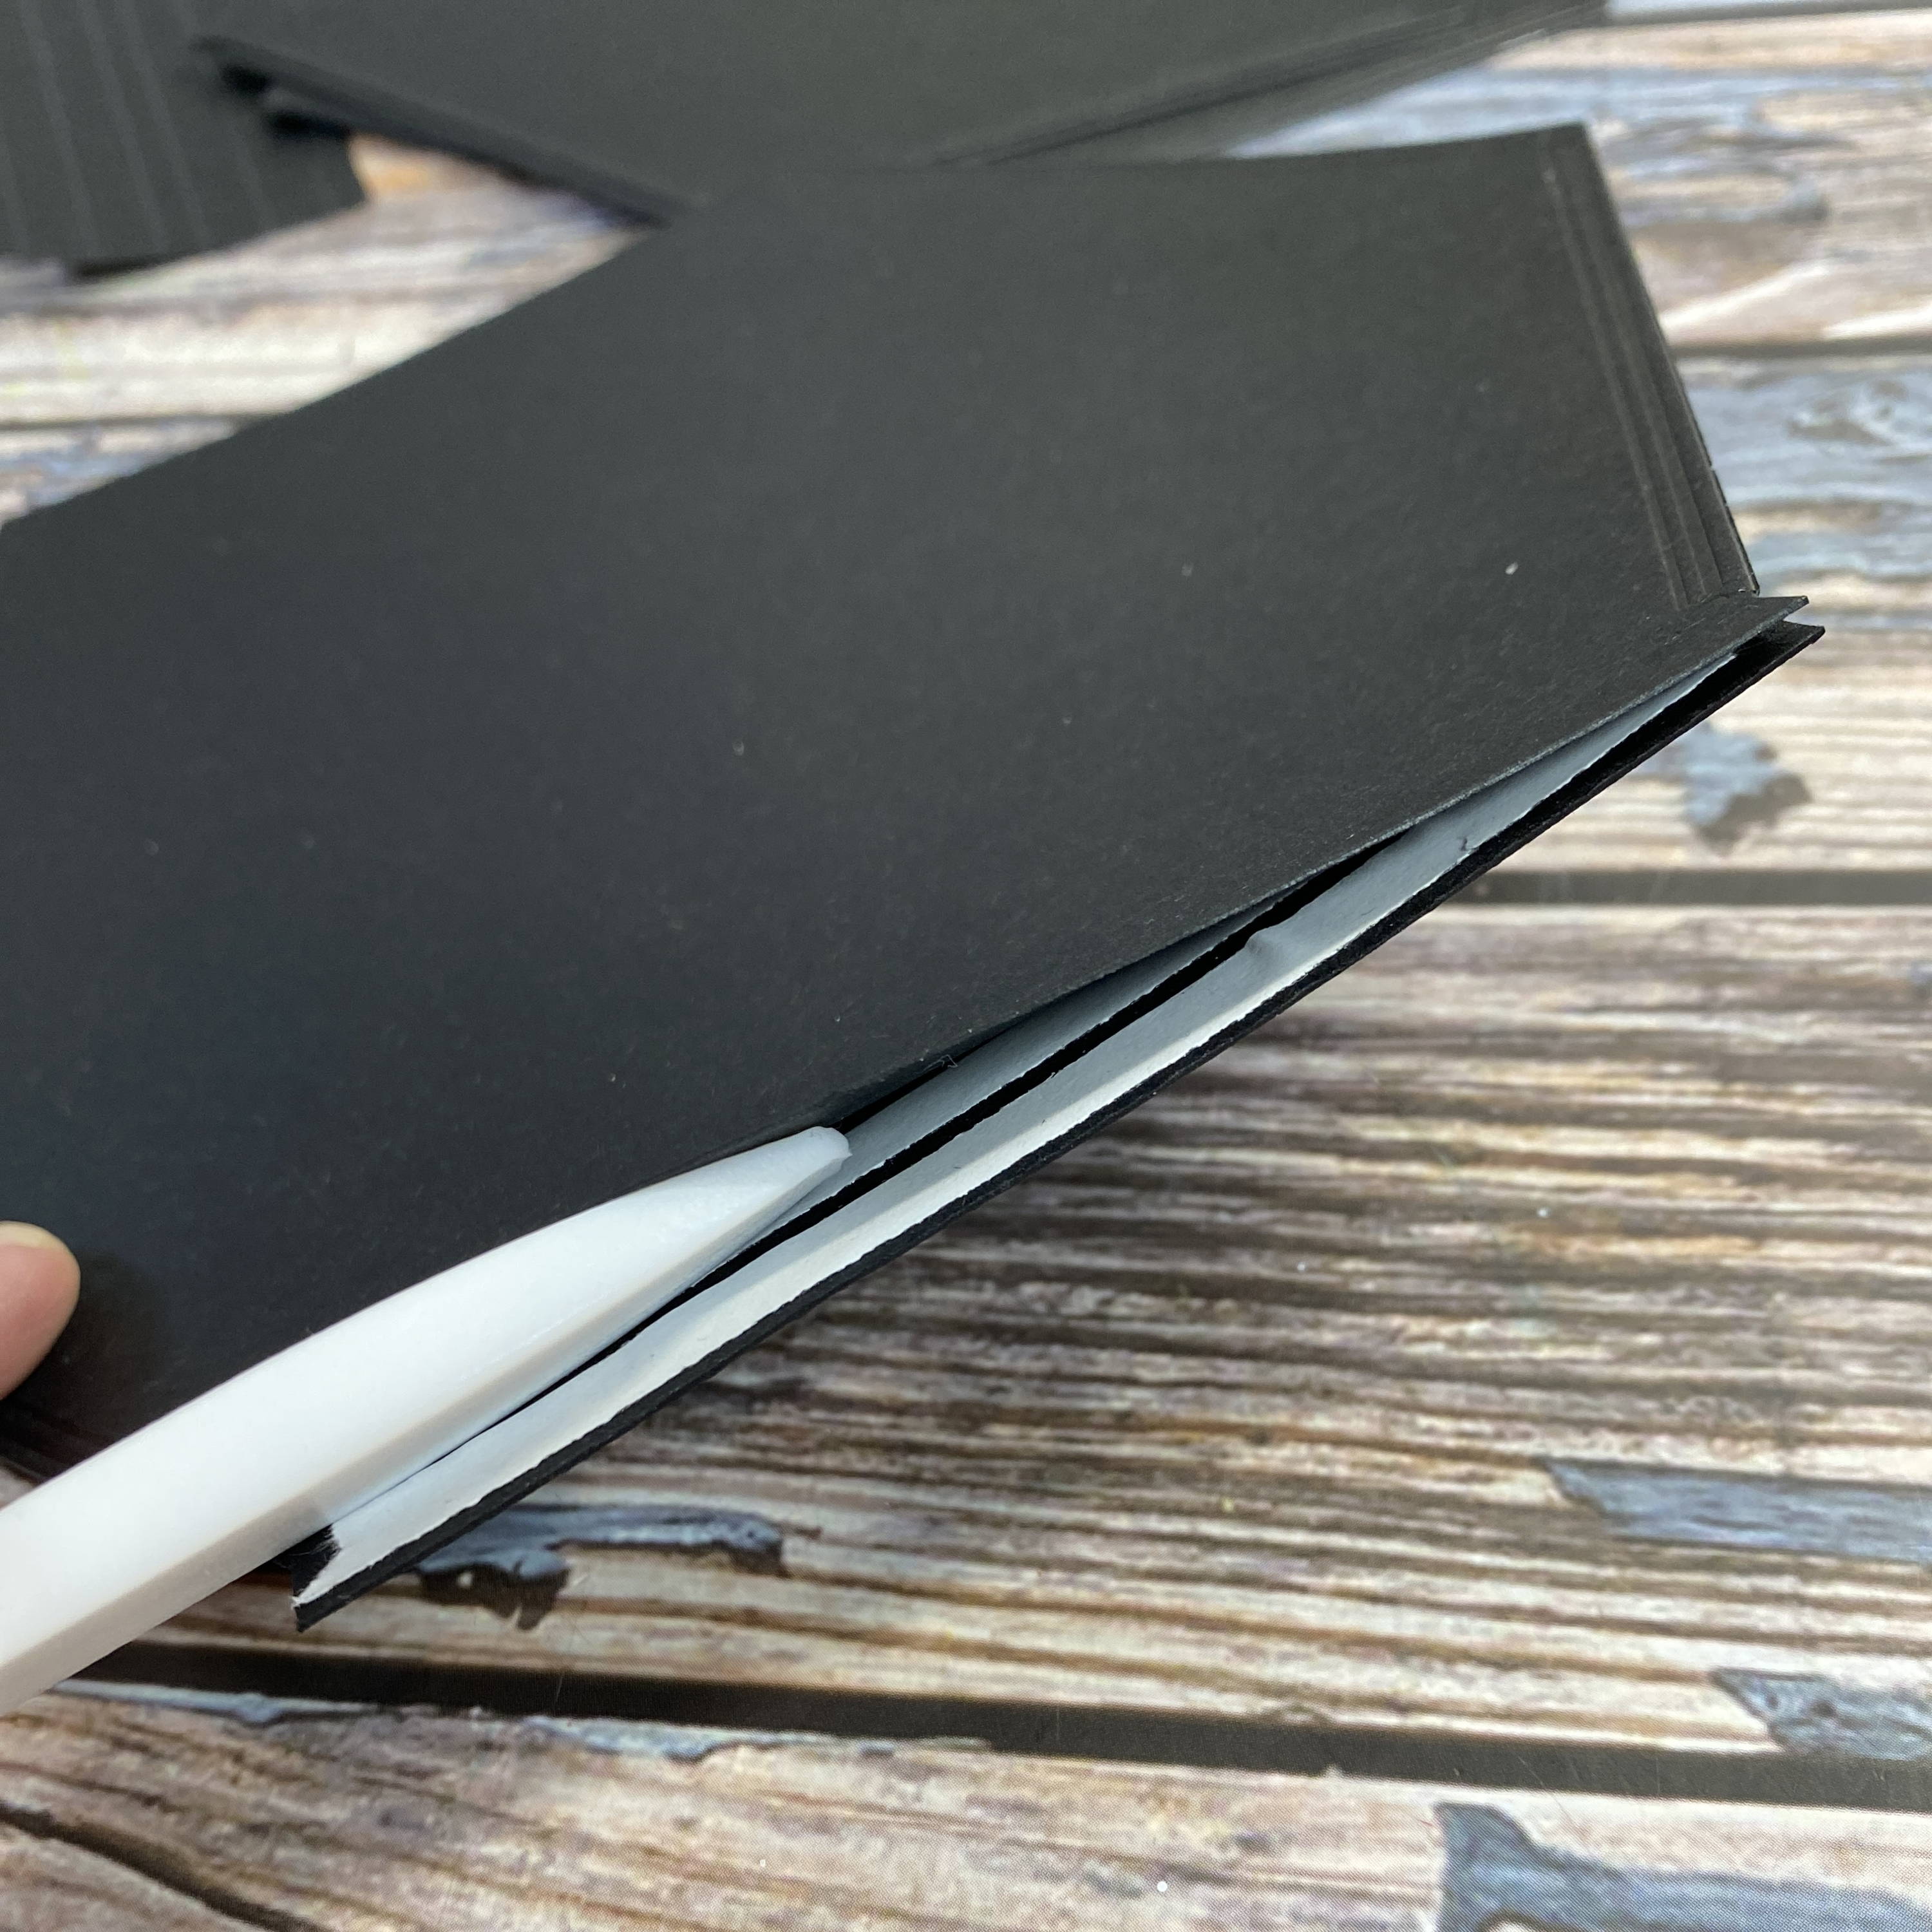
Step 6
Carefully remove the backing to the double-sided tape, add wet adhesive and attach to the spine.
Step 7
Allow plenty of time to dry.
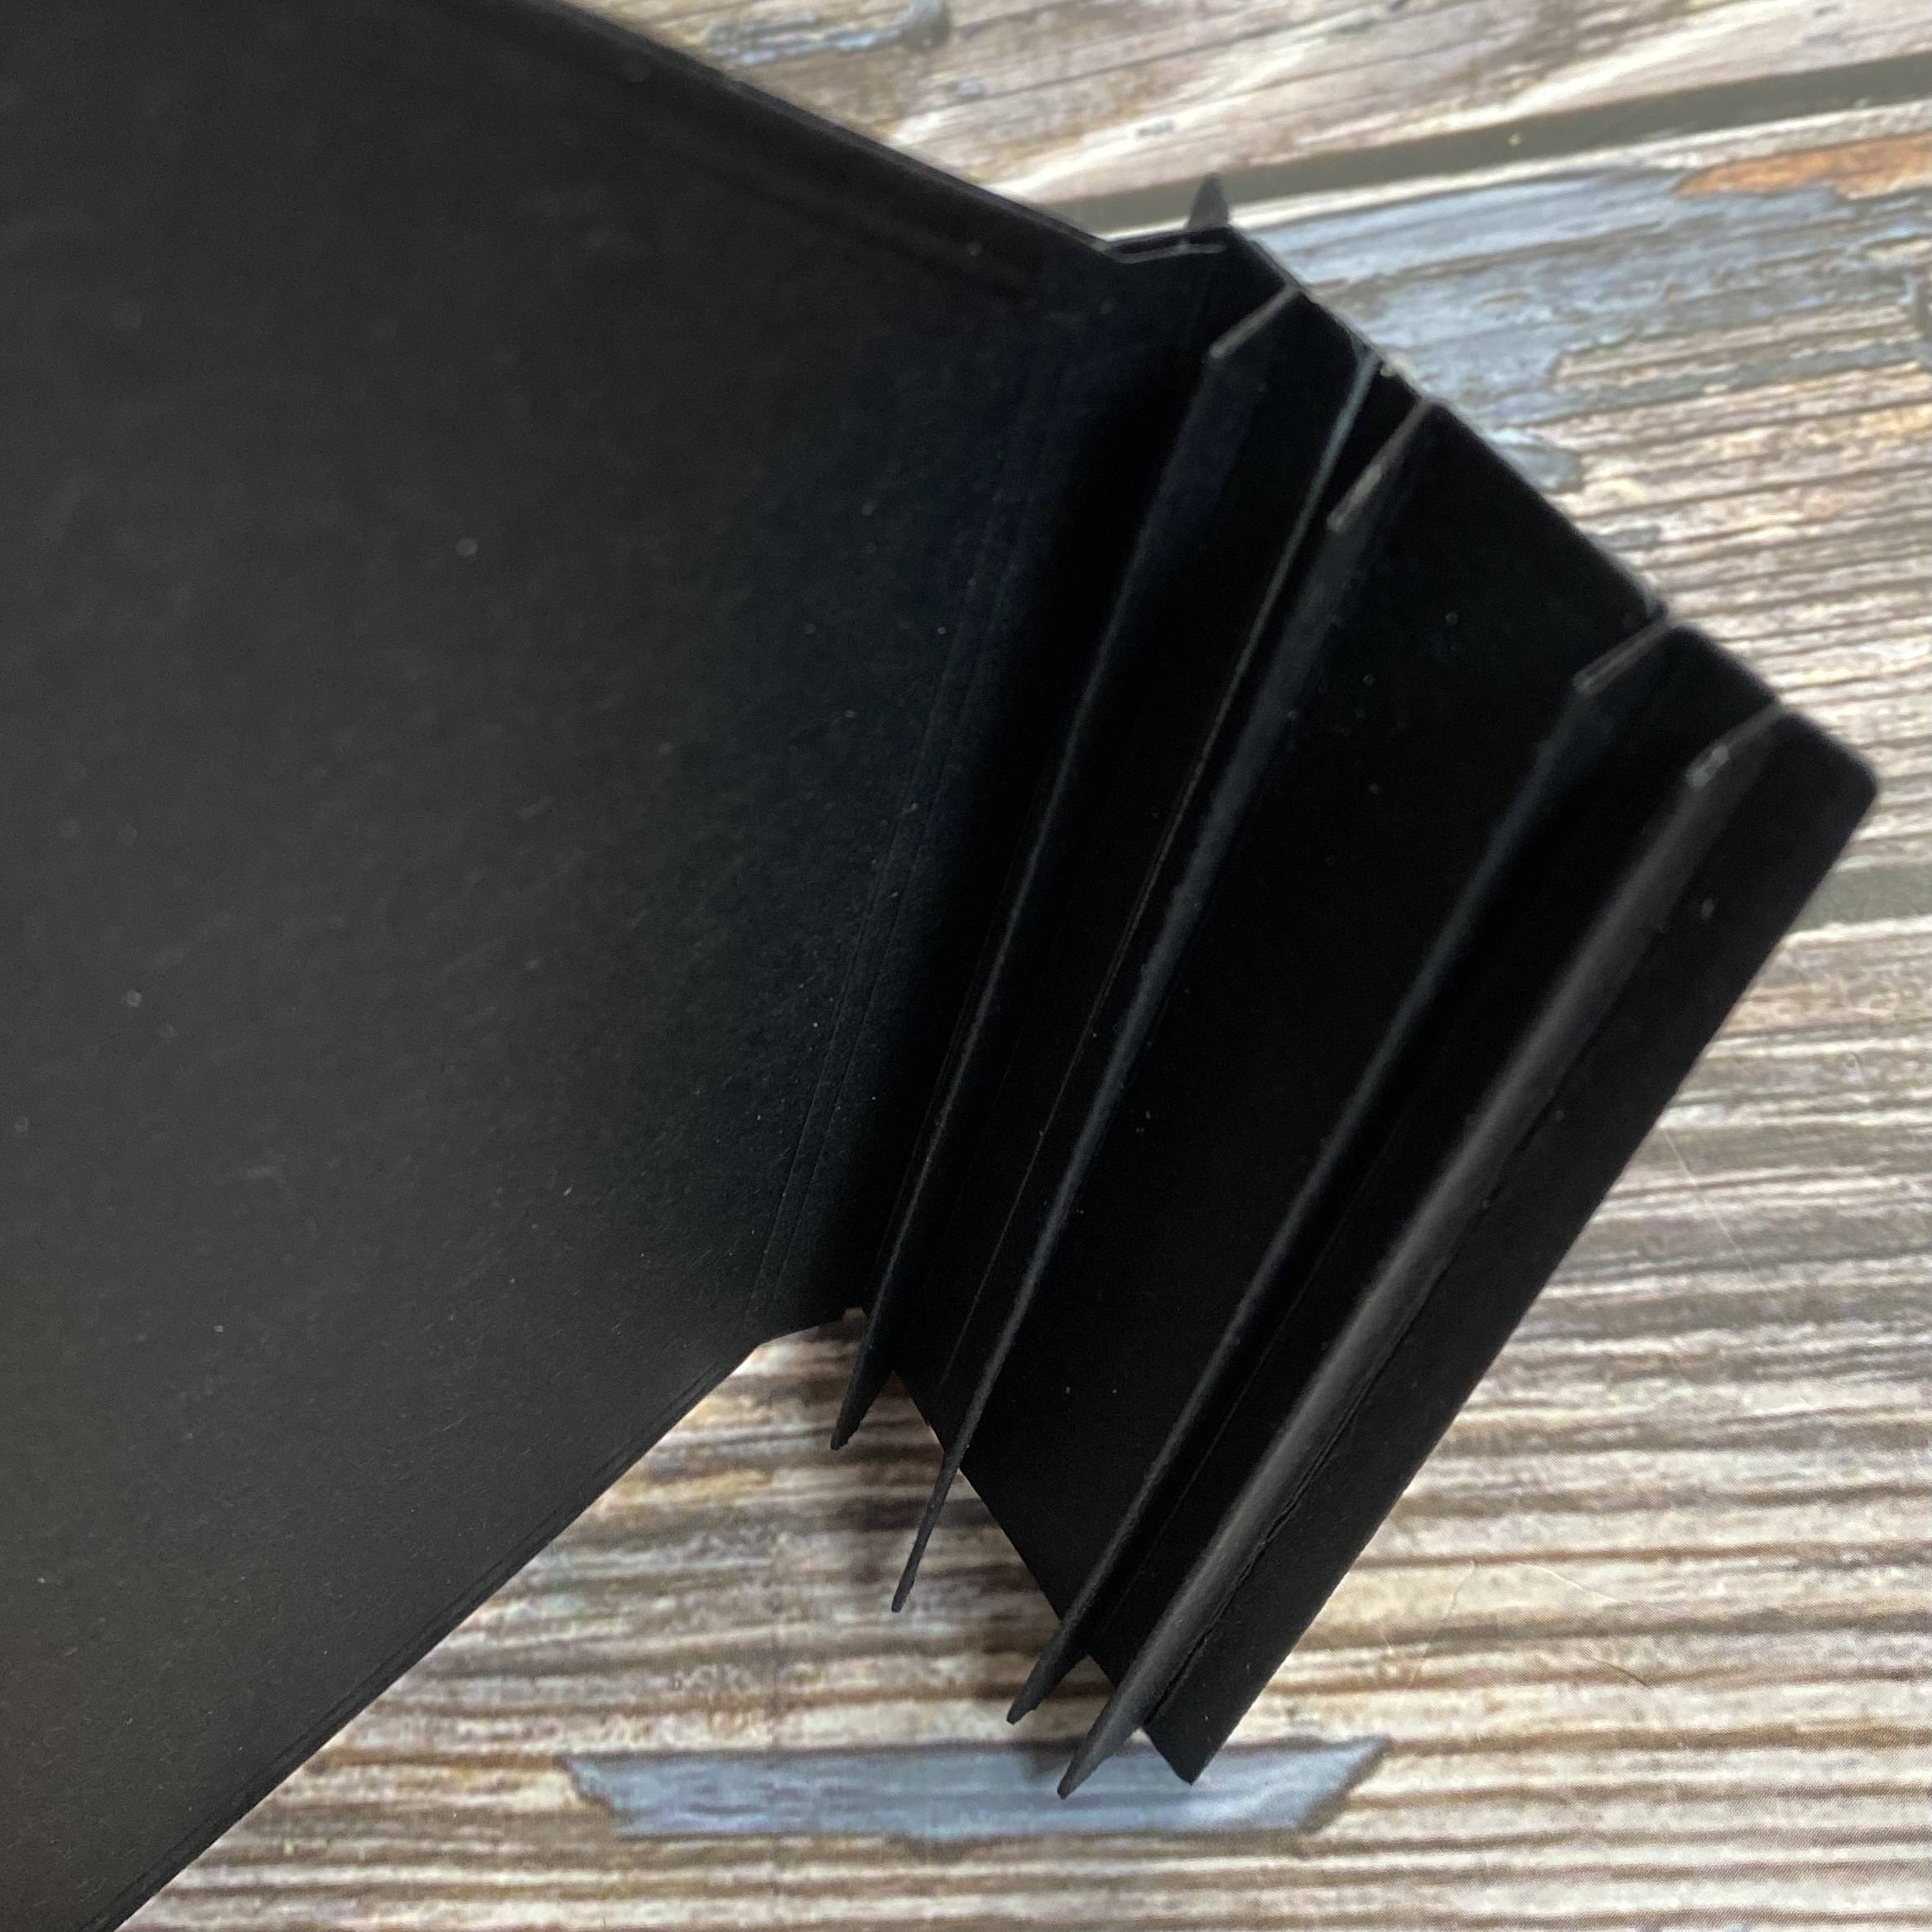
Step 8
Repeat step 6 until you have all 5 pages attached.
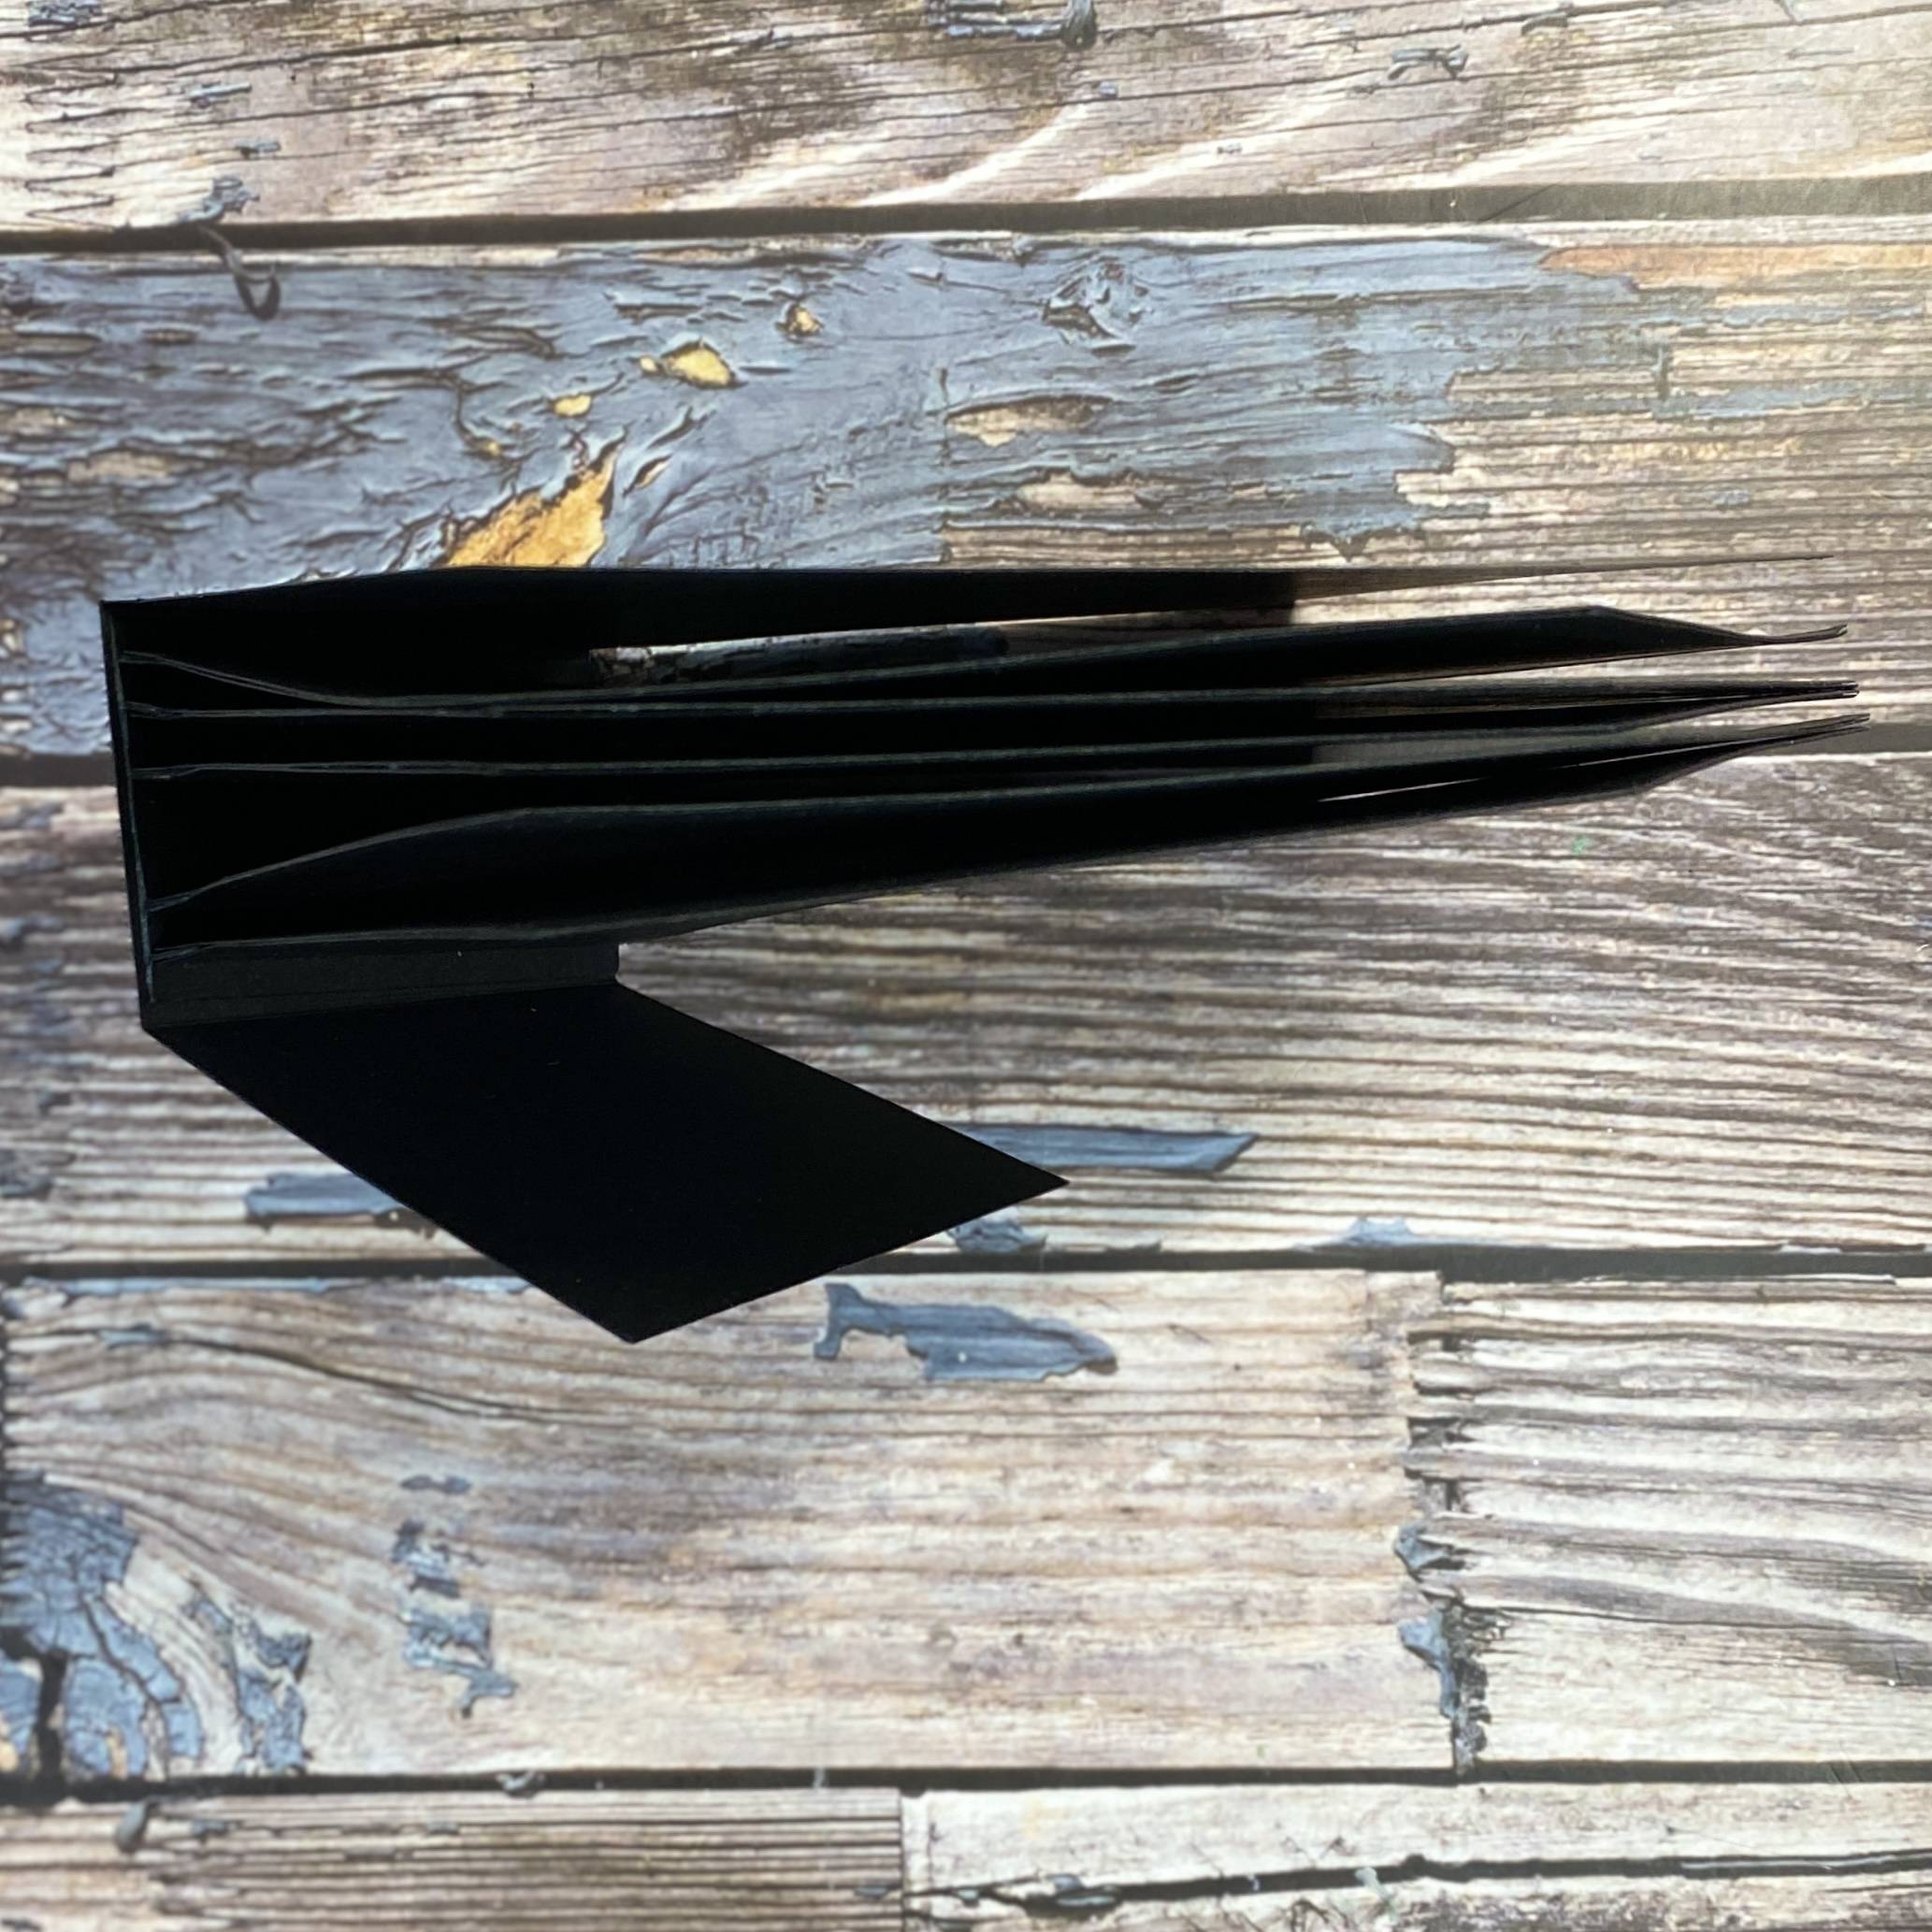
Step 9
Adhere your pages into your base as shown.
Step 10
Allow to dry completely before moving on.
Buy The Craft Project
