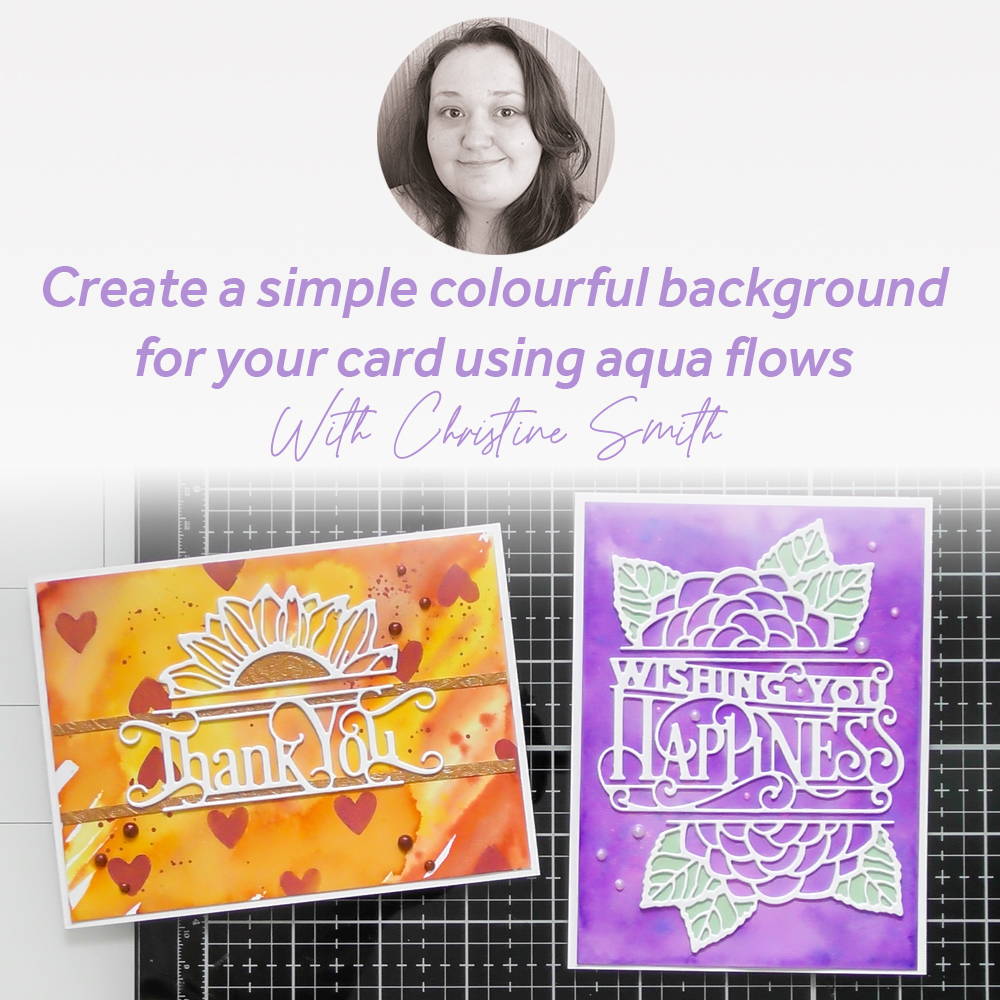
The gorgeous header dies come with a fab floral design and a couple of sentiments to pick from in each set, and I think these are the perfect dies for quick and easy cards, and for using up those inky Nuvo backgrounds! It’s always fun to have a day experimenting with your Nuvo stash, and these dies make it so easy to turn them into finished cards in no time :D :D Below are a couple of step by steps for some simple cards with simple Nuvo backgrounds
Step 1
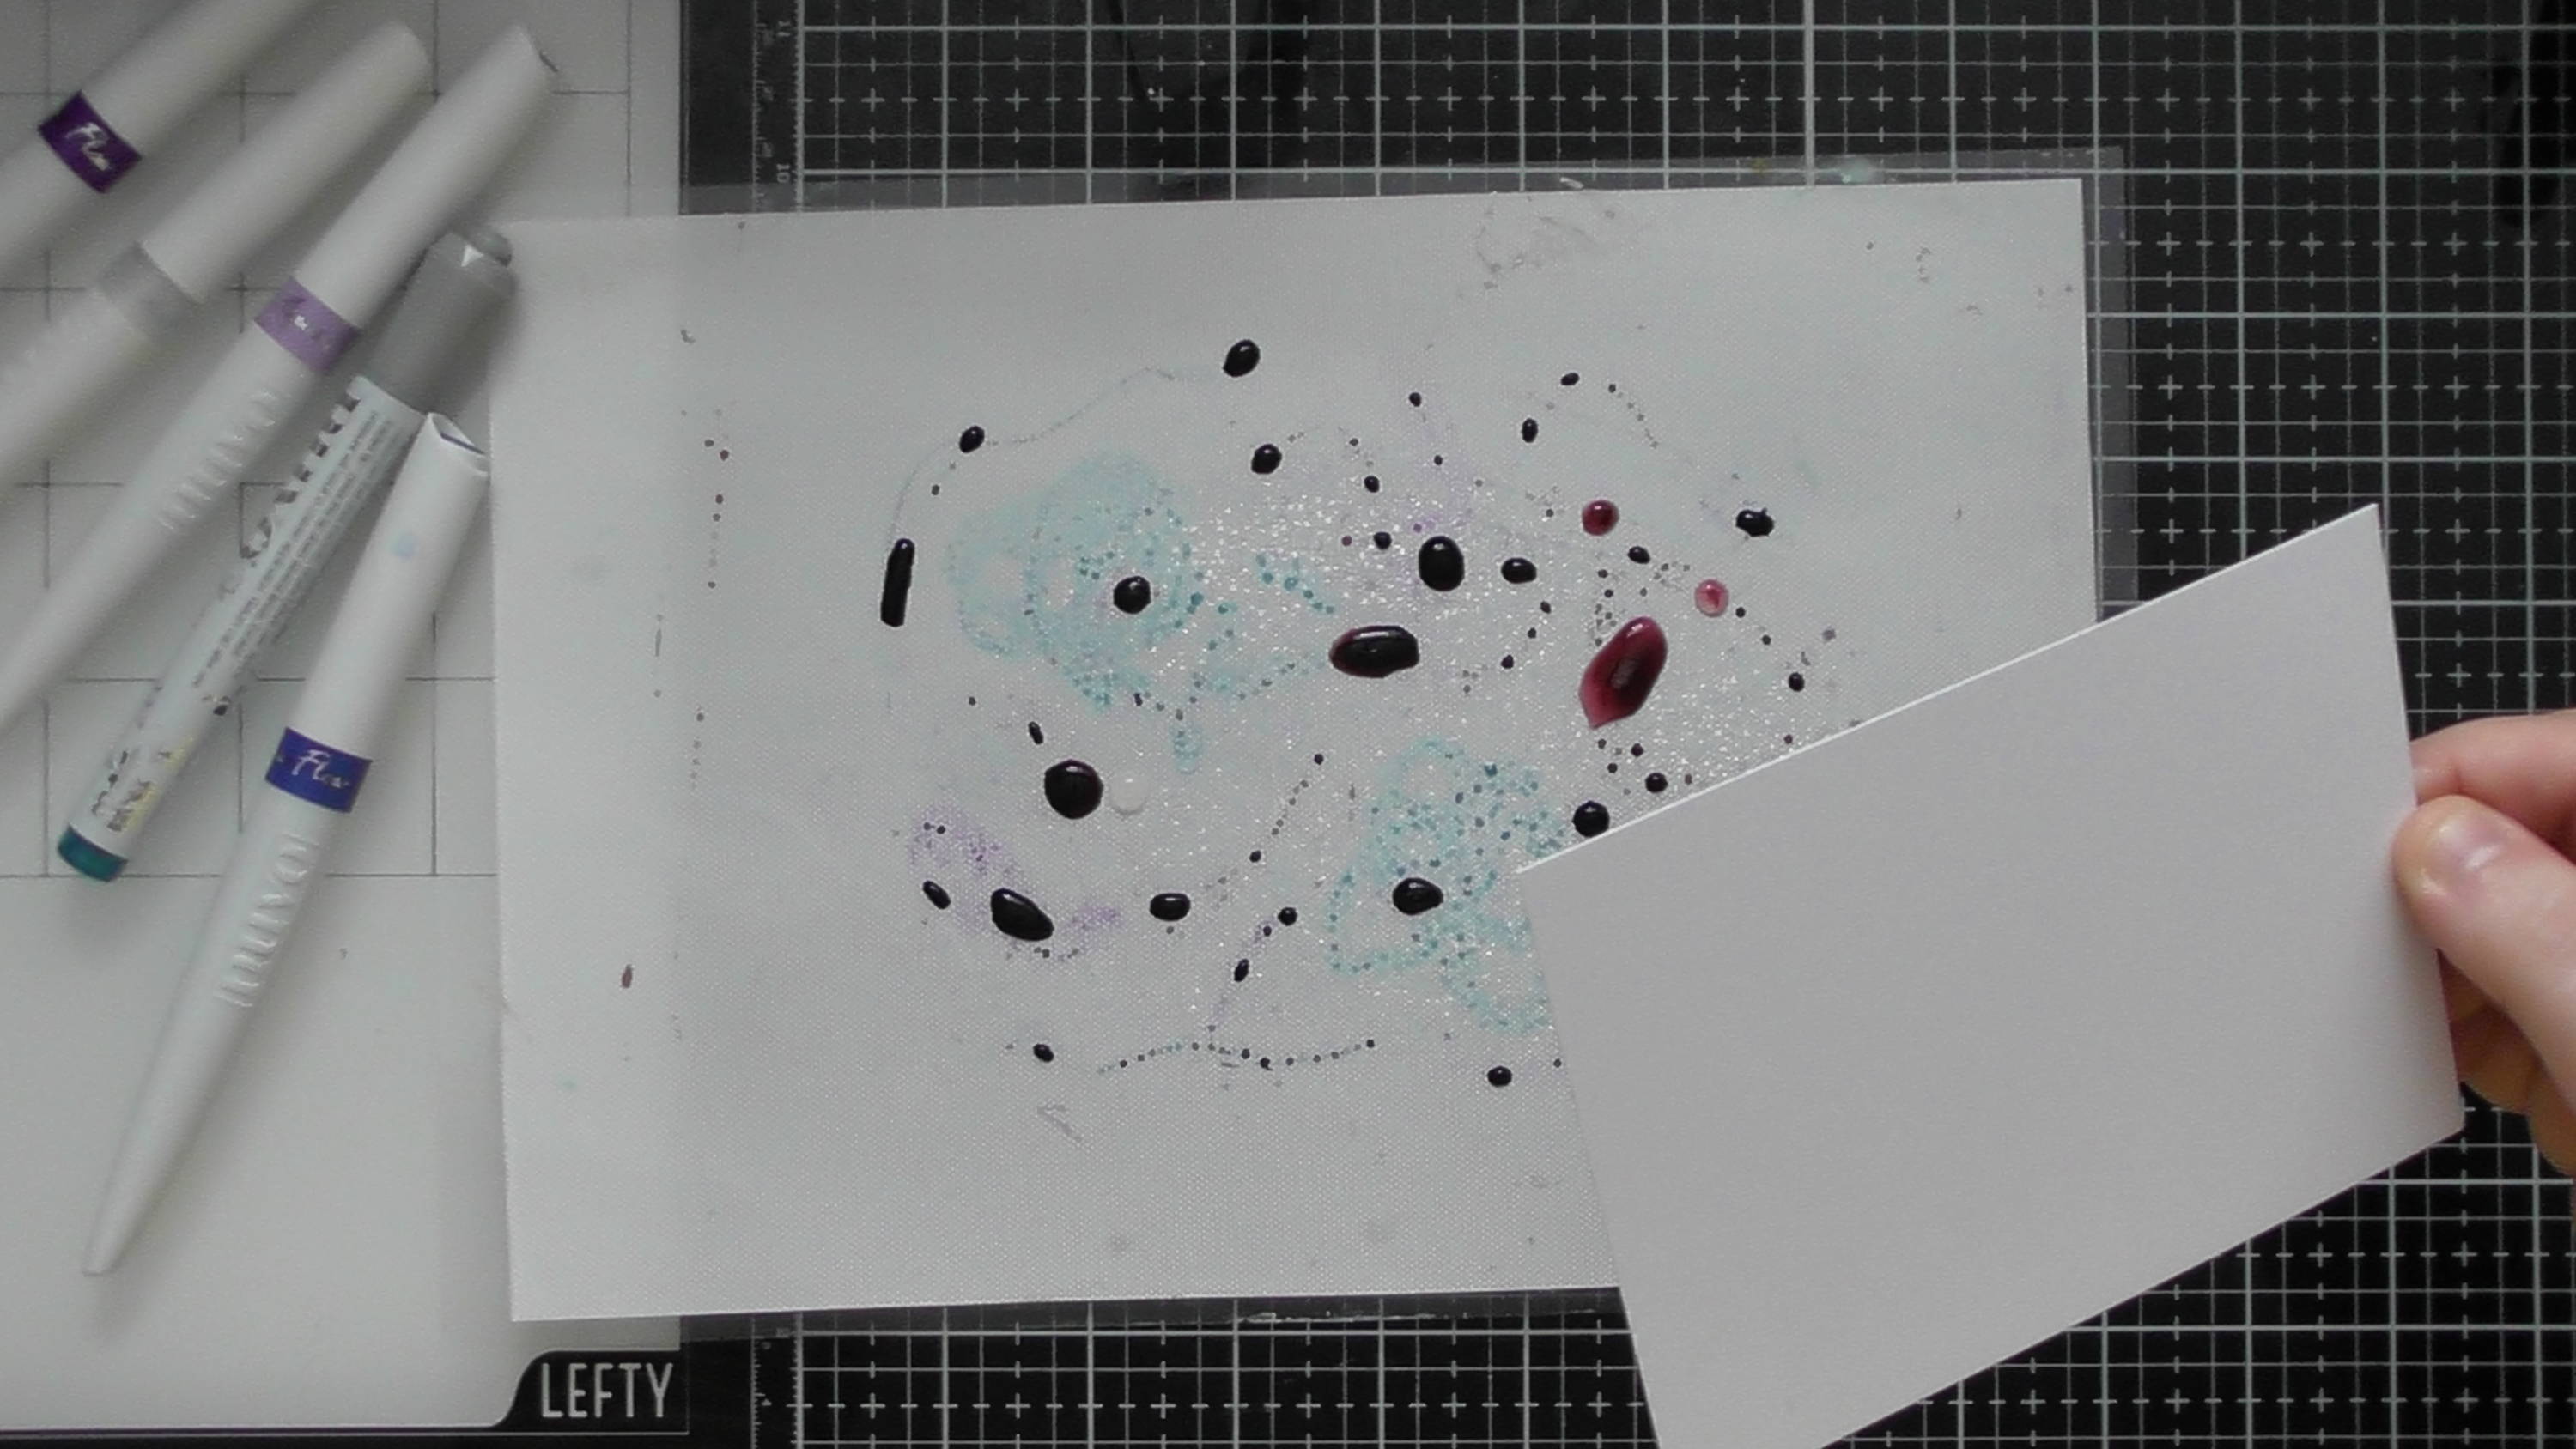
Pick some aqua flows, aqua shimmers and/or glitter markers too and grab your easy clean mat. Then simply scribble the colours onto the mat, and give a couple of light spritzes of water too.
Step 2
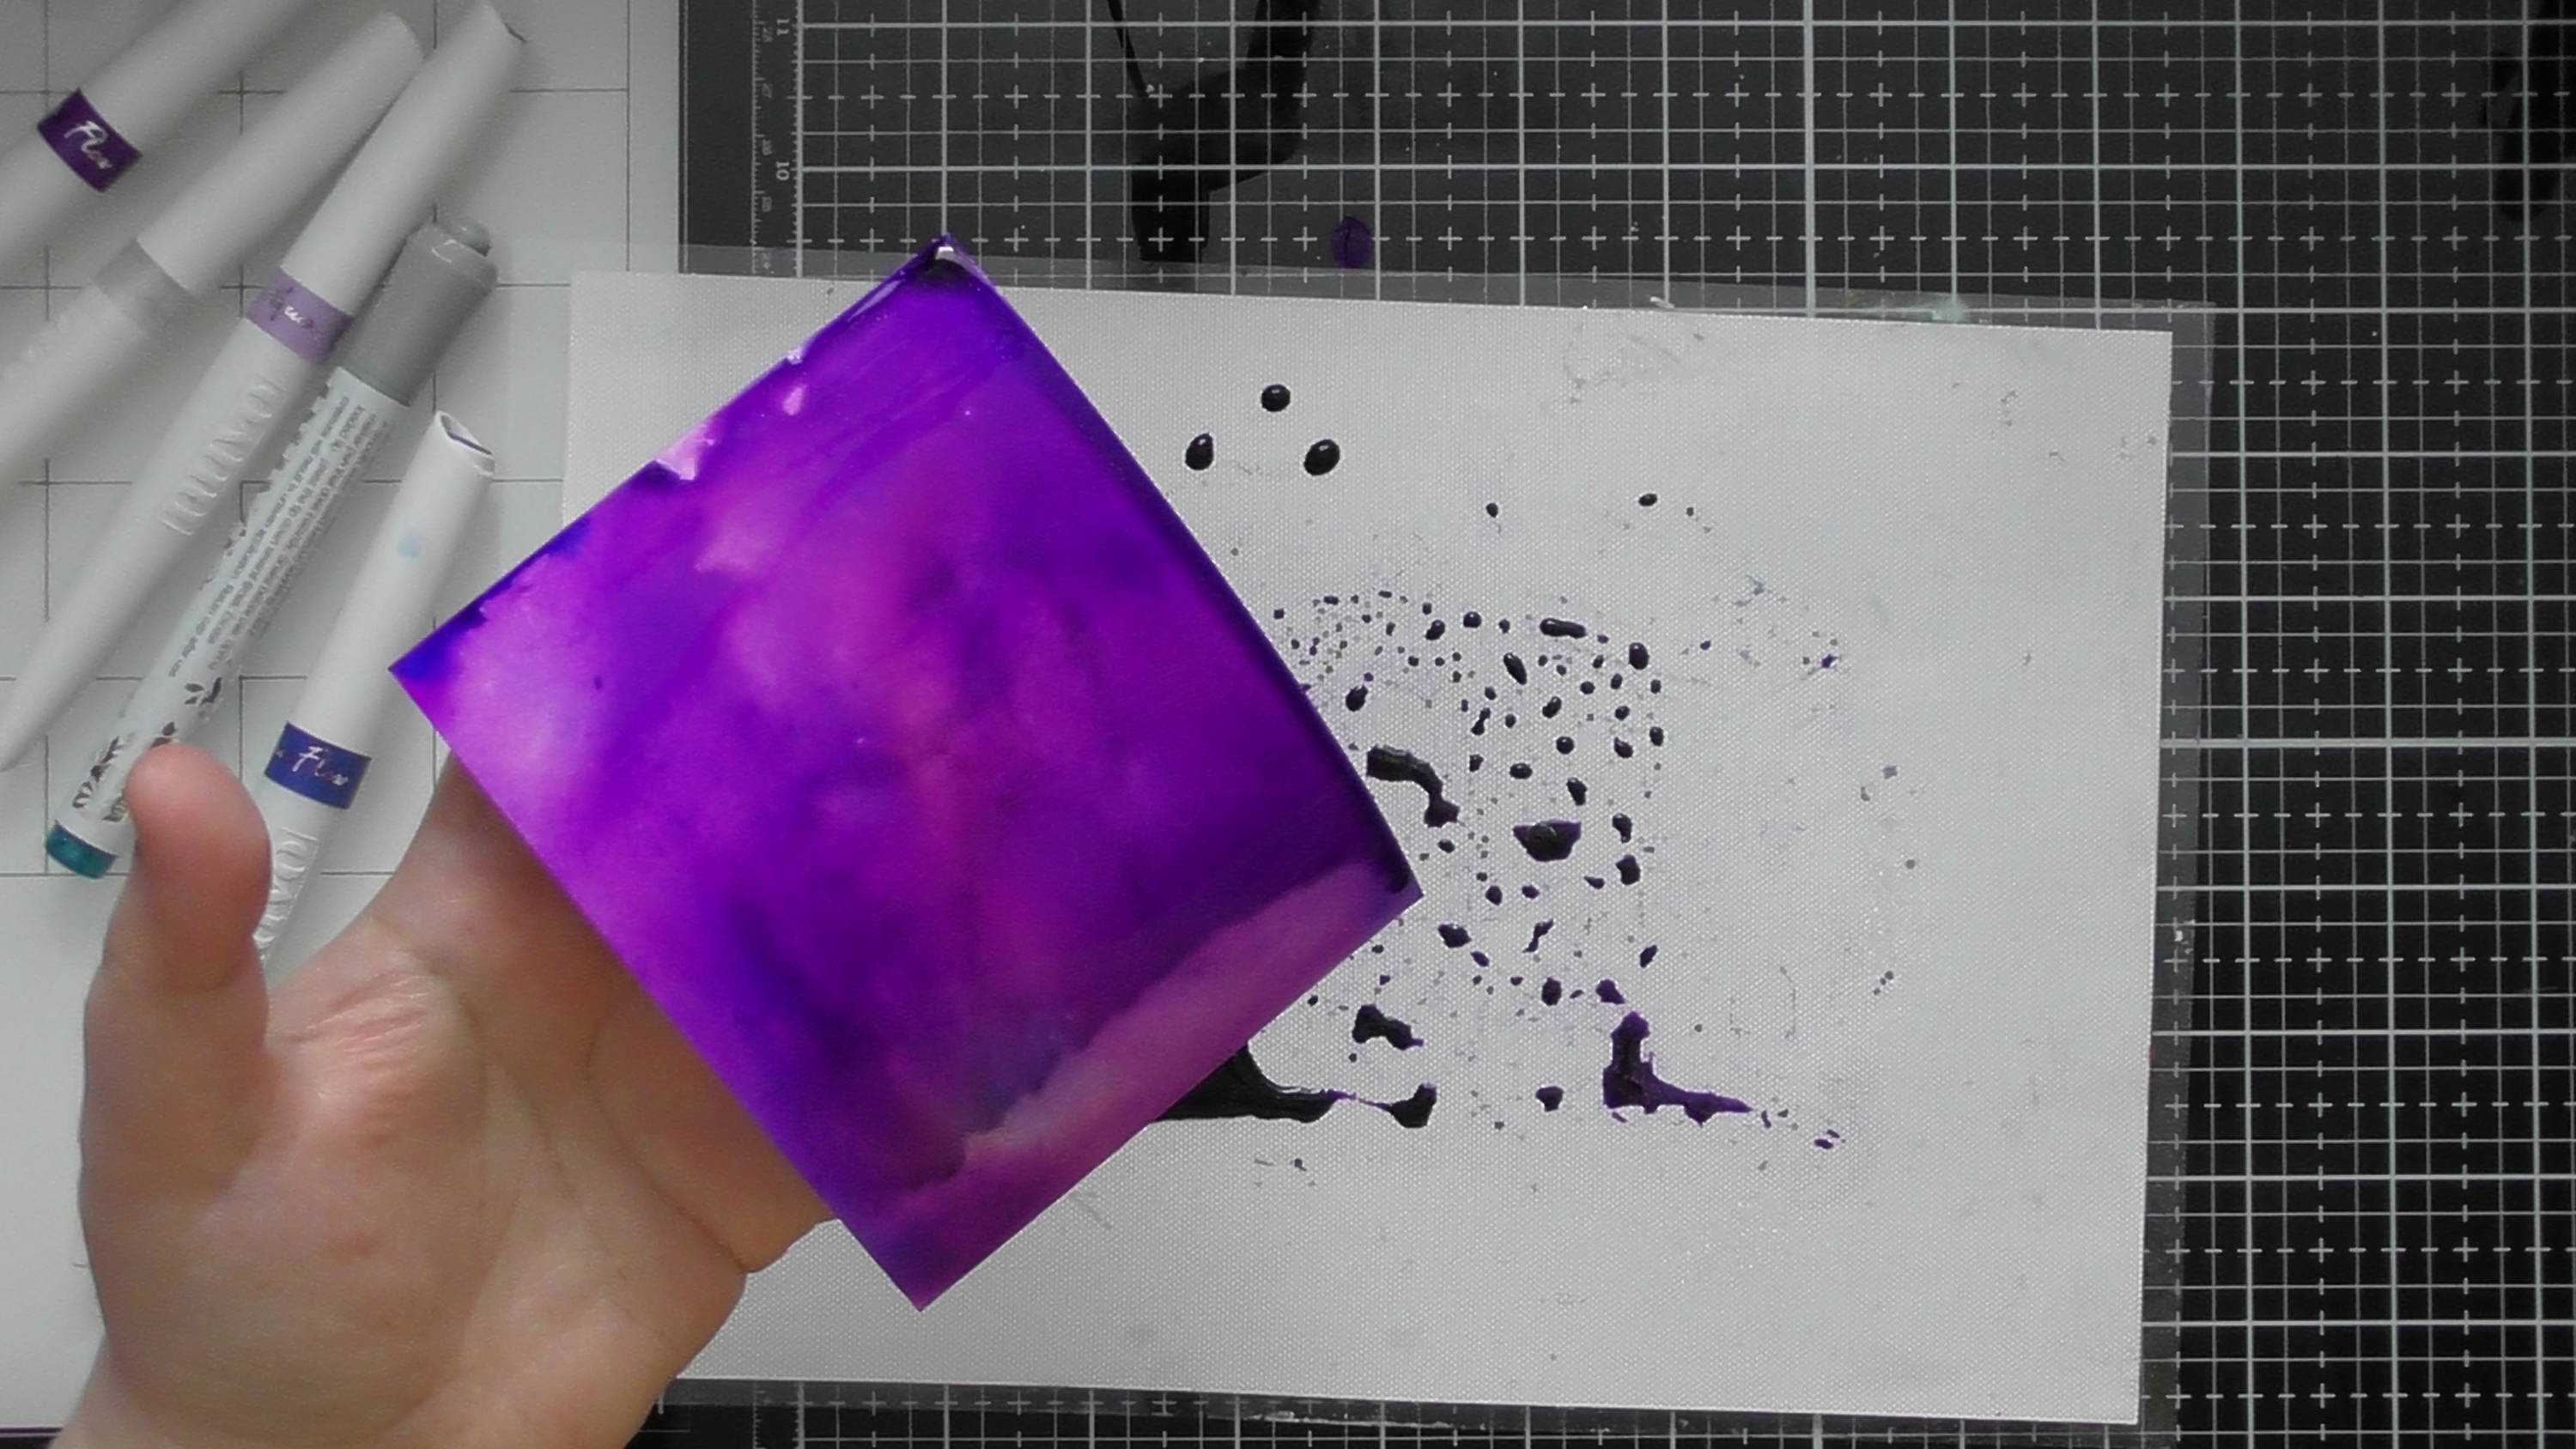
And simply take your piece of card and squish it into the ink! You can easily get multiple backgrounds from this ink, and you can dry your inky card and pick up extra ink to give you some visual texture too.
Step 3
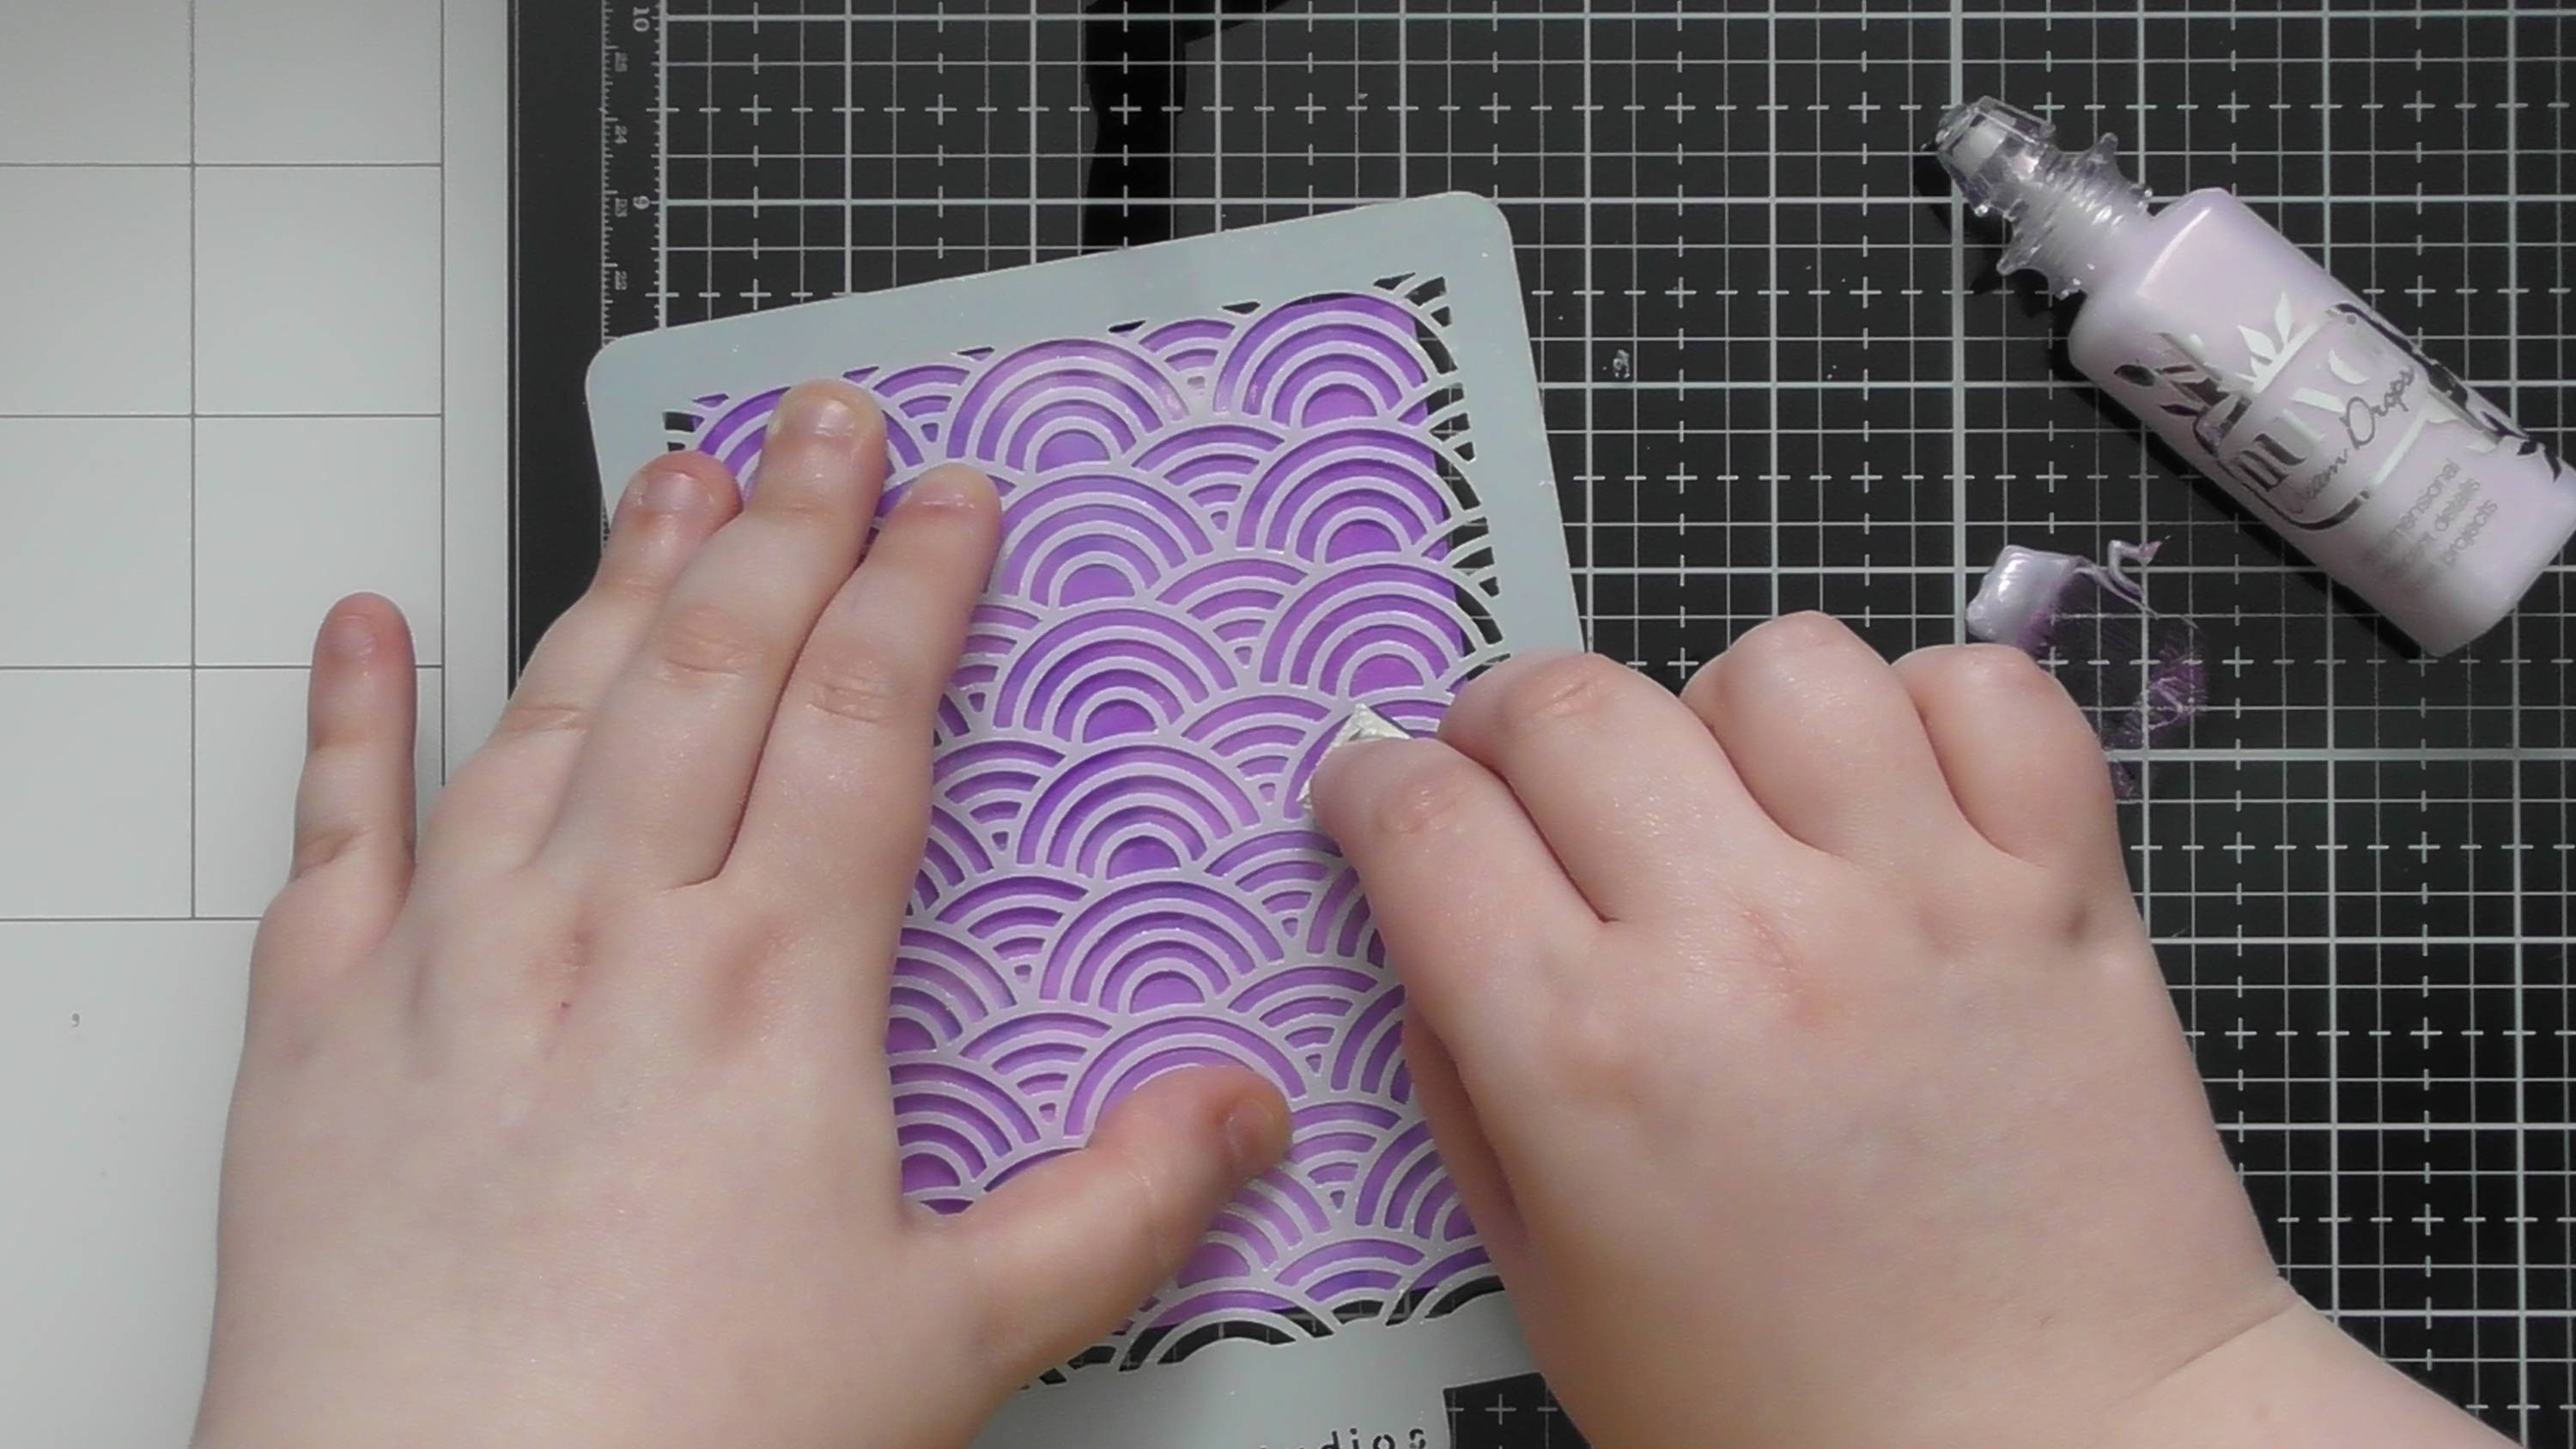
Once your background is dry, grab a stencil and an old sponge, then for this background, we’re using Nuvo Dream Drops to stencil the design, This gives a subtle result, but as you tilt the card you can see that gorgeous shimmer
Step 4
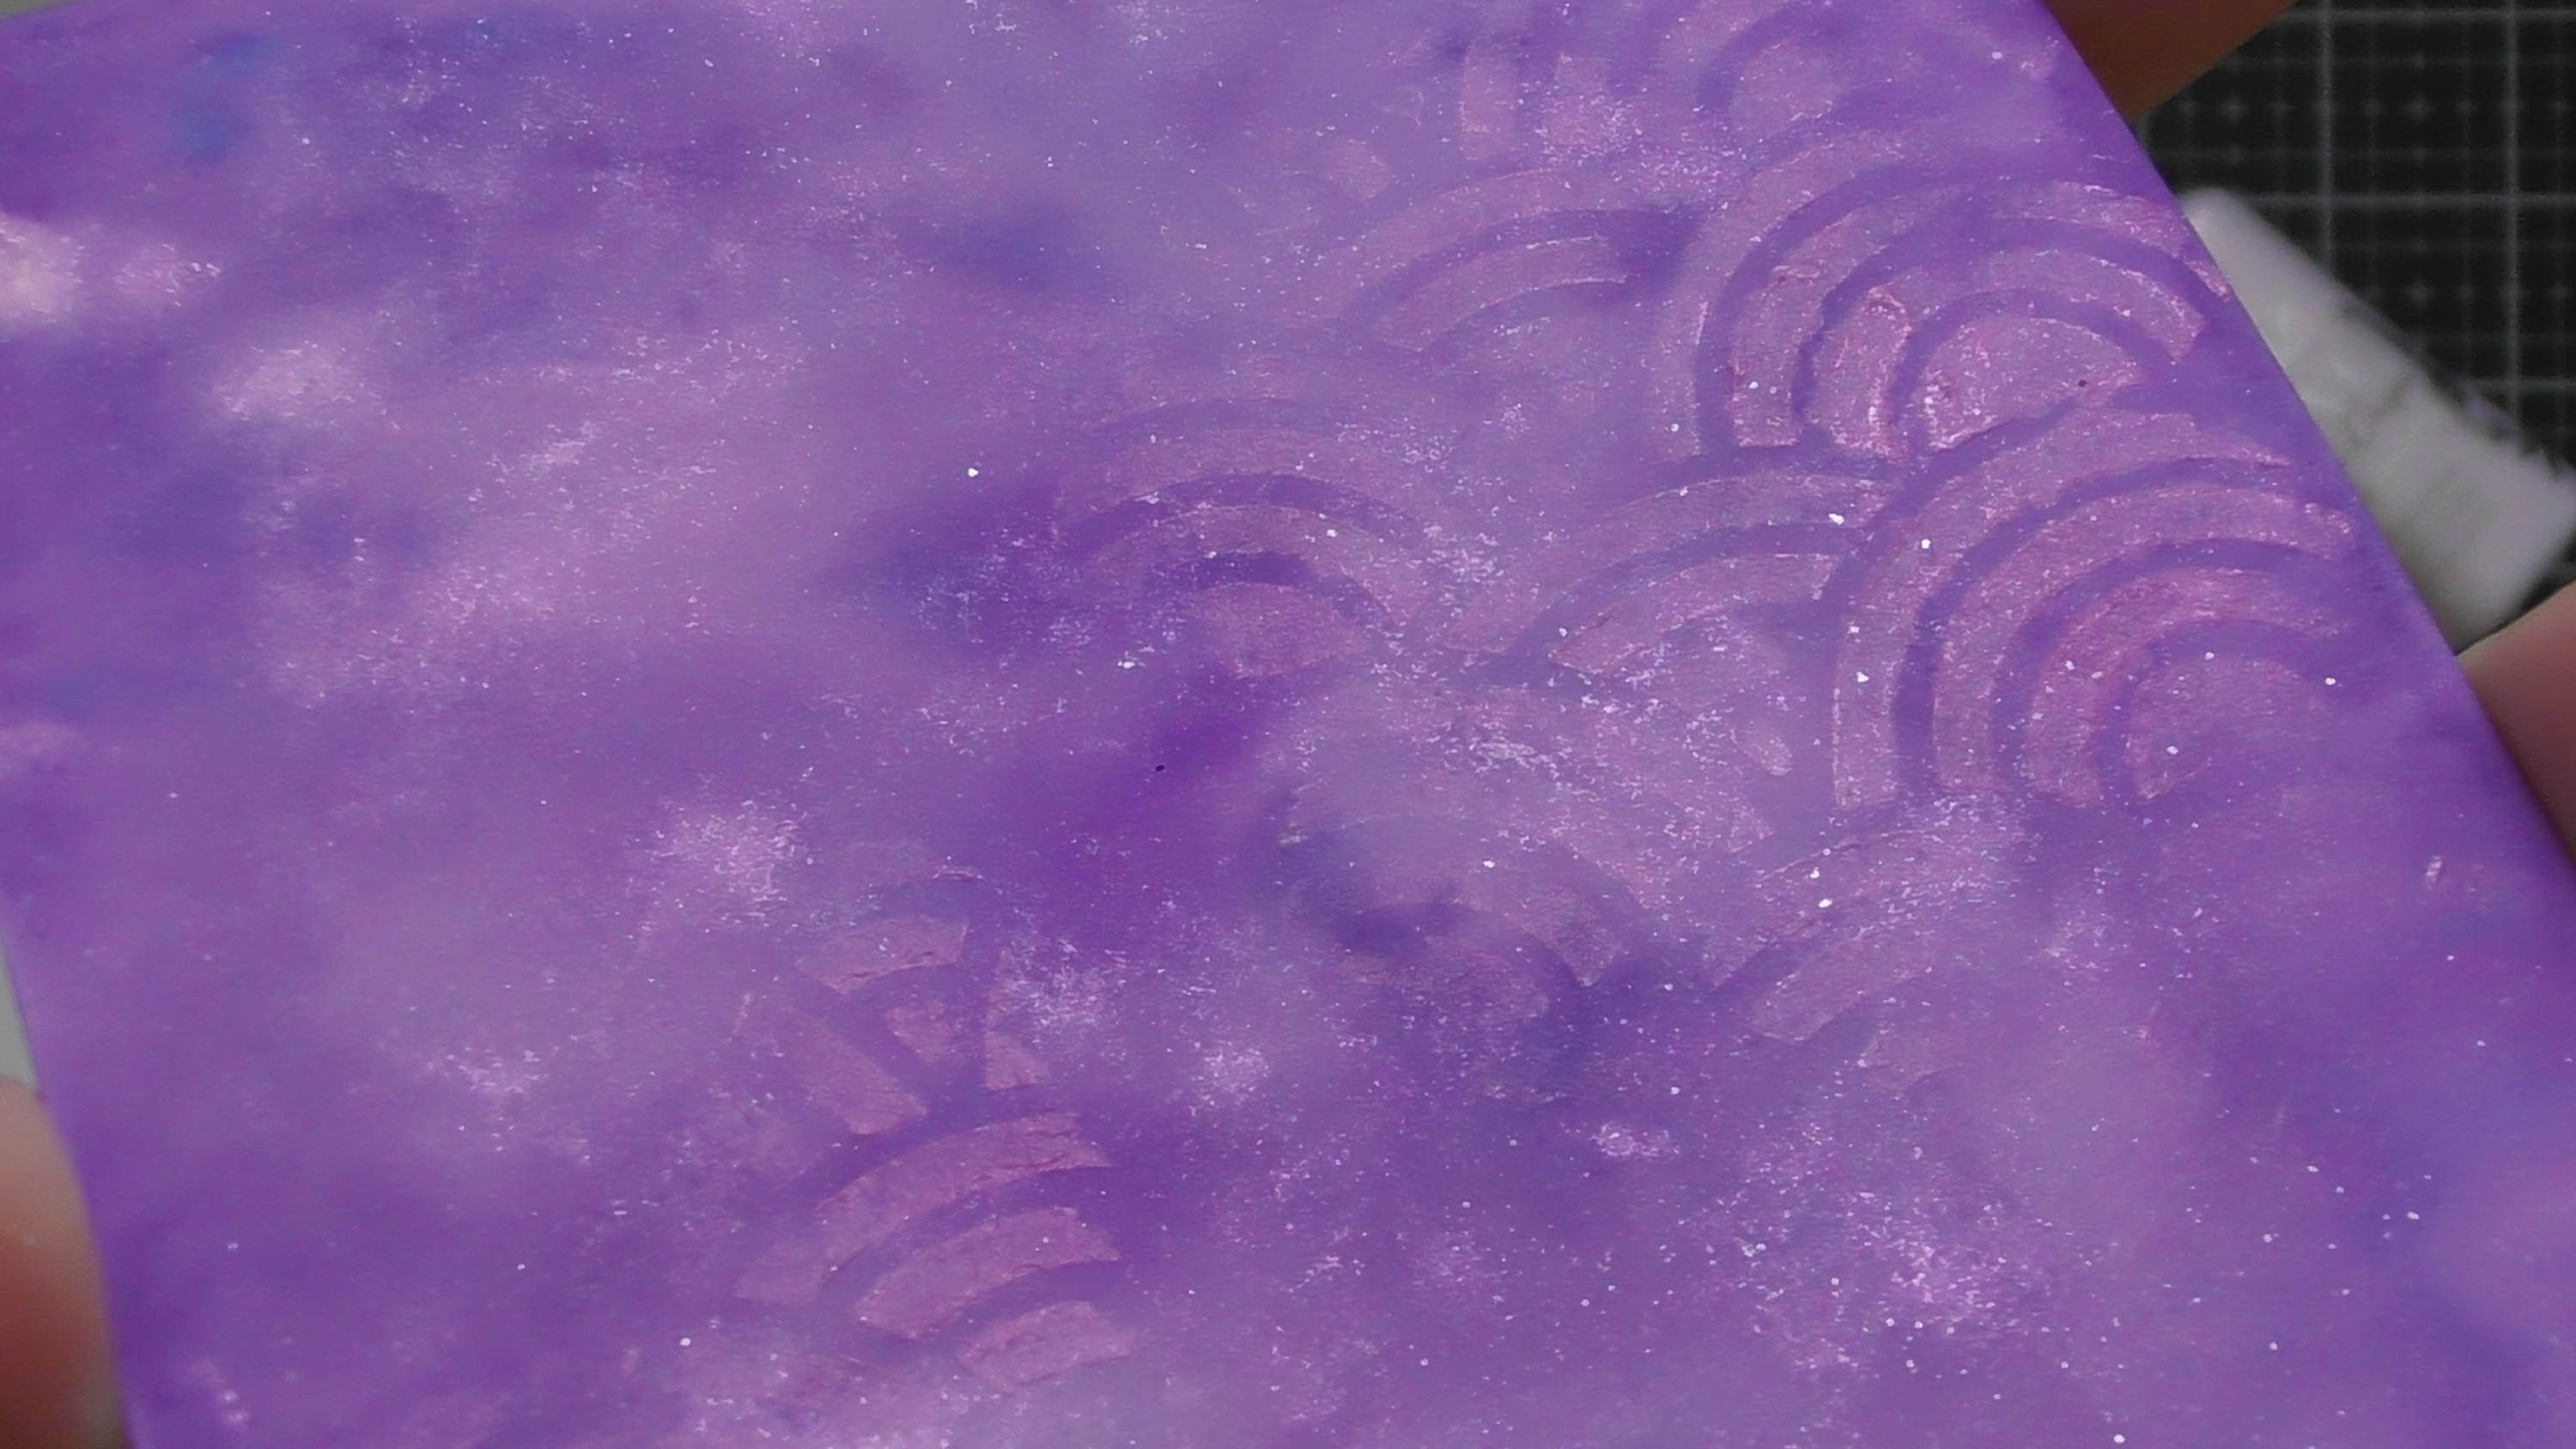
Nice subtle design
Step 5
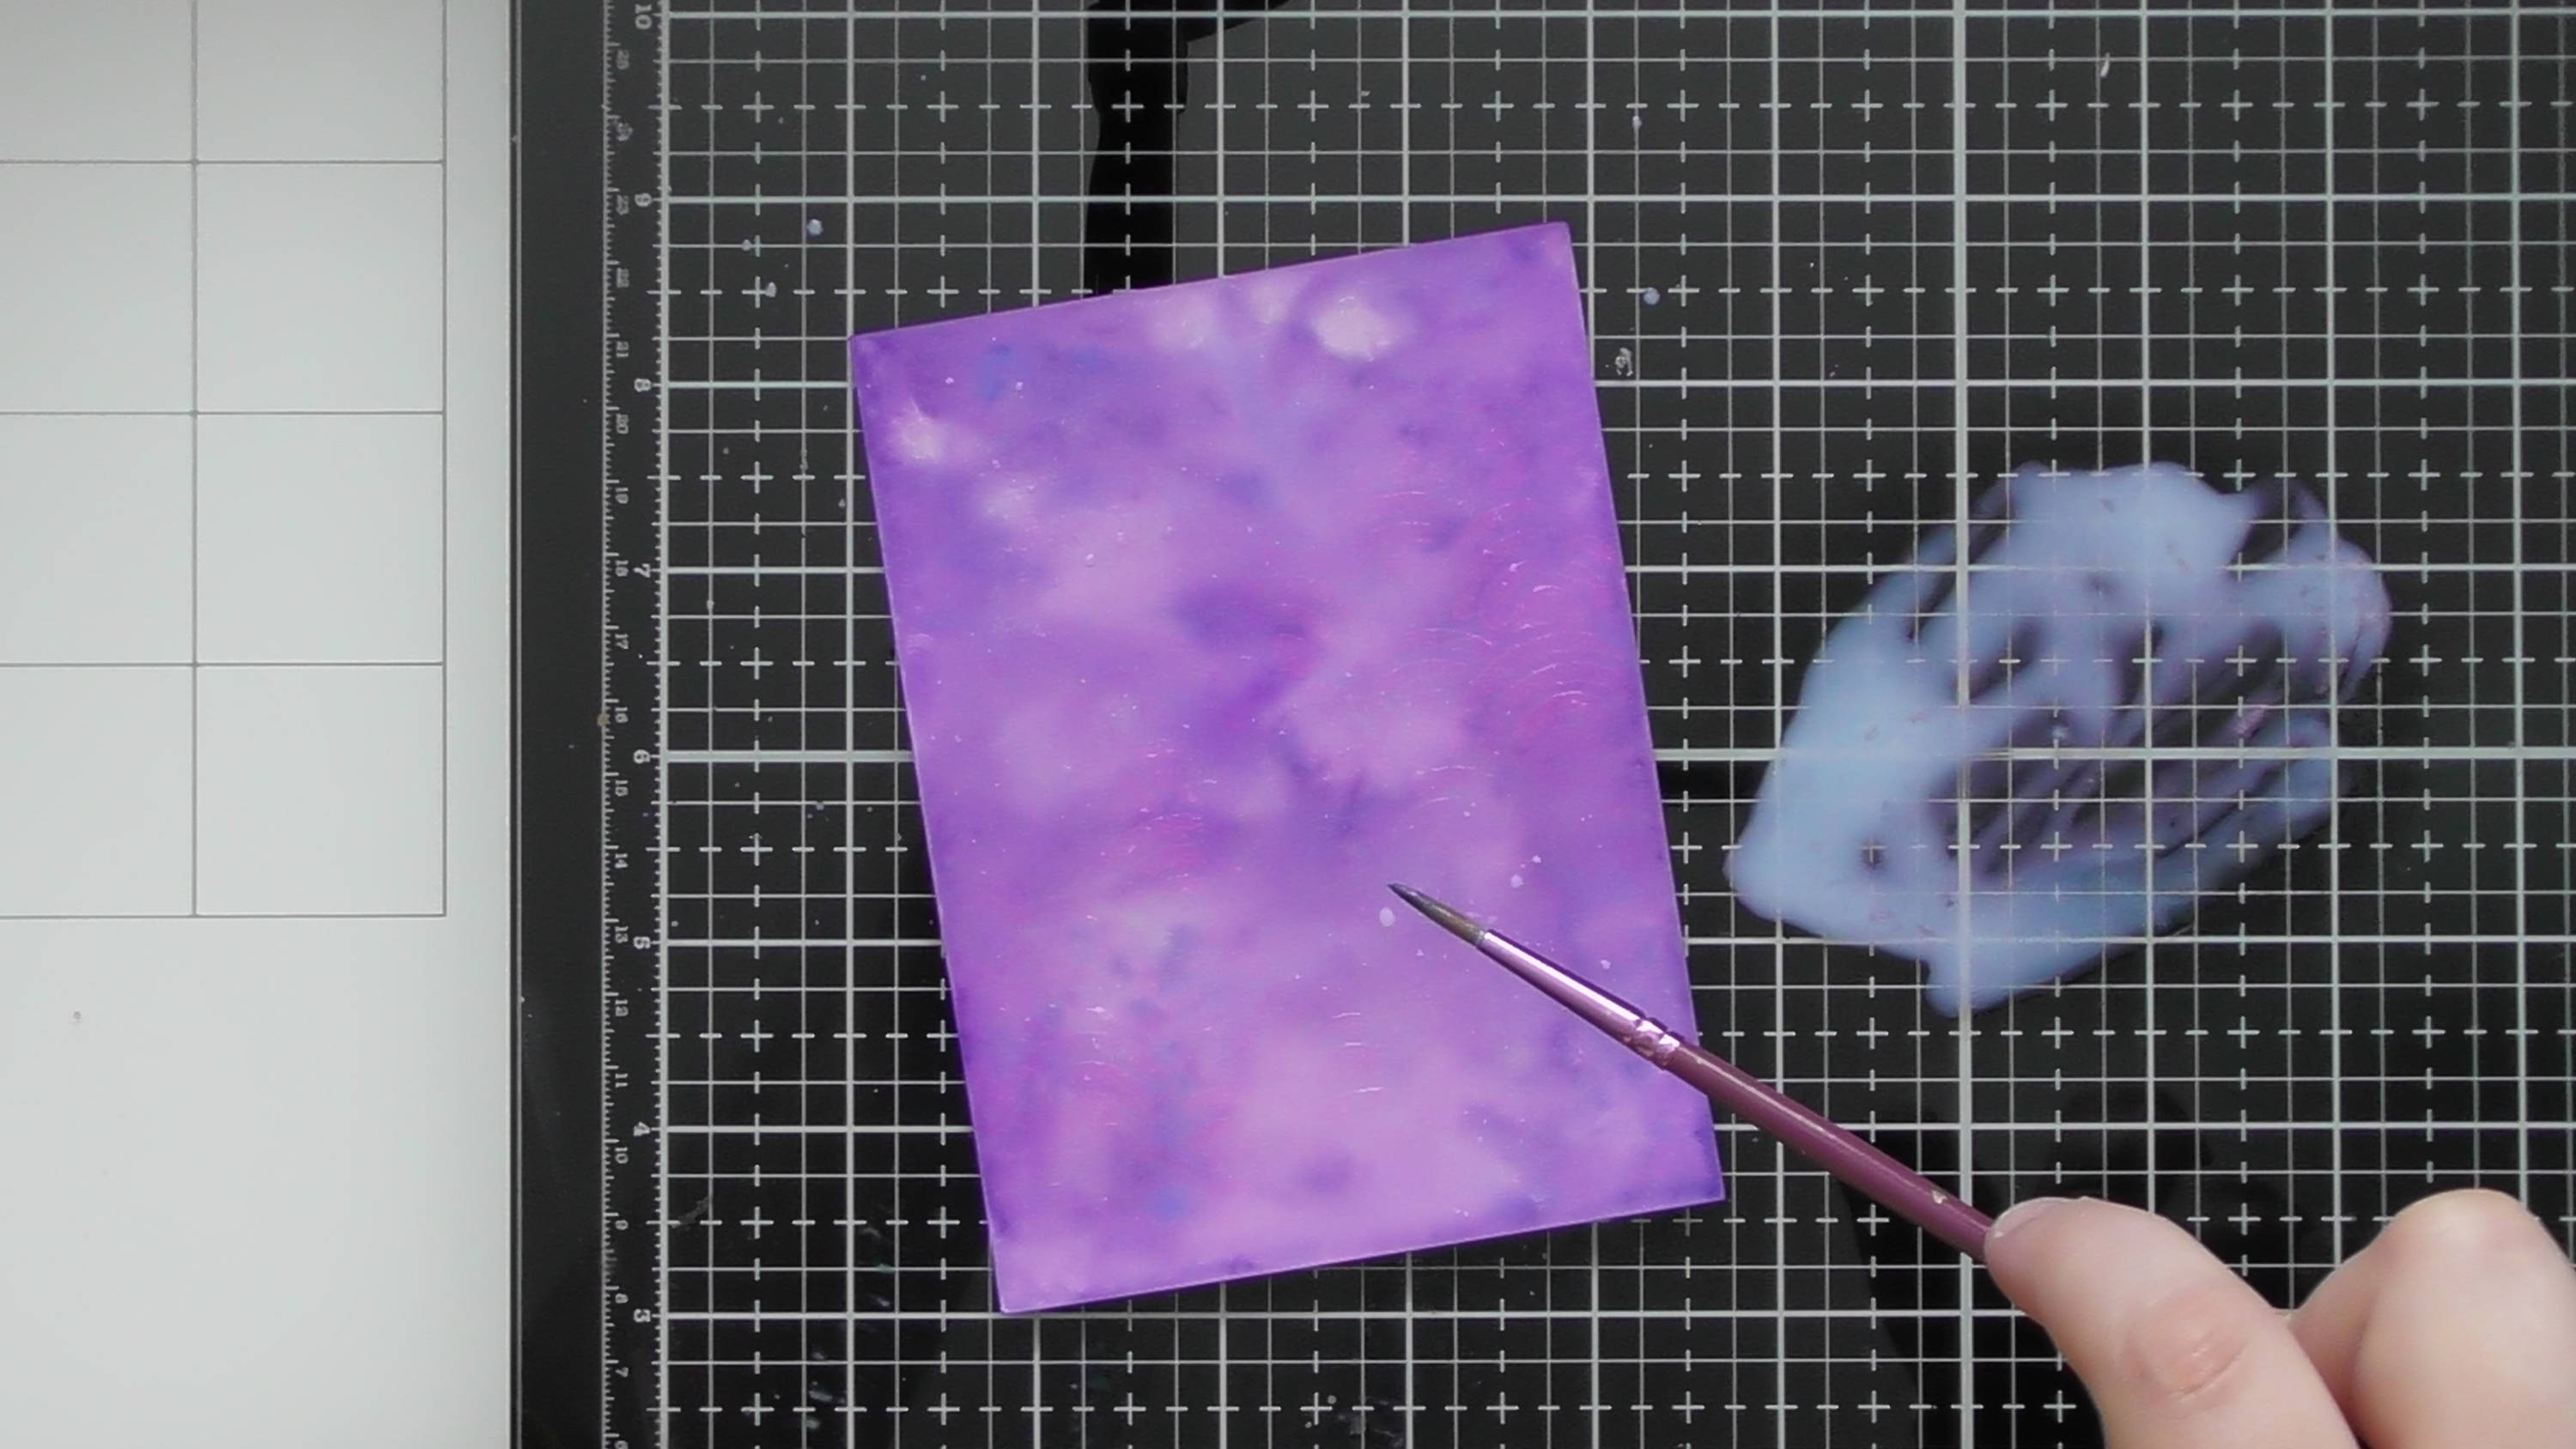
and if you have extra Dream Drops out, add a couple of spritzes of water, mix with an old brush and splatter it on
Step 6
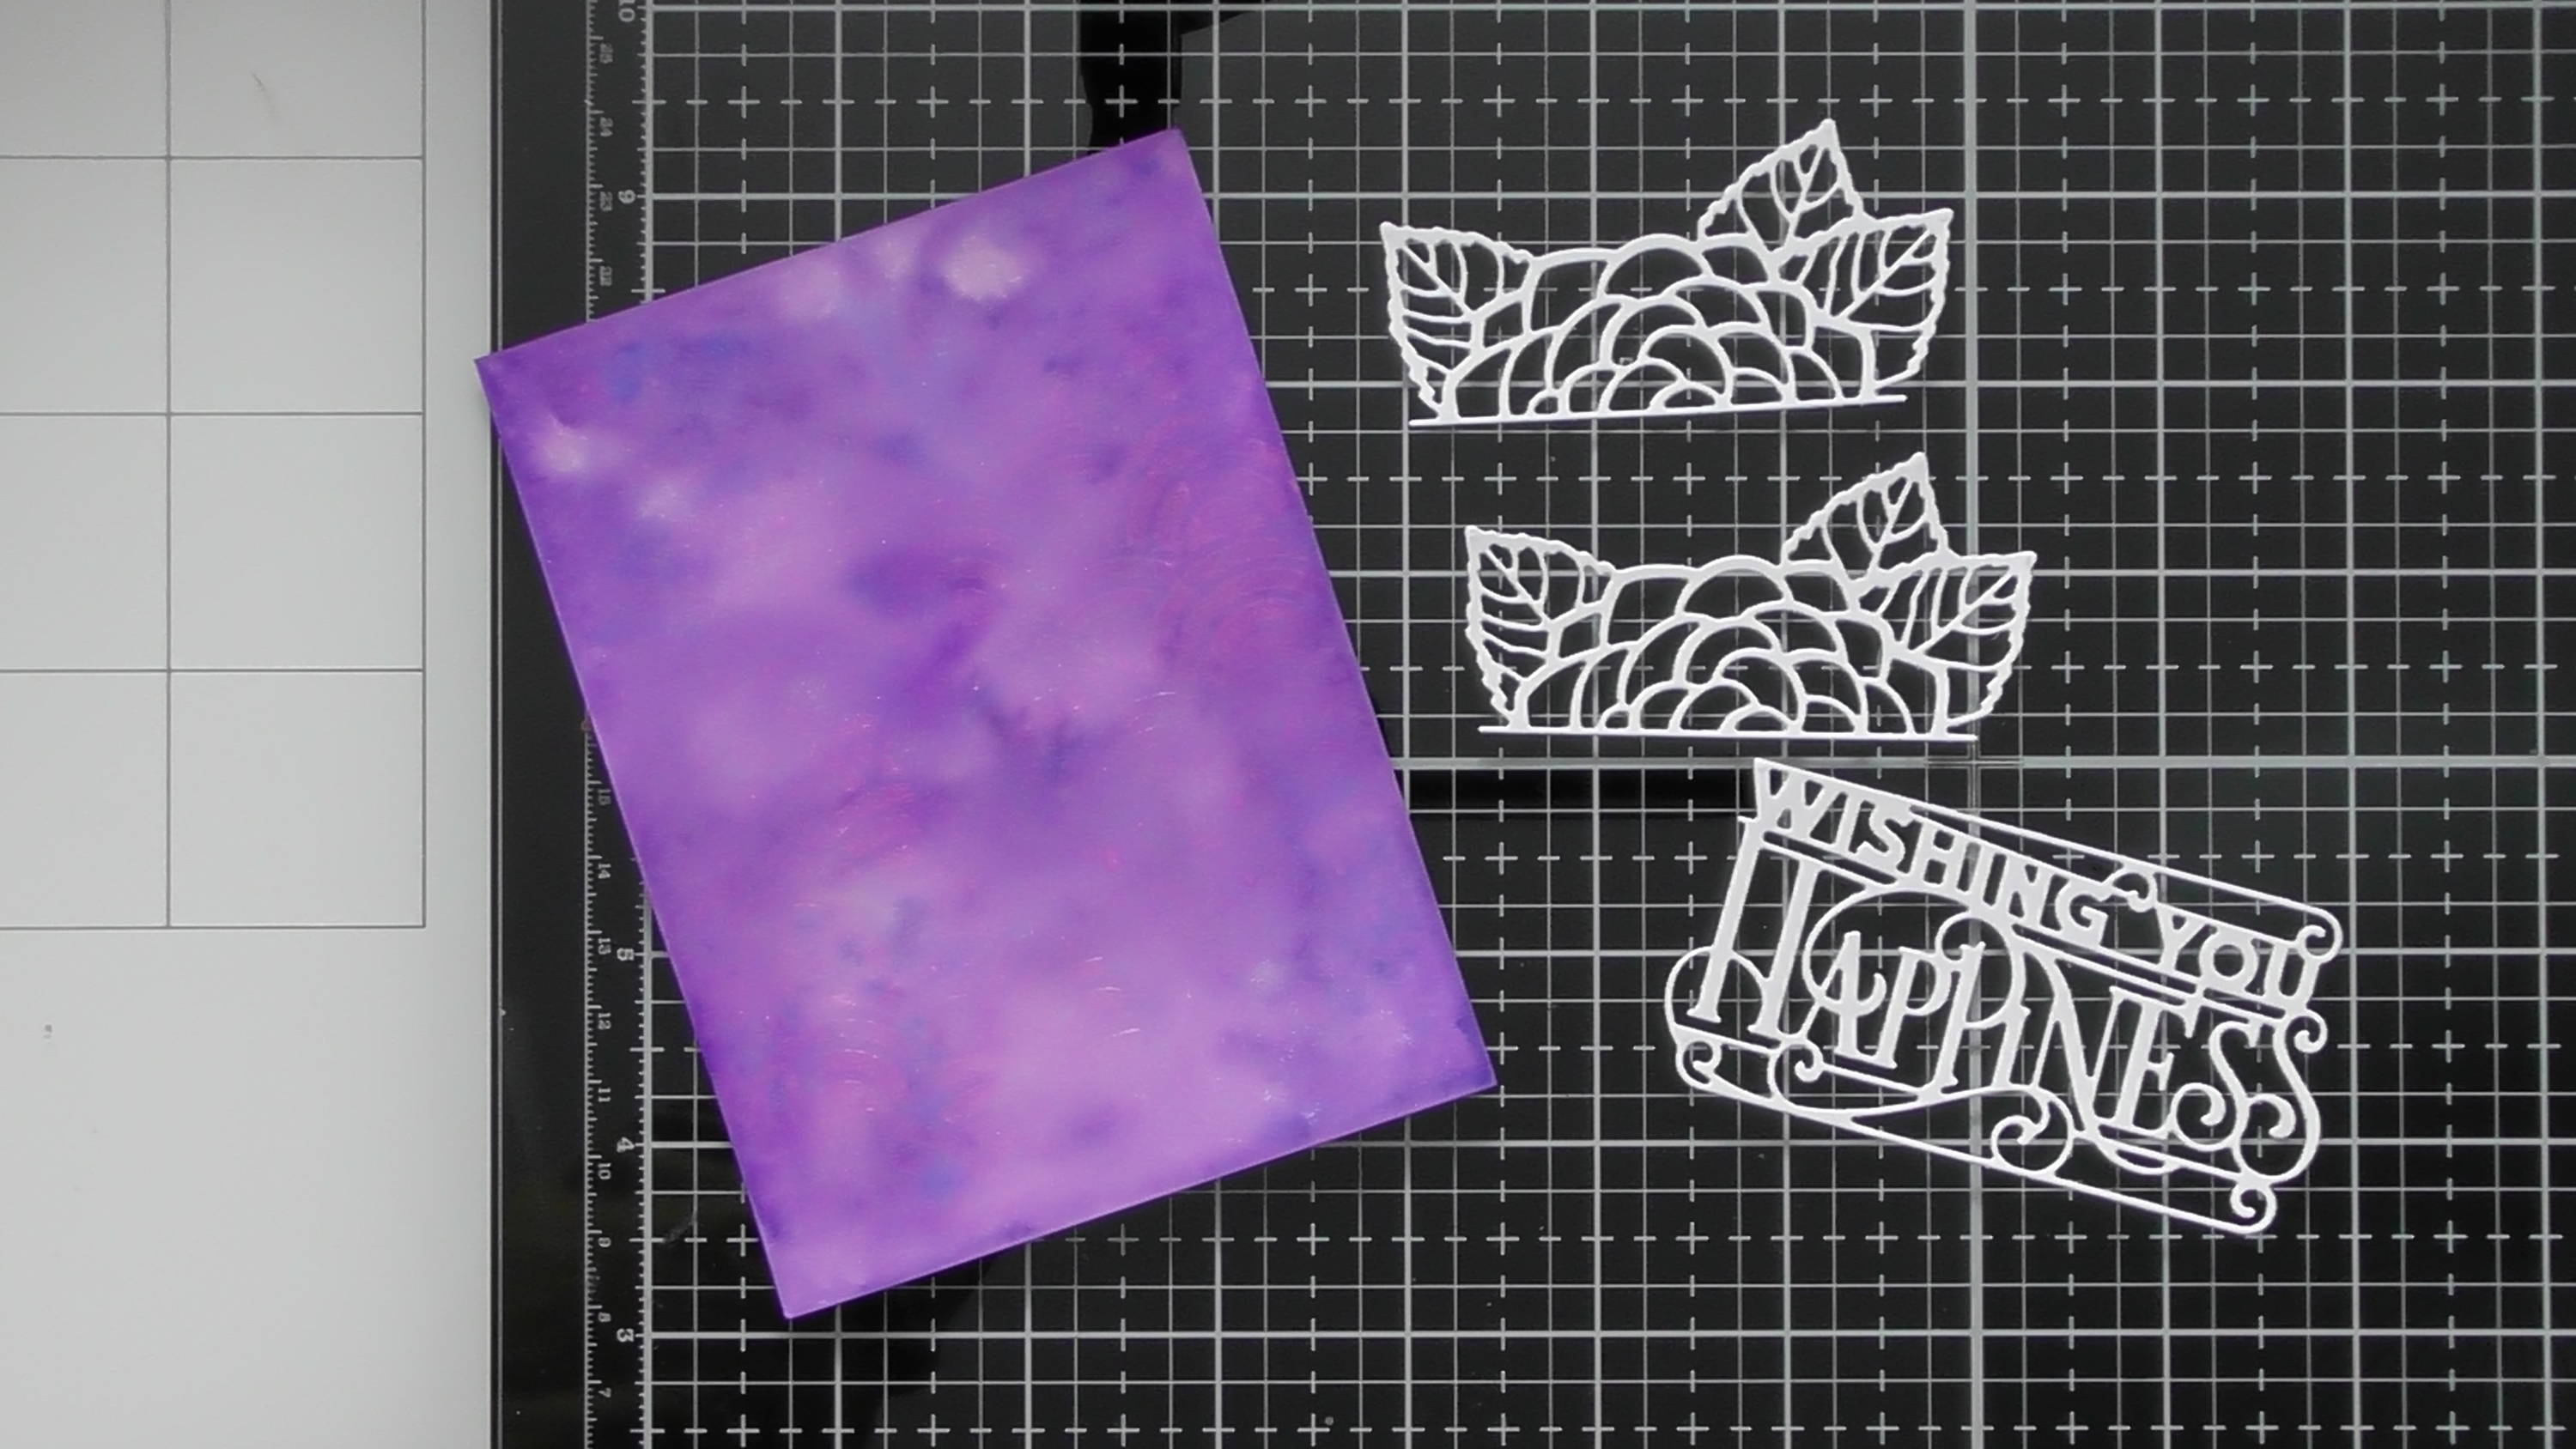
Now comes the time of the die-cuts! Pick one of the header sets and for this card, cut one sentiment and 2 of the florals.
Step 7
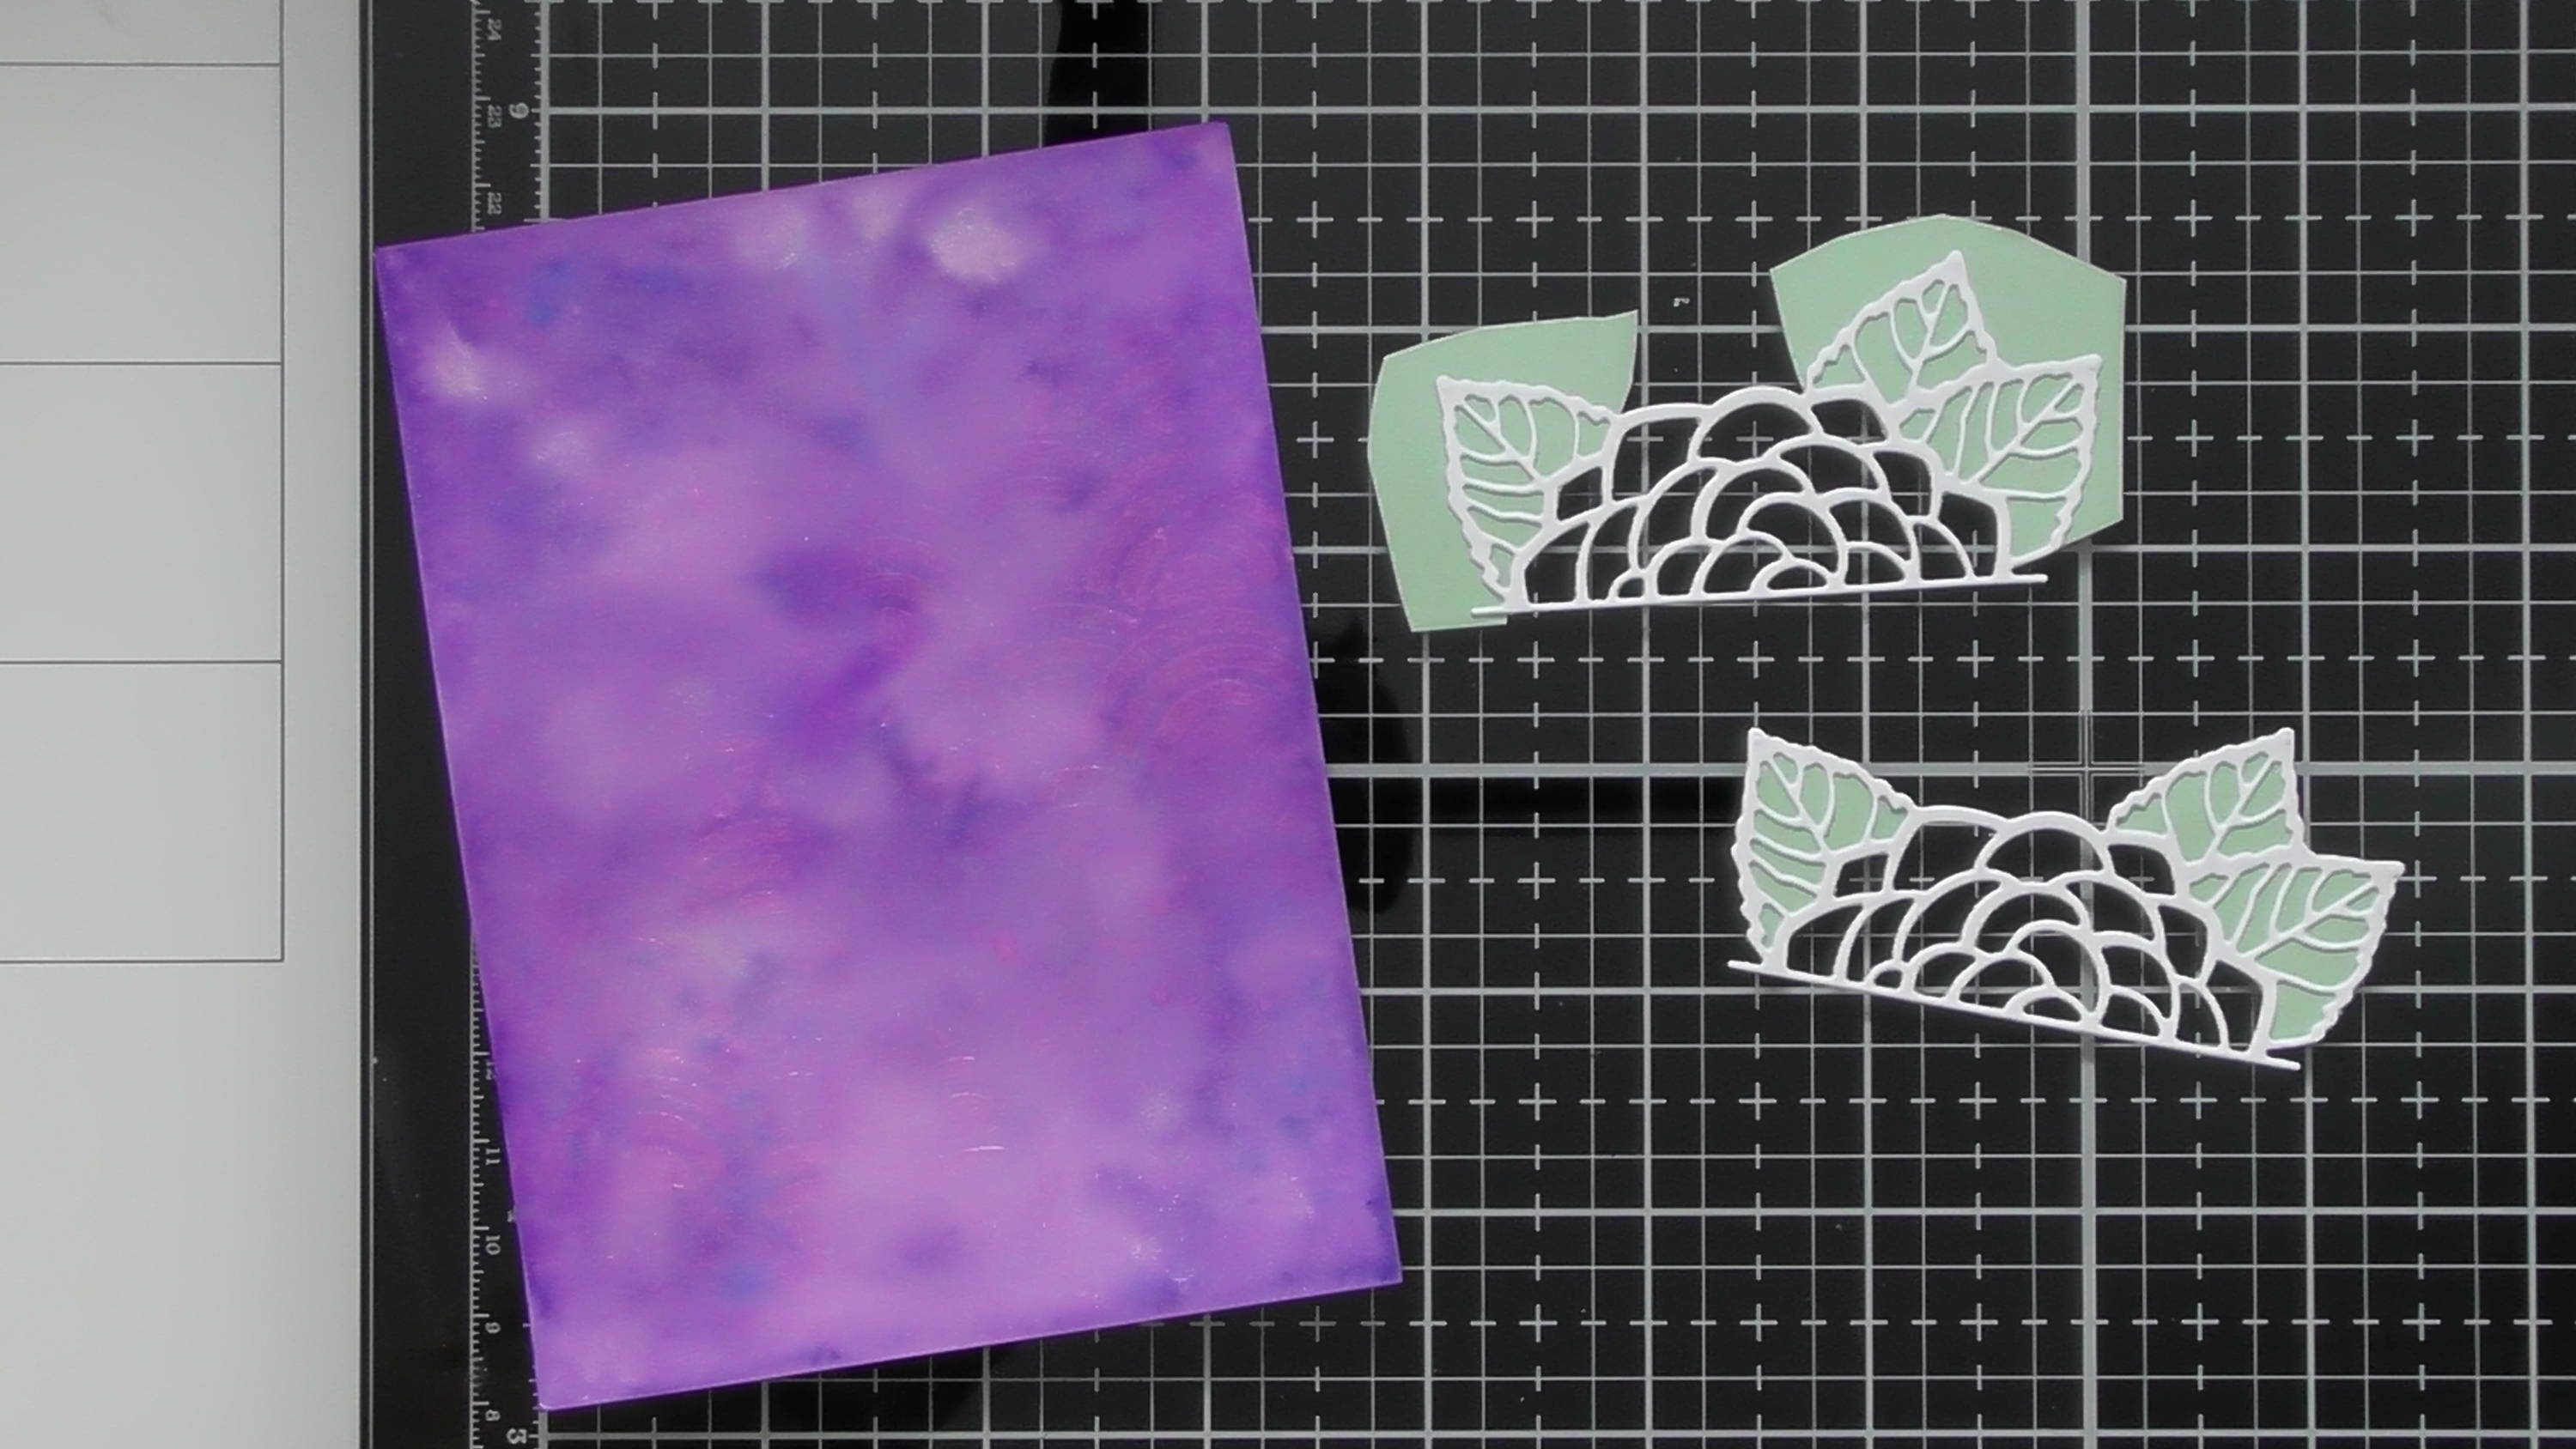
For an extra pop of colour, add some pearl card behind the leaves of the florals, and snip around the perimeter so just the leaves are coloured.
Step 8
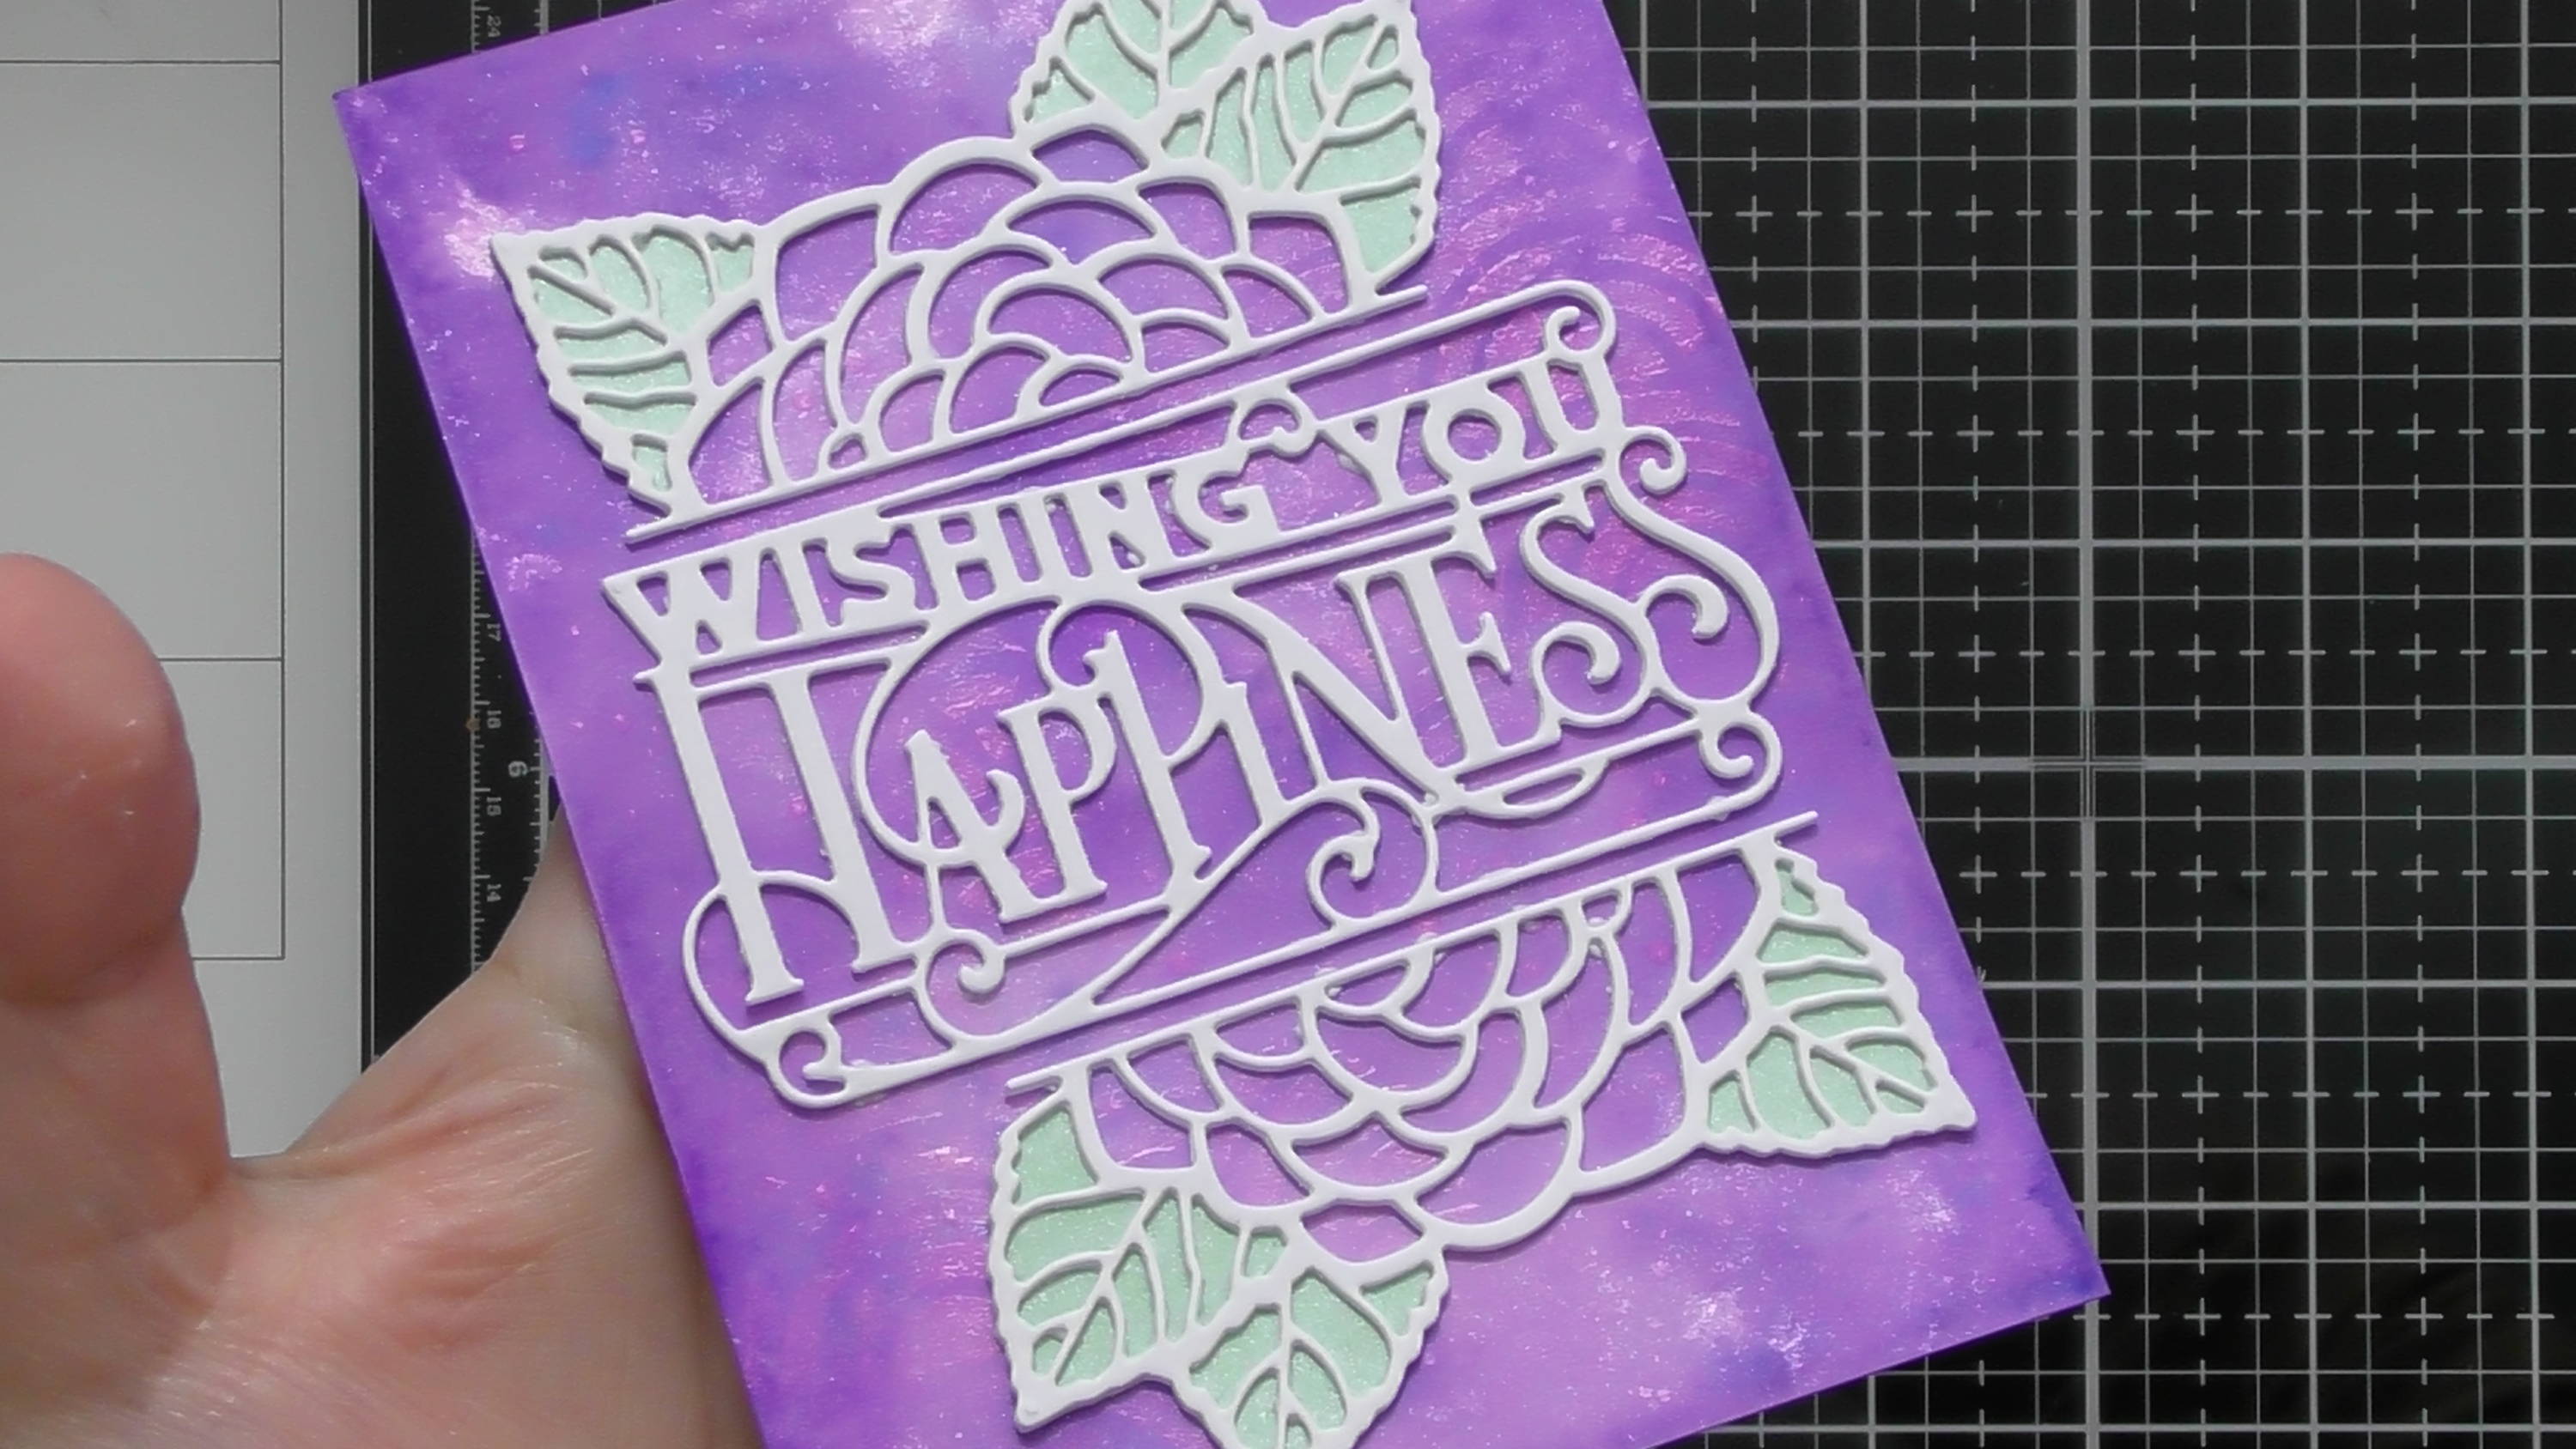
Then simply add everything to you card panel
Step 9
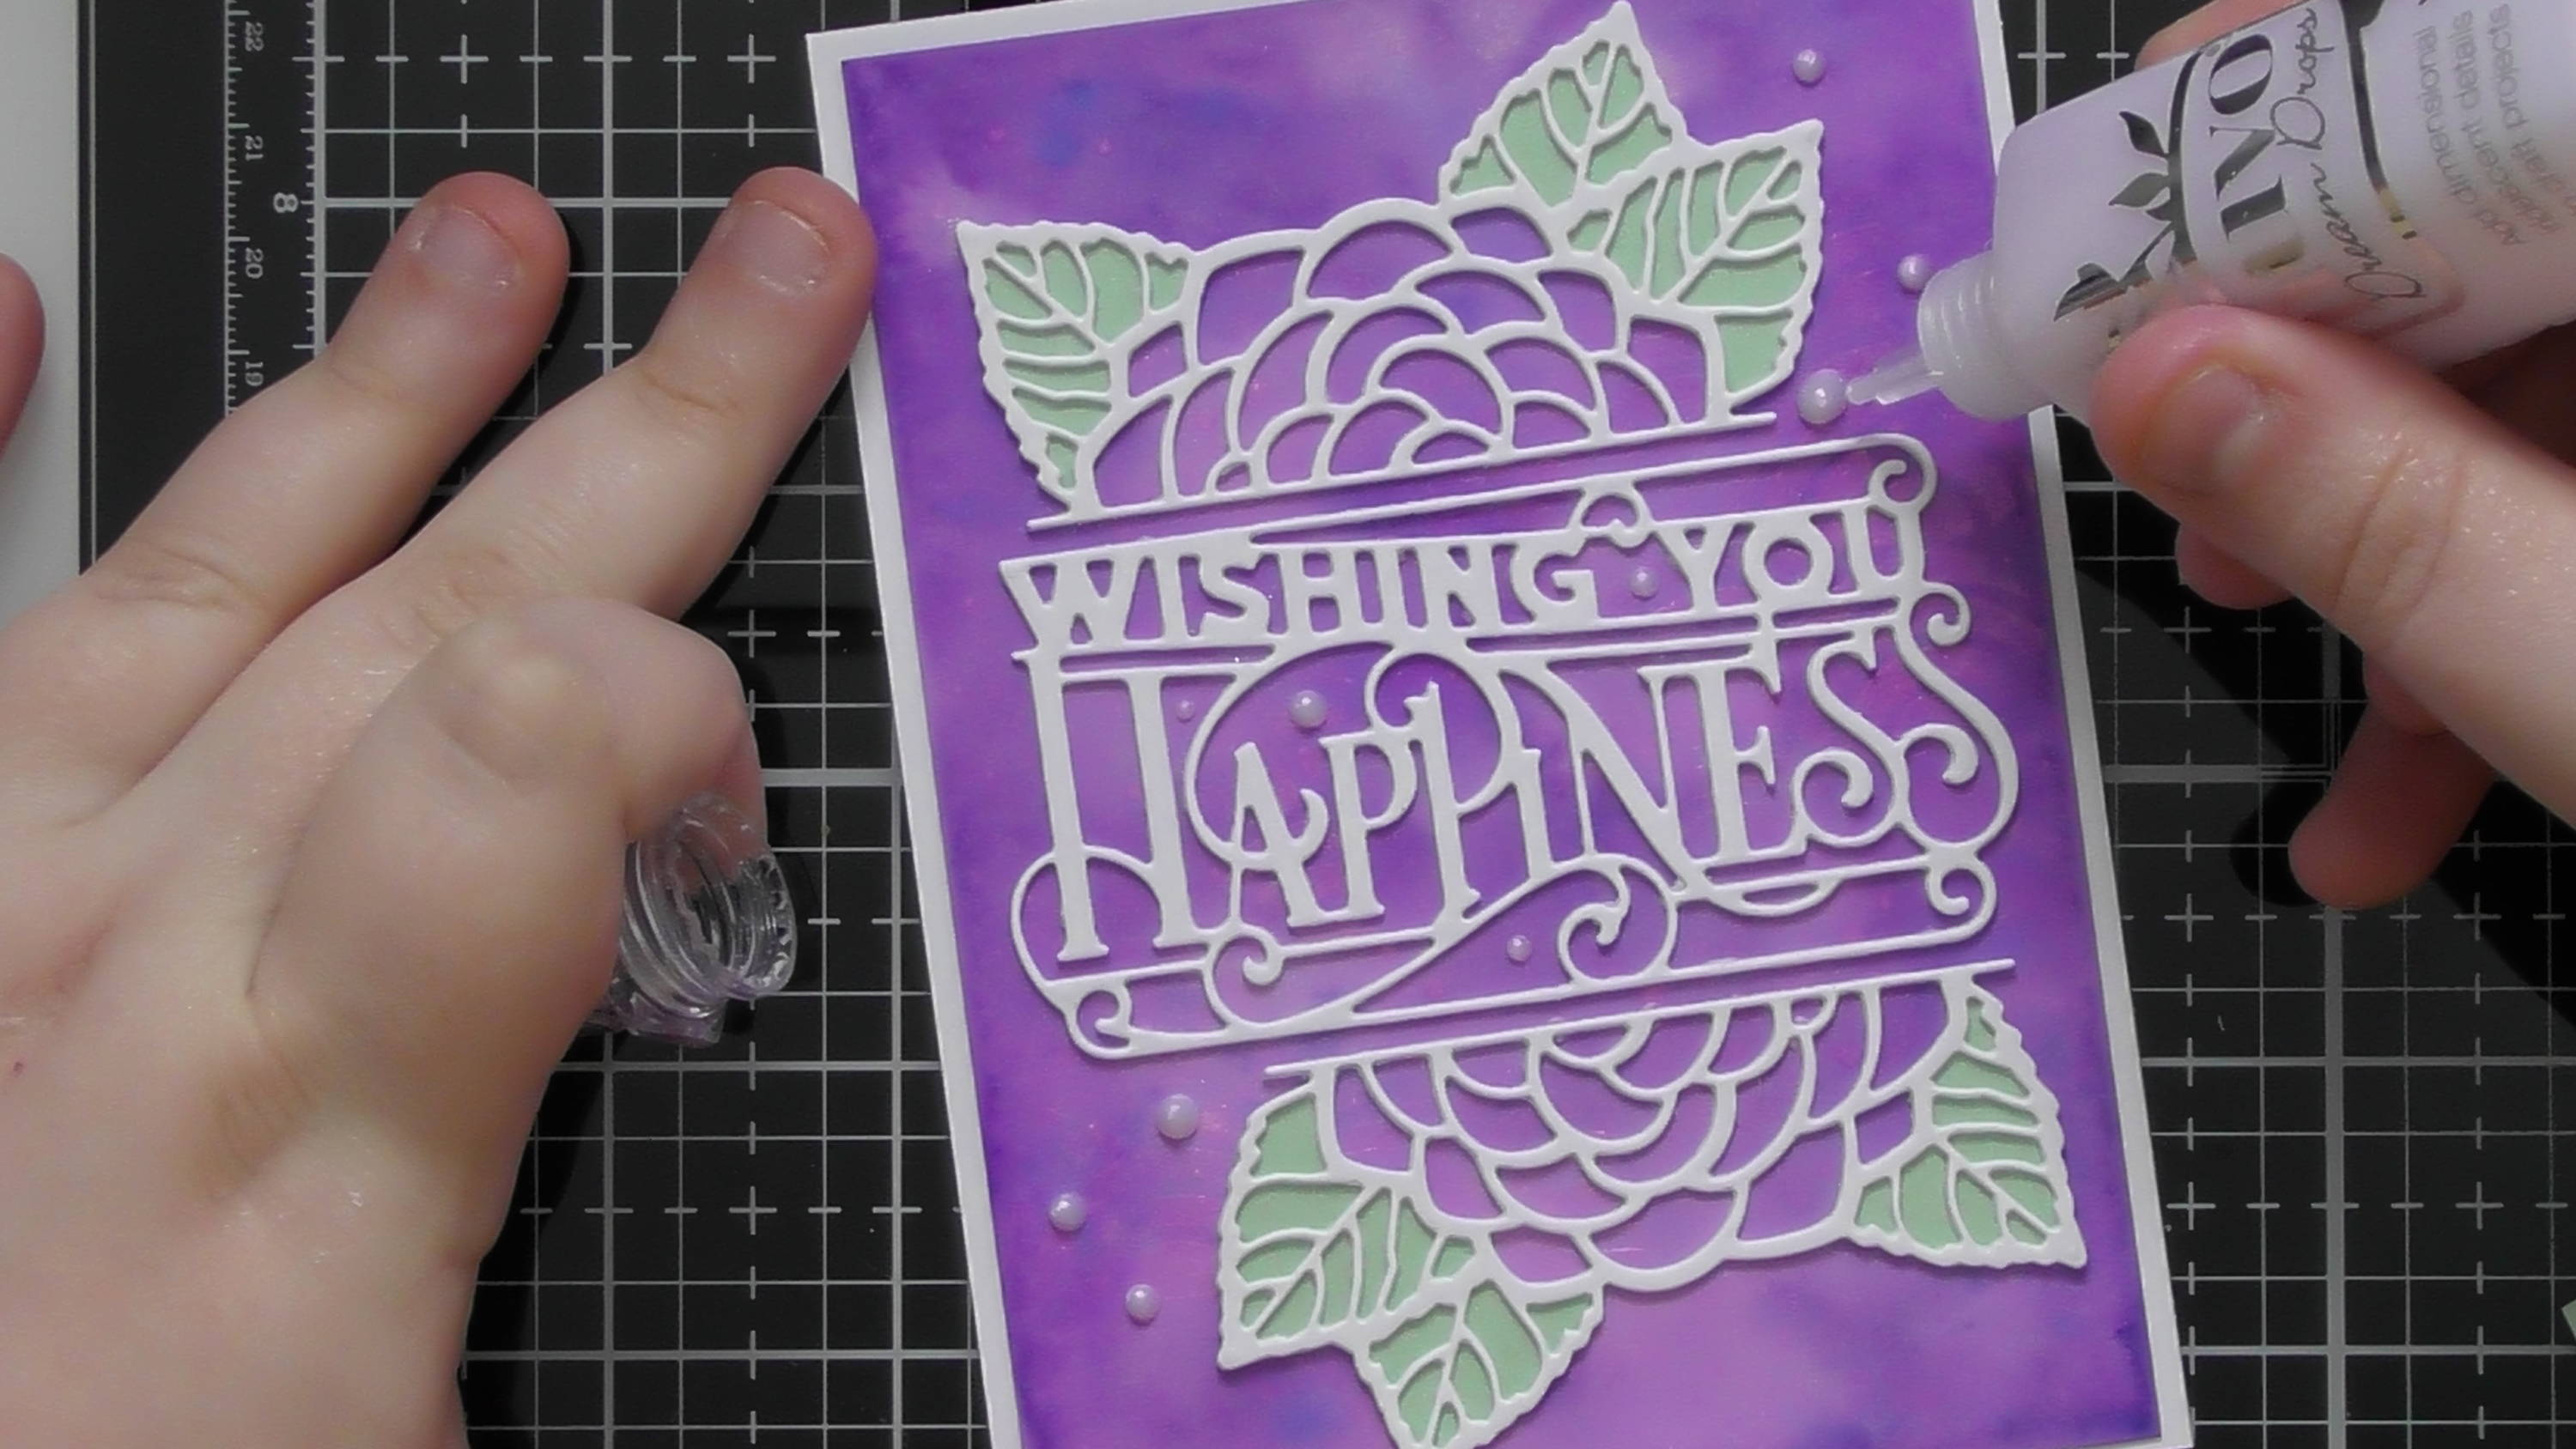
and for a final touch, bring back in your Dream Drops and add some extra Nuvo Drop accents
For the second card, we’re using similar Nuvo products, but mixing up the application a little
Step 1
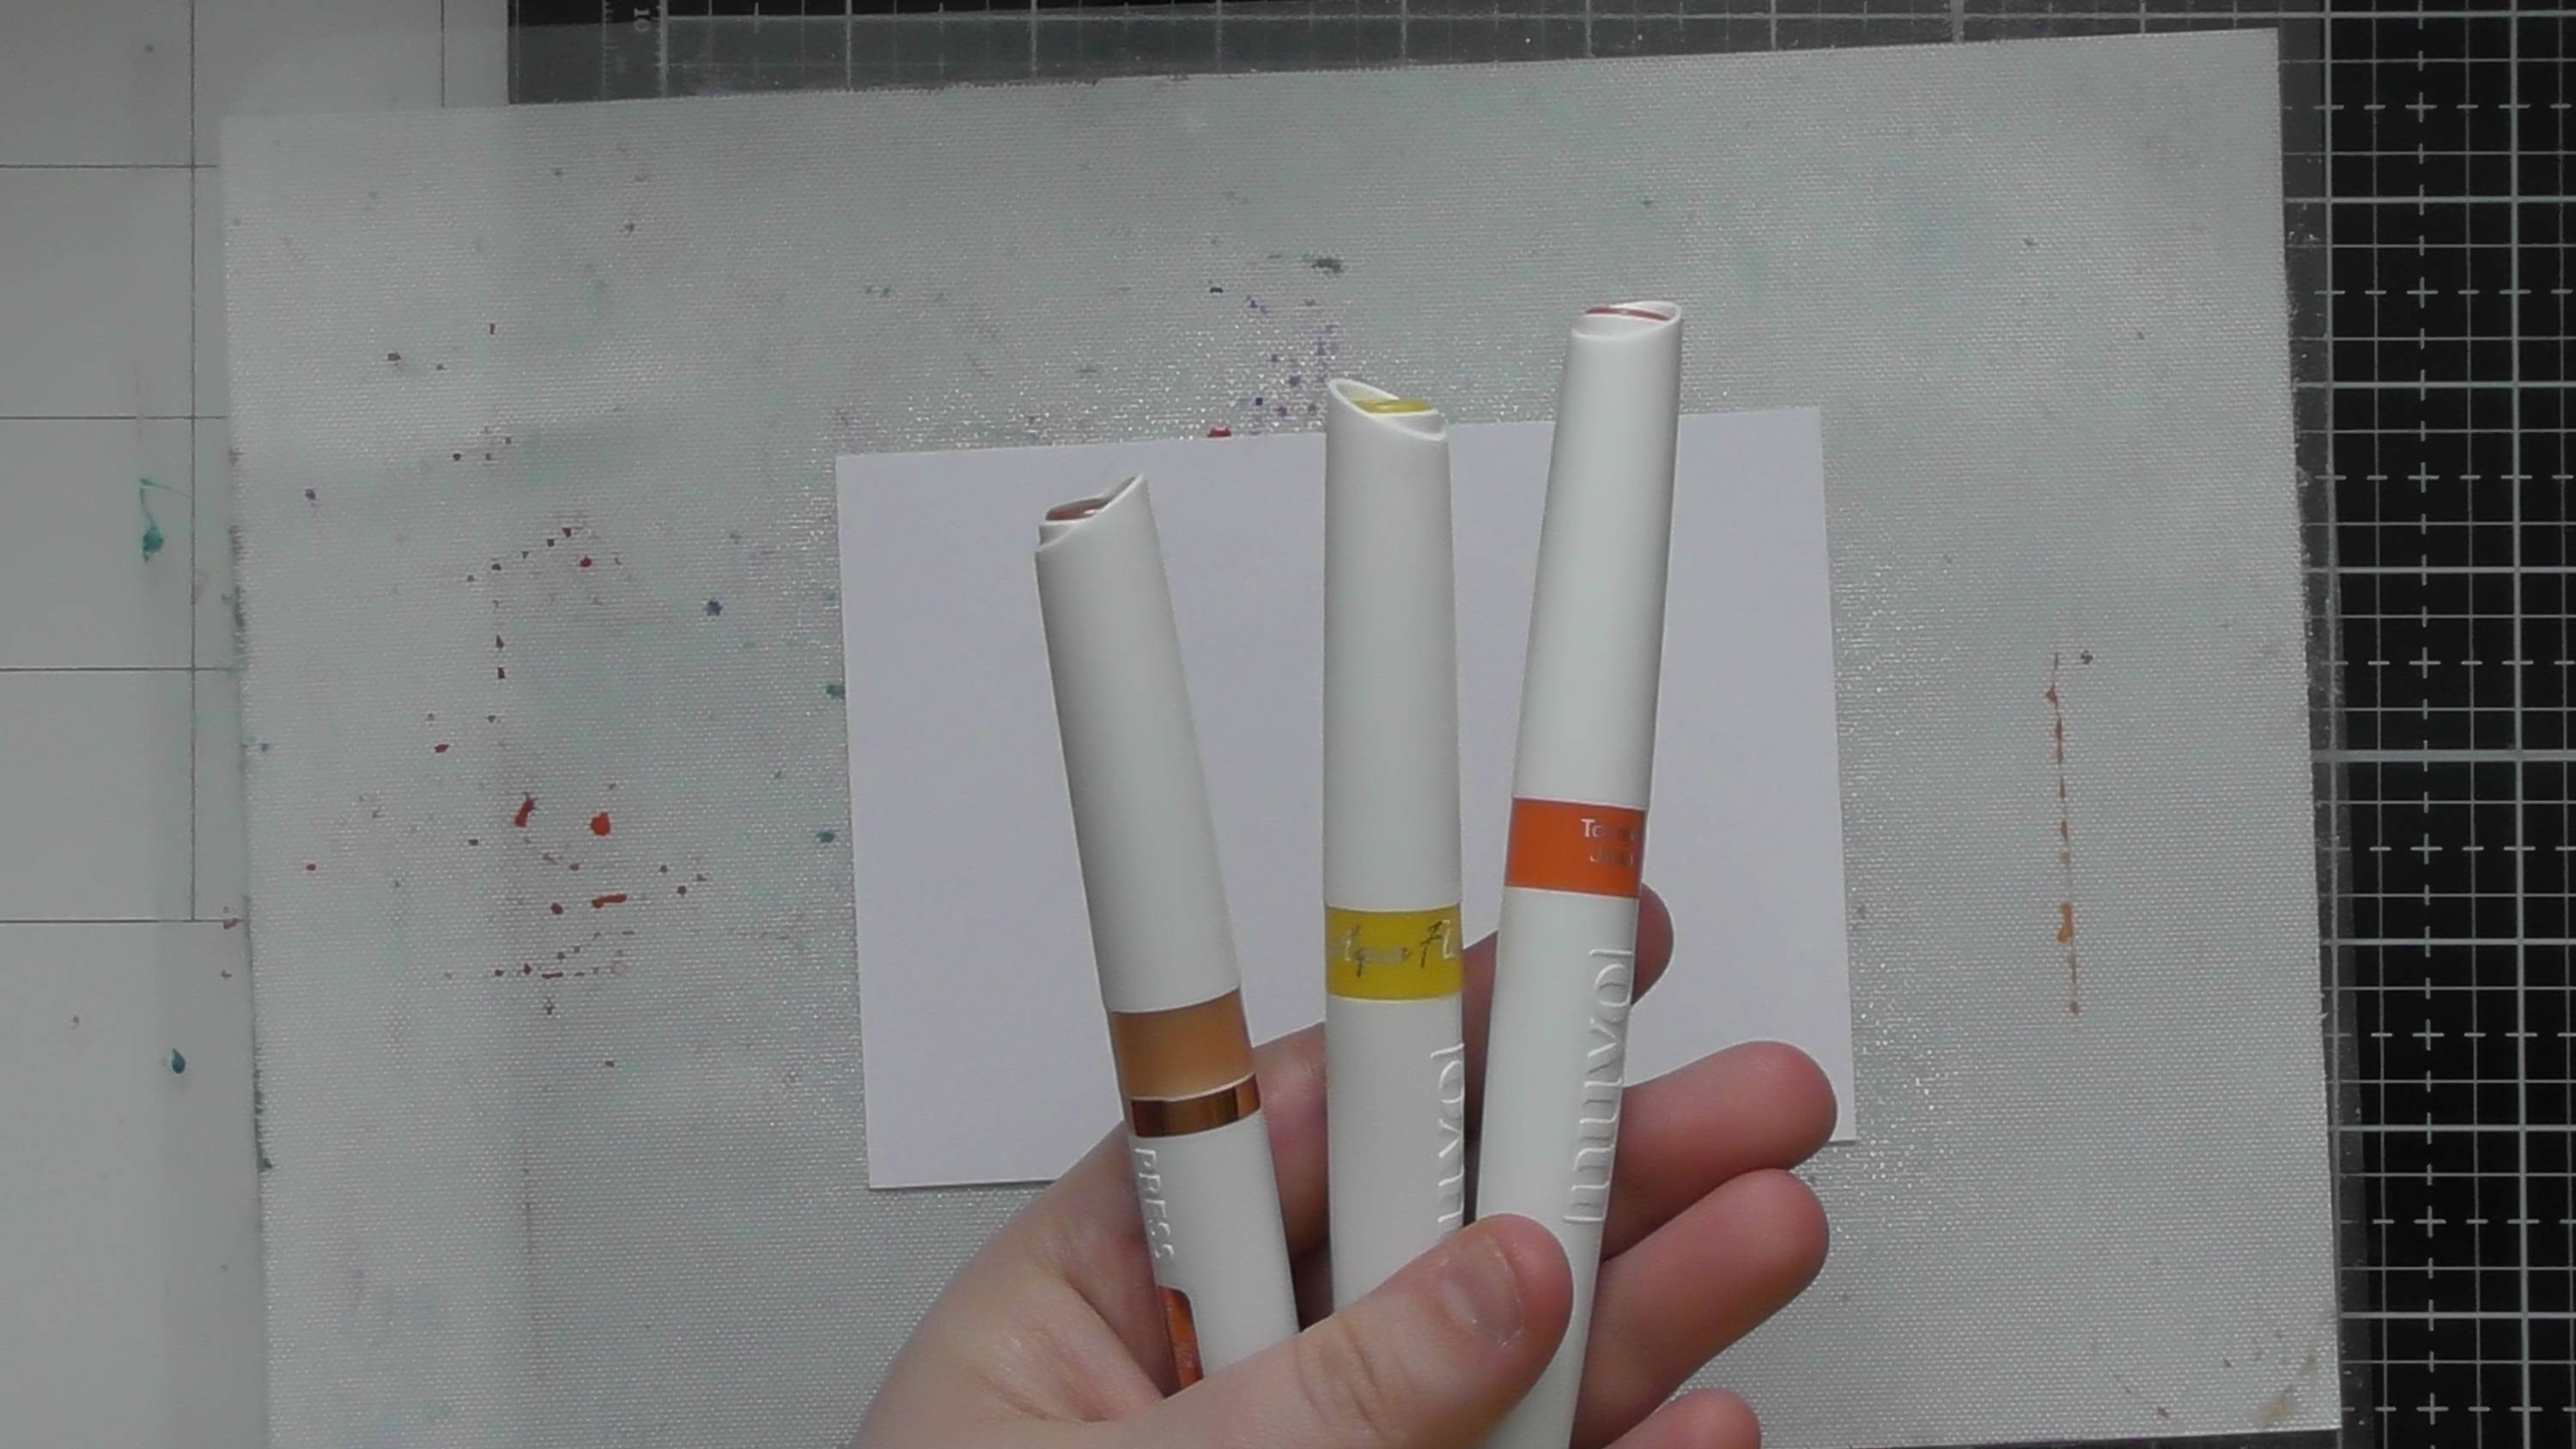
Choose your aqua flows again, and an aqua shimmer too, but for this background we’re going directly onto the card, so we’re skipping the glitter marker this time
Step 2
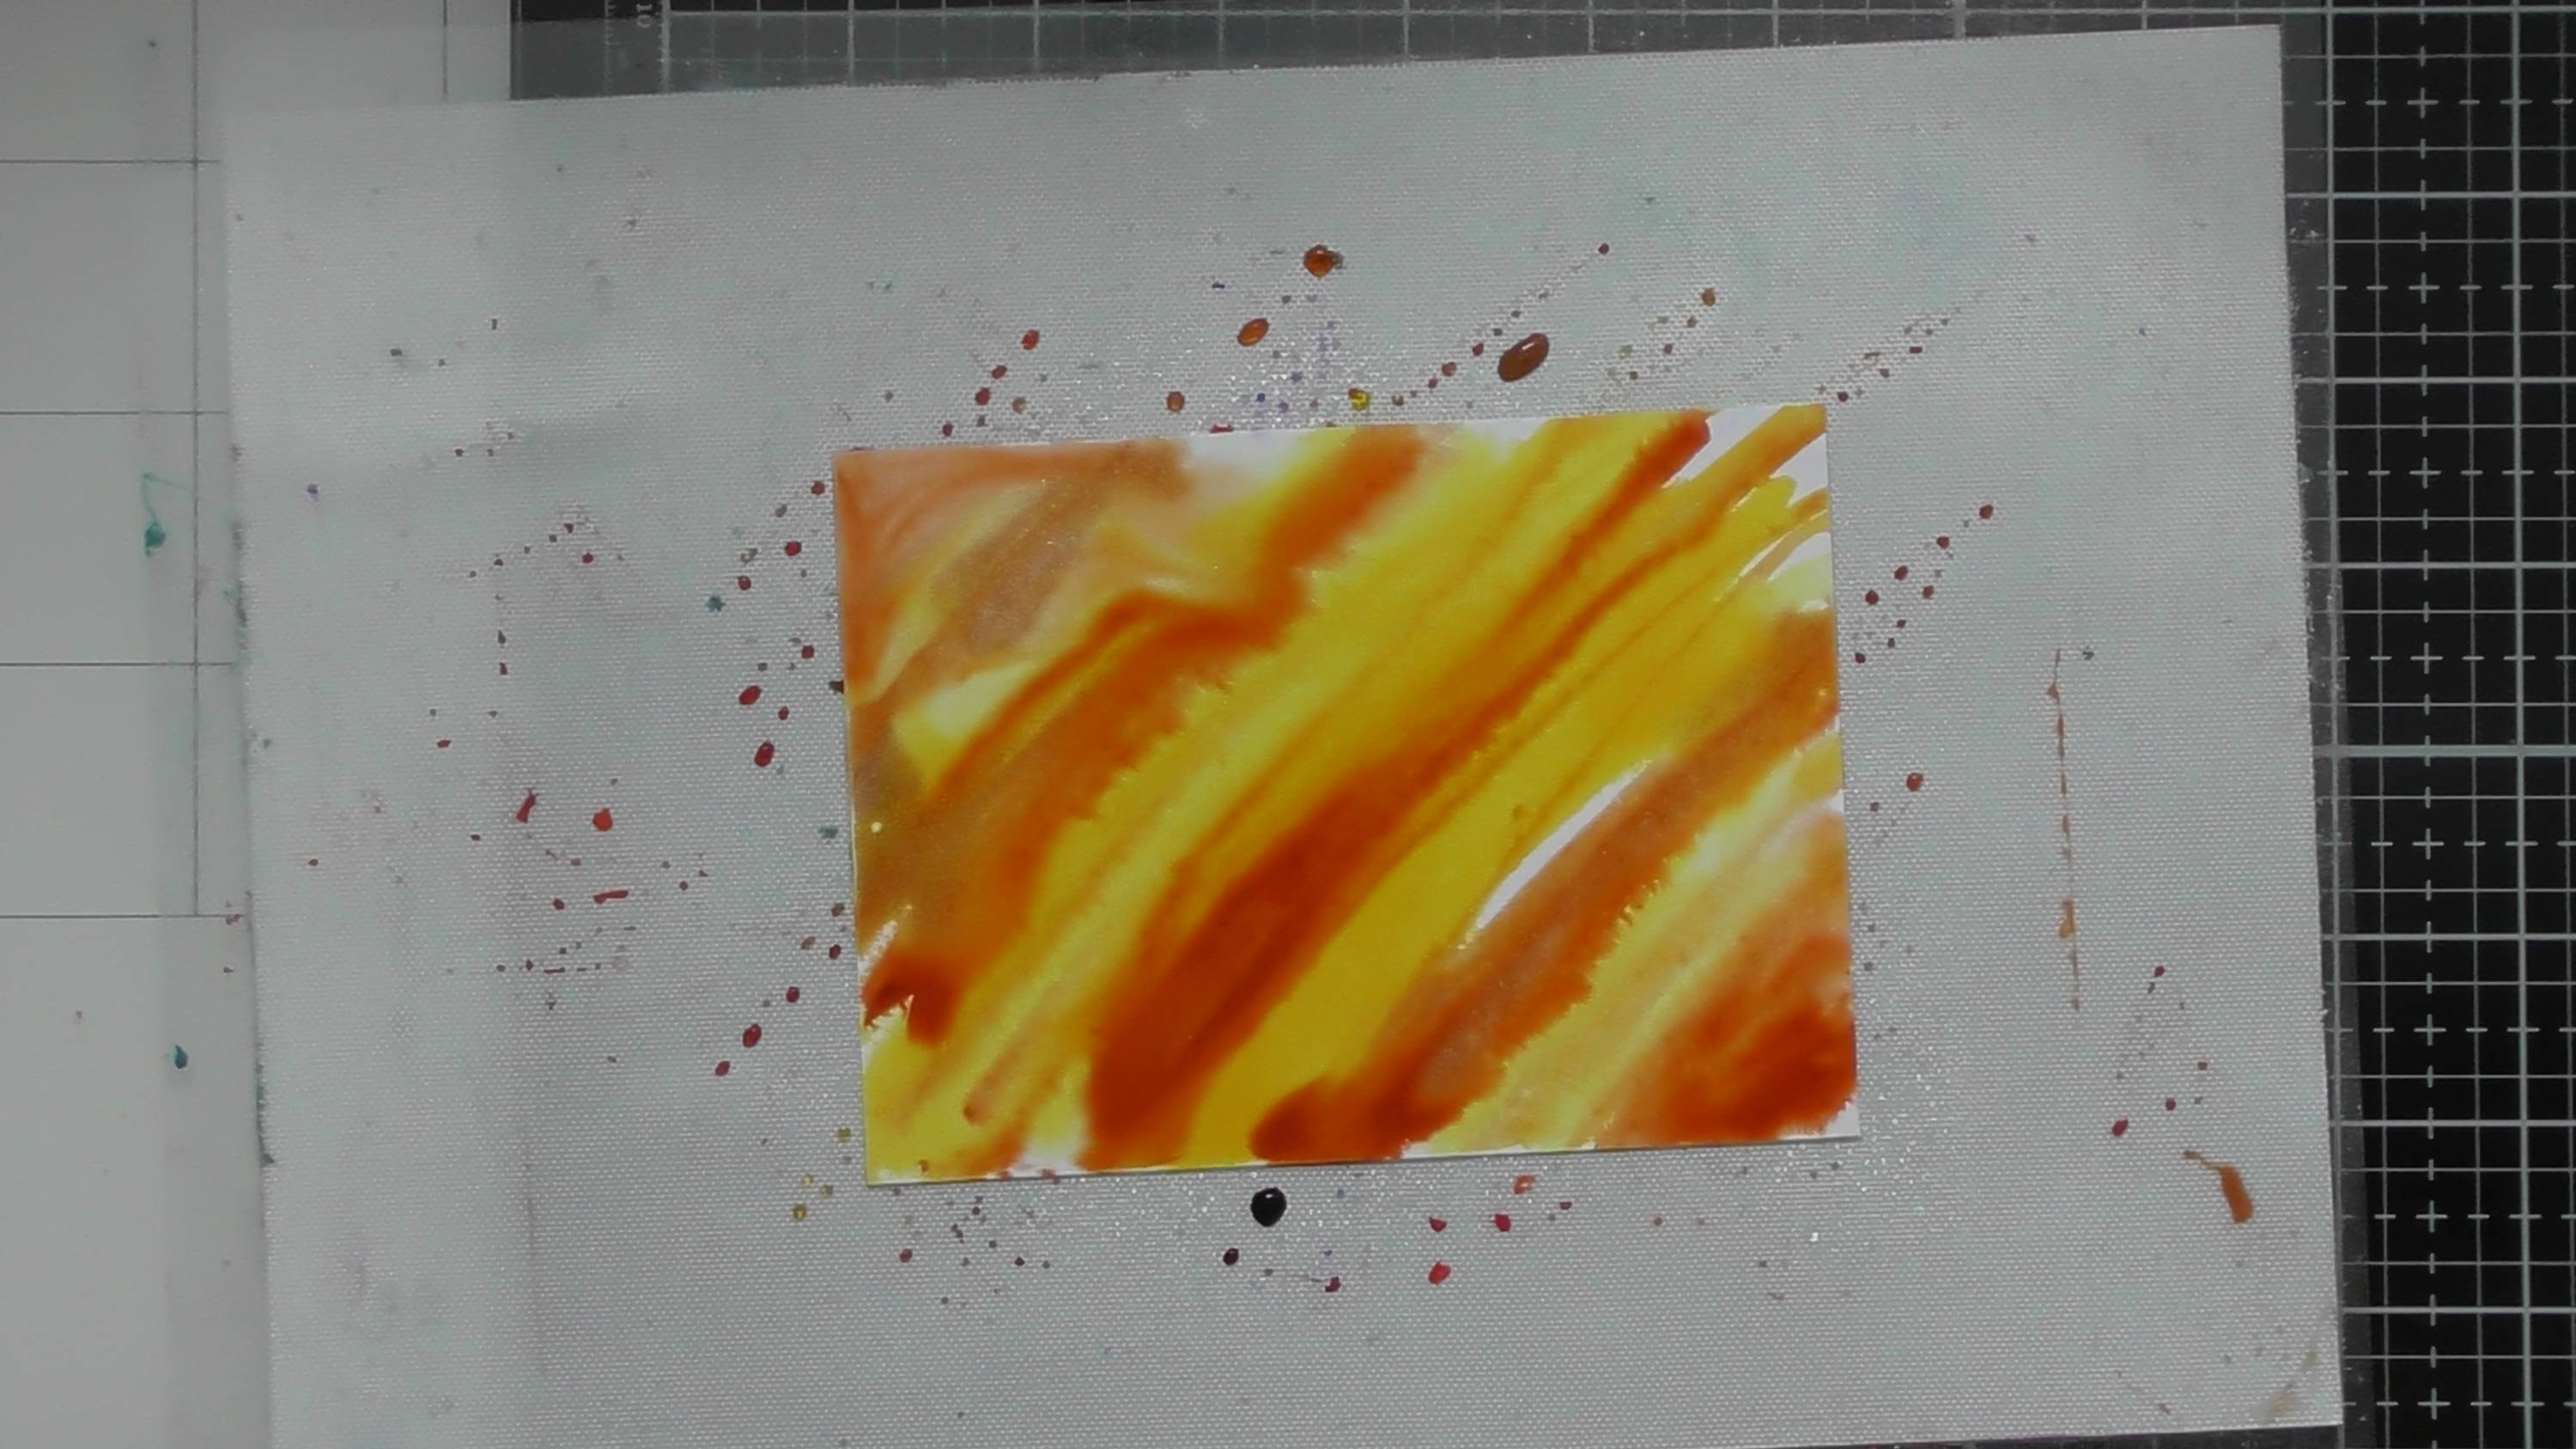
Make sure your aqua flows are nice a juicy by gently squeezing the barrels, then apply them in a diagonal fashion to your piece of white card.
Step 3
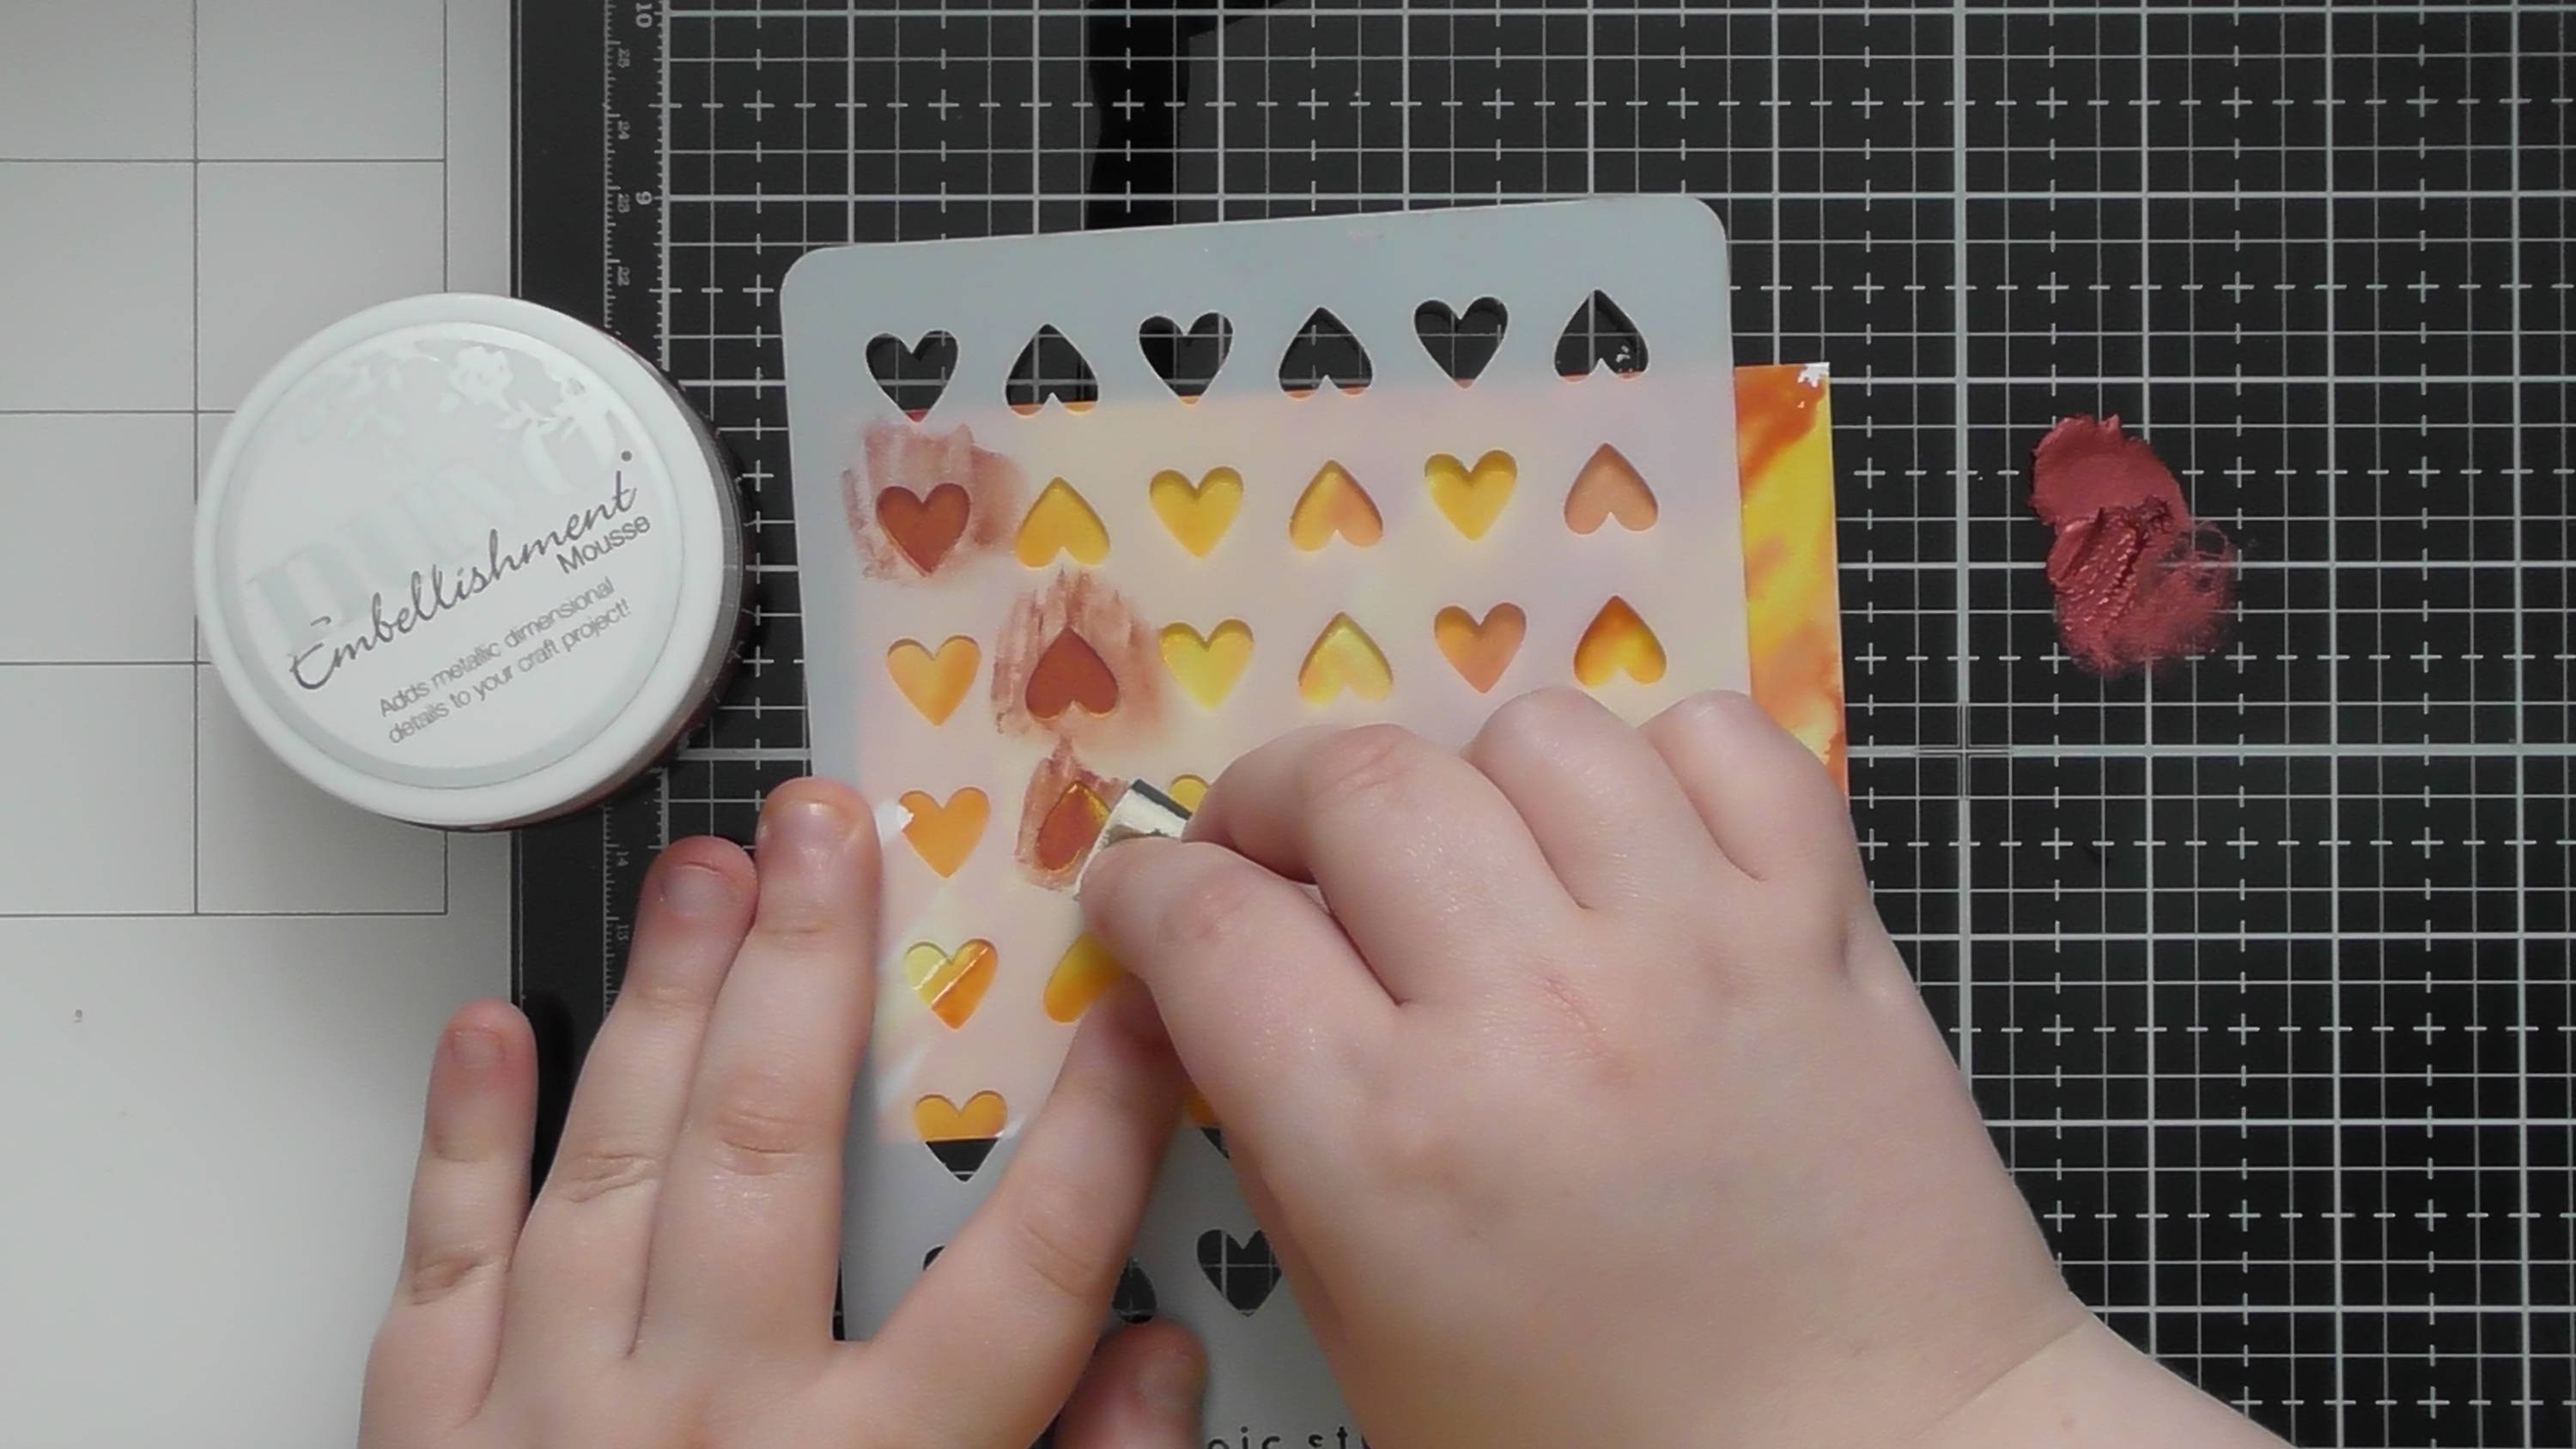
This time we’re stencilling with an old classic, the Nuvo Embellishment Mousse! You can apply Nuvo Mousse in a 3D fashion, but for this background we’re using an old piece of sponge and applying it thinly through the stencil
Step 4
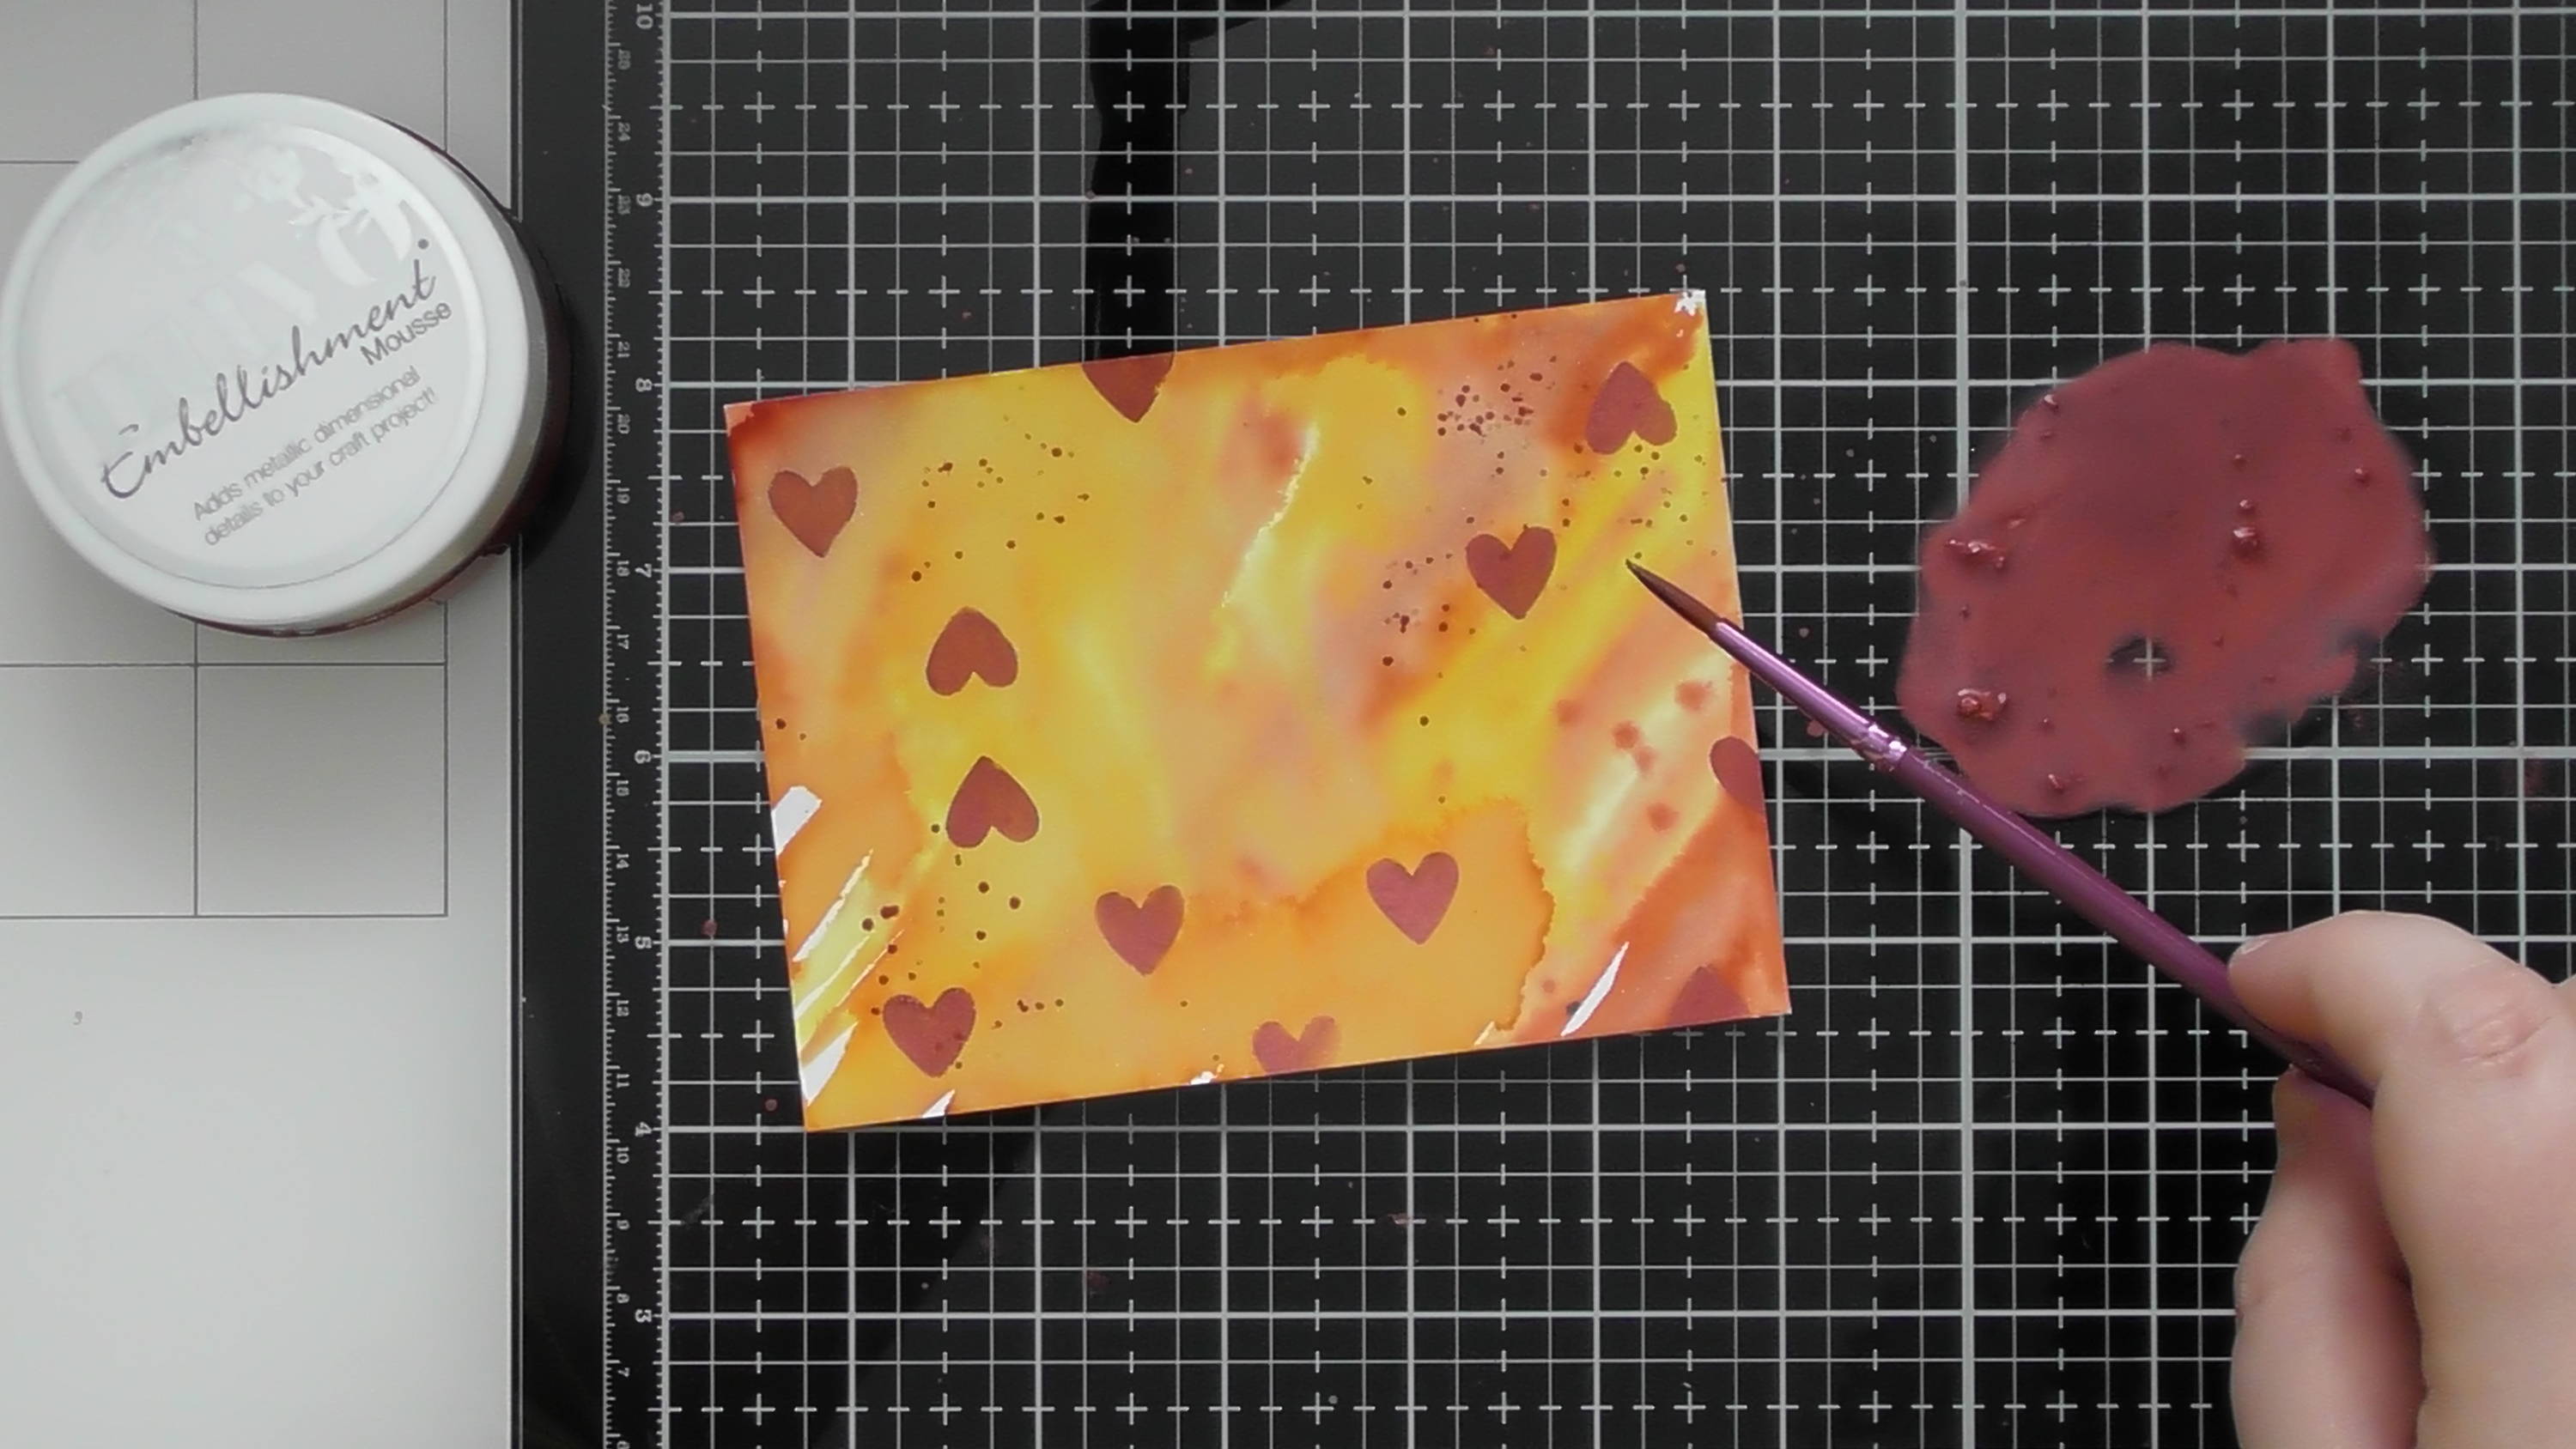
And again if you have excess product, add a little water, mix it up and splatter on with a paint brush.
Step 5
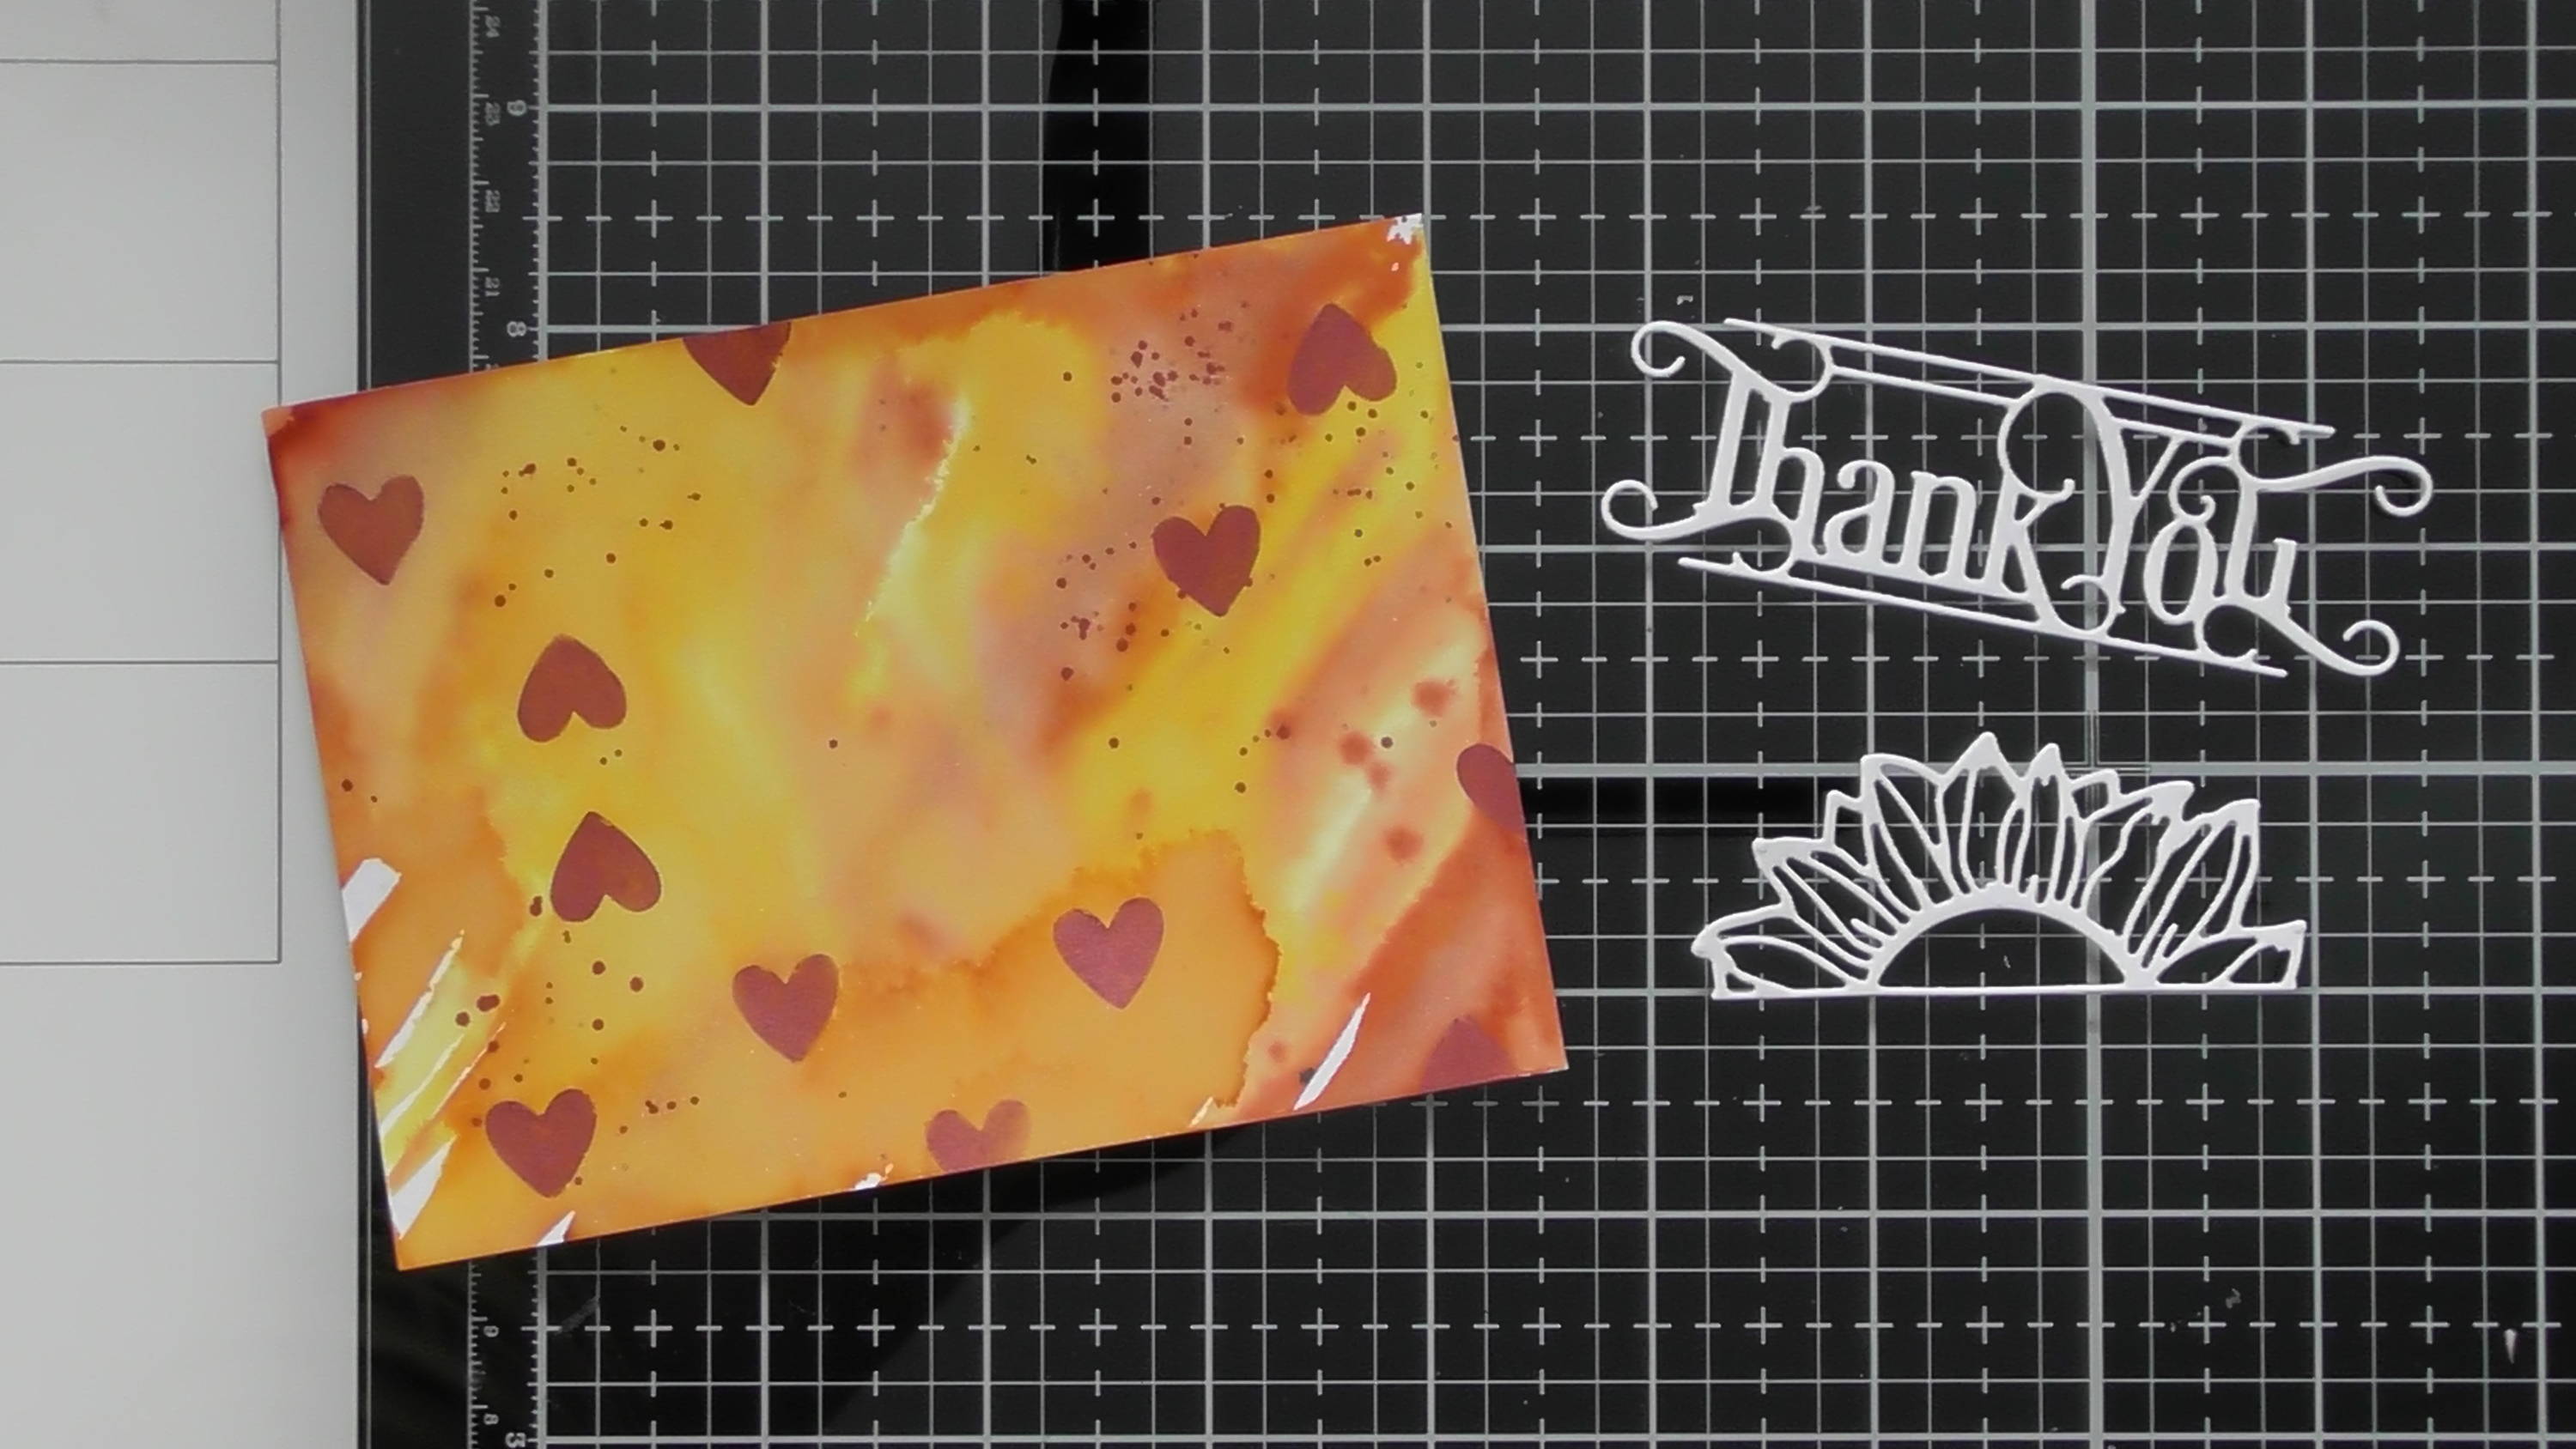
It’s time to choose your dies again, I wanted to do this card in a landscape orientation, so I chose one sentiment and one floral for this one
Step 6
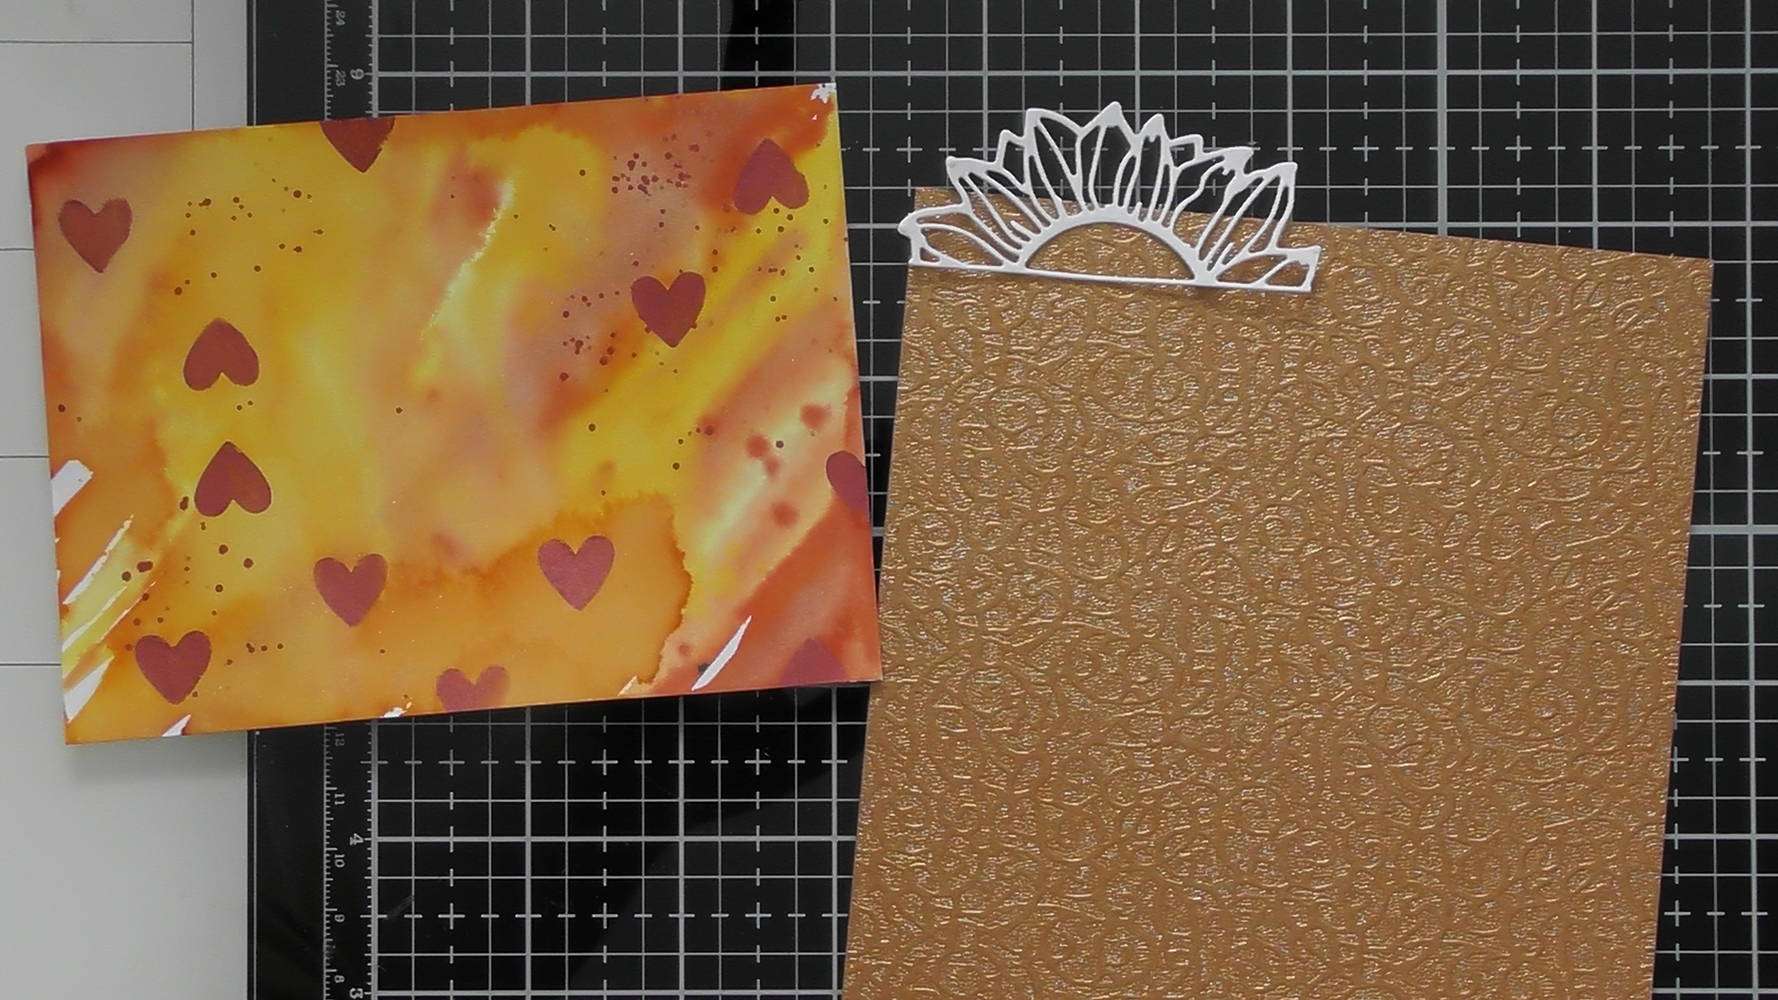
and I wanted the sunflower to have a solid middle so I also backed it with some luxury card too.
Step 7
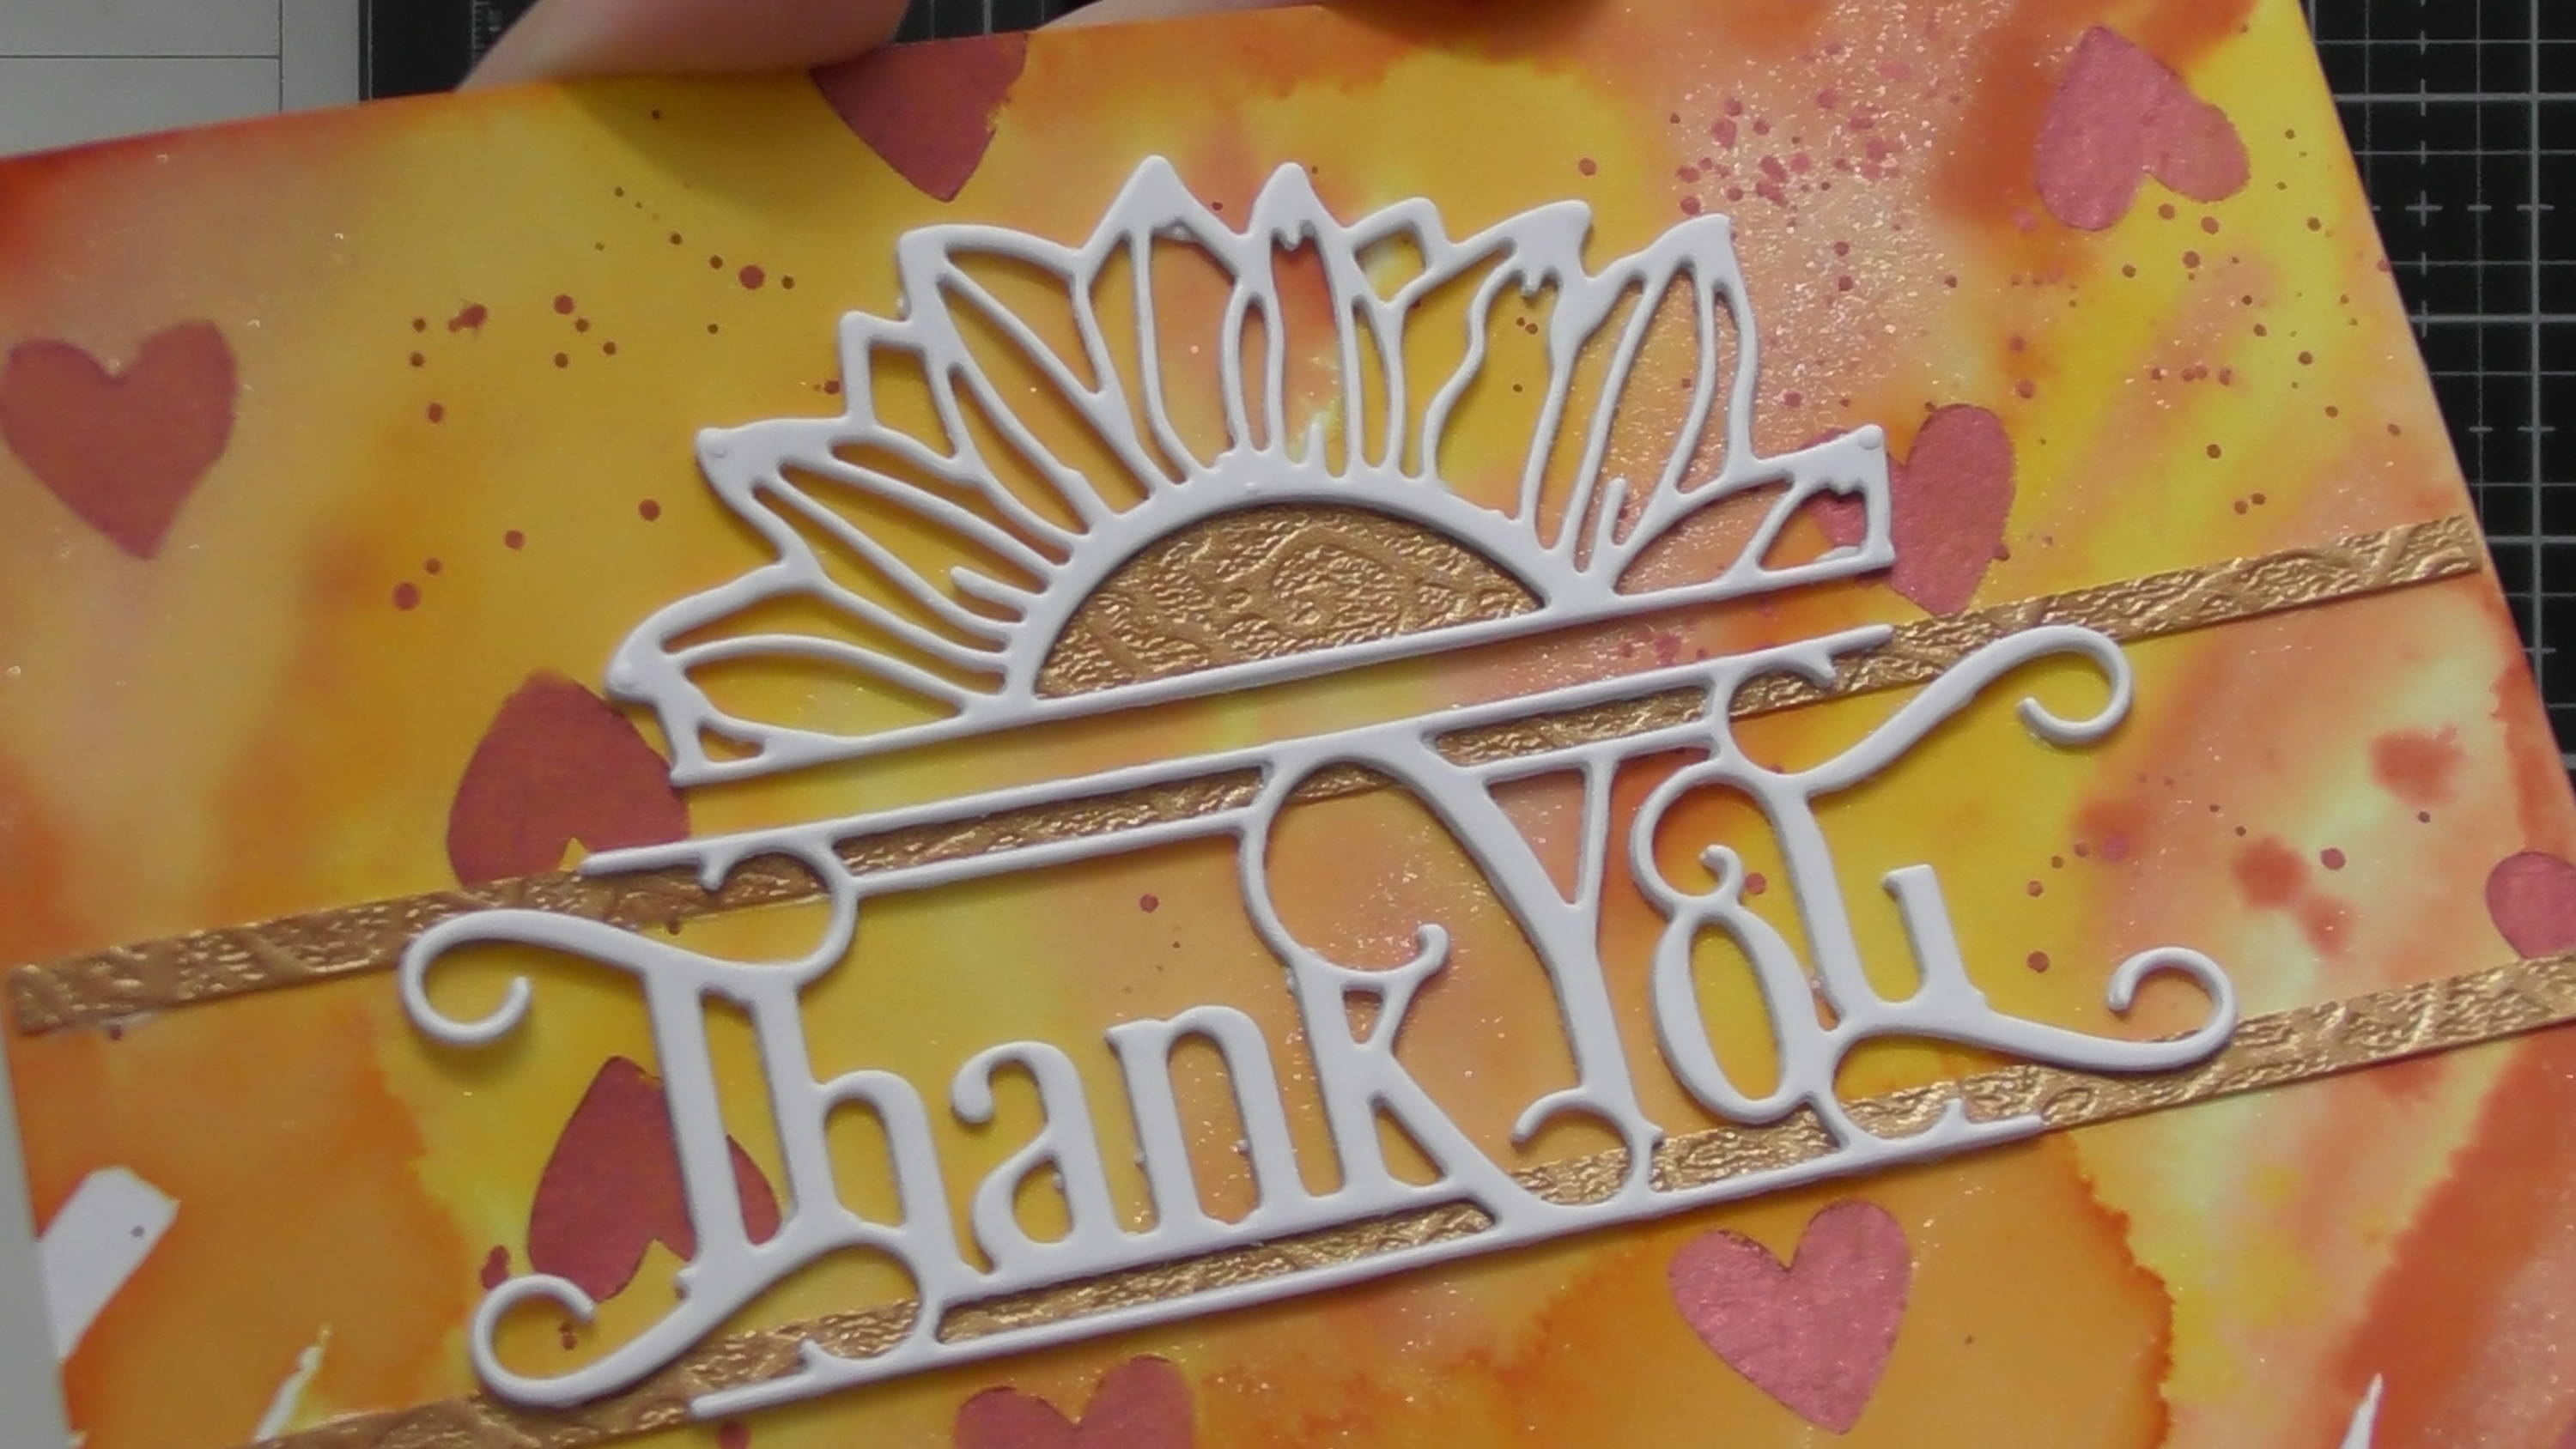
Then simply add your die-cuts to your background, as the luxury card was only in one place on this card, I decided to add a couple of thin strips of the card above and below the sentiment too
Step 8
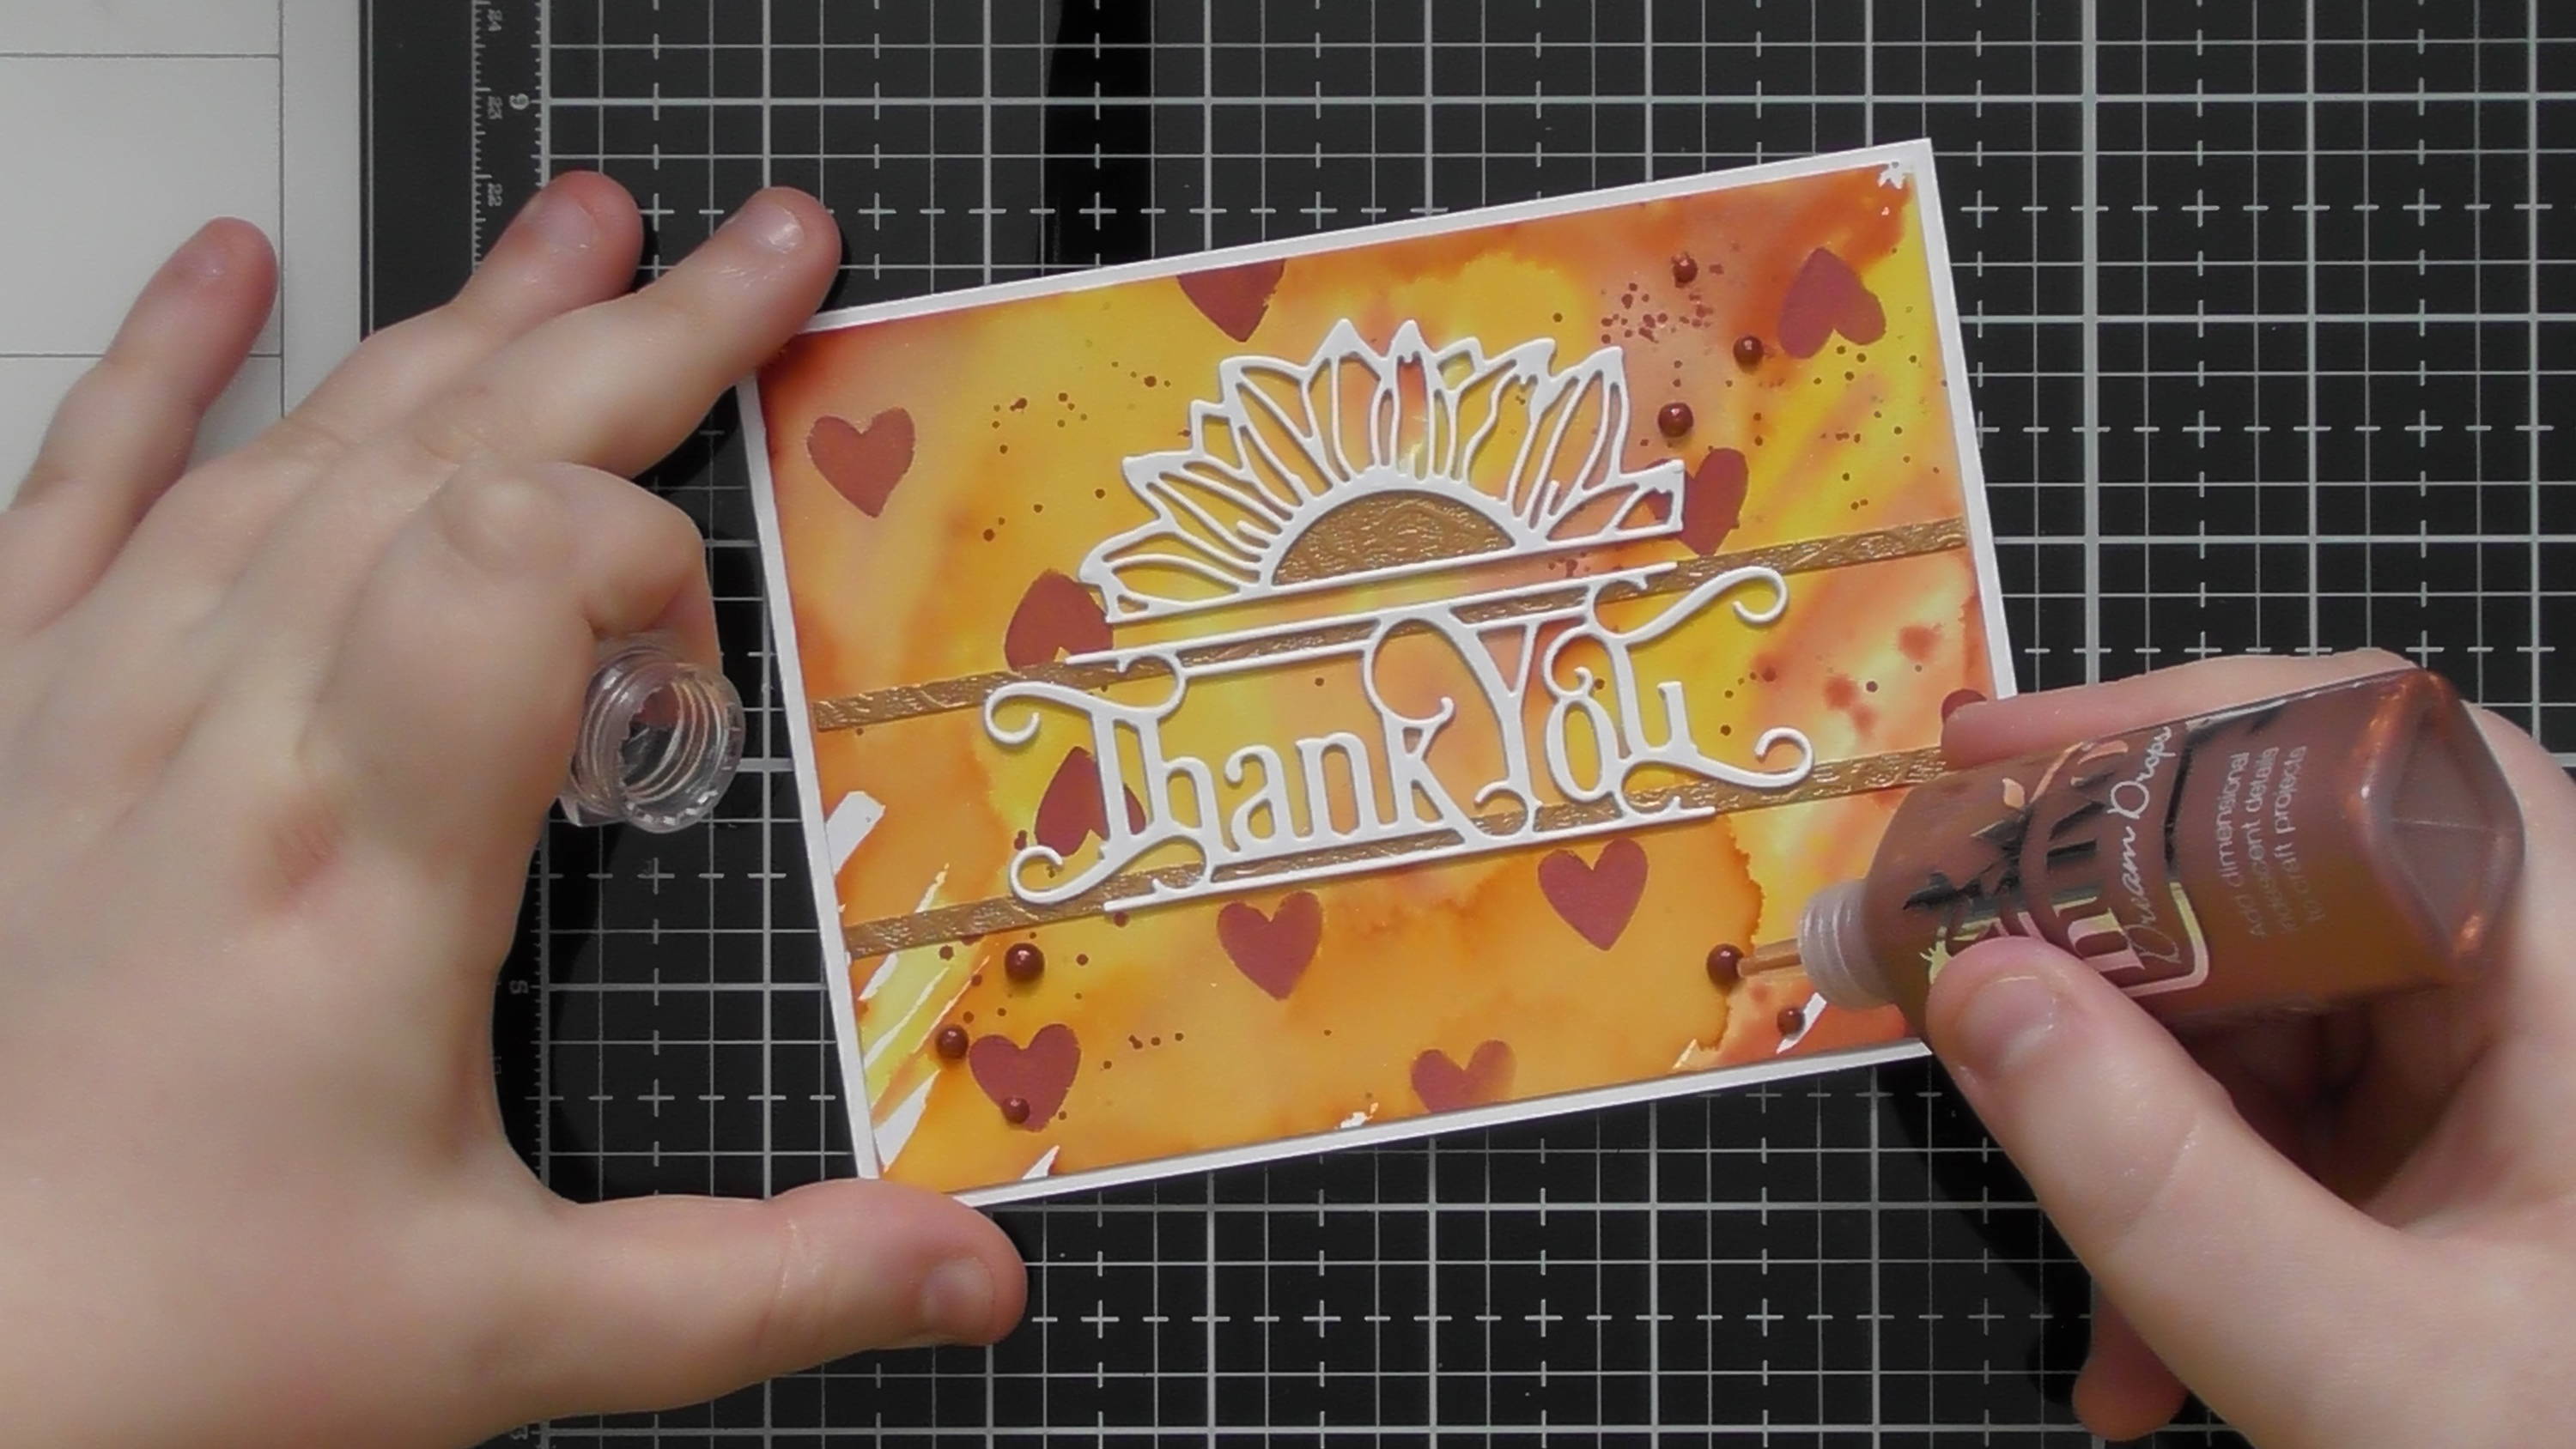
then for a final touch, pick a coordinating Nuvo drop, and add a few little drop accents.
And here you have the 2 finished cards, just using these fab dies on top of an inky background really makes an impact and it a great way to use up your experimental backgrounds too! So have fun playing with all your Nuvo goodies! :D Christine
Buy The Craft Project
