


This is a fab large die set with 2 A4 sheets covered in dies!
There are 56 dies in total!!
You can use them to create many variations and sizes of memory books but you can also use the dies to create cards and other projects.
In this Step by Step tutorial, I will show you how to make the basic book with the spine and some pages and I will also give you instructions how to make some pocket variations and a trifold page. You can then use these ideas to create your own pages.
What you will need
My Memory Book – Eternal Moments
Craft Perfect 300gsm Smooth White Card
Craft Perfect Coffee Cream Pearlescent Card
Craft Perfect Sage Roses Speciality Card
Craft Perfect Champagne Harlequin Speciality Card
Craft Perfect Golden Mosaic Speciality Card
Craft Perfect Sienna Treasure Speciality Card
Nuvo Deluxe Adhesive
Give it a Twirl Kit flower die
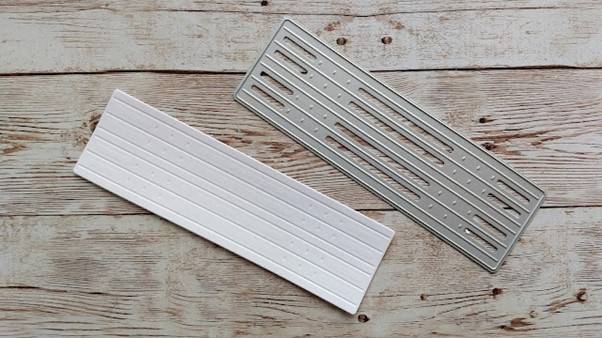
Step 1

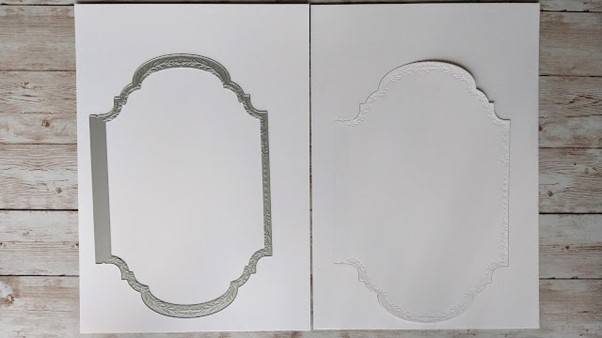
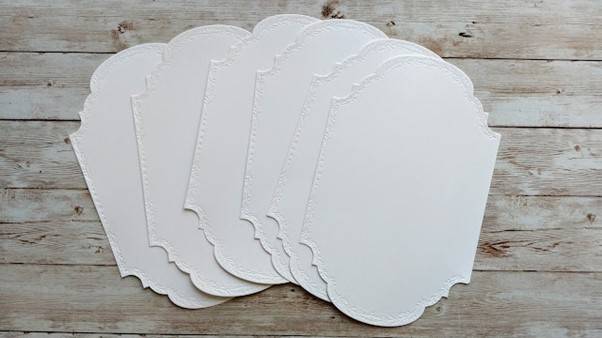
Tape the largest die which has one side with no cutting edge to A4 white card and die cut it 8 times. Cut out leaving some space at the side of the non cutting edge.
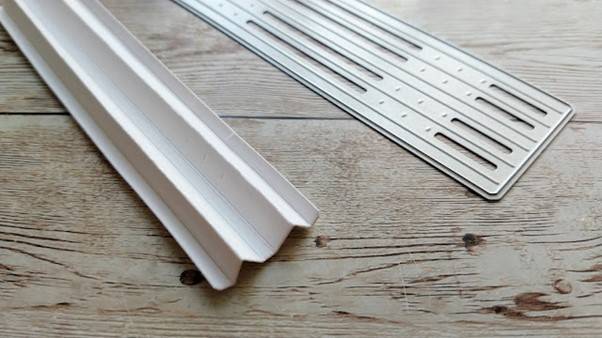
Step 2
Snip 2 of them from the card, leaving 2 cm attached to the non cutting edge. Score and fold from top to bottom notch.
Step 3
Trim the other six by cutting right down from the top notch to the bottom notch at the non cutting side.
Step 4
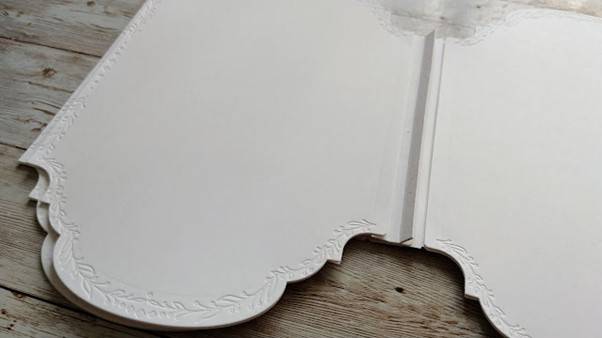
Die cut the spine die from white card.
Step 5
Score and fold as shown.
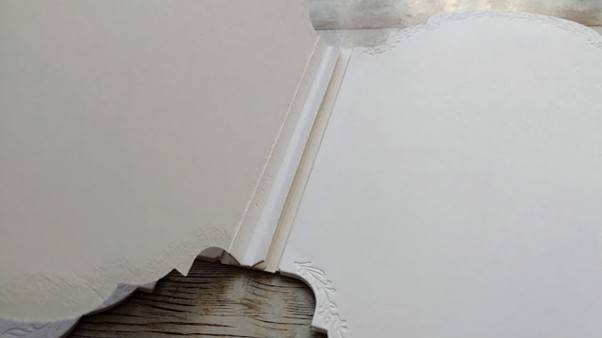
Step 6

Glue in between the two mountain folds.
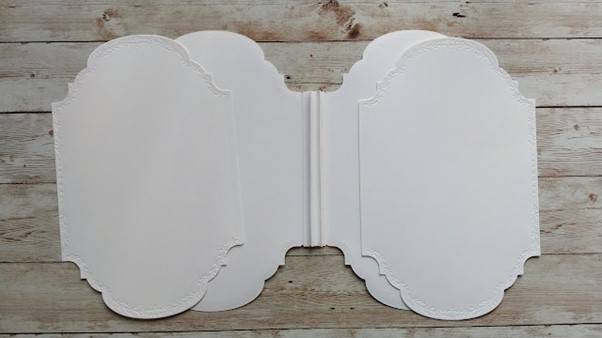
Step 7

Glue the two pieces with the 2cm strip at the sides together, with one glue flap overlapping the other to create the front and back cover of the book.
Step 8

Glue the spine into the centre of this overlapped 2cm area.
Step 9
Glue 2 of the remaining 6 pages onto the inside covers of the front and back of the book.
Step 10
Glue another of the pages to one side of the mountain folded spine.
Step 11
Then glue another to the other side, covering the folded spine and creating one double sided page.
Do exactly the same with the next page.
Step 12
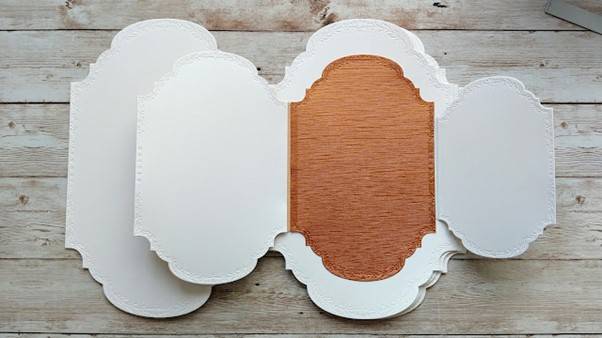
Use the large die with the dashed line around the edges to create die cuts to cover the insides of all the white pages.
Step 13

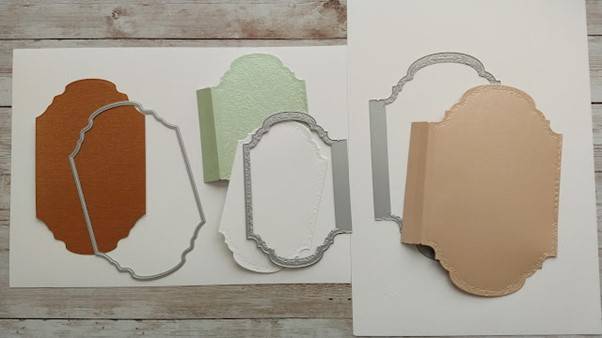
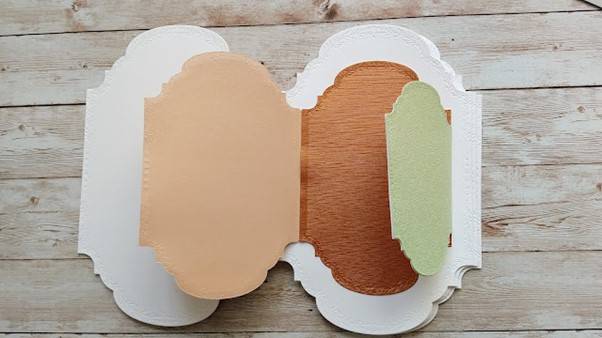
Using the large dies shown die cut the layers for the front cover from Coffee Cream card and Sage Roses card. Layer the Sage Roses card onto the Coffee Cream card and glue to the book front.
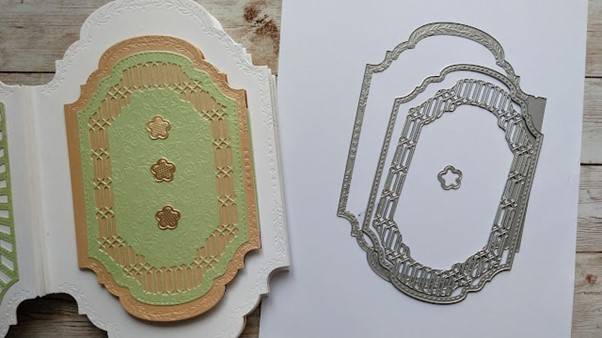
Step 14

Layer the next smallest dies in Sage Roses on top, and attach a heart, and the two debossed sentiments. The flowers are made with the rosette die from the "Give it a Twirl" kit.
In the next photos you can see which dies I have used to decorate each page


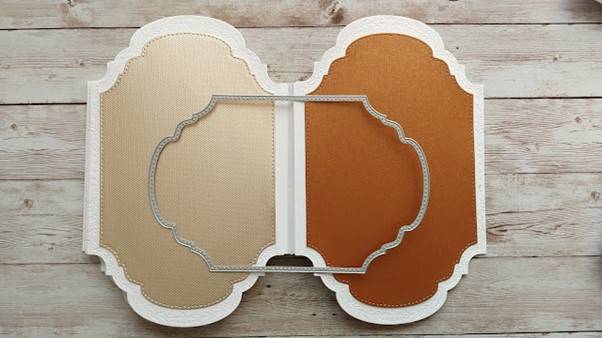
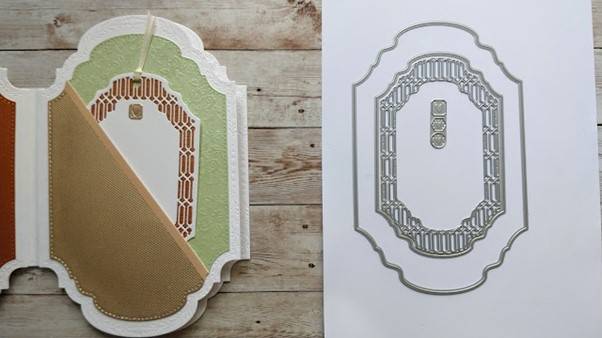
To make the trifold page:
Step 1
Die cut the shapes shown leaving a 2cm strip on the edges of the Coffee Cream and Sage Roses card.
Step 2
Glue the tabs in place and then glue the Sienna Treasure card over the tabs.
Step 3
Cover the insides of the left and right pages with white die cuts.
To create the shaped pocket:
Dies use for the shaped pockets

Step 1

Die cut the shape shown and cut in half across the die cut. Add a trim across the top and glue to the page, leaving the top open.
To make the slanted pocket:
Dies use for the slanted pockets
Step 2
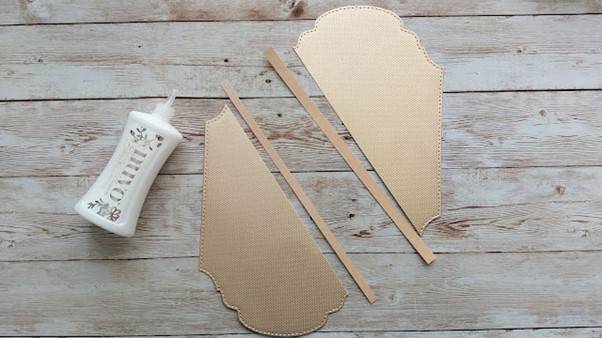
Die cut the large shape from Golden Mosaic card and cut from point to point as shown to create 2 halves (ie 2 pockets) Cut narrow strips of matching card and glue along the top to strengthen the opening part of the pocket.
I have also created 2 other types of books with the same die set and you can watch how I made them in my video here
Thanks so much for visiting :)
Buy The Craft Project
