


I adore the versatility of the Crystal Containers! There are so many different options for main shape (square, pentagon and hexagon) side heights and tops too! And Tonic have put all of the side panels into one big die set, so you can get the side panel set and pick a base shape (or get all 3 :D) and create a multitude of different boxes.
For this step by step I’ve chosen the simplest box that you can make to get you started. This one is the flat top square box with the medium height sides and I walk through all the steps of how to alter the sides to give you the flat tope versions :D You can also do decorative top versions, and for those, follow the steps up to Step 9, then use the side panels as they are to get that fancy top :D
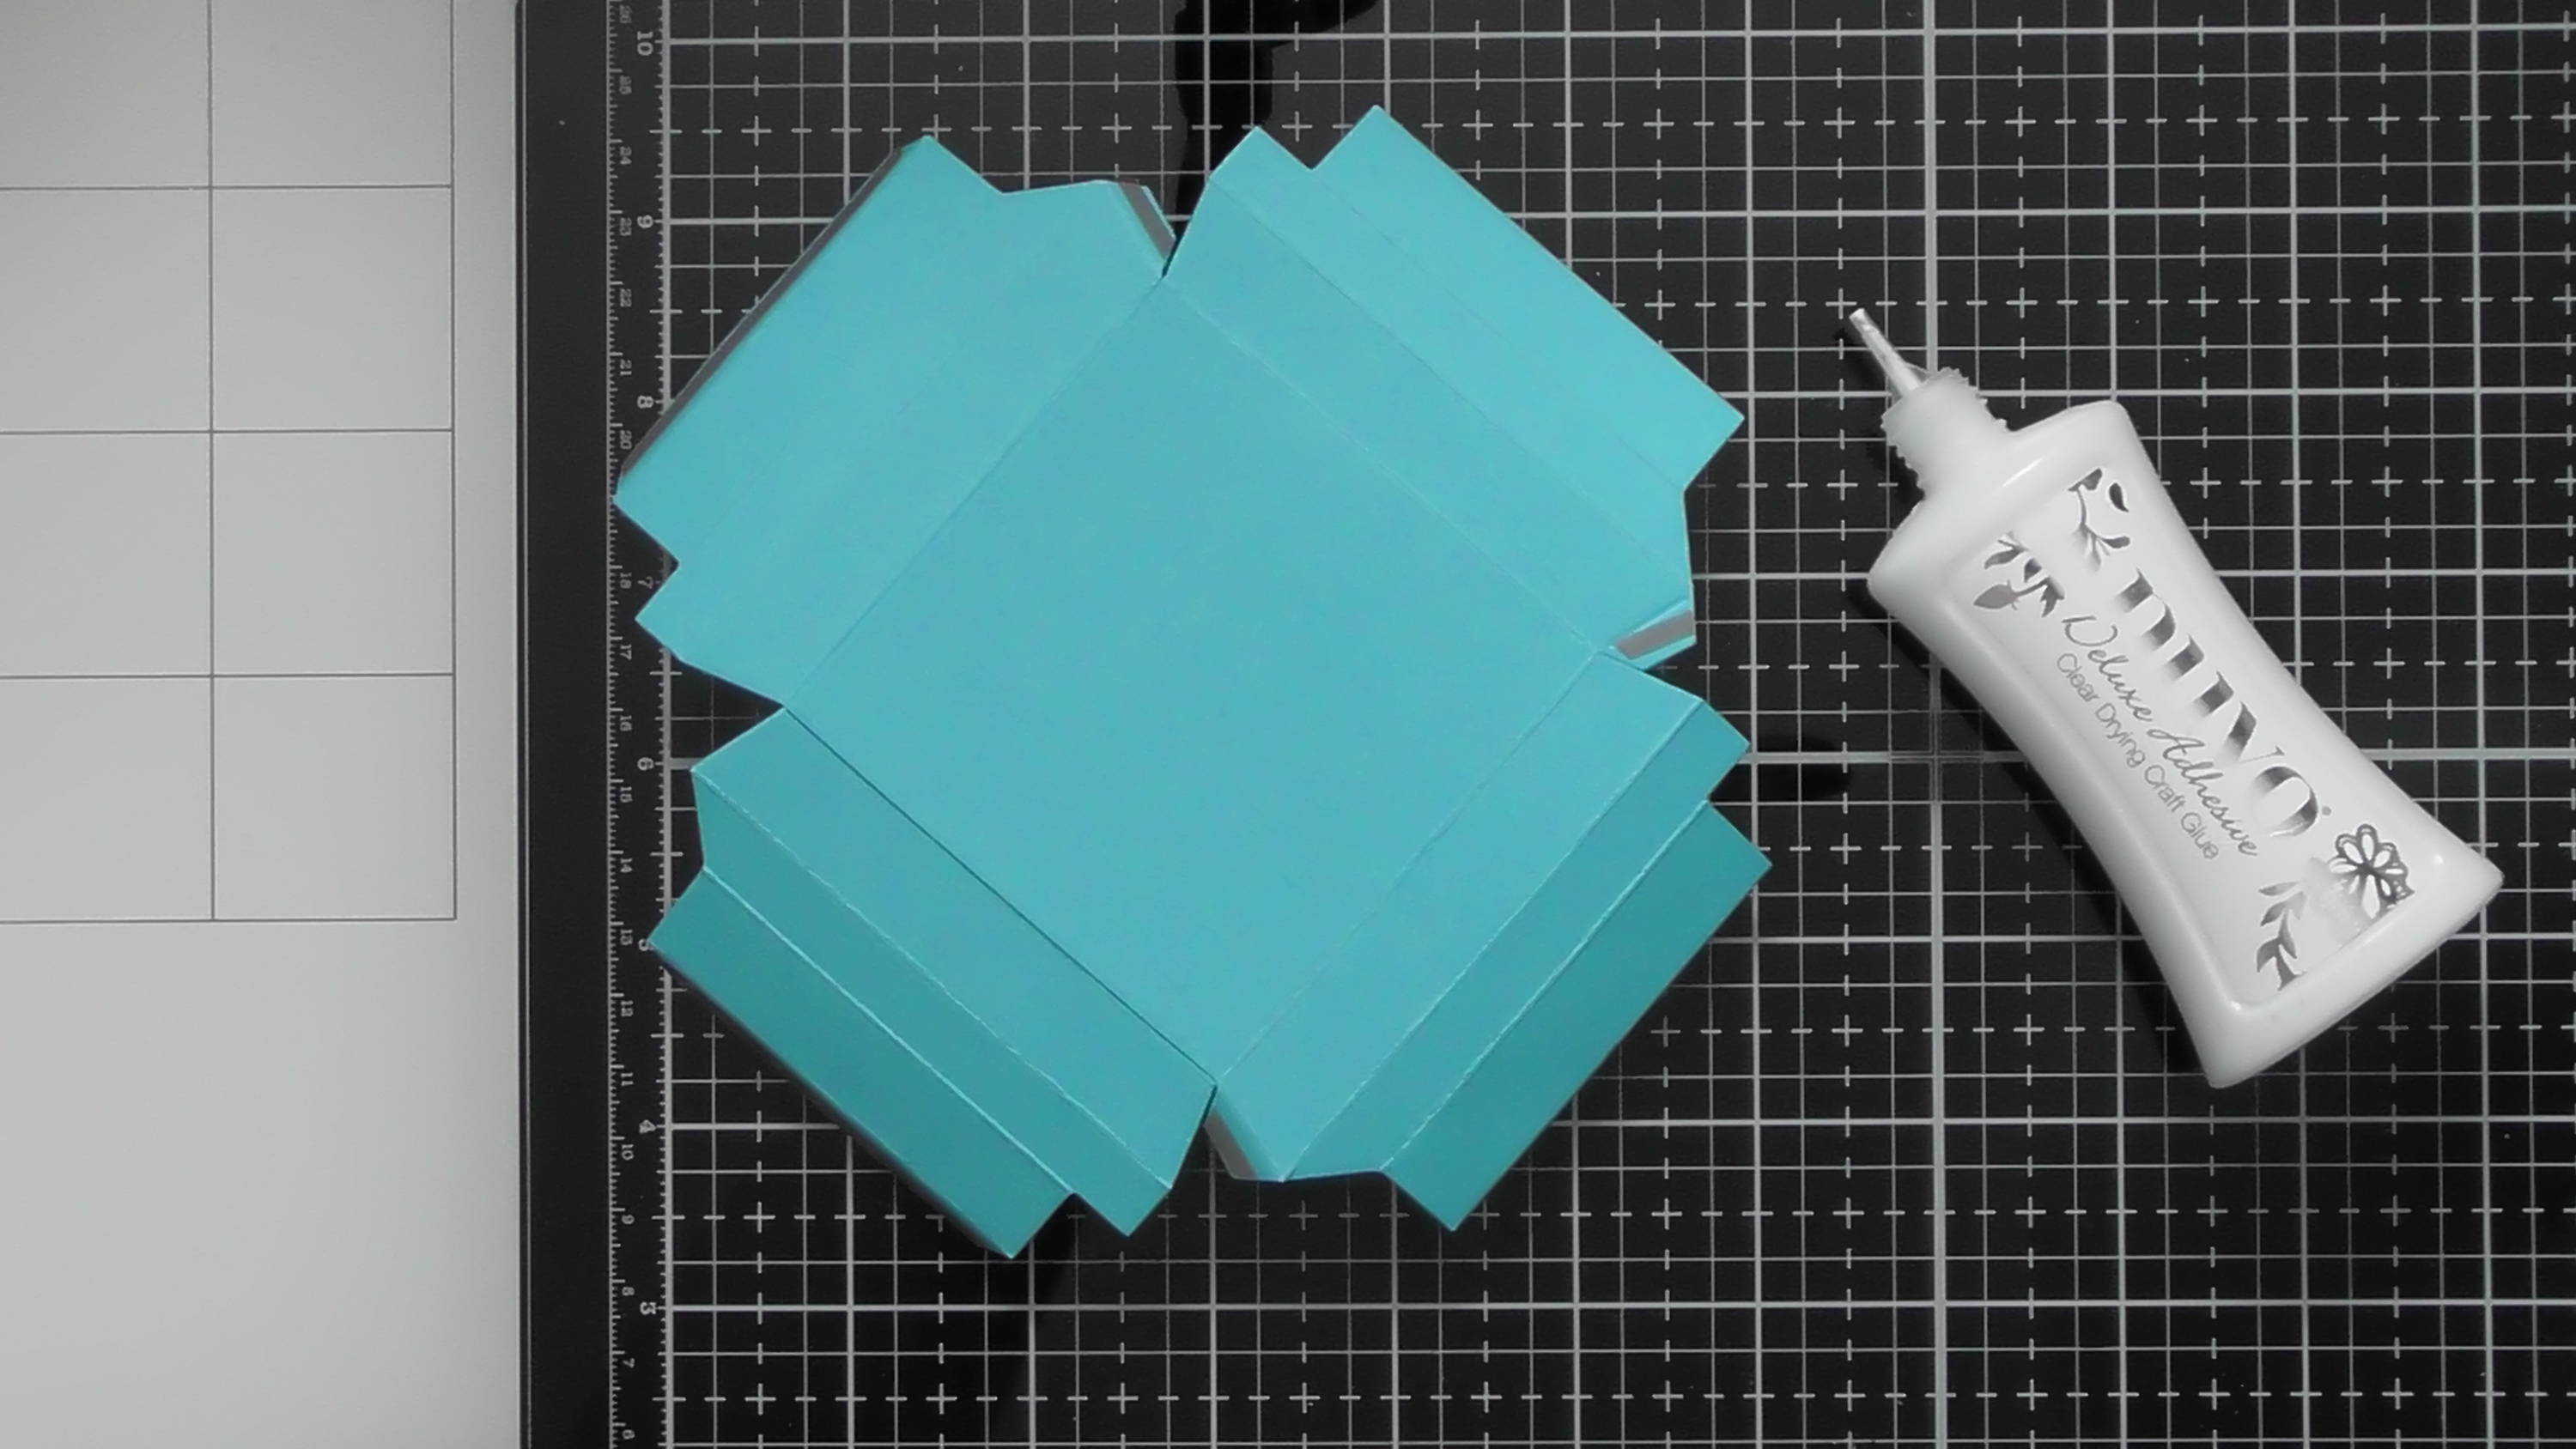
Step 1

Die-cut 2 of the base pieces and add tape as indicated in the photo.
Step 2
Twist one piece 180 degrees and stick the square pieces together to give you the main base piece as shown in the photo. You’ll also want to pre fold all of the score lines to make assembly easier.
Step 3
Begin adhering the base together, sticking the 4 small tabs as shown.
Step 4
Your piece will now look like this, and because we pre-folded the score lines you can see how it wants to come together.
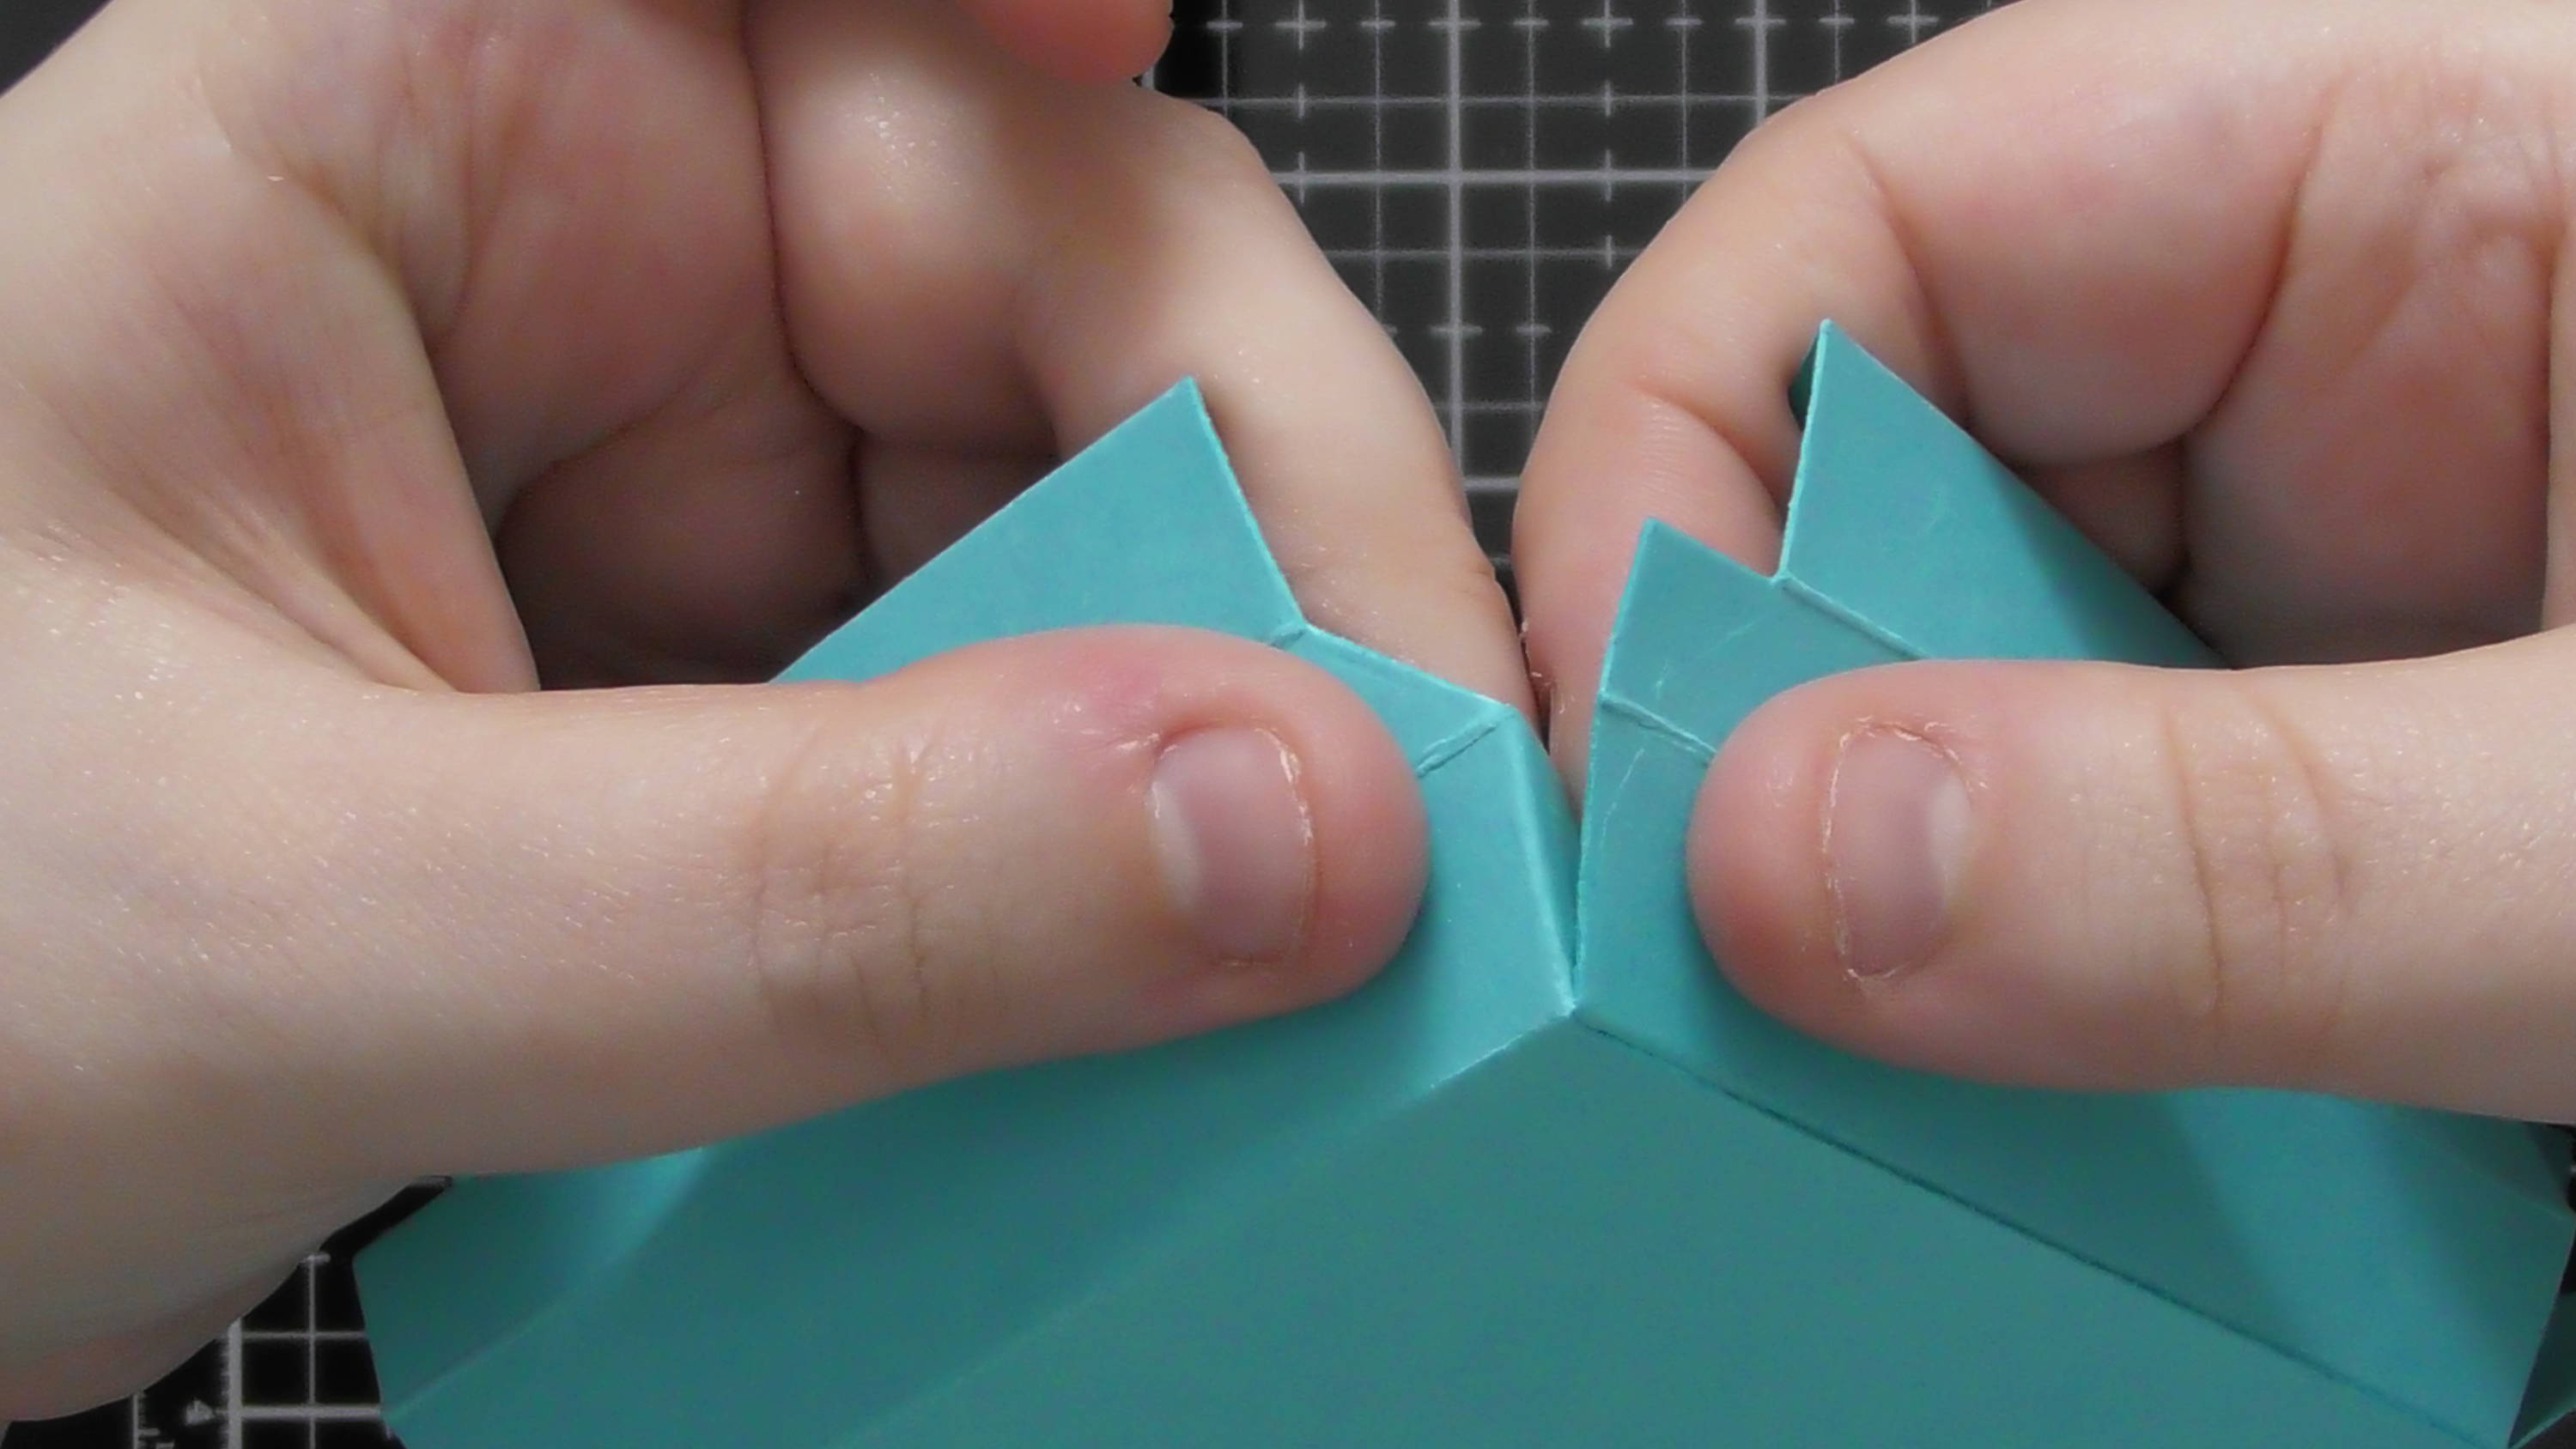
Step 5
Take off the backing for the tape and fold one side in at a time as shown.
Step 6
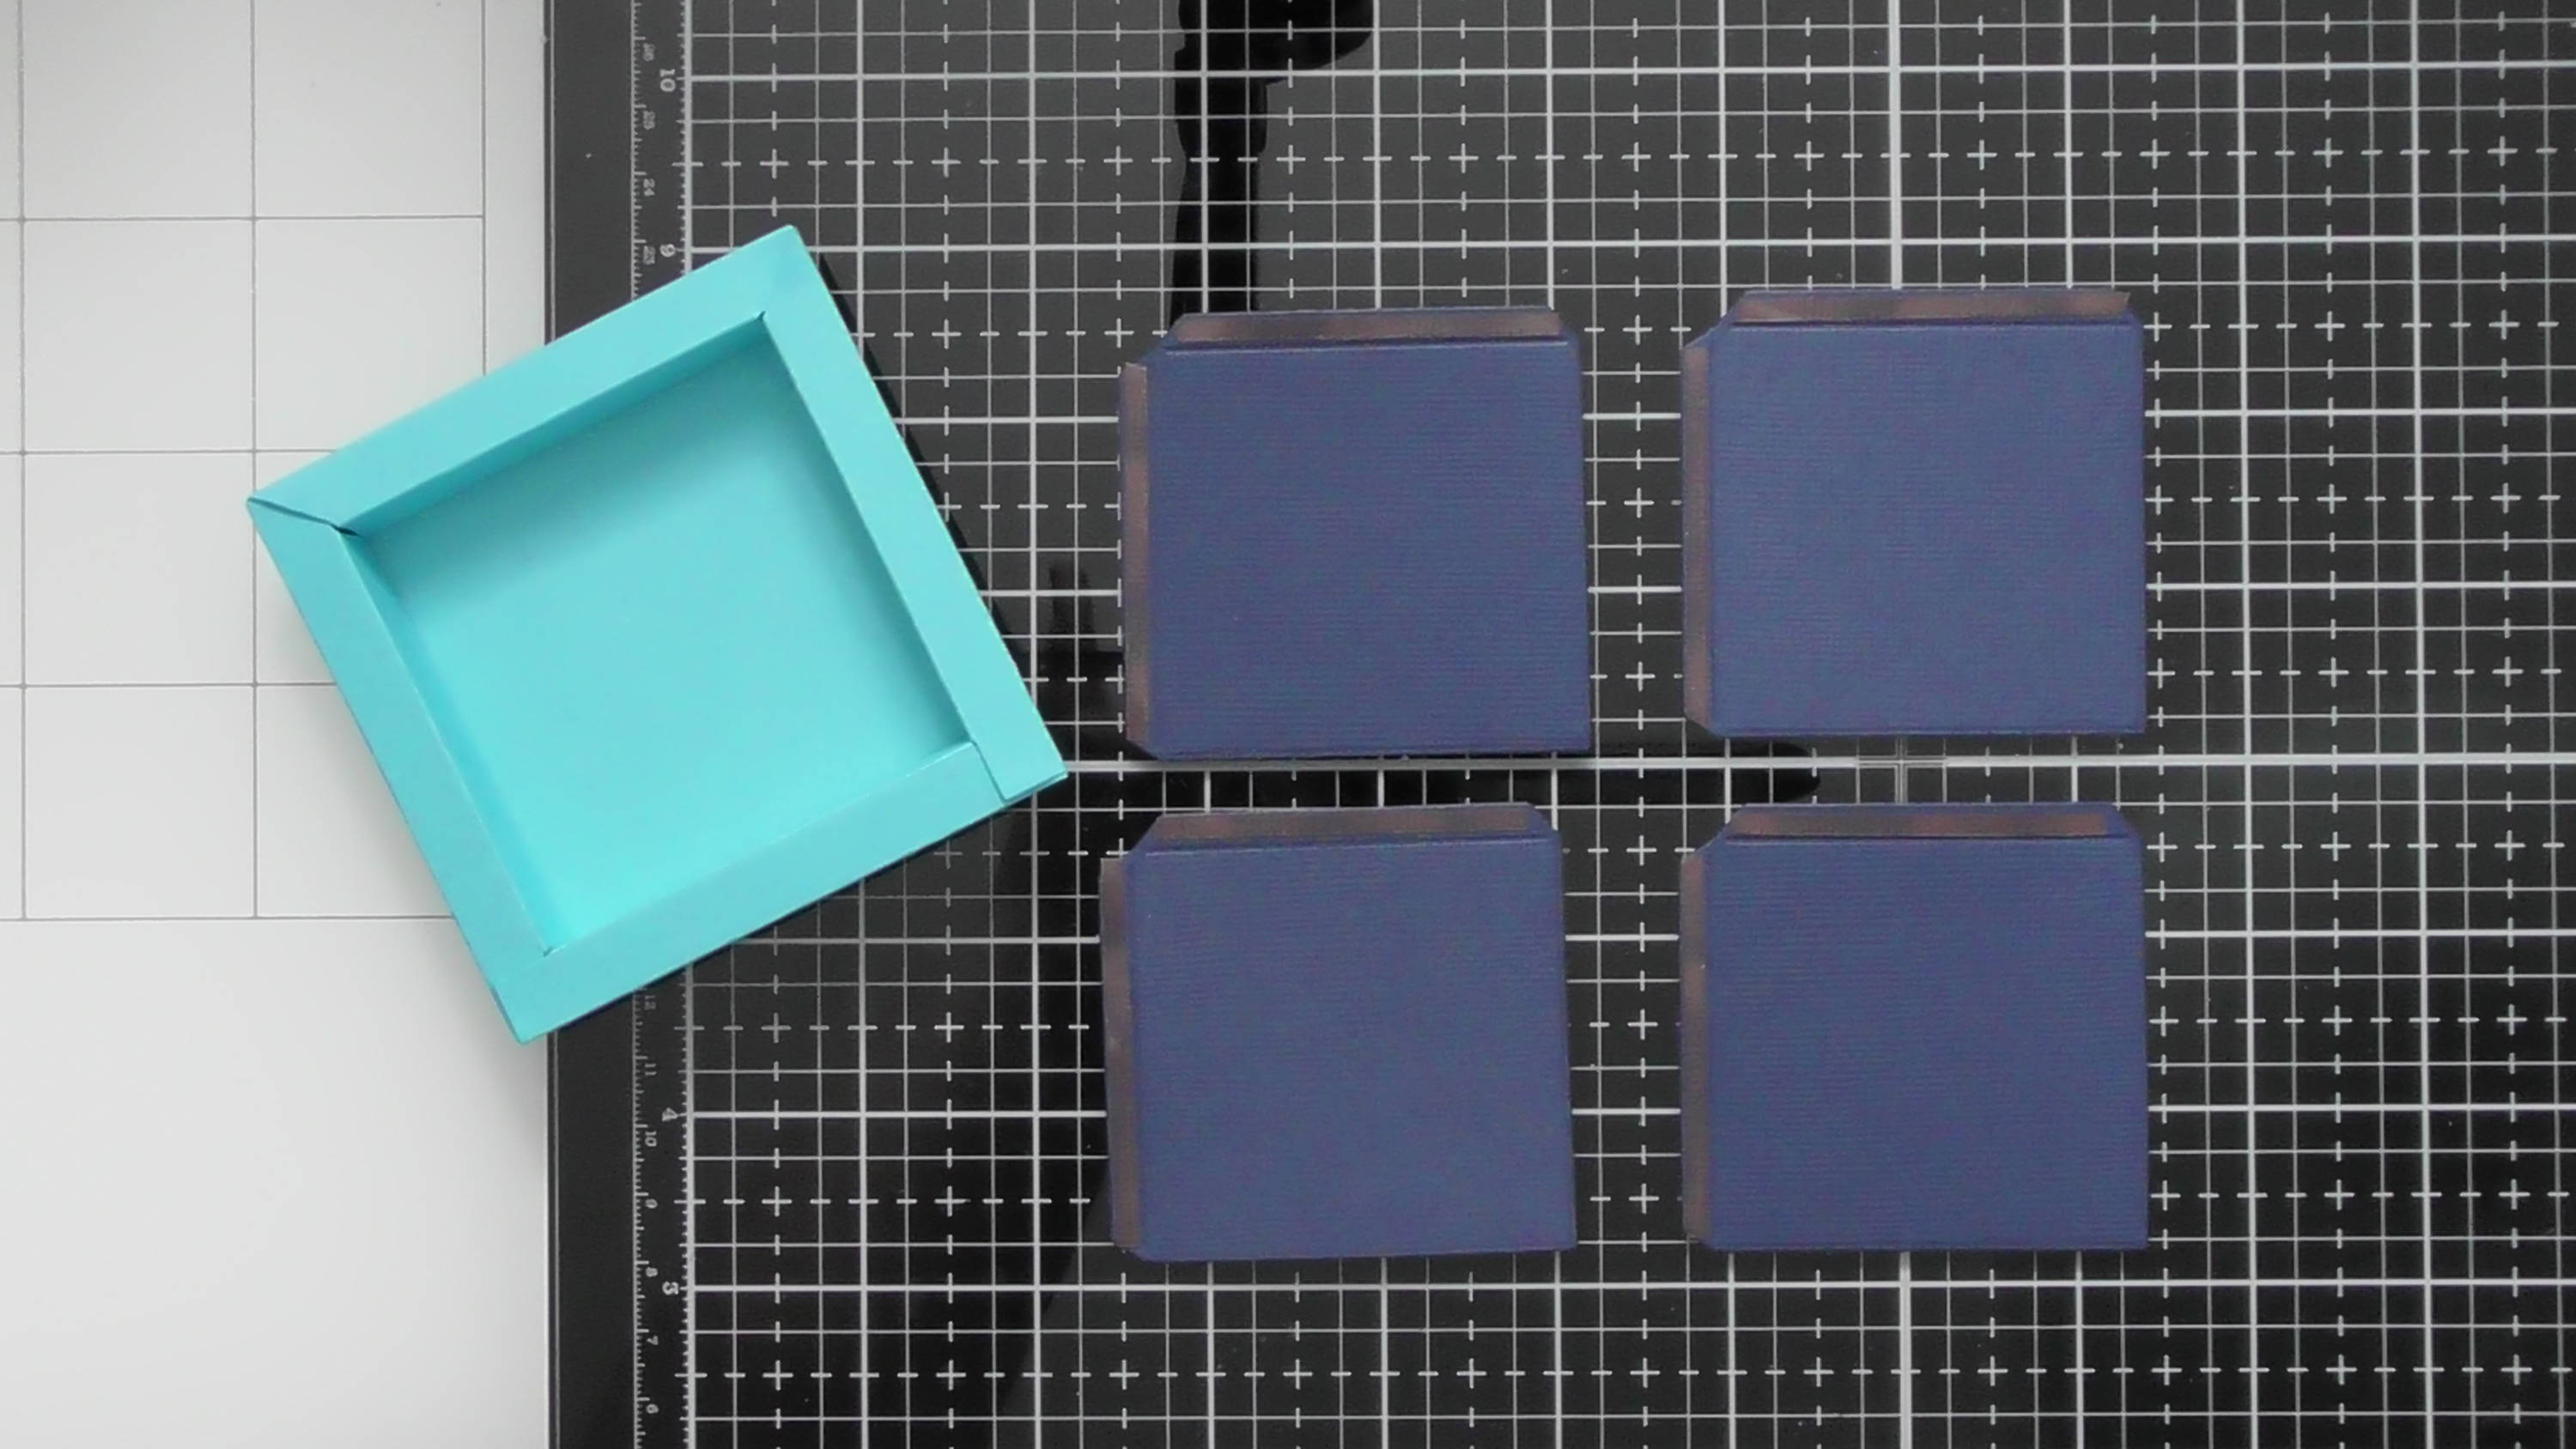
You now have your base piece, but we need to add another element to this so that the lid will stay securely on, so die-cut 4 of the piece shown above, this makes a box section that sits inside the base.
Step 7
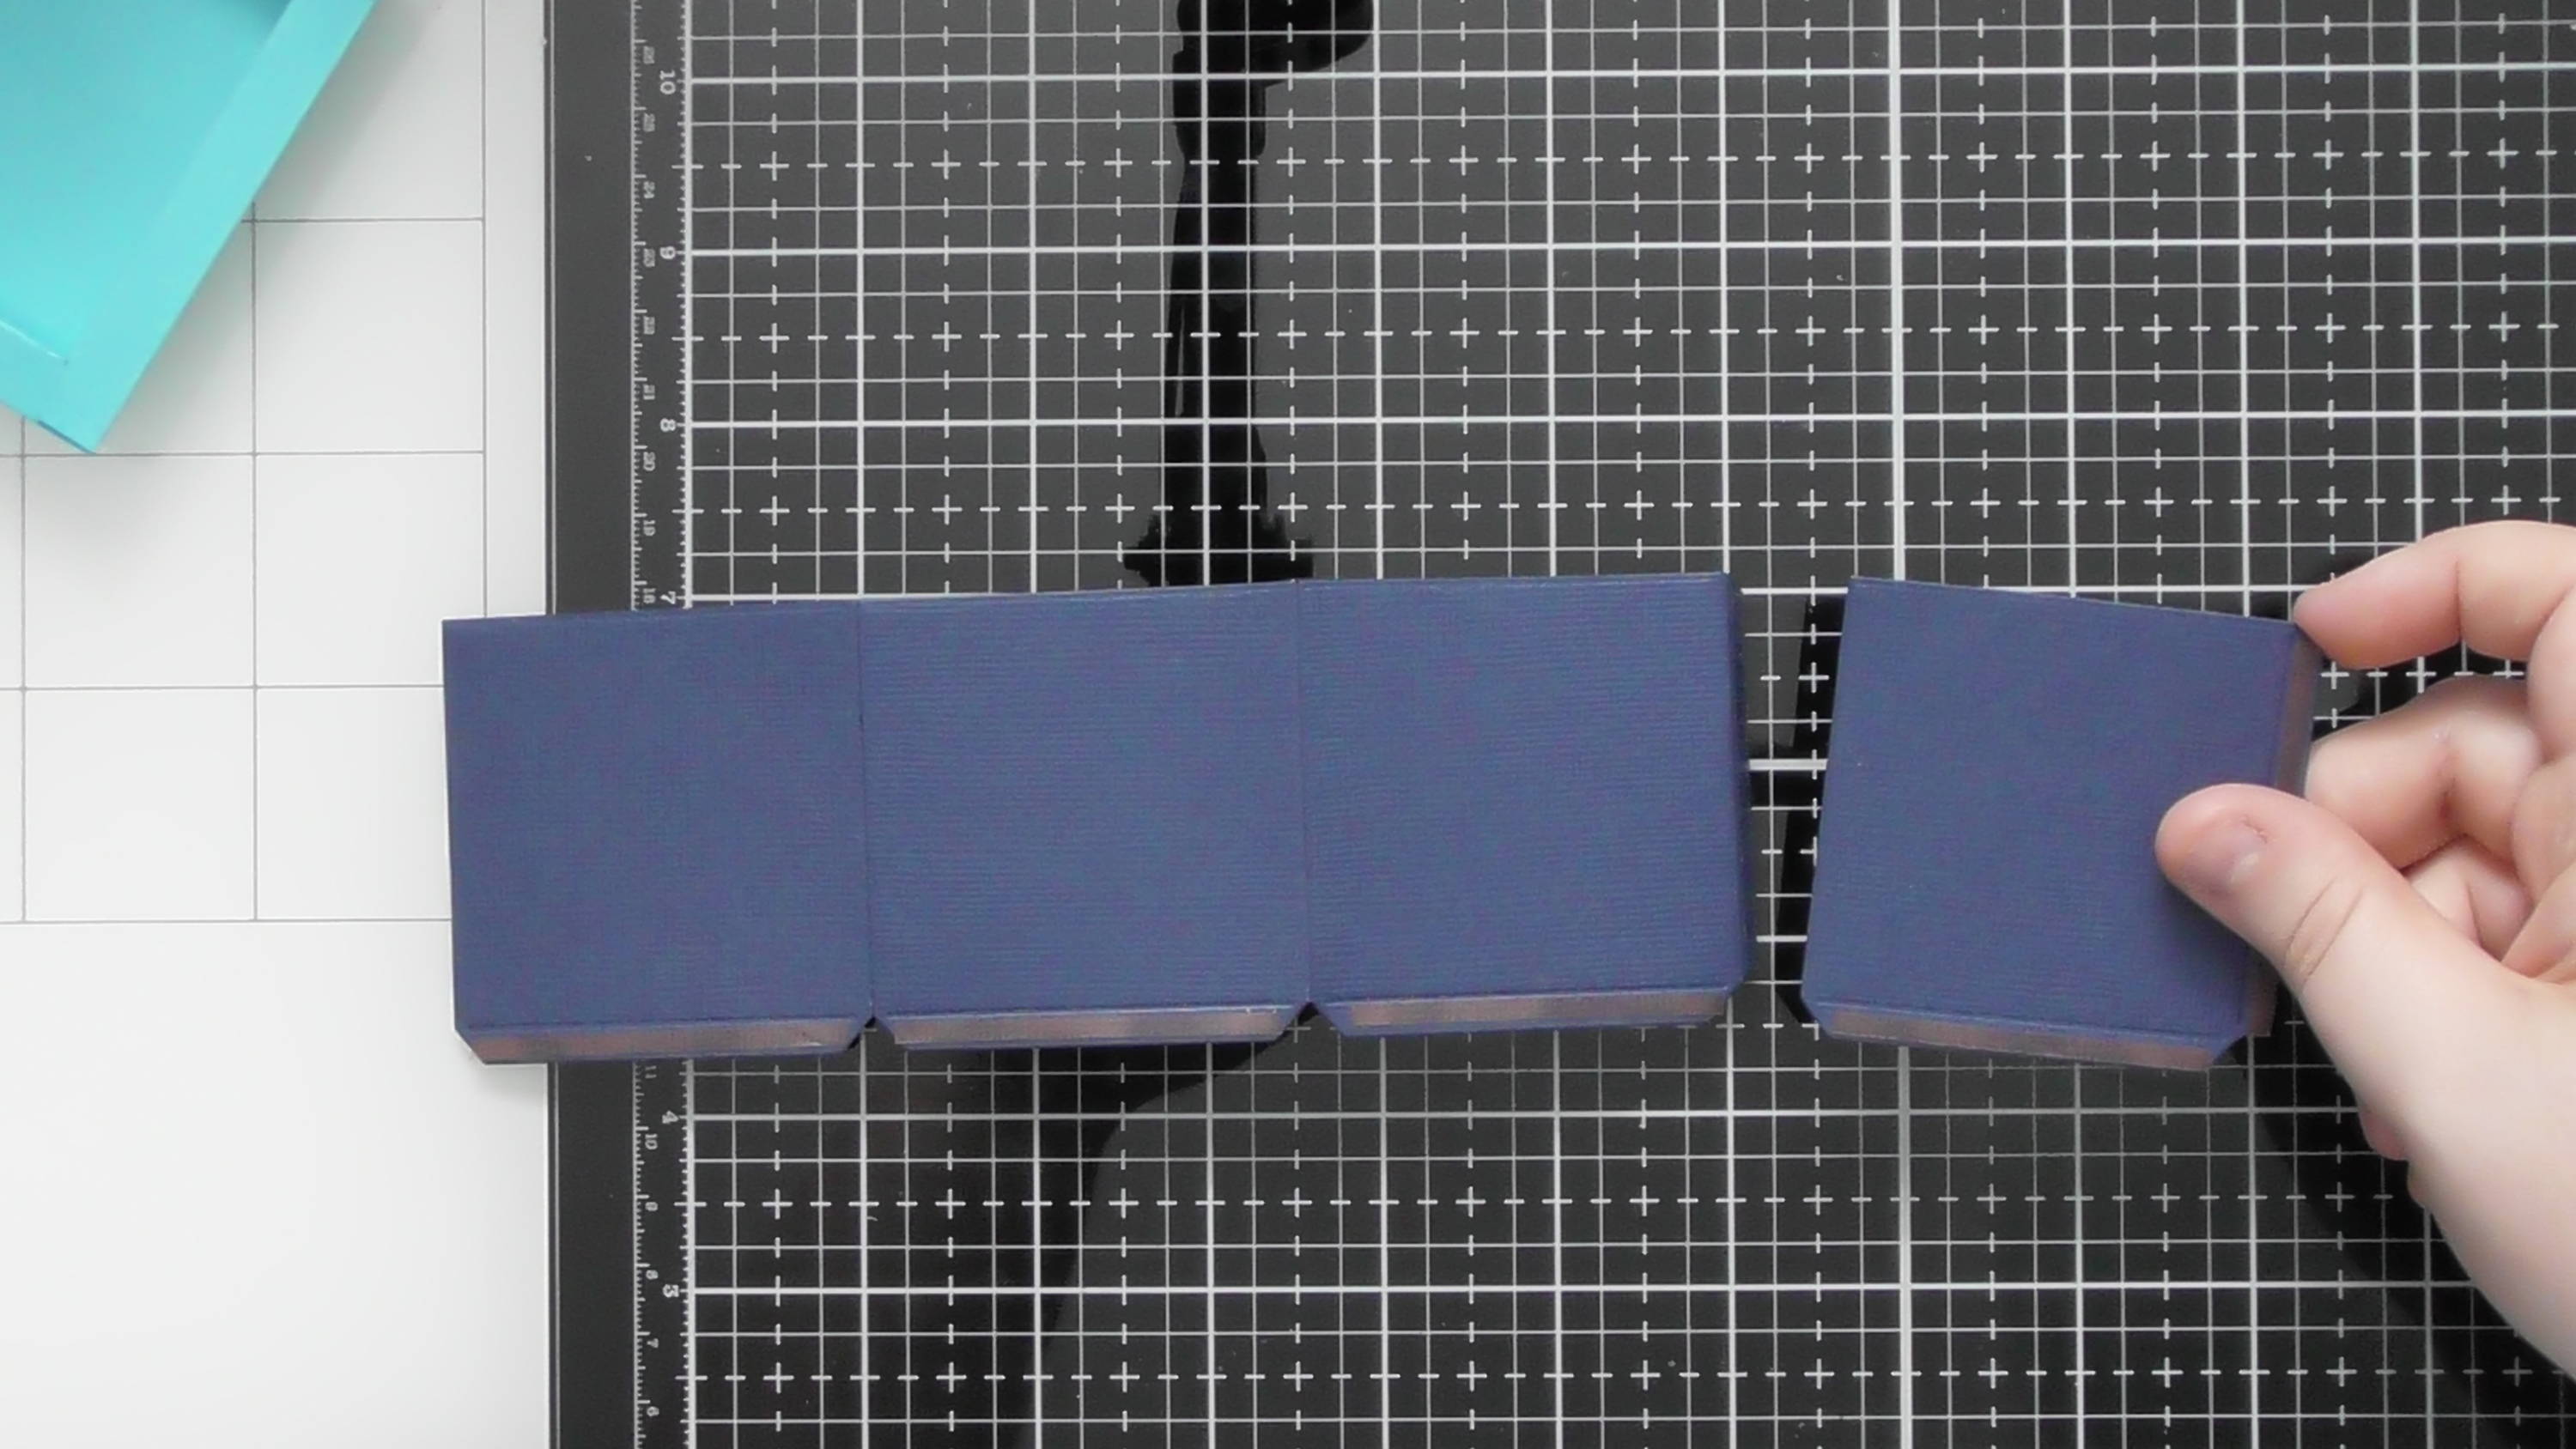
Stick these together as shown, making sure the remaining glue tab is aligned along the bottom.
Step 8

Fold the pieces around and secure the final glue tab to make it an open bottomed cube.
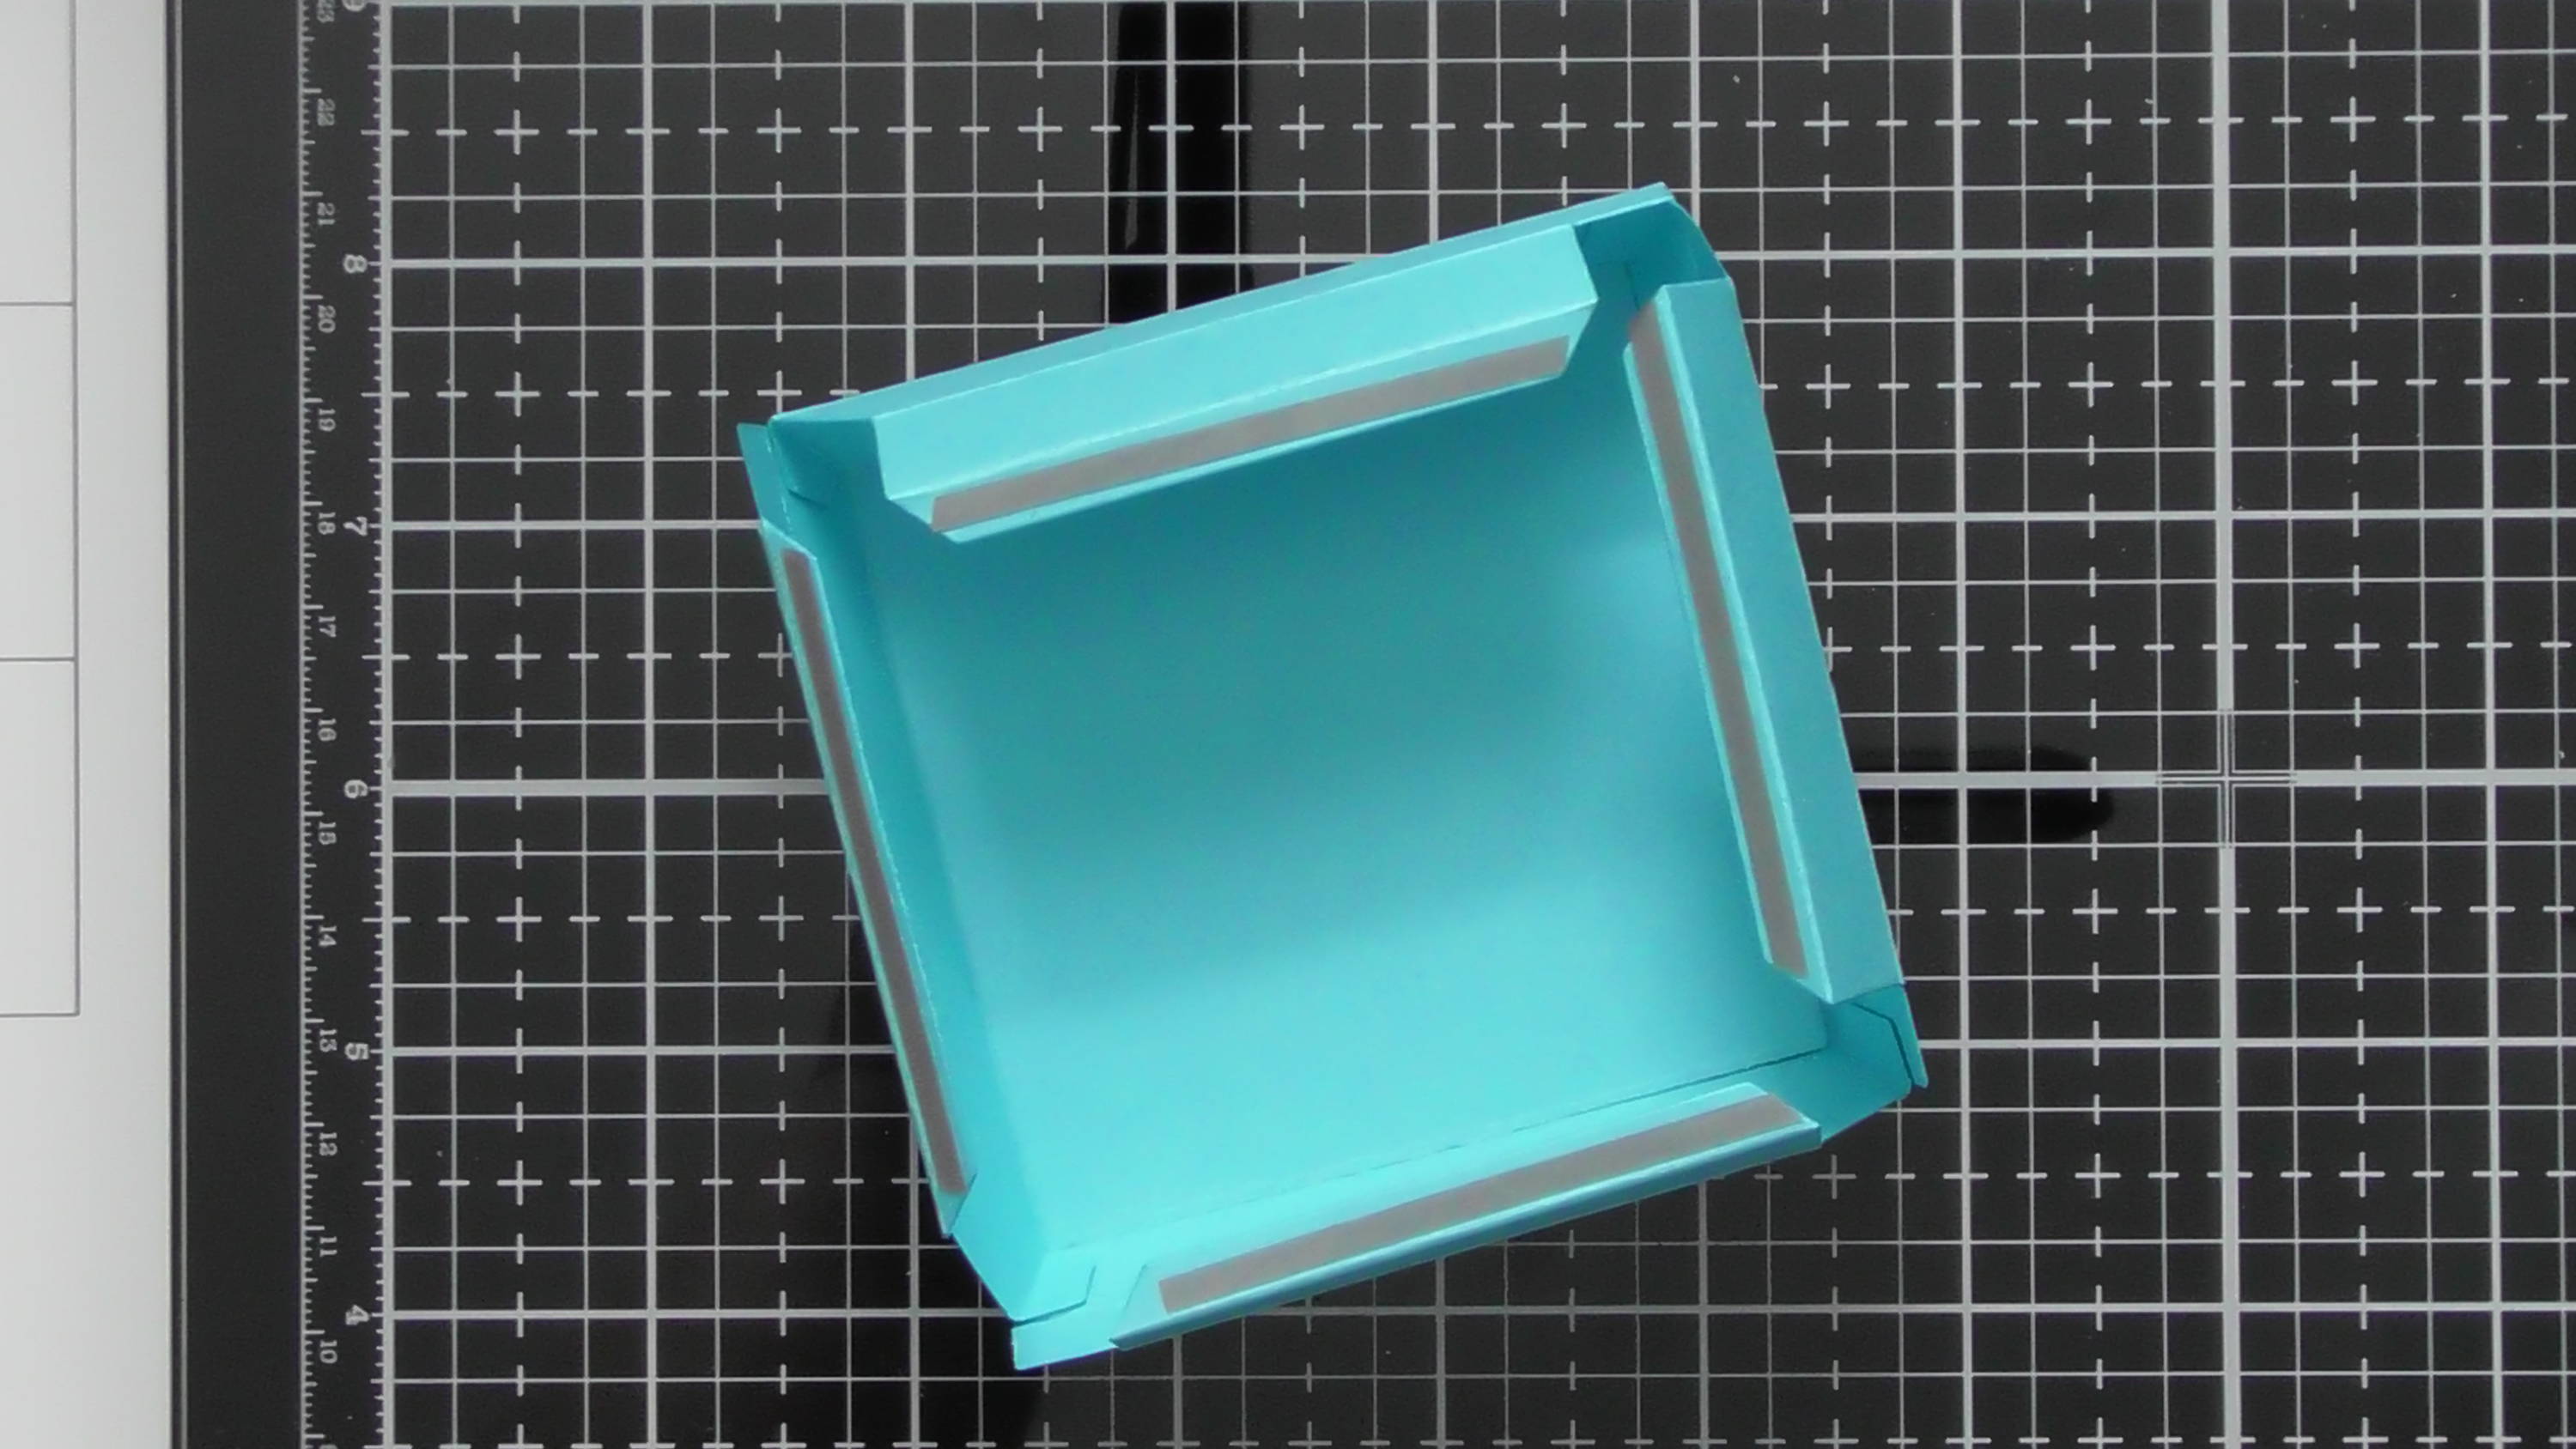
Step 9
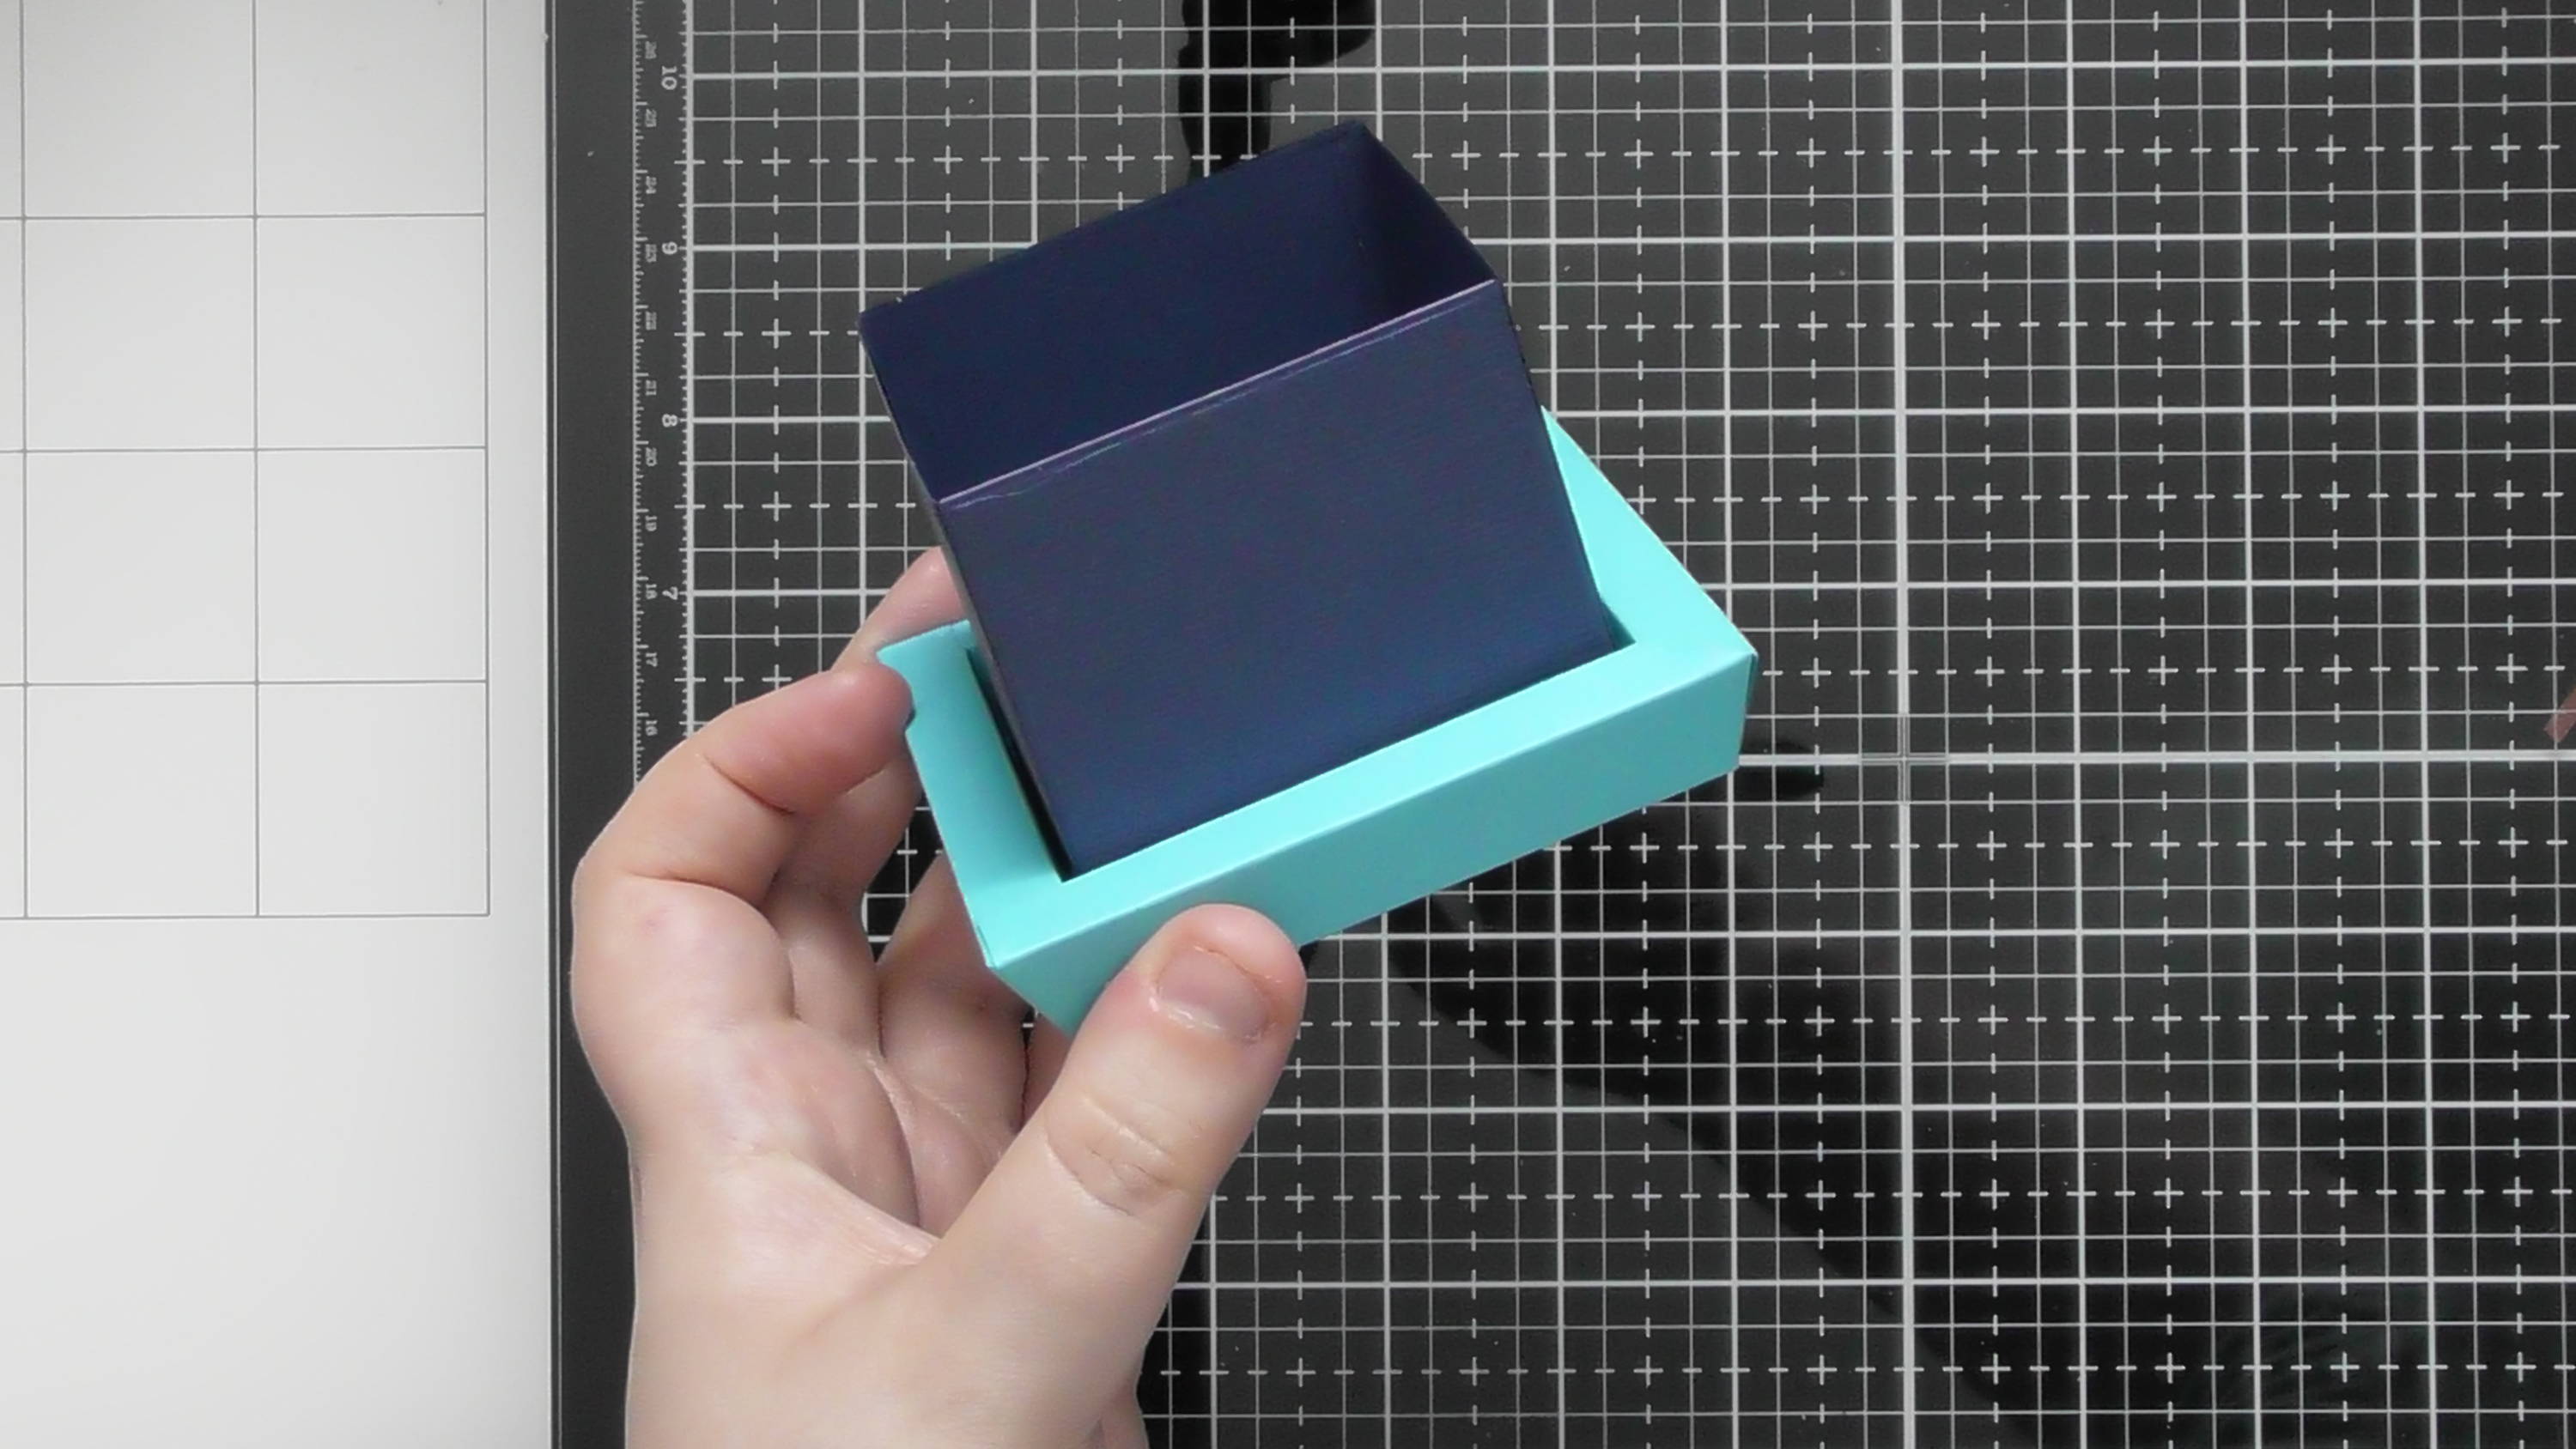
Then simply use the remaining 4 glue tabs to adhere this into the base piece. If you want to neaten the inside, you can also cut an extra square of card to line the interior bottom.
Step 10

To make a flat topped box (as we are here) you need to amend the side panels. I’ve left the pieces that I’ve cut off above one of the sides so you can see where to trim. You’re basically just keeping the main side piece and snipping the top off to give you a glue tab so that you can adhere it into the lid.
Step 9
Repeat Steps 1-5 to create your flat lid, then follow the same principle as Steps 7-8 to make the lid sleeve.
Step 10

Just as we did in Step 8 adhere the box portion inside the lid using the remaining glue tabs (these are the ones we created ourselves).
Step 9
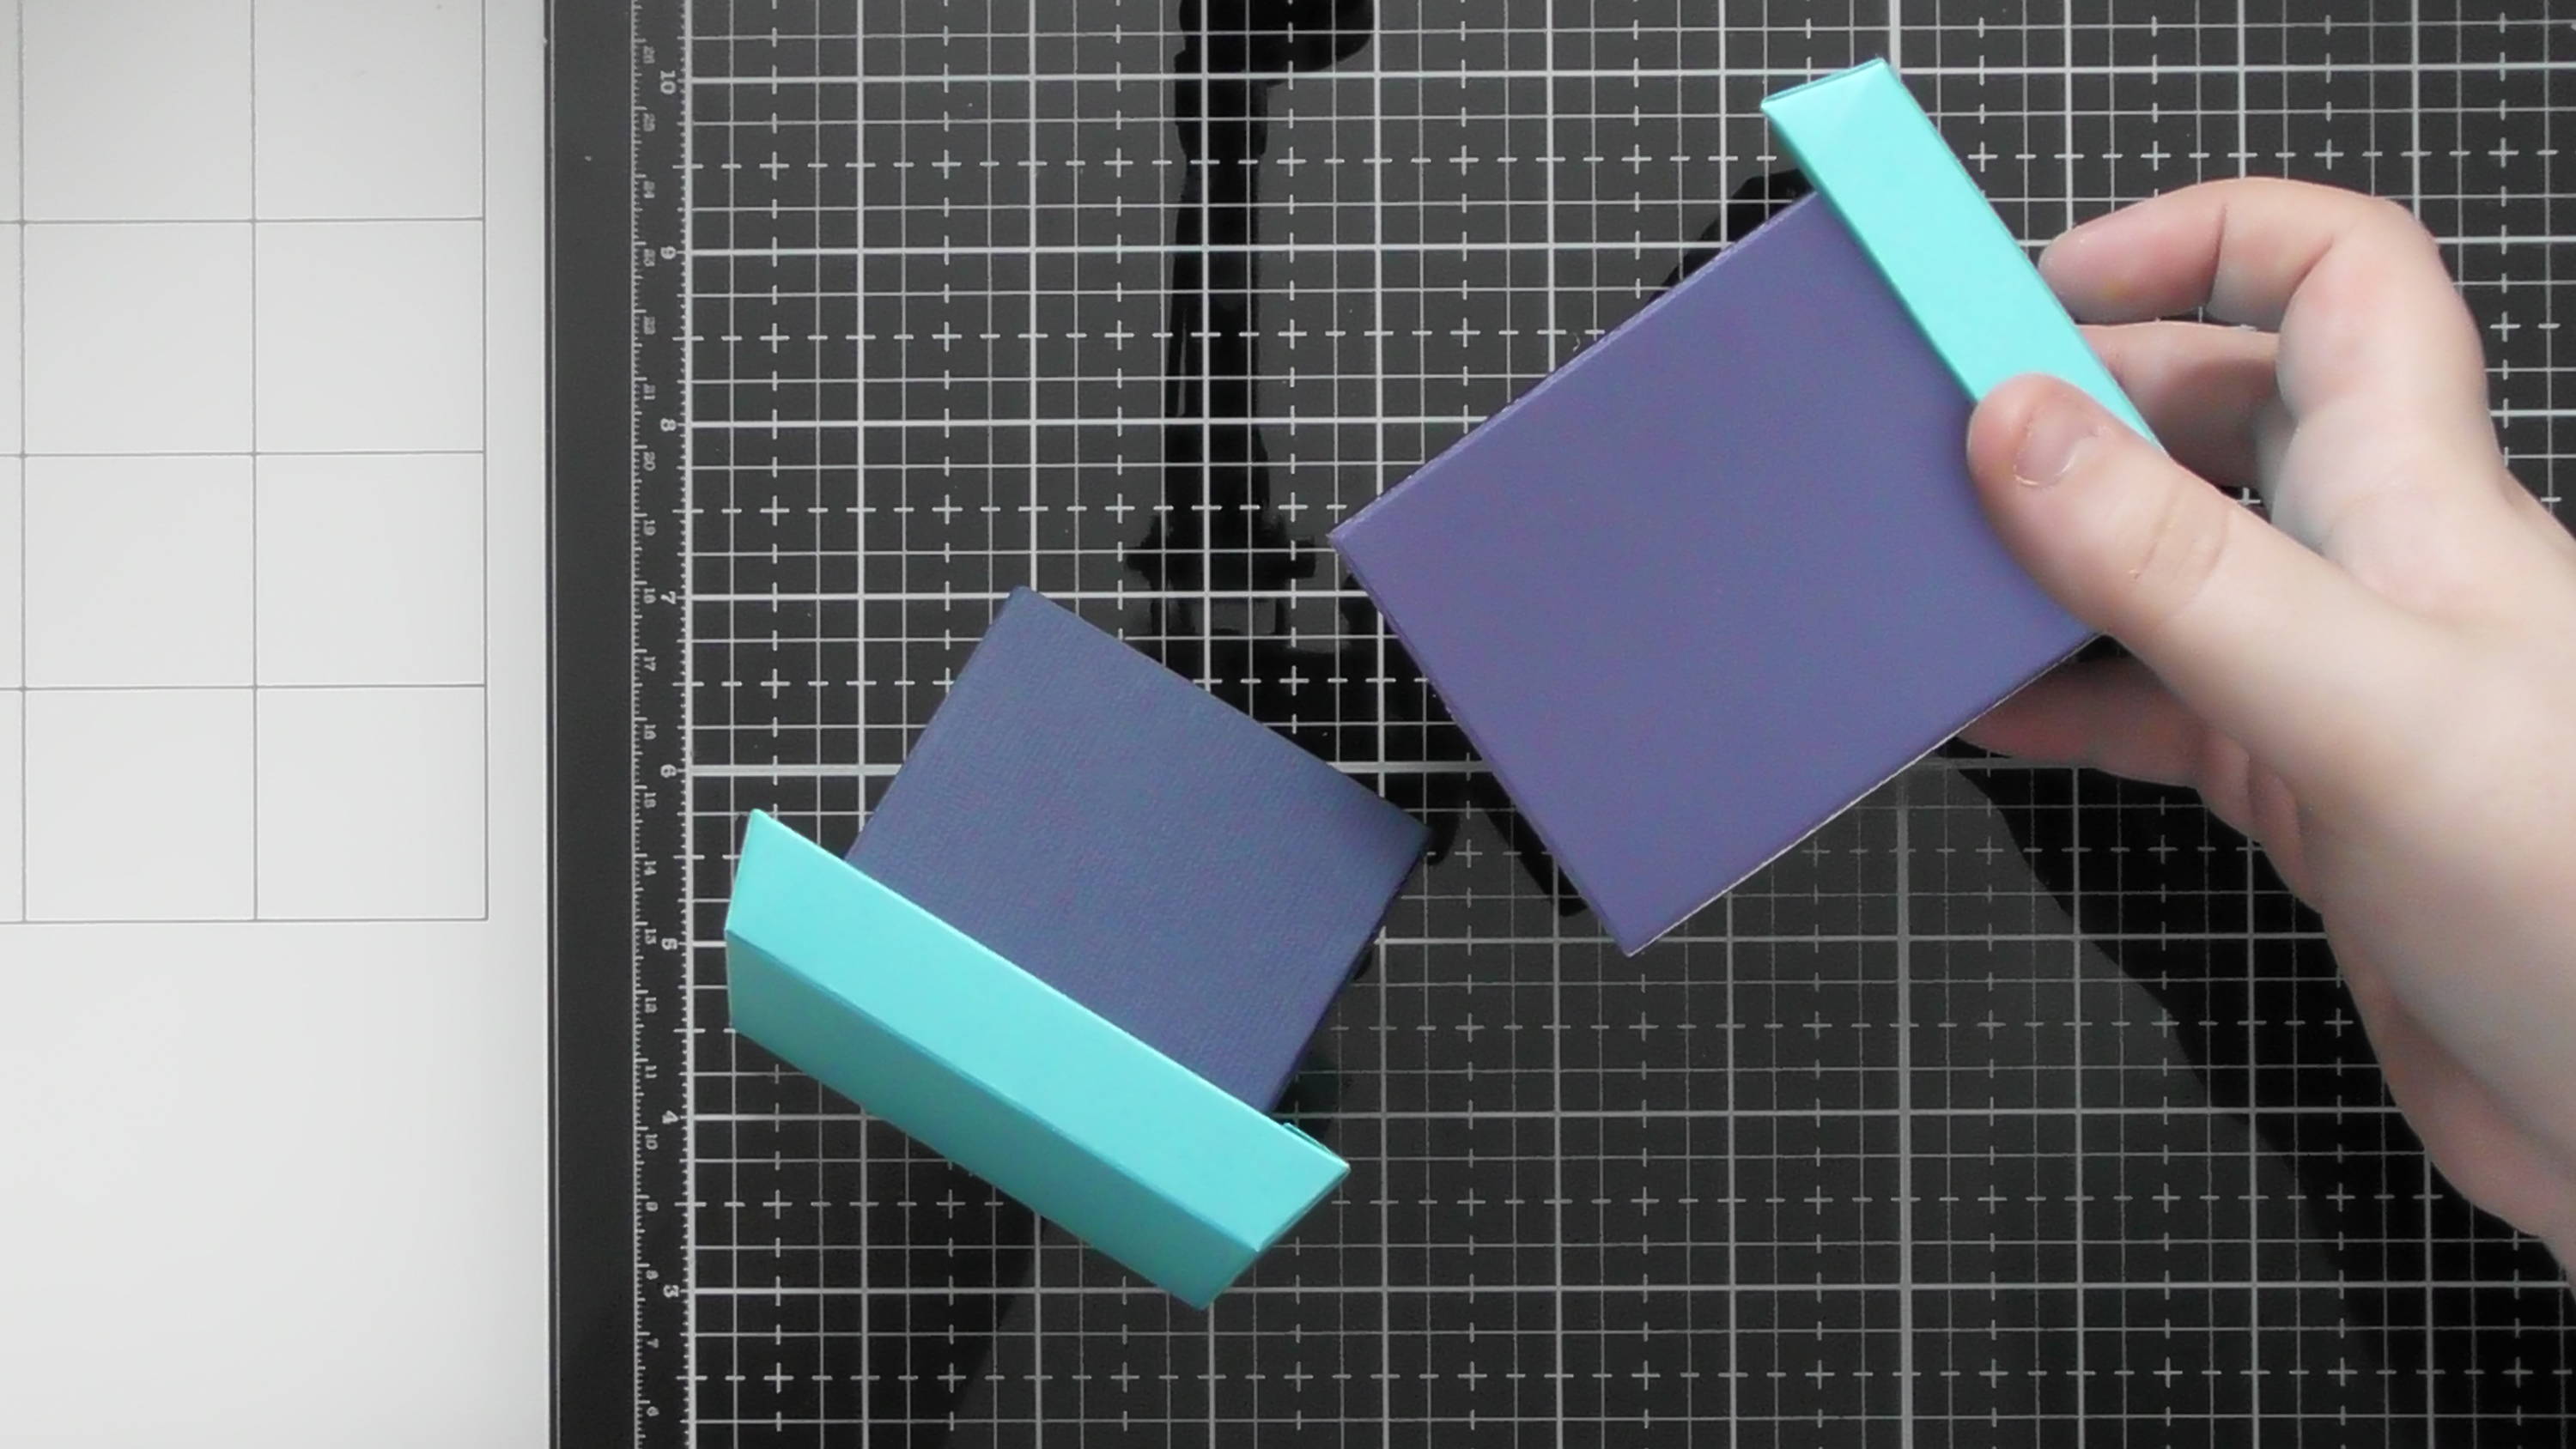
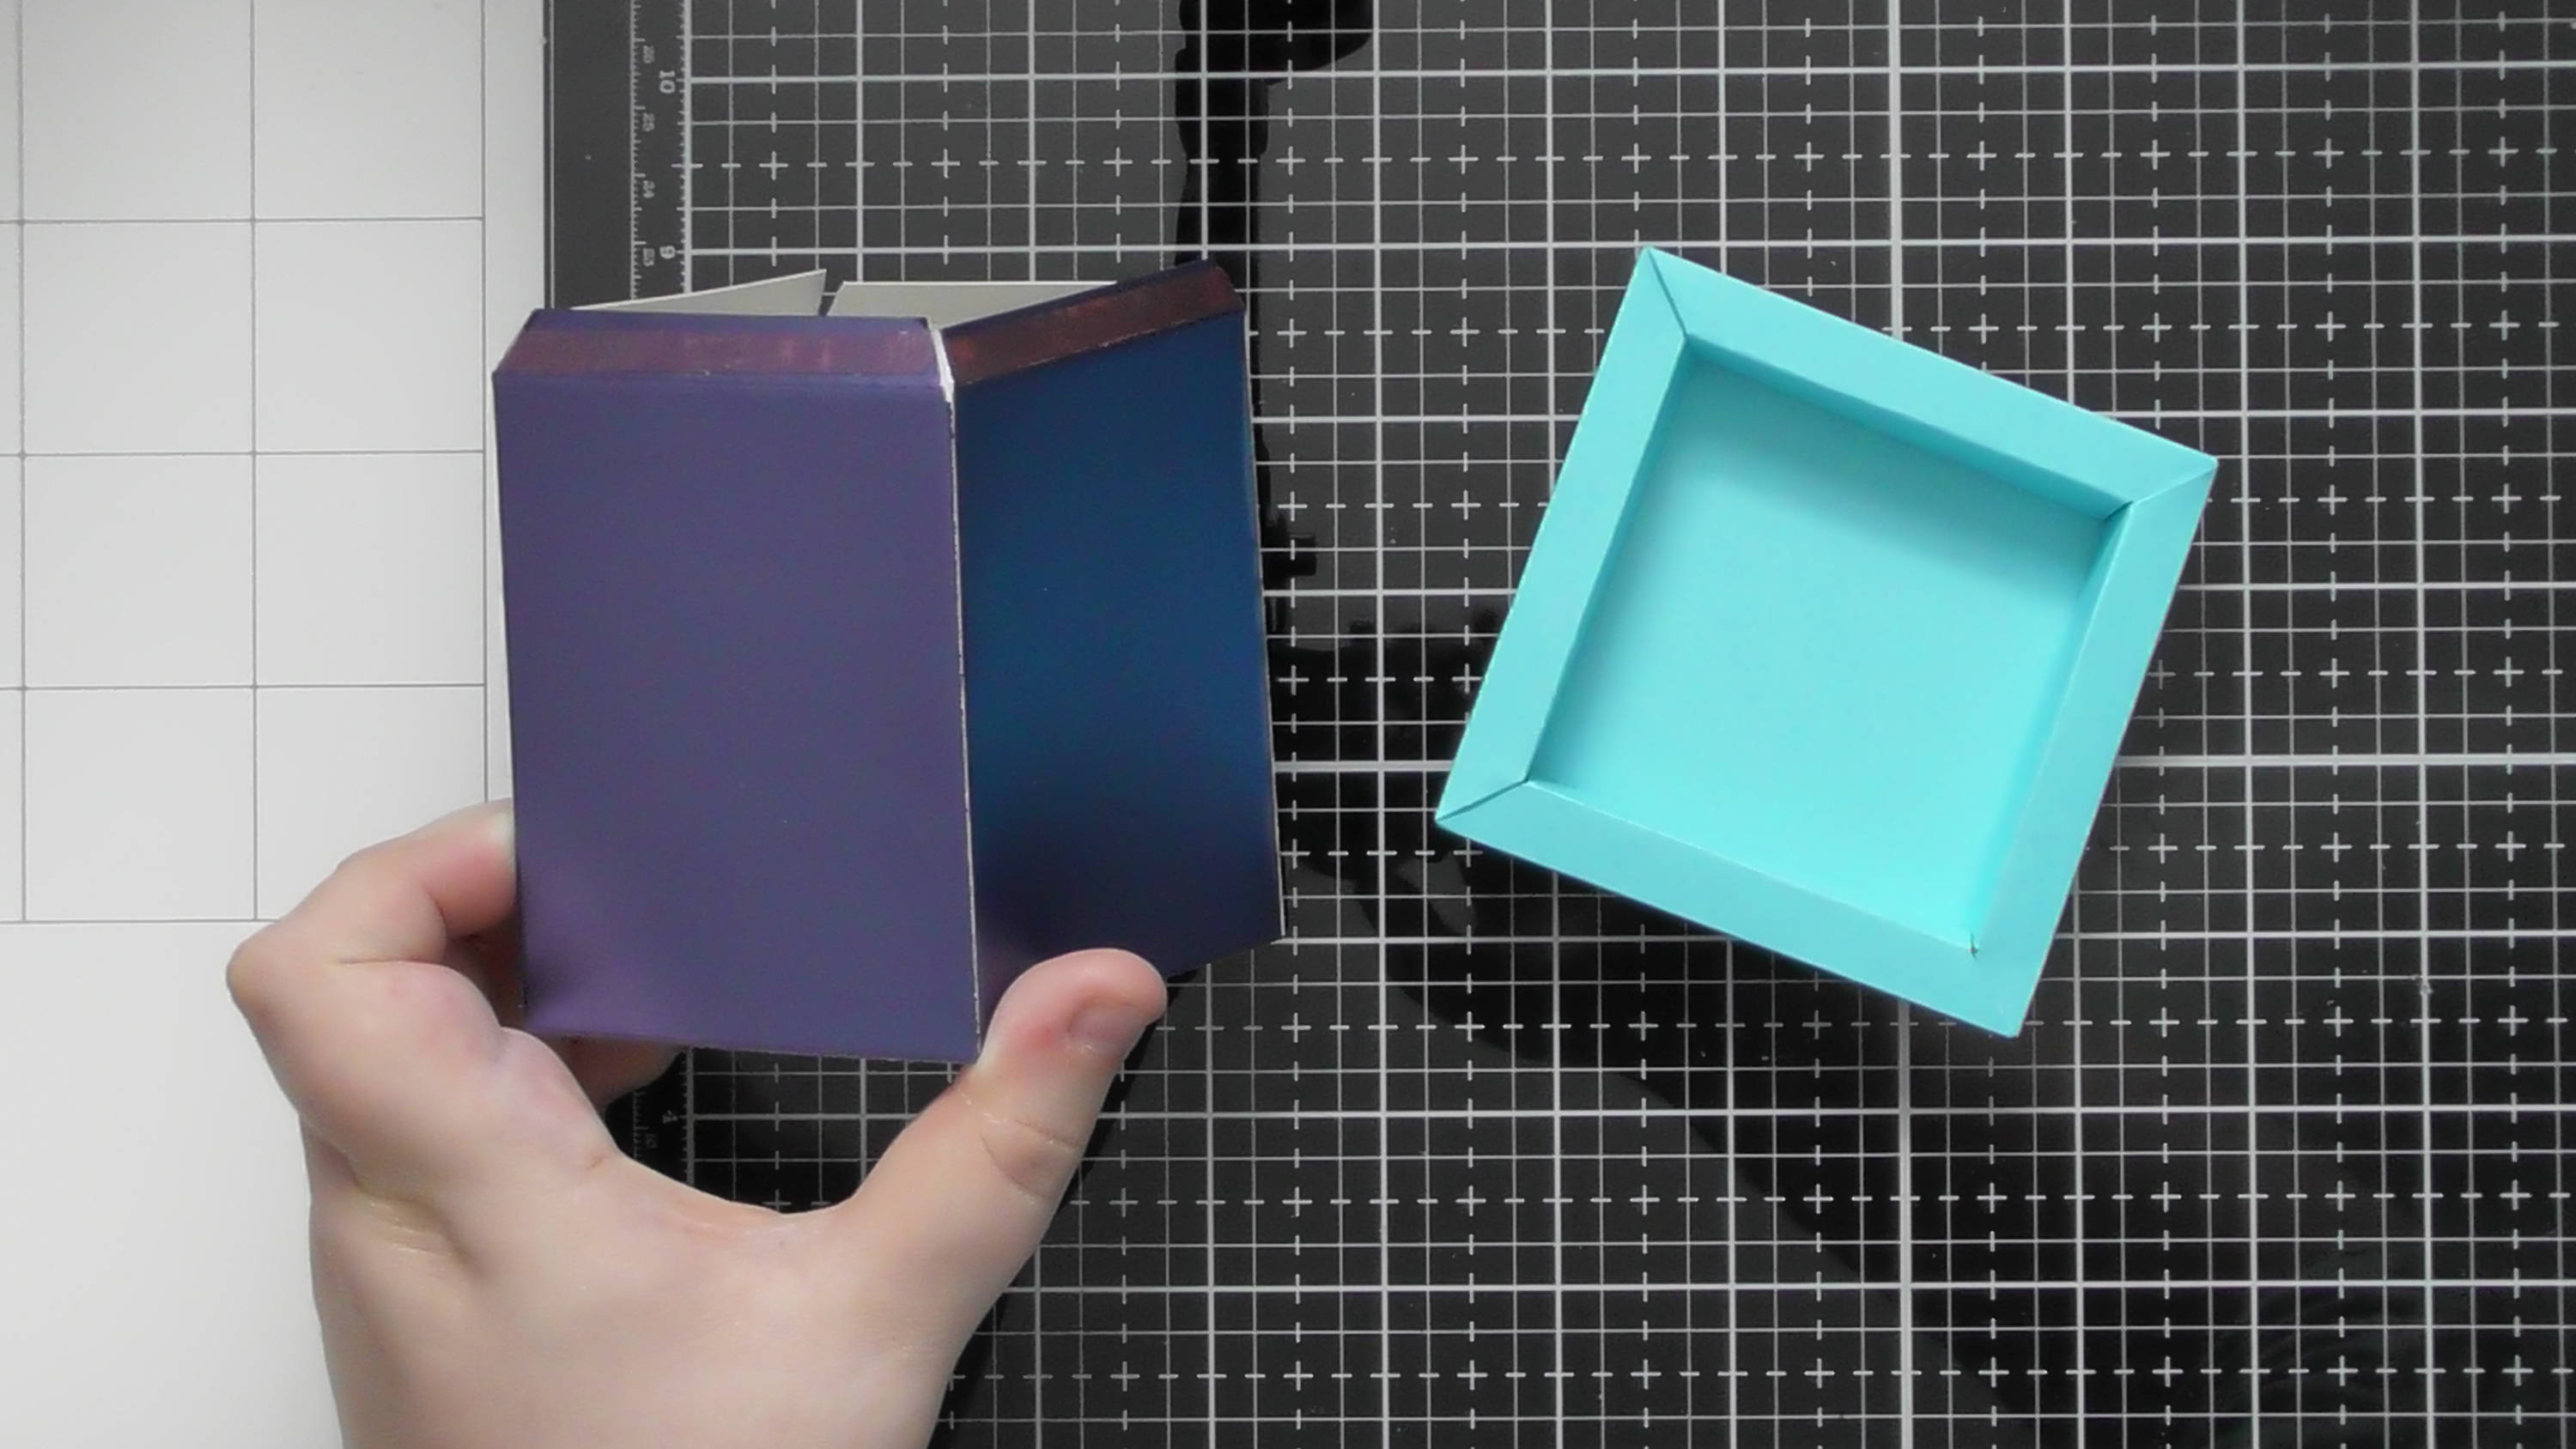
The sleeve piece of the lid (the longer one here) is slightly bigger than the one in the base so they will side over the top of each other and turquoise base piece will hold the lid securely in place.
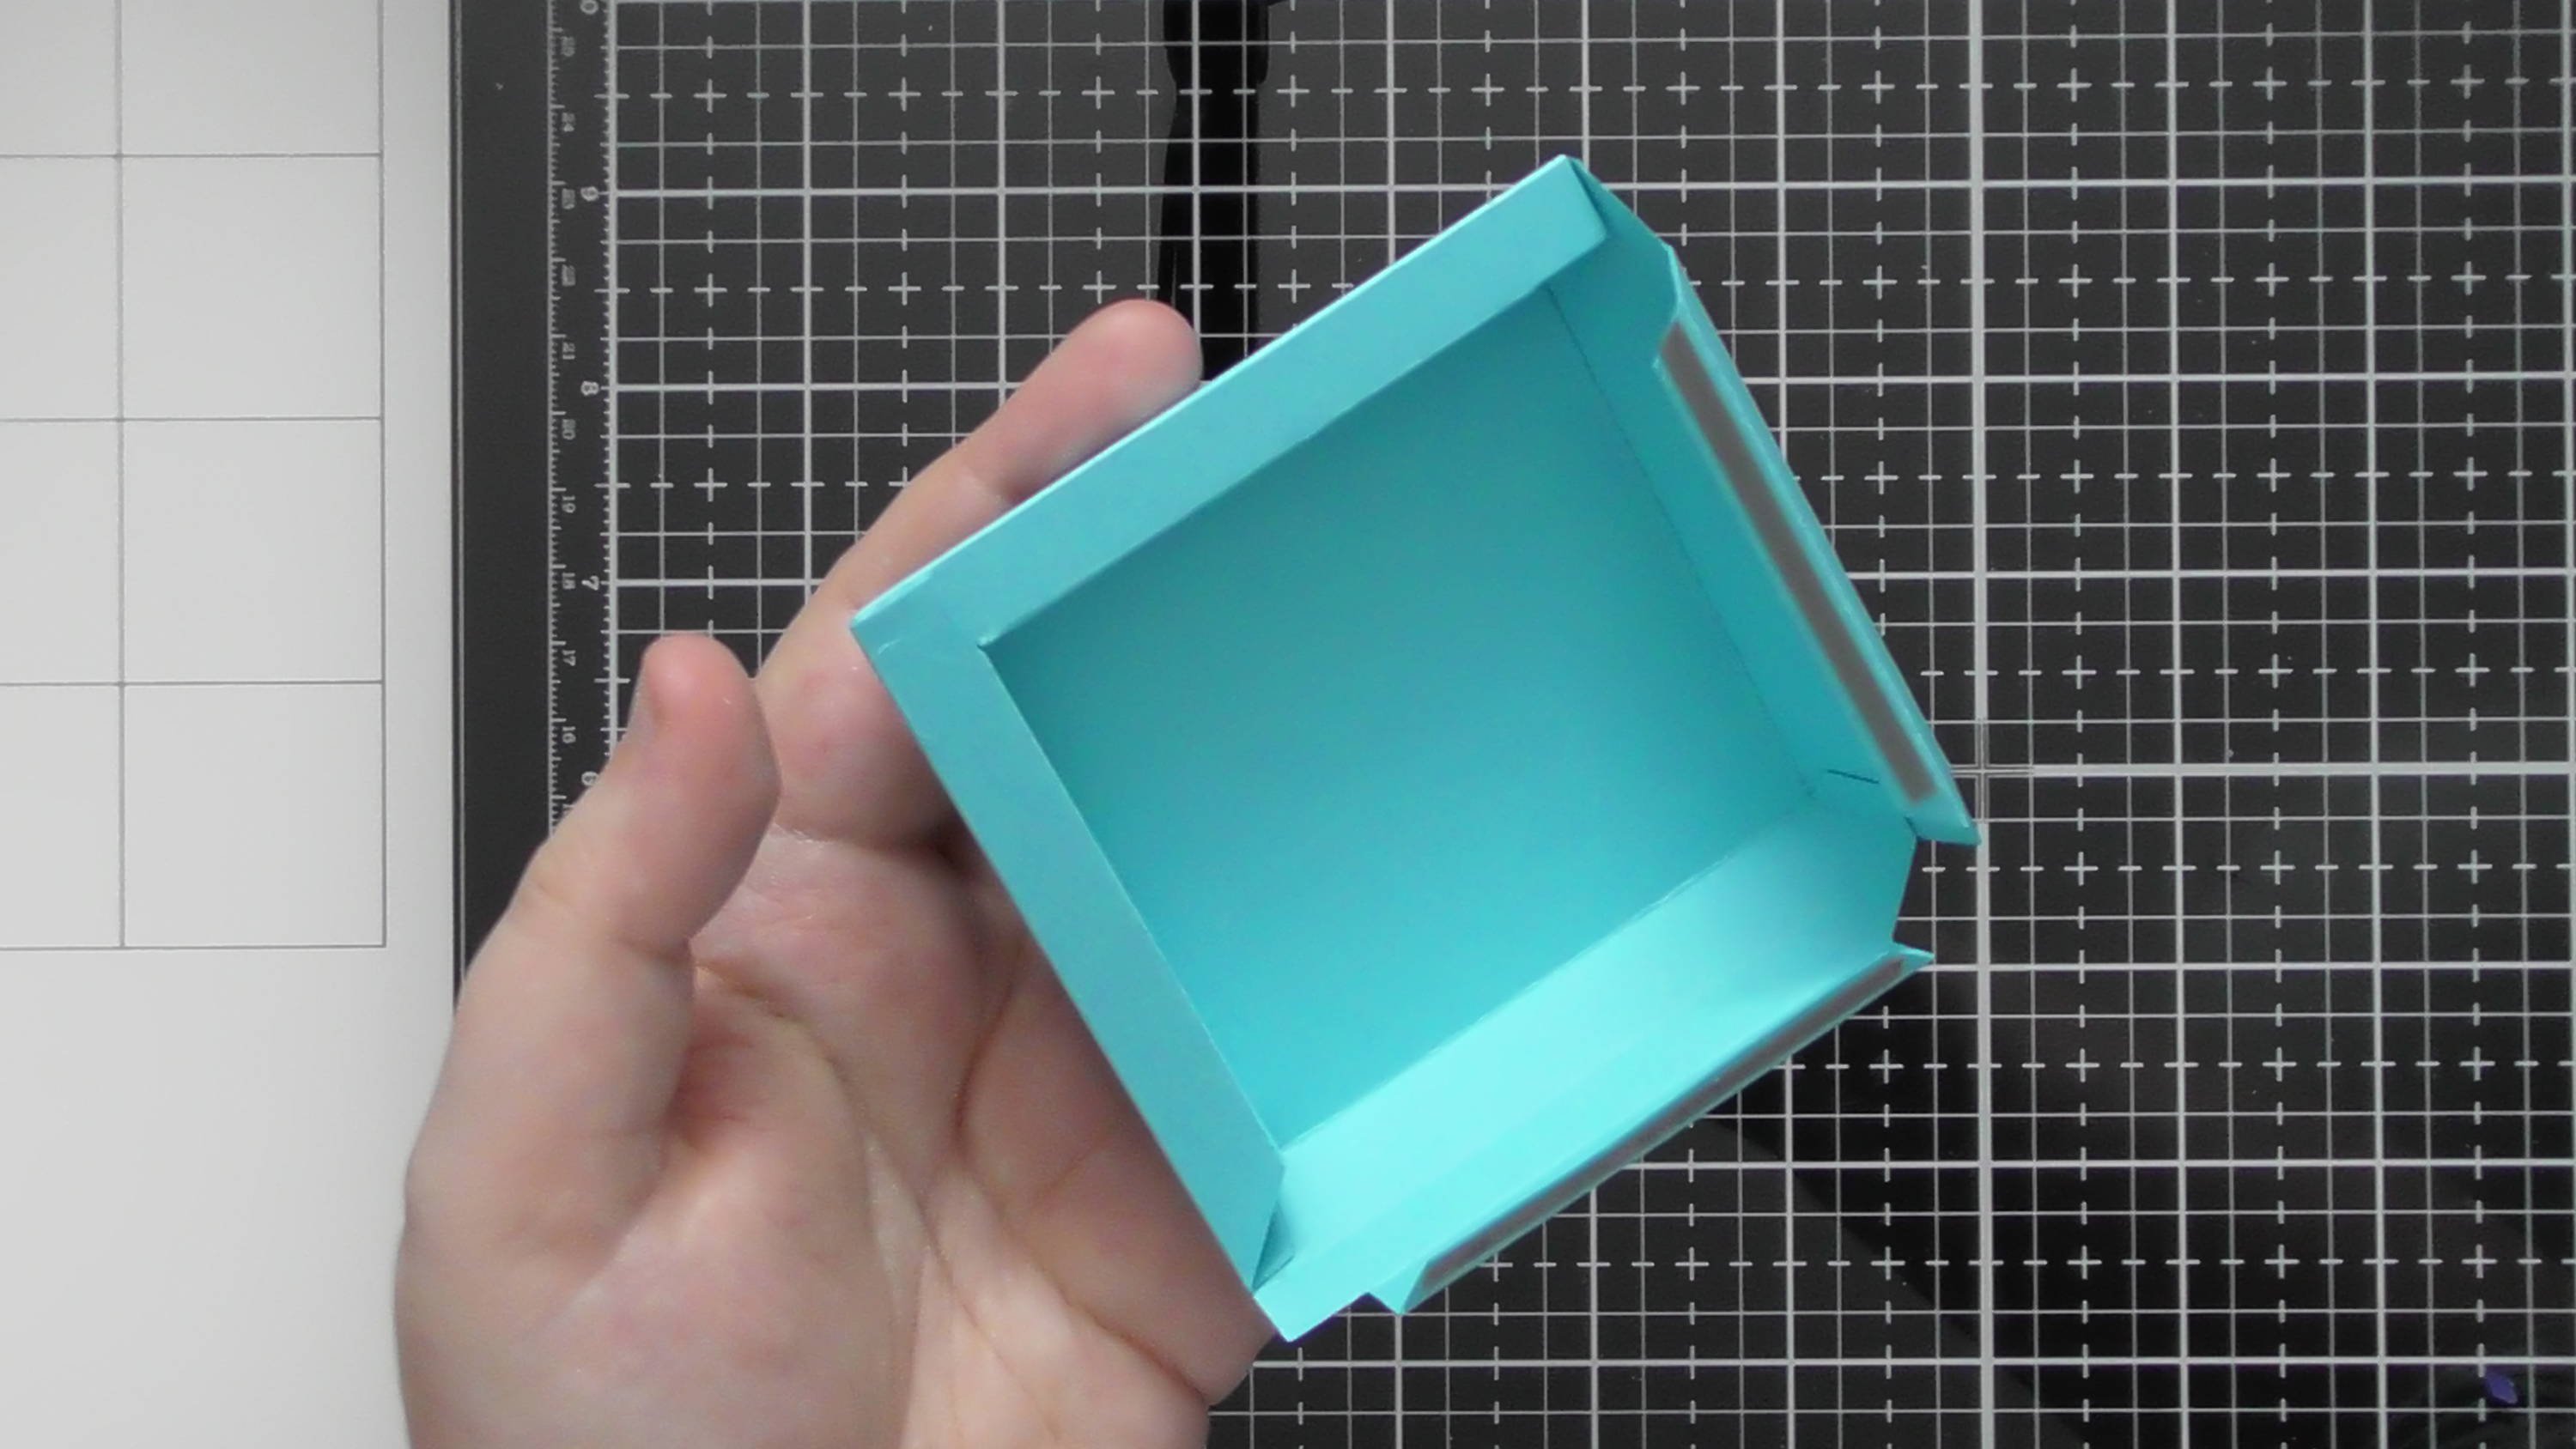
Step 10
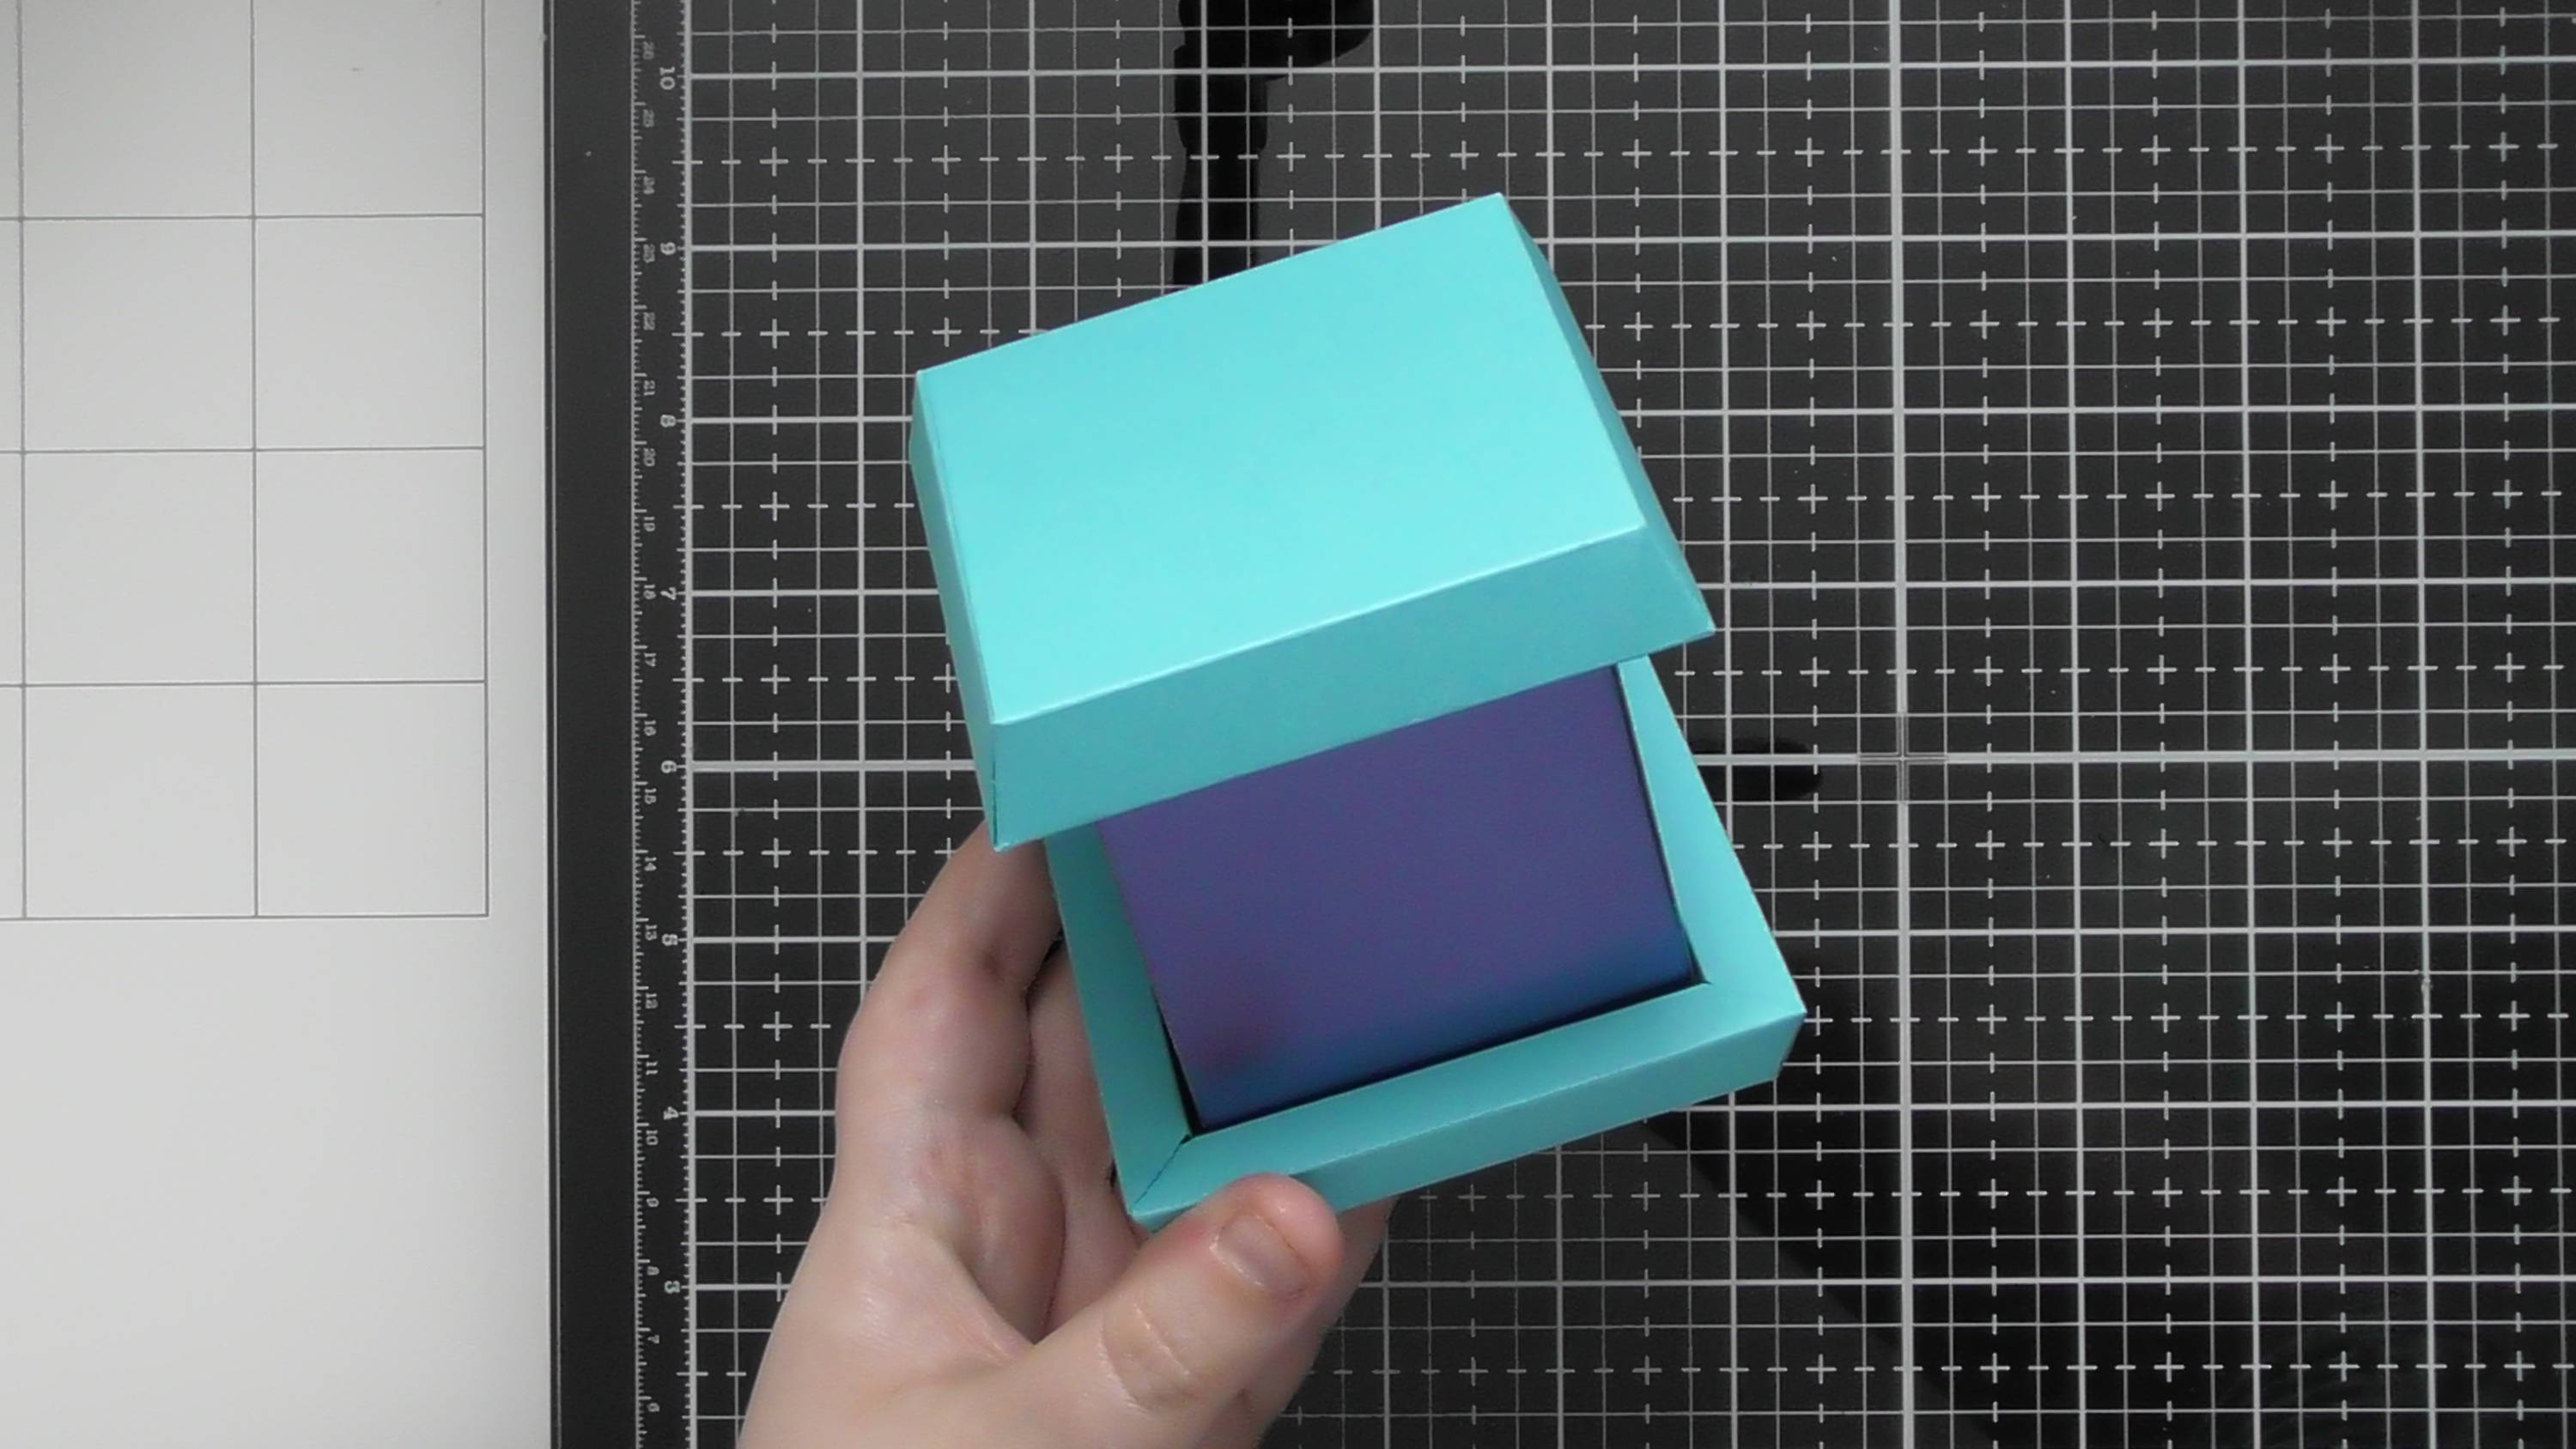
And there you have your finished flat top box :D You can follow these came instructions for all 3 side heights and all 3 base shapes to create your flat topped boxes :D
Have fun playing! Christine xxx
Buy The Craft Project
